
In Dying Light: The Beast, “Life After Life” marks the beginning of Kyle Crane’s quest for revenge. Having escaped the Baron’s facility in Castor Woods, he meets Olivia, a woman connected to the Baron’s research, but she can’t help him alone. Kyle needs to gather more allies, and the nearby town is the perfect place to start.
This guide explains how to finish the ‘Life After Life’ quest in *Dying Light: The Beast*, with a special focus on helping players through a tricky section at the beginning.
Dying Light: The Beast – How to Investigate the Smoke in Life After Life
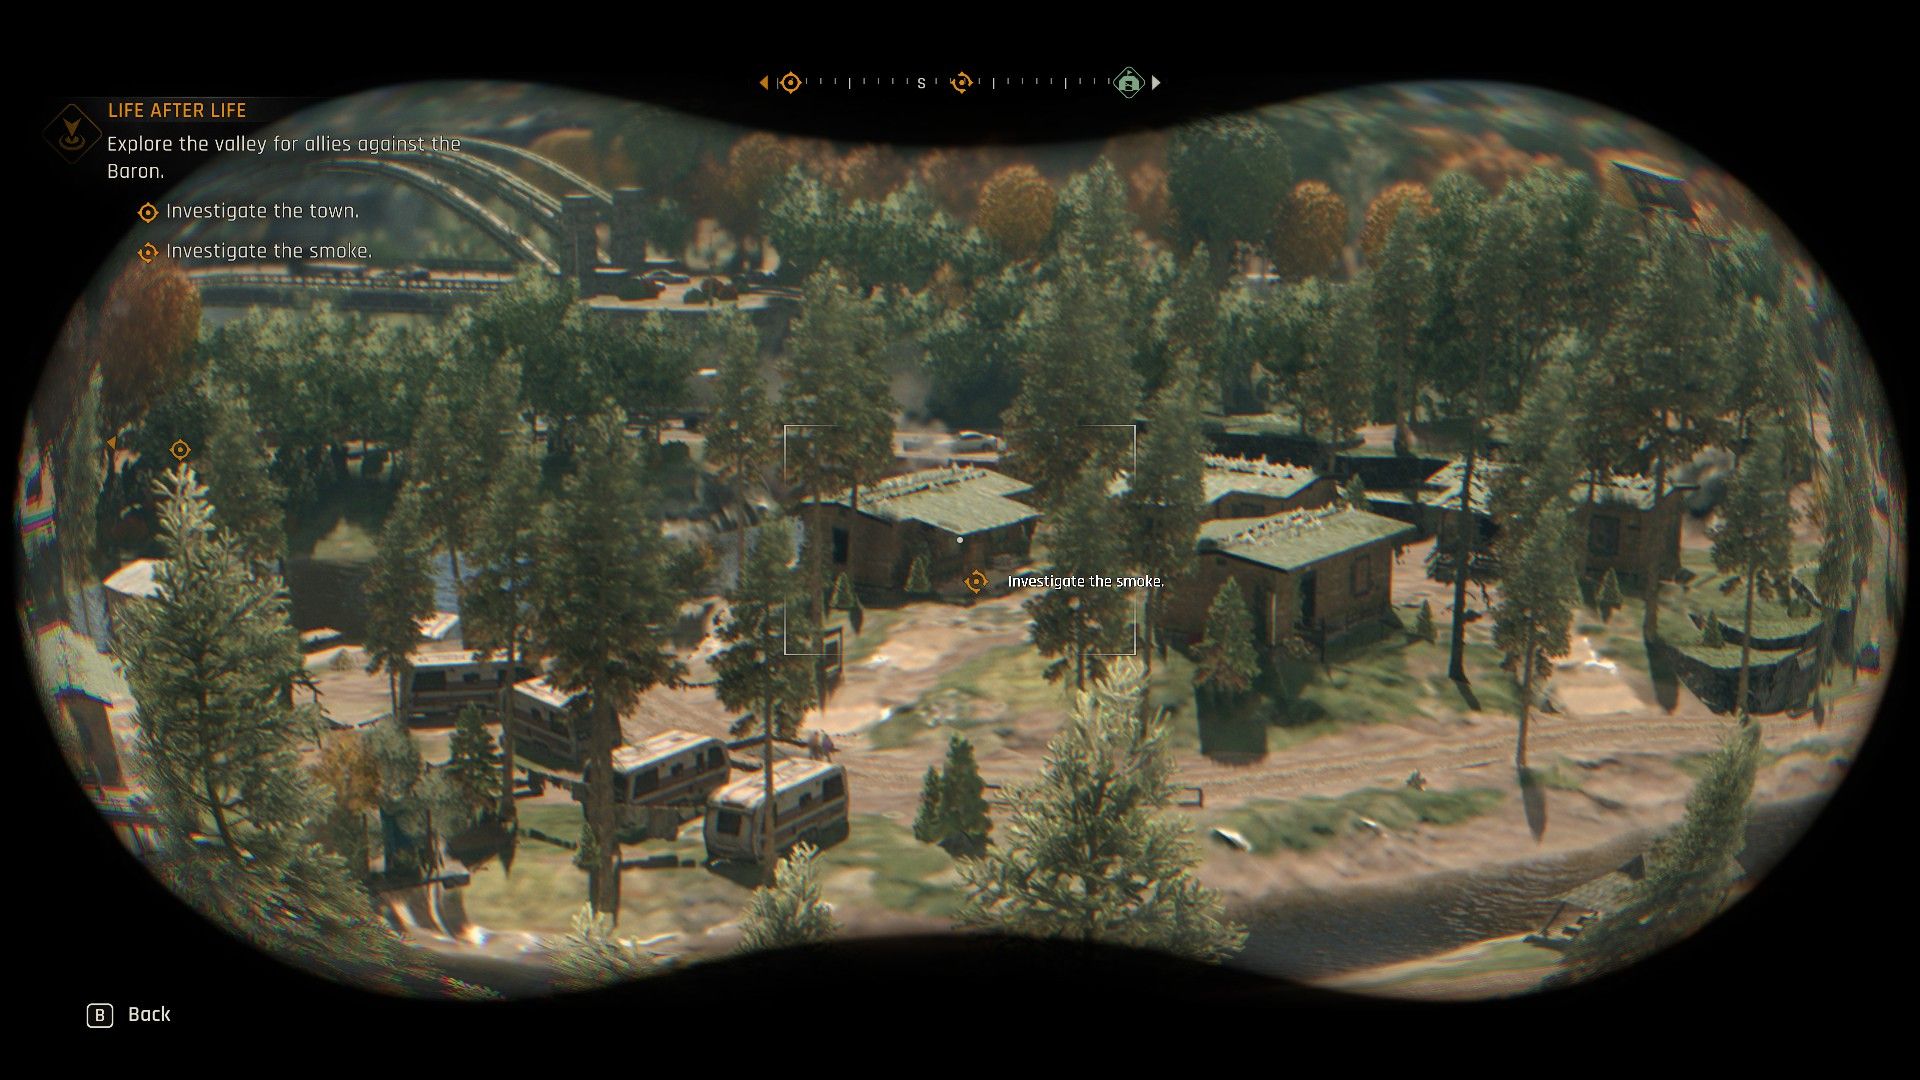
When you begin your journey, you have two choices: travel directly to the town Olivia told you about, or explore a campsite nearby where you see smoke rising from a small cottage. The campsite is closer, making it a good place to start your investigation.
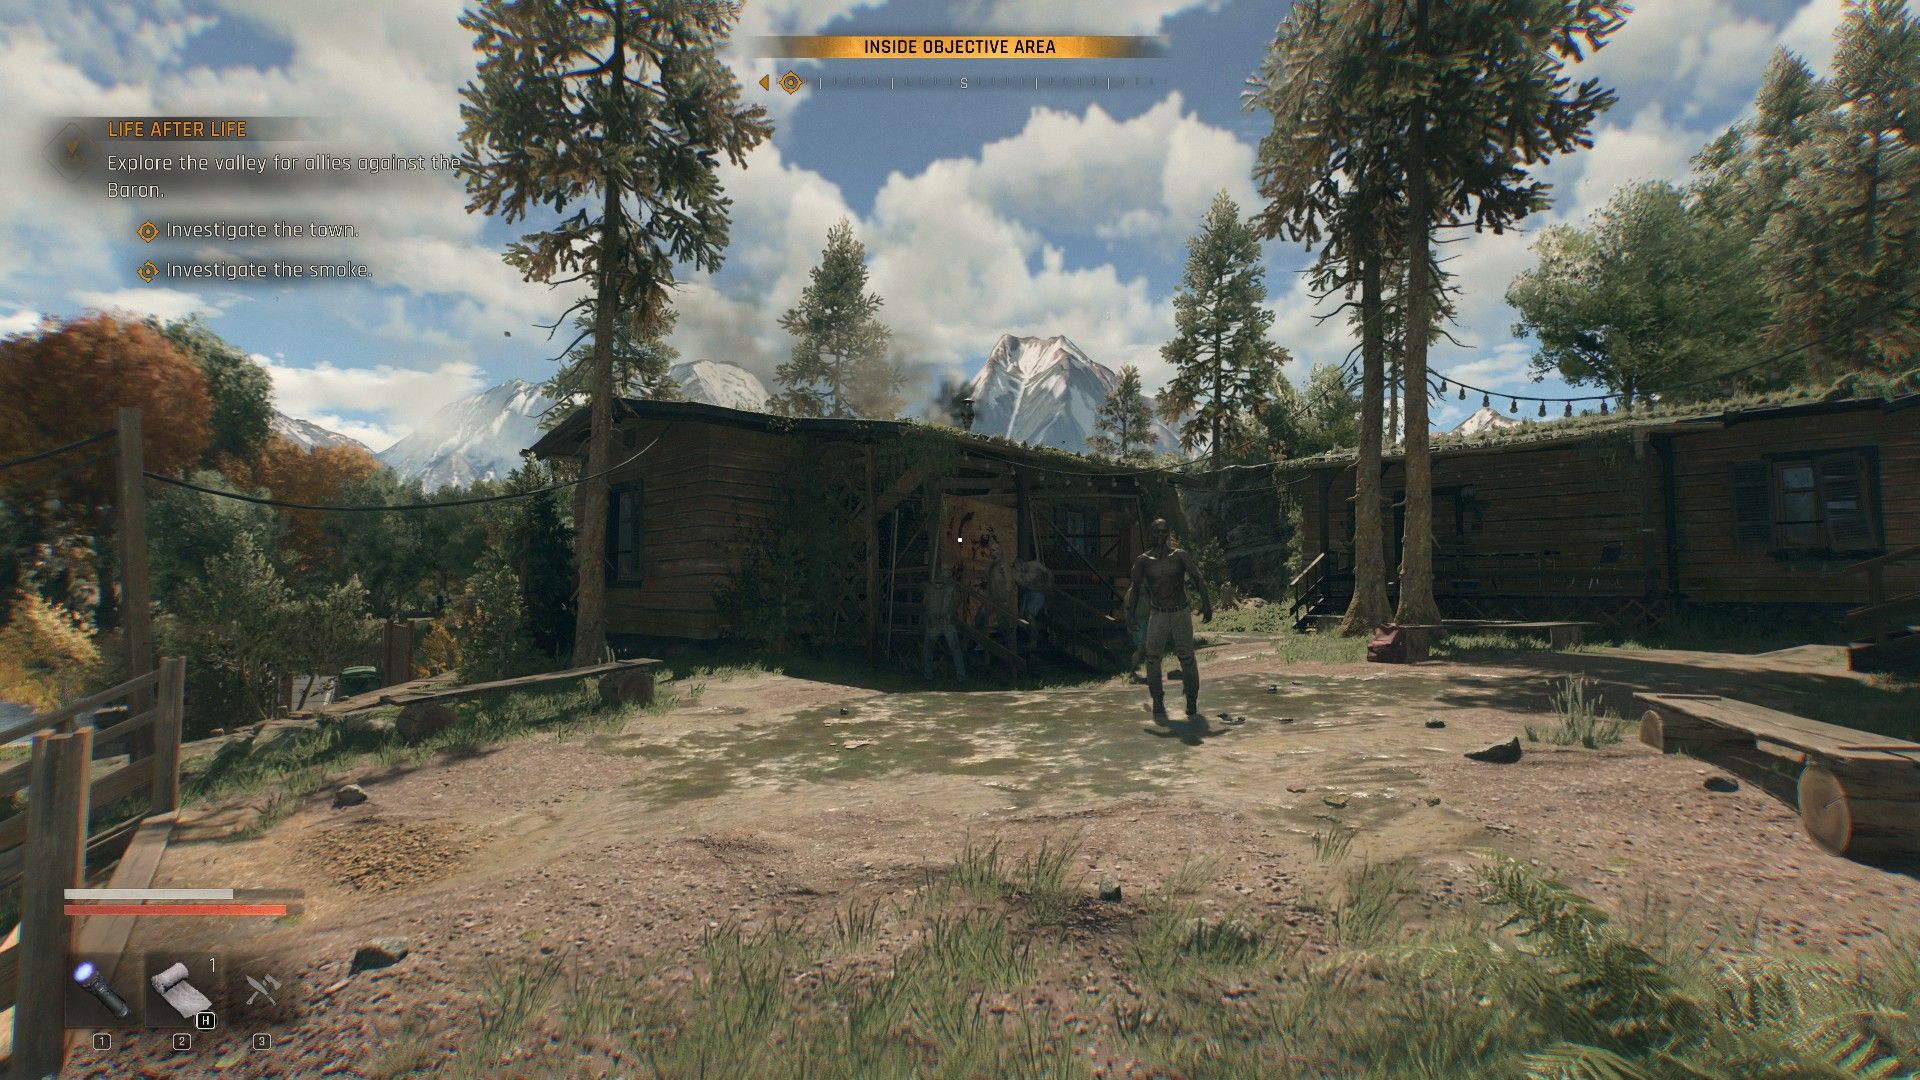
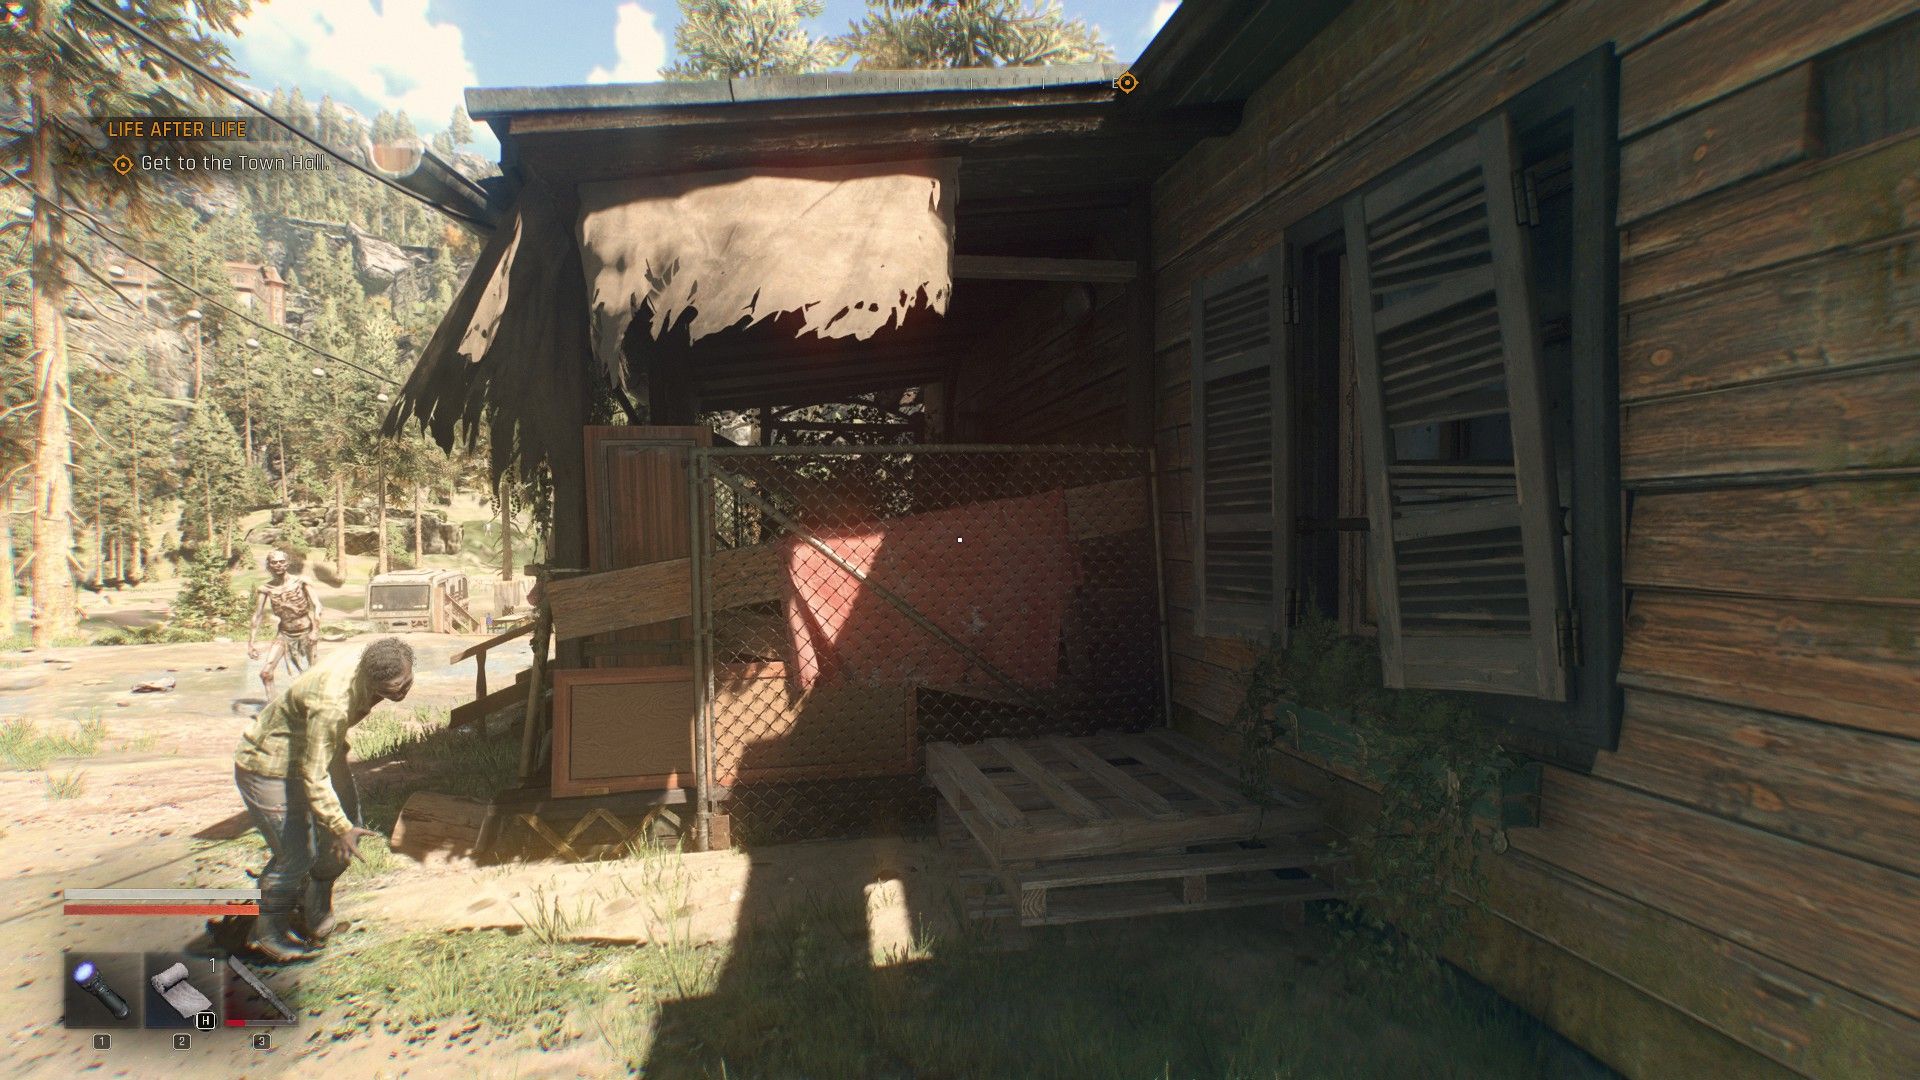
When you reach the campground, you’ll encounter a large group of zombies near the cottage you’re supposed to check out. Clear them out, then climb the fence blocking the cottage’s front door. Inside, you’ll find a survivor who will initially be hostile, but after a brief struggle, he’ll calm down and direct you to the town hall.
If you spend too much time on your current task or wander too far from the campground, you’ll receive a message from town hall. This will reset your current goals, including any optional ones you’re working on.
The Town Hall Encounter
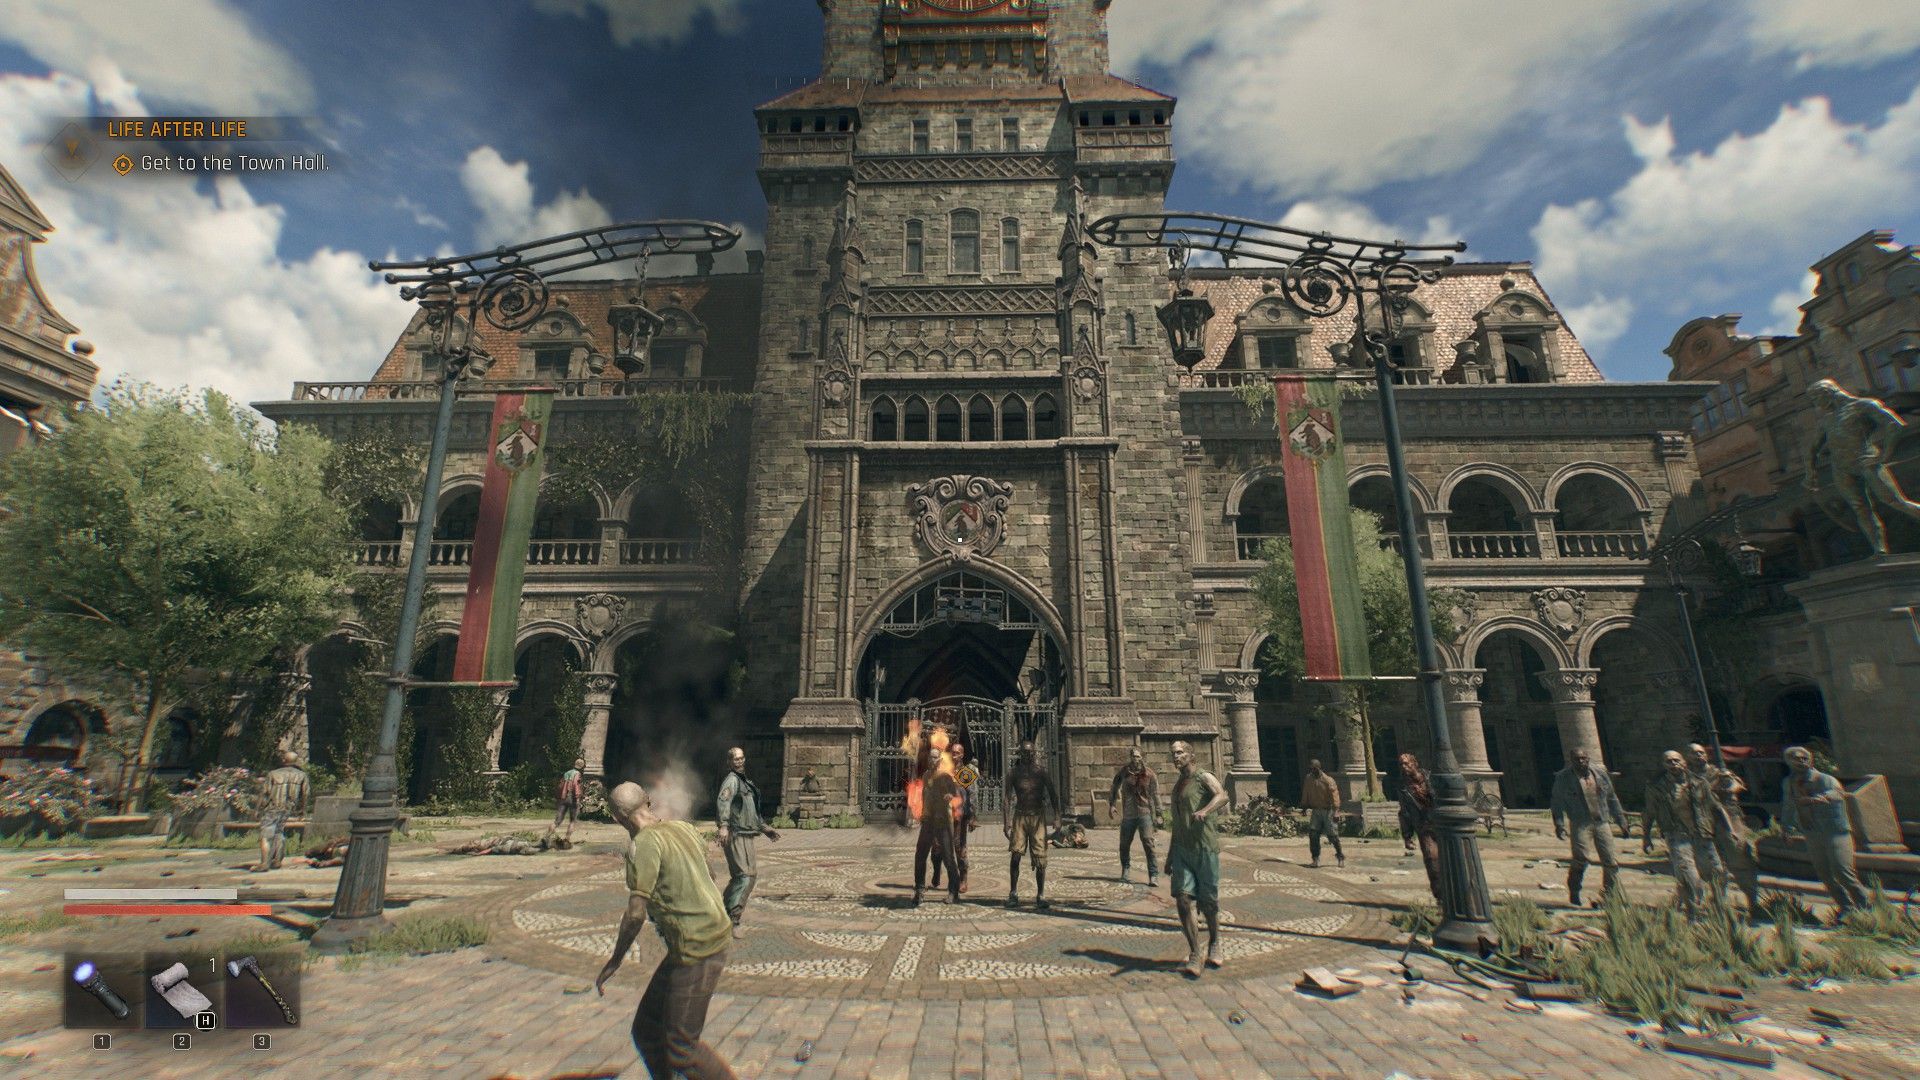
Head towards the quest marker, which will lead you to the town hall. But first, it’s a good idea to check out the rooftops and attics – you might discover a better weapon to help you get started in *Dying Light: The Beast*.
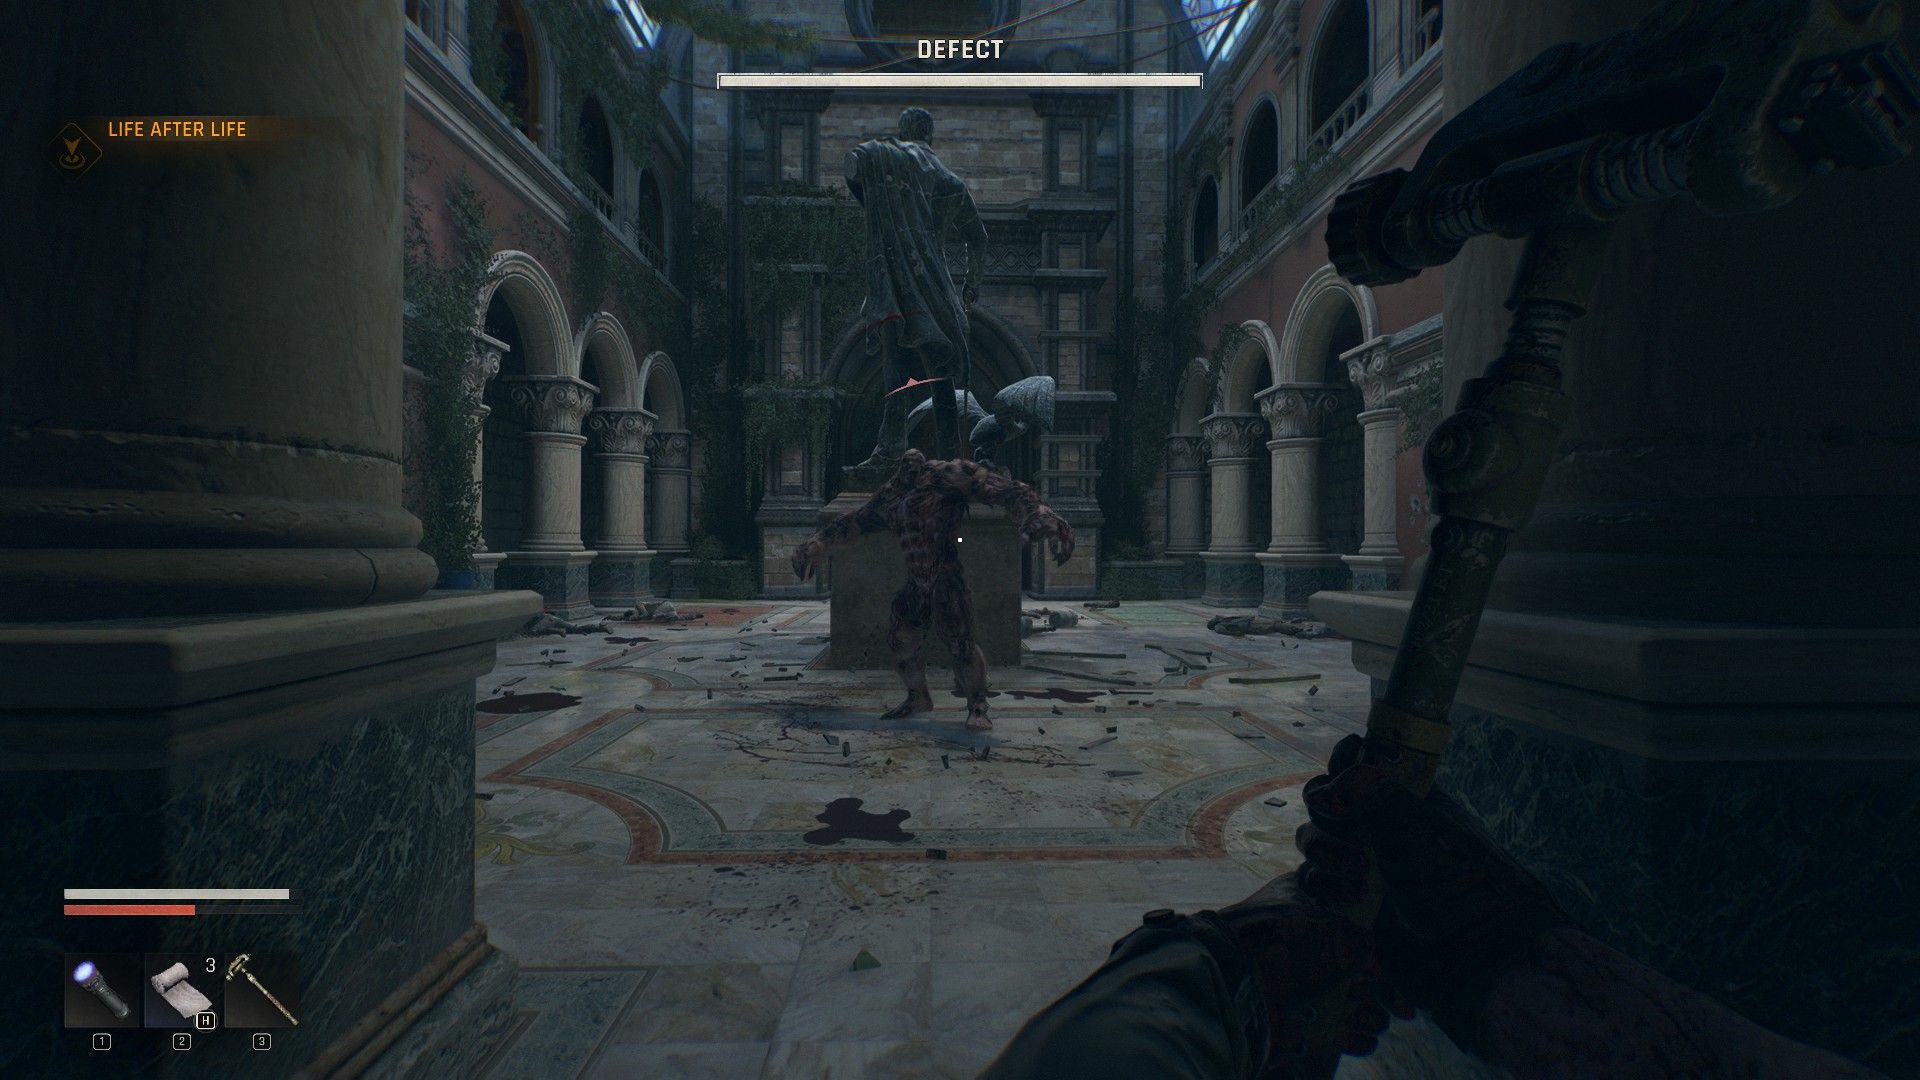
You can skip the zombies in the town hall courtyard. Simply jump over the gate and go through the door. This will trigger a cutscene and give you your first gun. It’s not a powerful weapon, but it will be helpful in upcoming fights.
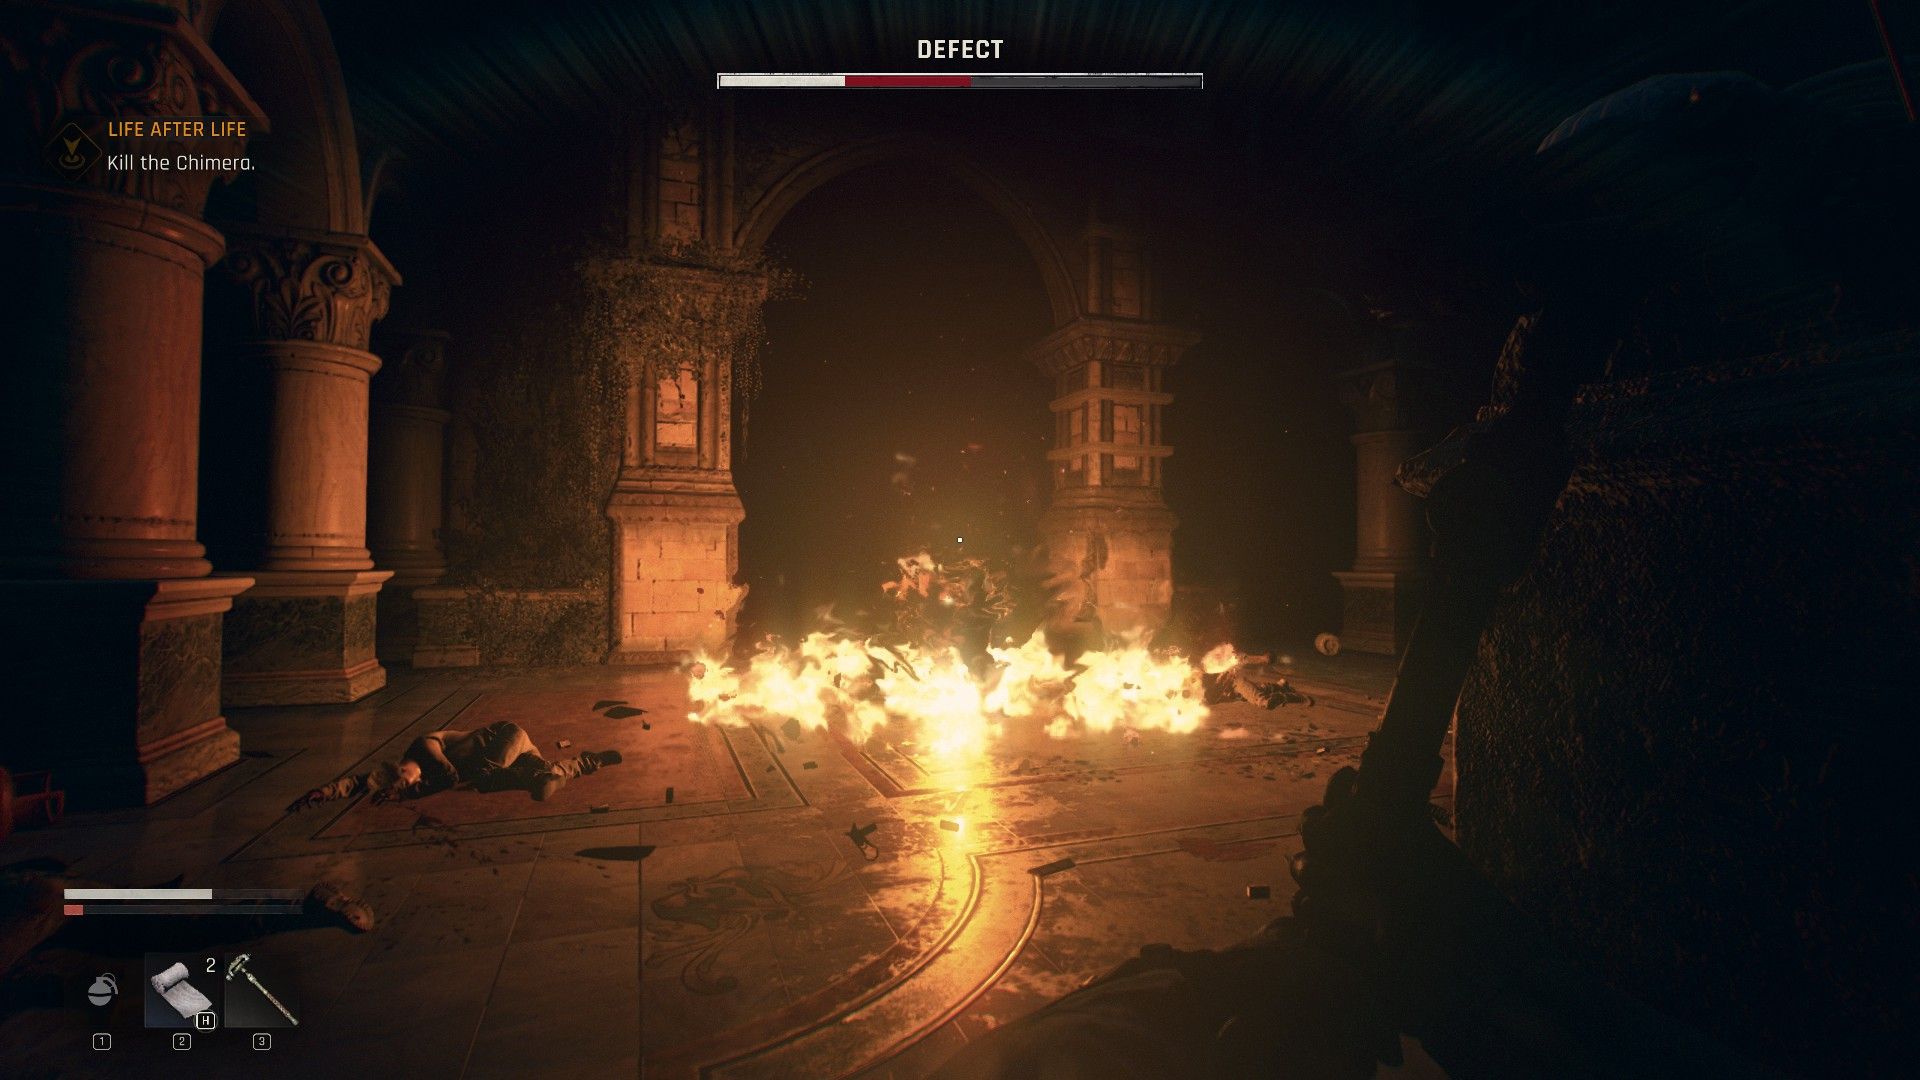
This Chimera relies heavily on powerful slam attacks, so stay aware of your surroundings to avoid them. It’s a very durable enemy, and to save ammo and weapon wear, look for Alcohol bottles in the courtyard and craft Molotov Cocktails. A couple of firebombs will weaken it, after which you can finish it off with melee attacks.
Don’t forget about the death XP penalties when playing Dying Light: The Beast on harder difficulties!
Climbing the Tower
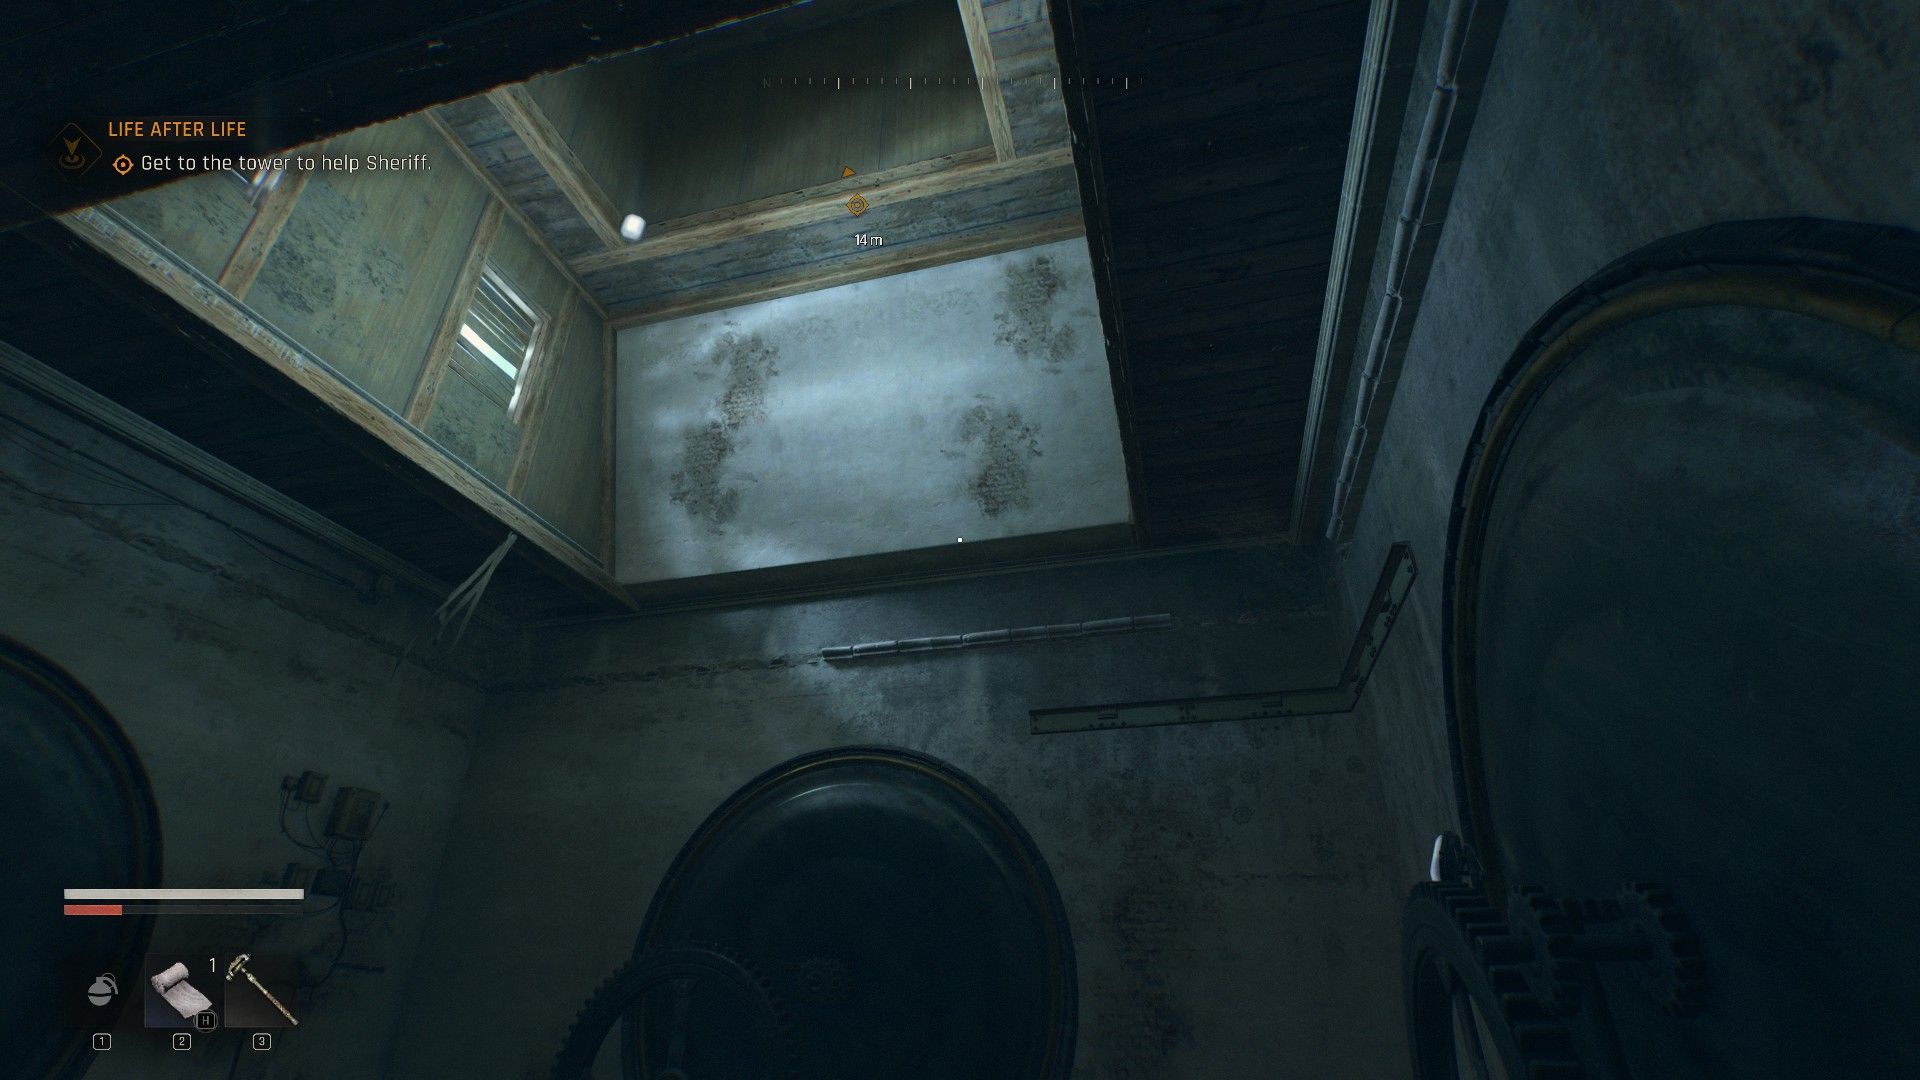
Okay, so I took down the Defect, and now I need to talk to the people hiding behind those double doors. I met a guy named Jacob who told me the Sheriff went up the town hall tower to try and get the power back on, but she hasn’t returned. Now I’m heading back to the courtyard and then I need to climb up that archway, the one past the statue, to get to the base of the tower.
Continue upward by climbing the stairs. You’ll encounter a Ranger from the survivor group, who, though bitten, will give you some ammunition. Next, climb onto the nearby ledge, and then use the railings around the circular room to get to the upper level. Inside that room, there’s a box on a platform you can use to reach climbable ledges and railings.
You’ll find the Sheriff at the top of the tower, currently battling some Biters. She might be hesitant at first, but she’ll eventually accept your help.
If you’re ever unsure where to go in the parkour or platforming areas, look for clues like cloth tied to things or paint markings on ledges. Also, remember to check above, below, and across any gaps you encounter.
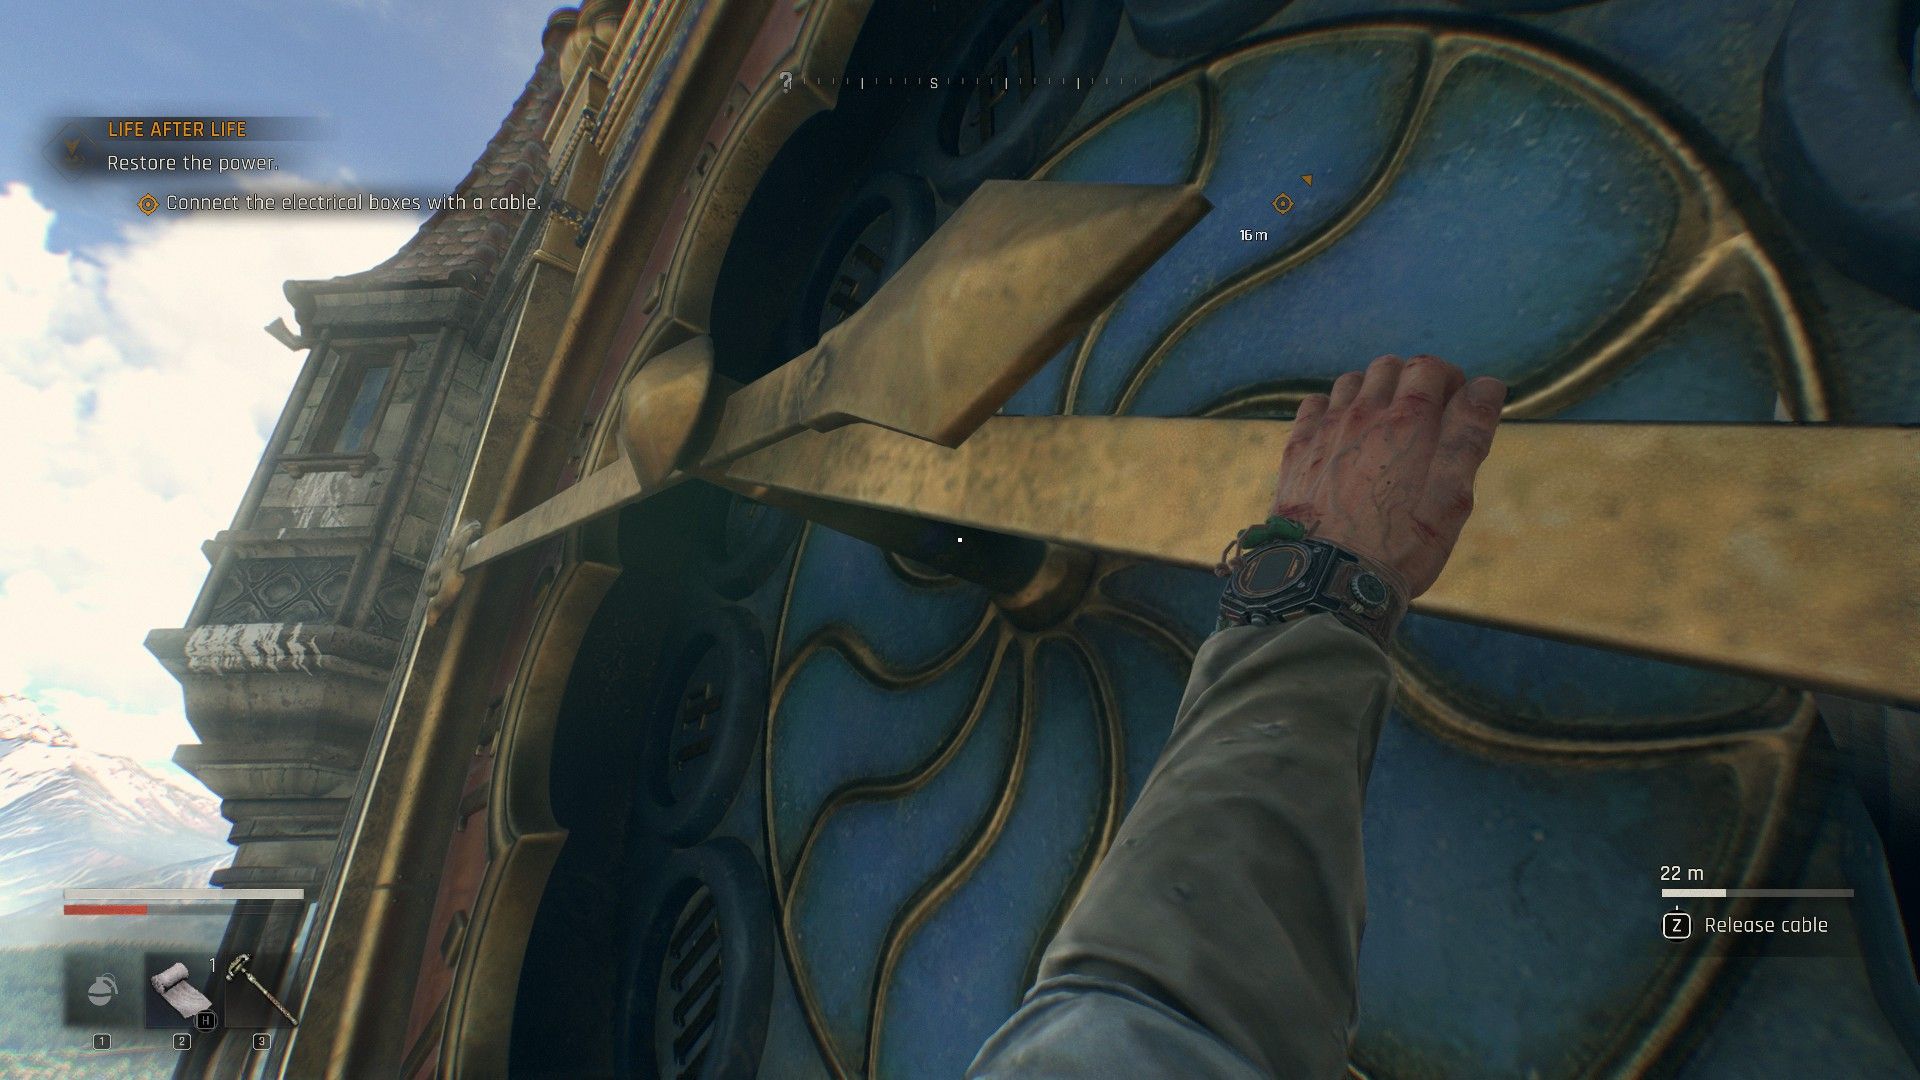
Reconnecting the Power Line
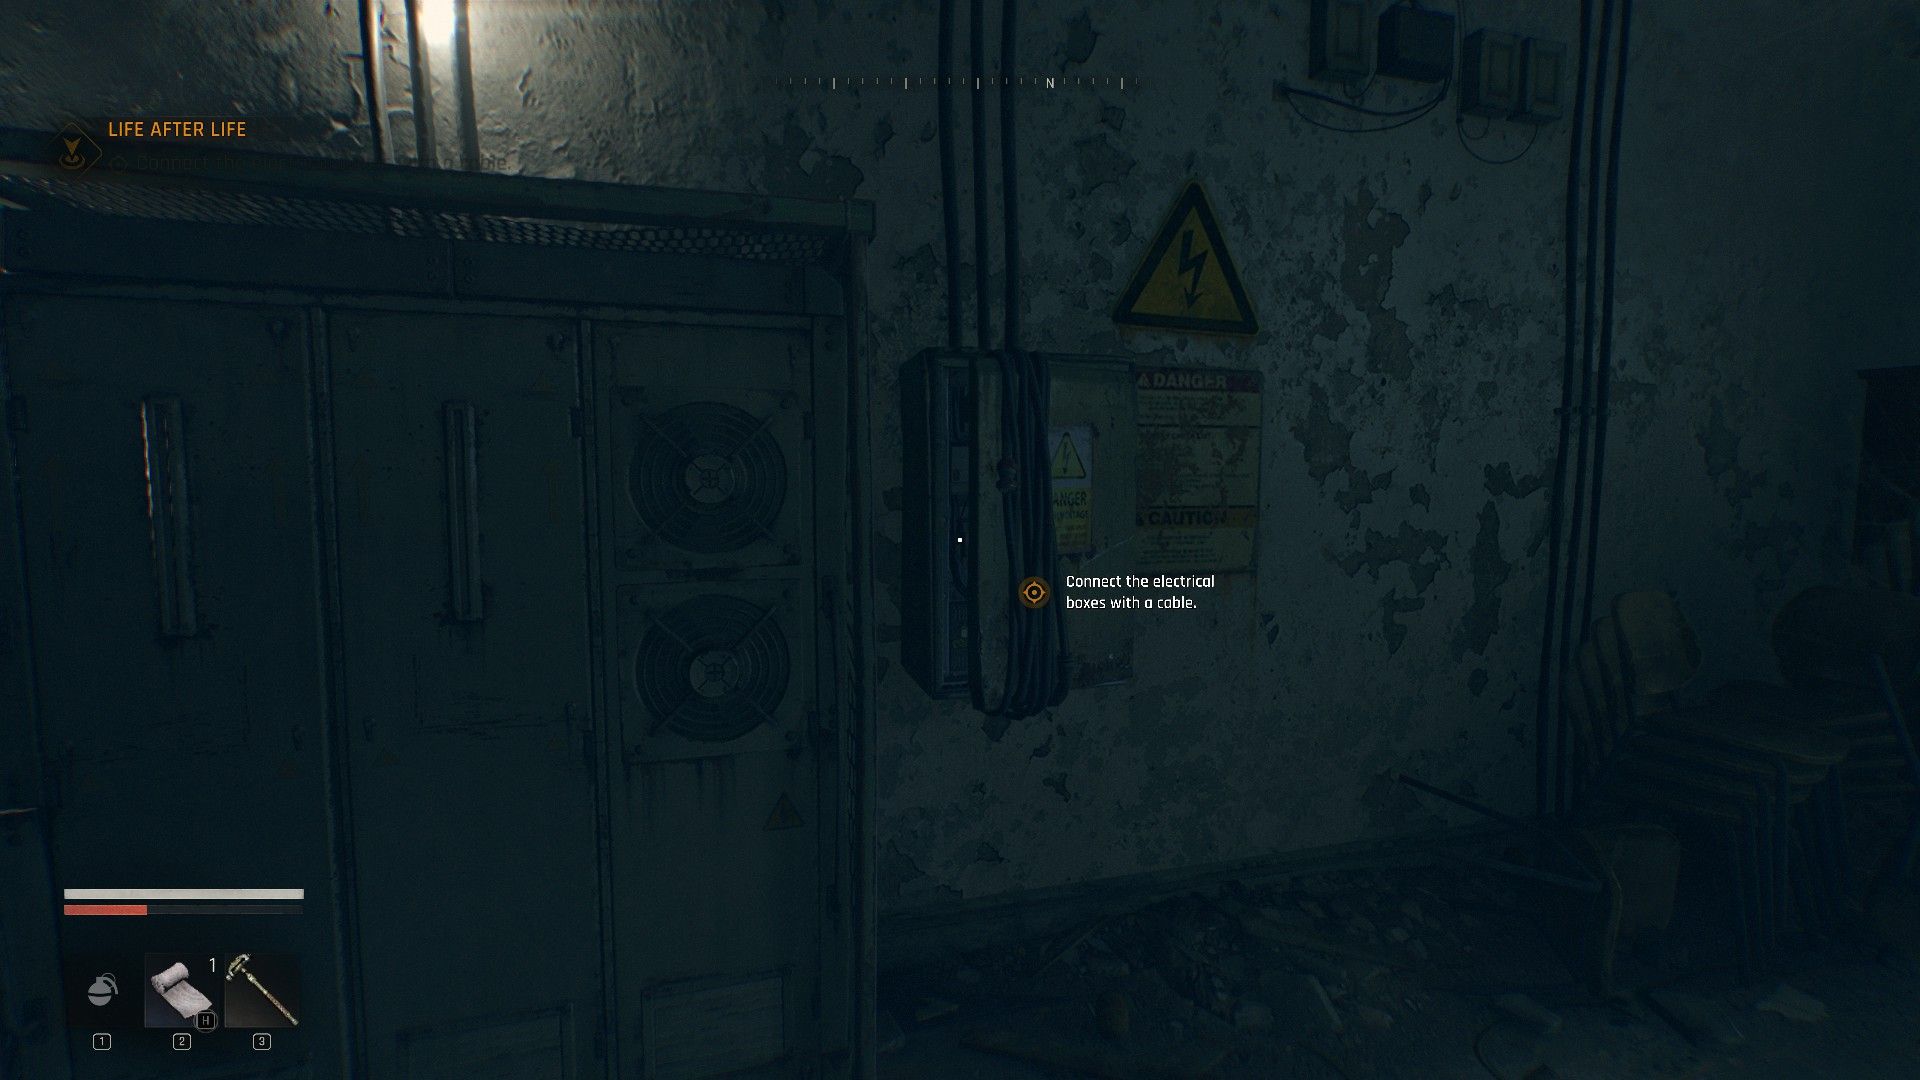
Okay, so I used the zipline to get onto the town hall roof. Then I headed across to the power room, which is way on the other side of the tower. Inside, I found this junction box and had to run a really long power line from it back to the tower itself. After messing with the box, I squeezed through this tiny vent in the room. That led me down to the base of the tower, and then I had to climb all the way back up… but this time through the clock face! It was a bit of a climb, but I made it.
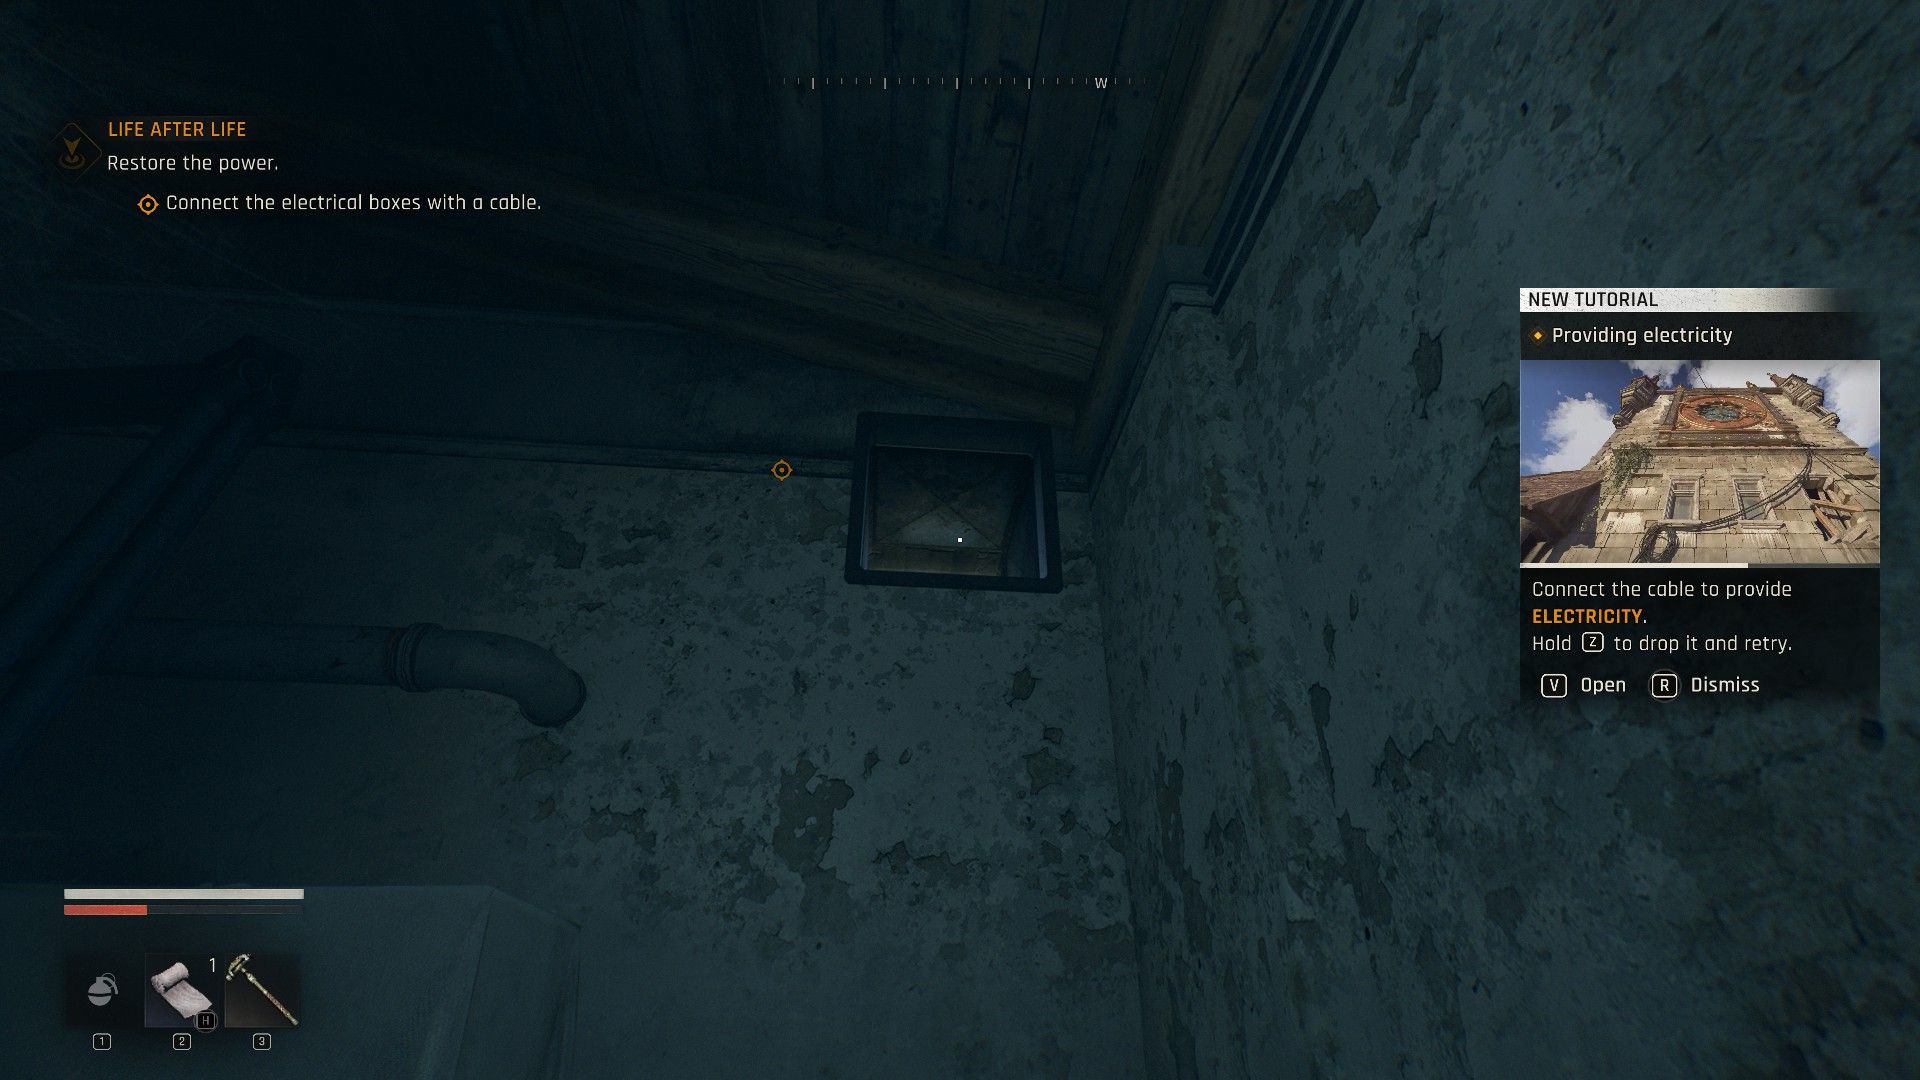
Be careful not to let the power line snag on anything. It’s only so long, and if it gets tangled, you’ll have to either untangle it or start the line over.
Once you’ve finished with the Sheriff, you’ll return to the other survivors, triggering a long cutscene. The main part of this quest will be complete then, but don’t miss the tutorial that comes next! It shows you how to customize your weapons with things like fire, ice, or other special effects. Also, the town hall will now be a safe place for you.
There’s also a blueprint for a weapon near the workbench inside the town hall.
Read More
- All Shadow Armor Locations in Crimson Desert
- How to Get the Sunset Reed Armor Set and Hollow Visage Sword in Crimson Desert
- All Skyblazer Armor Locations in Crimson Desert
- Best Bows in Crimson Desert
- Marni Laser Helm Location & Upgrade in Crimson Desert
- All Golden Greed Armor Locations in Crimson Desert
- All Helfryn Armor Locations in Crimson Desert
- Wings of Iron Walkthrough in Crimson Desert
- How to Craft the Elegant Carmine Armor in Crimson Desert
- Keeping Large AI Models Connected Through Network Chaos
2025-09-19 16:09