
In the game ‘Oblivion Remastered’, The Gray Fox is all set for his most significant heist, a plan that has been brewing for seven long years. This operation calls for the combined ingenuity of the player. The climactic quest in the Thieves Guild won’t be a walk in the park; players will need to rely on their quick thinking, stealth, and lock-picking abilities to navigate tricky corridors, sewers, and intricate puzzles.
In the ‘Ultimate Heist’ mission within ‘Oblivion Remastered’, some gamers might find themselves stuck, but if you aspire to be the next Gray Fox and command the Thieves Guild, it’s essential to finish this quest to prove your worth as more than just a skilled thief.
How to Start The Ultimate Heist Quest in Oblivion Remastered
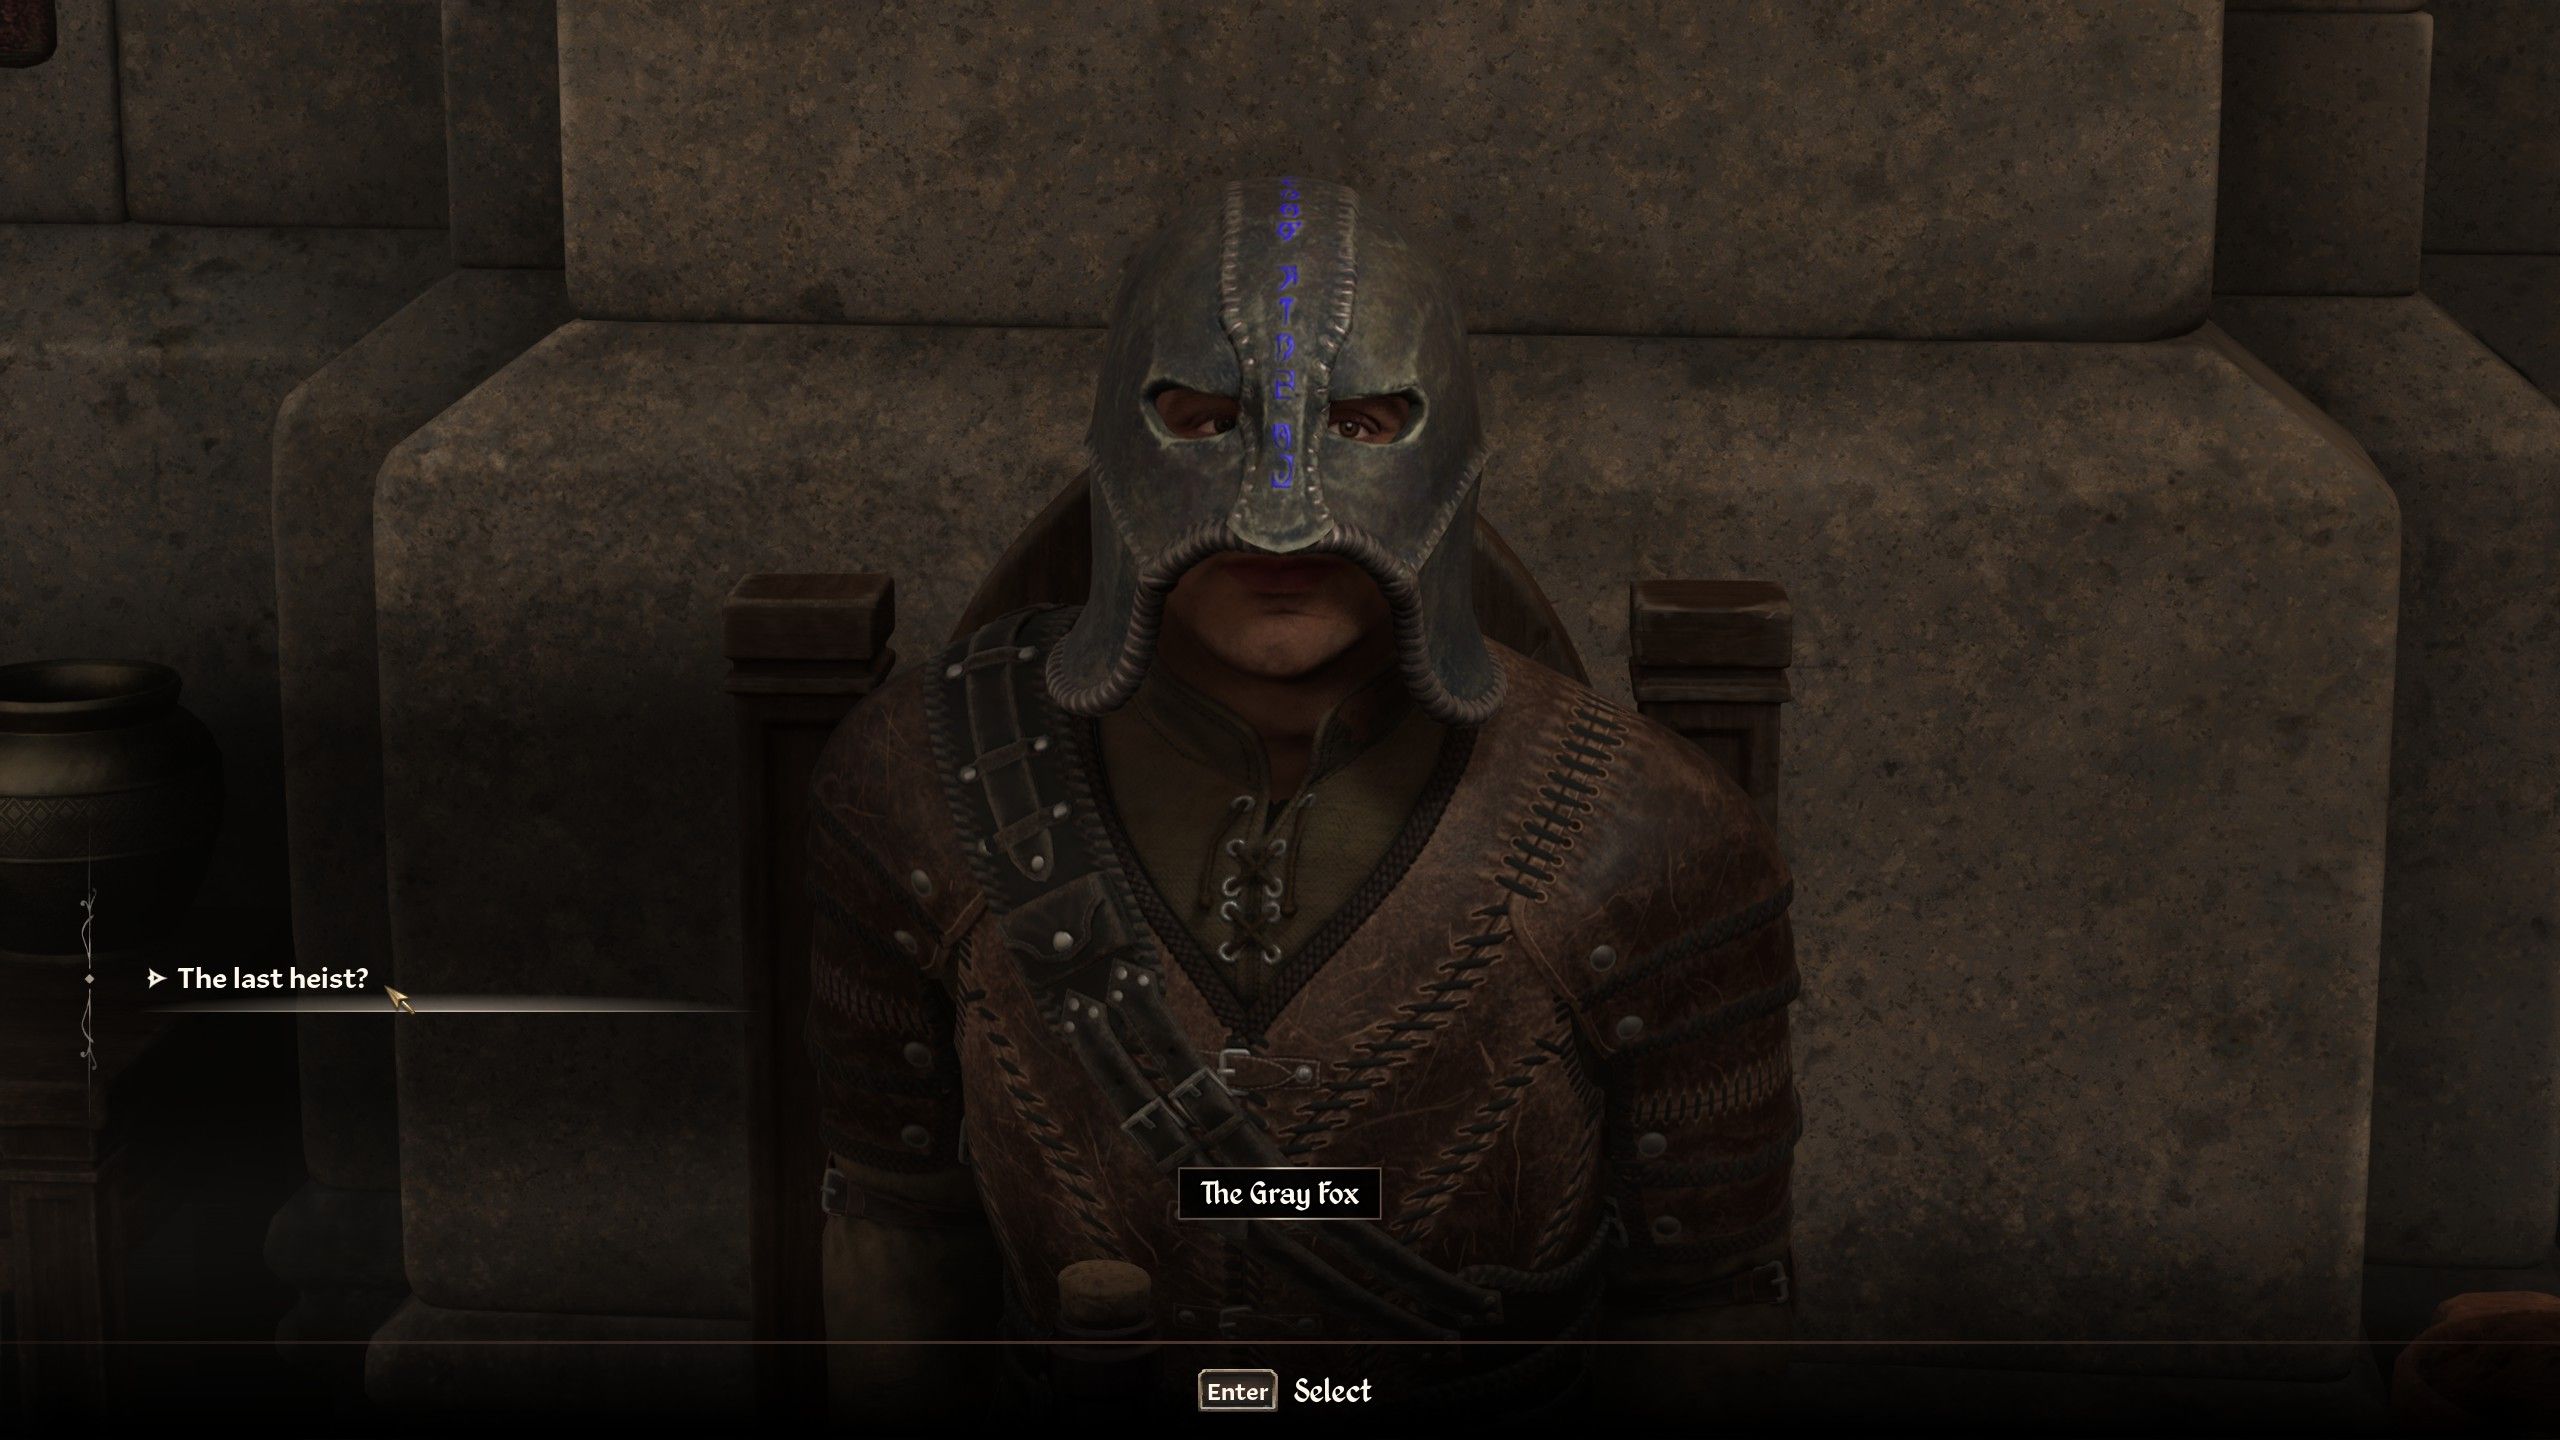
In order to trigger The Ultimate Heist mission, players must first sell 1,000 Gold worth of stolen goods at any one of the Thieves Guild fences scattered across Cyrodiil. Once this milestone is reached, spend a day (24 hours) in the Imperial City and utilize the ‘wait’ function. Following this, Amusei will send you another message to meet the Gray Fox again. This time, the Gray Fox can be found in Othrelos’ House, which is located within the Elven Gardens District of the Imperial City. After conversing with the Gray Fox, The Ultimate Heist quest officially commences.
As I embark on this exciting quest, there are several doors that require a special key to open. It might be wise for me, starting from level 10, to snag the Skeleton Key. Later in the adventure, having a Bow could prove handy, but it’s not absolutely essential – I can always grab one from the skeletons I encounter as I progress deeper into the quest.
How to Open the Old Way in Oblivion Remastered
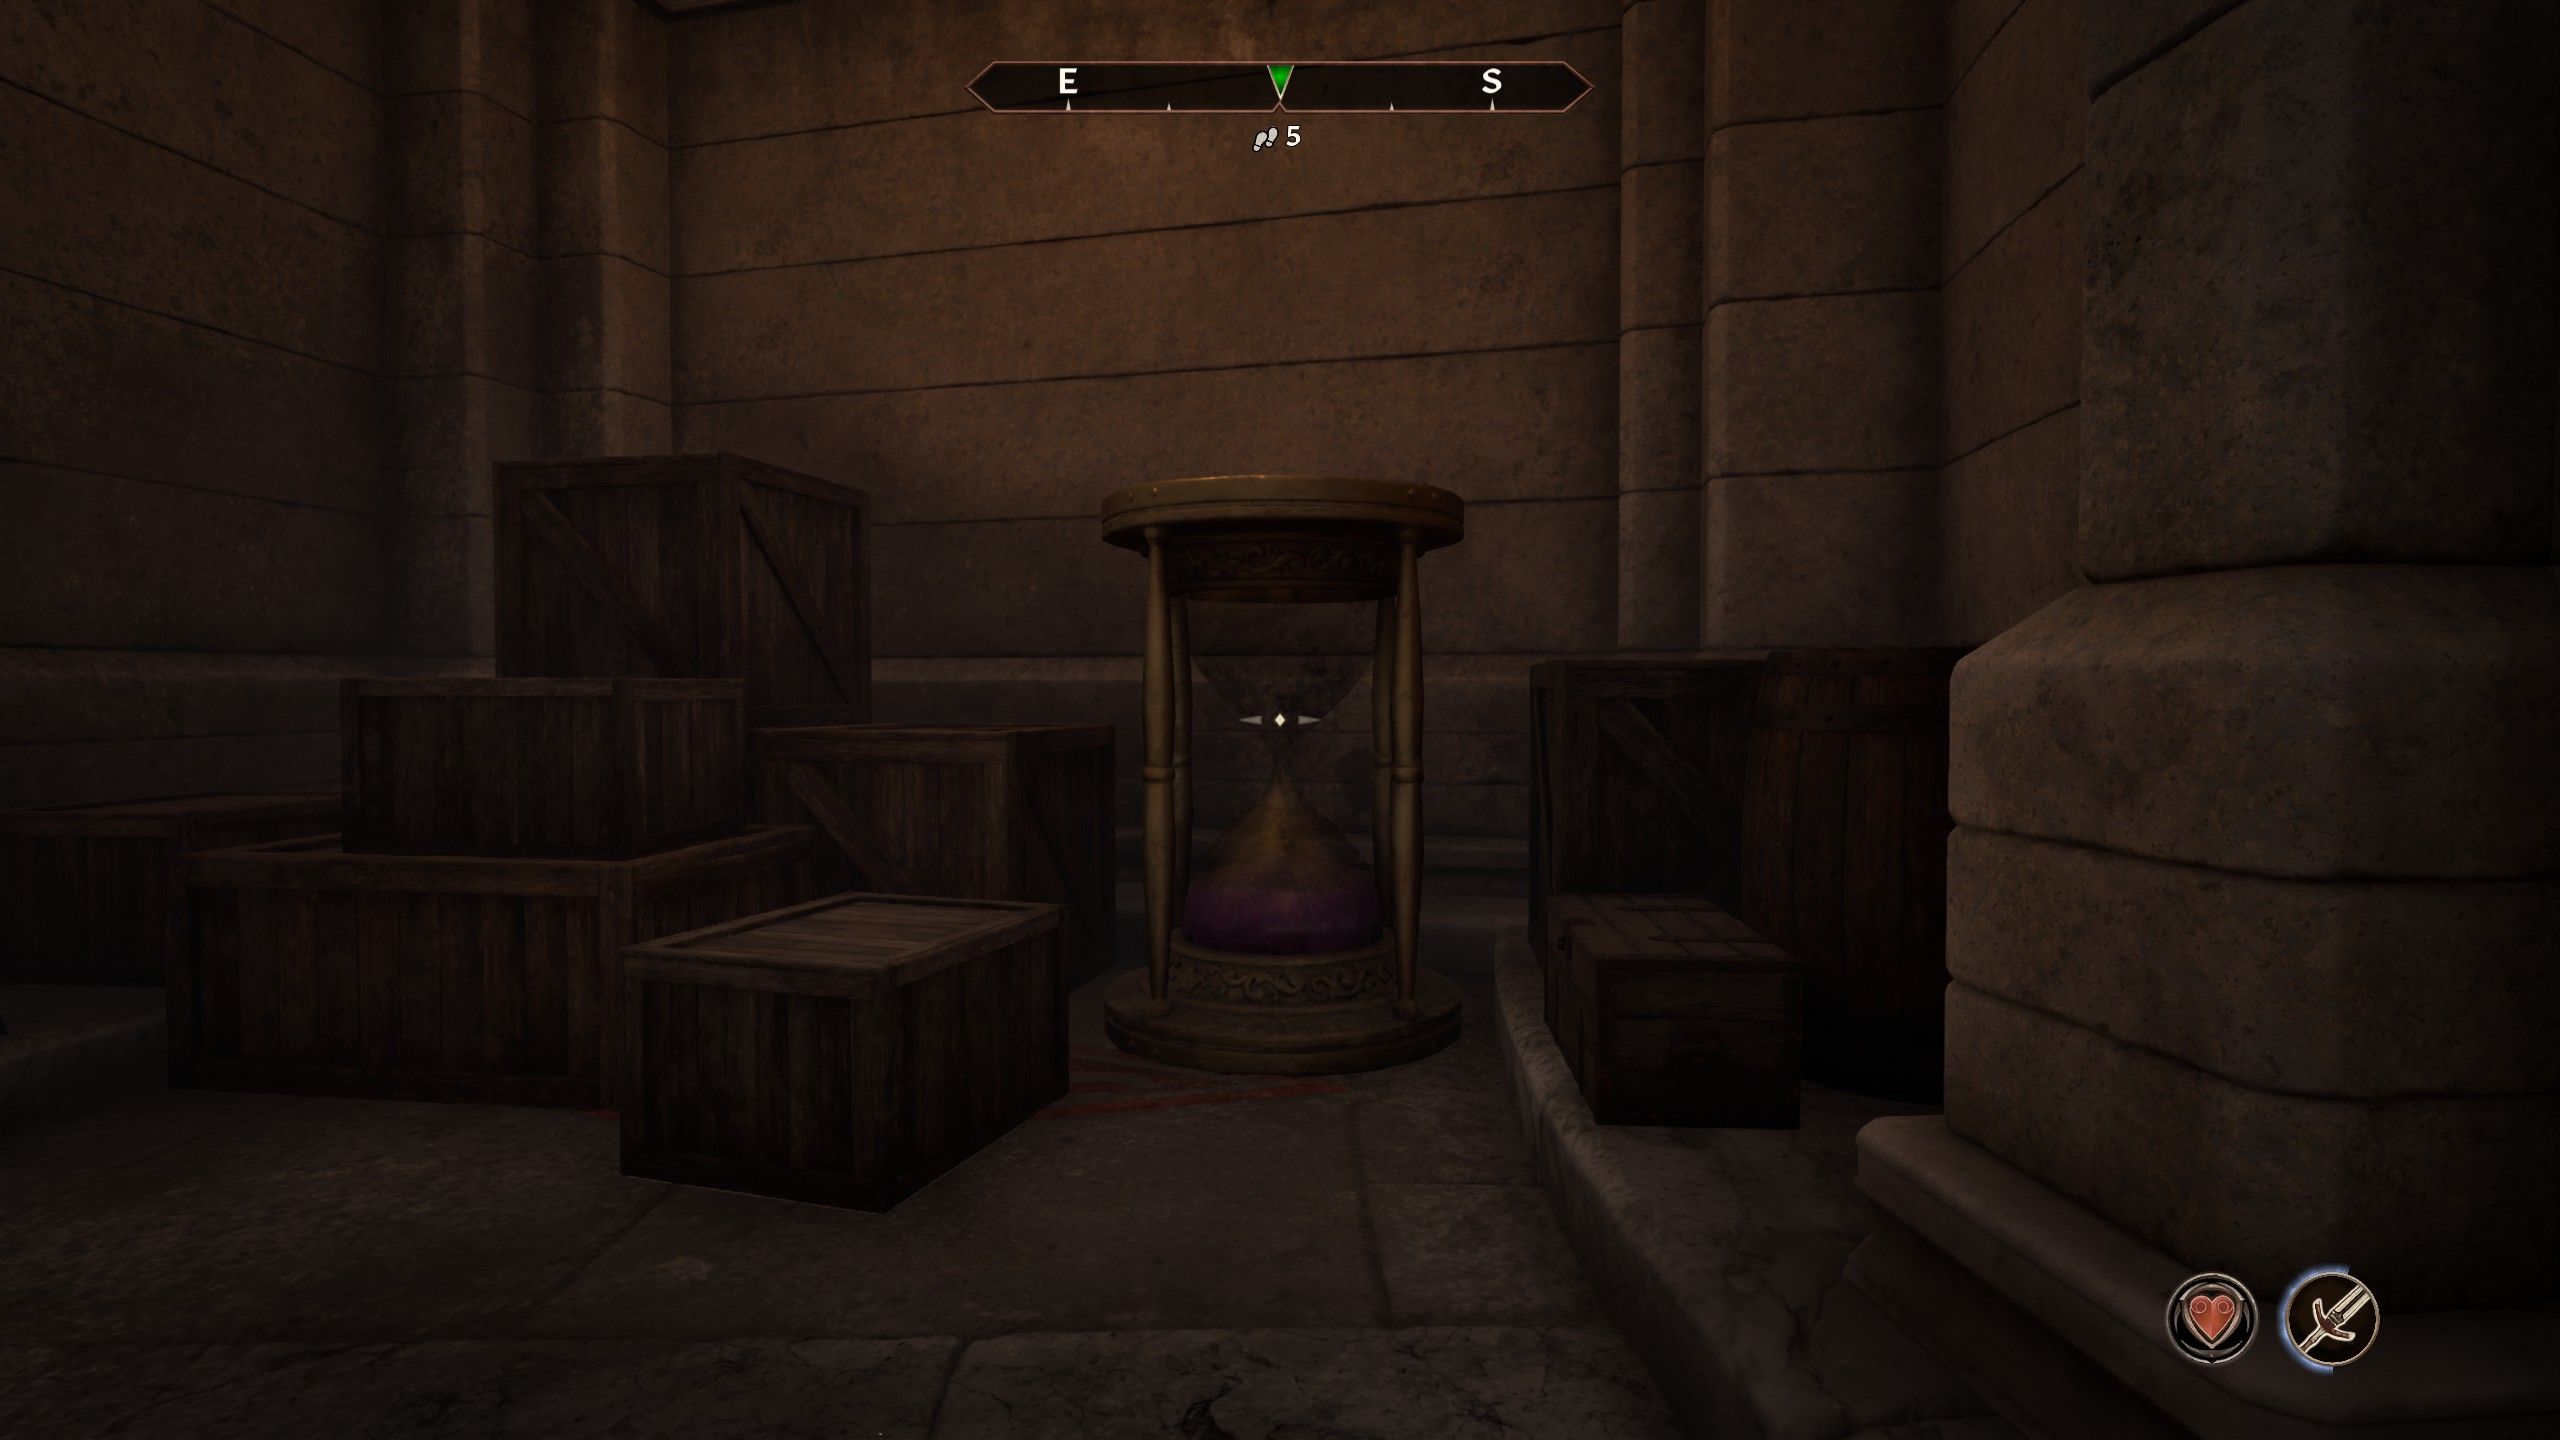
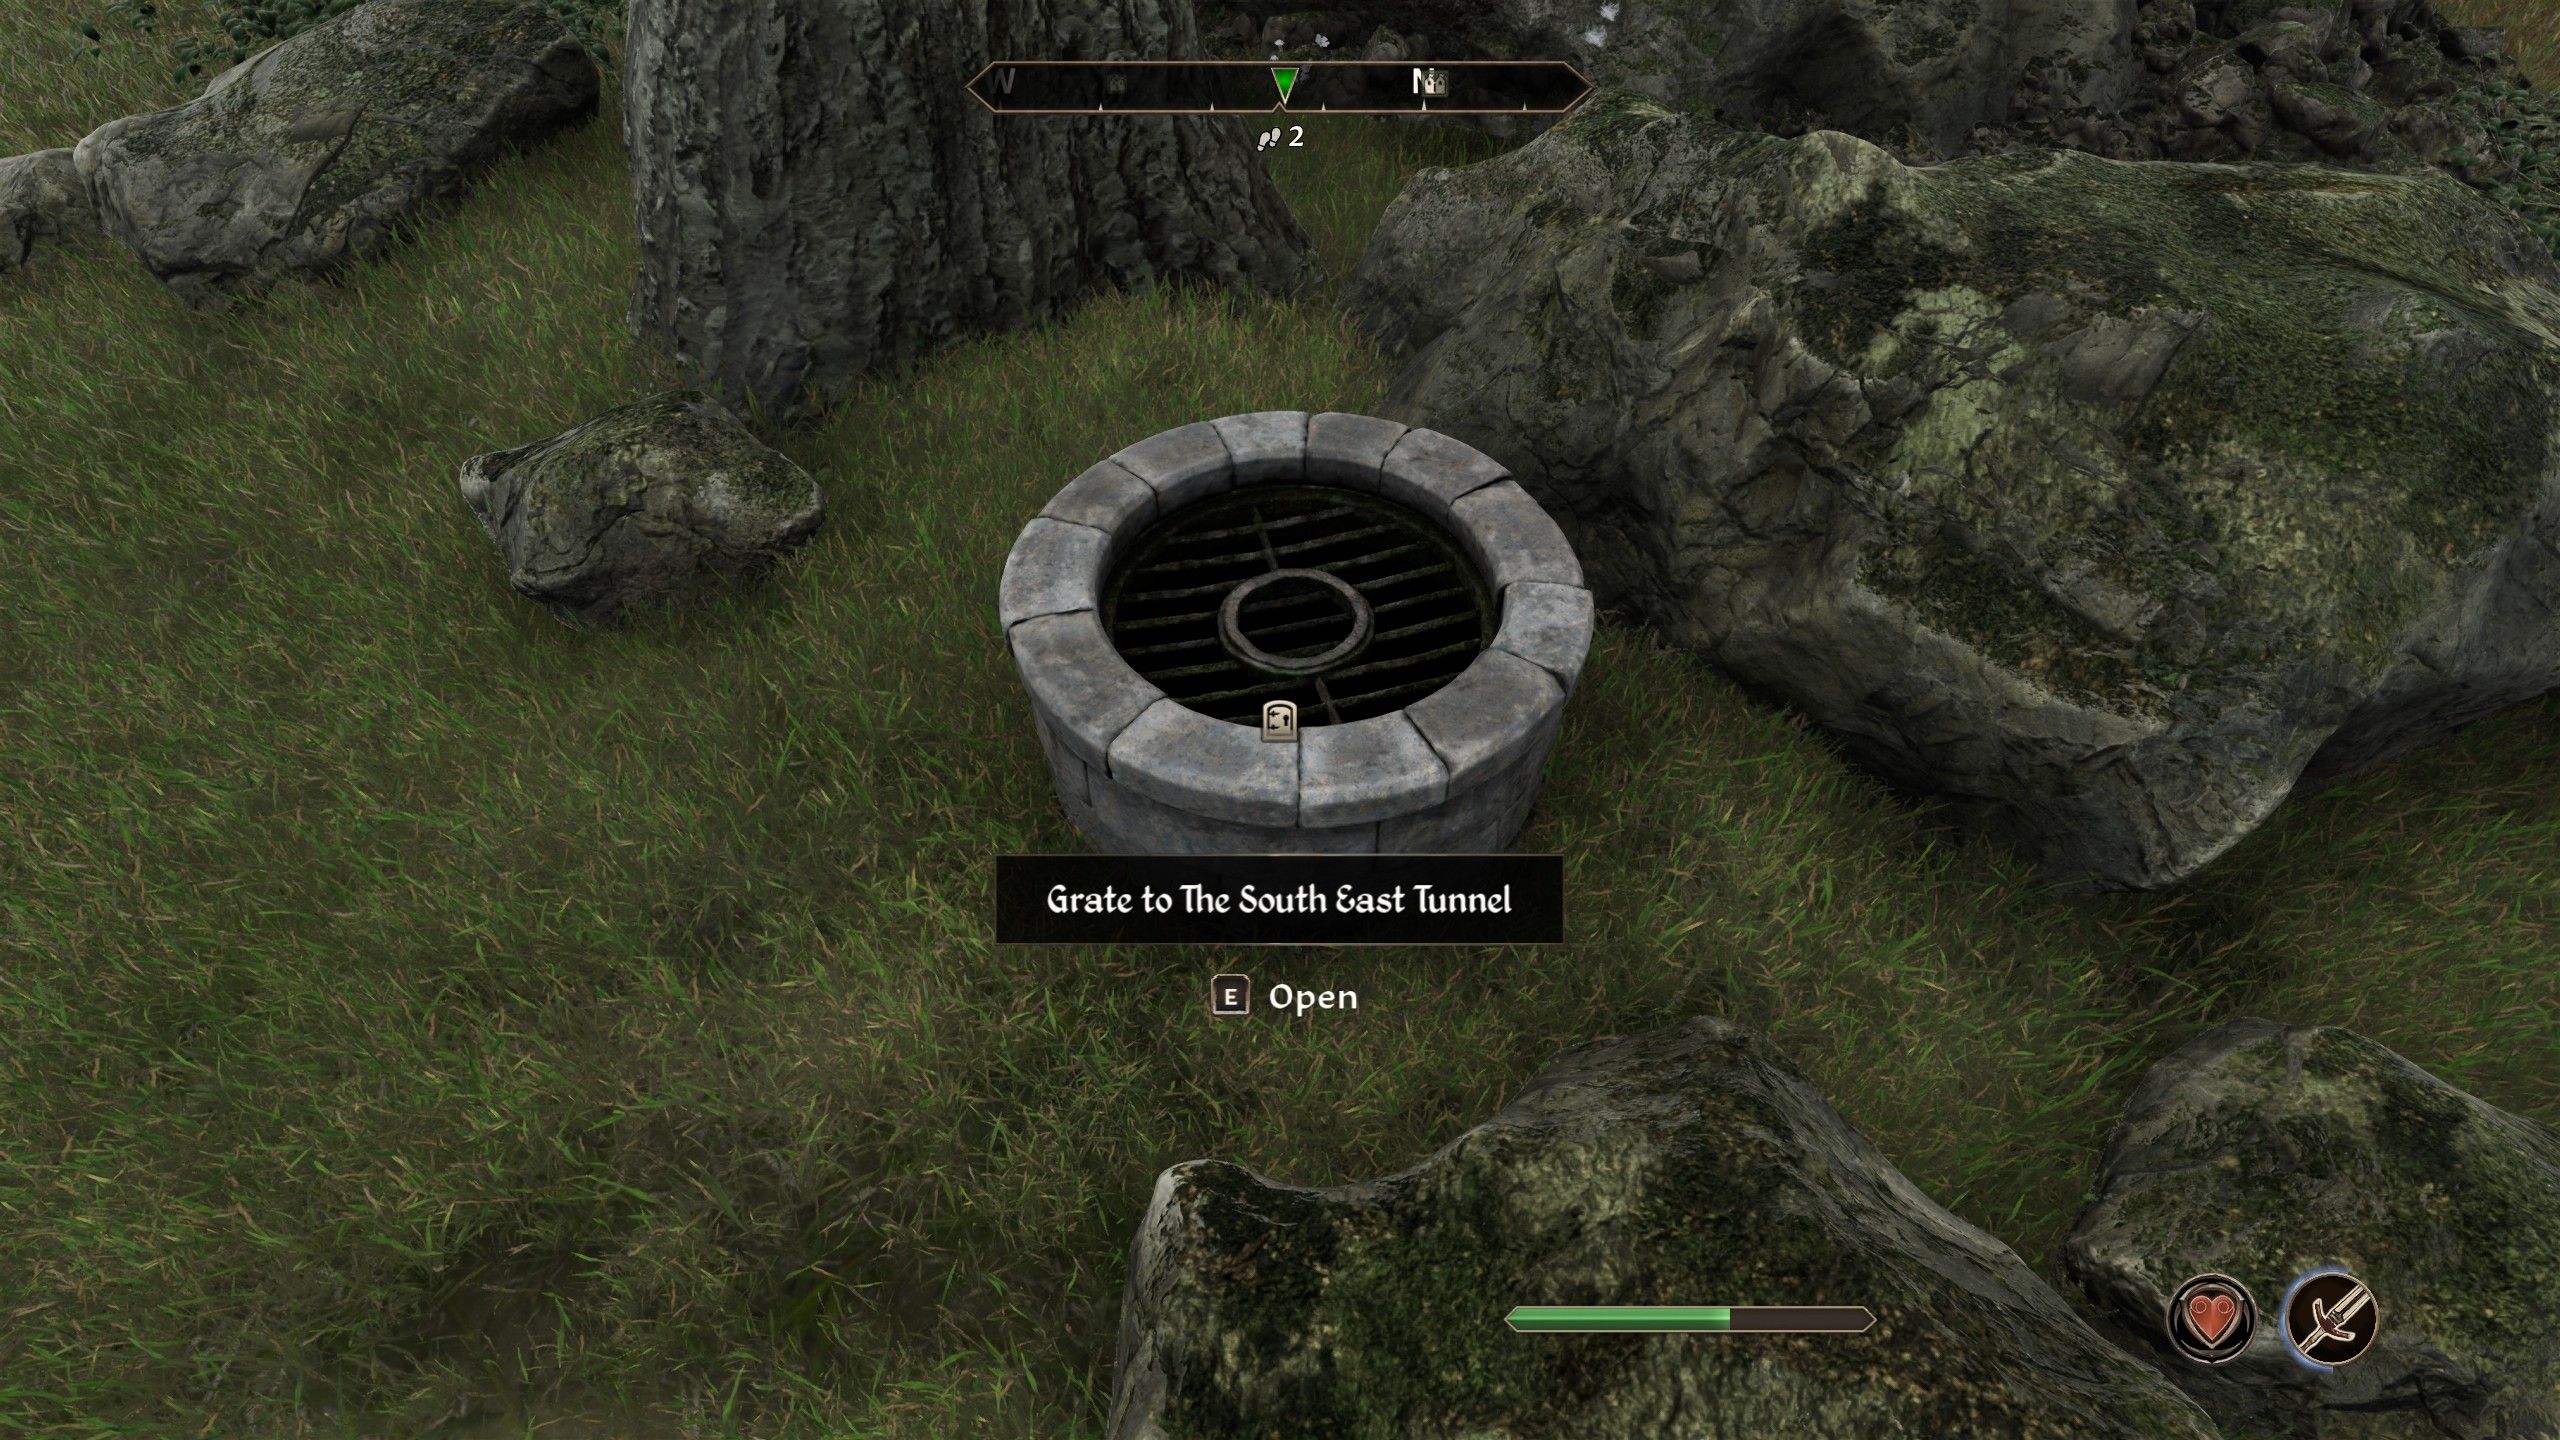
The initial stage of The Great Heist requires players to unlock a concealed pathway named the Old Way. To access it, they should navigate to the Imperial Palace. Upon entering, move left to get to the Palace Basement, although be cautious as this area is off-limits; maintain stealth throughout. Inside the Palace Basement, there’s only one guard to contend with, so slip past him and head towards the eastern corner where you’ll find an hourglass called the Time Glass. Activate it once found. After that, exit the Imperial Palace and look for the South East Tunnel hidden in the Imperial City Arboretum.
For an easier navigation through the sewers, we’ve provided a straightforward guide on the route to take, ensuring players smoothly find their way to the Old Way without feeling overwhelmed.
- Head through the locked gate and activate the turn wheel found below the stone bridge to open a closed gate.
- Through the now-open gate, activate the turn wheel on the right and then enter through the gate using the sewer water on the left.
- Take the north door to the Beneath the Bloodworks area.
- Inside the Beneath the Bloodworks area, take the first right, then a left, and drop down the stone bridge to open a gate. Past this gate is another gate with a turn wheel to activate.
- Drop down from the bridge and head through the south gate and follow the east gate, where, up the stairs to the right, is another turn wheel.
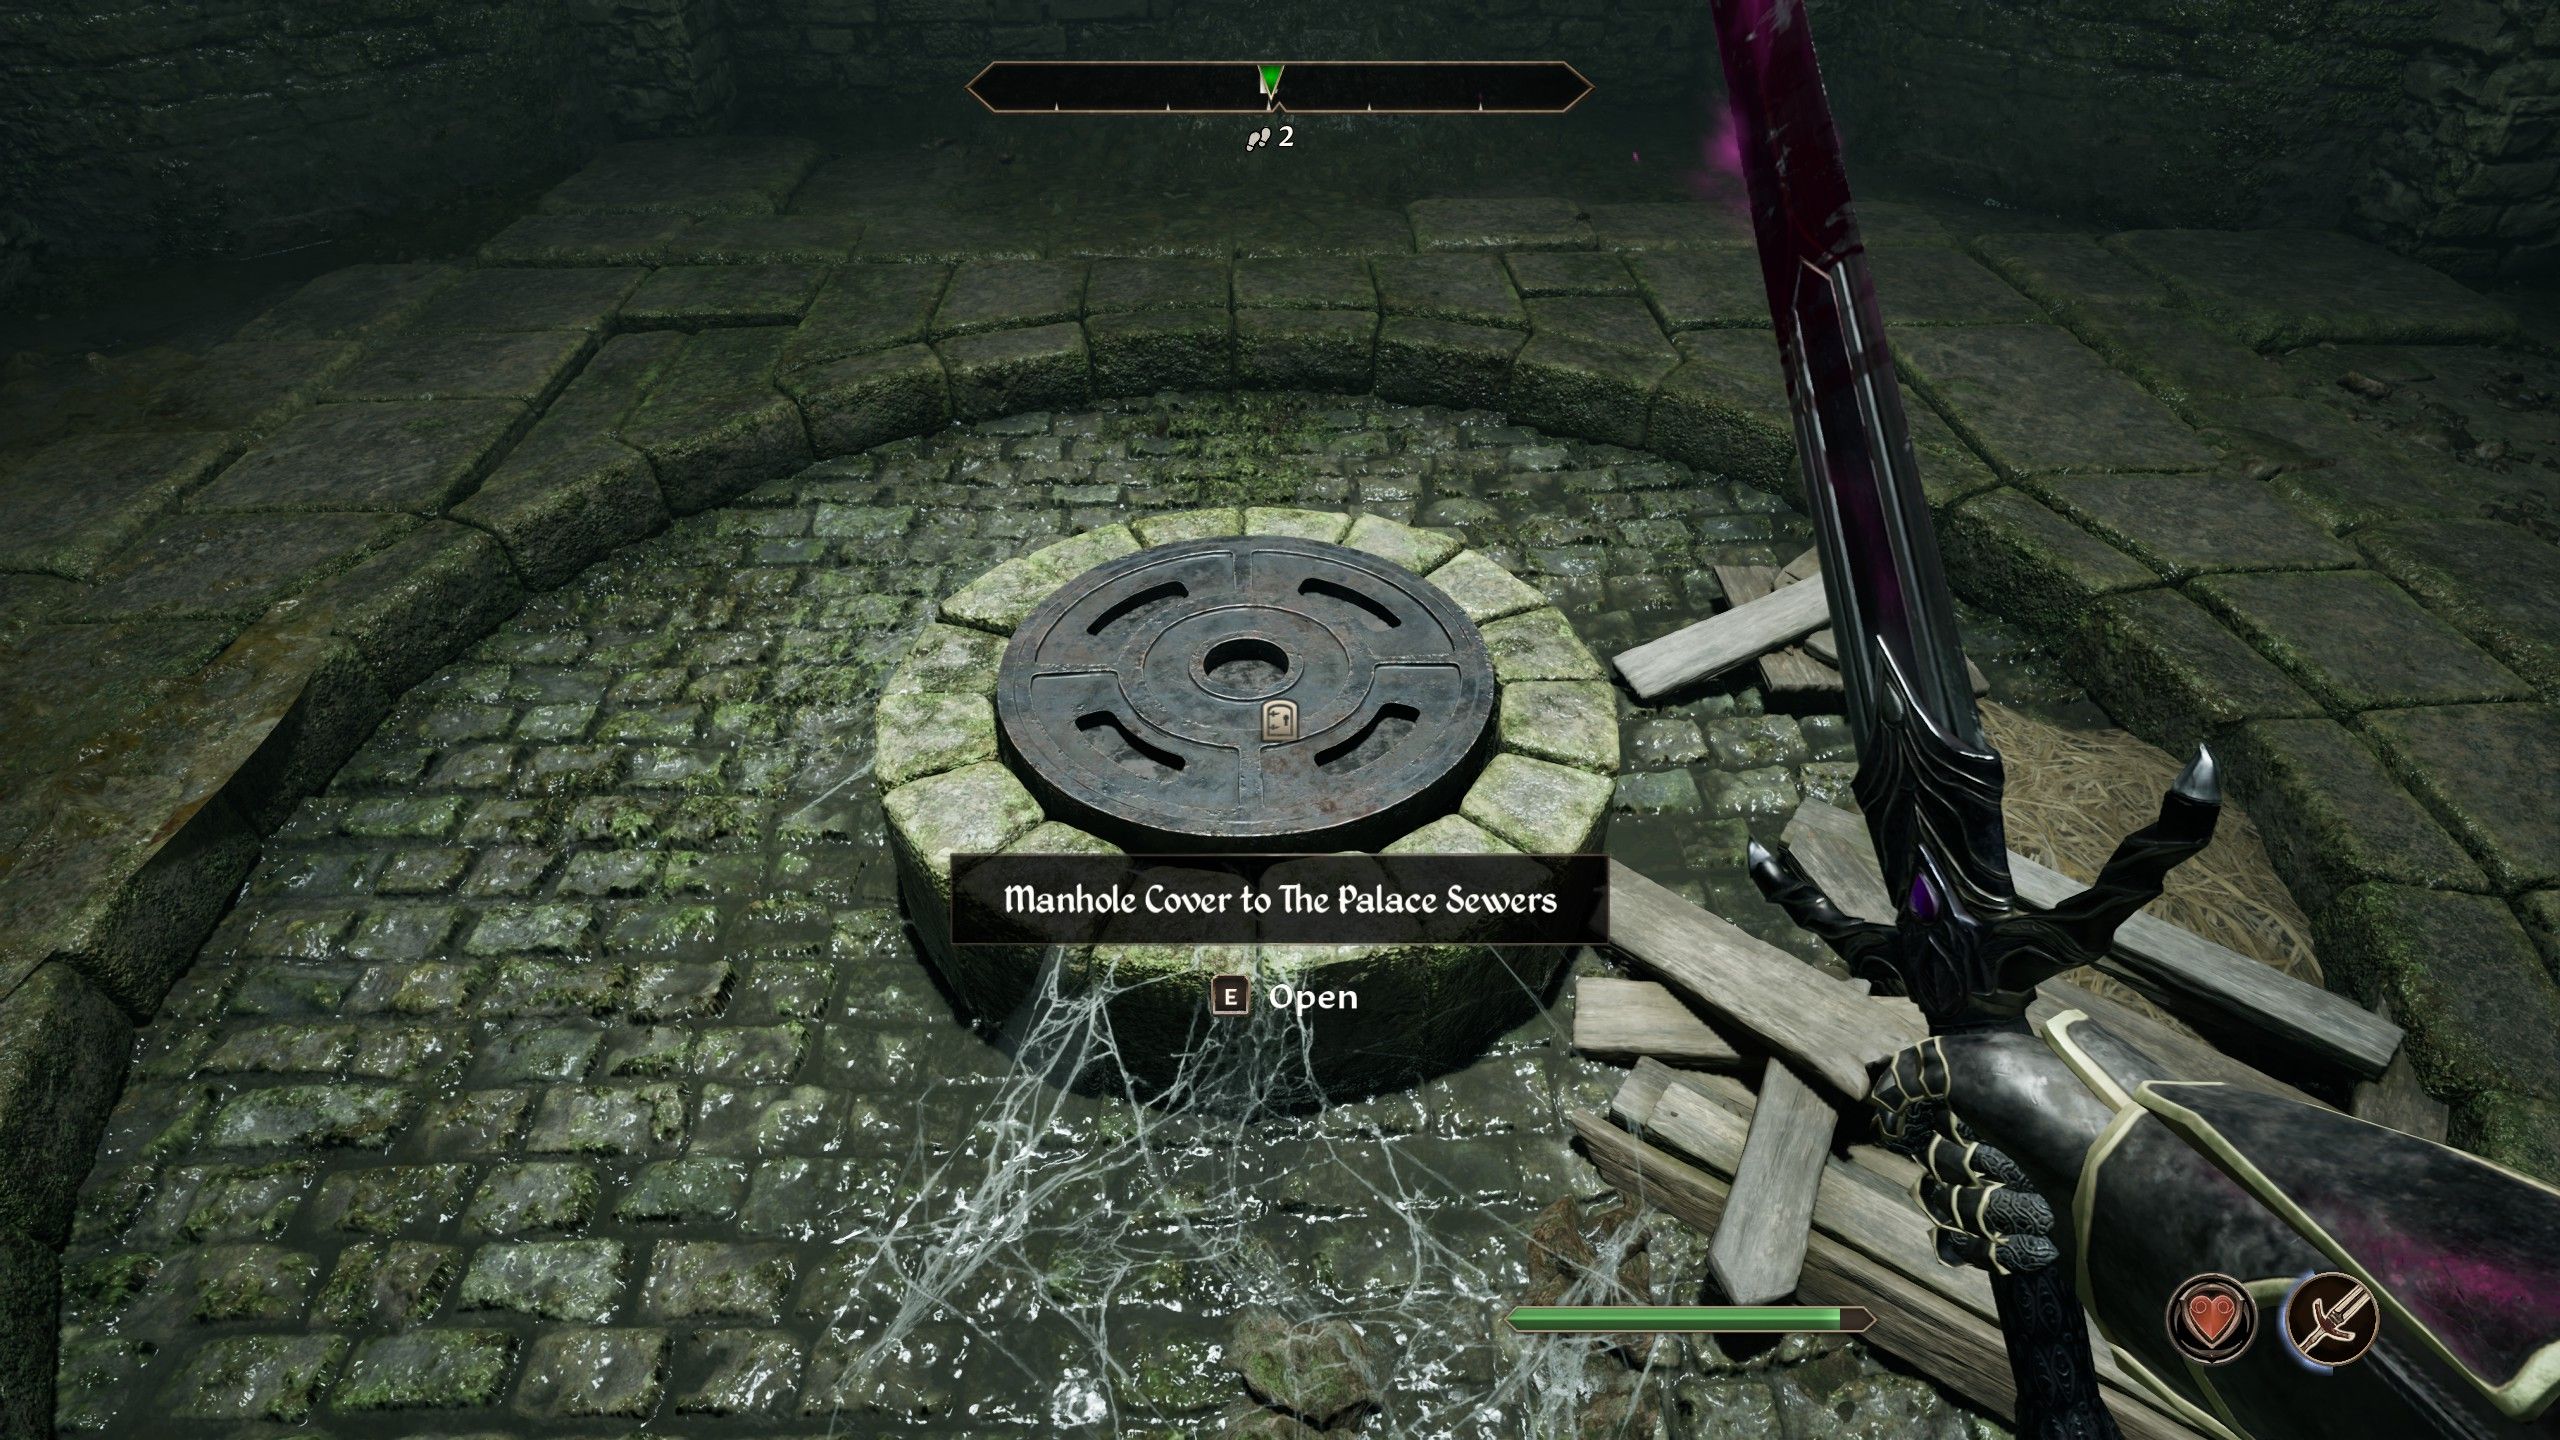
- Drop from the stone bridge and head through the now-open gate, then activate the turn wheel in the north and head through the sewer passage that’s just opened in the west area. Inside is a locked door that can be opened with the Imperial Sewer Key, which leads to the Palace Sewers.
- Inside the Palace Sewers, follow the linear path through and the marker on the HUD to the Old Way, where once inside, players can take a left through another door called the Old Way, and then head through the hole in the wall at the west side.
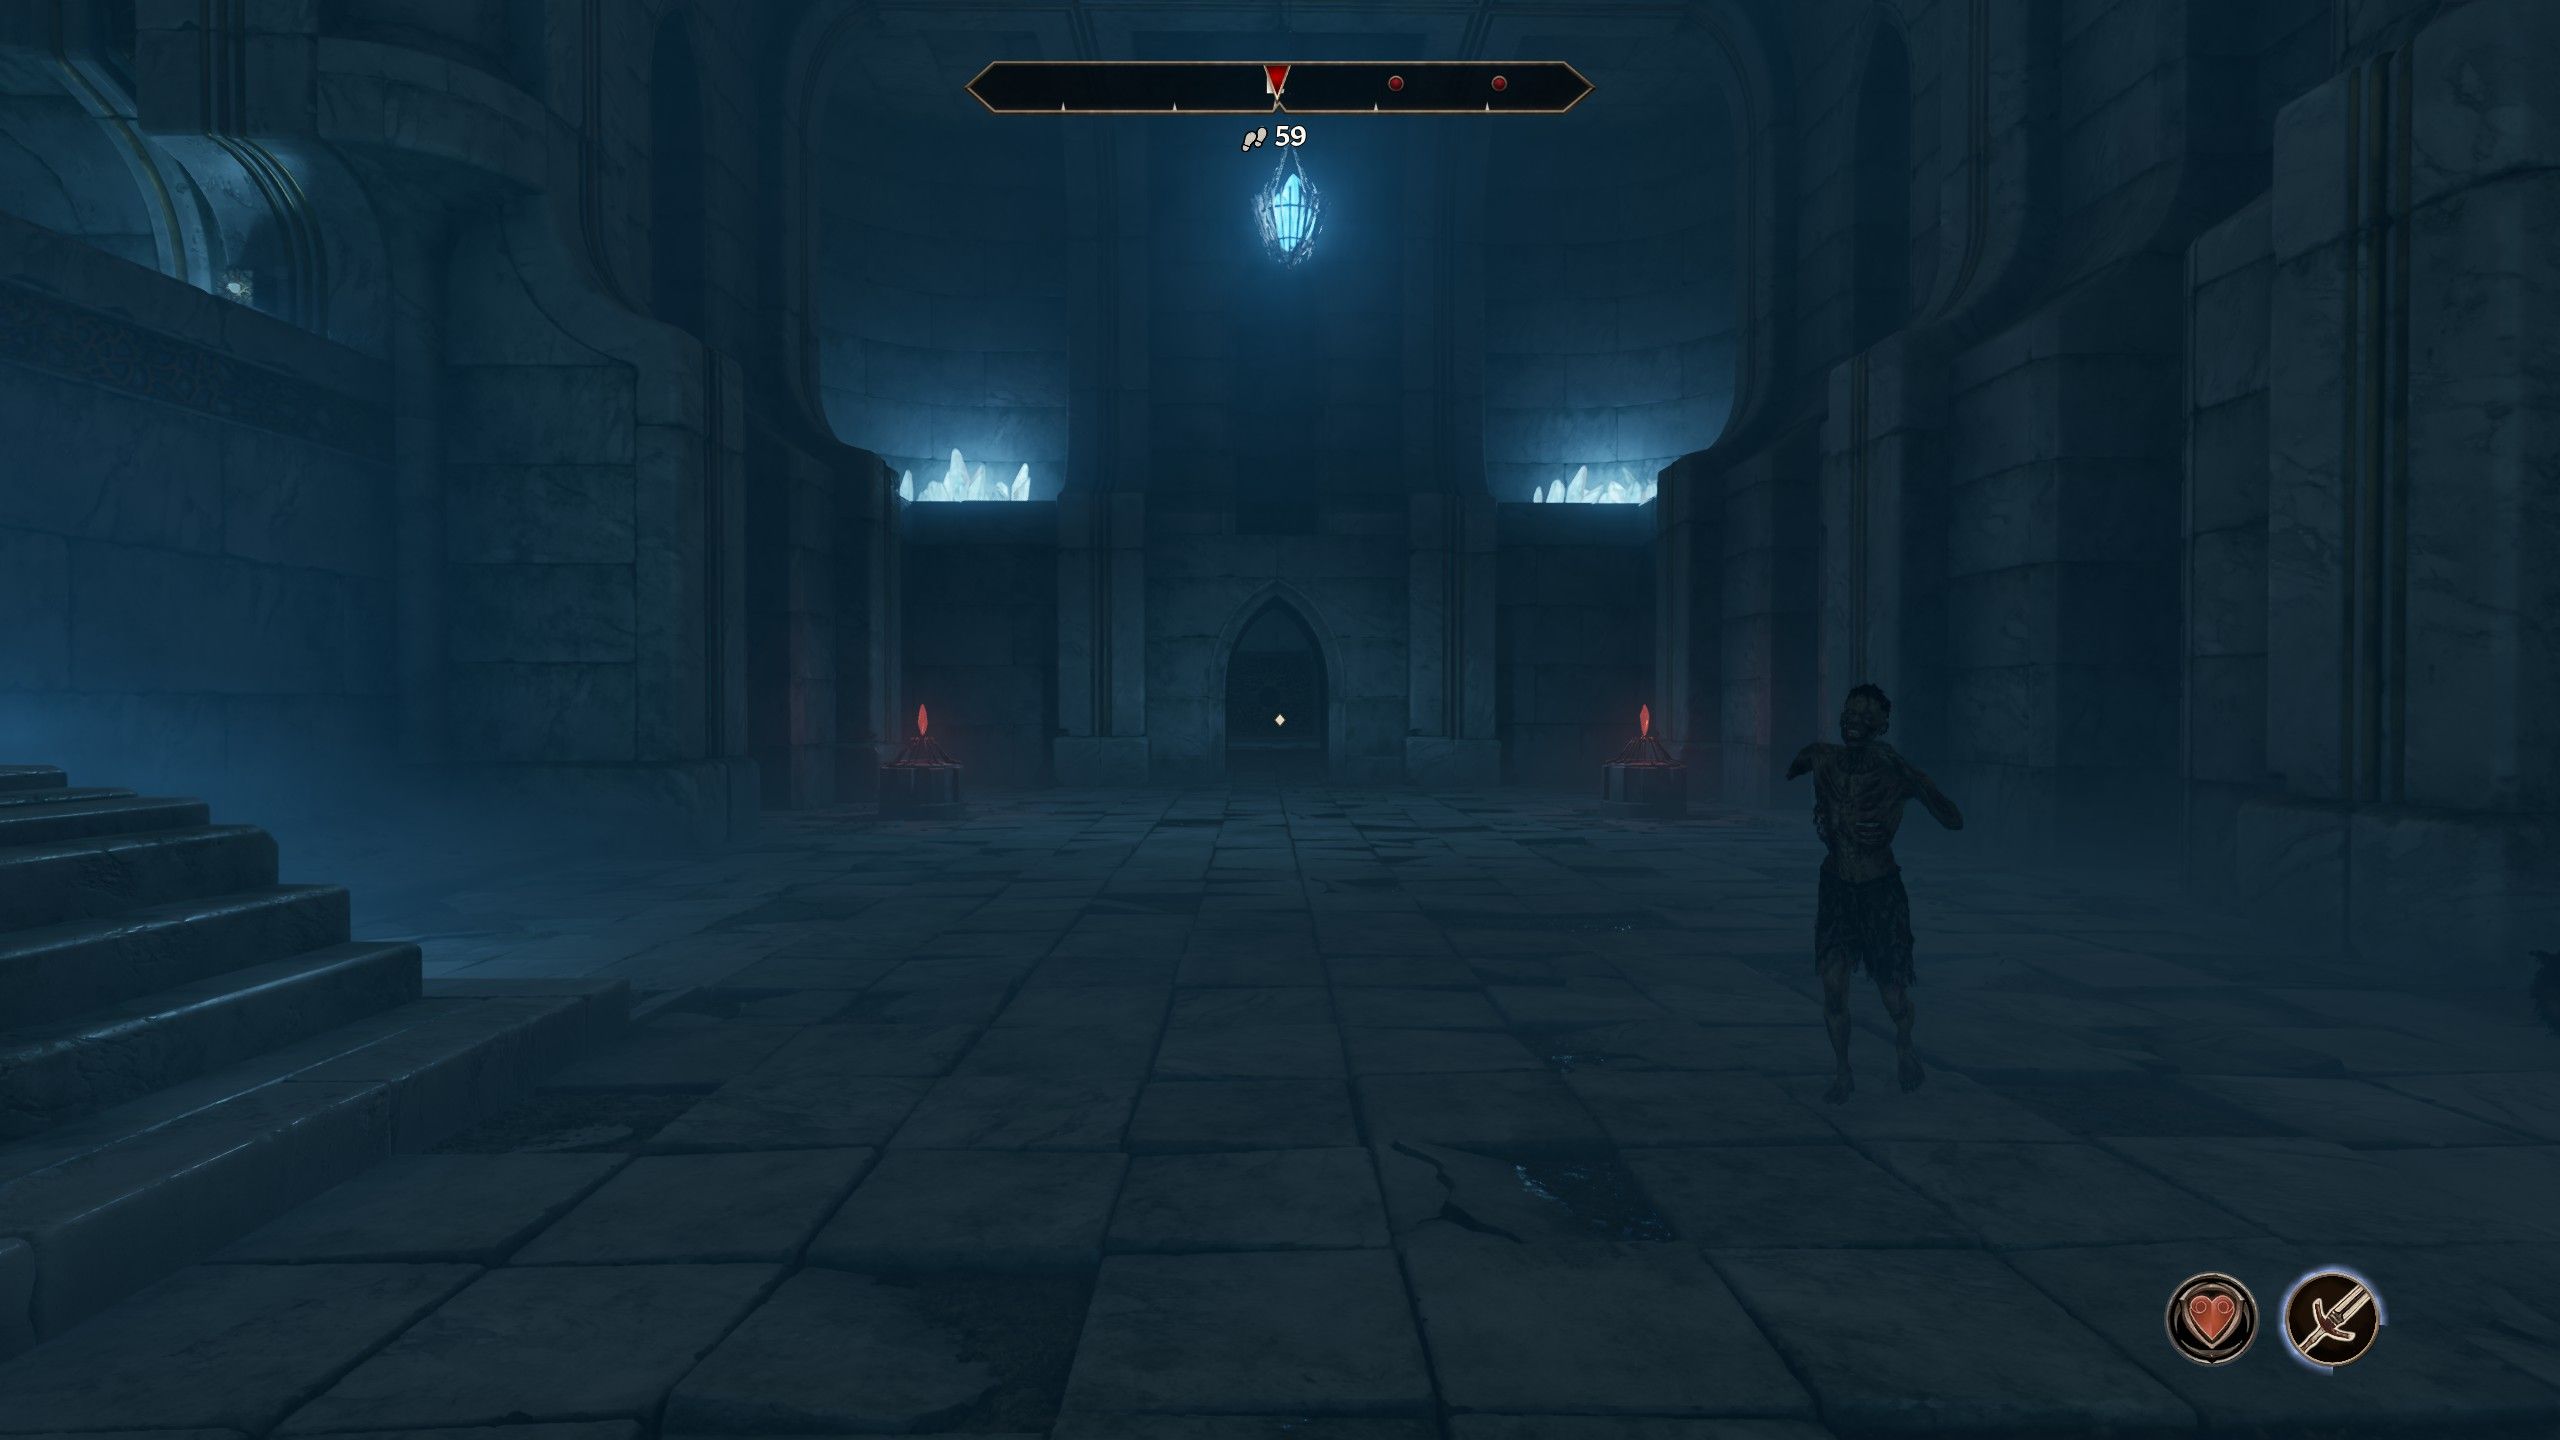
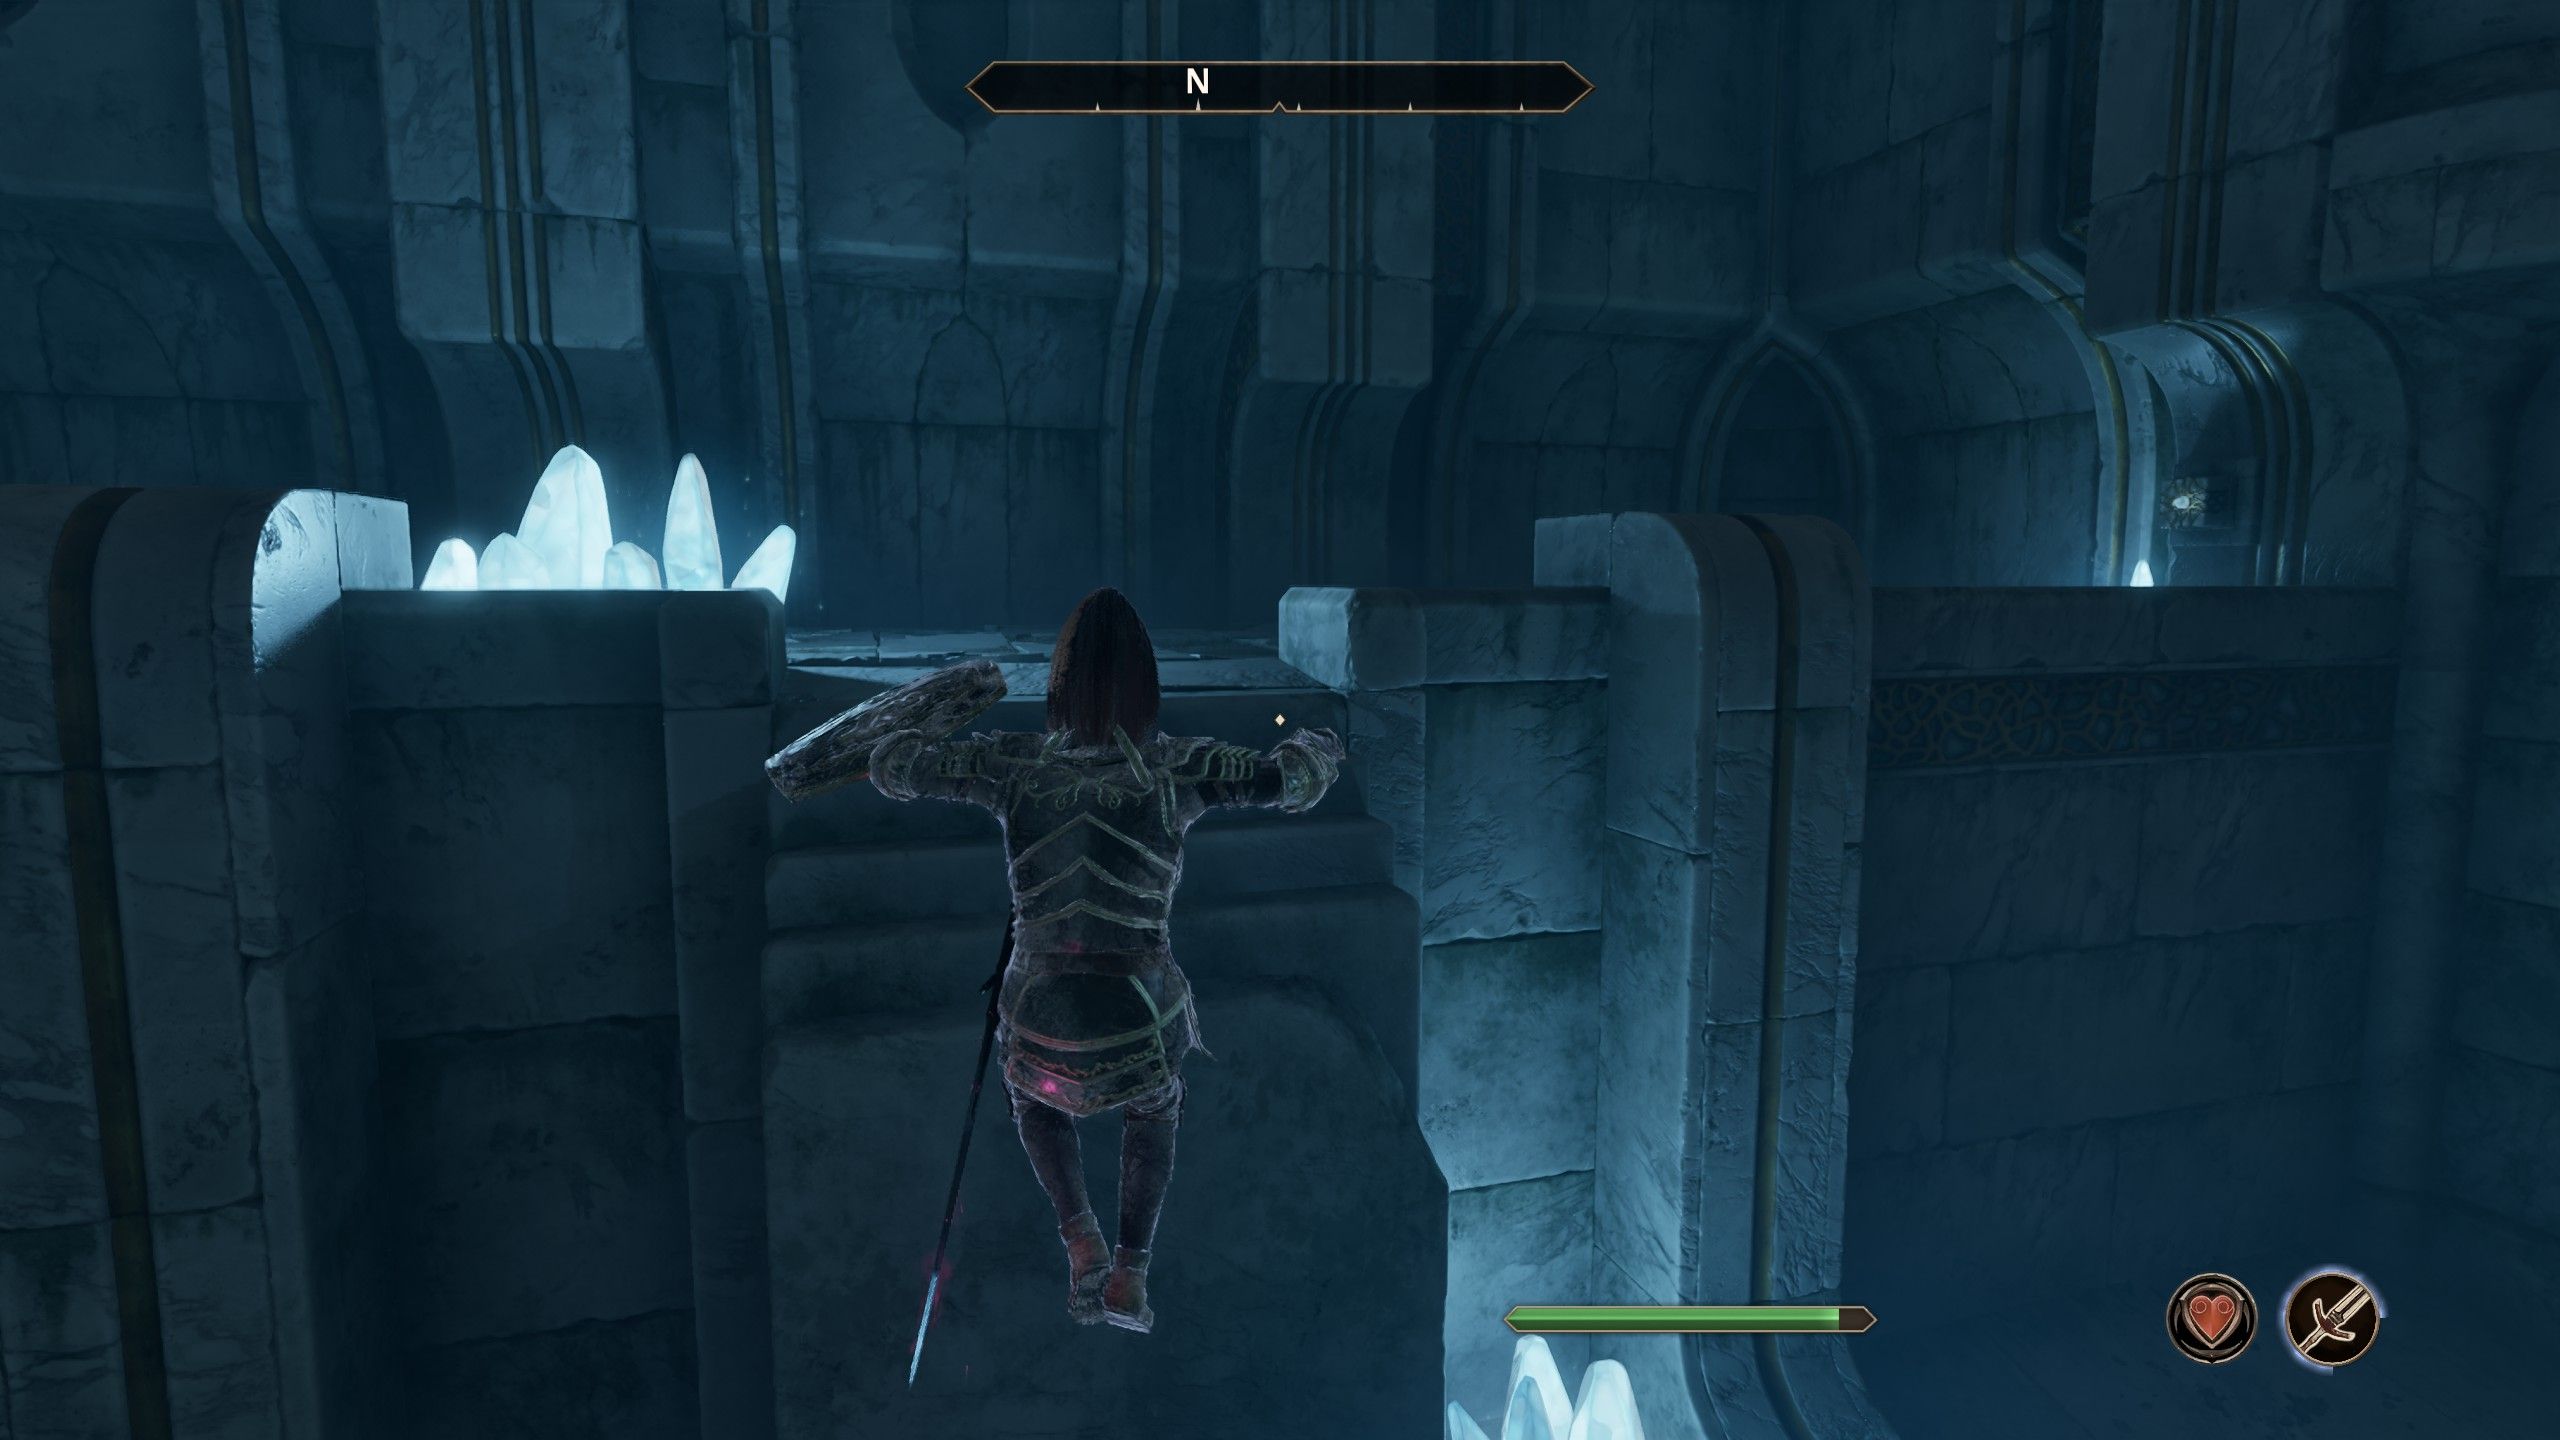
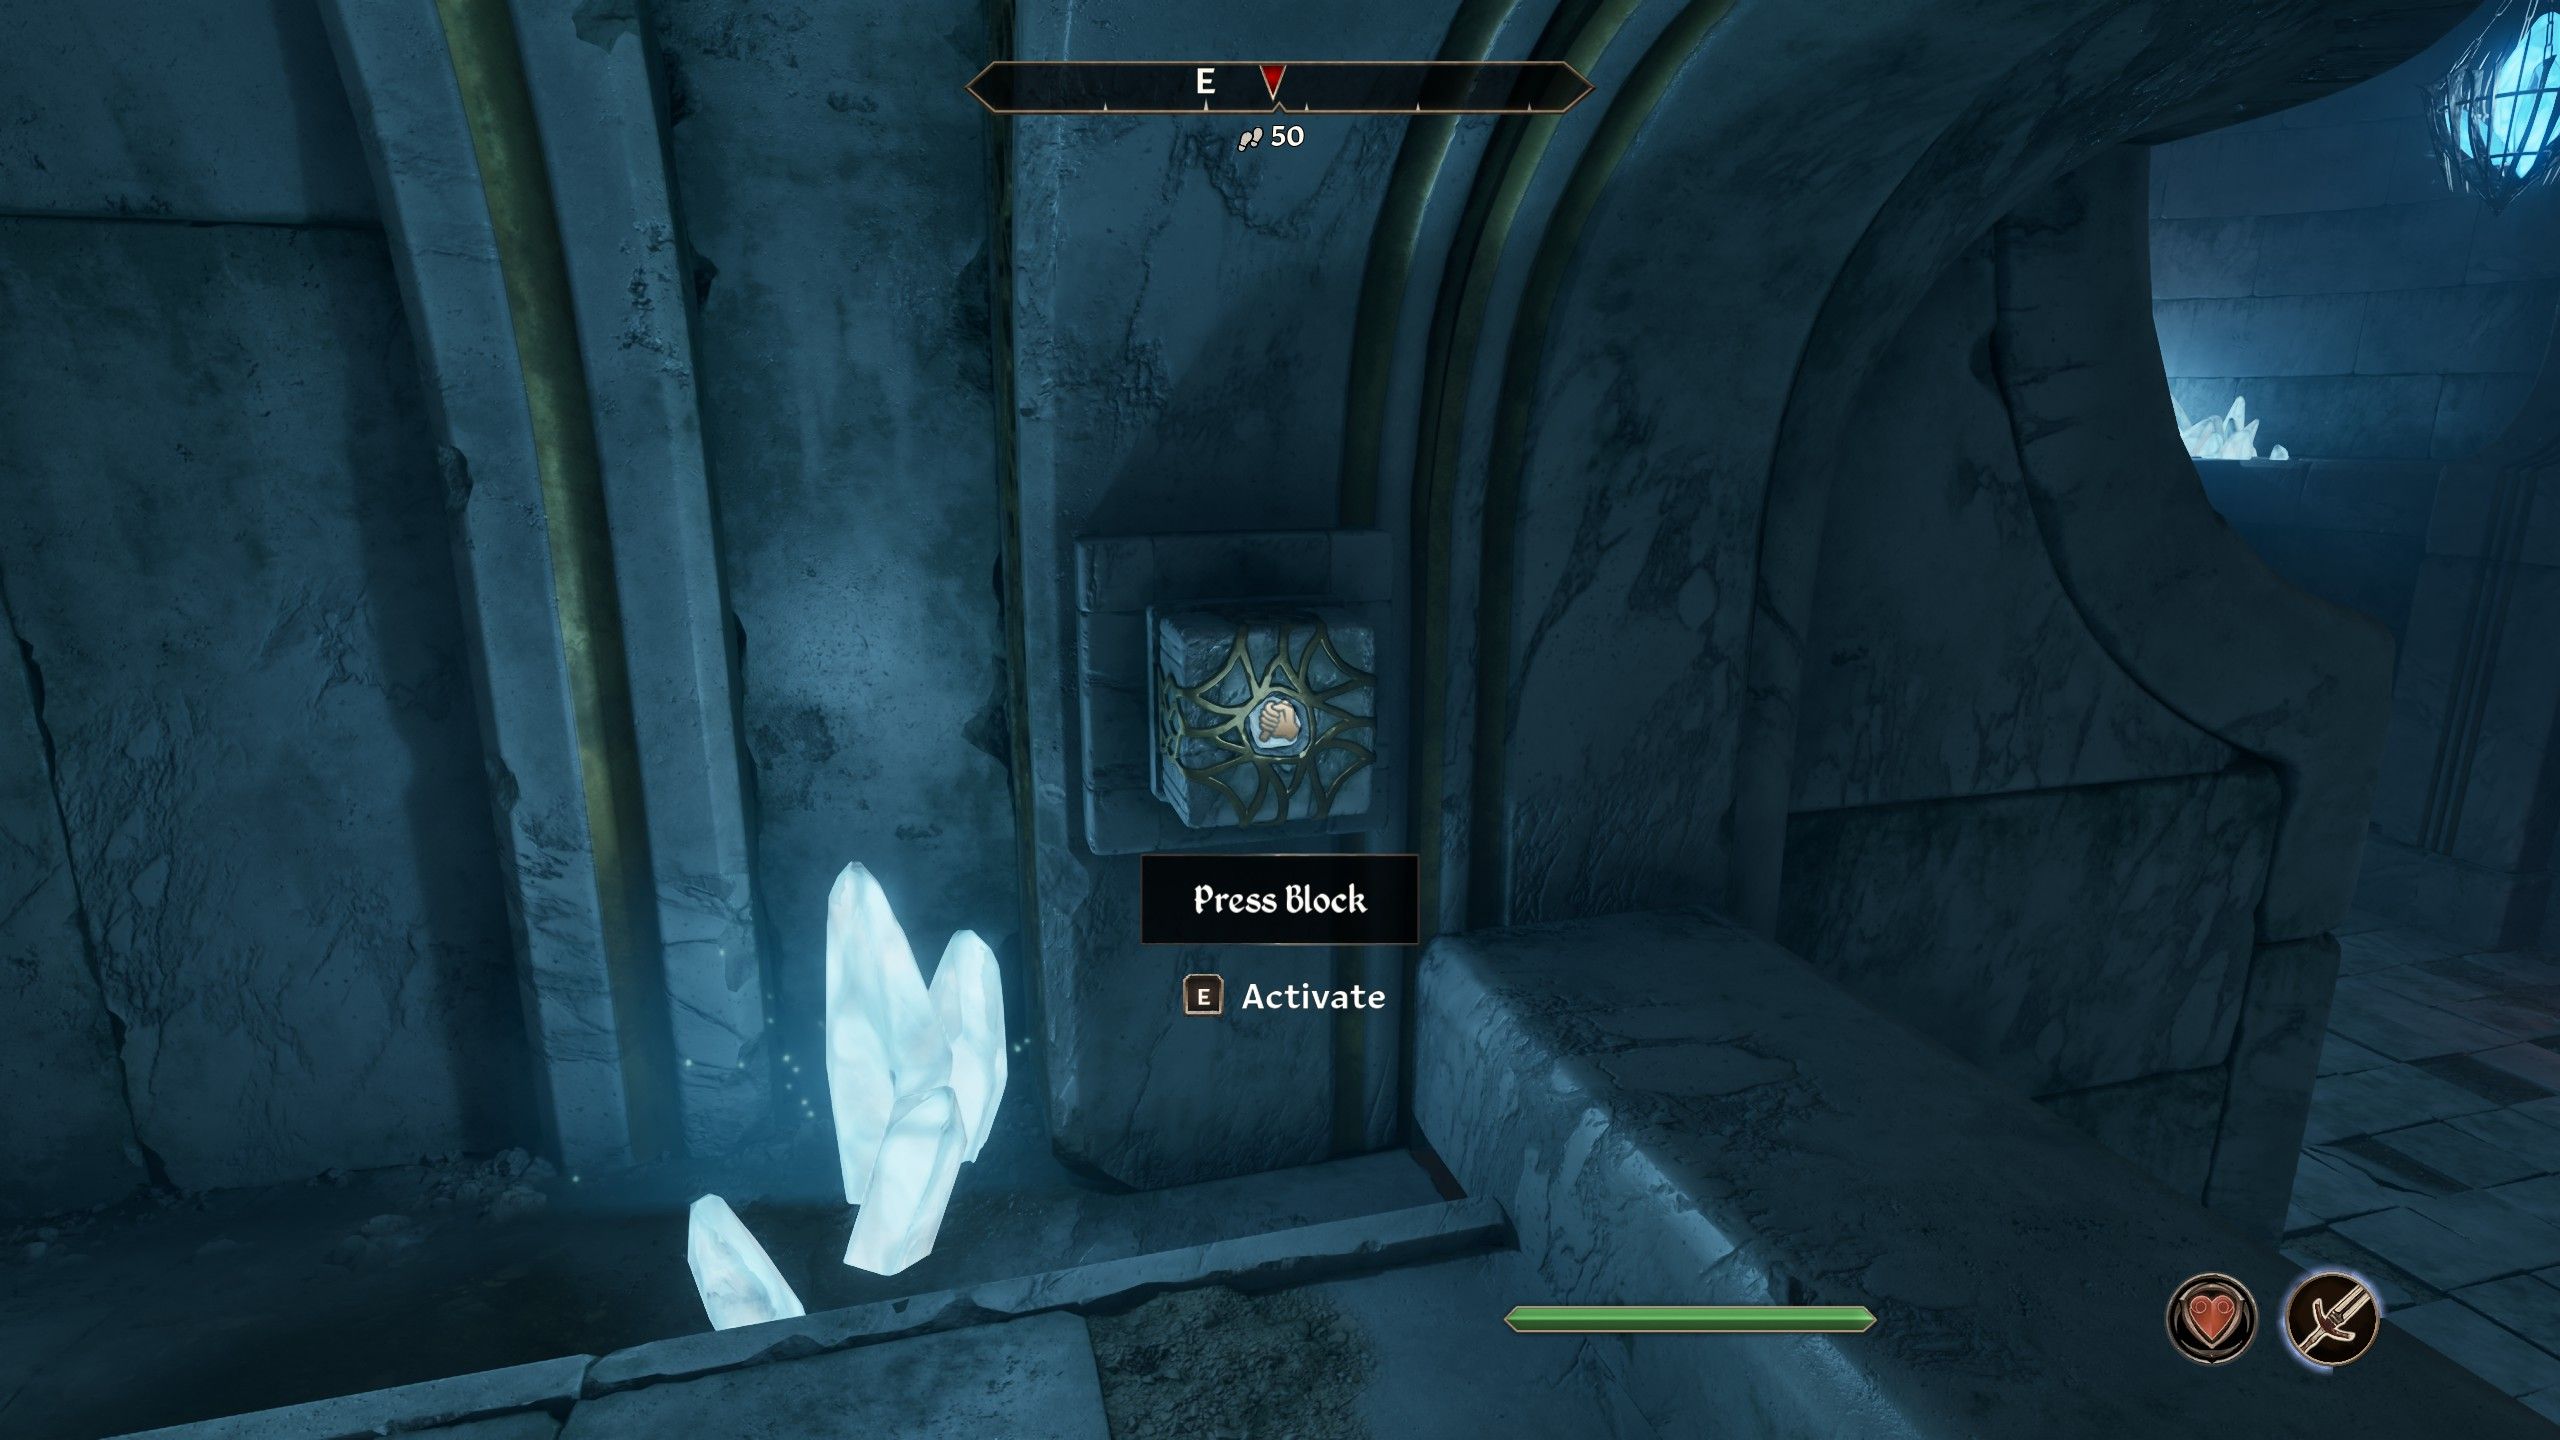
In their current location, adventurers have ventured further into the depths of the cave, arriving at the enigmatic Lost Catacombs. The final chamber within this cave system presents a stone room graced with two red crystals and a sealed door. To move forward in this section, don your Boots of Springheel Jak first, then leap onto the pillar to the left of the room. This pillar conceals a Press Block that can be activated once you’re on it. Proceed along the upper path to the right, where another Press Block awaits activation. With both blocks pressed, the gate at the end of the passageway will open, granting players entry into the Hall of Epochs.
How to Solve the Hall of Epochs Puzzle in Oblivion Remastered
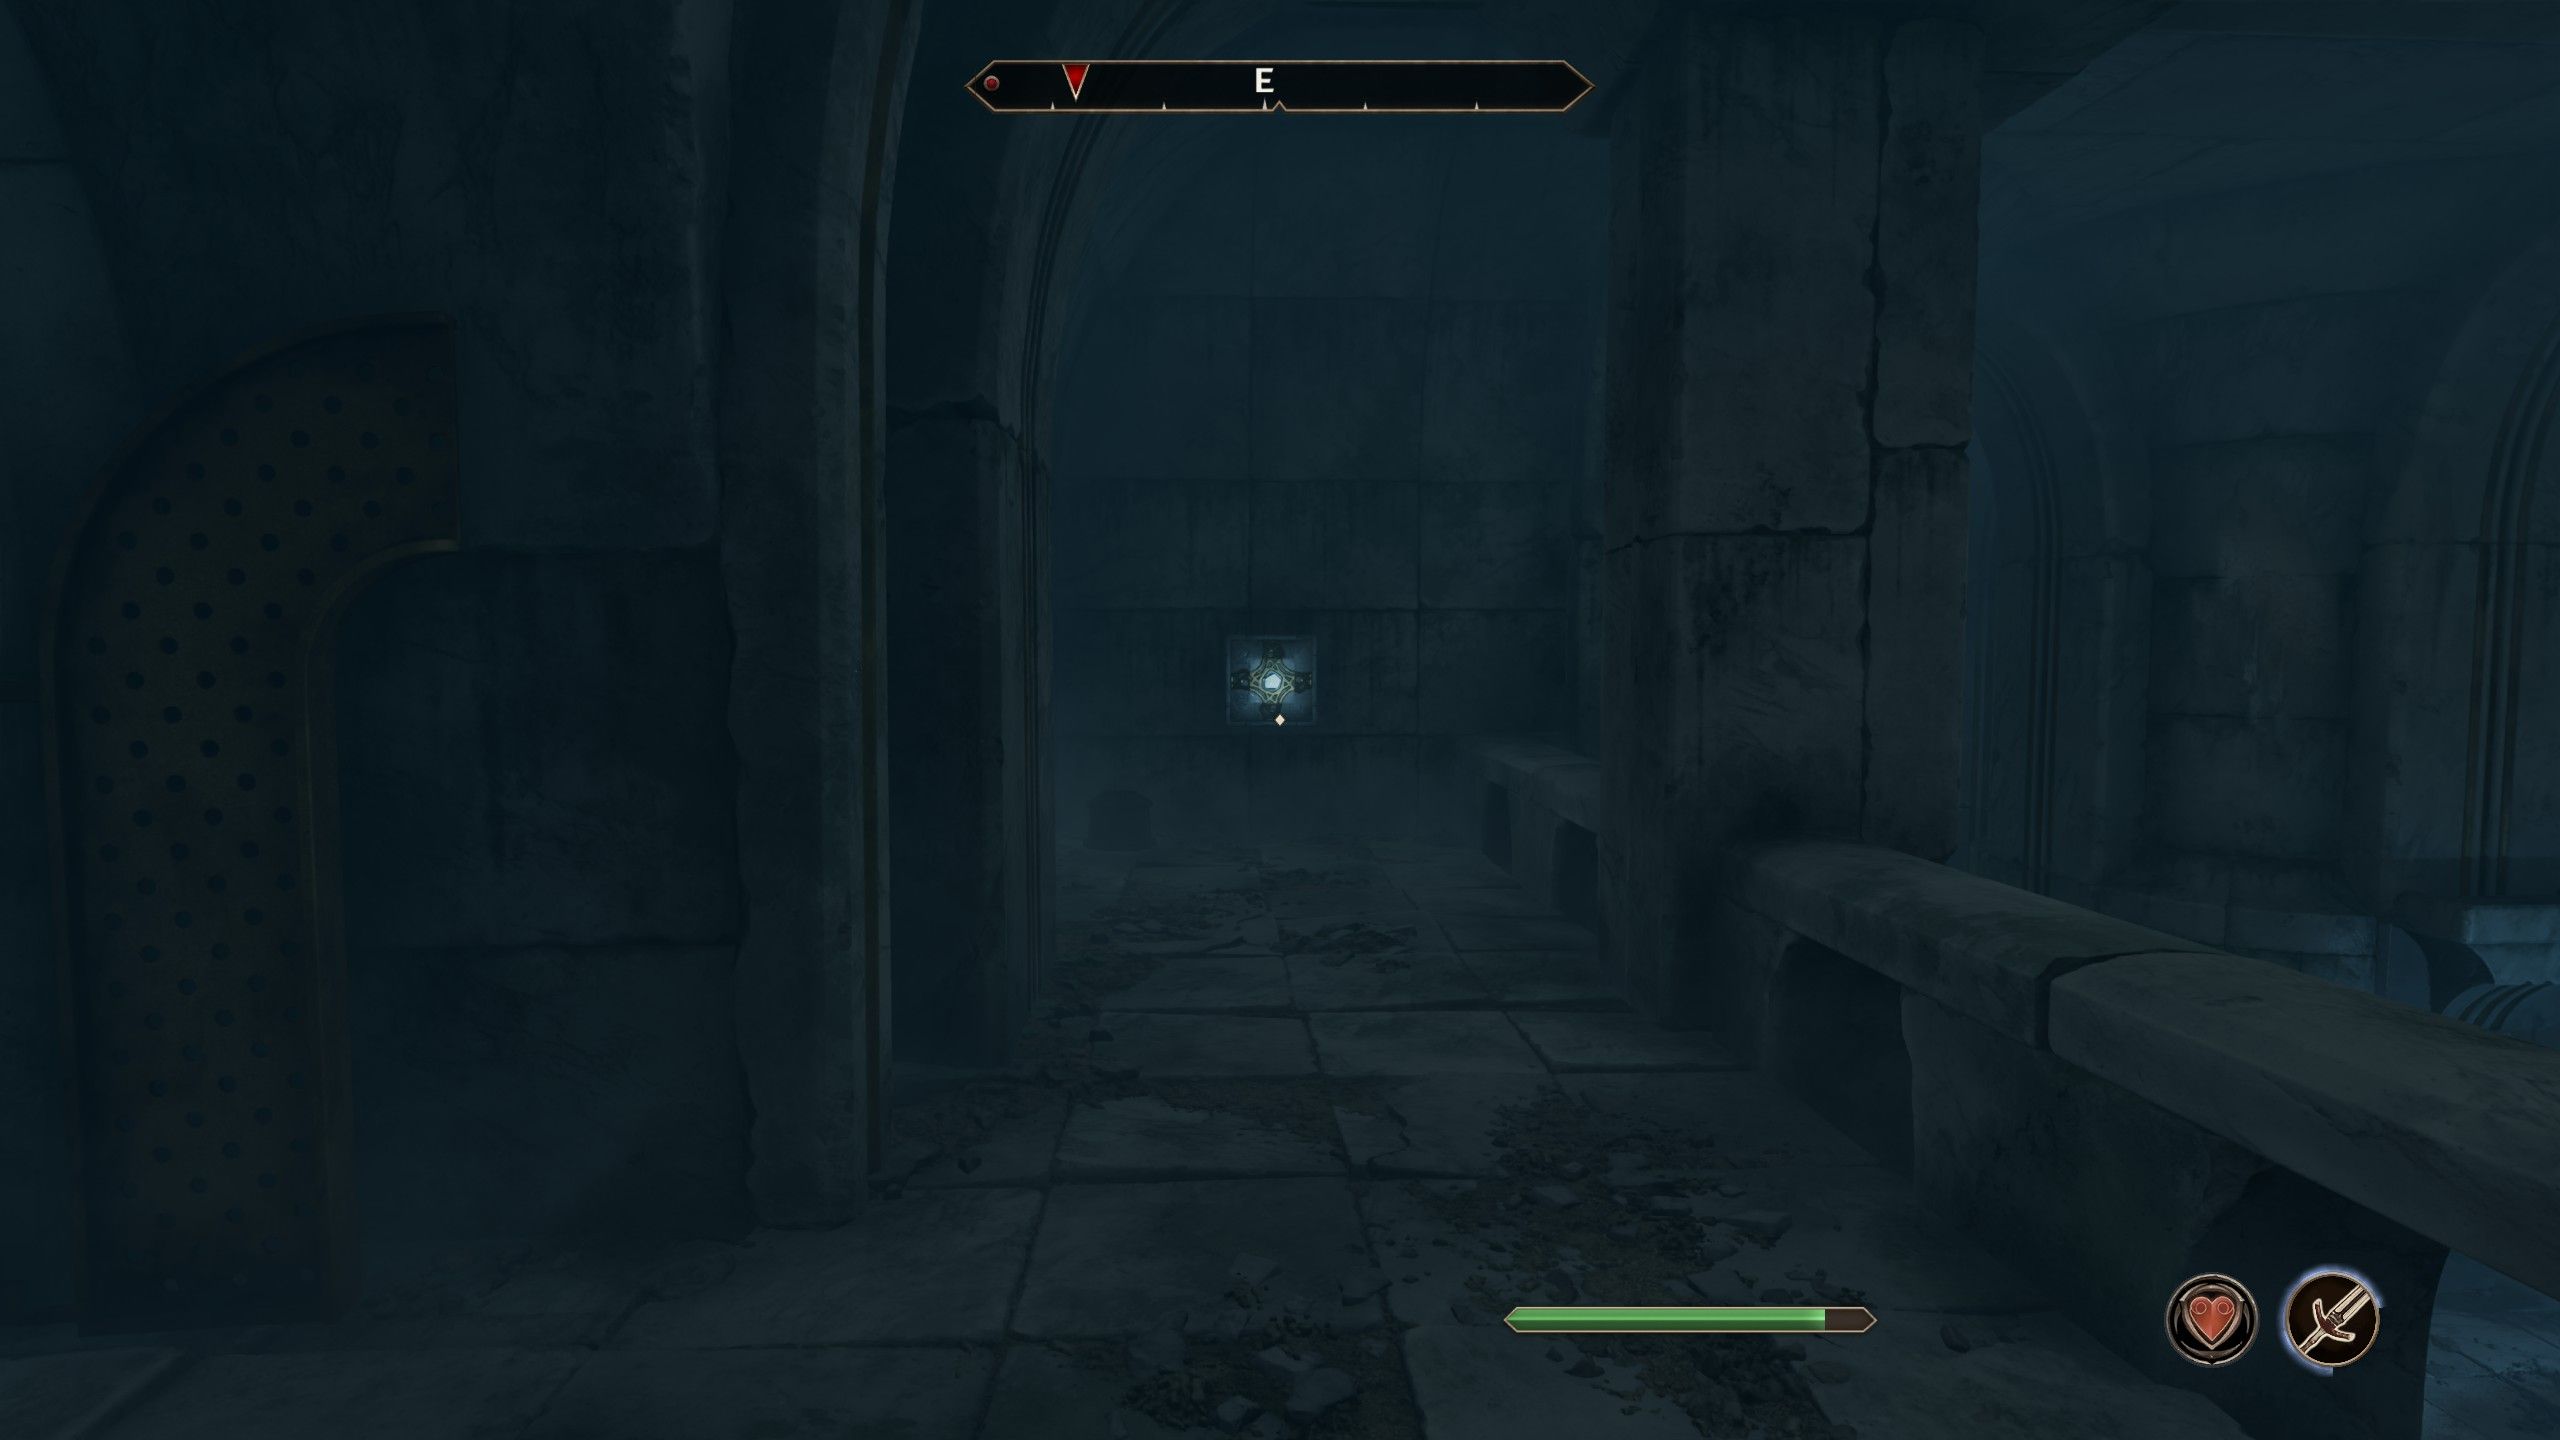

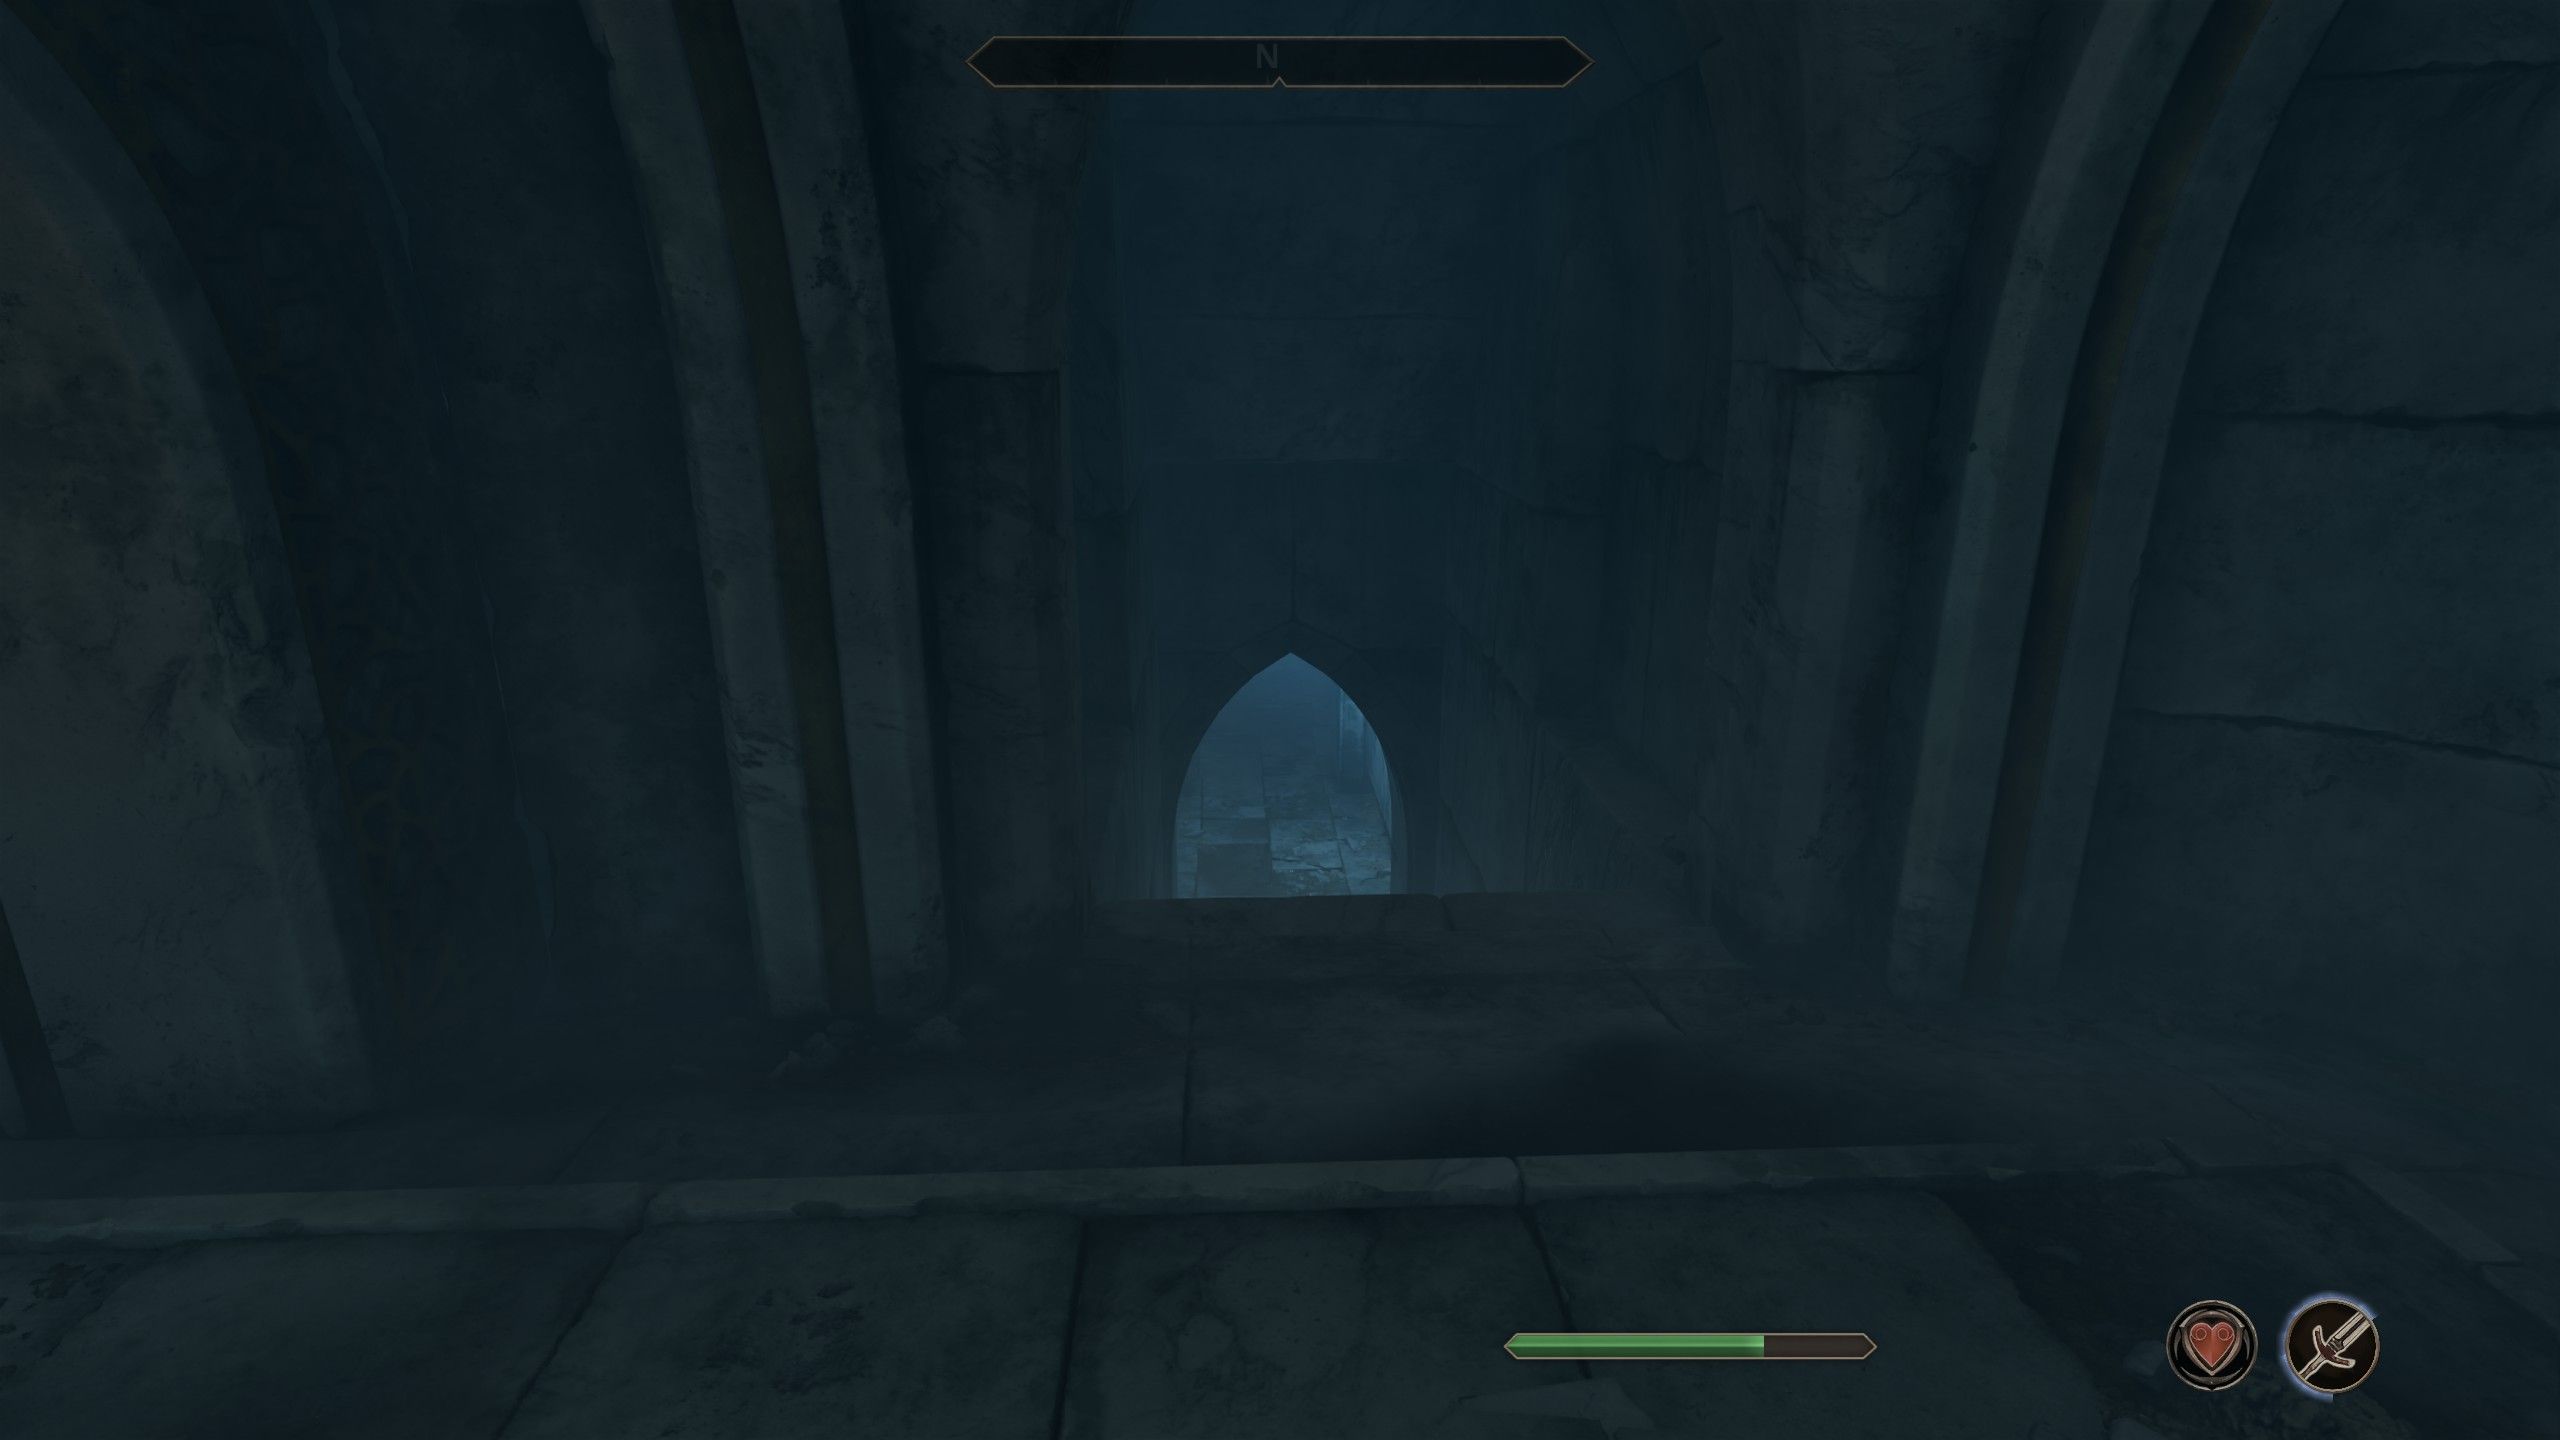
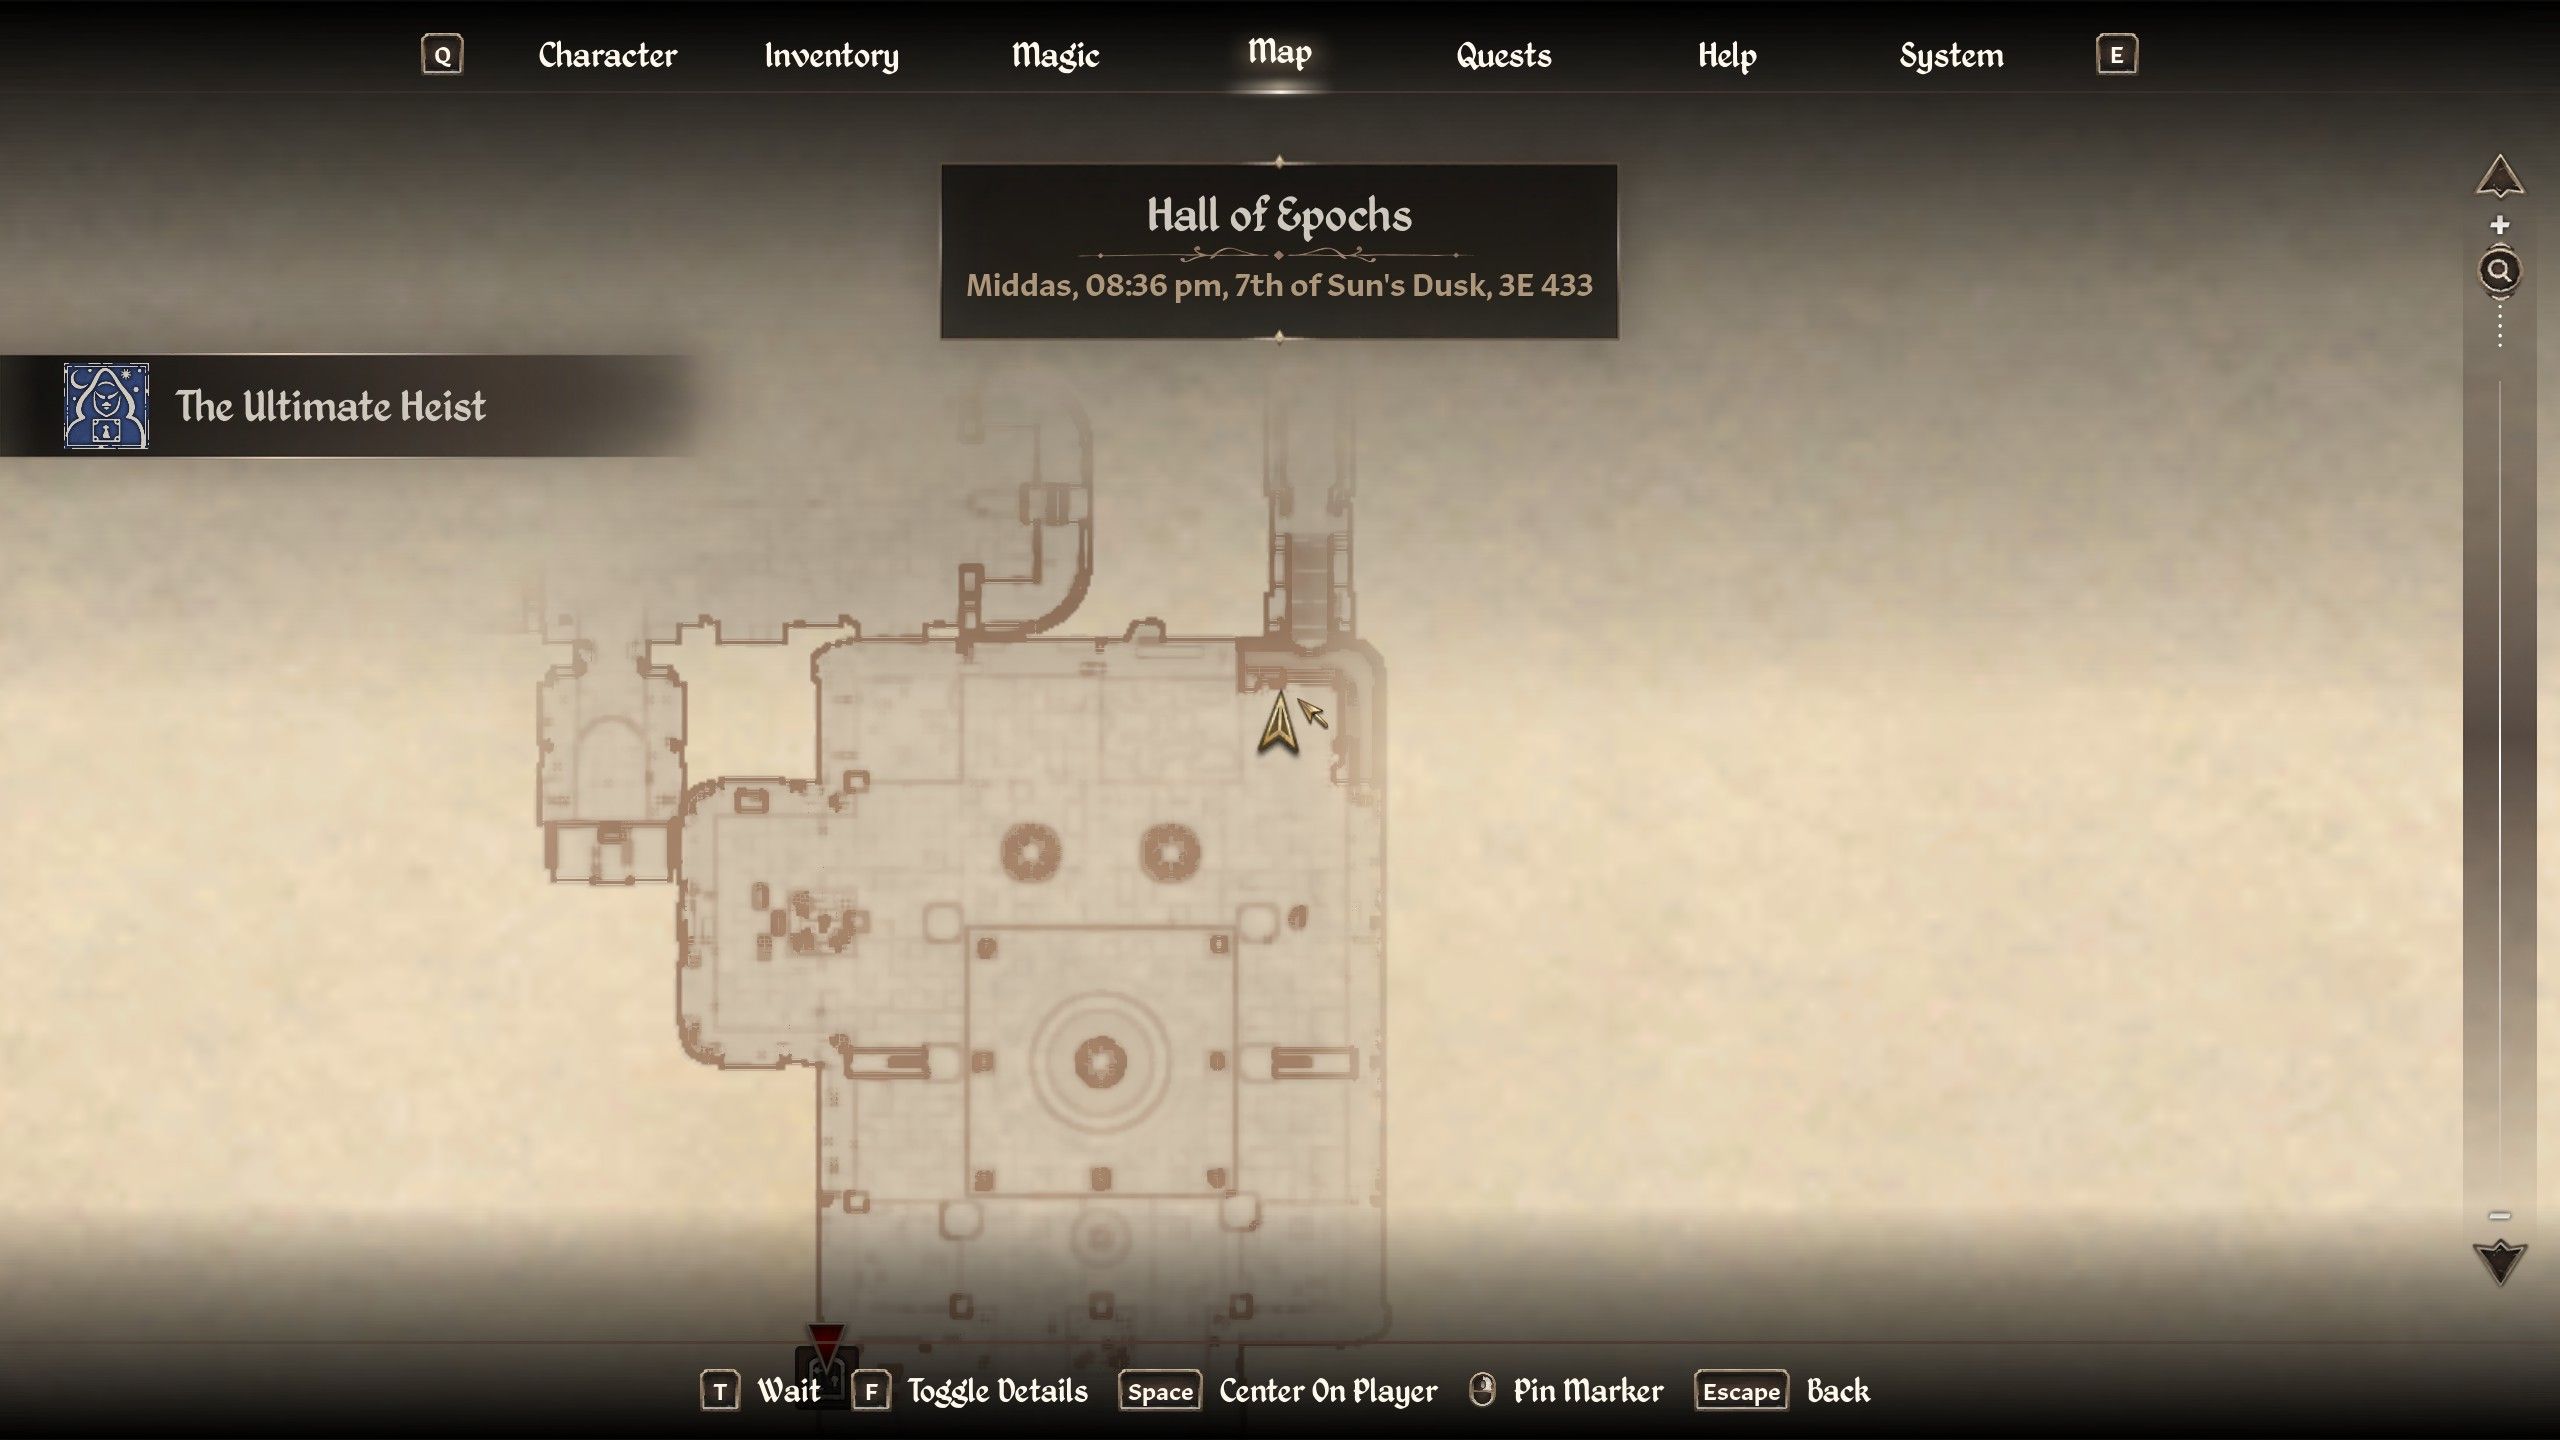
Once players reach the central chamber of the Hall of Epochs, their next goal should be climbing the stairs and sticking to the right-hand wall until they locate a locked gate requiring lockpicks for opening. Post passing through this locked door, make an immediate right turn to trigger a Press Block. Continue further in this room to discover another chamber within the Hall of Epochs. Upon entering the new area, head towards the north wall to uncover a secret passage and follow it to the concealed entrance on the south passage. This hidden space contains another Press Block crucial for the central puzzle, so remember to revisit the main area of the Hall of Epochs when needed.
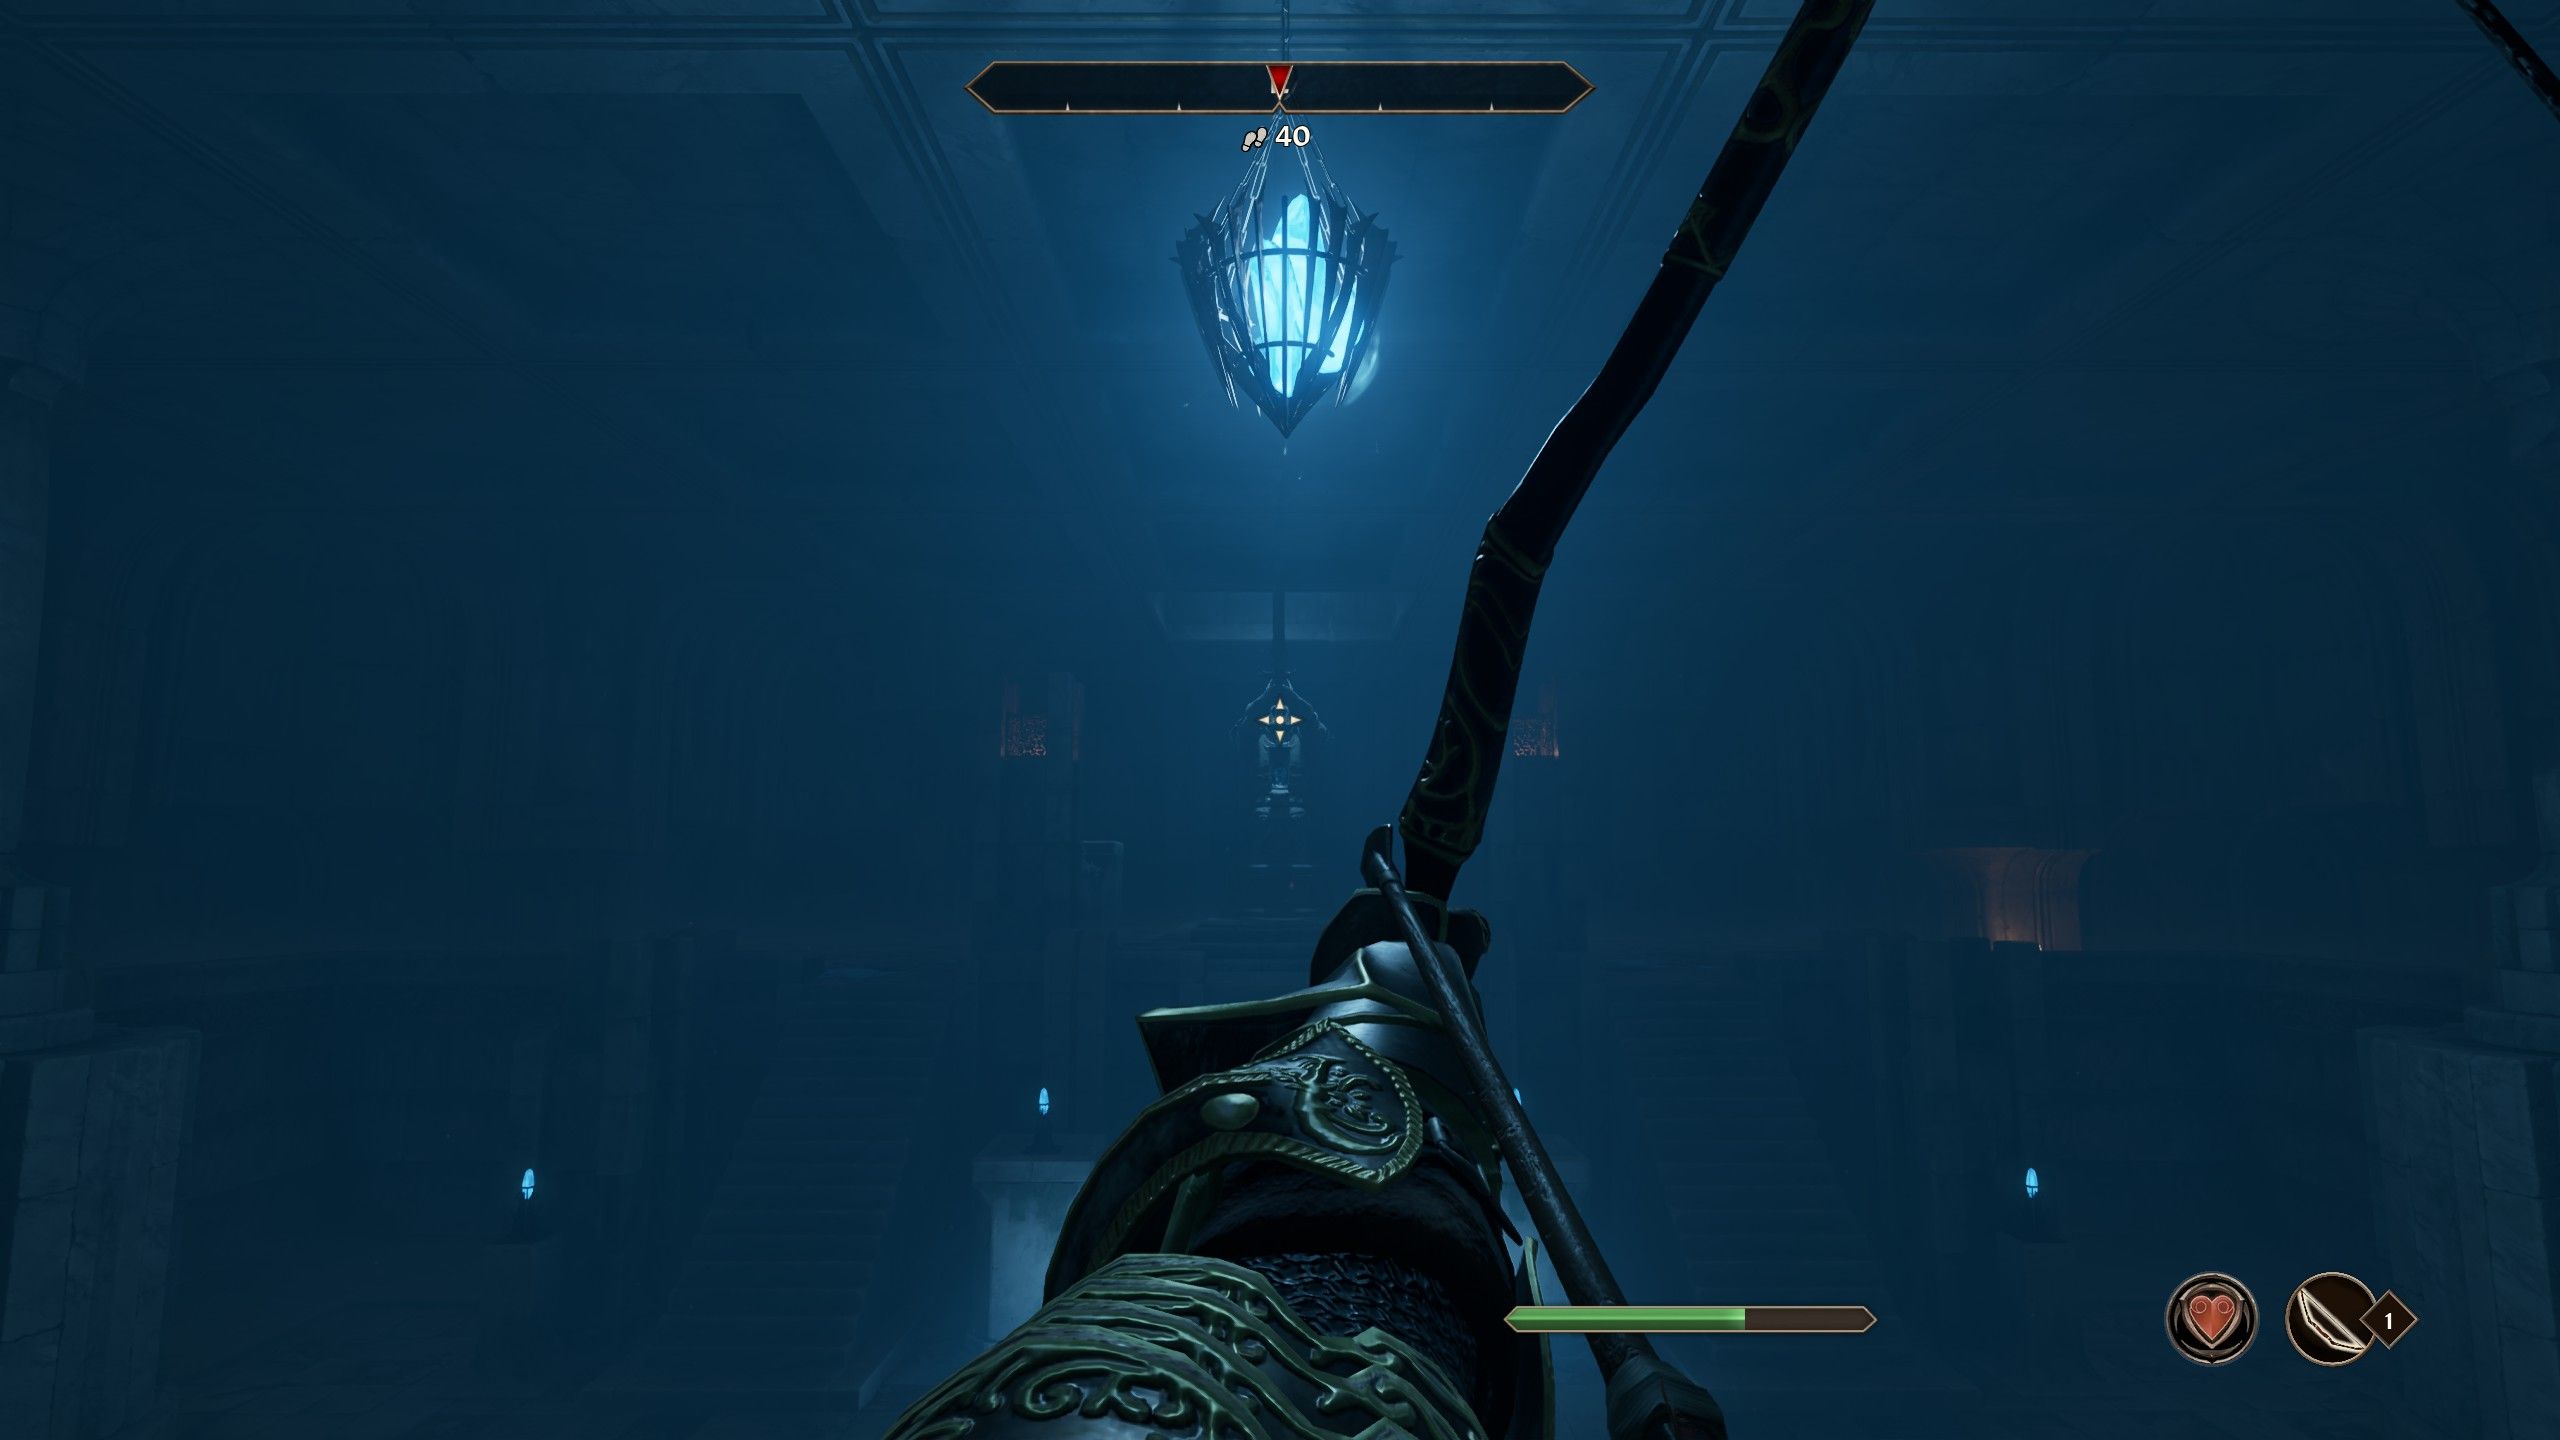
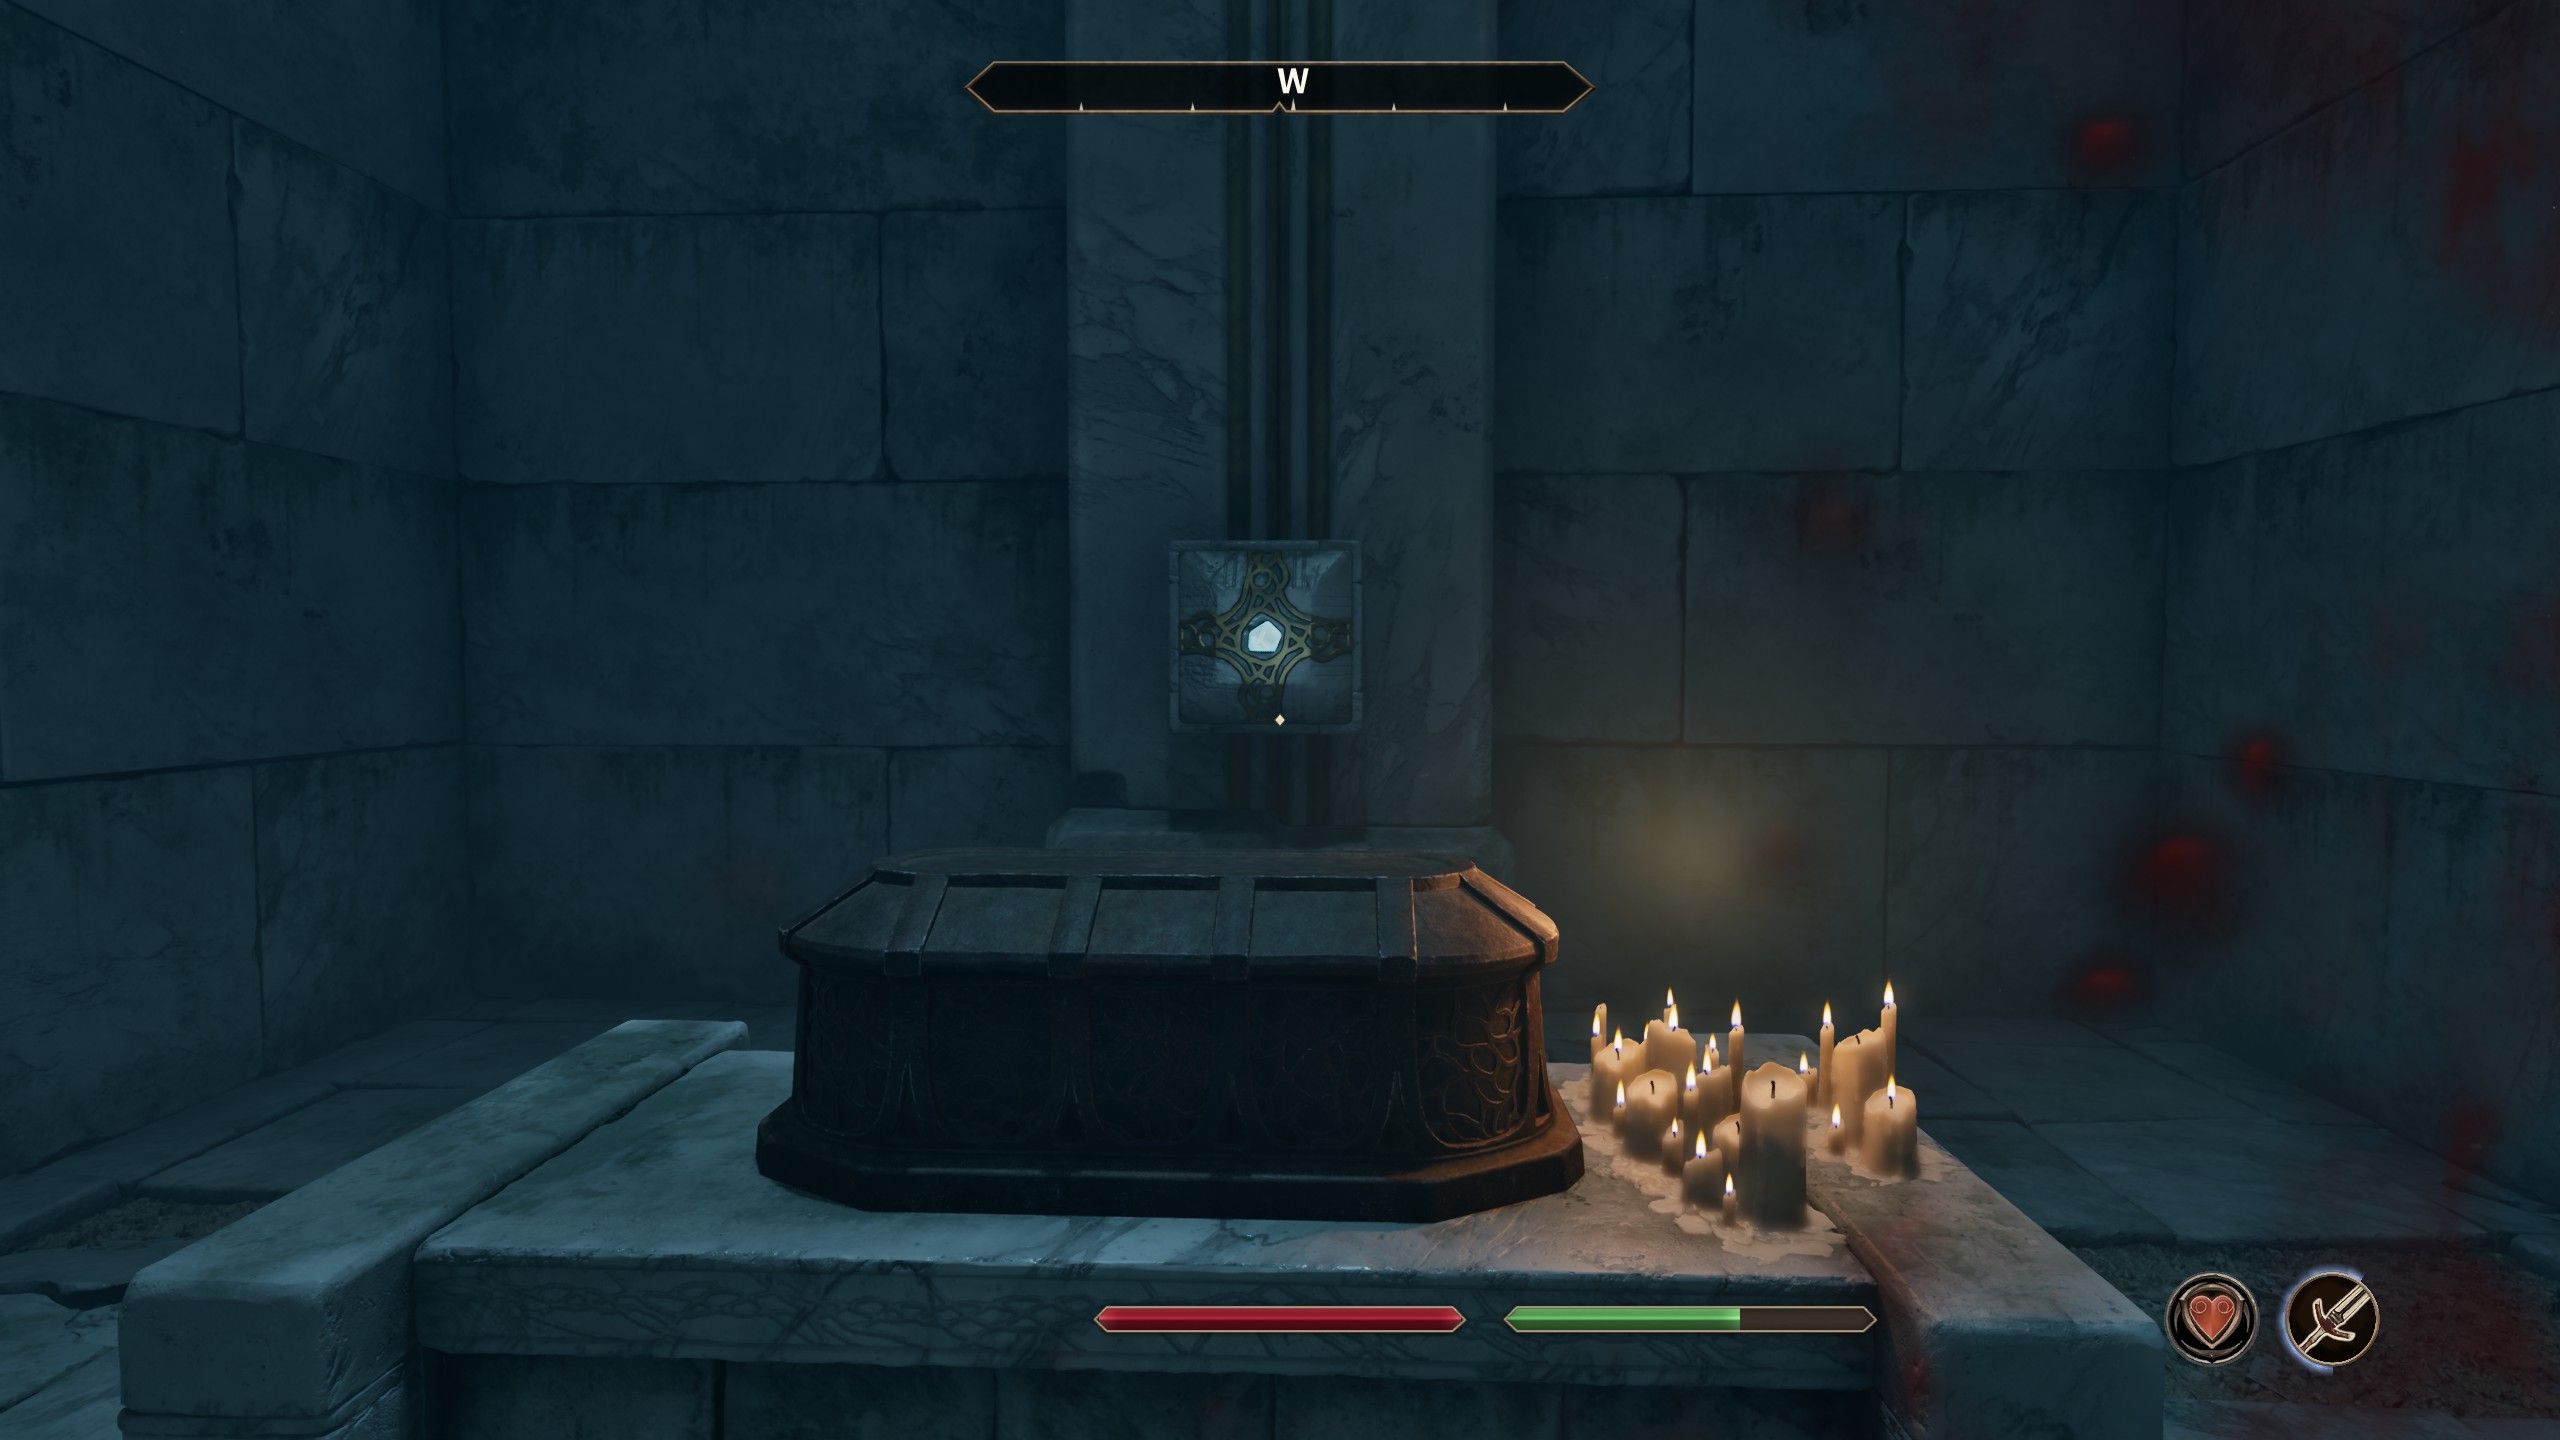
Upon returning to the central part of the Hall of Epochs, you can either eliminate the skeleton archer or grab a bow first. In the back of this room lies a pressure plate; standing on it will cause a statue to unveil a keyhole in its chest. While standing on the pressure plate, remember to equip the Arrow of Extrication from your inventory and save your progress (this will allow you to reload the game if the shot misses, without having to retrieve the arrow). Properly aim the Arrow of Extrication at the statue’s head using the reticle as a guide. The image above offers guidance for the ideal shot location. After hitting the target, enter the stone statue and be prepared for encounters with stone Ayleid Guardians.
As an enthusiastic player, I can’t stress enough the necessity of regularly saving my game progress. Failing to do so could lead to missing out on obtaining the Elder Scroll, thereby failing the quest. If such a scenario were to unfold, rewinding the game to a previous save might become essential.
How to Steal the Elder Scroll in Oblivion Remastered
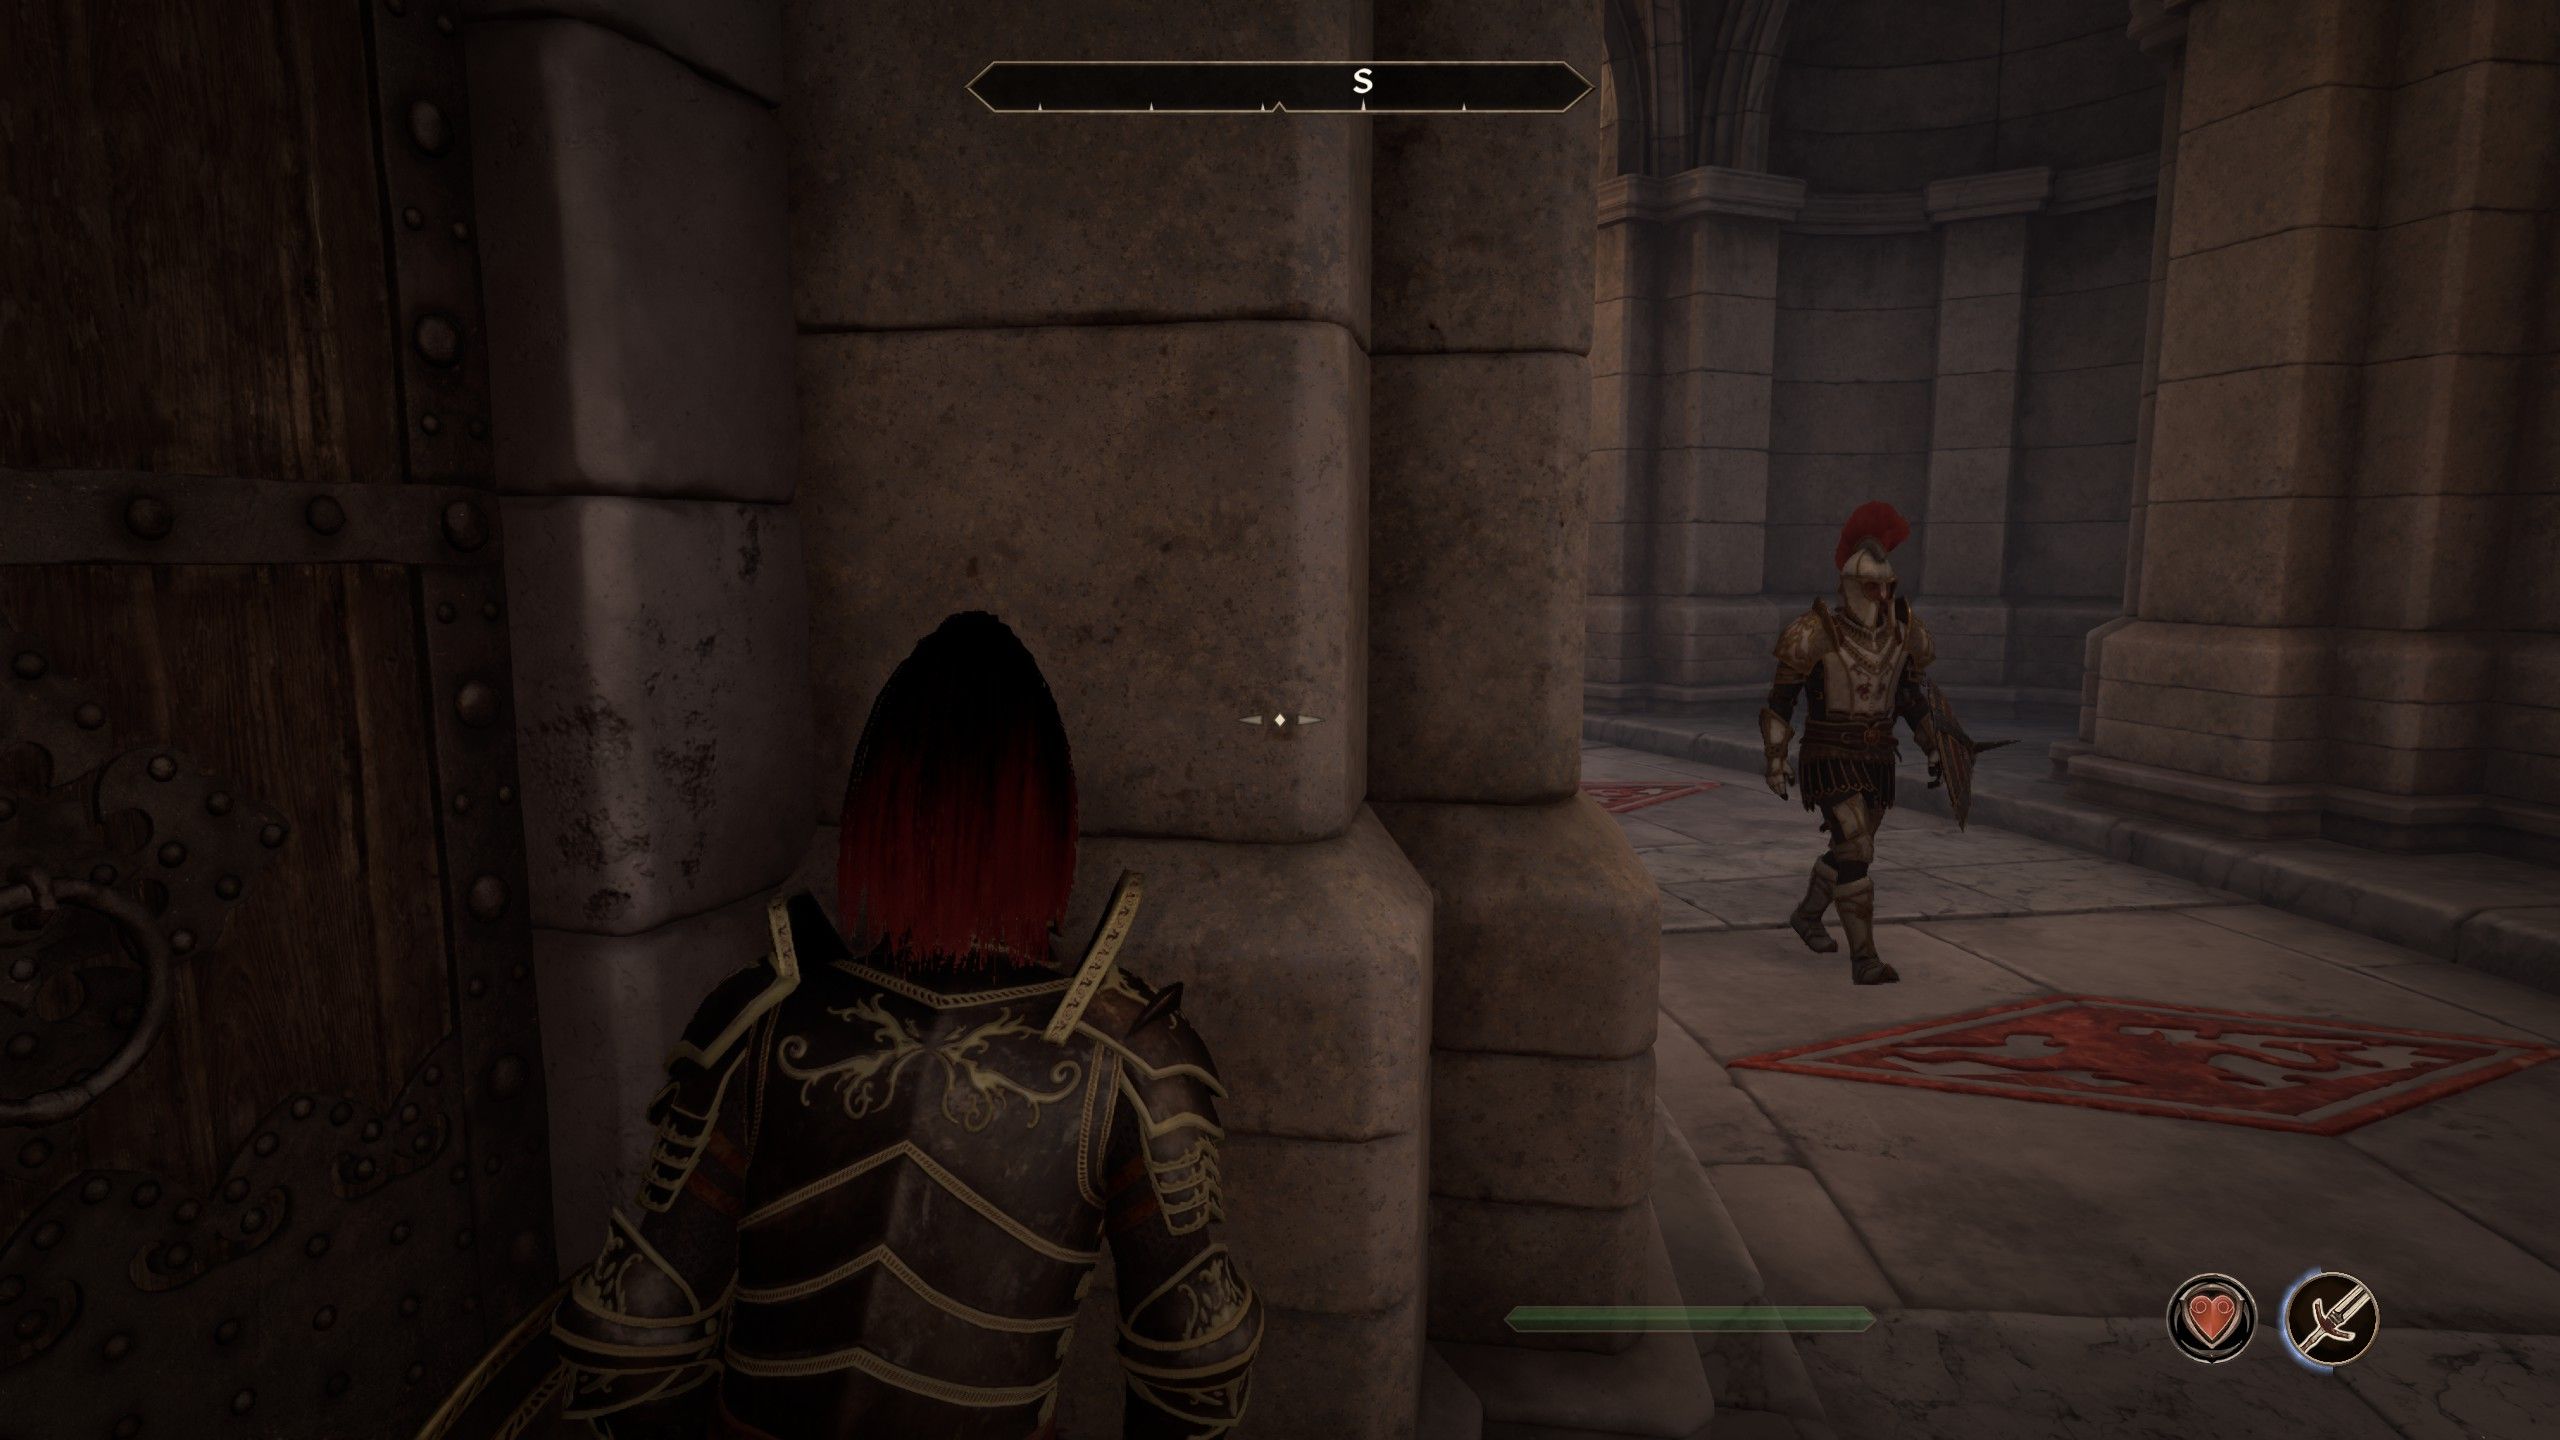
Wait until midnight by using the wait function, then sneak your way past the Imperial Guard Quarters while minimizing noise with a low sneak skill and unarmed. Navigate through the corridors cautiously, keeping an eye out for the guard on patrol. Follow him carefully until you reach a room on the left – this will lead you to the Elder Scrolls Library.
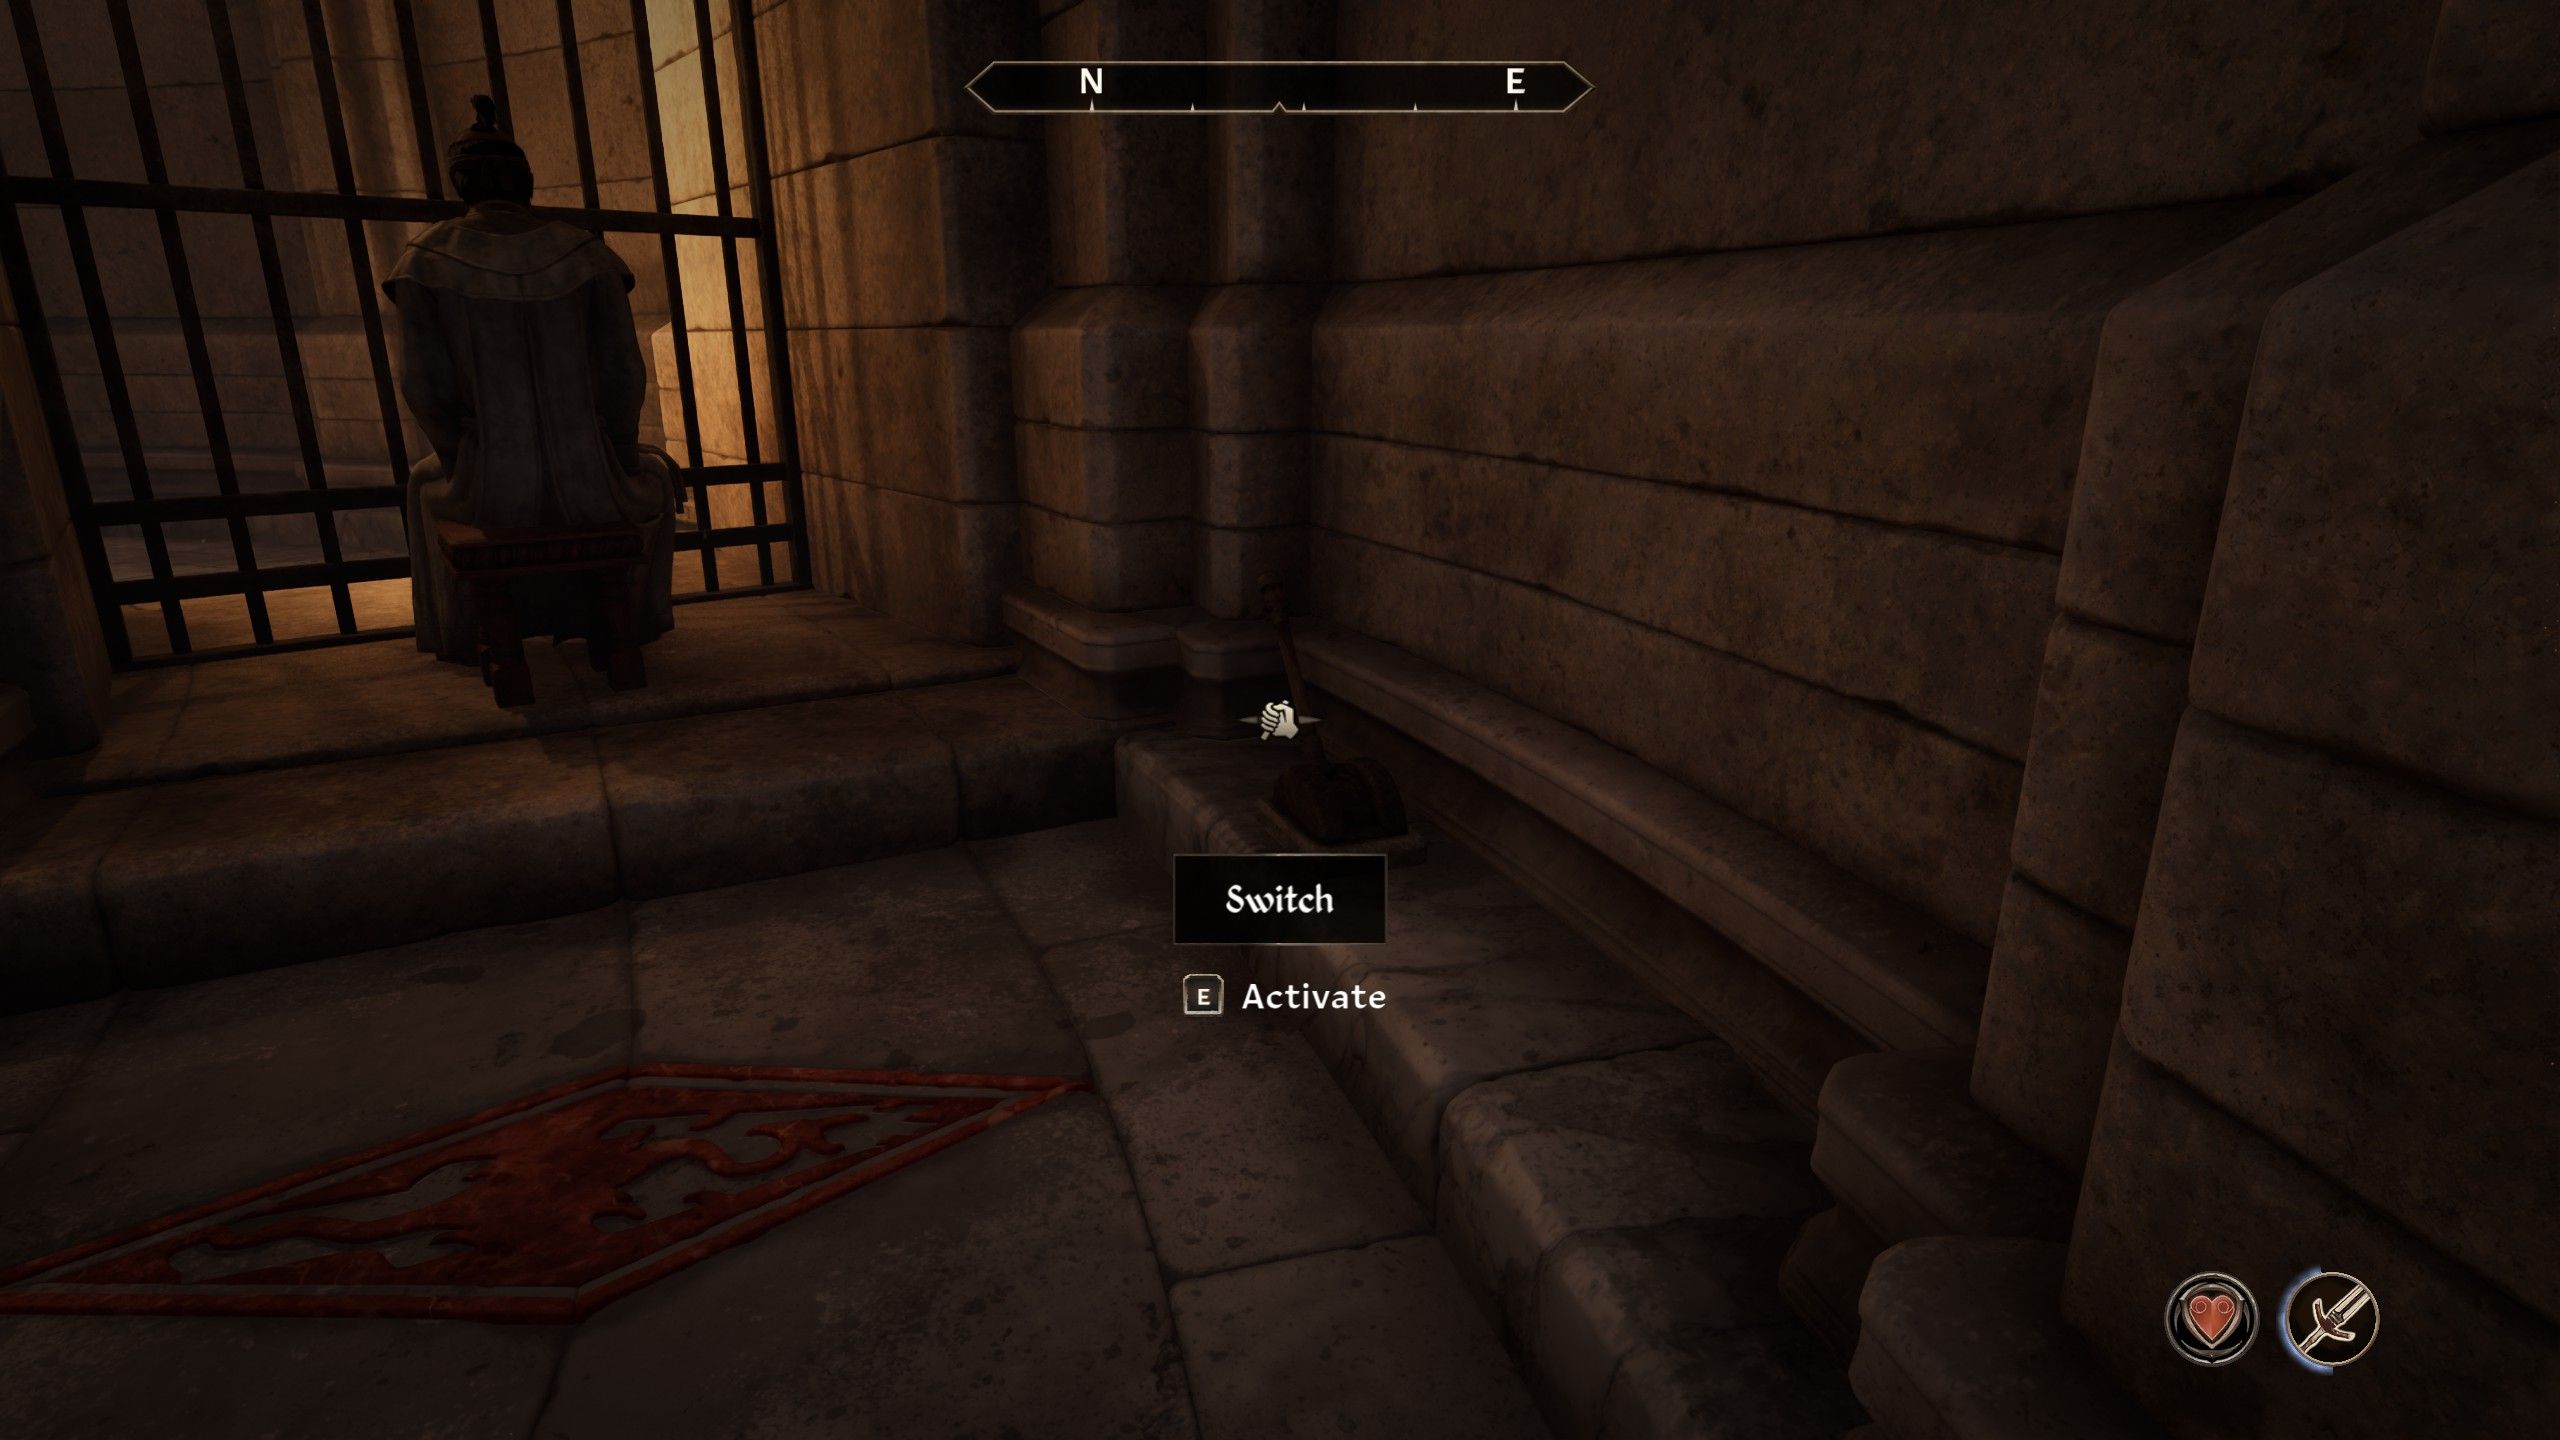
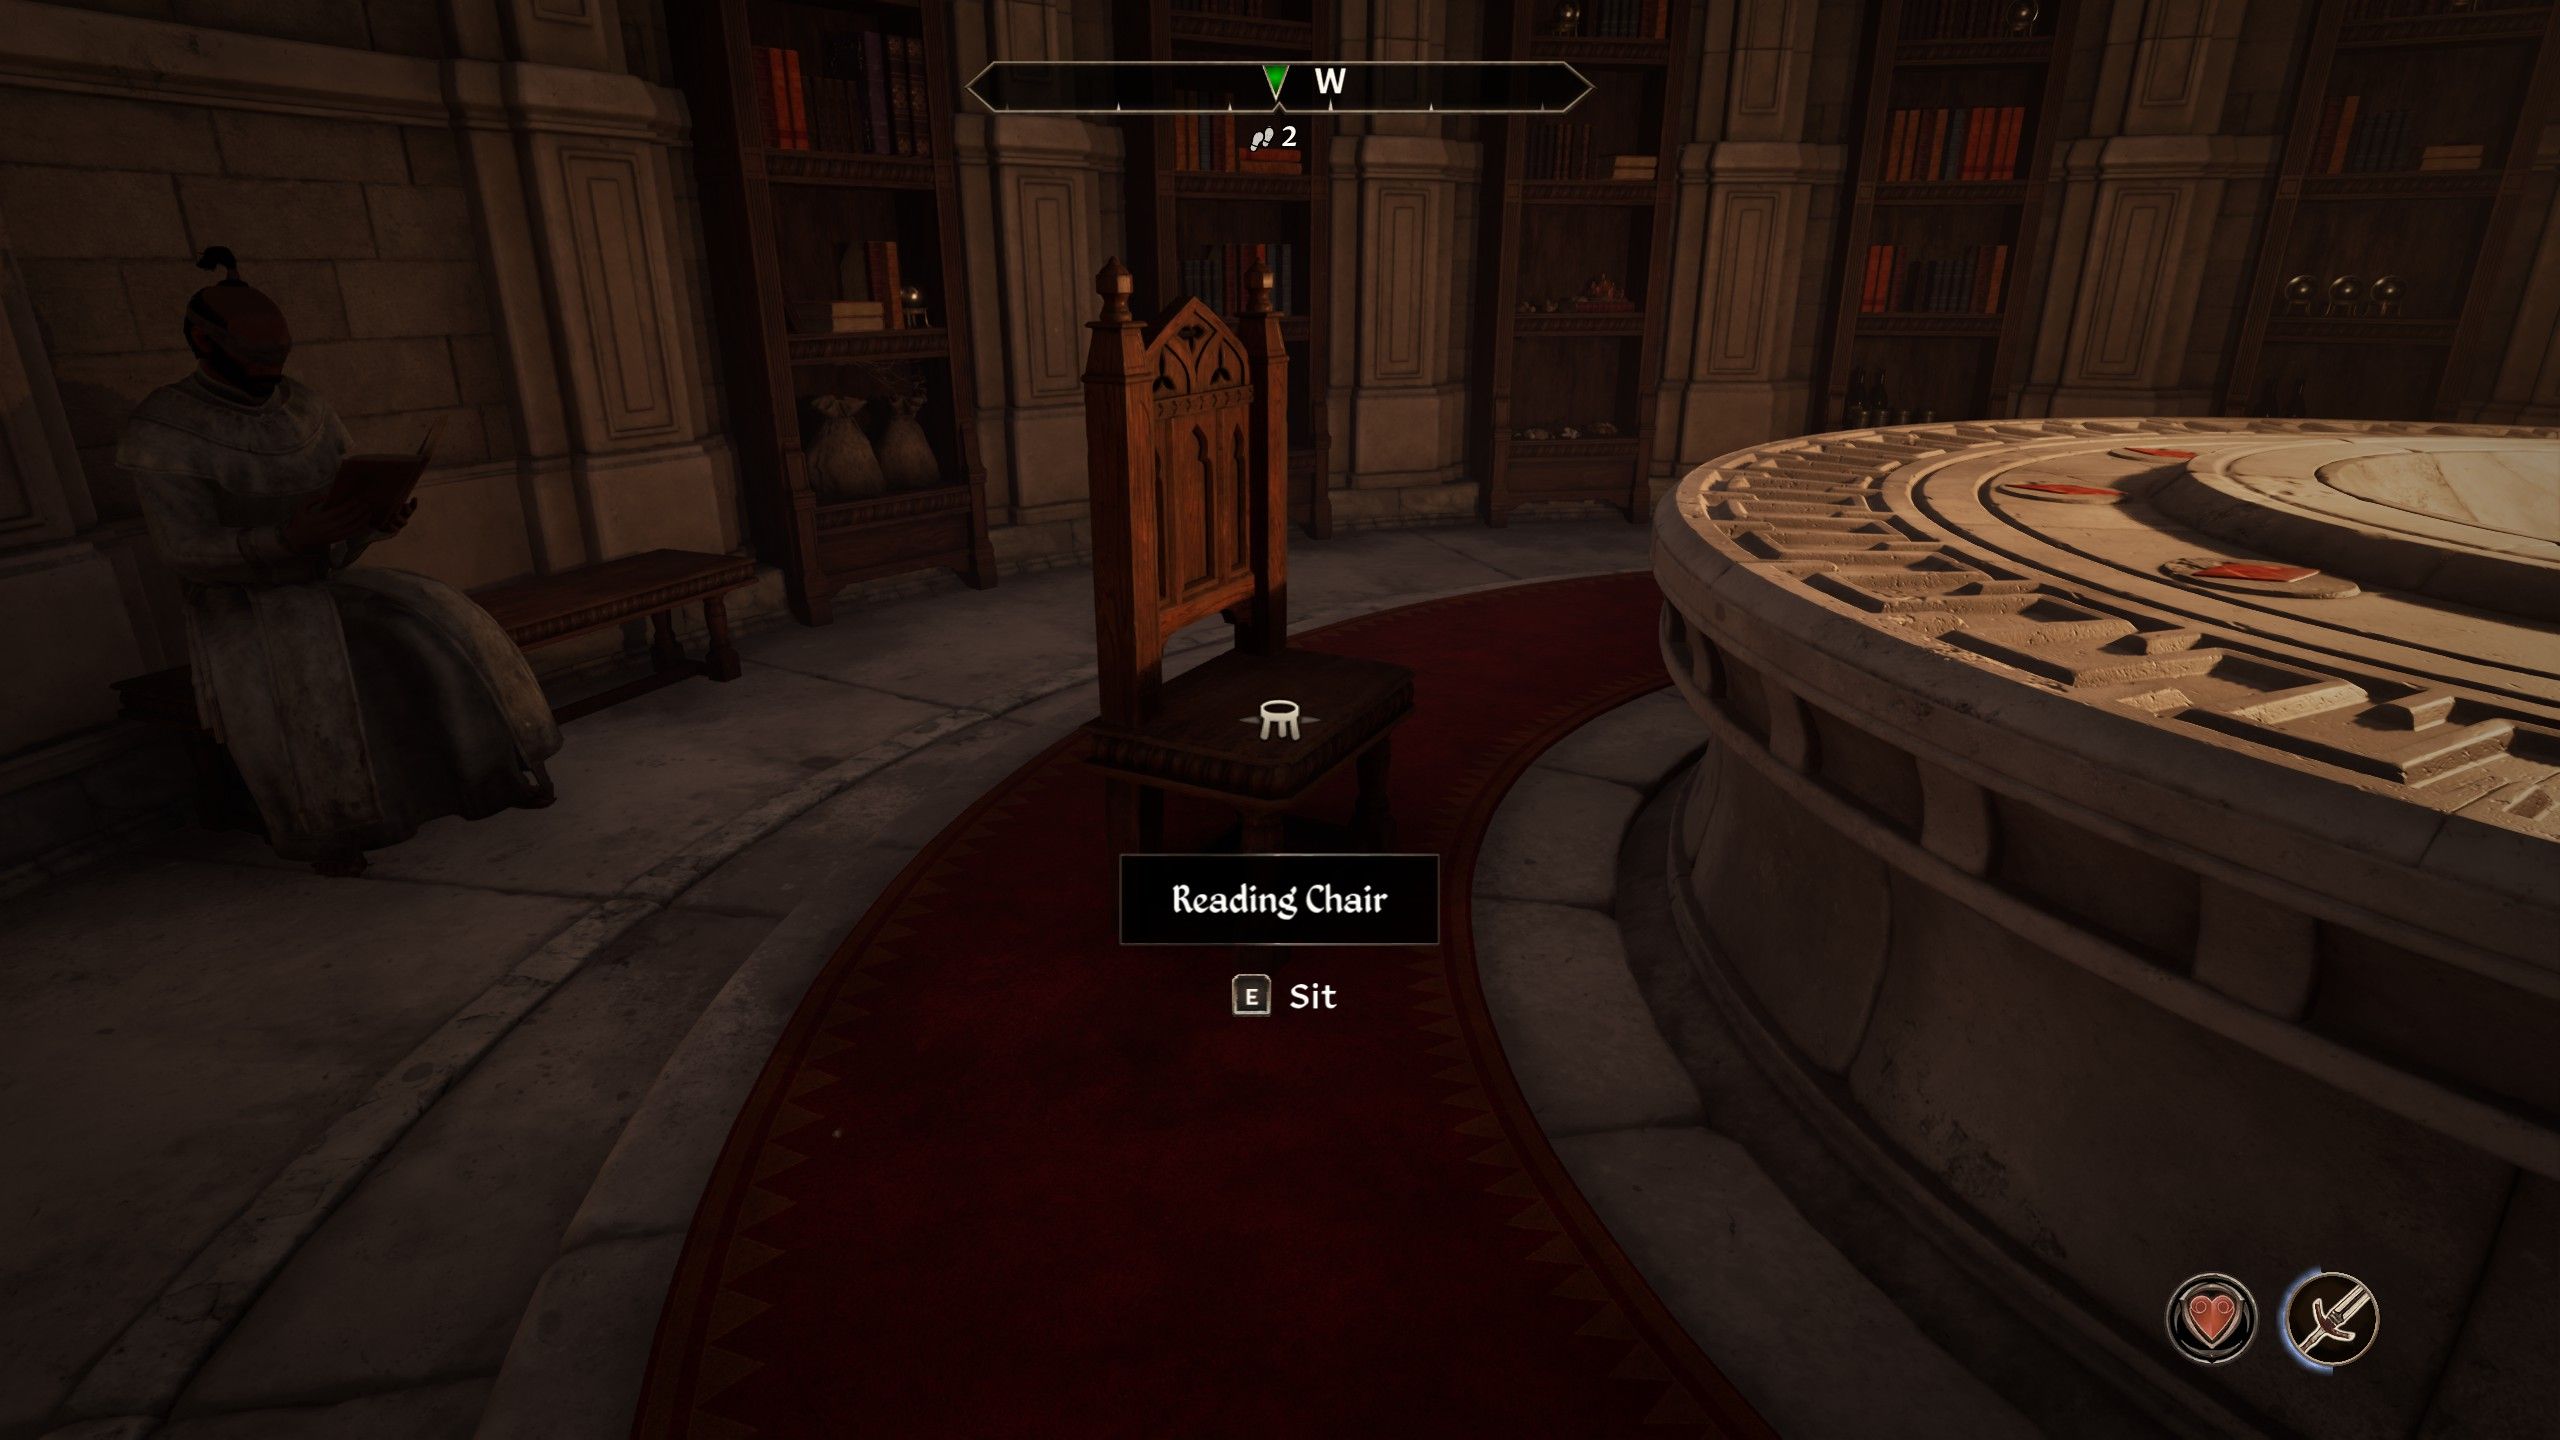
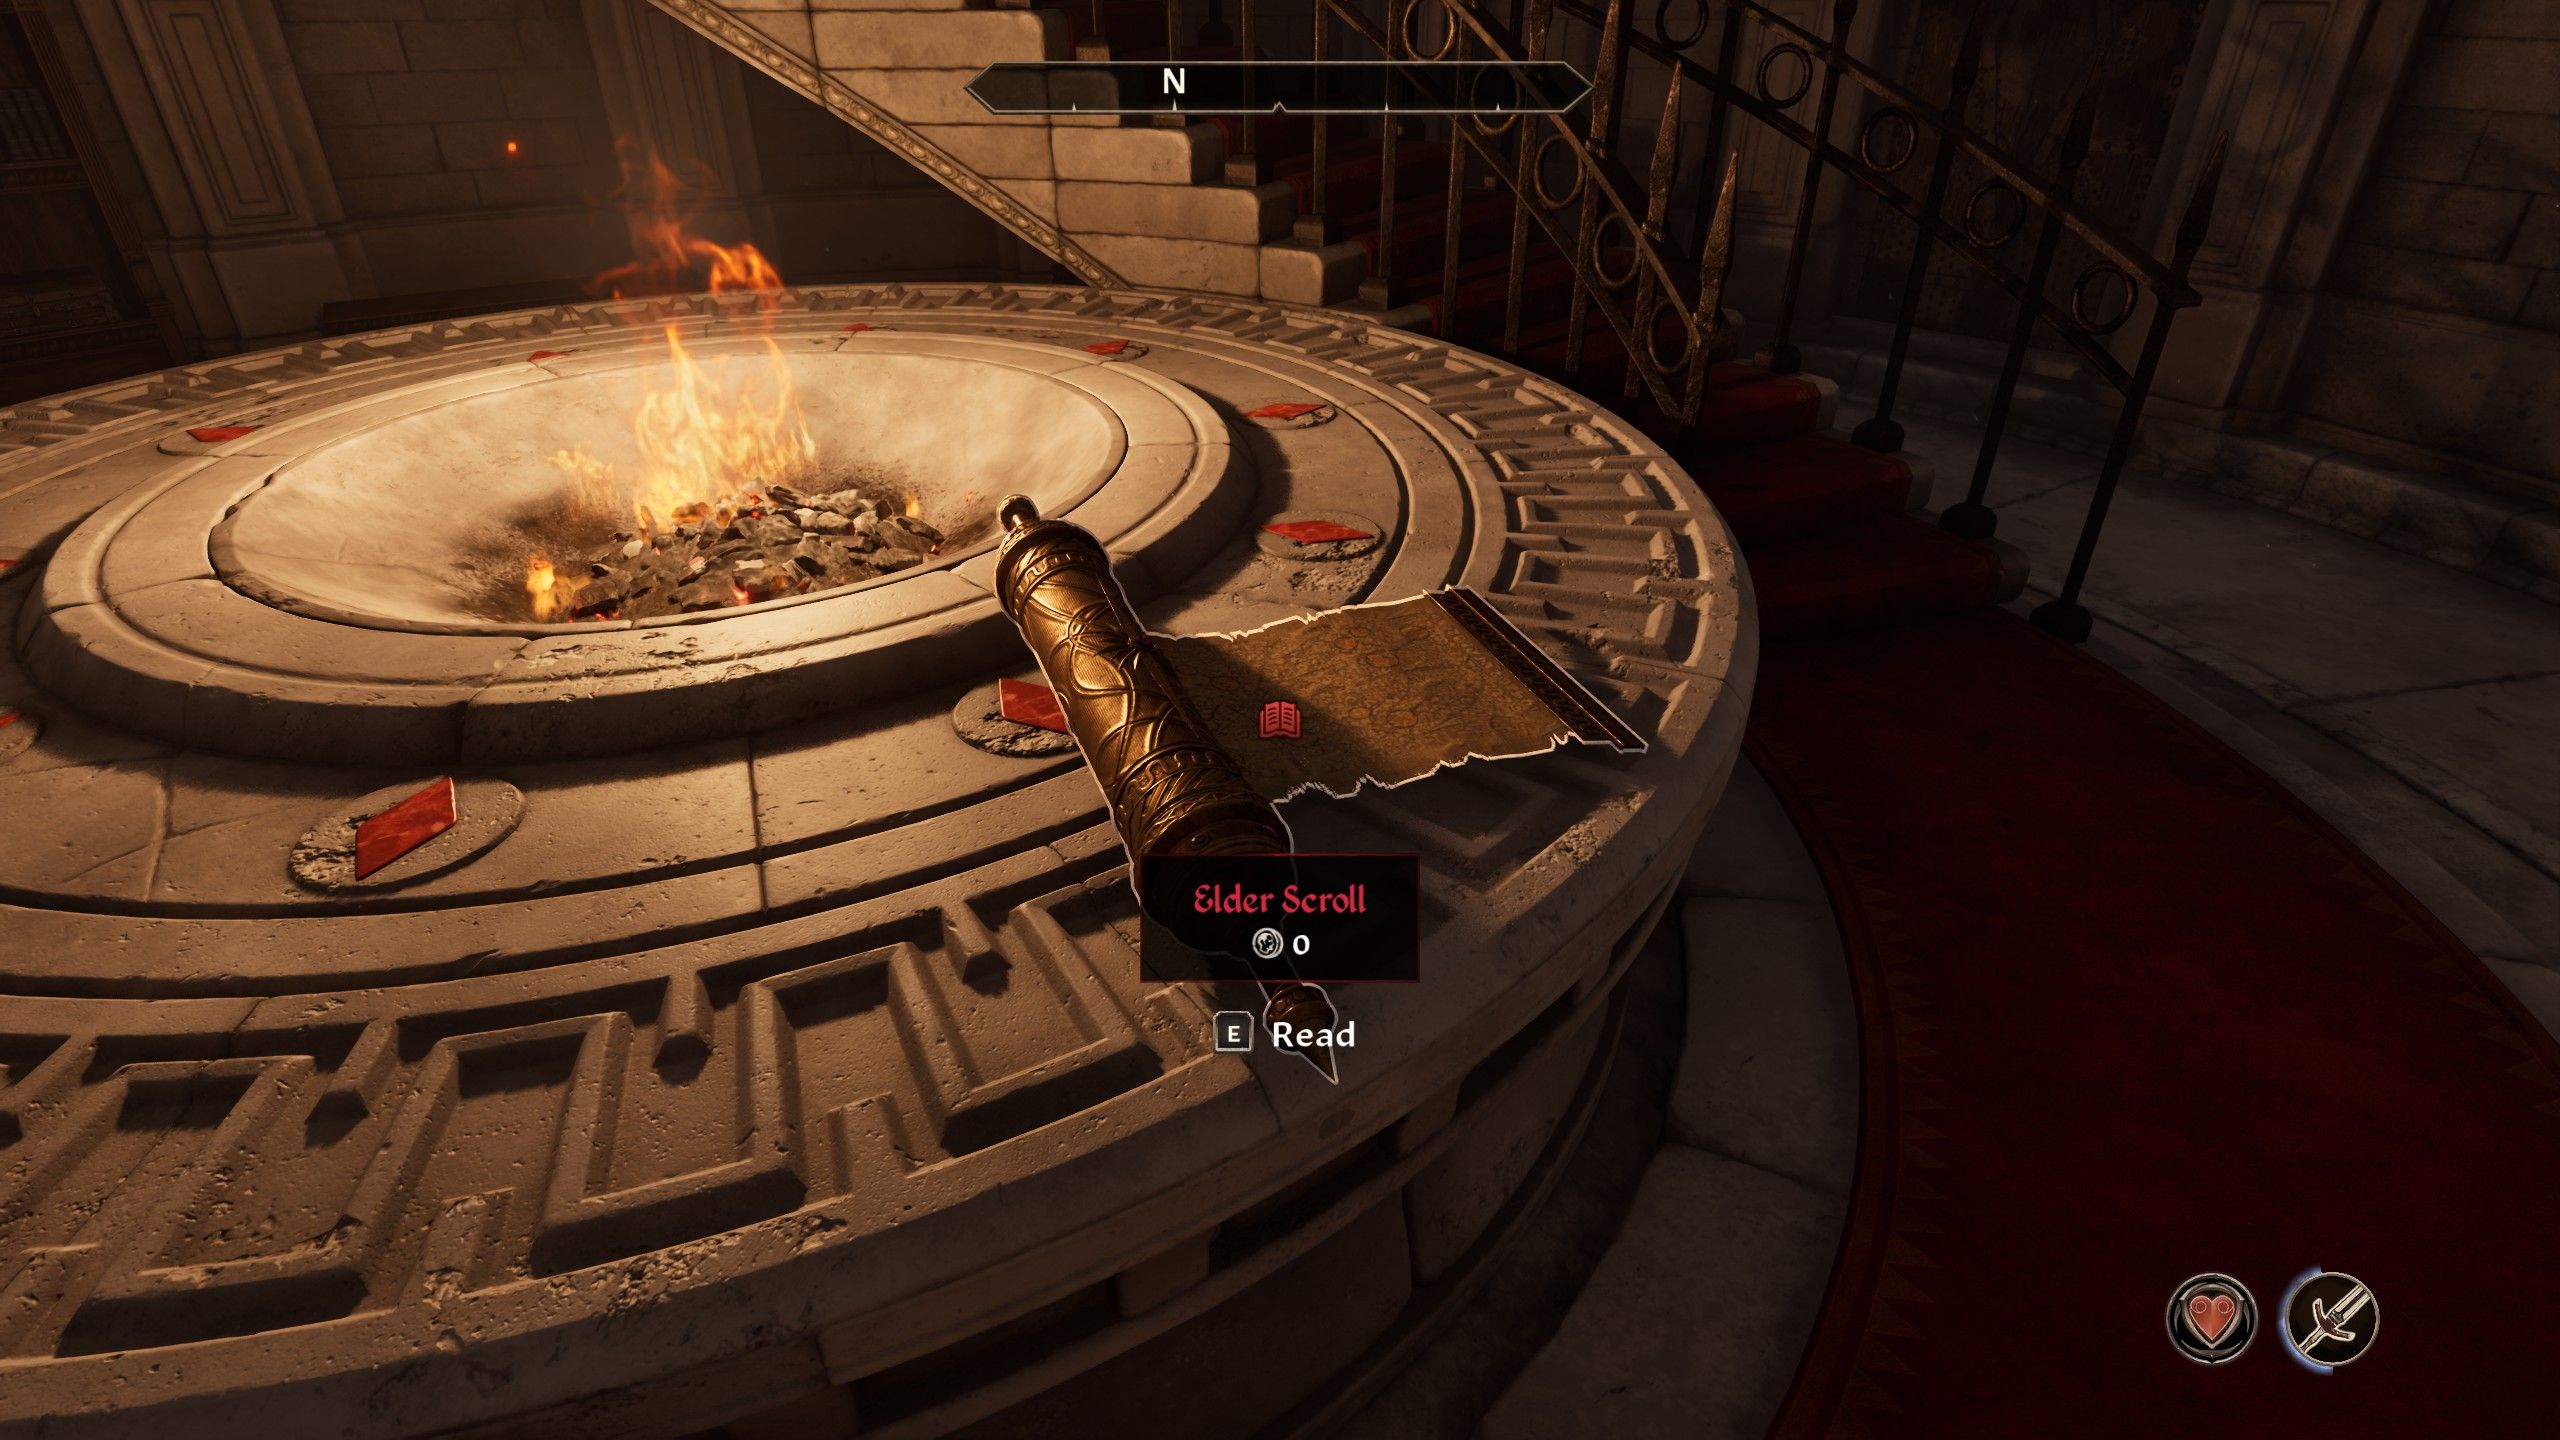
In the Elder Scrolls Archive, make your way down the right-hand passage until you reach a Moth Monk. Behind him, find and trigger a hidden switch. After that, return to where you initially entered the Elder Scrolls Archive using stealth. Once there, slip into the Reading Chair in the main chamber. Remain quiet and don’t engage with the monks. One of them will eventually deposit an Elder Scroll for your perusal. When it’s safe to do so, grab the Elder Scroll and proceed upwards, exploring the various levels of the Elder Scrolls Archive.
Near the Reading Chair, you’ll find a scroll called “Shadow.” Utilizing this scroll grants players a 50% Chameleon effect for improved stealth. Don’t hesitate to pick it up and save it for when you need it during your adventure.
How to Escape the Imperial Palace in Oblivion Remastered
After obtaining the Elder Scroll, utilize any invisibility charms or Shadow Scrolls to build up as much camouflage as you can, then proceed east towards the higher region of the Moth Priest’s Quarters. Upon entering, move east and bypass locked rooms until you reach the Imperial Battlemage’s Chambers. At this juncture, players should put on the Boots of Springheel Jak to avoid lethal fall damage.
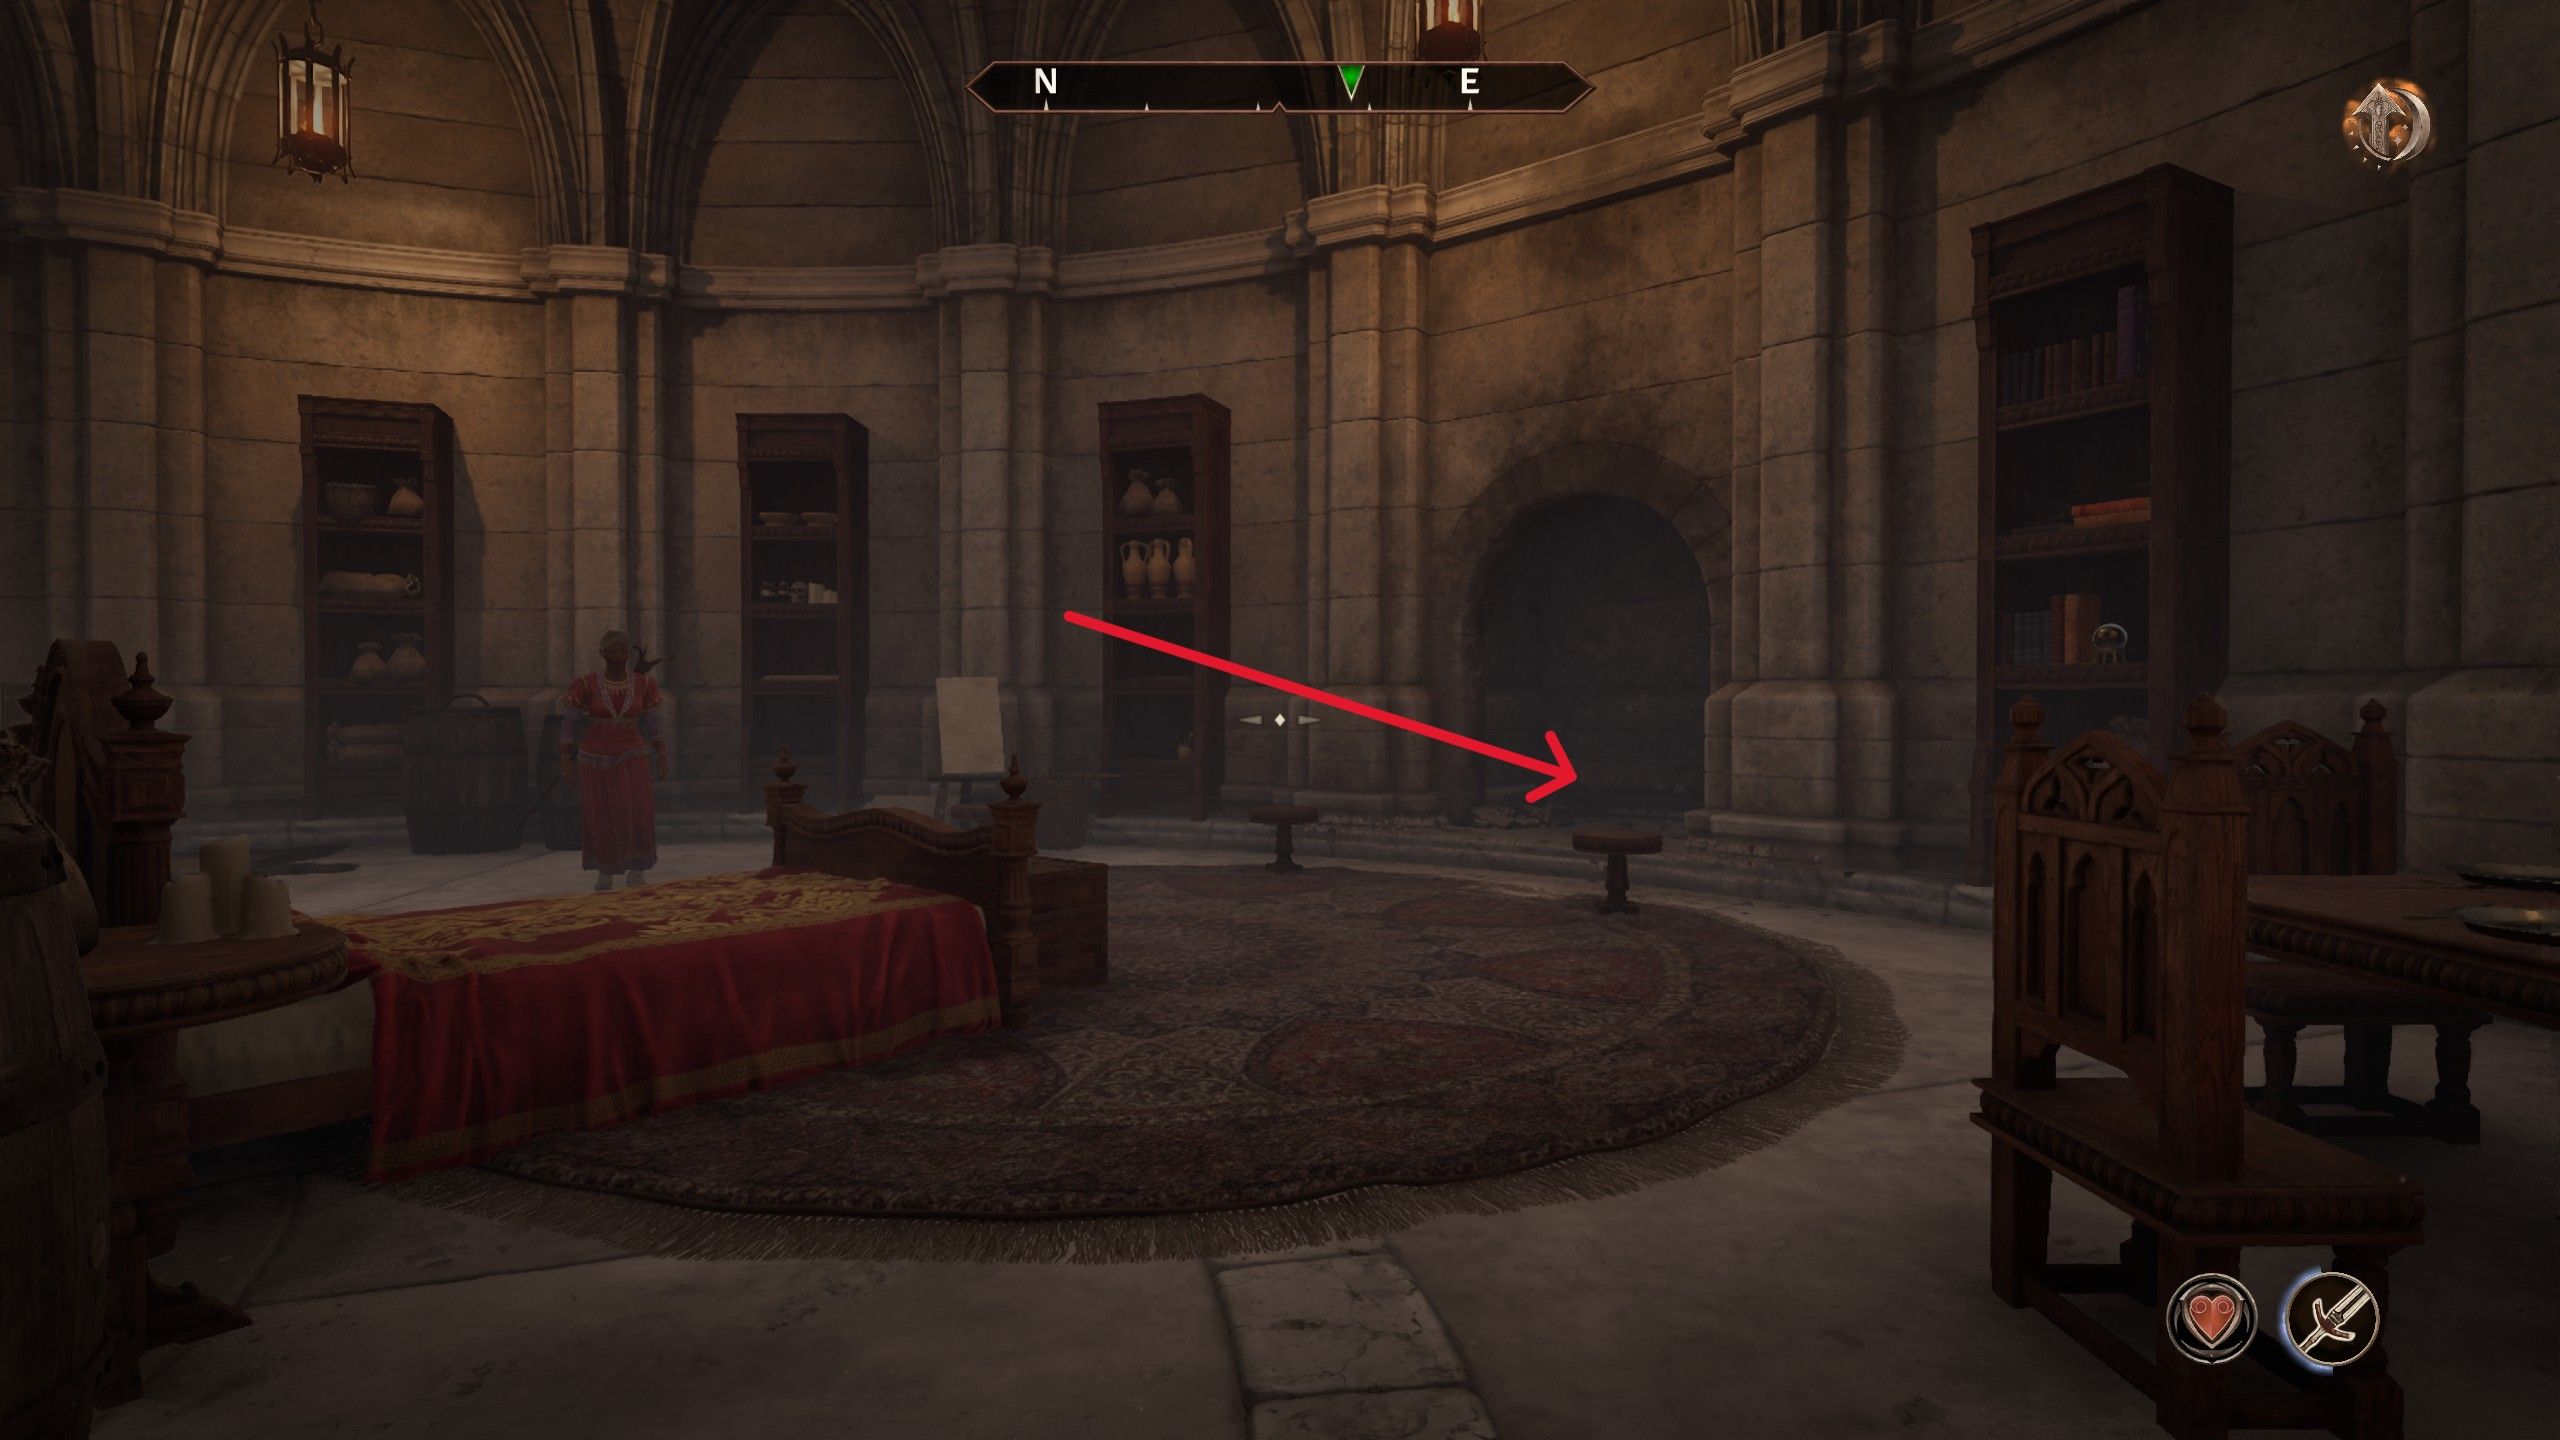
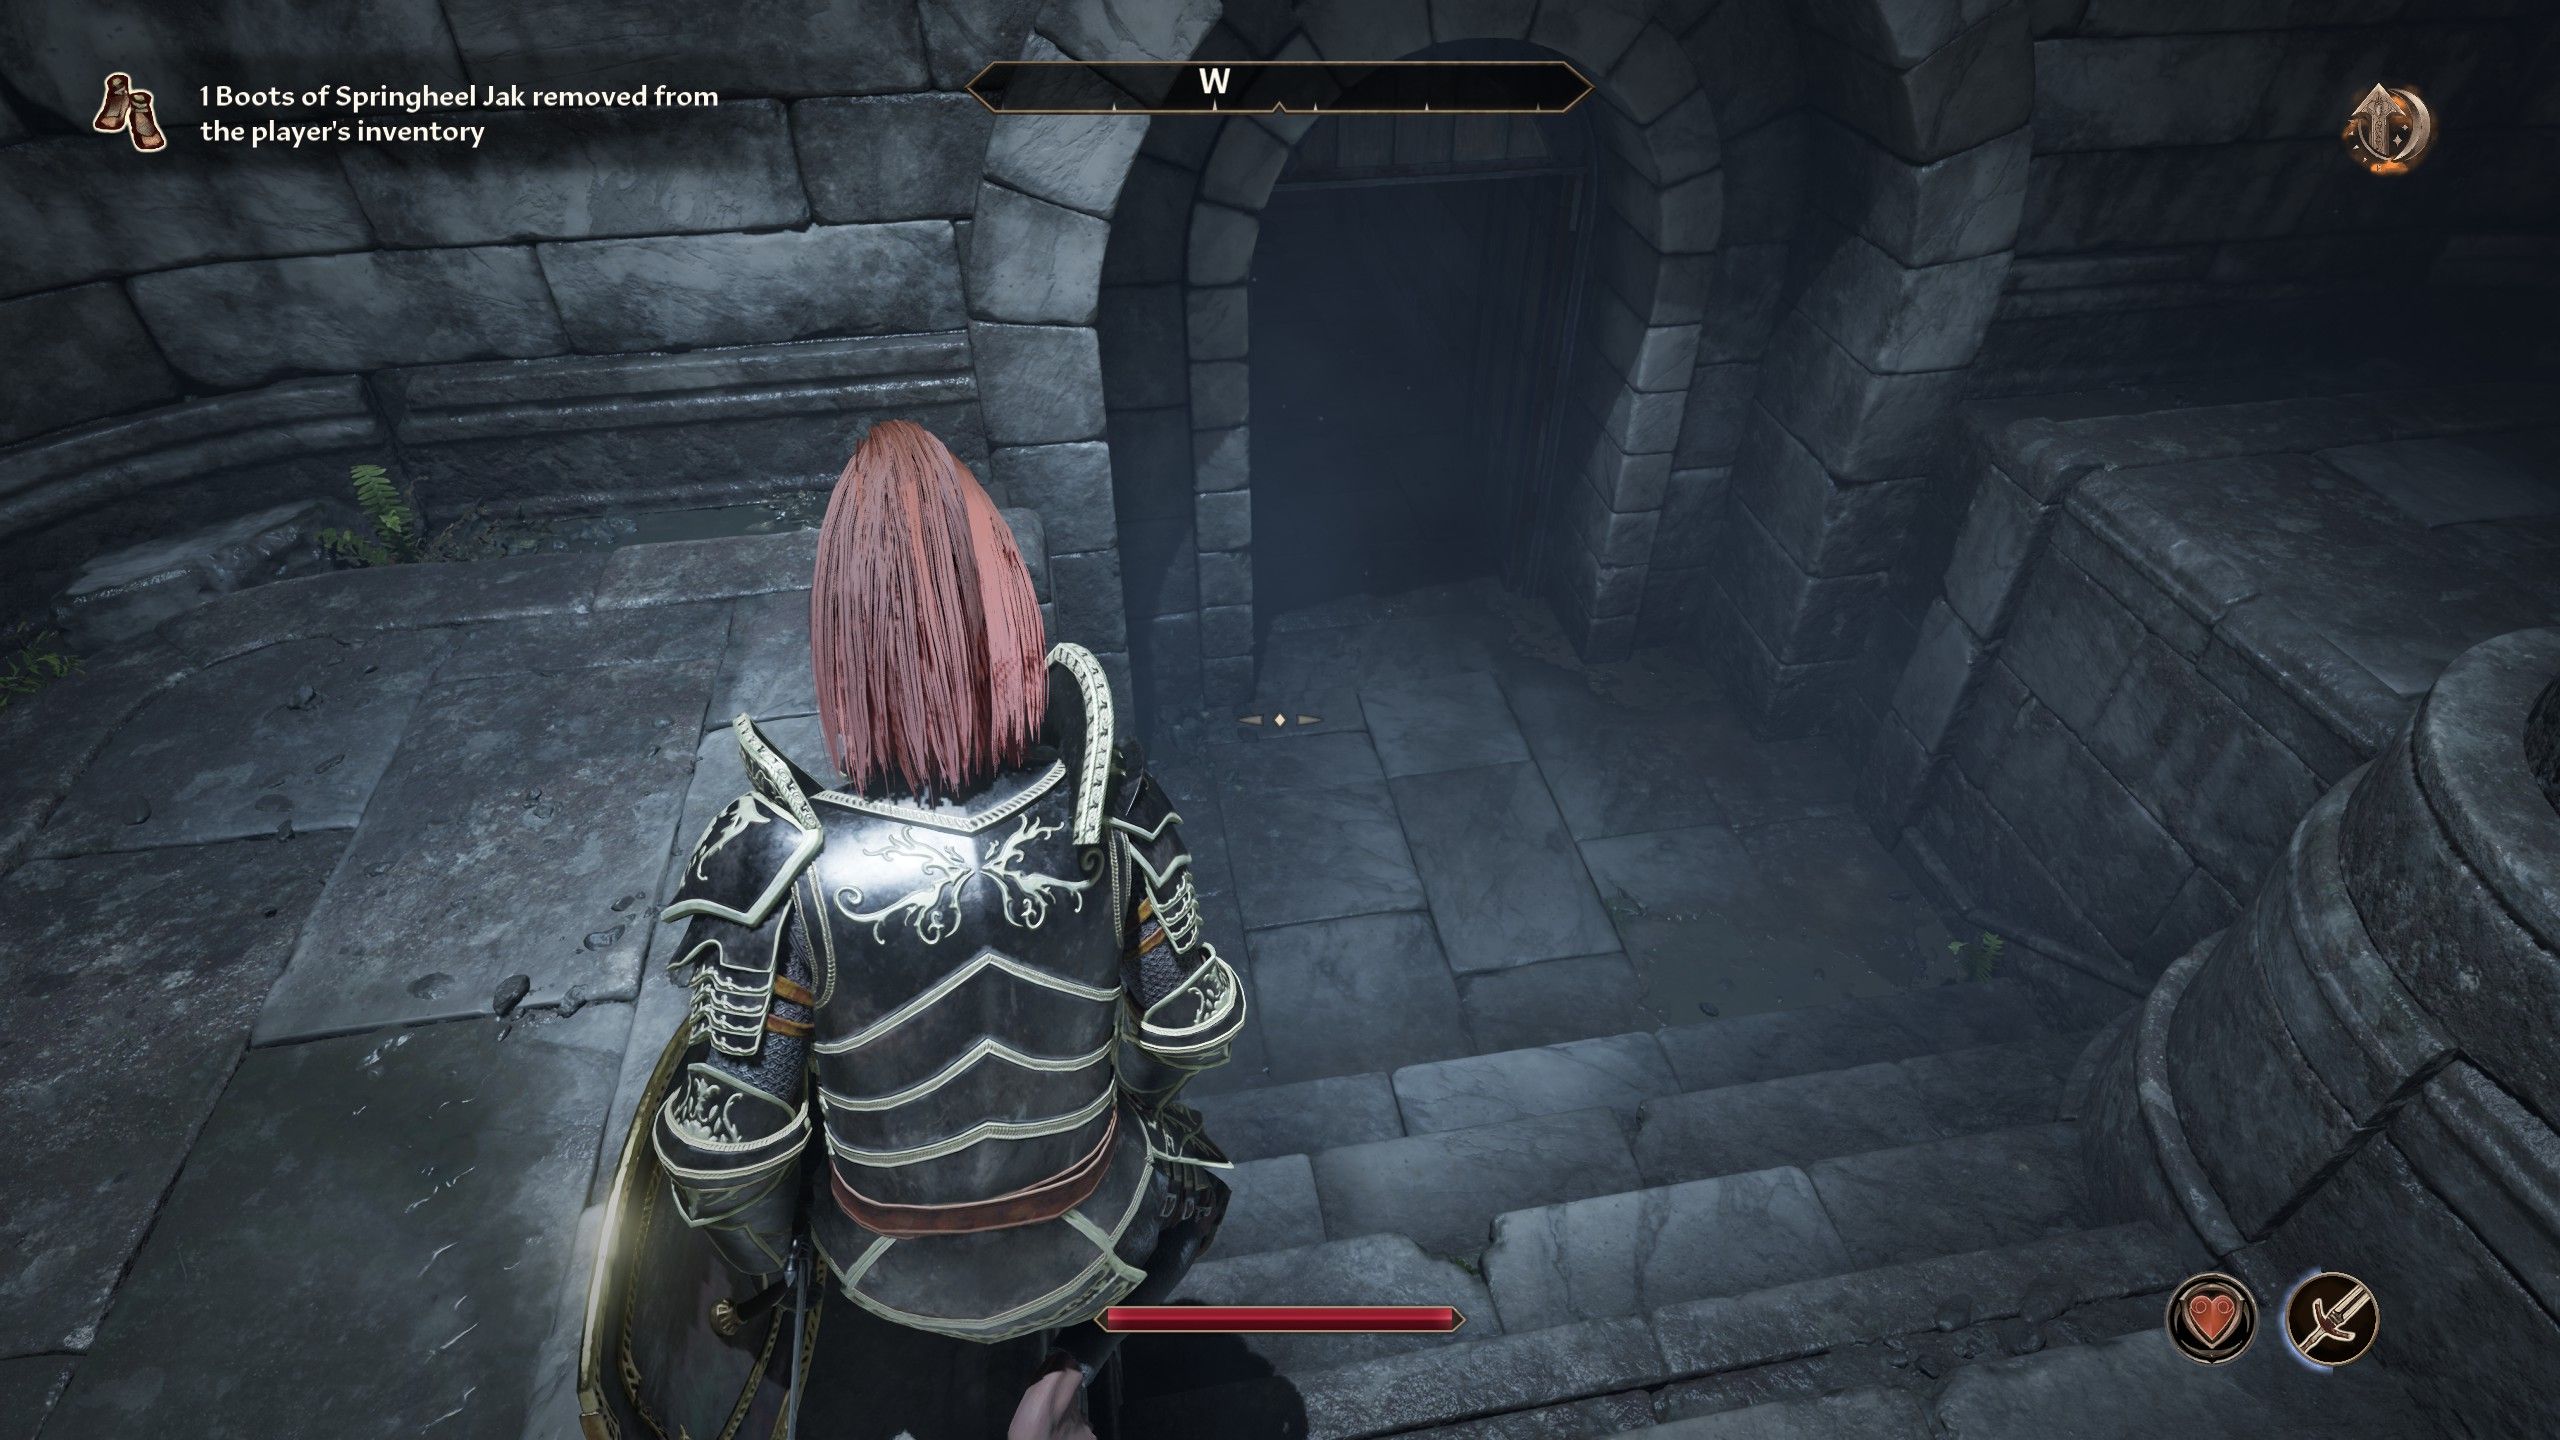
In this last room before your escape, locate the initial wooden door that is locked. It’s crucial for players to steer clear of Evangeline Beanique; killing her will lead to expulsion from the Mages Guild. Inside this chamber, you’ll find a fireplace. If you peer down and enter it, prepare for a descent into the sewers, with no damage from falling, but be aware that doing so will permanently destroy the Boots of Springheel Jak. Once in the sewers, retrace your steps to leave this room, and then return to the Gray Fox at Othrelos’ House, which is situated within the Elven Gardens District.
How to Complete The Ultimate Heist Quest in Oblivion Remastered
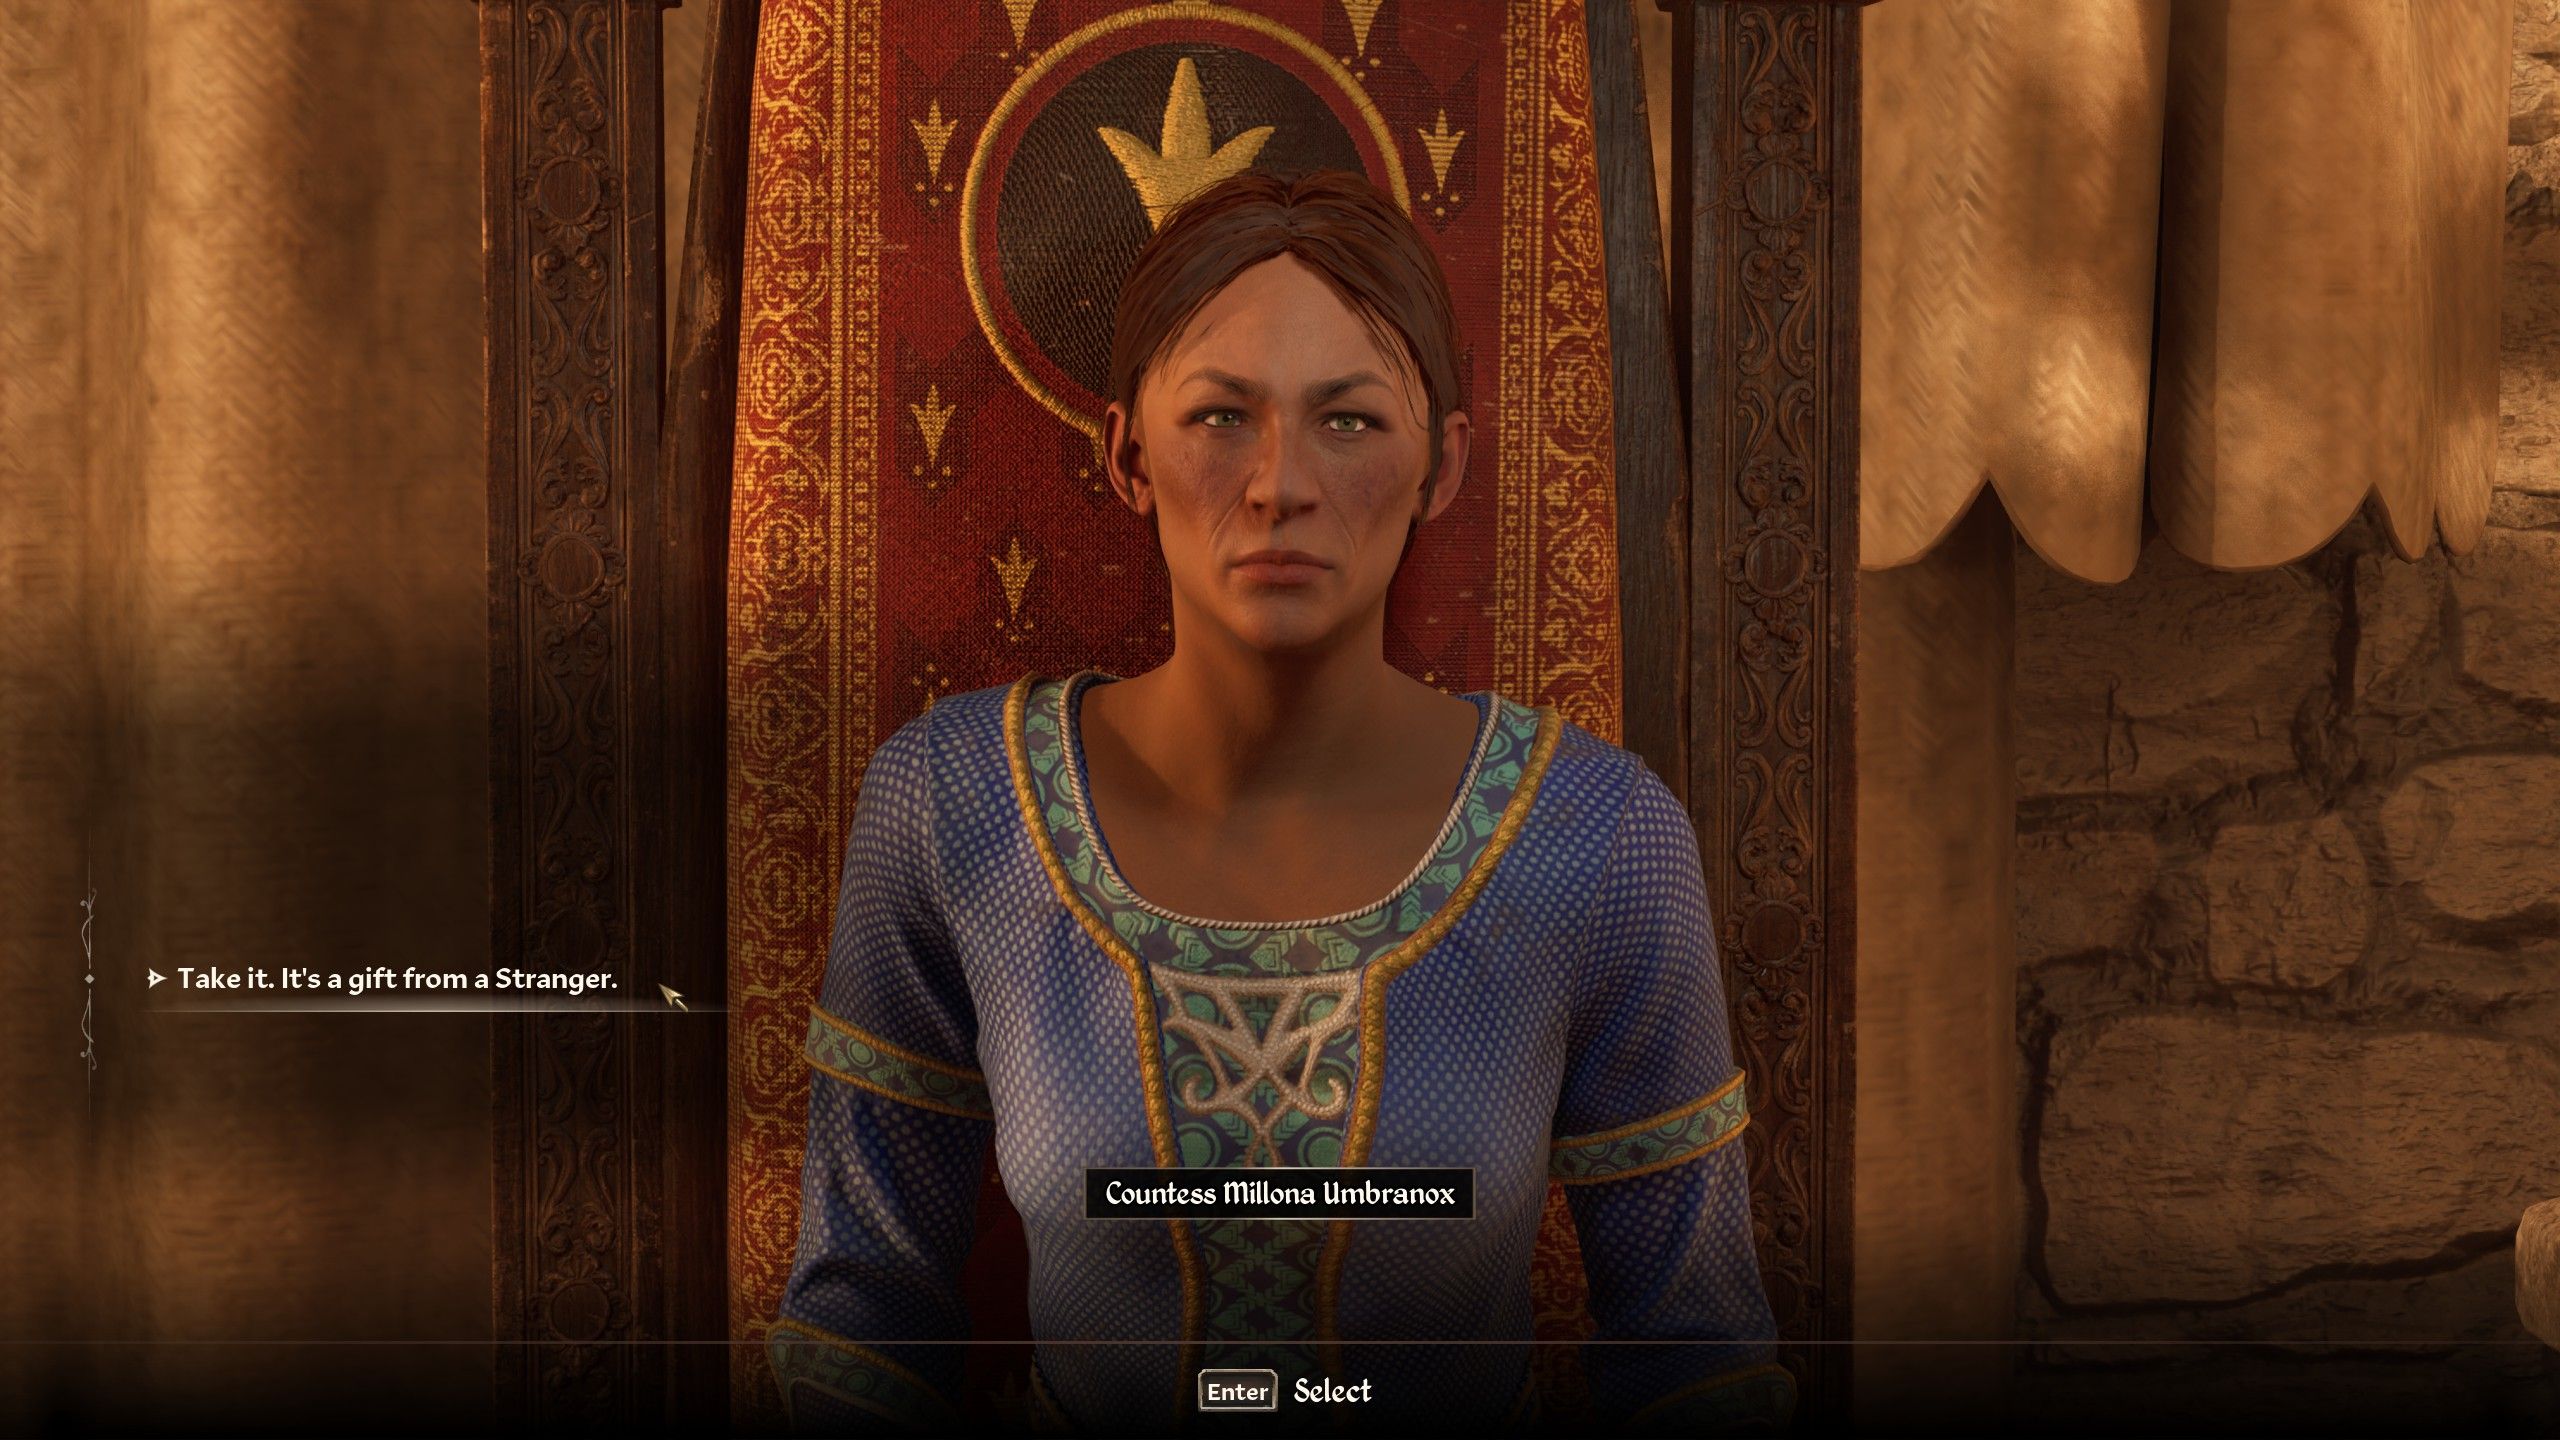
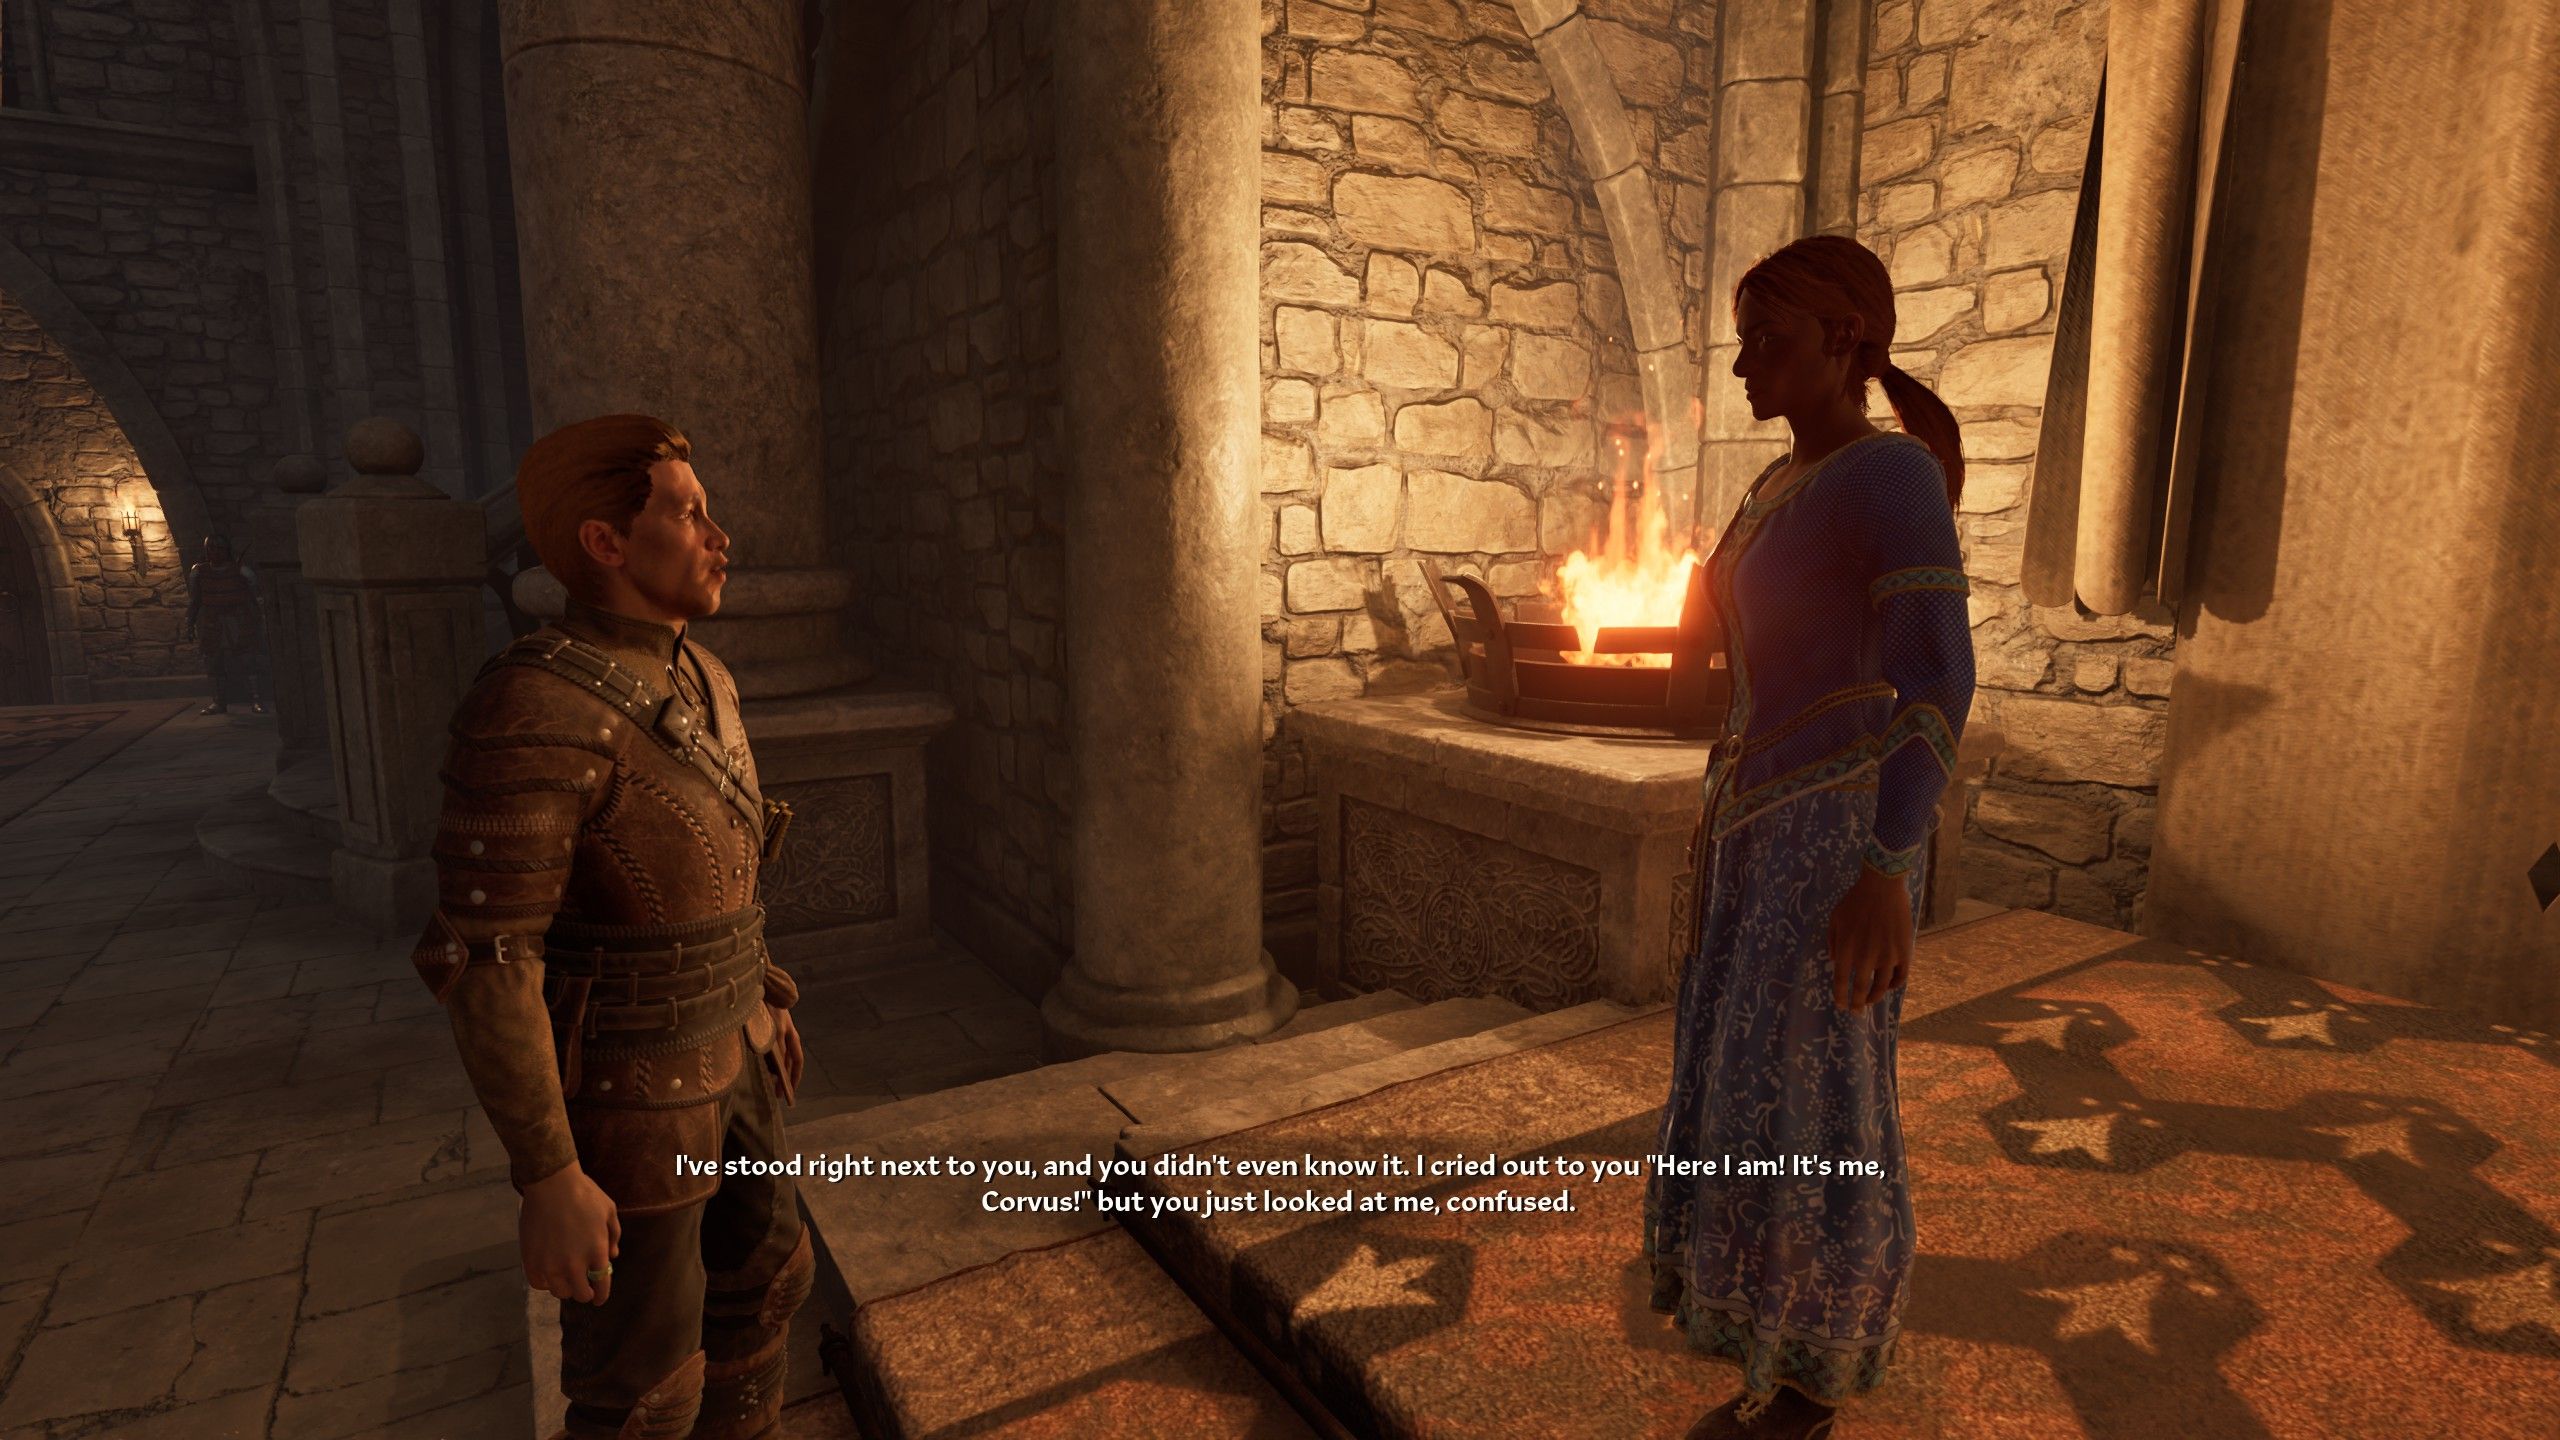
With the Elder Scroll now in the possession of the Gray Fox, it’s high time to wrap up this quest. This task is quite straightforward; the Gray Fox has assigned players with delivering a ring to Countess Millona Umbranox, who resides at Castle Anvil. Once you hand over the ring to the Countess Anvil, the Gray Fox will materialize, and a cinematic sequence will unfold. The Gray Fox employs the Elder Scroll to manipulate time, thereby relinquishing his title as the Gray Fox and reverting back to Corvus, the husband of Countess Umbranox of Anvil.
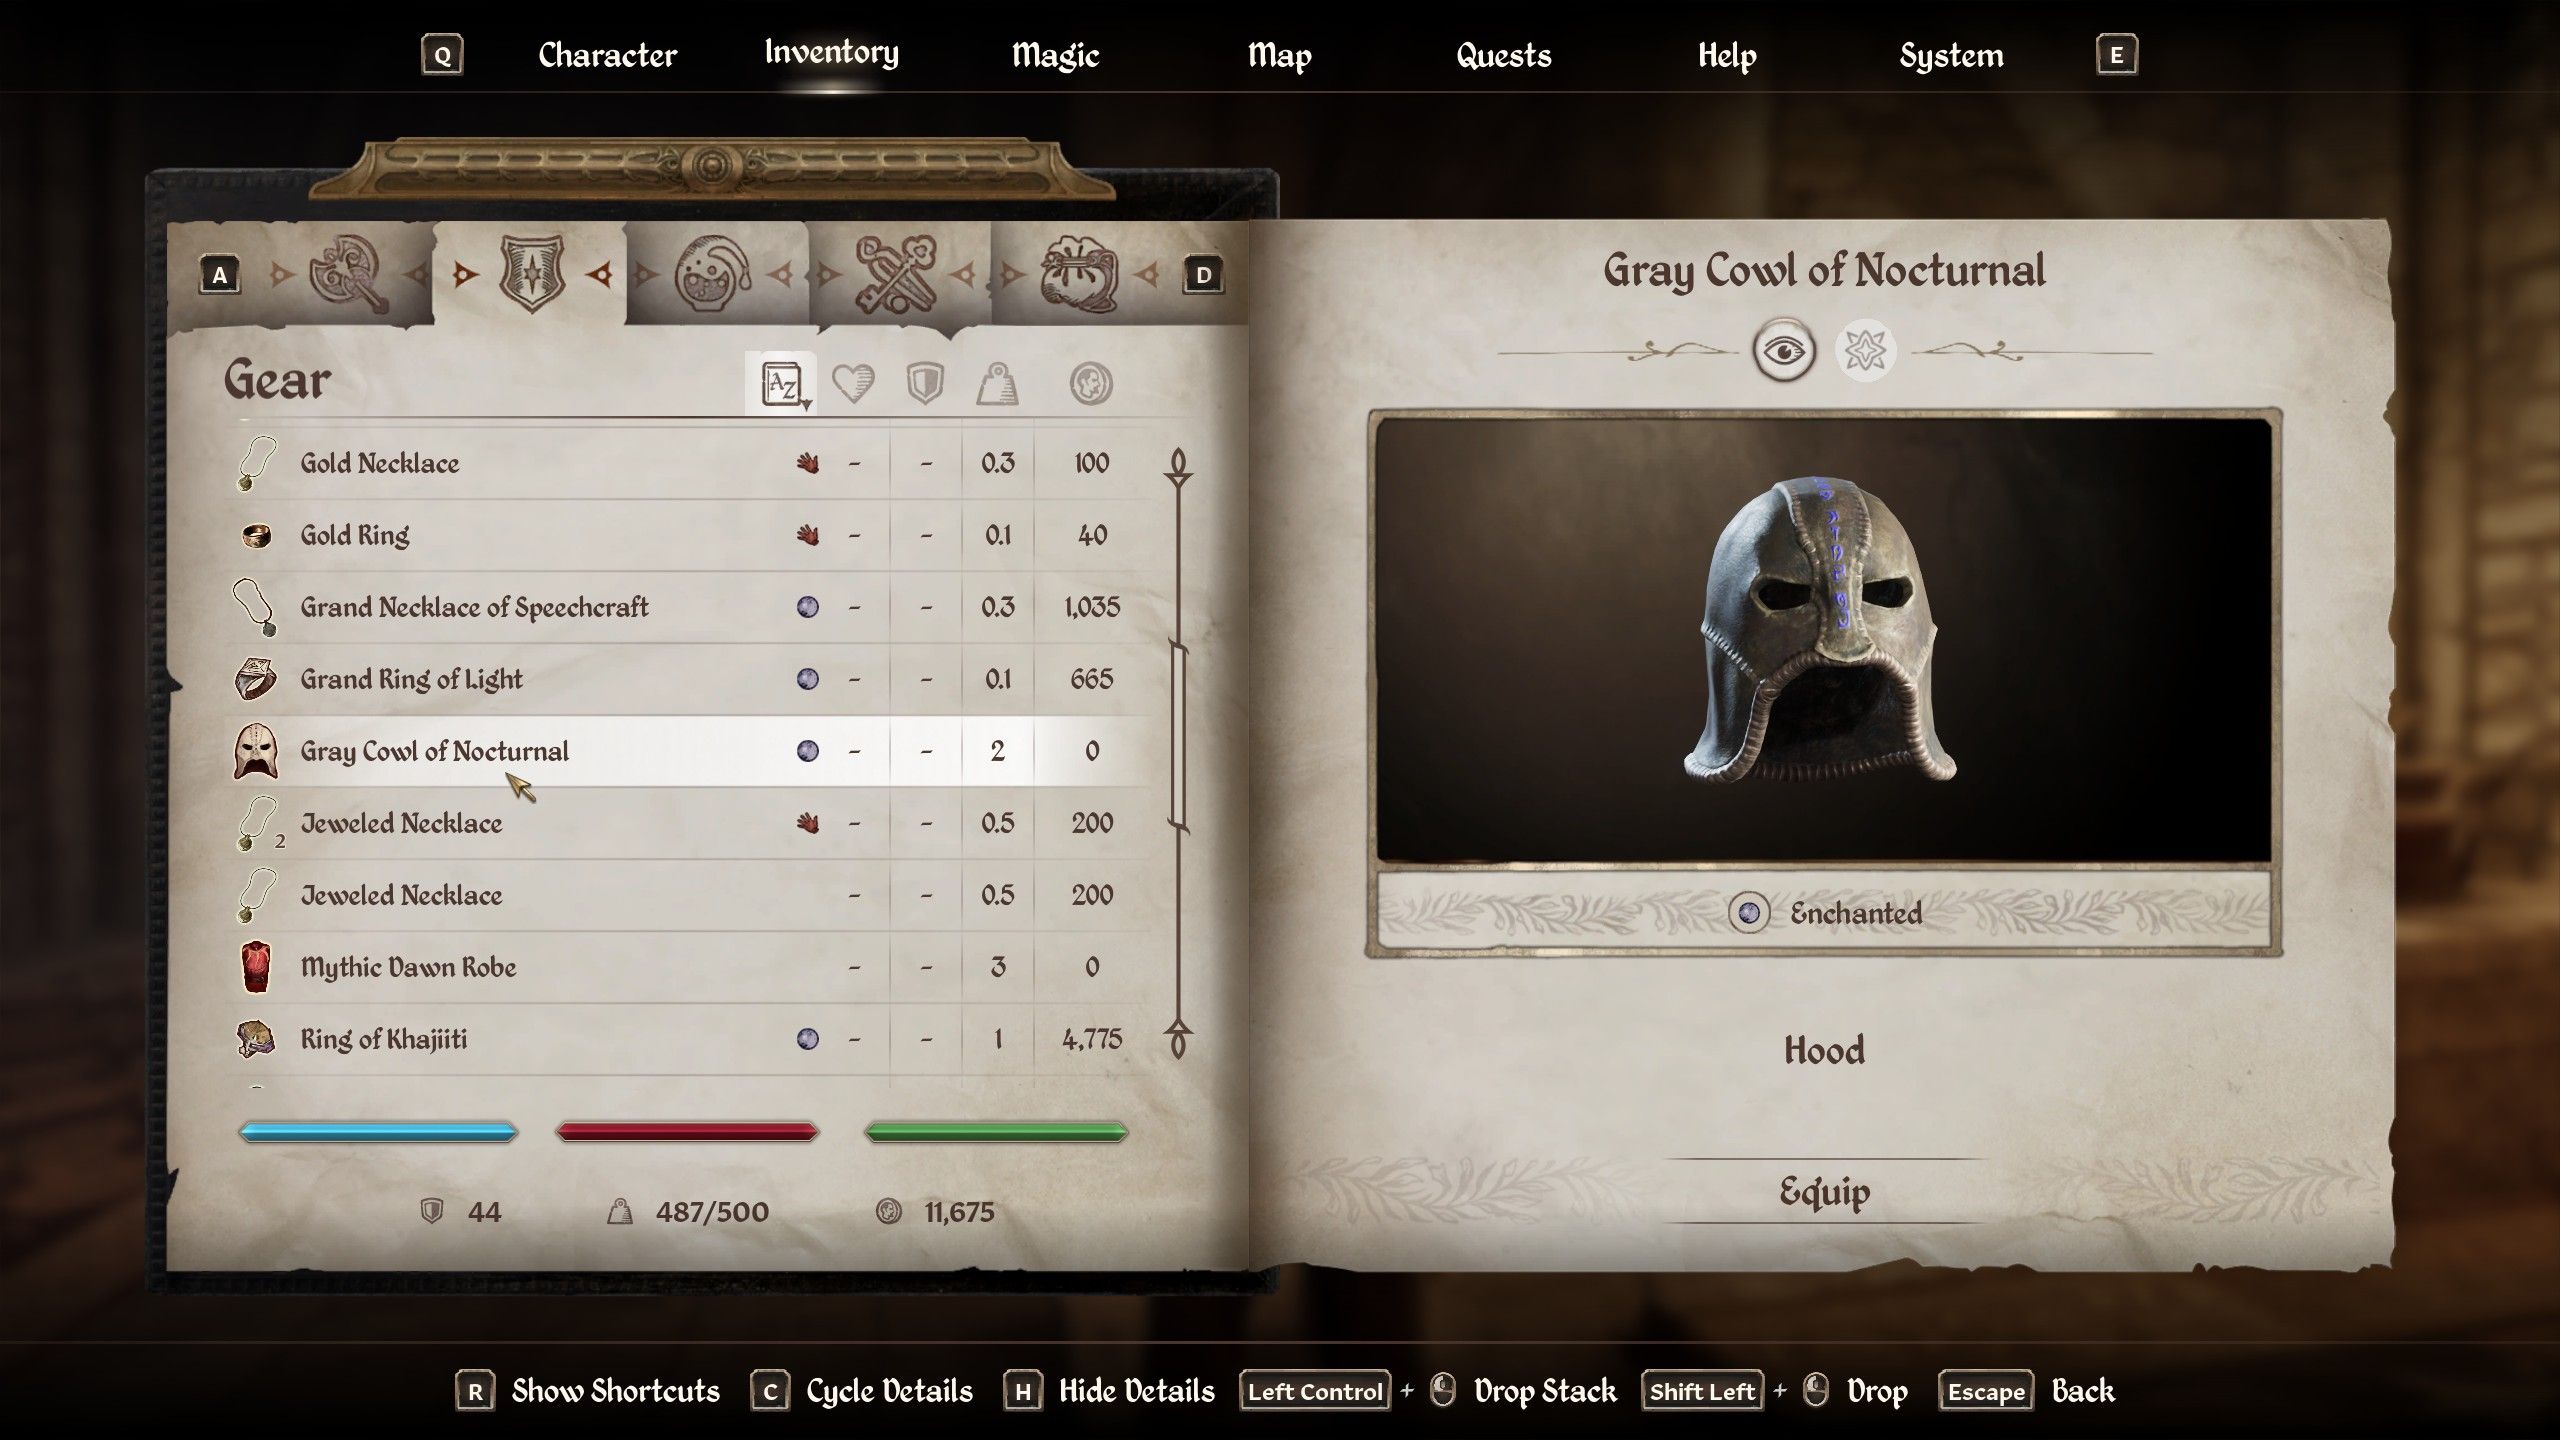
In the Thieves Guild, players can attain the esteemed title of Guildmaster, accompanied by their personal Guildmaster Quarters within the recently constructed Thieves Guild Hall at Dareloth’s House in the Waterfront District. Additionally, they will receive the Gray Cowl of Nocturnal as a keepsake, although it is not an item for frequent use. The Gray Cowl of Nocturnal triggers hostility from all guards when worn, but offers benefits such as increased sneak and feather abilities (25 points of sneak and 200 points of feather), as well as the ability to detect life within a 120-foot radius.
Read More
- All Skyblazer Armor Locations in Crimson Desert
- How to Get the Sunset Reed Armor Set and Hollow Visage Sword in Crimson Desert
- All Shadow Armor Locations in Crimson Desert
- Marni Laser Helm Location & Upgrade in Crimson Desert
- All Helfryn Armor Locations in Crimson Desert
- All Golden Greed Armor Locations in Crimson Desert
- Best Bows in Crimson Desert
- All Icewing Armor Locations in Crimson Desert
- How to Beat Stonewalker Antiquum at the Gate of Truth in Crimson Desert
- Legendary White Lion Necklace Location in Crimson Desert
2025-04-28 15:04