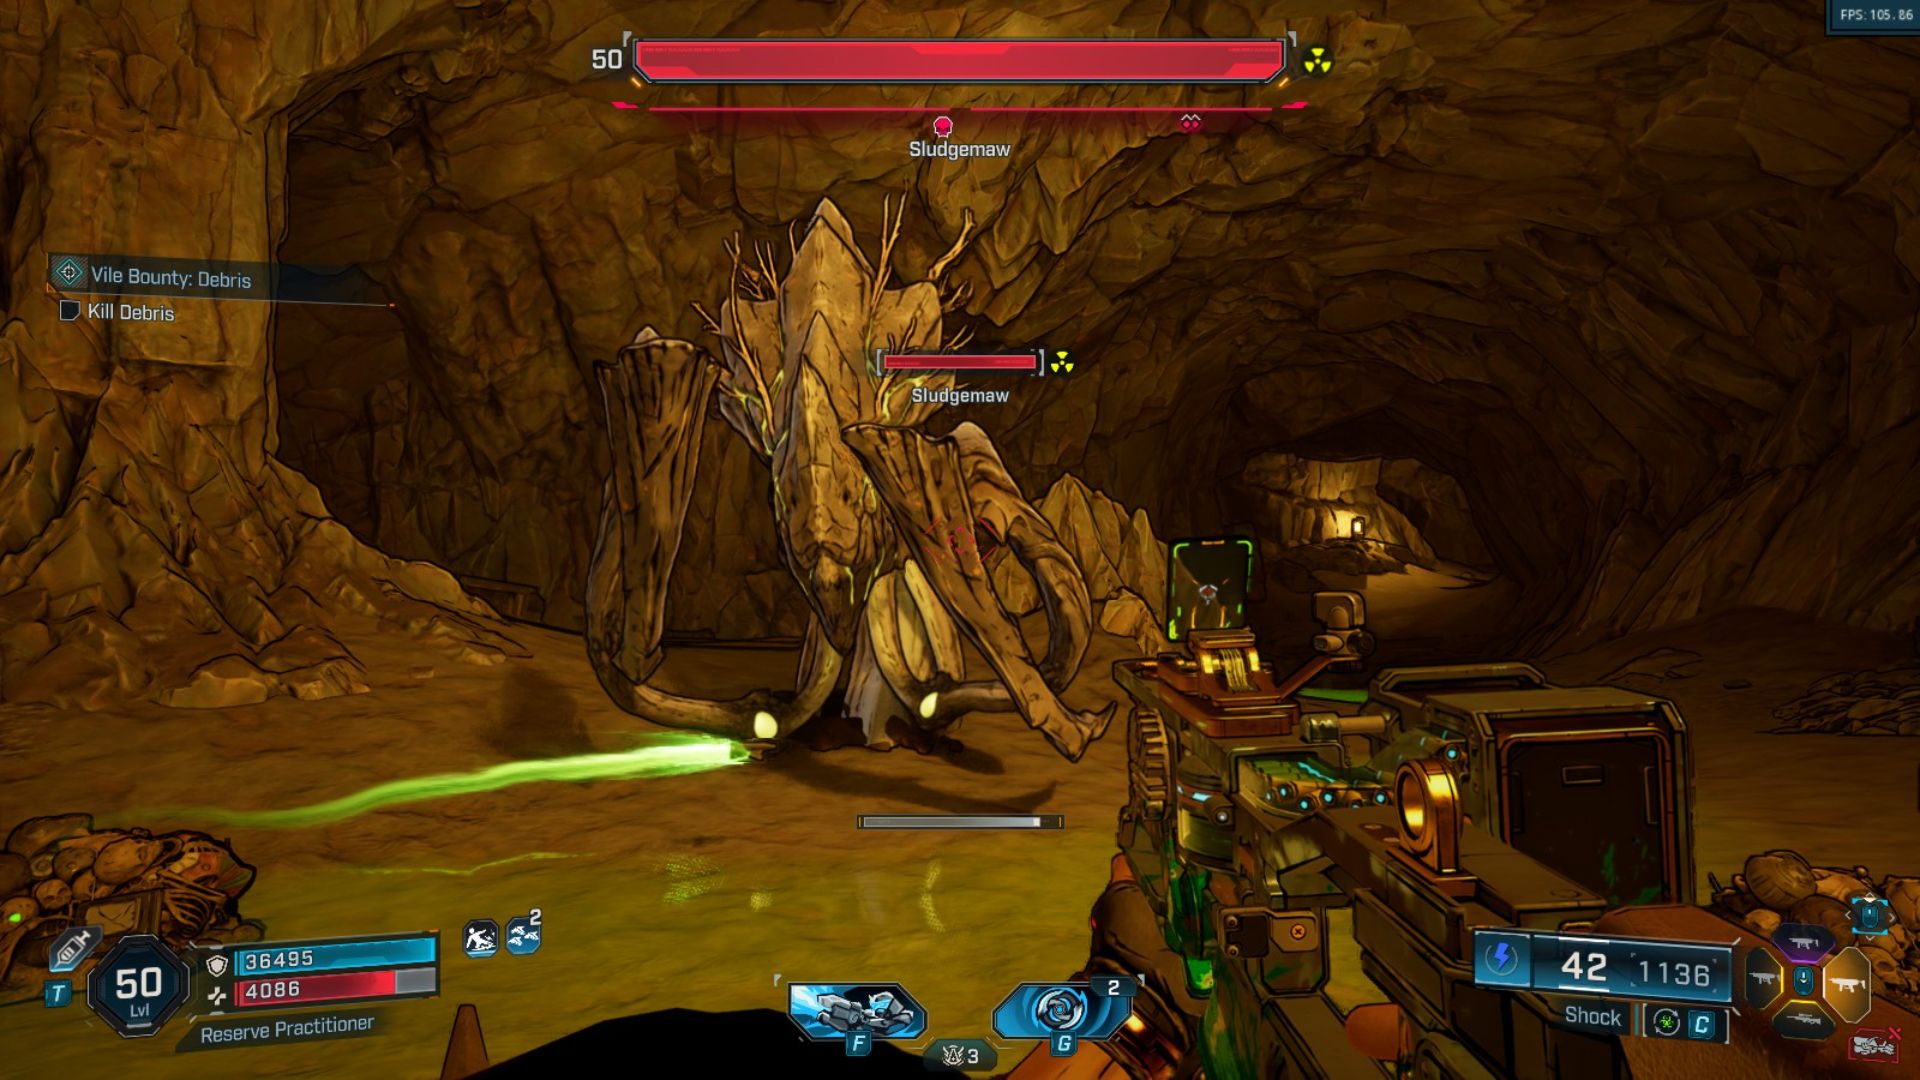
In Borderlands 4, the most reliable way to get specific legendary items will likely be by repeatedly defeating bosses. While you can see most of Kairos’s major bosses on the map, some – like Sludgemaw – won’t appear until you’ve completed certain tasks first.
Sludgemaw is a large enemy in *Borderlands 4* that can drop powerful, rare items. While defeating this giant worm is a great way to get valuable loot, you’ll first need to learn how to find it.
Borderlands 4: Sludgemaw Location

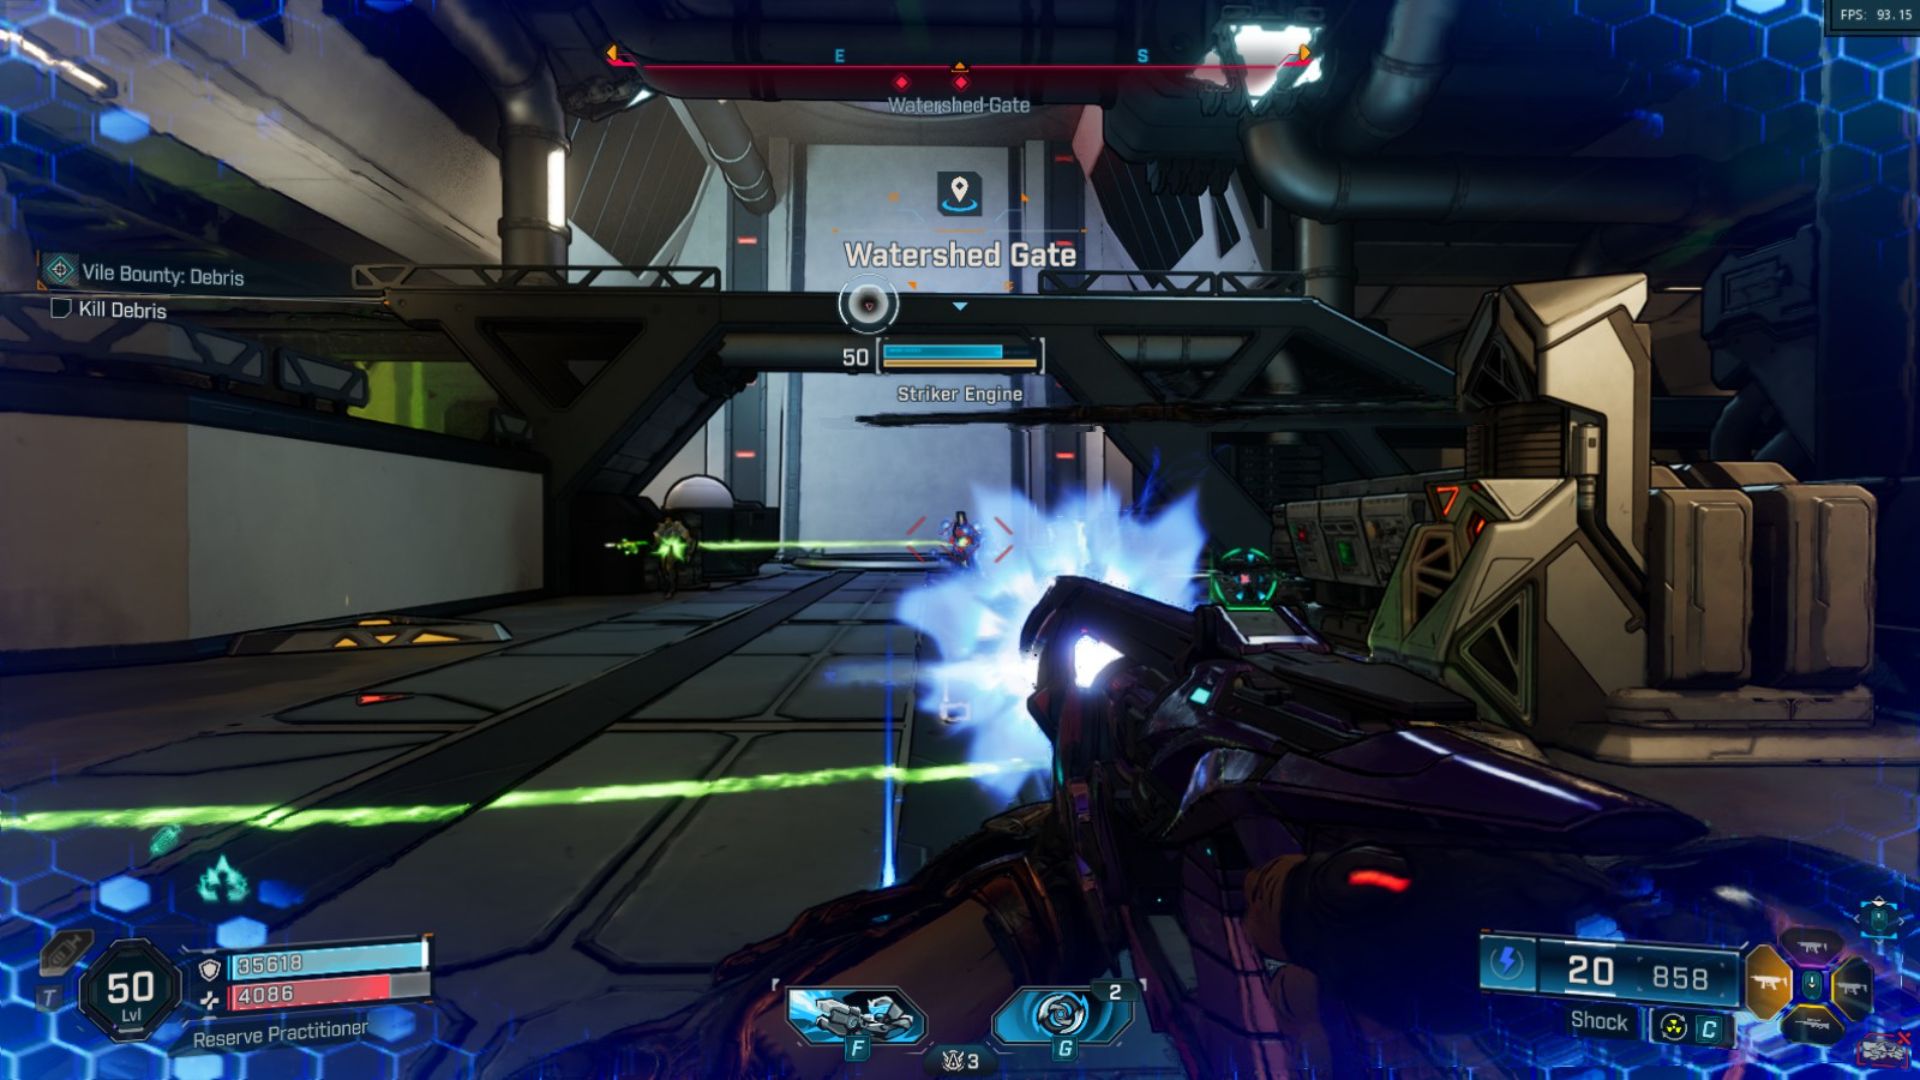
You’ll need to complete the quest “All Charged Up” to reach Sludgemaw. This quest is part of the storyline for the Outbounders faction in *Borderlands 4*. During the quest, you’ll attack an Order base to activate a vital machine the Outbounders require.
The “All Charged Up” quest is pretty simple. Just go to the quest marker, defeat all the enemies with health bars, and then beat Sludgemaw at the bottom of the base. After finishing, the machine needed to replay the Sludgemaw fight will show up near the entrance to its lair.
Fighting Sludgemaw
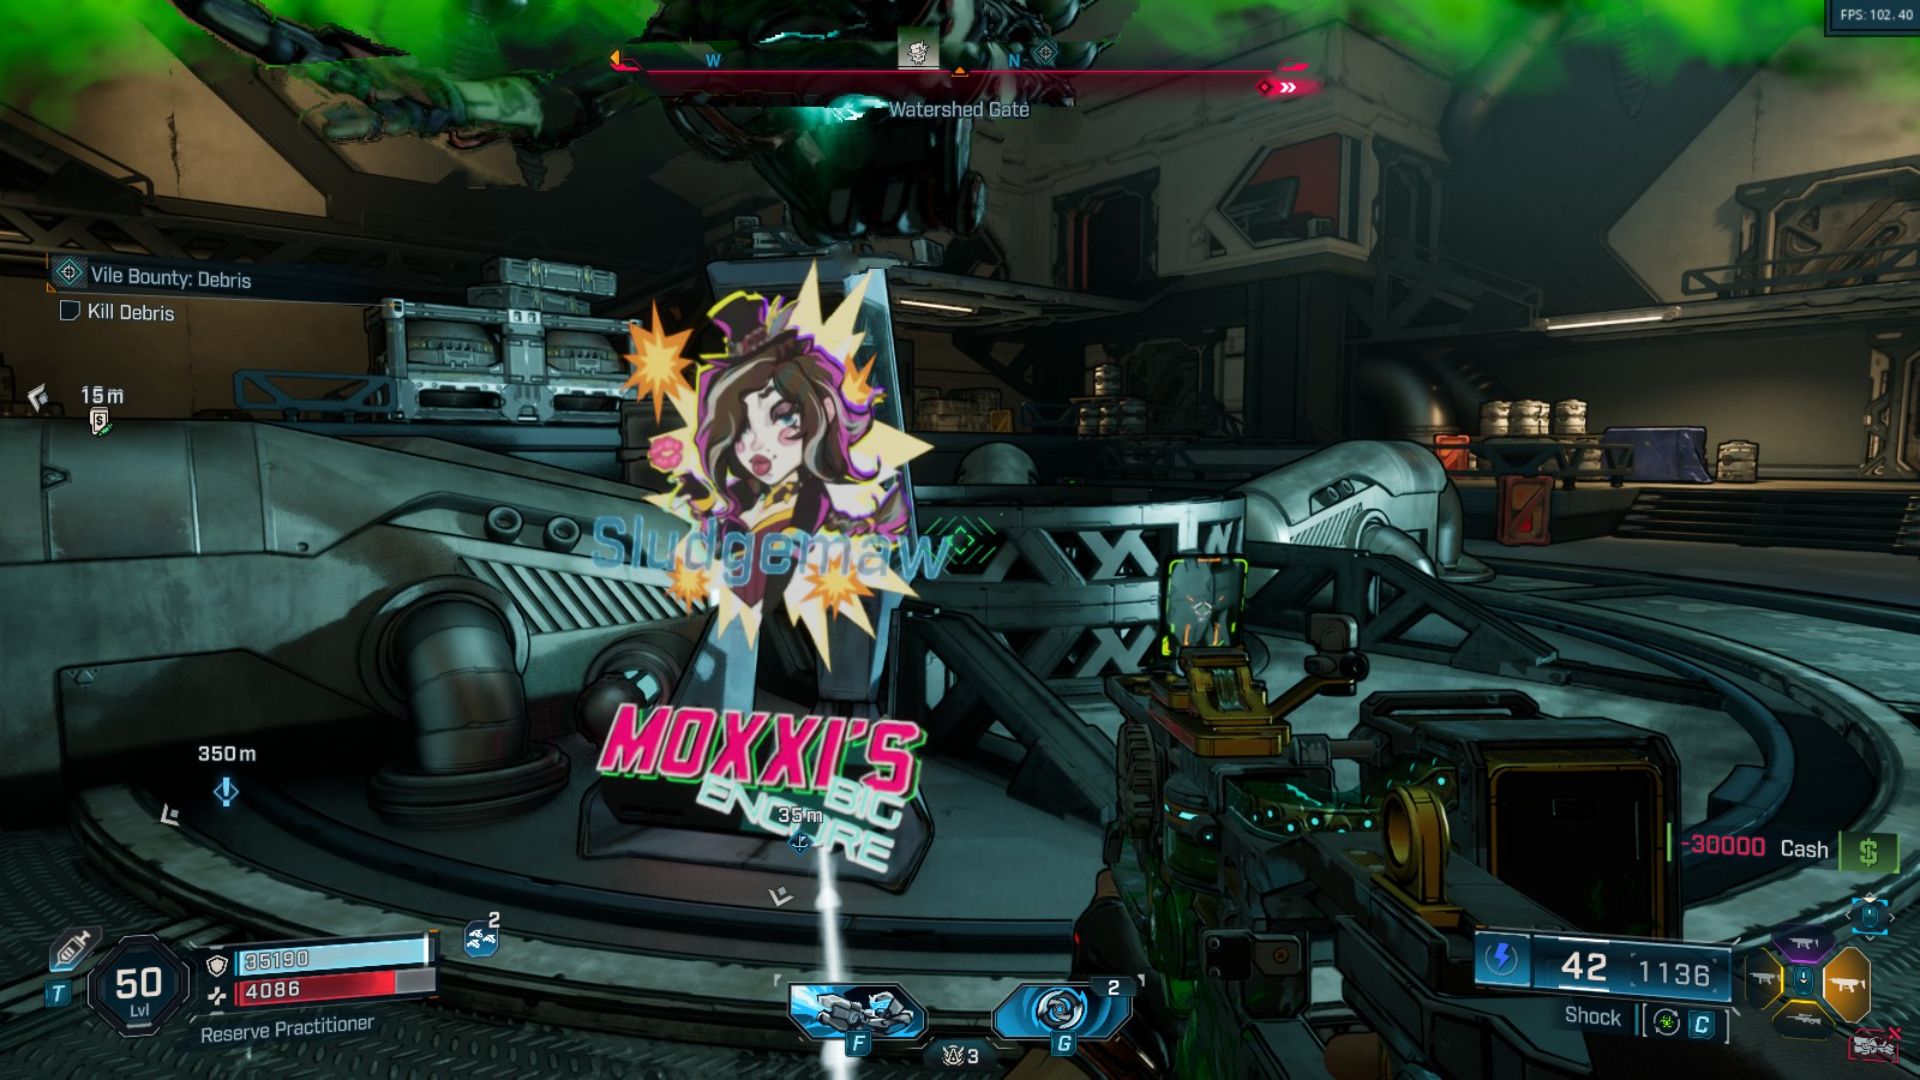
This boss can be frustrating to fight, not because of its attacks, but because it constantly hides underground. You’ll probably spend a lot of time waiting for it to reappear, which wastes your special abilities. Unfortunately, there’s no way to avoid this, so you’ll just have to adapt and play with what you’ve got.
Surprisingly, the best way to get Sludgemaw to surface is to remain perfectly still. When it dives underground, simply stand where it was last seen, and it will quickly reappear. As soon as it does, quickly move away and then attack it until it burrows down again.
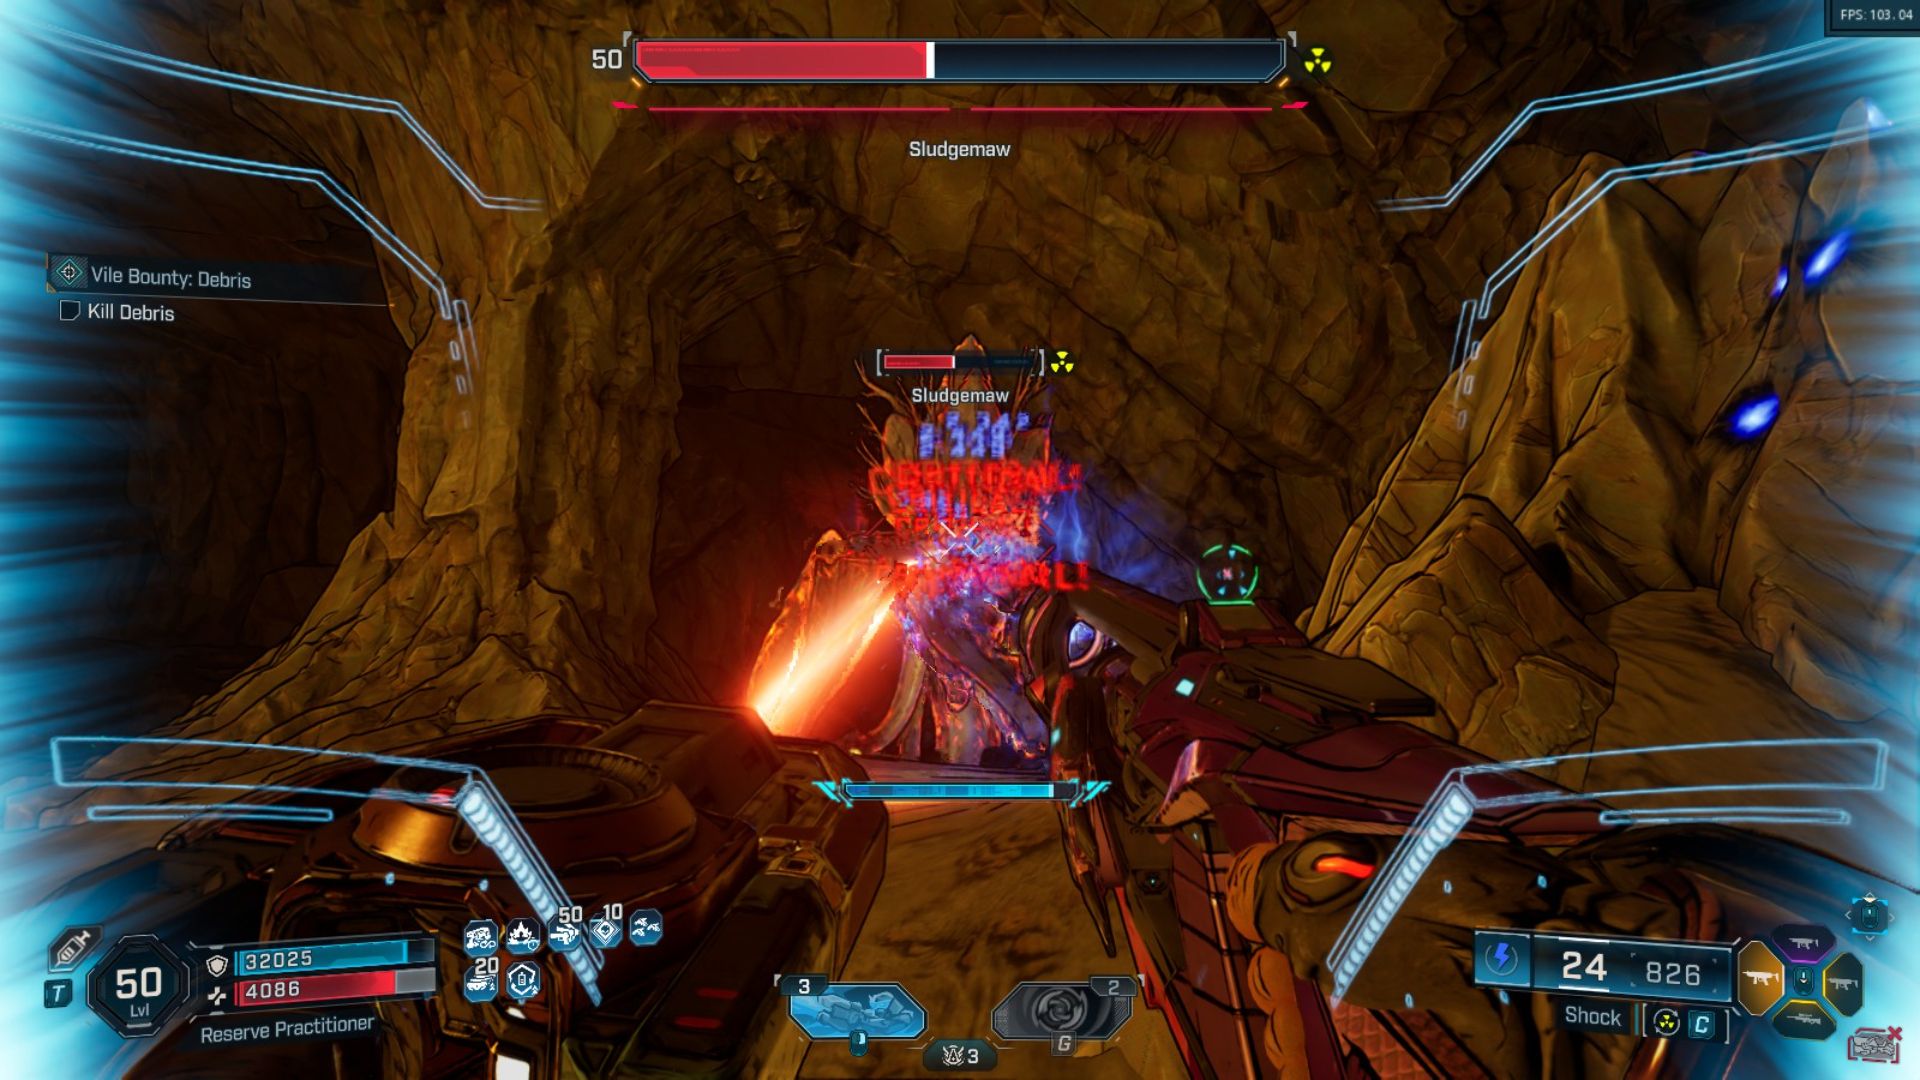
Sludgemaw Legendary Drops
As with many powerful enemies, Sludgemaw has a chance to drop one of three unique legendary items. These are:
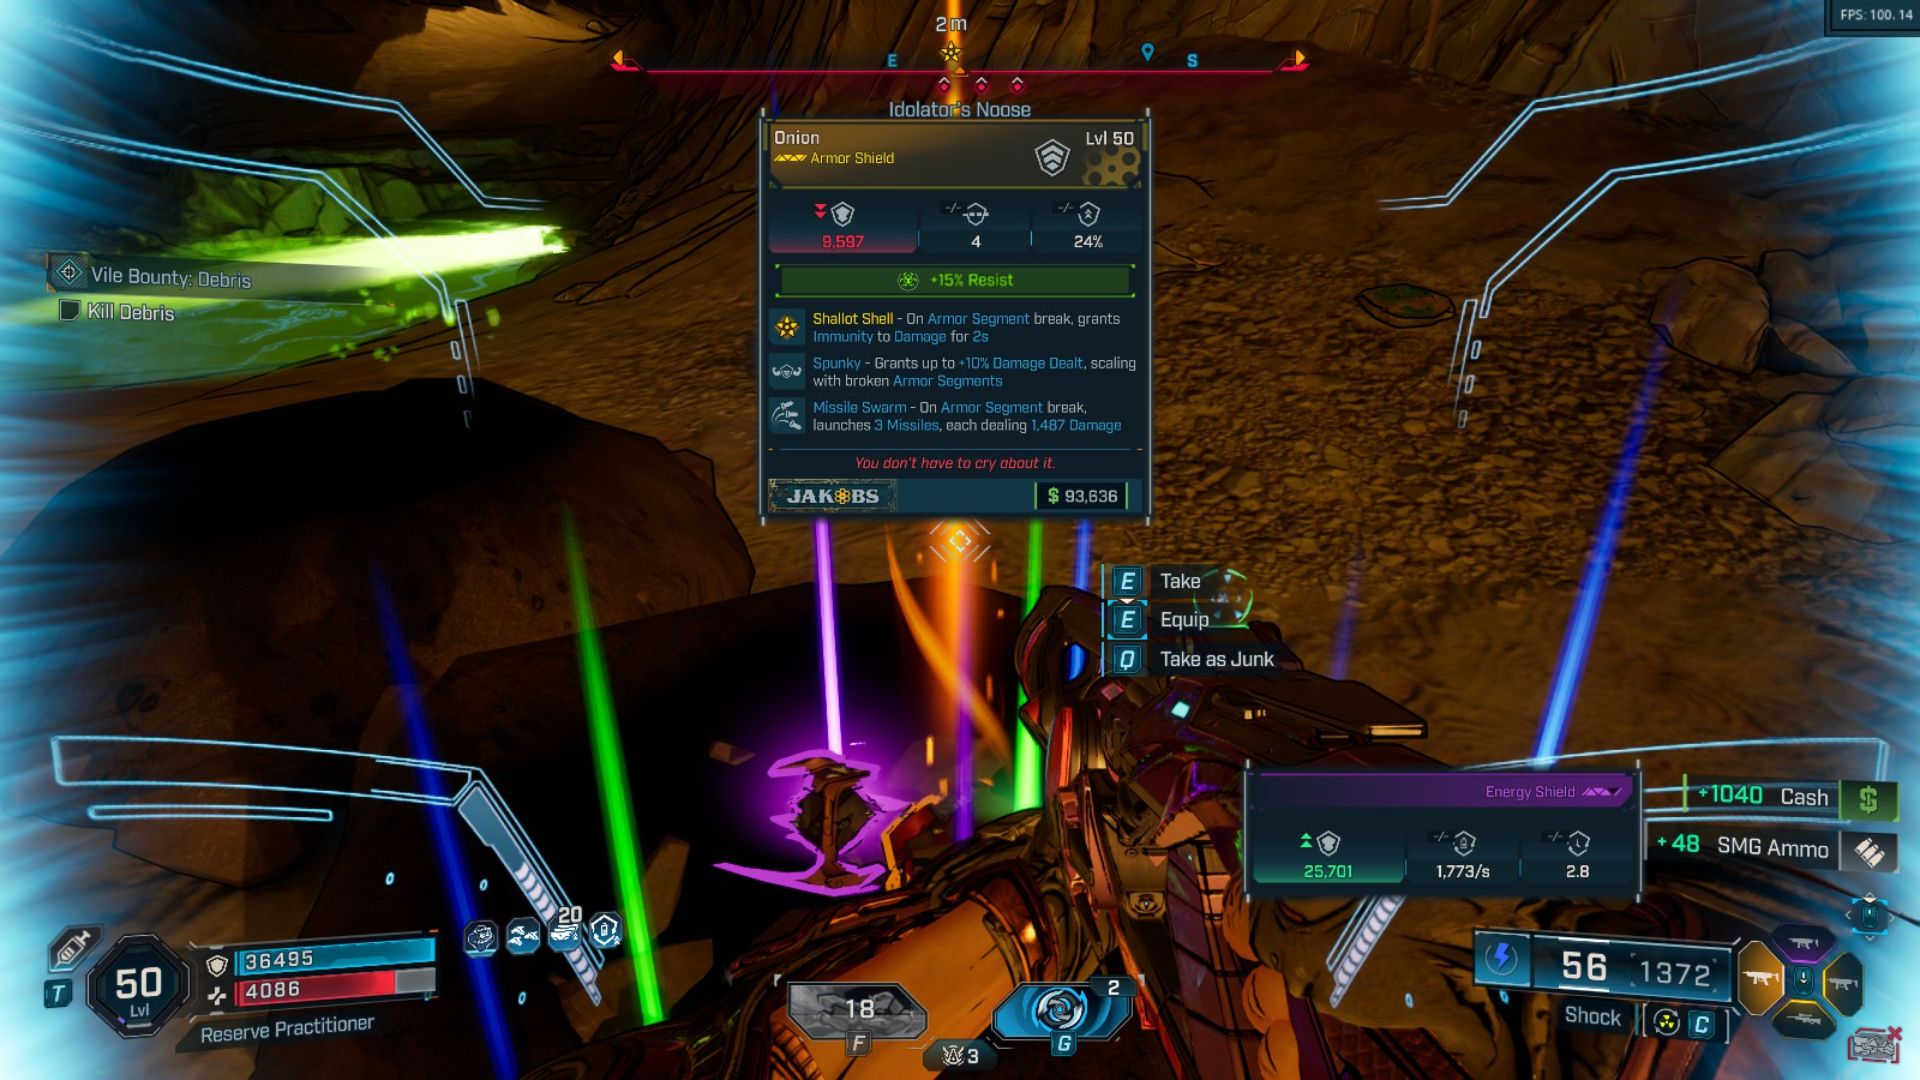
- Onion (Shield)
- Birt’s Bees (SMG)
- Kickballer (Shotgun)
The Onion shield is likely the strongest of the three legendary shields, and it’s versatile enough to fit into almost any character build in *Borderlands 4*. When a section of its armor is destroyed, you become completely immune to damage for two seconds. While this won’t save you from falling to your death or instantly killing blows, two seconds of invulnerability is incredibly useful in large battles, particularly since these shields recharge quickly.
Read More
- All Skyblazer Armor Locations in Crimson Desert
- How to Get the Sunset Reed Armor Set and Hollow Visage Sword in Crimson Desert
- All Shadow Armor Locations in Crimson Desert
- One Piece Chapter 1180 Release Date And Where To Read
- Marni Laser Helm Location & Upgrade in Crimson Desert
- All Helfryn Armor Locations in Crimson Desert
- All Golden Greed Armor Locations in Crimson Desert
- All Icewing Armor Locations in Crimson Desert
- How to Beat Stonewalker Antiquum at the Gate of Truth in Crimson Desert
- Legendary White Lion Necklace Location in Crimson Desert
2025-09-15 15:34