
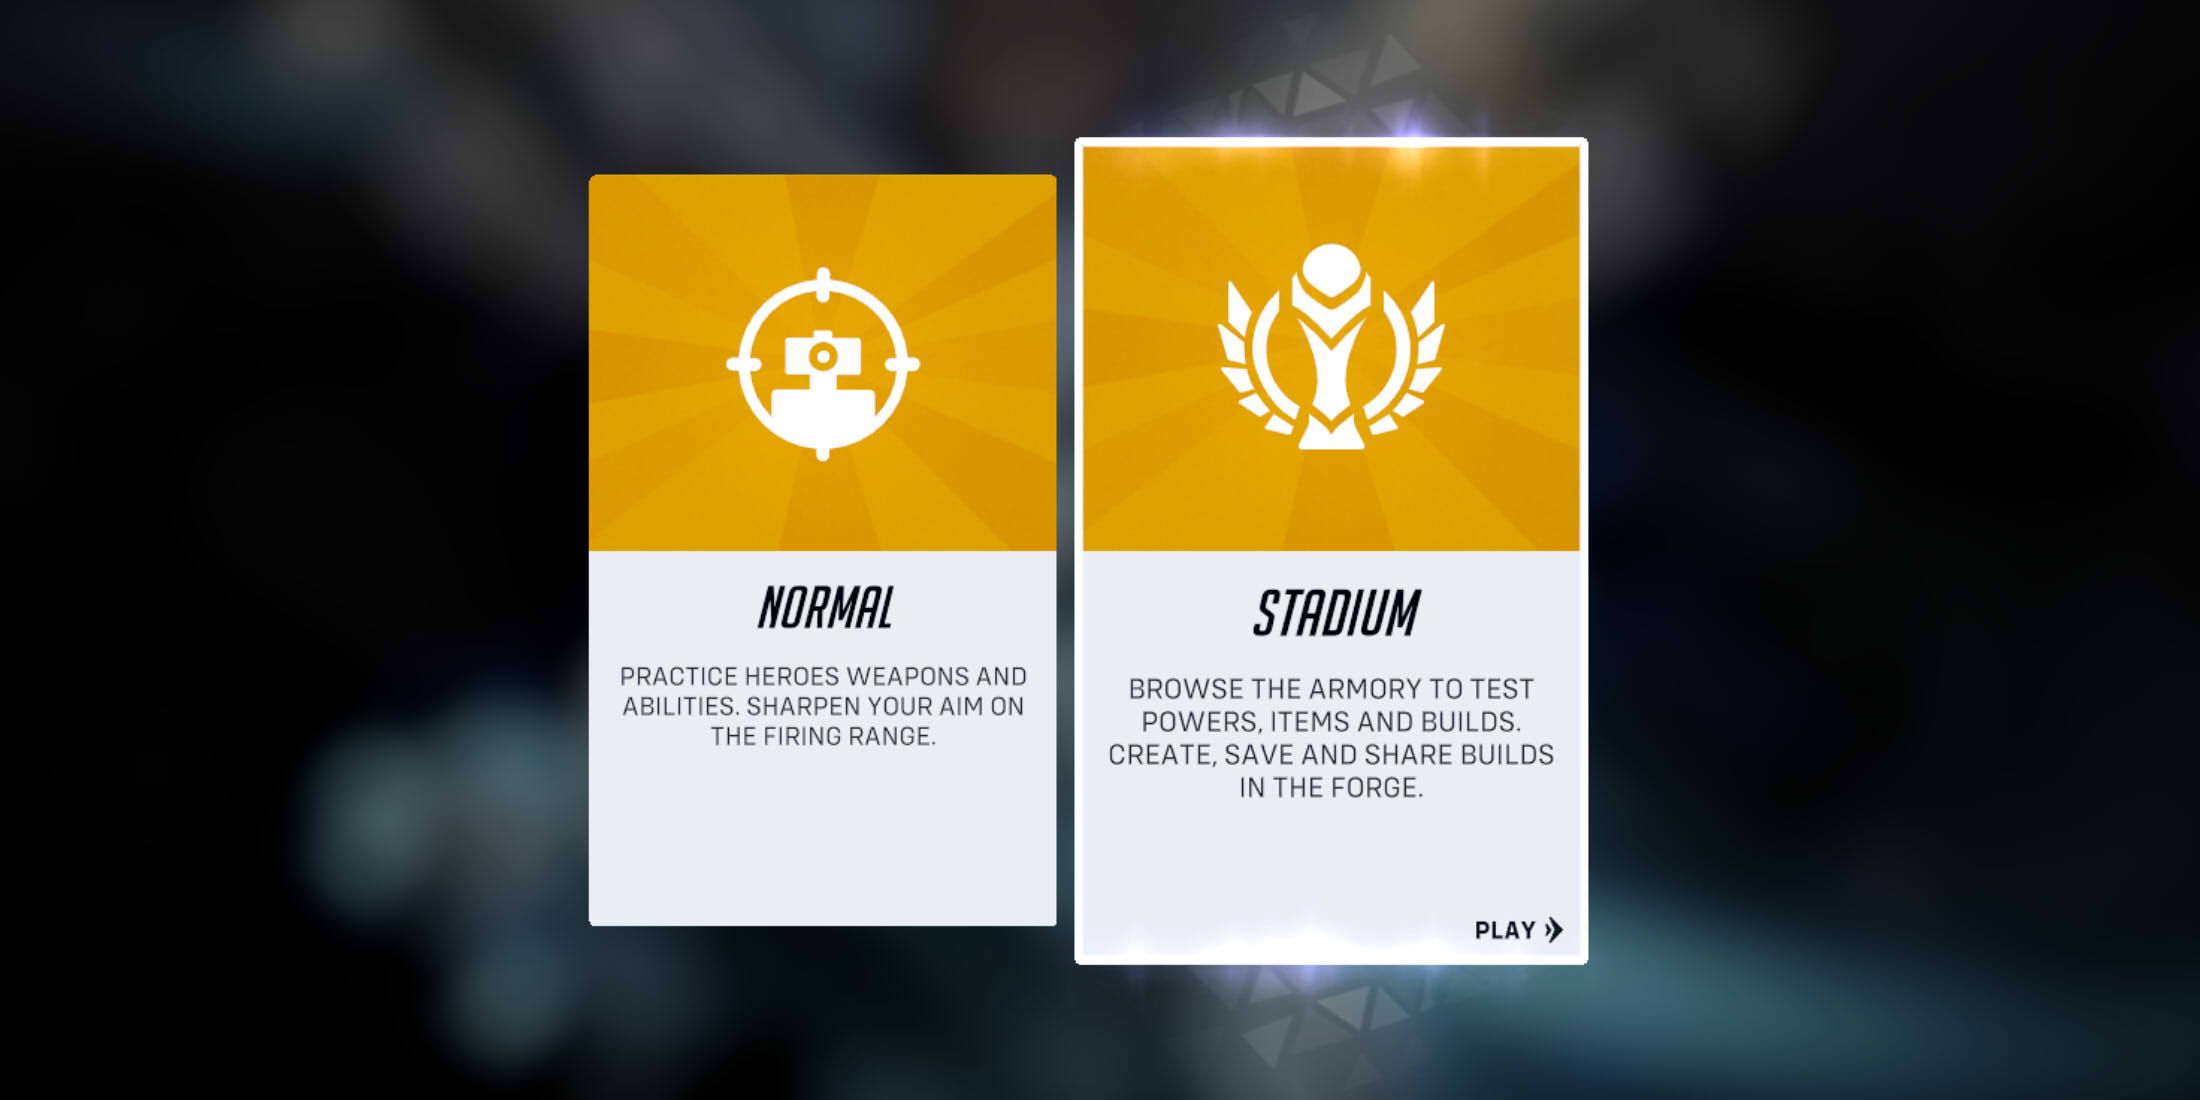
The newest gameplay mode for Overwatch 2, known as Overwatch Stadium, has been introduced, starting with a restricted cast in Season 16. As each new Competitive Season arrives, a fresh round of Stadium commences, presenting players with new heroes to experiment with, altered or revamped Items and Powers, and diverse build choices.
In the Overwatch Stadium, matches consist of multiple mini-rounds where players earn Stadium Cash. This currency is used for acquiring Powers and Items that complement different hero abilities or playstyles. A new feature added in Season 17 is the option to import and export entire hero builds for any character on the roster. This makes it simpler than ever before to manage build advancement and item selection. If you’re curious about how to import or export your custom Overwatch Stadium builds, all the necessary steps are explained in the guide provided below.
How to Import and Export Hero Builds in Overwatch 2
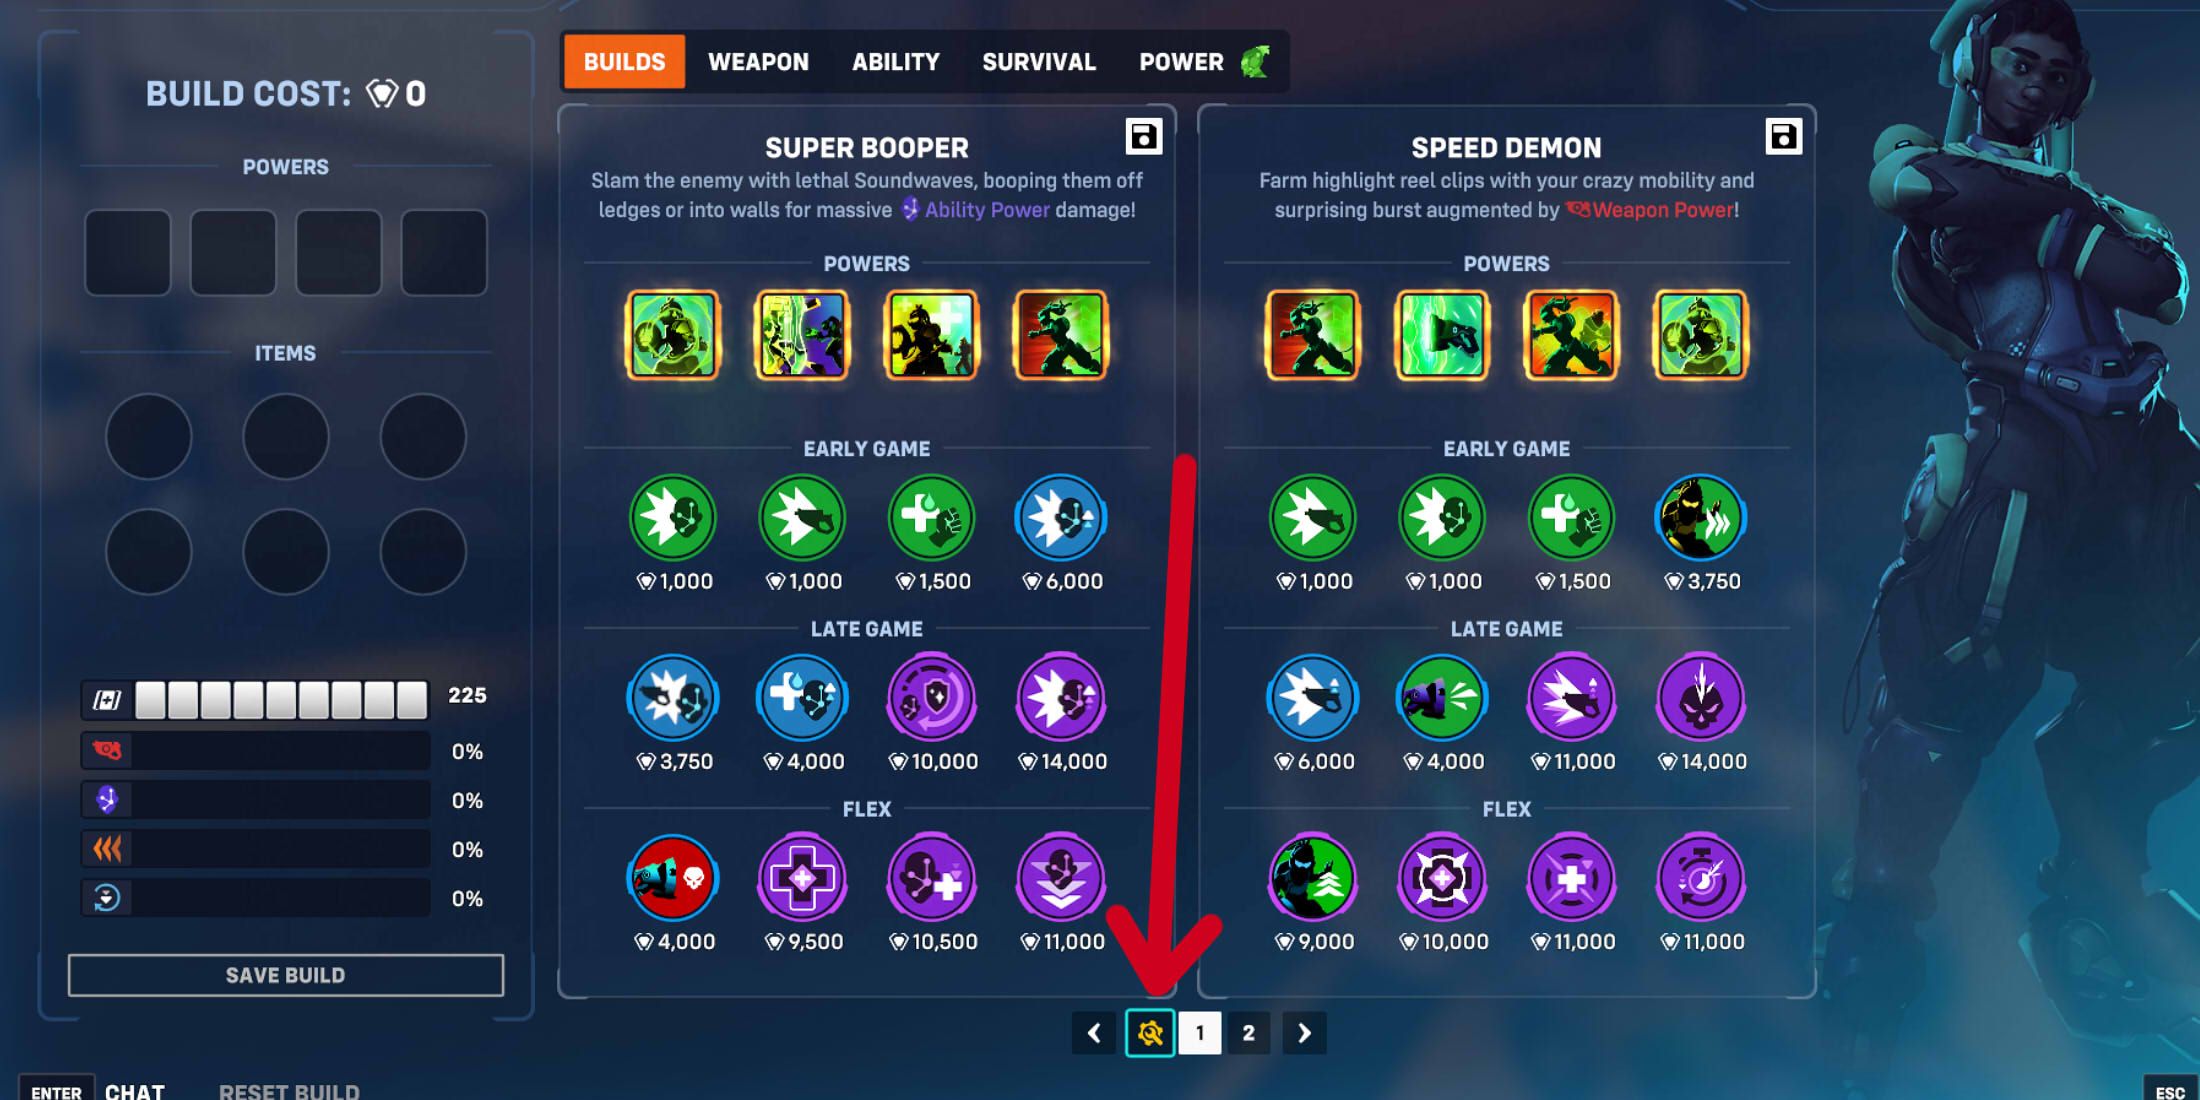
To effortlessly import, export, and save Stadium layouts for future matches in Overwatch 2, navigate first to the main menu. Next, click on the “Training” button, then opt for “Practice Range”. Lastly, select the “Stadium Practice Range”. After that, pick a hero and access the build menu by either choosing it directly or pressing the ‘B’ key if it doesn’t appear automatically upon selecting a hero.
After you’ve unlocked the custom hero setup screen, you’ll find a variety of pre-made build options displayed initially. You can also explore and select specific Abilities and Equipment pieces to create your unique build, and then try it out in the training zone for testing purposes.
a ‘Create Build’ button, an ‘Import’ symbol (represented by a downward arrow), and an ‘Export’ symbol (represented by an upward arrow).
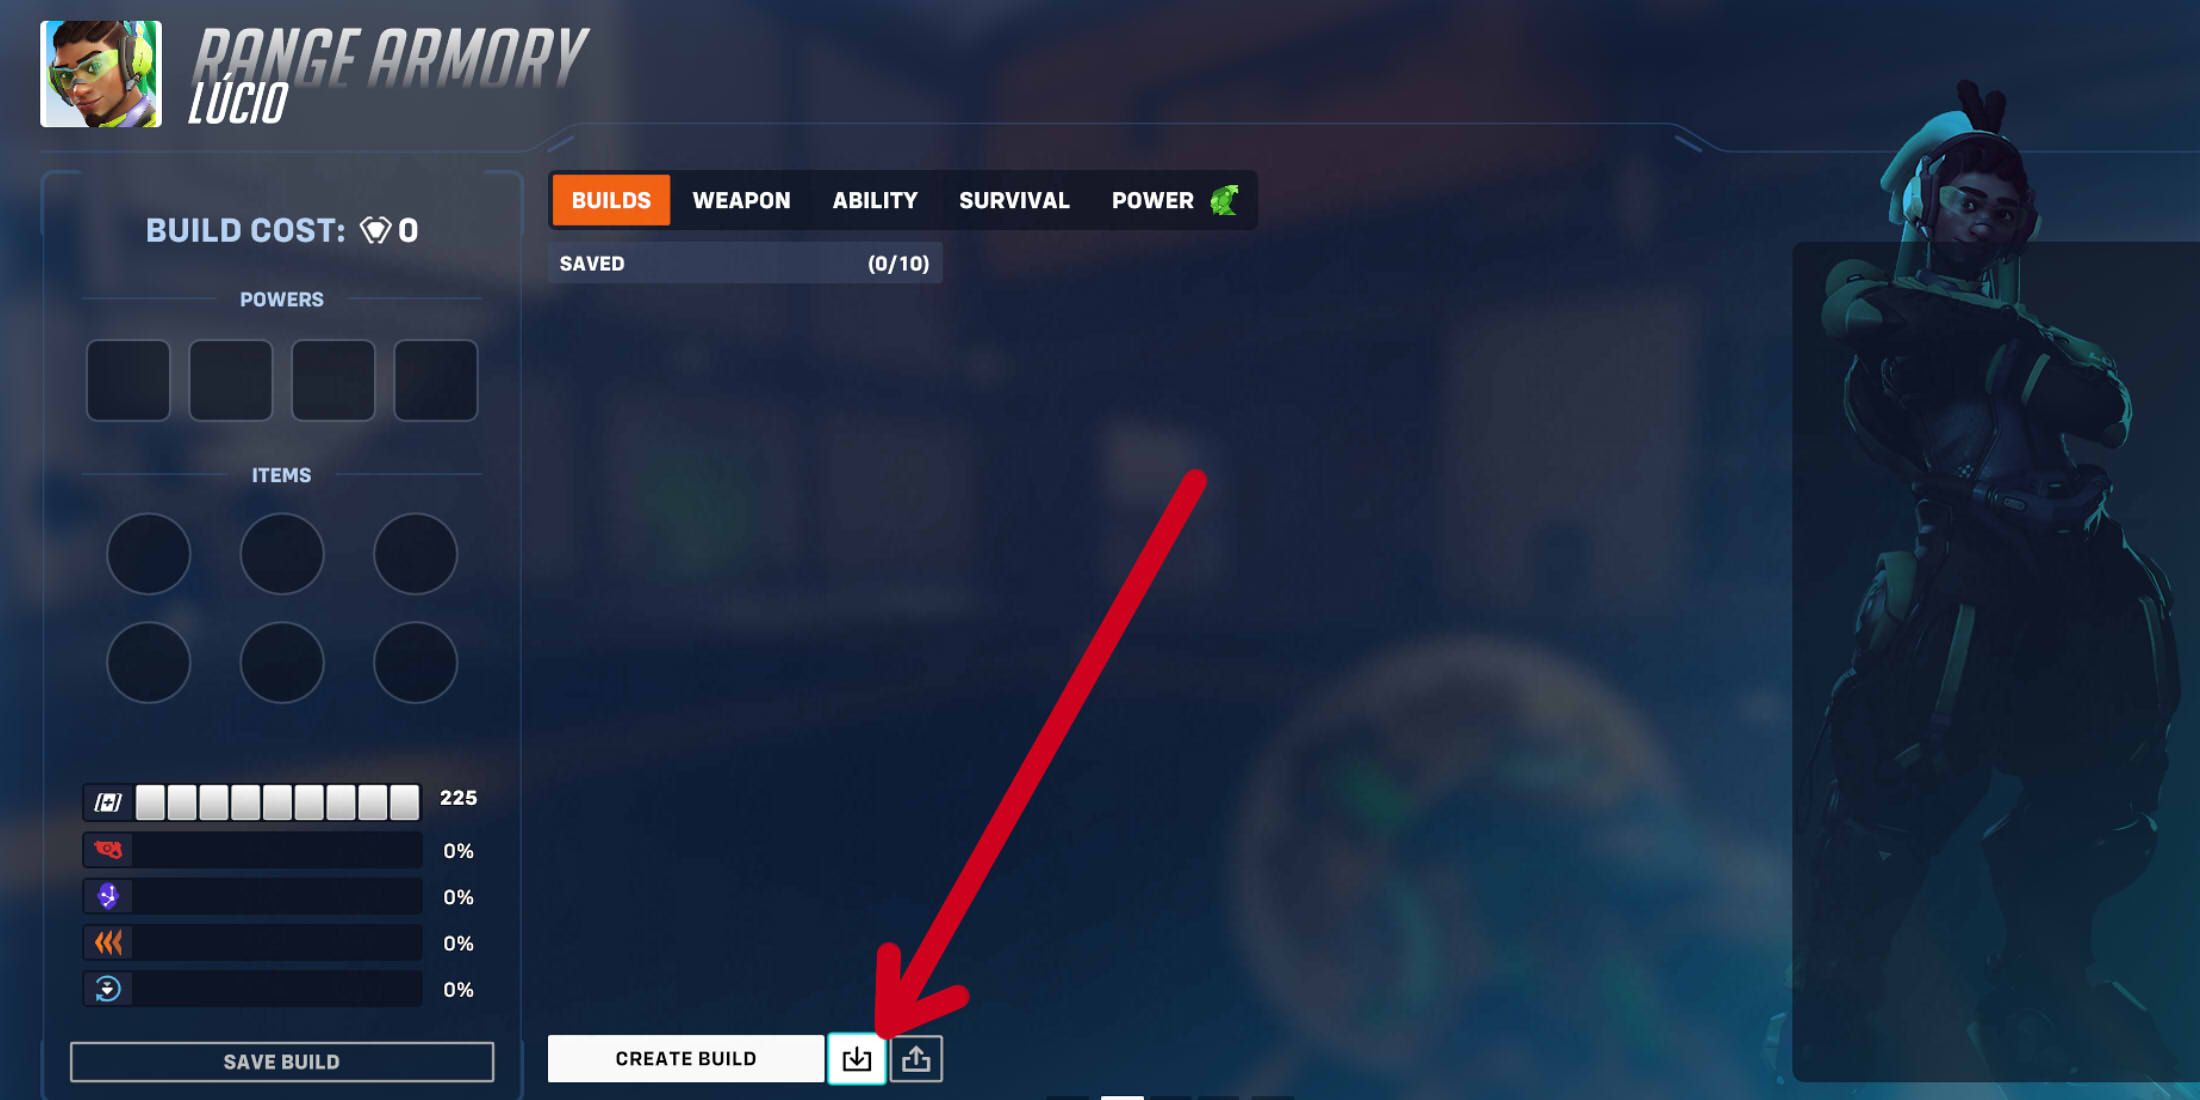
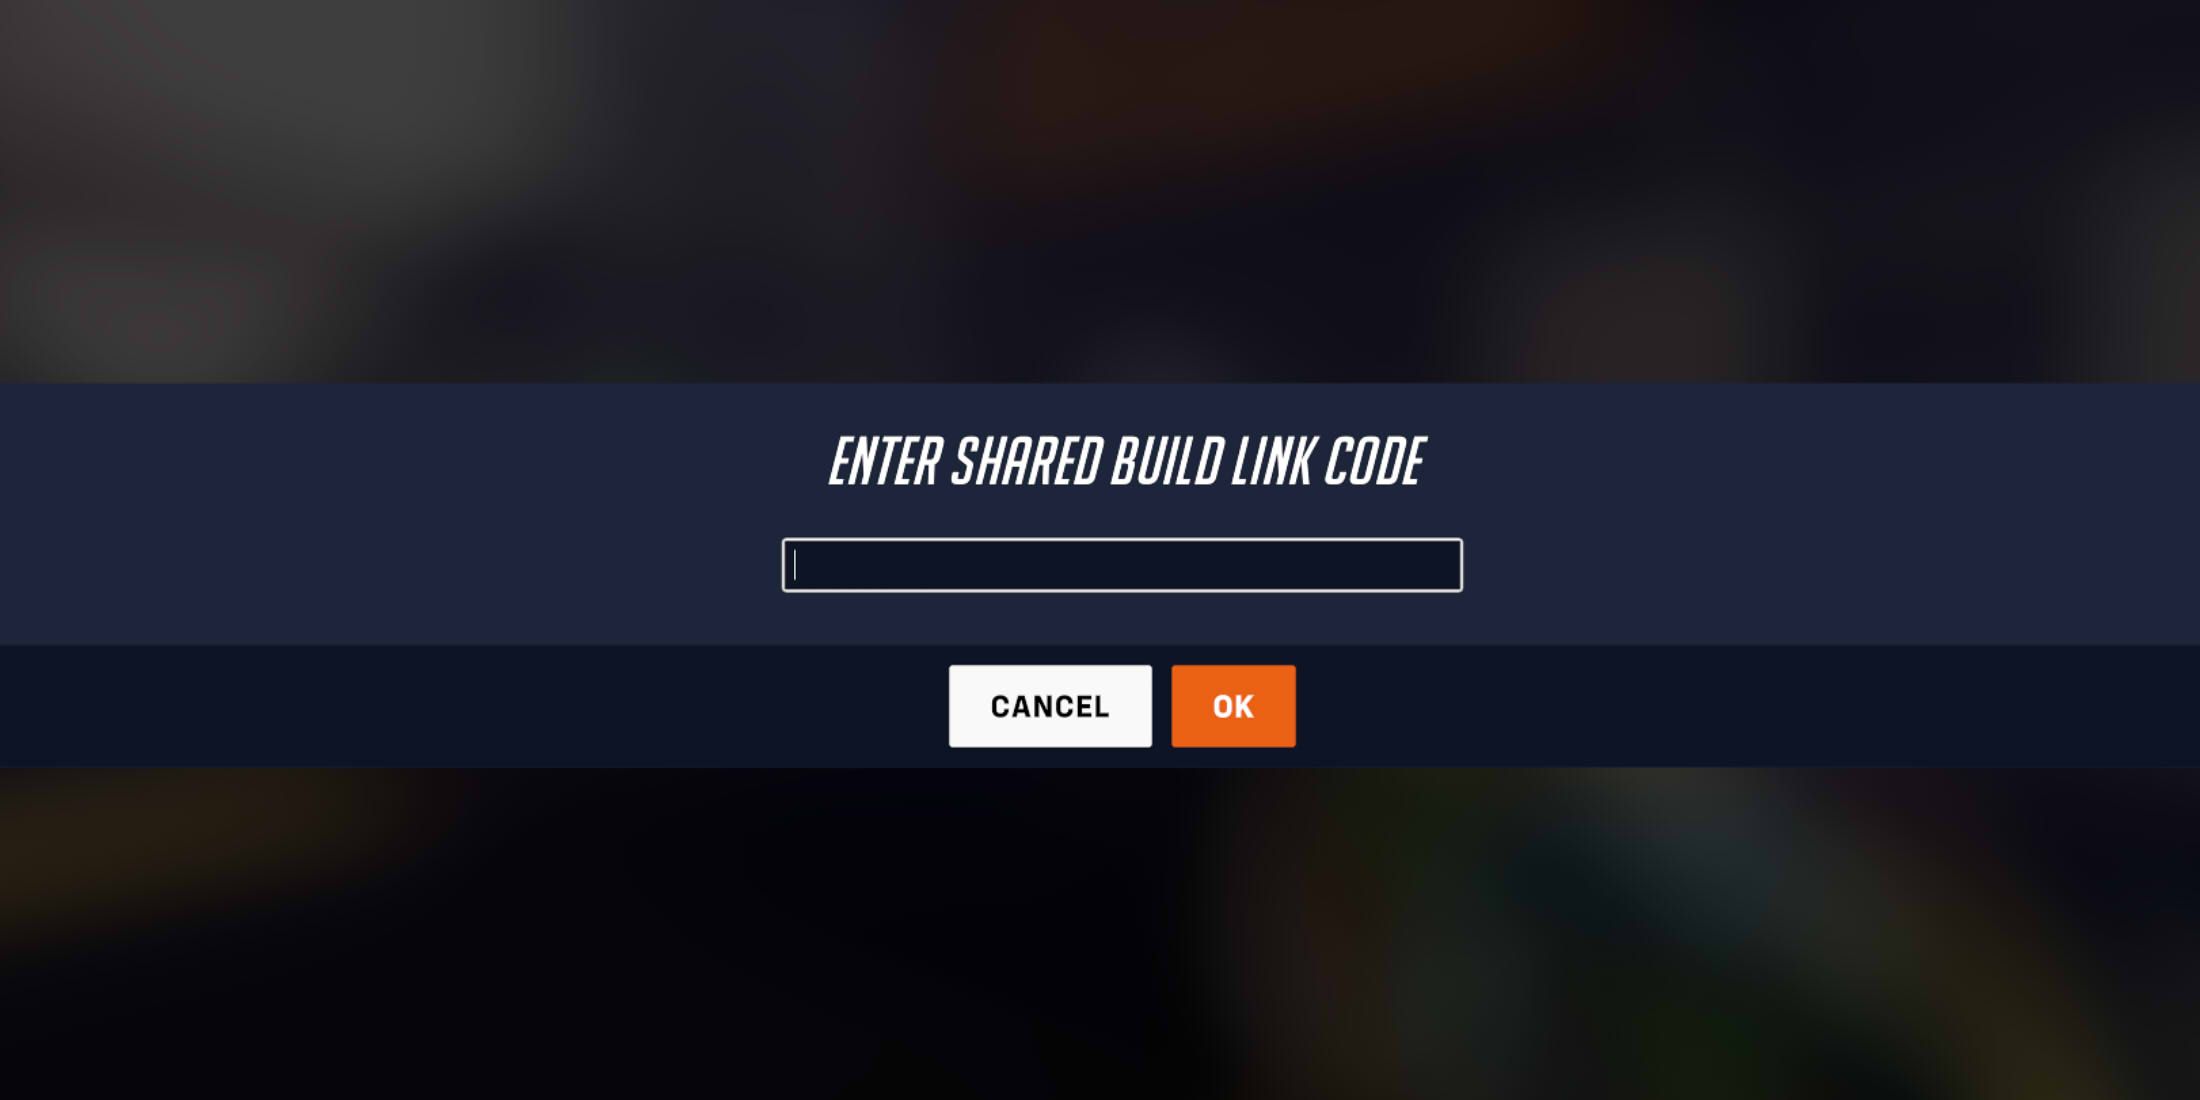
Here, you’ll need to find and click the button that has a symbol pointing downwards. Once clicked, it will reveal a menu where you can copy a build code, paste it into the menu, and have your selected pre-built structure set up. After testing and saving, you can use this build for future reference if desired.
If you aim to export a build, the general process stays much the same. However, it’s crucial that you have your build already prepared in the menu beforehand. After that, follow the usual steps, but opt for the icon featuring an upward-pointing arrow instead. This action will produce a code, which you can share with others so they can import your progress.
Read More
- Console Gamers Can’t Escape Their Love For Sports Games
- ARC Raiders Boss Defends Controversial AI Usage
- Top 8 UFC 5 Perks Every Fighter Should Use
- Top 10 Must-Watch Isekai Anime on Crunchyroll Revealed!
- Best Open World Games With Romance
- Games That Will Make You A Metroidvania Fan
- Top 10 Scream-Inducing Forest Horror Games
- Best PSP Spin-Off Games, Ranked
- How to Unlock the Mines in Cookie Run: Kingdom
- Best Uriel Build in Warframe
2025-07-26 19:33