As a seasoned gamer with over two decades under my belt, I can confidently say that the puzzles lined up for Silent Hill 2 Remake are shaping up to be quite the challenge. From the intricate Hand Bracelet Puzzle in the Director’s Office to the enigmatic Gallows Answers Puzzle, each conundrum promises an engaging experience that will test both my wits and patience.
In the remake of Silent Hill 2, certain crucial items and passageways to future locations will be hidden behind intricate riddles that players must unravel. Sometimes, hints for these riddles can be found in notes or memos. This method of advancing the story through puzzle-solving is a long-standing tradition from the original Silent Hill, and it has become a defining feature of the series.
Players must think creatively and discover answers for the assorted riddles that maintain the gameplay exciting throughout. Some solutions to these puzzles are straightforward, while others may demand revisiting earlier locations to gather essential items. Regardless, Silent Hill 2 Remake effectively resurrects nearly all the puzzles from the original version, even those whose solutions could be frustrating at times.
All Puzzles in Silent Hill 2 Remake
In nearly every spot within the remake of Silent Hill 2, you’ll encounter devices like keypads, safes, padlocks, or mechanisms that require solving to obtain a combination, crucial item, or passageway to the next zone. The game’s significant puzzles are spaced out intentionally to minimize interruptions from the horror of the town. However, they are tricky, making this comprehensive list of all the puzzles in Silent Hill 2 Remake an indispensable resource.
| Location | Puzzle Name | How To Solve |
|---|---|---|
| Eastern South Vale | Grand Market Keypad | Find memos hitting at the code found on a dead body next to a truck near Neely’s Bar. |
| Neely’s Bar Jukebox | Find Neely’s Bar Coin, Broken Vinyl Record, and the Jukebox button from areas marked on the map. Combine the two halves of the vinyl record with glue and play it on the repaired Jukebox. | |
| Wood Side Apartments | Unlock Safe in Apartment 206 | Read the clue on the wall and turn the dial according to the sequence. |
| Coin Puzzle in Wood Side Reception room | Follow the story on the cards and place the coins in the correct positions that reflect the characters in said story. | |
| Blue Creek Apartments (OW) | Clock Puzzle | Find the Hour and Minute hands located in Rooms 307 and 210 respectively. |
| Moth Puzzle in Room 202 | Examine the different moths in the room, count the symbols on them, and input the correct numbers on the combination padlock. | |
| Seesaw Puzzle in Room 210 | Find the Pigeon and Malformed figurines alongside the Wooden Swan Head. Combine the Swan Head and Malformed Figurine and put both Pigeon and Swan on the stick in a way that balances. | |
| Brookhaven Hospital | Key Locker in Reception | Count the nurses, doctors, and trees in paintings put up in the main hallway and input the numbers in the padlock. |
| Basement Generator | Find an empty can, fill it up with gasoline, and top up the generator to activate the elevator. | |
| X-Ray Puzzle | Find all the radiographs and line them up on the board to reveal a combination for the padlock to Room D1. | |
| Hand Bracelet Puzzle in Director’s Office | Find all three bracelets and line them up on the hand to match the bruises to get the key for the Director’s Storage Room. | |
| Director’s Office Safe | Re-arrange the books on the shelf in the Director’s storage room to get a series of numbers. Match the numbers to the weird symbols and input them in the same sequence on the safe to unlock it. | |
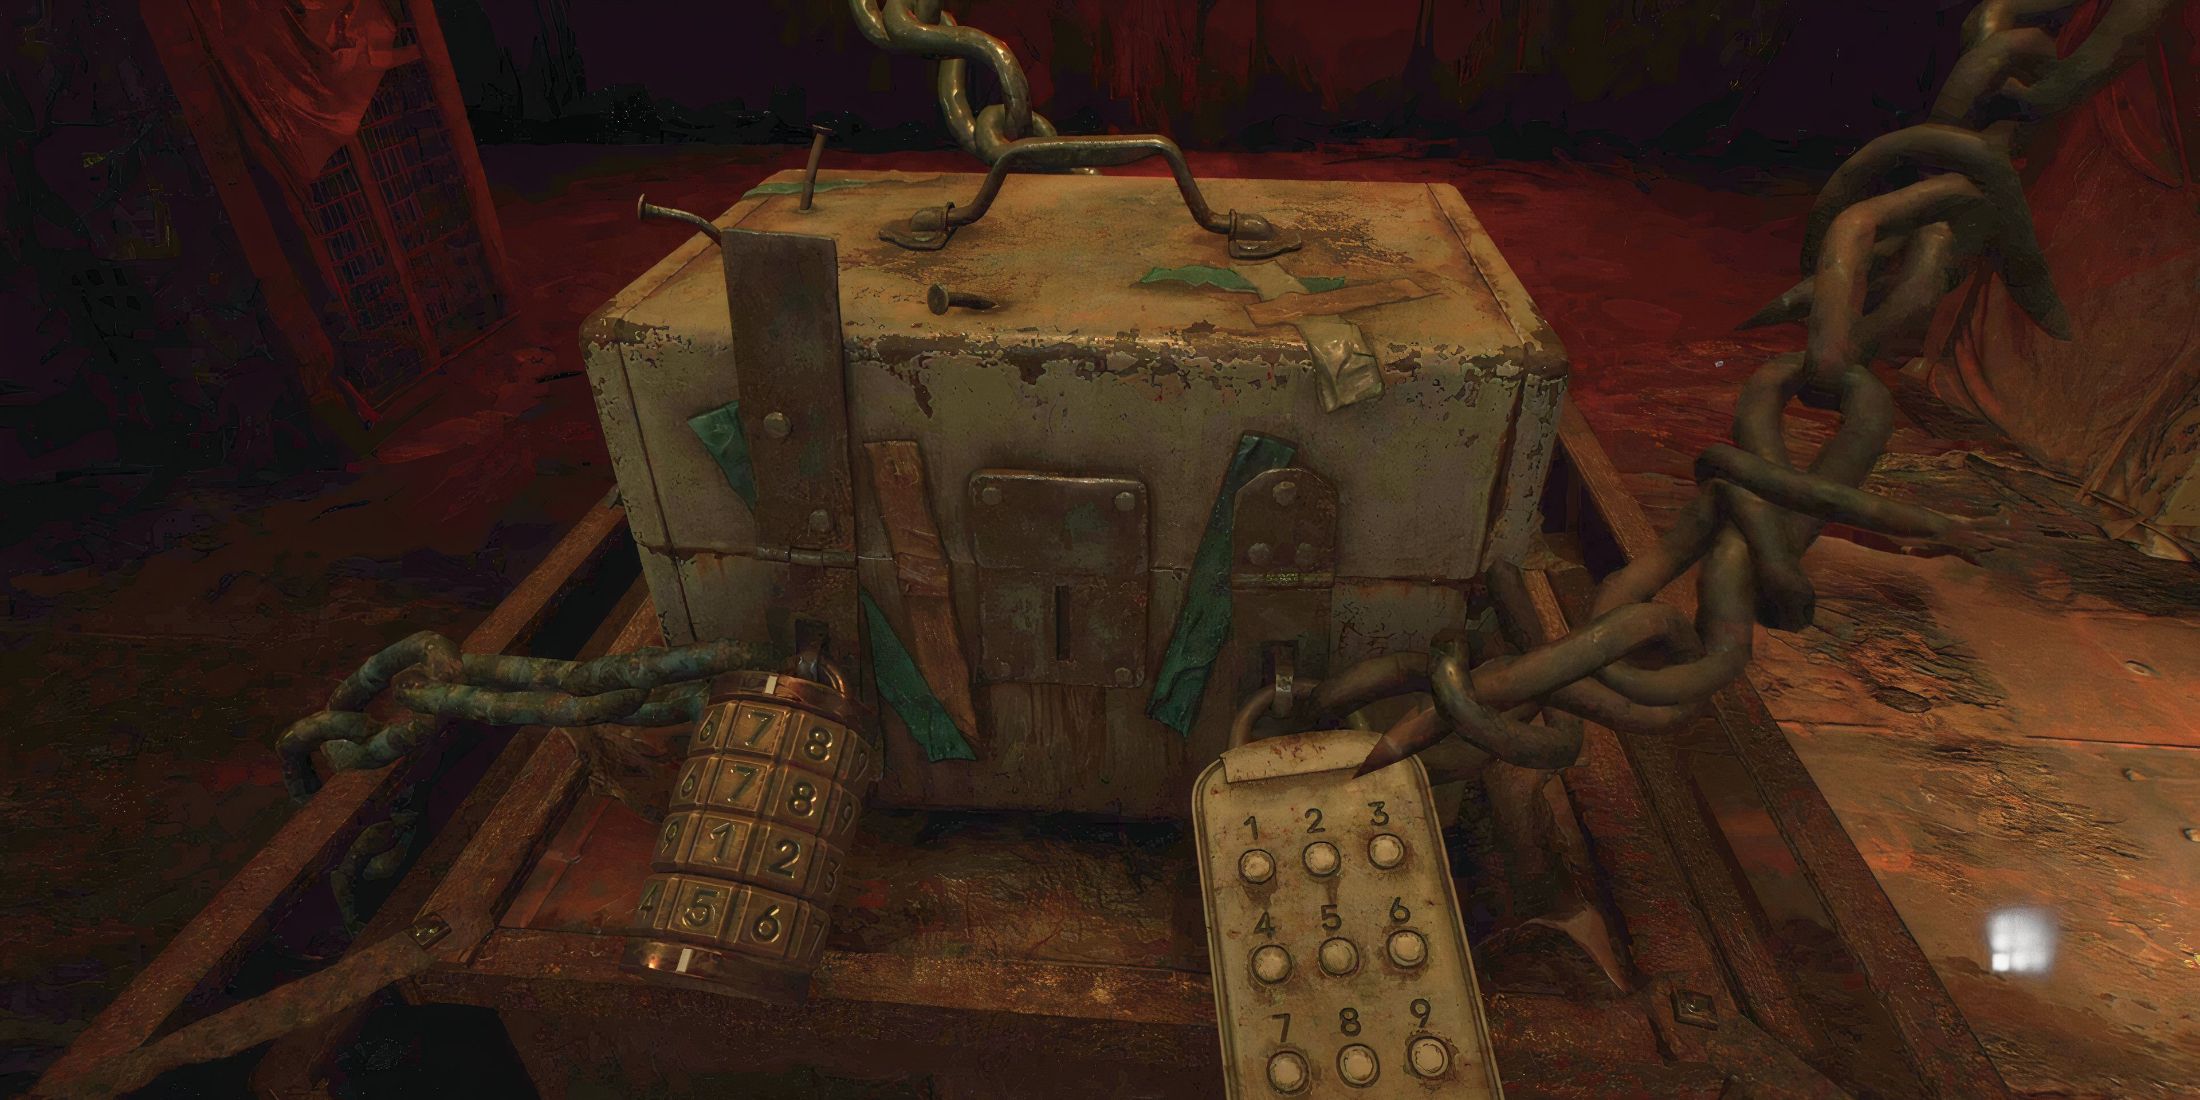
| Brookhaven Hospital (OW) | Chained Box Puzzle | Get a combination for the padlock in Room M2. Get the Key of Lapis from the mannequin in the 3F X-ray room. Find the code for the keypad on a treatment stretcher above the Director’s office. Use all the items and codes to open the Chained Box. |
| Elevator “Trick or Treat” Quiz Answers to Unlock Decorative Box | Make note of the information written on gravestones and other notes found in Rosewater Park to know the answer to all the Elevator Quiz questions. Inputting the right answers in sequence will open the Decorative Box. | |
| Historical Society | Bug/Roach Room Keypad | Notice the non-blooded numbers on the keypad and try all possible combinations until it accepts one and opens the door. |
| Toluca Prison | Hunting Rifle Locker | Use the weights and scales statue in the yard to open the Headless Serpent Door. Complete this section to reach cell E10 and go through the crack in the wall to find the armor key in a key case. Use it in the locker to get the Hunting Rifle |
| Weights and Scales Puzzle | Obtain the Heaviest, Heavy, Medium, Light, and Lightest weights to open different locked doors in Toluca Prison. | |
| Gallows Answers Puzzle | Give correct answers to each poem of the Gallows and choose a noose with the Roman numeral that corresponds with the innocent verse. | |
| Lakeview Hotel | Room 202 Mirror Puzzle | Get the Ripe Apple and Room 202’s key from Cloakroom. In Room 202, find the missing glass shard, put it into the mirror, rearrange the broken plate, and put the Ripe Apple on it. |
| Reading Room Bookshelf Puzzle | Pick up books in the Reading Room and arrange them on the bookshelf according to the portrait on the wall. | |
| Reading Room Suitcase Puzzle | Find a Paint Can, a Can Opener, and a Red Light Blub to reveal a message in the reading room. Input that message on the suitcase to unlock it. | |
| Open Gemstone Box in Employee’s Section | Find all the Gemstones in the Kitchen, the Freezer Room, and the Manager’s Room. Arrange the stones on the box to get a memo, which will have the code to the Break Room’s safe. | |
| Music Box Puzzle | Find the 3 figurines and put them on the plate. Then, rotate them to match the pattern of lines on it to complete the puzzle. |
Here’s a suggestion for paraphrasing: In the remake of Silent Hill 2, players will encounter various puzzles they must solve. For more comprehensive details about a particular puzzle, simply click on its title within the table for an in-depth guide and solution.
Read More
- LUNC PREDICTION. LUNC cryptocurrency
- BTC PREDICTION. BTC cryptocurrency
- USD PHP PREDICTION
- BICO PREDICTION. BICO cryptocurrency
- USD ZAR PREDICTION
- USD COP PREDICTION
- USD CLP PREDICTION
- VANRY PREDICTION. VANRY cryptocurrency
- SOL PREDICTION. SOL cryptocurrency
- CKB PREDICTION. CKB cryptocurrency
2024-10-16 12:23