As a seasoned gamer with over two decades of gaming under my belt, I must admit, The Plucky Squire has stolen a piece of my heart. This charming little game harkens back to the days of Link and Zelda, with its whimsical soundtrack and delightful puzzles that challenge even the most seasoned gamers.
The Tale of the Spirited Knight offers an enchanting experience, blending captivating storytelling with delightful game mechanics. Players will notice a similarity in gameplay style to older Legend of Zelda games, from the different sword techniques to the quirky method of holding items high above one’s head, all set to a whimsical tune.
In addition to gameplay, there are numerous puzzles as well. Many of these puzzles require you to rearrange words, which in turn allows you to modify your game environment. Combine this word manipulation with interacting with various objects, and players will often find themselves going back and forth, trying to discover a solution to the current challenge they’re facing.
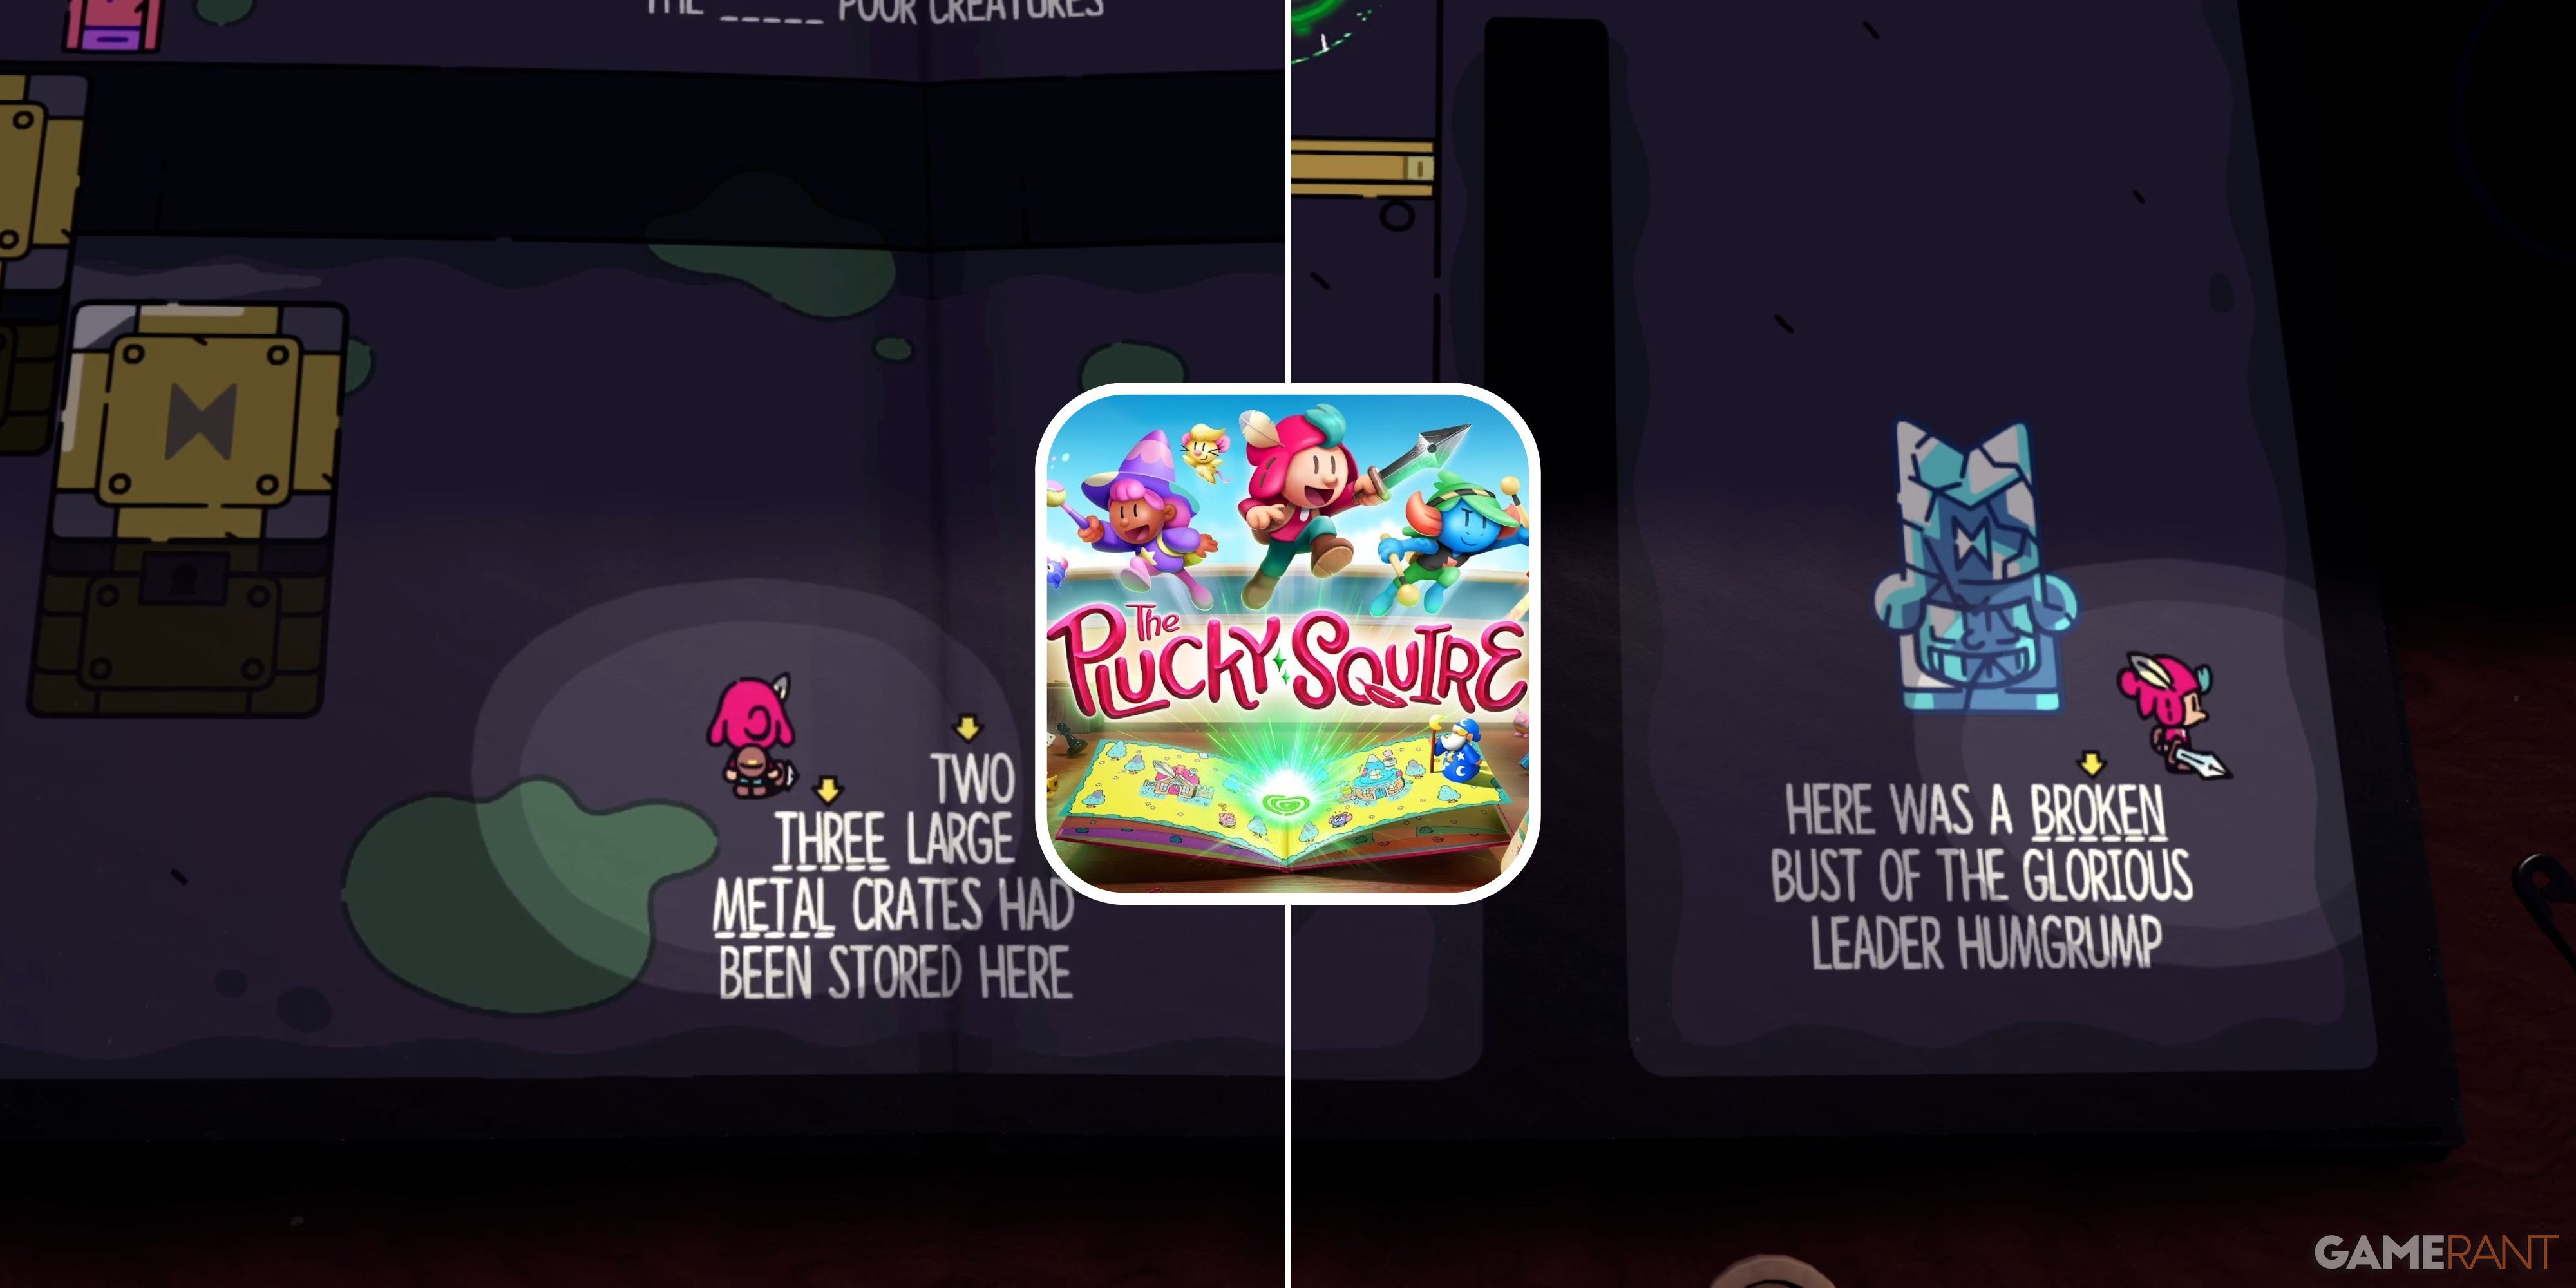
How To Solve Two Large Metal Crates In The Plucky Squire
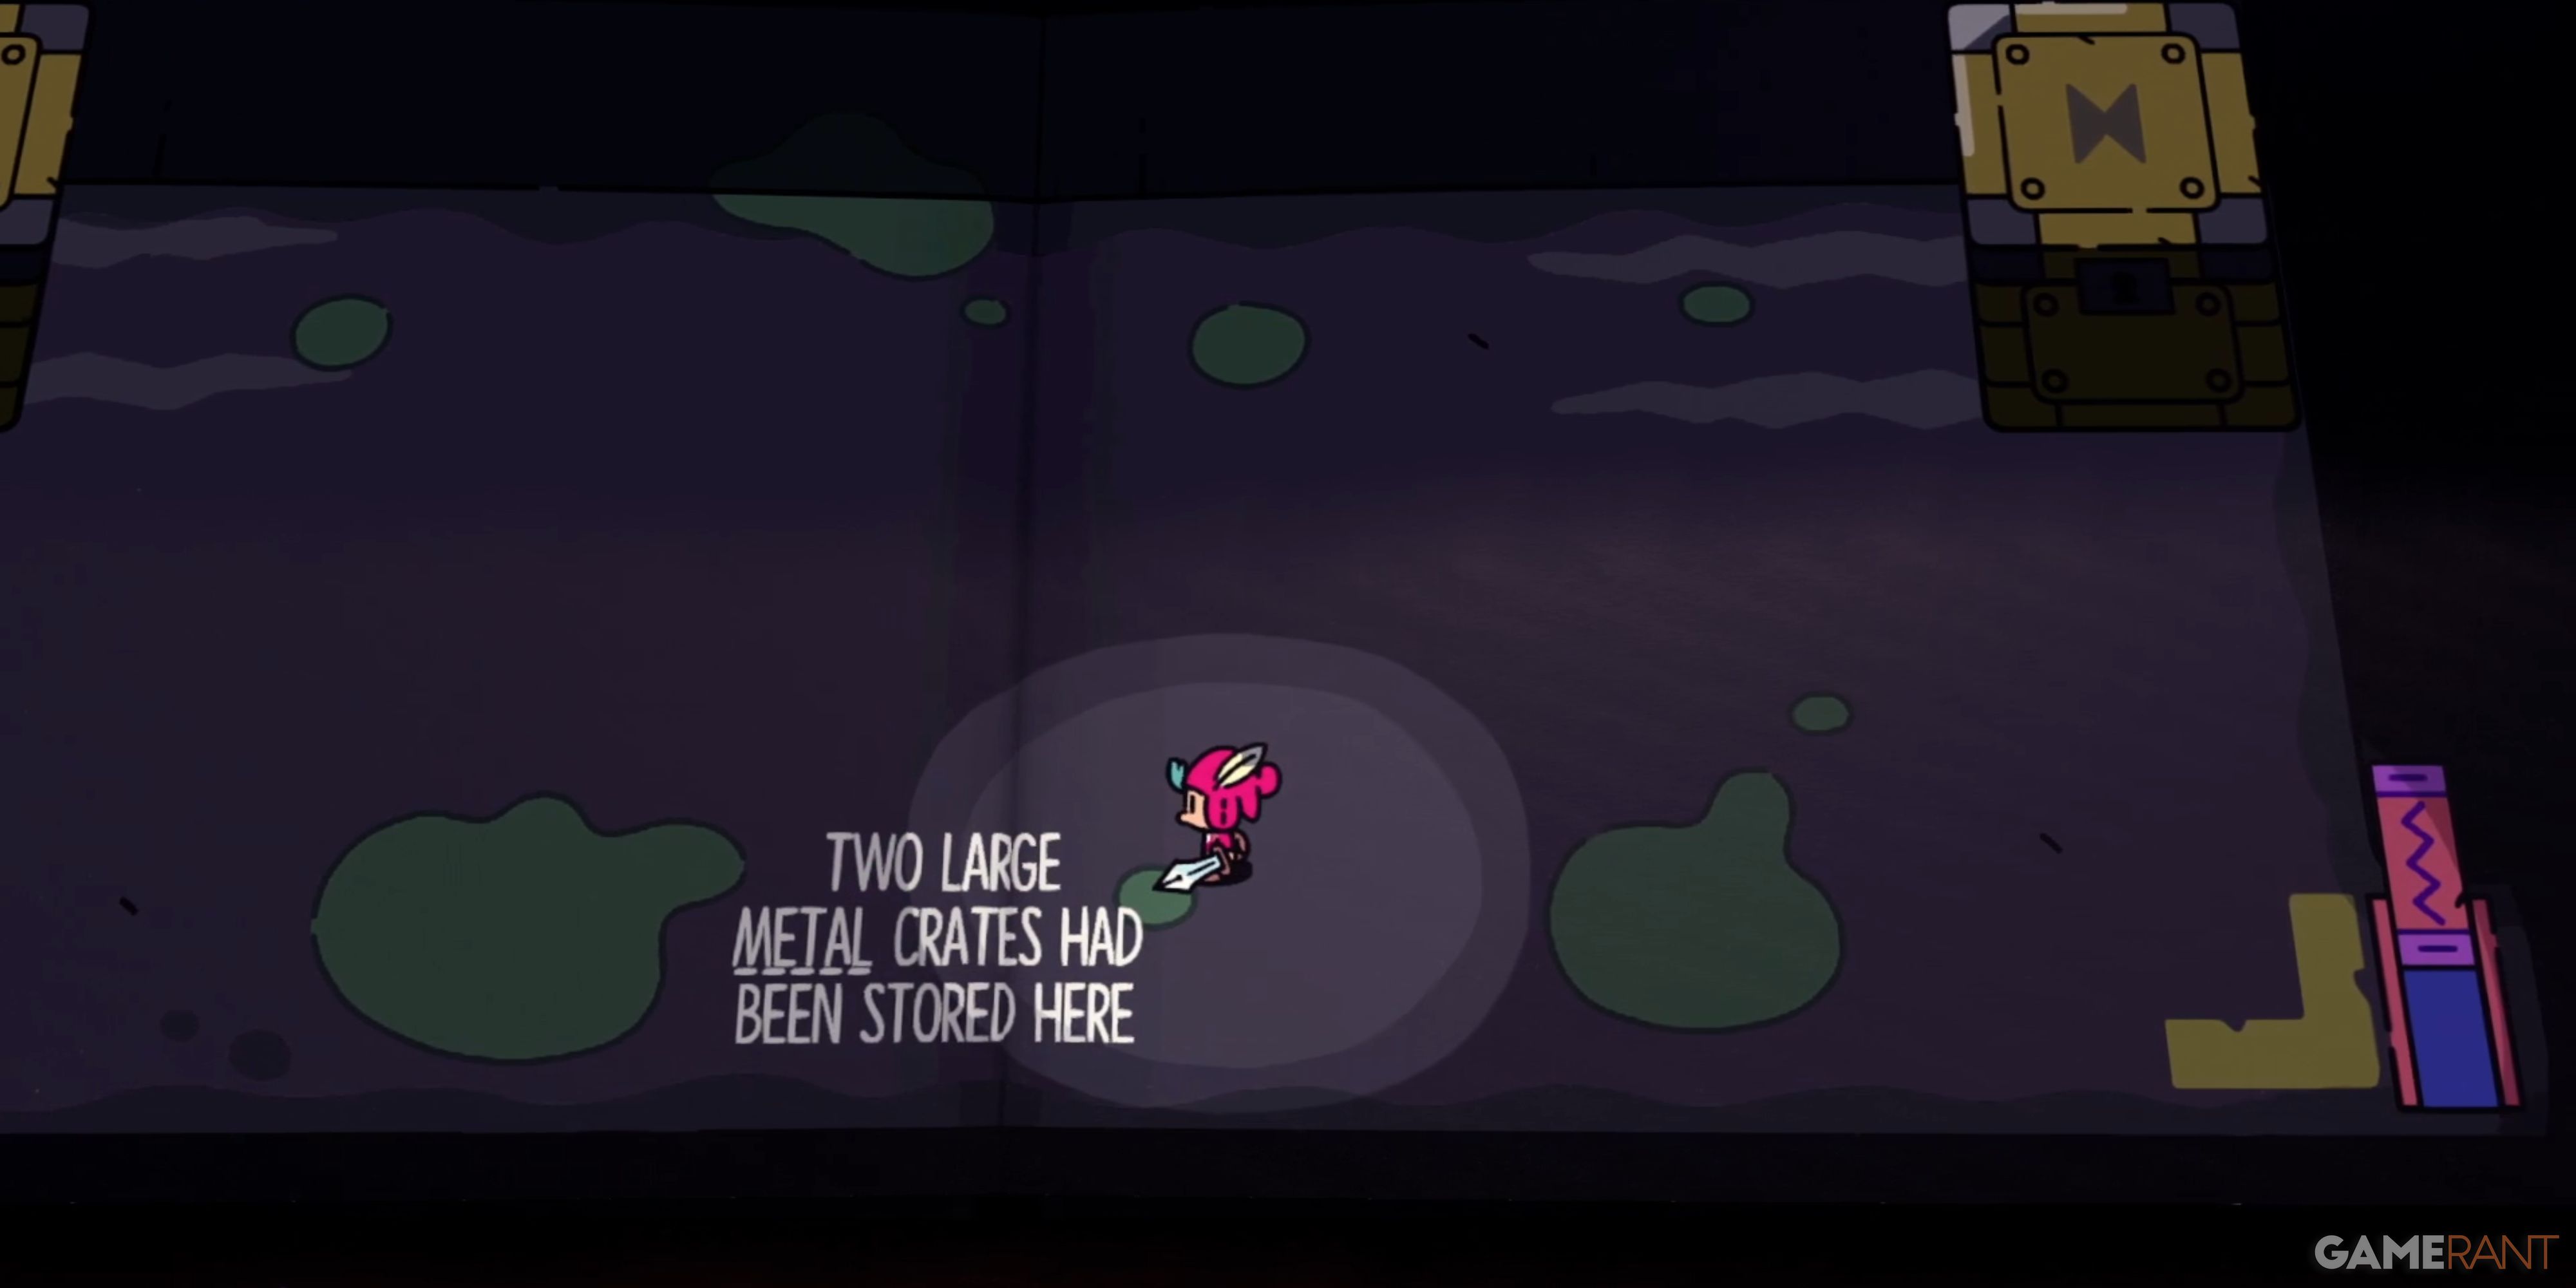
As gamers progress through chapter 9, they’ll encounter a room with two large metal crates stacked inside it, along with some adversaries to vanquish. After taking care of these enemies, players should move towards the far right corner of the room. There, they will find Minibeard. Although Minibeard can be helpful for novice players, this is not one of those instances. He’ll suggest opening the crates, but this won’t provide any guidance on how to achieve your current objective. Instead, proceed up the stairs and position yourself near the yellow crate nearby.
As I step onto that vibrant, towering crate and ascend, a hidden path within this vast map unfolds before me. Traversing this secret passageway leads to encounters with formidable foes, each one bringing me closer to the demise of the ominous wall and the unveiling of fresh lore. Upon striking the mysterious button embedded in the wall, the yellow gate descends, revealing another command: “3”.
First, conquer them, and after that, replace the “diamond” text in this statute with “Metal”. This change will transform metal boxes into diamond ones. Exit the book via the green portal next to the yellow door. Then, stamp the top-left crate using the Stop Stamp. Now, lean the left side of the book, causing the other two crates to move completely to the right. Lean the right side too, moving them all the way to the left. You can now retrace your steps to where you swapped the “three”, and use the two diamond crates on the left as a stepping stone to reach the final block of text.
Remove the “damaged” part and replace it with “diamond”. Doing so will shatter the three containers, leaving holes at their tops. Step out of the book again, then employ the Bomb Stamp to demolish the containers to uncover a concealed key within one of them. Utilize this key on the left-hand blue door to progress towards the next area.
Players engaged in collecting achievements or trophies might find humor in the phrase “cracking up” the statue of Humgrump by striking its broken base, thus earning themselves a coveted piece of artwork and an accomplishment for their collection.
Read More
- SOL PREDICTION. SOL cryptocurrency
- LUNC PREDICTION. LUNC cryptocurrency
- BTC PREDICTION. BTC cryptocurrency
- USD ZAR PREDICTION
- USD CLP PREDICTION
- VANRY PREDICTION. VANRY cryptocurrency
- IQ PREDICTION. IQ cryptocurrency
- ASTO PREDICTION. ASTO cryptocurrency
- EUR RUB PREDICTION
- RBX PREDICTION. RBX cryptocurrency
2024-09-19 12:04