As an old-time space traveler with more years under my belt than I care to remember, let me share some valuable insights on exploring and surviving in this alien world. First off, those cylindrical tents you’ll come across? They’re remnants of a long-forgotten civilization, a reminder that we’re never truly alone in the universe. Scavenge what you can from their crates, but be wary of any technical debris – some things are best left undisturbed.
The creators of “The Planet Crafter” have been frequently rolling out significant game updates, even before version 1.0, and they continue to do so post-release. Notably, there’s a new paid DLC available now called “Humble Planet,” offering players an entirely fresh world to discover and transform.
Beyond a fresh starting point and fresh landscapes, The Planet Crafter’s Humble World presents some novel rules to grasp and hidden tales to discover. The terraforming procedure follows the same general steps as the original game, yet certain life forms have been replaced, and several devices are unique to the DLC expansion. This guide offers insights essential for navigating the initial phases of the new world.
Ores and Ore Crushers
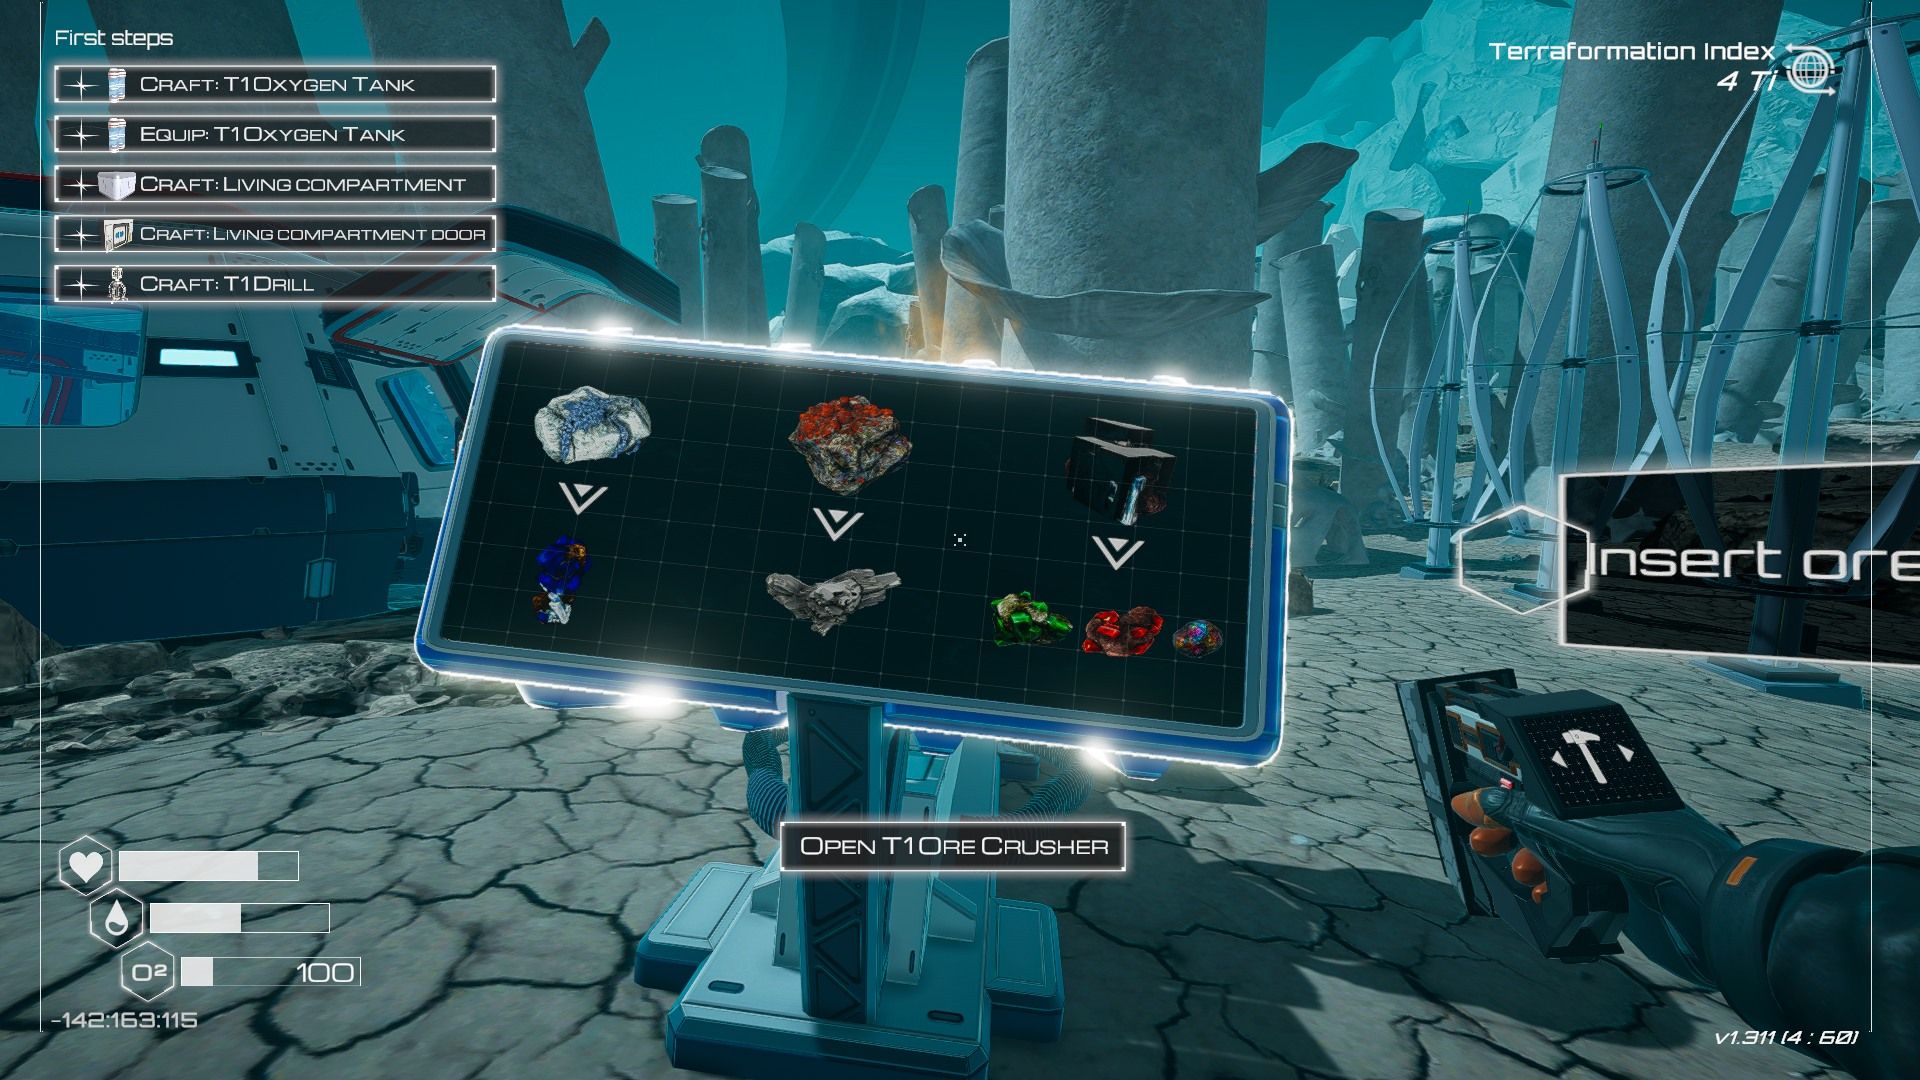
In contrast to the base version, the Humble Planet DLC introduces a key feature: mineral deposits called “ores.” These consist of minerals like dolomite, bauxite, and uraninite, which are visually represented in the screenshot provided above. Unlike other common minerals such as iron, titanium, or magnesium, these ores pop up at particular locations on the ground and can be mined just like them.
The main difference is that ores have no real use except to make Ore Crushers, and you can use Ore Crushers to turn ores into other minerals. In fact, ores are the only way you can consistently find certain minerals like cobalt, aluminum, and uranium. Unlike in the regular game, you won’t find these three minerals lying around, even in specific biomes.
Every Ore Grinder transforms raw ore into various minerals following a set duration based on its tier. The duration and the quantity of minerals produced can differ depending on the Ore Grinder’s level. You are free to put any type of ore into any Ore Grinder, and each ore has a possibility of yielding rare minerals, in addition to common ones such as silicon or iron. However, not every ore will produce a rare mineral; occasionally, an ore may generate only the precious mineral with no other byproduct.
| Ore | Rare Minerals Generated | Closest Location |
|---|---|---|
| Dolomite | Cobalt | Around the starting location |
| Bauxite | Aluminum | Follow the cliff up to the smoking volcanic area |
| Uraninite | Iridium, Uranium, Super Alloy | On the far side of the ice cave, turn left and climb the hill |
Aside from these basics, there are a few tips that can help you get through the DLC’s early game:
- Ore Crushers are massive energy sinks. Expect to build three wind turbines to power your first crusher.
- The upper chest with the display on the back is where you place ore. The lower chest is where you collect the minerals they become.
- Once the lower chest is full, the Ore Crusher will stop converting ore into minerals. However, if the lower chest has two empty slots left and the Ore Crusher creates three minerals for each ore, the last ore will disappear forever.
- Ore Crushers always crush the ore in the upper-left slot. Keep this in mind if you decide to add multiple ores to the same crusher.
- Ores aren’t the only sources of the minerals listed above. You can still collect all of them from meteor showers and random chests, and you can find some super alloy and iridium lying around. Still, Ore Crushers are your best source when you need large amounts of cobalt, aluminum, and uranium.
Human Habitation
Similar to our home planet, there are numerous indications everywhere that efforts were made in the past to mine or modify the Modest World. Unlike our home planet, an alien energy barrier isn’t causing every ship in the vicinity to forcefully land on its surface, so you must seek out other types of remnants instead.
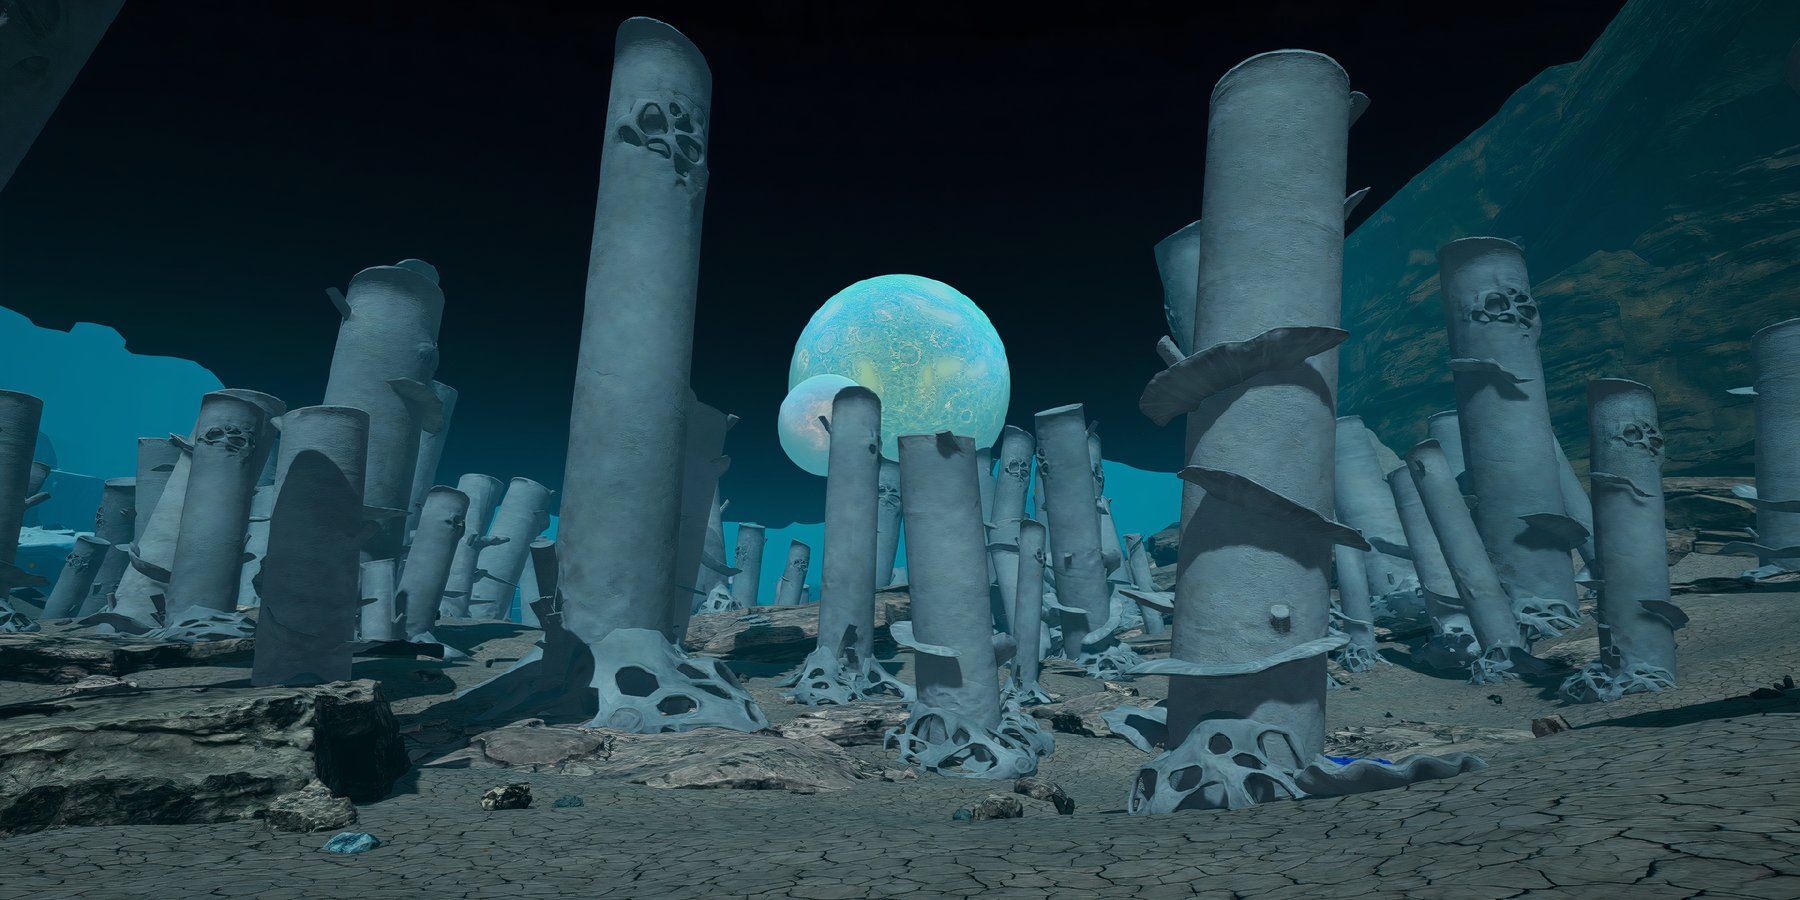
As you venture forth, with the cliff behind you, pass through the columns or pillars. Beyond their ends, you’ll discover a series of cone-shaped dwellings nestled in a valley. These structures could be what remains of tents. To gather useful items, keep an eye out for crates that you can loot and technical debris that you can dismantle at your convenience.
As an enthusiast, I’ve stumbled upon various shipwrecks and debris fields, some of which include transport ships loaded with explosive cargo. I can’t help but ponder the possibility of salvaging these explosives for strategic purposes, such as blowing up geodes that hide valuable minerals like iridium.
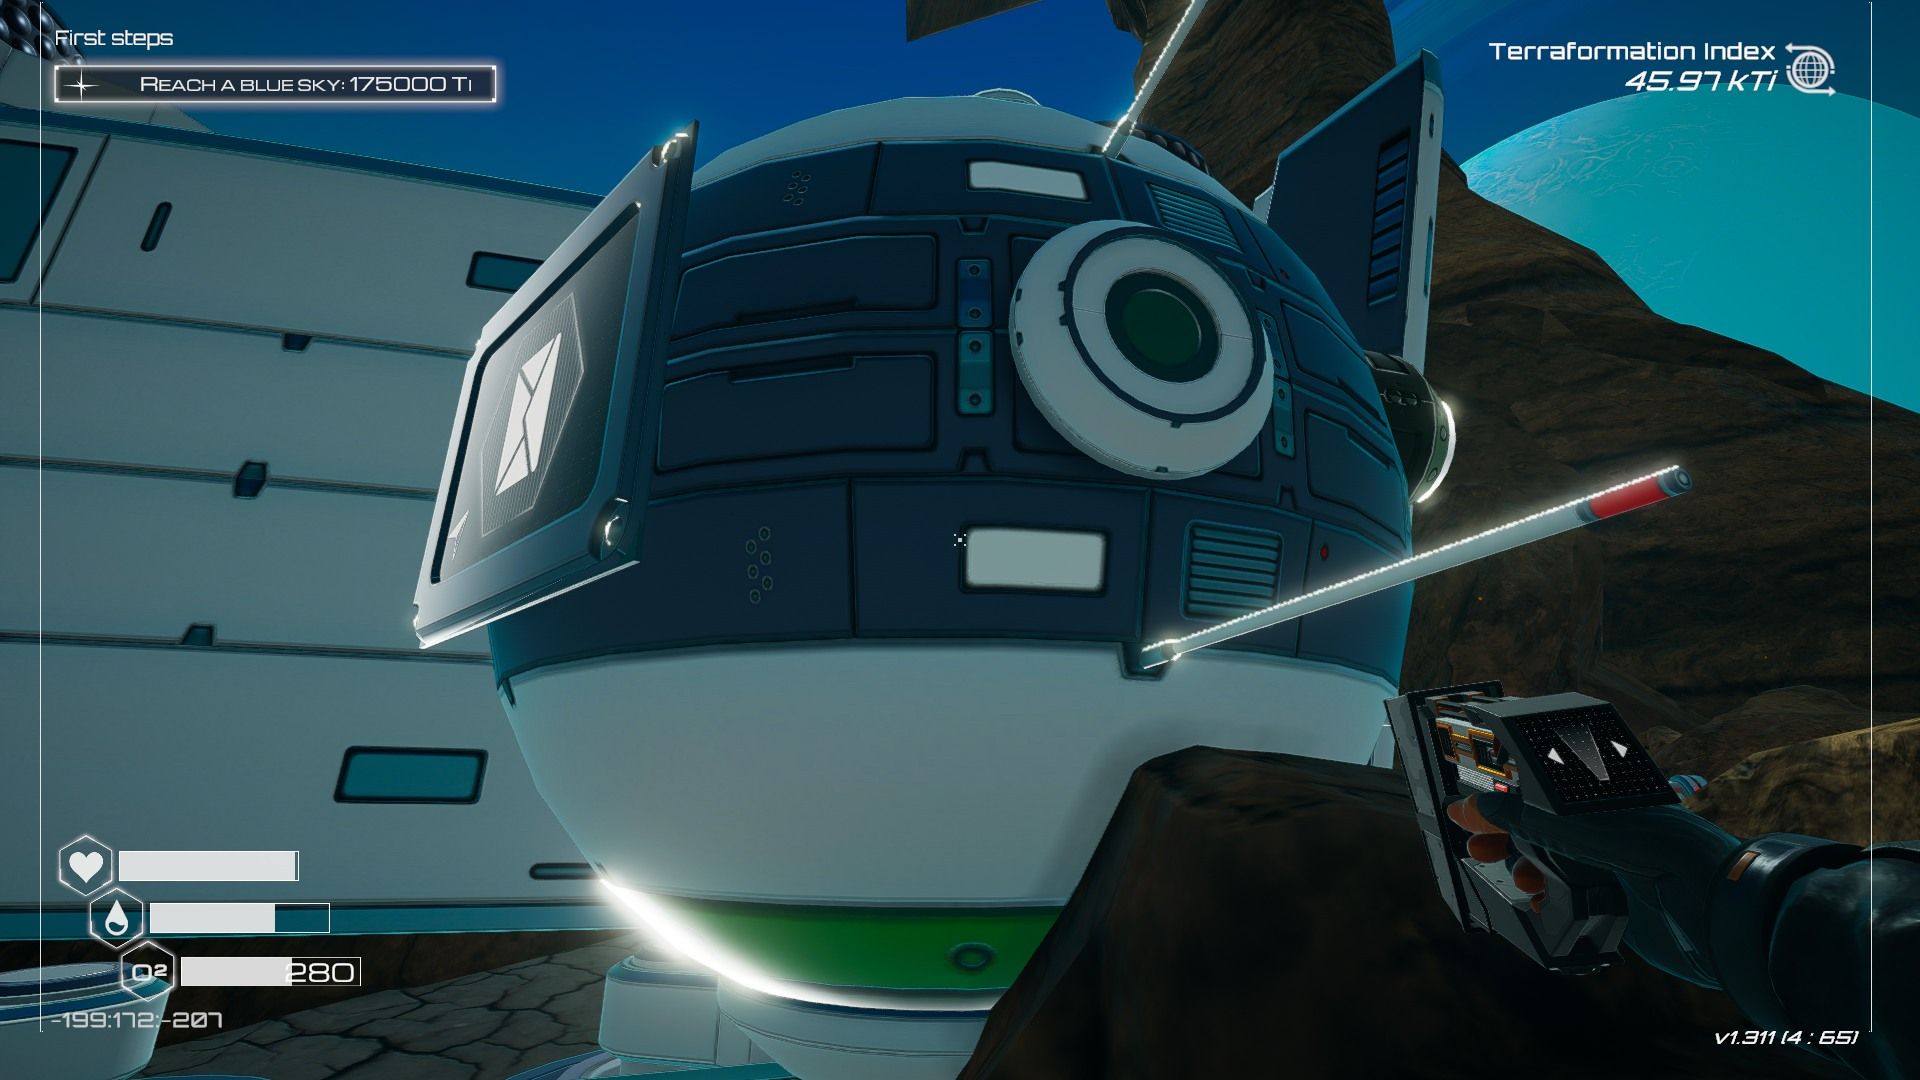
Apart from the vehicles and remnants, you’ll notice big orbs that resemble overgrown quadcopters. You can interact with these orbs to open them, and they always hold a blueprint chip. Be sure to click on each one to collect all the blueprint chips available.
Important Early Biomes
In contrast to the main game, the Humble Planet DLC features just a single drop location, encircled by striking calcium pillars that may catch your eye but aren’t particularly useful. You won’t find an abundance of resources here beyond fundamental minerals and dolomite. However, once you have a larger oxygen tank, you can begin to investigate the surrounding vicinity.
As you follow the instructions given, remember that the large cliff lies to the south of your designated landing spot. Regardless of your means, which could include a jetpack, you won’t be able to get to the base of the cliff. However, you are free to explore in all other directions around your landing site.
The Ice Cliffs
Navigate towards the west from the landing spot to discover a vast, snowy expanse that concludes at a towering icy cliff. Since there are no ice deposits around your takeoff point, make haste in moving there as quickly as possible to gather the ice needed for Vegetubes and water bottles.
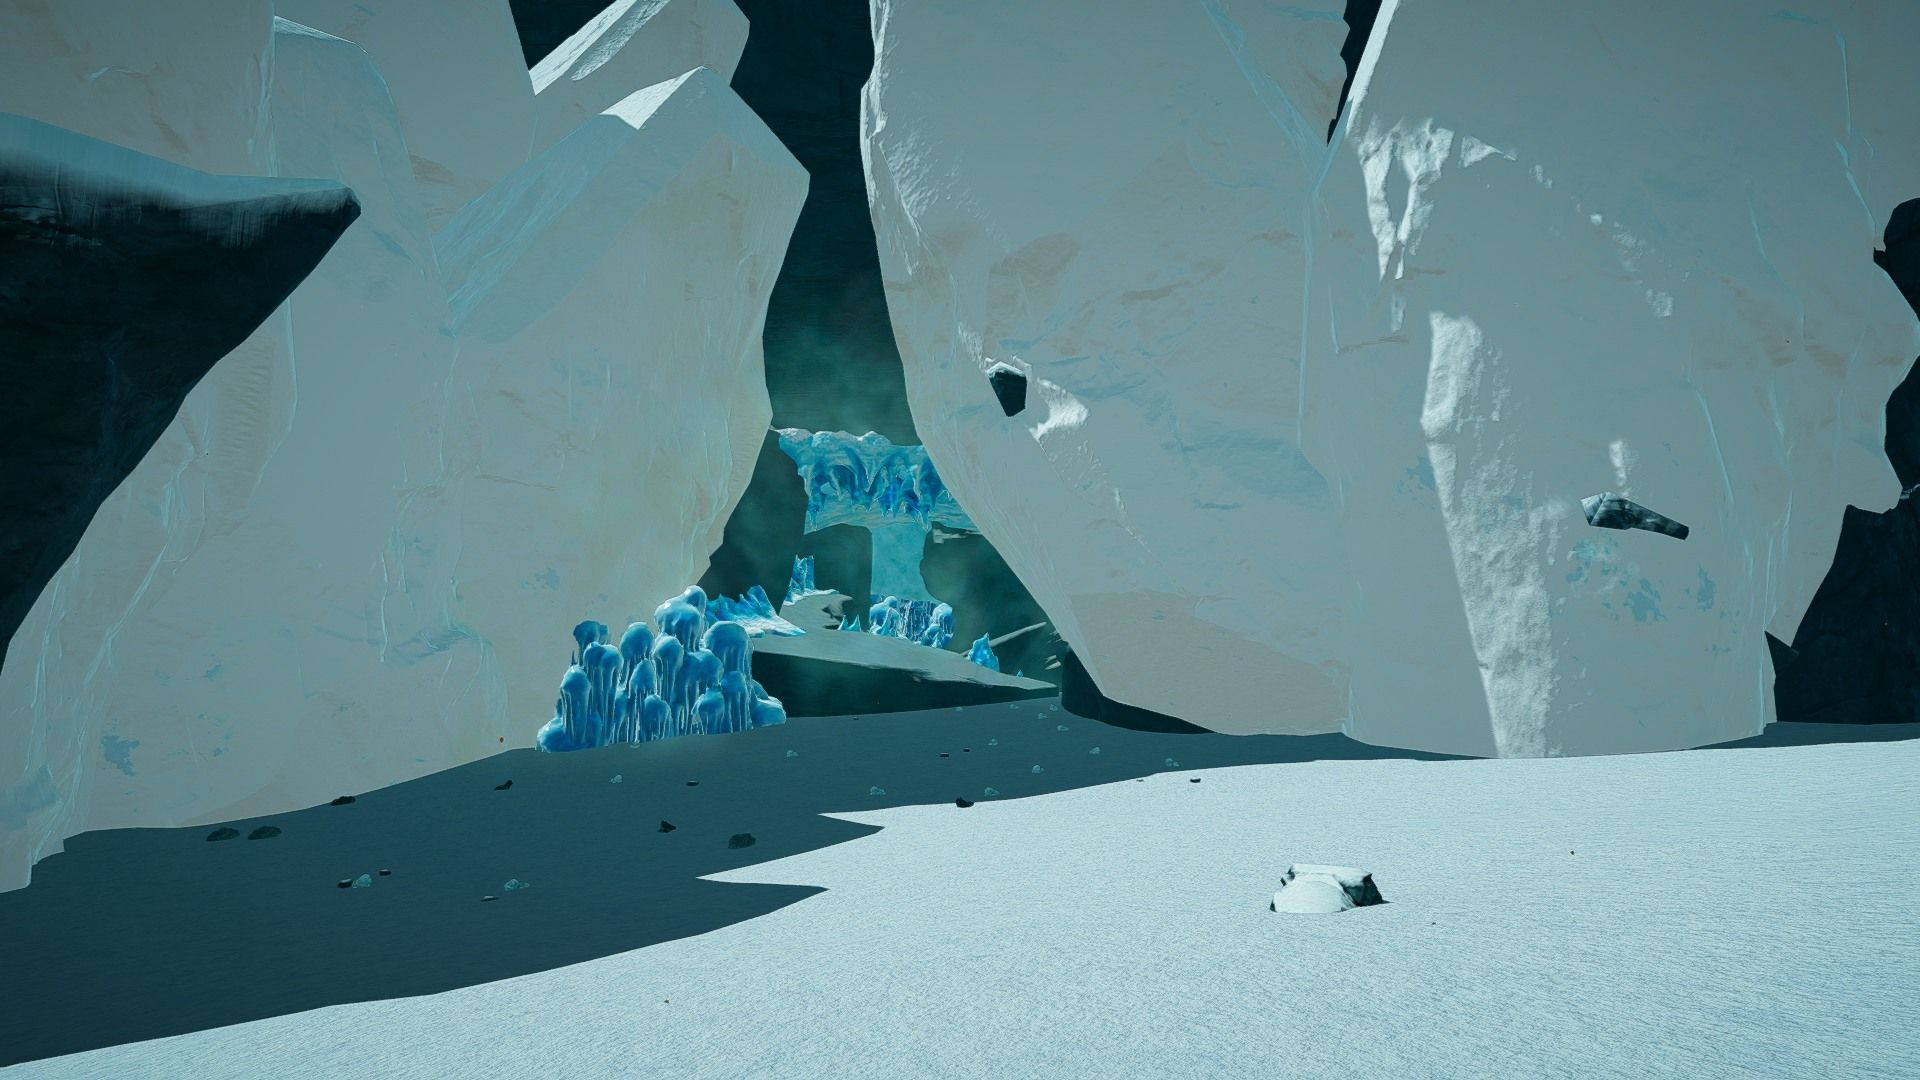
The Ice Cave
Venture towards the north, following the icy expanse, in pursuit of an intriguing, frozen cavern hidden westward. Within this crystalline hideout lies a tranquil, osmium-rich pond, encased in ice. However, the task of extracting the precious mineral remains elusive until the frosty barriers dissolve.
On the far side of the pond is a cave that continues west. Stay on the left path to enter an icy valley near a broken transport. Go southwest from the transport, and you’ll eventually climb a ramp covered in super alloy. This ramp leads to a frozen lake, and surrounding the frozen lake is a load of uraninite.
The Central Valley
Navigate directly towards the north from your initial position to reach the central valley of Humble Planet, which houses the main remnants of the last terraforming endeavor. It’s an excellent place to establish your primary construction site. However, be aware that large rocks and seashells might obstruct your buildings unless you raise your base’s elevation.
The Sulfur Hills
Heading eastward from your initial position will lead you towards the smoldering volcano, and there you’ll notice a wall discolored with sulfur to your northeastern direction. Although sulfur won’t be of immediate help, this region is rich in it if you ever find yourself needing some later on.
The Smoking Sinkholes
Instead of moving towards the northeast direction, head southeast towards the grand stone arch. Underneath this arch lies a cluster of steaming caverns, which you’d be wise to avoid falling into. The area surrounding these sinkholes is rich in bauxite, iridium, and iridium geodes that can be broken open using explosives.
Read More
- EUR CAD PREDICTION
- EUR ARS PREDICTION
- XRP PREDICTION. XRP cryptocurrency
- EUR MYR PREDICTION
- LUNC PREDICTION. LUNC cryptocurrency
- USD RUB PREDICTION
- CHR PREDICTION. CHR cryptocurrency
- OKB PREDICTION. OKB cryptocurrency
- POL PREDICTION. POL cryptocurrency
- USD BRL PREDICTION
2024-10-13 21:03