In PEAK, there are five distinct biomes, four of which include challenging mountainous or rugged landscapes that players need to navigate to reach their destination. Each island in PEAK becomes accessible after lighting a campfire atop each level, except for The Kiln, which can be accessed through a magma tunnel located towards the end of the Caldera region.
Each environment within the game PEAK presents its own unique theme, fresh challenges to navigate, and necessitates distinct strategies for successful completion. This guide offers a concise summary of all PEAK levels, along with tips to aid players in overcoming each biome within the game.
Shore
Begin Your Ascent In The Rocky First PEAK Level
- Main Environmental Hazards: none
- Other Hazards: urchins, various sources of poison
Once the loading screen concludes, you’ll find yourself on a sandy shore within the Shores biome, nestled next to a wrecked plane. Search for the guaranteed supply container and loot it. Then, head towards the initial peak you need to ascend across the beach. On your way, gather any luggage that catches your eye while scouting for an effective path upward.
Typically, the Shores biome isn’t particularly hazardous and can be navigated with ease, even if you’re scaling it alone. However, while ascending this initial island, there are several points to remain vigilant about:
1. Hidden pitfalls or traps that might catch your footing.
2. Sharp rocks or jagged edges that could cause injury.
3. Unstable terrain that may give way under your weight.
4. Wildlife that could pose a threat if startled or provoked.
5. Environmental hazards such as storms or tidal waves.
- Avoid touching the giant spiky sea urchins that dot the sandy landscape and blanket the side of the Shores’ mountainside. Touching an urchin will deal damage and inflict Poison on you.
- Keep an eye out for poisonous plants and consumables as you ascend. These are typically marked with purple or bright green trim.
- Don’t get anywhere close to the clusters of exploding spores. Though these are relatively rare in Shores, they will deal lots of Poison damage and blast your character backward, possibly off the mountainside.
- If you decide to cross a bridge, listen for a sudden loud creaking noise, which indicates the bridge is about to break. If you hear this, quickly run to the side you are closest to and be ready to climb onto the wall to avoid falling.
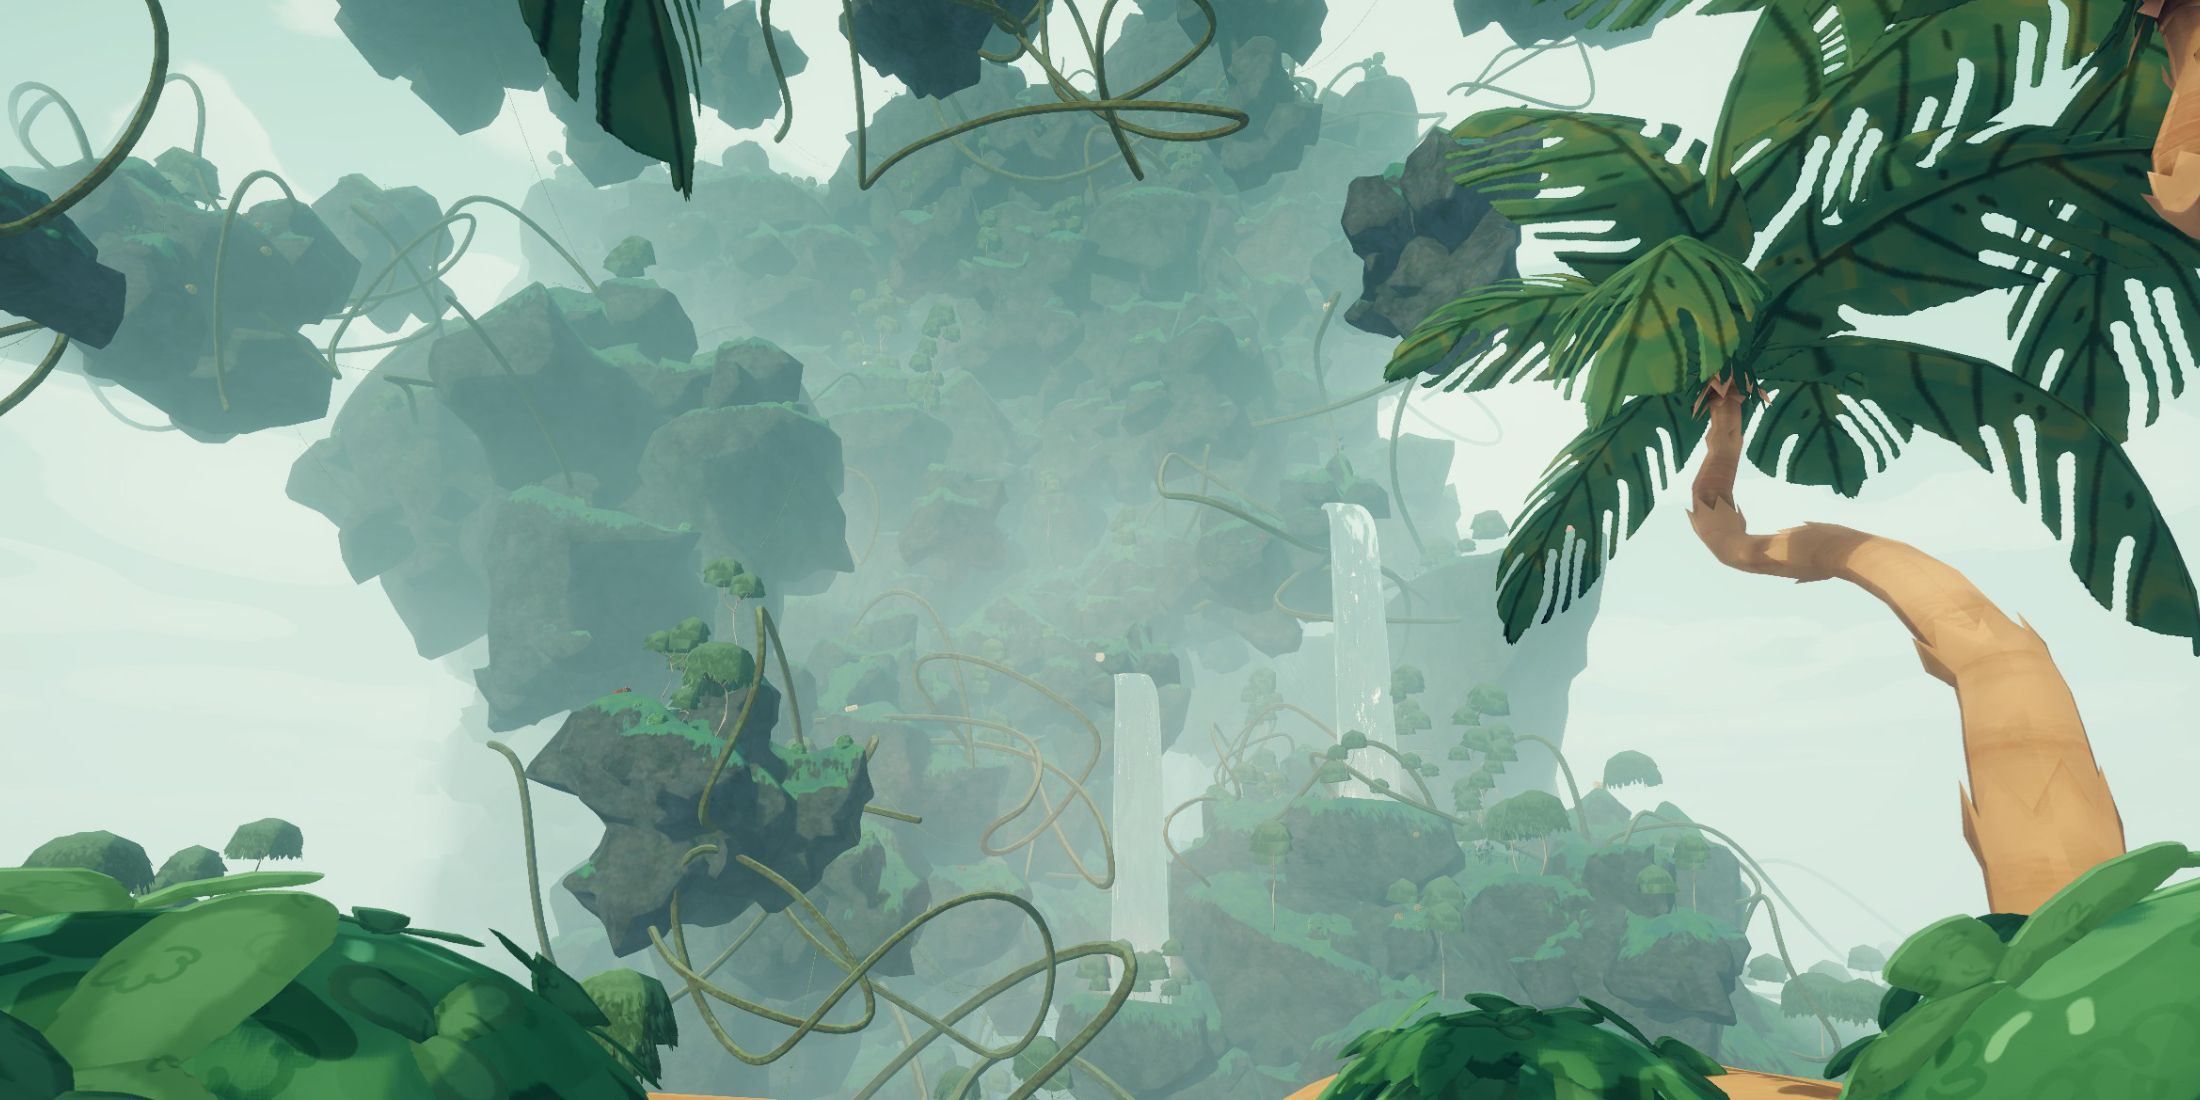
Tropics
The Twisted, Lush, And Deadly Second PEAK Biome
- Main Environmental Hazards: rain
- Other Hazards: bees, urchins, thorned vines, exploding spores, various sources of poison
Running through the tropics presents the initial major challenge due to numerous environmental obstacles and a steeper incline to conquer. Not only does it rain unpredictably, making surfaces slippery, but there are also more hazardous substances to avoid, such as poisonous plants, bees, thorned vines, and other potential dangers lurking around every corner.
In the Tropics, it’s crucial to first examine the islands’ configuration and pick out a generally safe, dependable path leading upwards before venturing into the area. The Shores campfire offers the finest vantage point.
Collaborate with your fellow climbers to find secure routes up Tropics Peak, and here are some helpful suggestions to guide you through the level:
1. Climb steadily, taking care not to slip or fall.
2. Use any available equipment for support and safety.
3. Keep an eye on the weather forecast and be prepared to adjust your plans if necessary.
4. Stay alert for any potential hazards such as loose rocks or ice.
5. Work together with your team to help each other reach the summit.
6. Take regular breaks to rest and rehydrate, but don’t linger too long on any one spot.
7. Keep a positive attitude and encourage your fellow climbers when they may be struggling.
8. Remember that safety is always the top priority, so never compromise it for speed or convenience.
9. Trust in each other and your own abilities to overcome challenges and reach the peak together.
10. Celebrate your success once you’ve reached the summit, but be mindful of the journey back down as well.
- Urchins, exploding spores, and poisoned environmental scenery can spawn in the Tropics, just like in the Shores biome. Avoid coming into contact with these as you ascend the Tropics.
- Look for bee hives on every tree in the zone. These can spawn in pairs. If you get too close, a swarm of bees will relentlessly chase you and deal damage.
- If it is raining, interior areas will not get wet. It’s safe to climb wet surfaces if you only have to cover a short distance. For anything longer than a few seconds of climbing, you should wait until the rain passes.
- You can walk on thick vines and climb trees to find new paths upward if there are no obvious climbing routes. Be careful walking on vines, though, as it’s easy to make a wrong step and fall down.
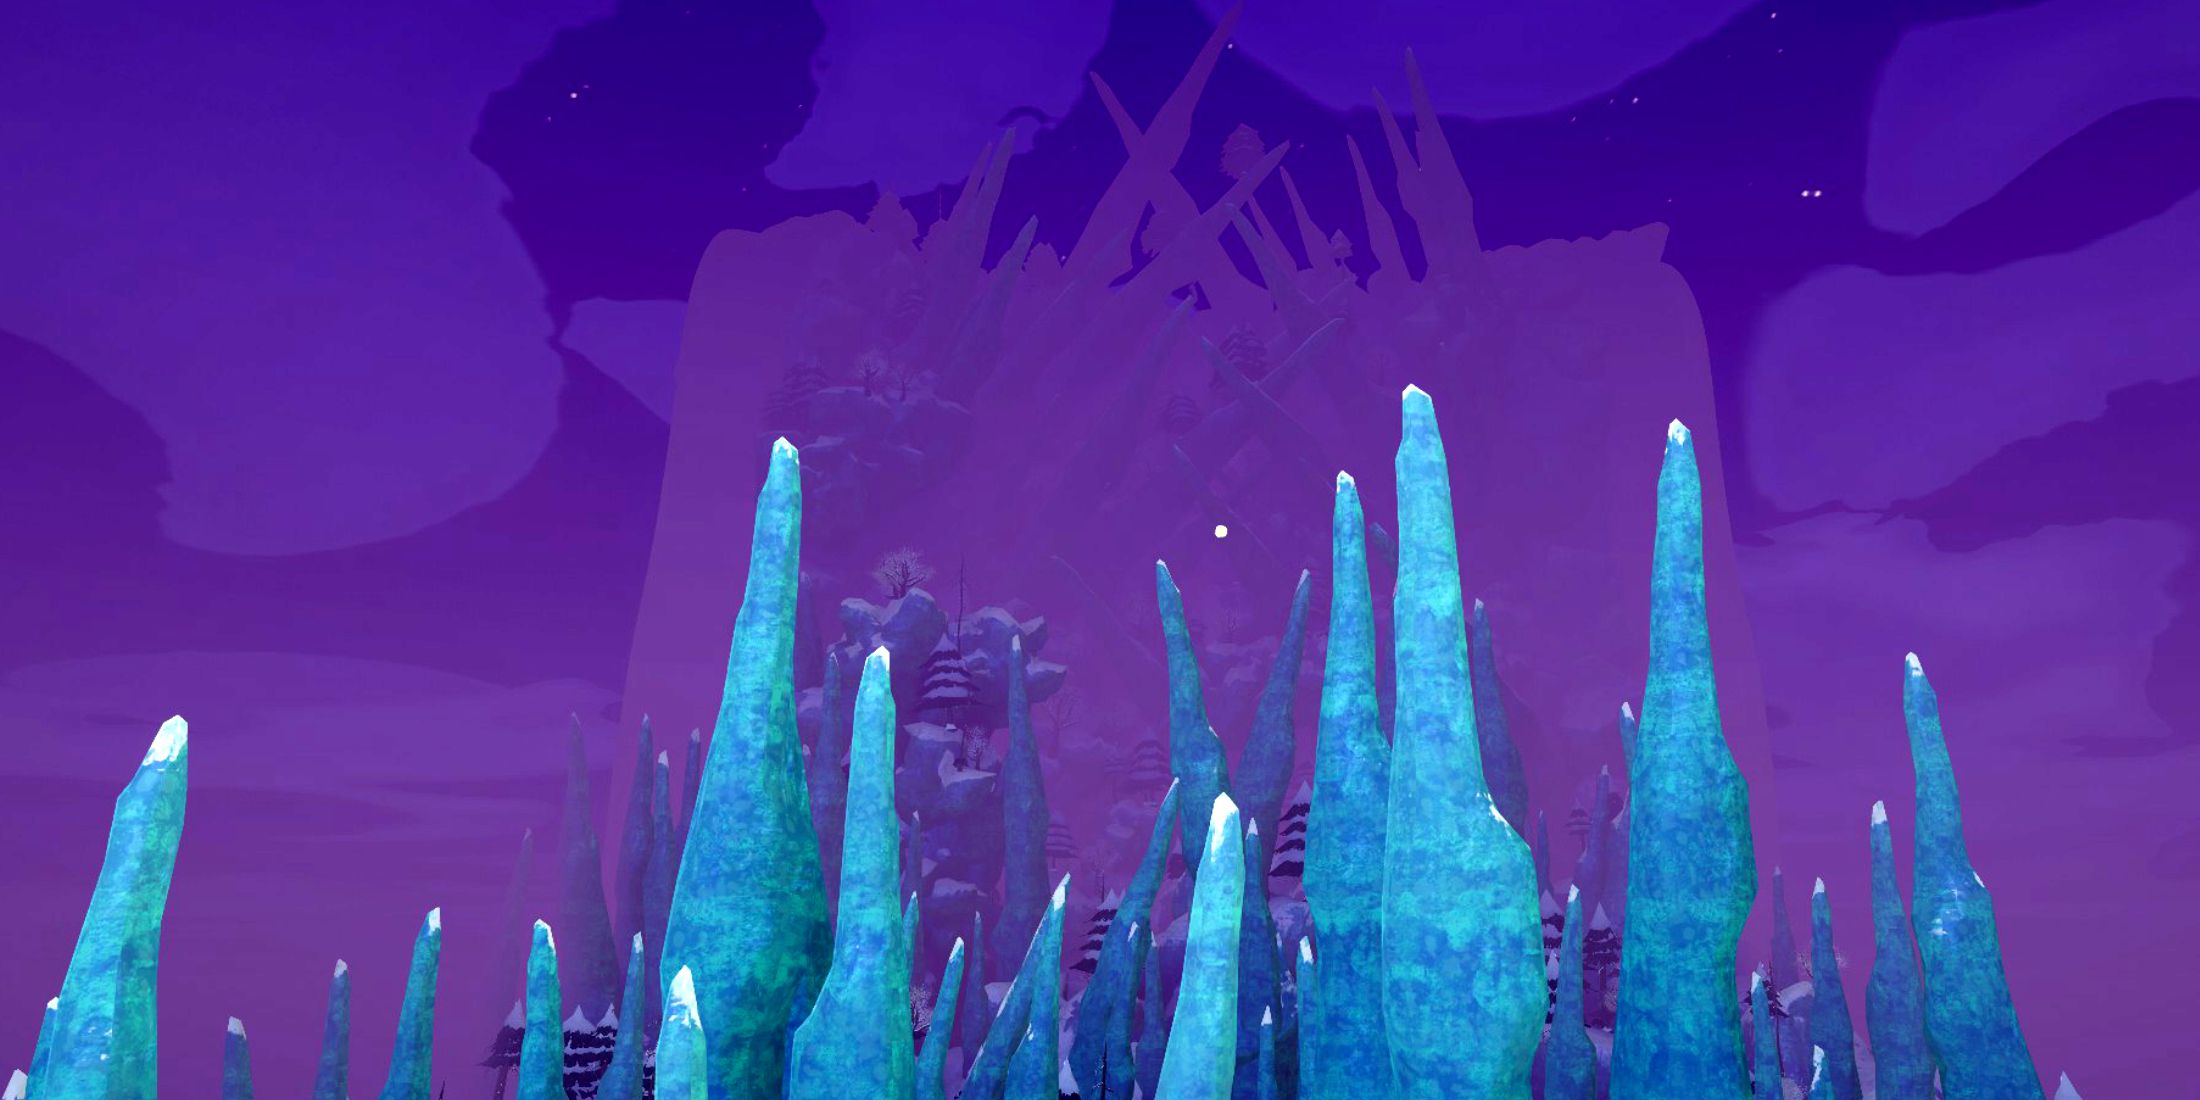
Alpine
Stay Warm As You Climb The Third PEAK Level
- Main Environmental Hazards: freezing wind
- Other Hazards: ice crystal surfaces
In the Alpine ecosystem, PEAK players will encounter the Frostbite status effect from various origins. The primary danger in this area is the persistent blizzard that sweeps across the stage periodically. While there’s no need to fret about rain or poisoning anymore, the frosty conditions here present unique difficulties.
To shield themselves from bitter winds, players using PEAK should seek shelter by hiding behind natural features like mountains or finding a safe spot within a rock fissure. It’s essential to note that they can’t hide behind trees or other scenic elements; only the physical terrain of the mountain can effectively block the wind.
If you manage to dodge the chilly grip of the blizzard in the Alpine ecosystem, PEAK gamers should find this region relatively hassle-free. Here are some helpful suggestions to navigate the Alpine level with greater speed and ease:
1. Dress warmly and layer up to protect yourself from the cold.
2. Keep an eye on the weather forecast to plan your journey accordingly.
3. Use snowshoes or skis for better traction and faster movement in the snow.
4. Stay close to landmarks and follow marked trails whenever possible.
5. Carry a map and compass to help you navigate through unfamiliar territory.
6. Keep yourself hydrated and take regular breaks to rest and warm up.
7. Use your survival skills to create shelter, start fires, and find food if necessary.
8. Be aware of any potential dangers such as avalanches or hypothermia.
9. Travel during the daytime for better visibility and safety.
10. If you get lost or stuck, don’t panic and try to retrace your steps or seek help.
- Look for bushes and trees with Winterberry consumables. If you didn’t bring food with you from previous biomes, this is the only way to restore Hunger in this biome.
- Be wary of icy obstacles as you climb up surfaces in this level. Touching freezing environmental scenery (like the blue crystalline blocks on the mountainside) will inflict Frostbite buildup.
- Bring the Lantern with you from the plane wreckage at the start of Shores. If you stand next to the Lantern and use one of its charges, you will restore some of the Frostbite meter.
- If you find a Heat Pack item in luggage containers, save it in a backpack until you reach Alpine. This multi-use item will instantly remove a portion of your Frostbite bar.
- Look carefully as you climb the mountainside and you may find a group of Capybaras taking refuge in a hot spring. This hot spring will protect you from the effects of Frostbite.
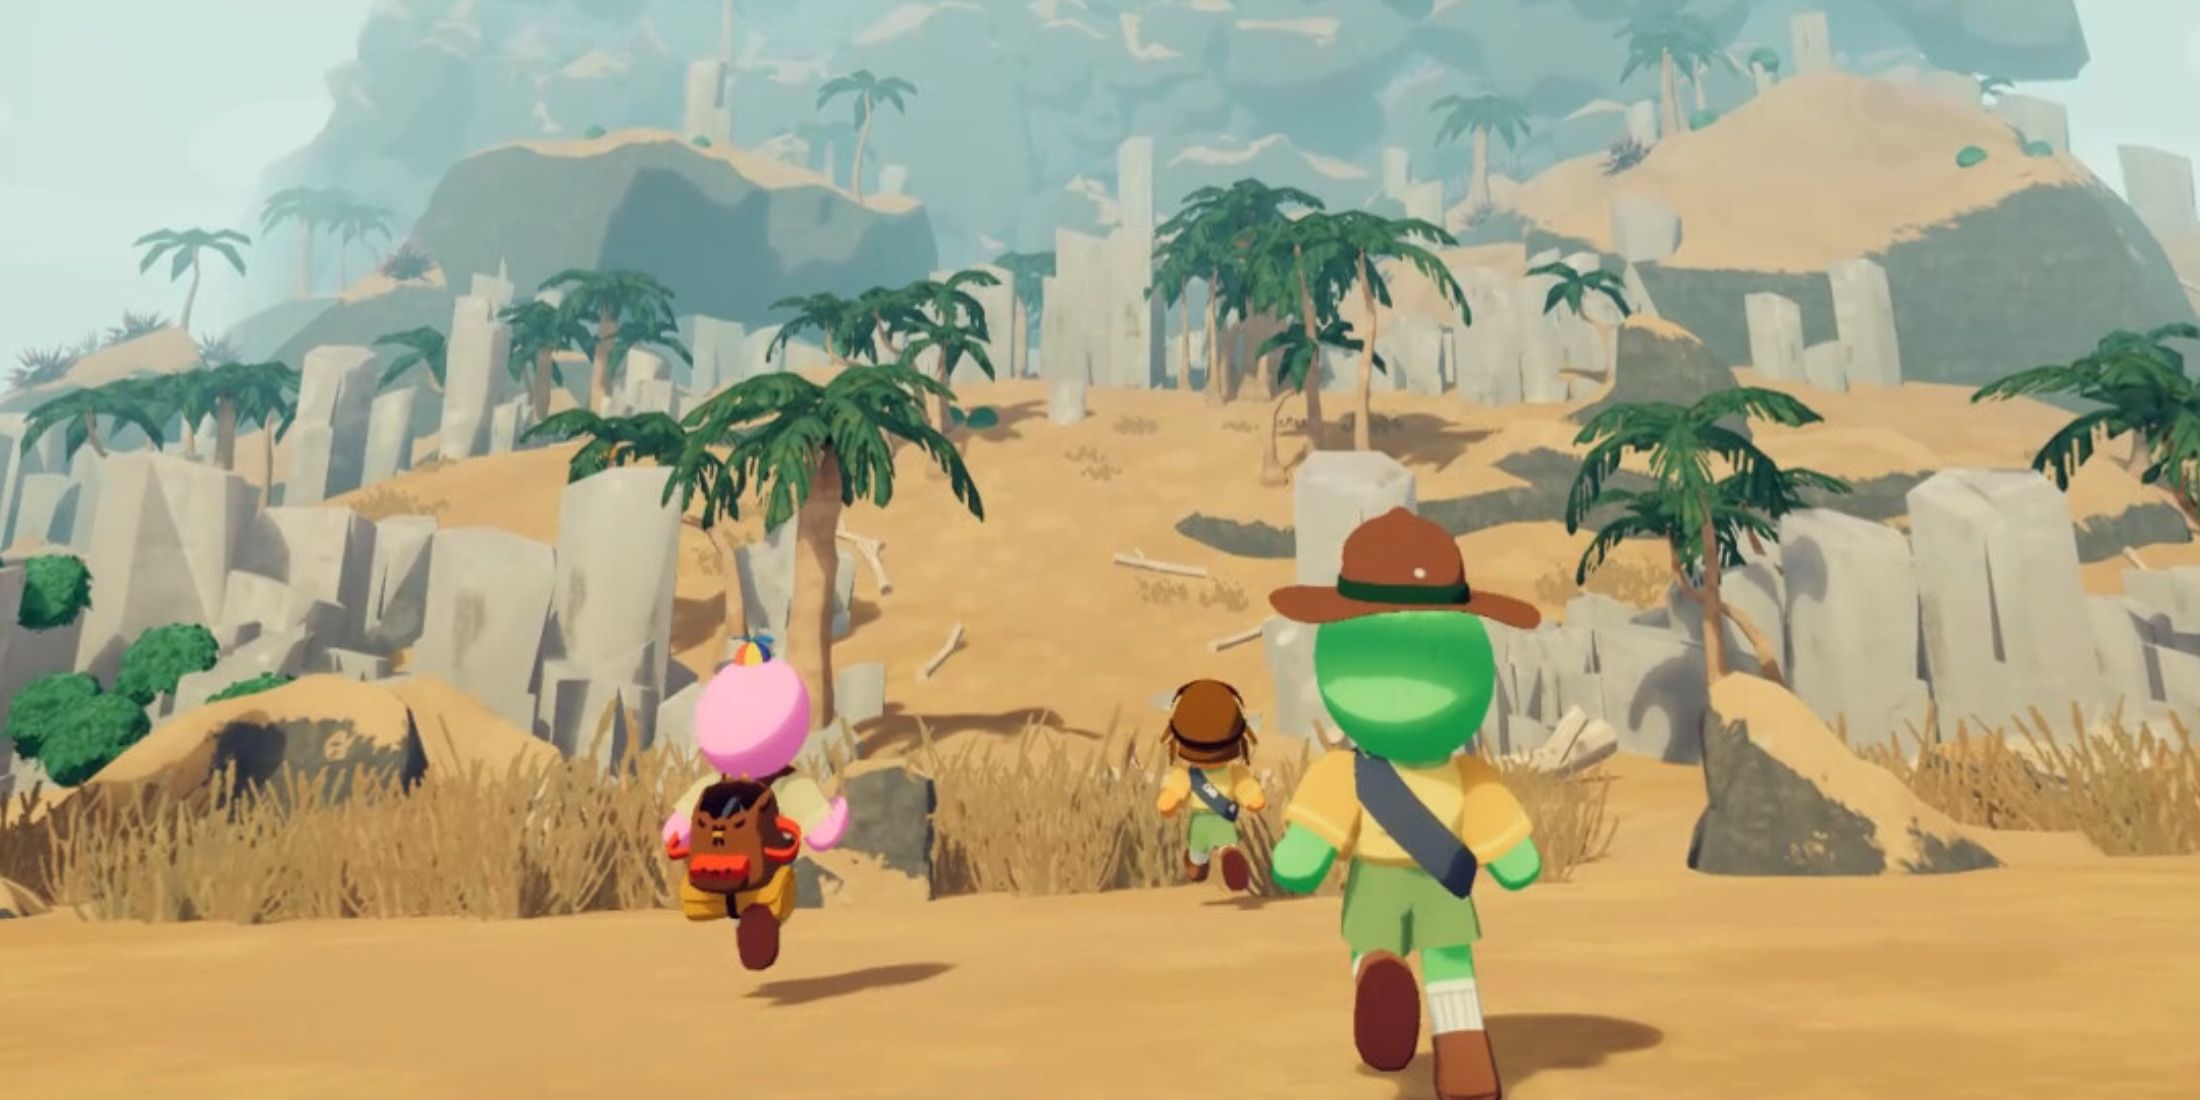
Mesa
An Alternate Third Level With Antlions, Cacti, And A Burning Sun

- Main Environmental Hazards: sunburn, tornadoes
- Other Hazards: cacti, dynamite, antlion dens
The Mesa landscape represents the latest high-tier setting, essentially divided into two distinct zones: the opening expanse of flat desert and canyons, followed by the imposing mesa itself. This terrain introduces numerous fresh items such as the Scout Cannon, along with a host of new perils that players must either strategize to overcome or carefully dodge.
In this game, players need to dart between shady spots to stay safe from getting scorched by the sun’s harsh rays throughout the entire level. To protect themselves better, they can make use of various newly introduced items such as Aloe Vera, Sunscreen, or an Umbrella (parasol).
Be sure to watch out for prickly cactus plants that cause a Thorns status upon contact, dangerous dynamite that detonates when you get too near, antlion lairs that summon an antlion dealing massive damage if you can’t break free from its grasp, and a ferocious tornado sweeping through the desert and canyon at the beginning of this biome.
To triumphantly advance past the Mesa level within PEAK, consider these strategies to conquer the obstacles found within the Mesa ecosystem:
1. Study the terrain: Familiarize yourself with the layout of the Mesa biome to anticipate potential hazards and find safe paths.
2. Equip accordingly: Make sure you have the appropriate gear for navigating through the Mesa, such as protective clothing or special equipment.
3. Watch out for wildlife: Keep an eye out for dangerous creatures that might pose a threat in the Mesa biome.
4. Utilize resources wisely: Gather essential supplies like food and water from the environment to sustain yourself during your journey.
5. Be prepared for unexpected challenges: Anticipate unforeseen obstacles and adjust your strategy as needed to overcome them.
6. Take your time: Don’t rush through the Mesa level; take the time to explore and strategize effectively.
7. Learn from mistakes: If you encounter difficulties, analyze what went wrong and adapt your approach for future success.
8. Stay focused: Keep a clear mind and maintain determination throughout your journey to conquer the Mesa biome.
- If you fall into an antlion den (which looks like a conical pit in the ground), an antlion will appear and start to suck you in – climb the sides of the den to escape and earn the Megaentomology Badge.
- Keep any Sunscreen you find from luggage in previous levels – the heat is no joke in the Mesa level, and you’ll quickly gain too much Heat to continue without a source of restoration.
- You don’t take fall damage with the Parasol, so you can use it to safely float into the tornado and cover an enormous distance quickly.
- If you accidentally get too close to a stick of dynamite, don’t run away. Instead, pick it up and hold down the Throw input to launch it far away.
- Use the Mesa-exclusive Pickaxe items that spawn on canyon walls to more easily overcome the Mesa canyon. These function exactly the same way that Pitons do and offer a brief moment of stamina restoration mid-climb.
During the initial week after its launch, the Mesa biome took over entirely from the Alpine biome. Starting from the second week onwards, both the Mesa and Alpine biomes will alternate daily, appearing randomly in level generations.
Caldera
Handle The Heat Of The Fourth PEAK Biome
- Main Environmental Hazards: rising lava
- Other Hazards: random fire explosions
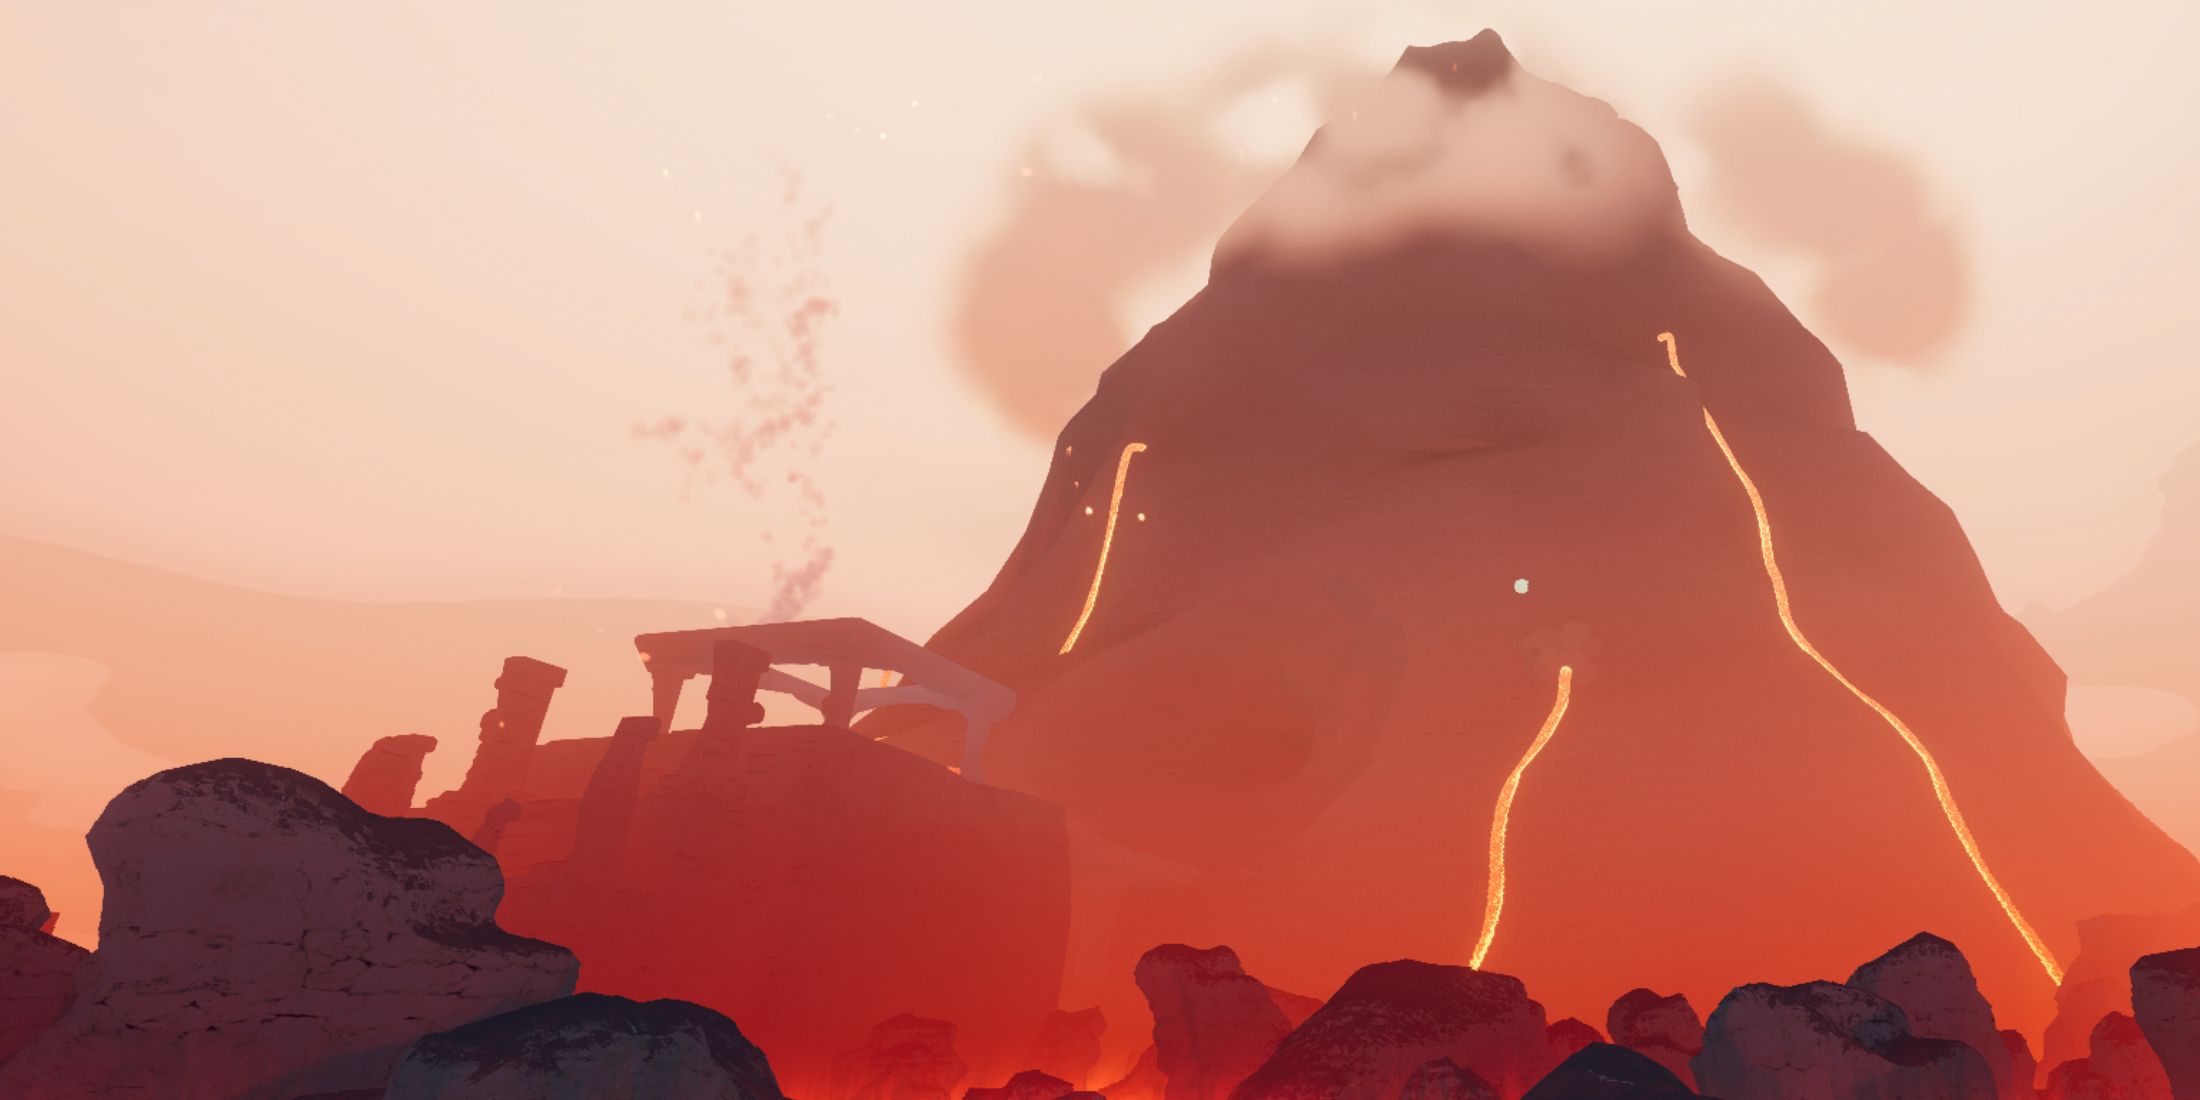
In contrast to earlier biomes in PEAK, Caldera boasts a sprawling, horizontal design. Instead of ascending a towering mountain range to reach its end, players must skillfully traverse a chain of islands floating above a fiery magma sea. They must be vigilant to dodge surging lava and massive area-of-effect fire blasts.
Avoid lingering at the base of this region for too long. Descend only when the lava drops to the flat area between the rock pillars, and move quickly to reach another pillar or a loot chest. Lava in the Caldera biome can kill you very rapidly, so it’s crucial to stay away from it.
Some parts of the level may suddenly erupt with wide-area fire damage, which will deplete your stamina bar. However, your stamina bar regenerates over time, so be cautious but not too worried about these areas.
To get to the end of this level and beat the Caldera biome, PEAK players should follow these tips:
- There are not many ways to mitigate fire damage in PEAK. You must either wait for the Fire to dissipate completely, which takes some time, or use a Medkit or Cure-All to get rid of the Fire effect.
- Many of the “islands” in Caldera are connected by chains. Use these chains to safely traverse gaps across lava.
- You can also jump onto chains from a height to conserve your momentum and zoom to the other side without consuming much stamina. Just be sure that you are able to jump off and climb onto a ledge on the other side of the chain.
- Use items like Chain Launchers, Shelf Shrooms, and Pitons to create more ways to traverse this hellish landscape and conserve stamina.
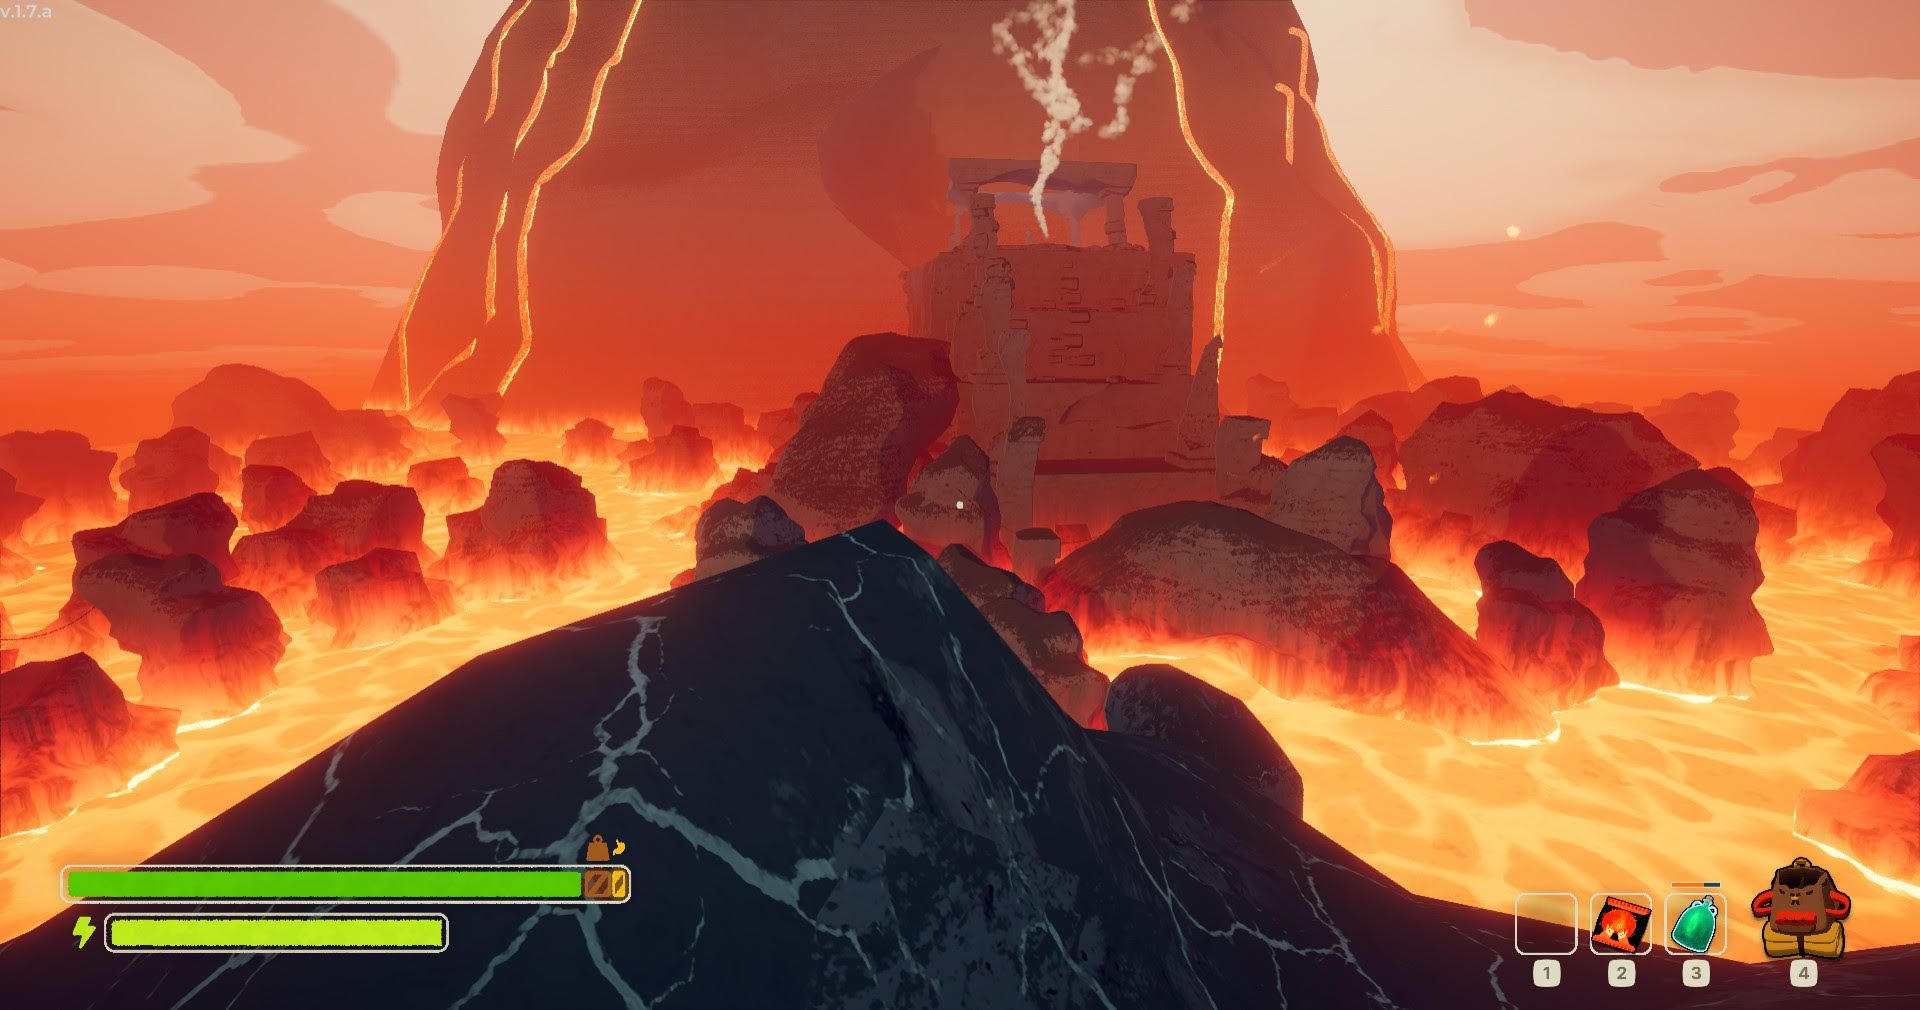
The Kiln
The True Final Biome In PEAK
- Main Environmental Hazards: lava, long climbing segments in second half
- Other Hazards: fire surfaces
As you traverse the Caldera region, you’ll eventually come across a series of ruins and a cave that delves further into the heart of the volcano. Step inside this cave to encounter the ultimate level in PEAK, known as The Kiln. Both Caldera and The Kiln share numerous characteristics, such as an abundance of fire-related hazards and lava. In this final stage within PEAK‘s biomes, your objective is to ascend the volcano by scaling its interior.
Navigating The Kiln can prove challenging since it’s not as spacious as the open biomes you’ve encountered before. Be cautious of the encroaching lava and look for opportunities to scale the rugged, rocky walls instead. It may not be immediately obvious, but there are numerous spots in the initial portion of The Kiln where you can rest and regain your stamina.
As we reach the midpoint in this epic gaming adventure, you’ll notice a surge in magma rocks and flowing lava ahead – be prepared to dodge! It’s smart to hold onto a power-up for the home stretch, like sipping an energy drink or popping a lucky lollipop when things really heat up.
Using these items temporarily boosts your climbing skills and restores your stamina, however, watch out as they might cause drowsiness upon expiration. Remember to stay alert!
Utilizing the Chain Launcher and ropes prove exceptionally helpful during our ascent to the summit of the volcano as well.
As a fearless gamer, if I manage to scale those towering, internal volcano walls, I’ll find myself standing on the very summit – the Peak itself! From there, all I need to do is make my way to the top of this tiny island, and I can summon a helicopter to help me conquer PEAK.
Read More
- All Skyblazer Armor Locations in Crimson Desert
- How to Get the Sunset Reed Armor Set and Hollow Visage Sword in Crimson Desert
- All Shadow Armor Locations in Crimson Desert
- Marni Laser Helm Location & Upgrade in Crimson Desert
- All Helfryn Armor Locations in Crimson Desert
- All Golden Greed Armor Locations in Crimson Desert
- Best Bows in Crimson Desert
- All Icewing Armor Locations in Crimson Desert
- One Piece Chapter 1180 Release Date And Where To Read
- How to Beat Stonewalker Antiquum at the Gate of Truth in Crimson Desert
2025-08-12 21:25