Tainted Grail: The Fall of Avalon is brimming with mysteries yet to unravel. It takes place in a sinister, distorted reflection of Avalon where your primary objective is the search for King Arthur’s fragmented Soul shards. If you hurry through the main narrative, though, you might overlook an abundance of additional content, such as an entirely new skill set named Red Death.
Unveiling a fascinating fact, this skill tree is among the game’s top choices, offering a wealth of fresh mechanics to delve into and enhance your strategy. Here’s a guide on how to unlock the hidden Red Death skill tree in Tainted Grail: The Fall of Avalon, complete with the top perks you shouldn’t miss.
This manual reveals details about the Perinde Ac Cadaver side mission from Tainted: Grail – The Fall of Avalon. Proceed with caution, as you may be exposing yourself to plot revelations!
How to Unlock the Red Death Skill Tree (Perinde Ac Cadaver Walkthrough)

To access the Red Death skill tree’s upgrade, gamers need to finish a mission titled “Perinde Ac Cadaver”. This assignment becomes accessible after progressing into the game’s second area, the Cuanacht region, upon obtaining Excalibur from the Southern Horns. Subsequently, make your way to the primary town of Cuanacht and interact with Ignatius at the Hospital to trigger the mission.
You’ll see Ignatius seated on a hospital bed. Talk to him and go through his conversation. At some point, he’ll ask if you want to become an empty vessel. If you respond “Yes, I want a mark”, he will then mark you with the Hollow Shell symbol and instruct you to locate someone known as The One.
How to Find The One
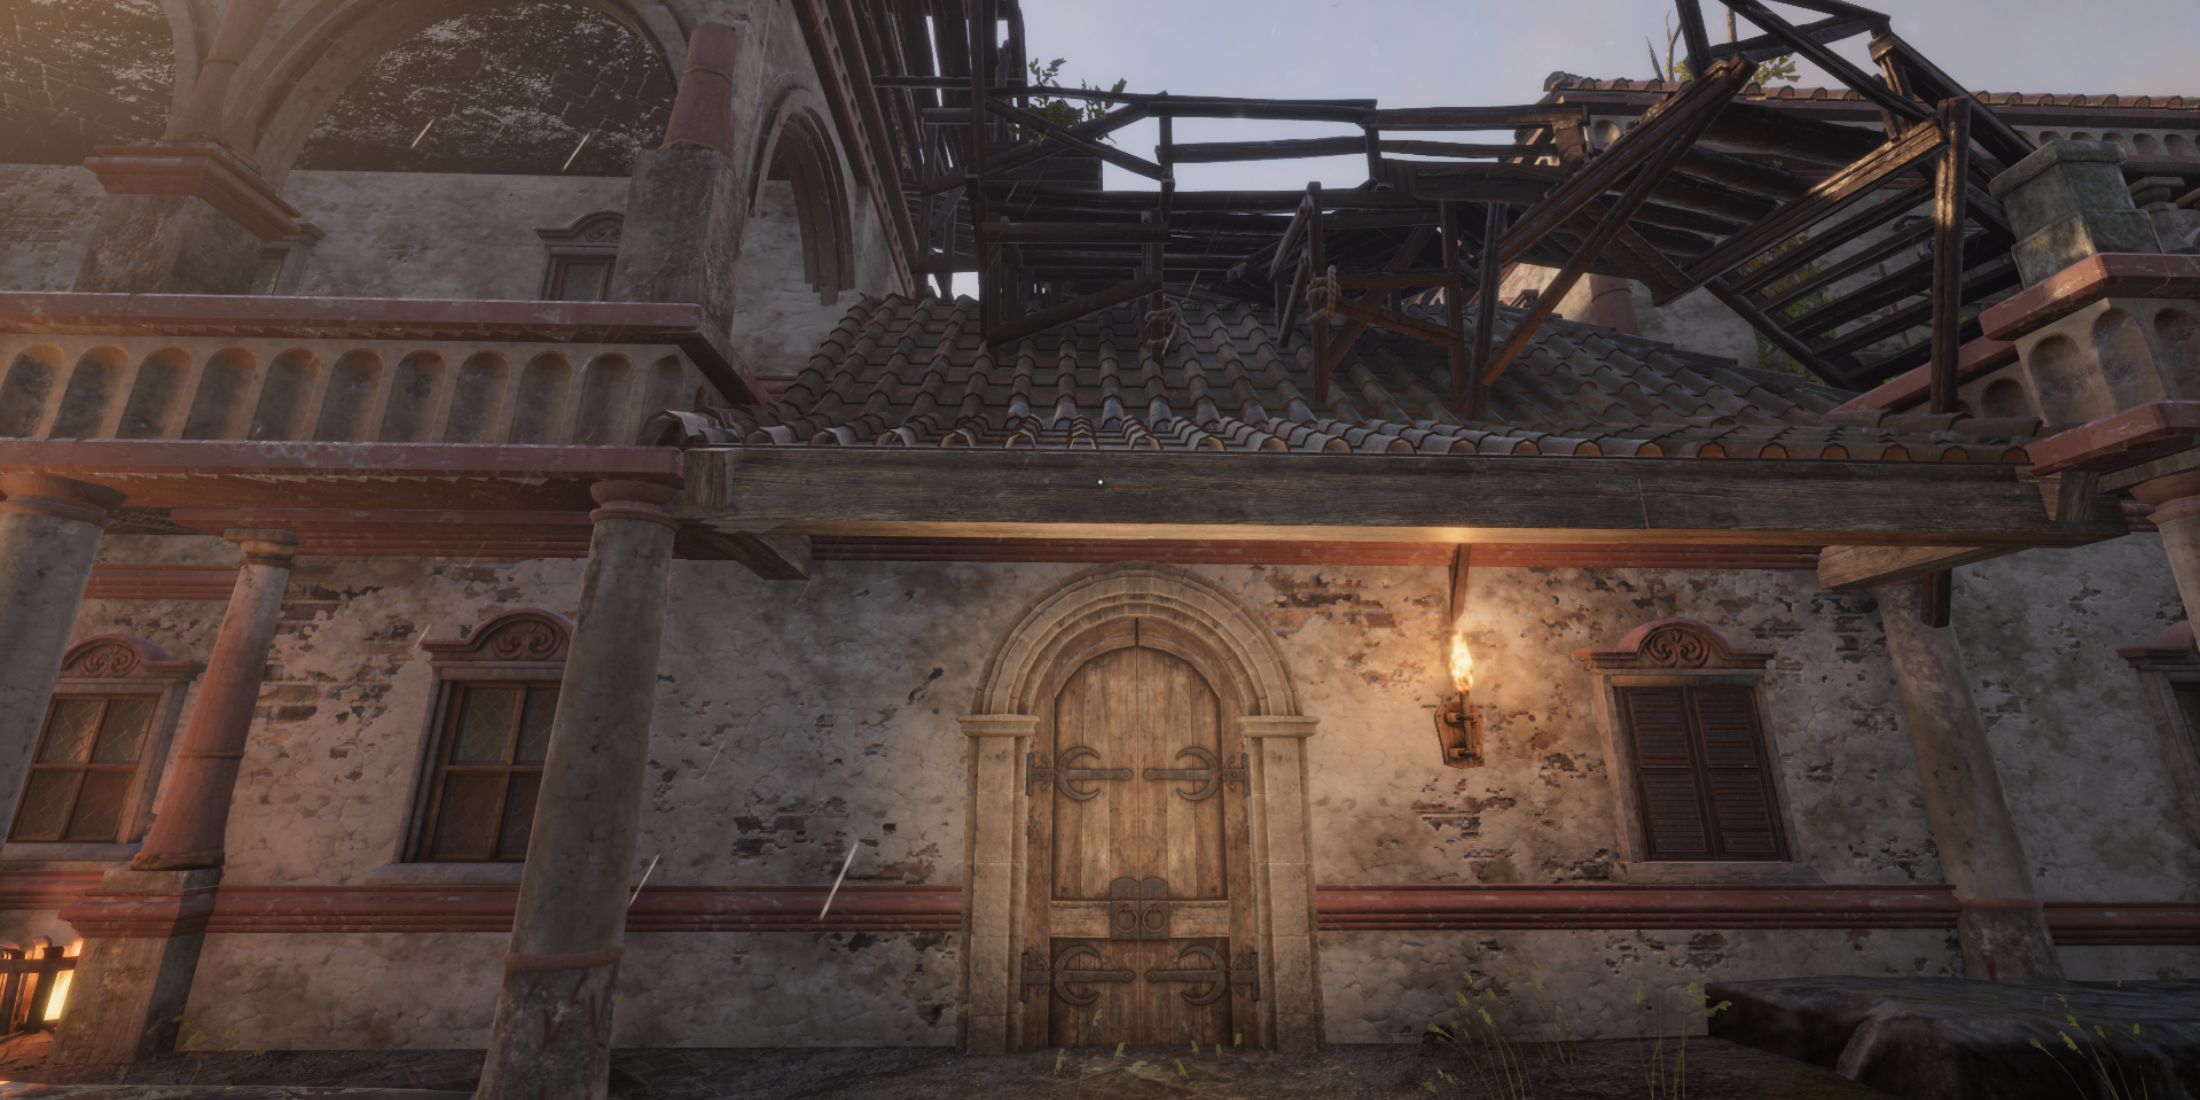
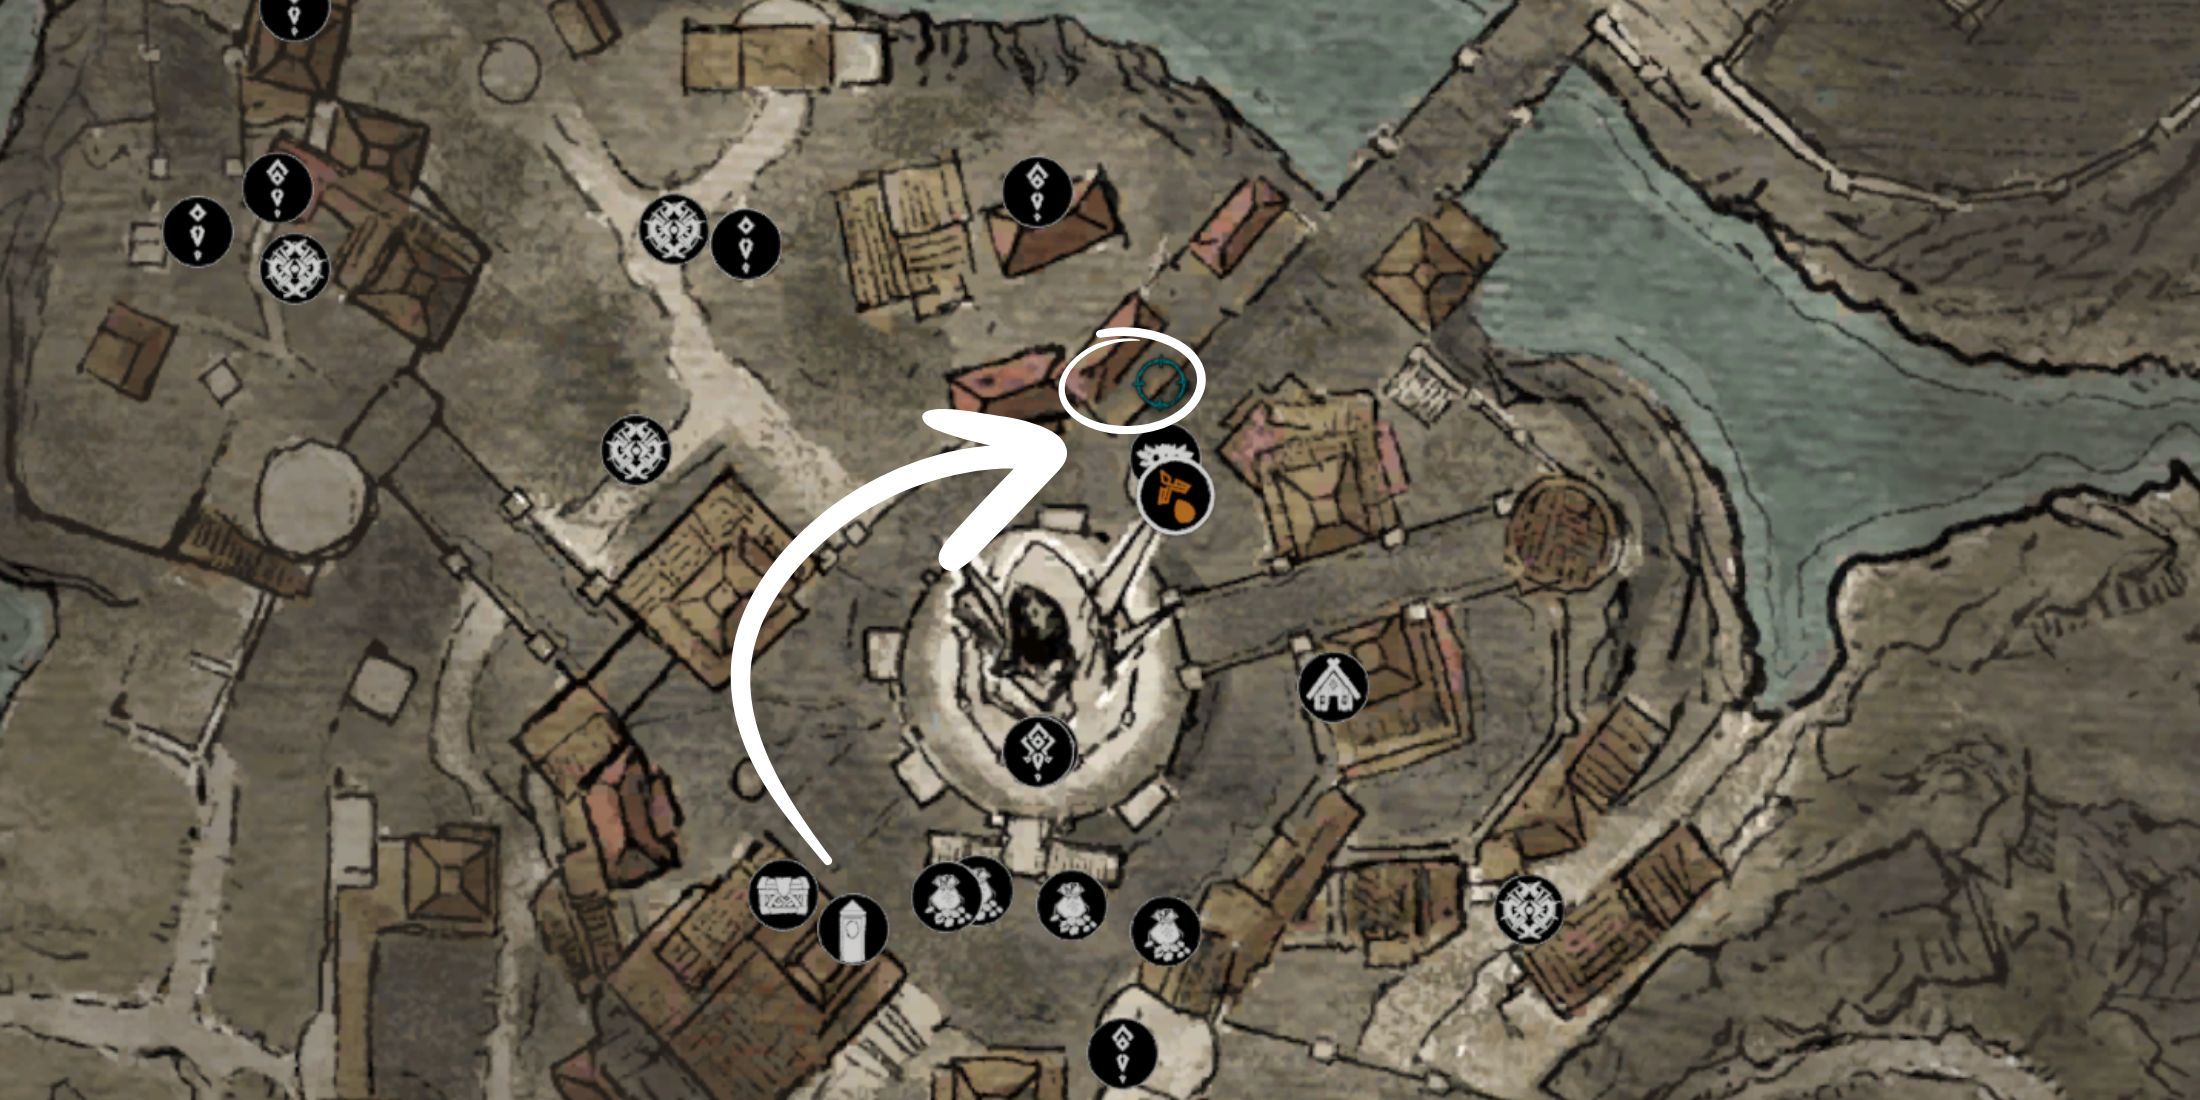
The One is situated in a region known as the Toll House, to the east of Cuanacht Main Square. To reach it, you’ll need to traverse the eastern bridge from the square, then battle your way past hordes of Red Death Infected foes. Once you get to the dilapidated castle-like building, begin ascending the stairs. Keep following the quest indicator, and you’ll eventually discover an elevator.
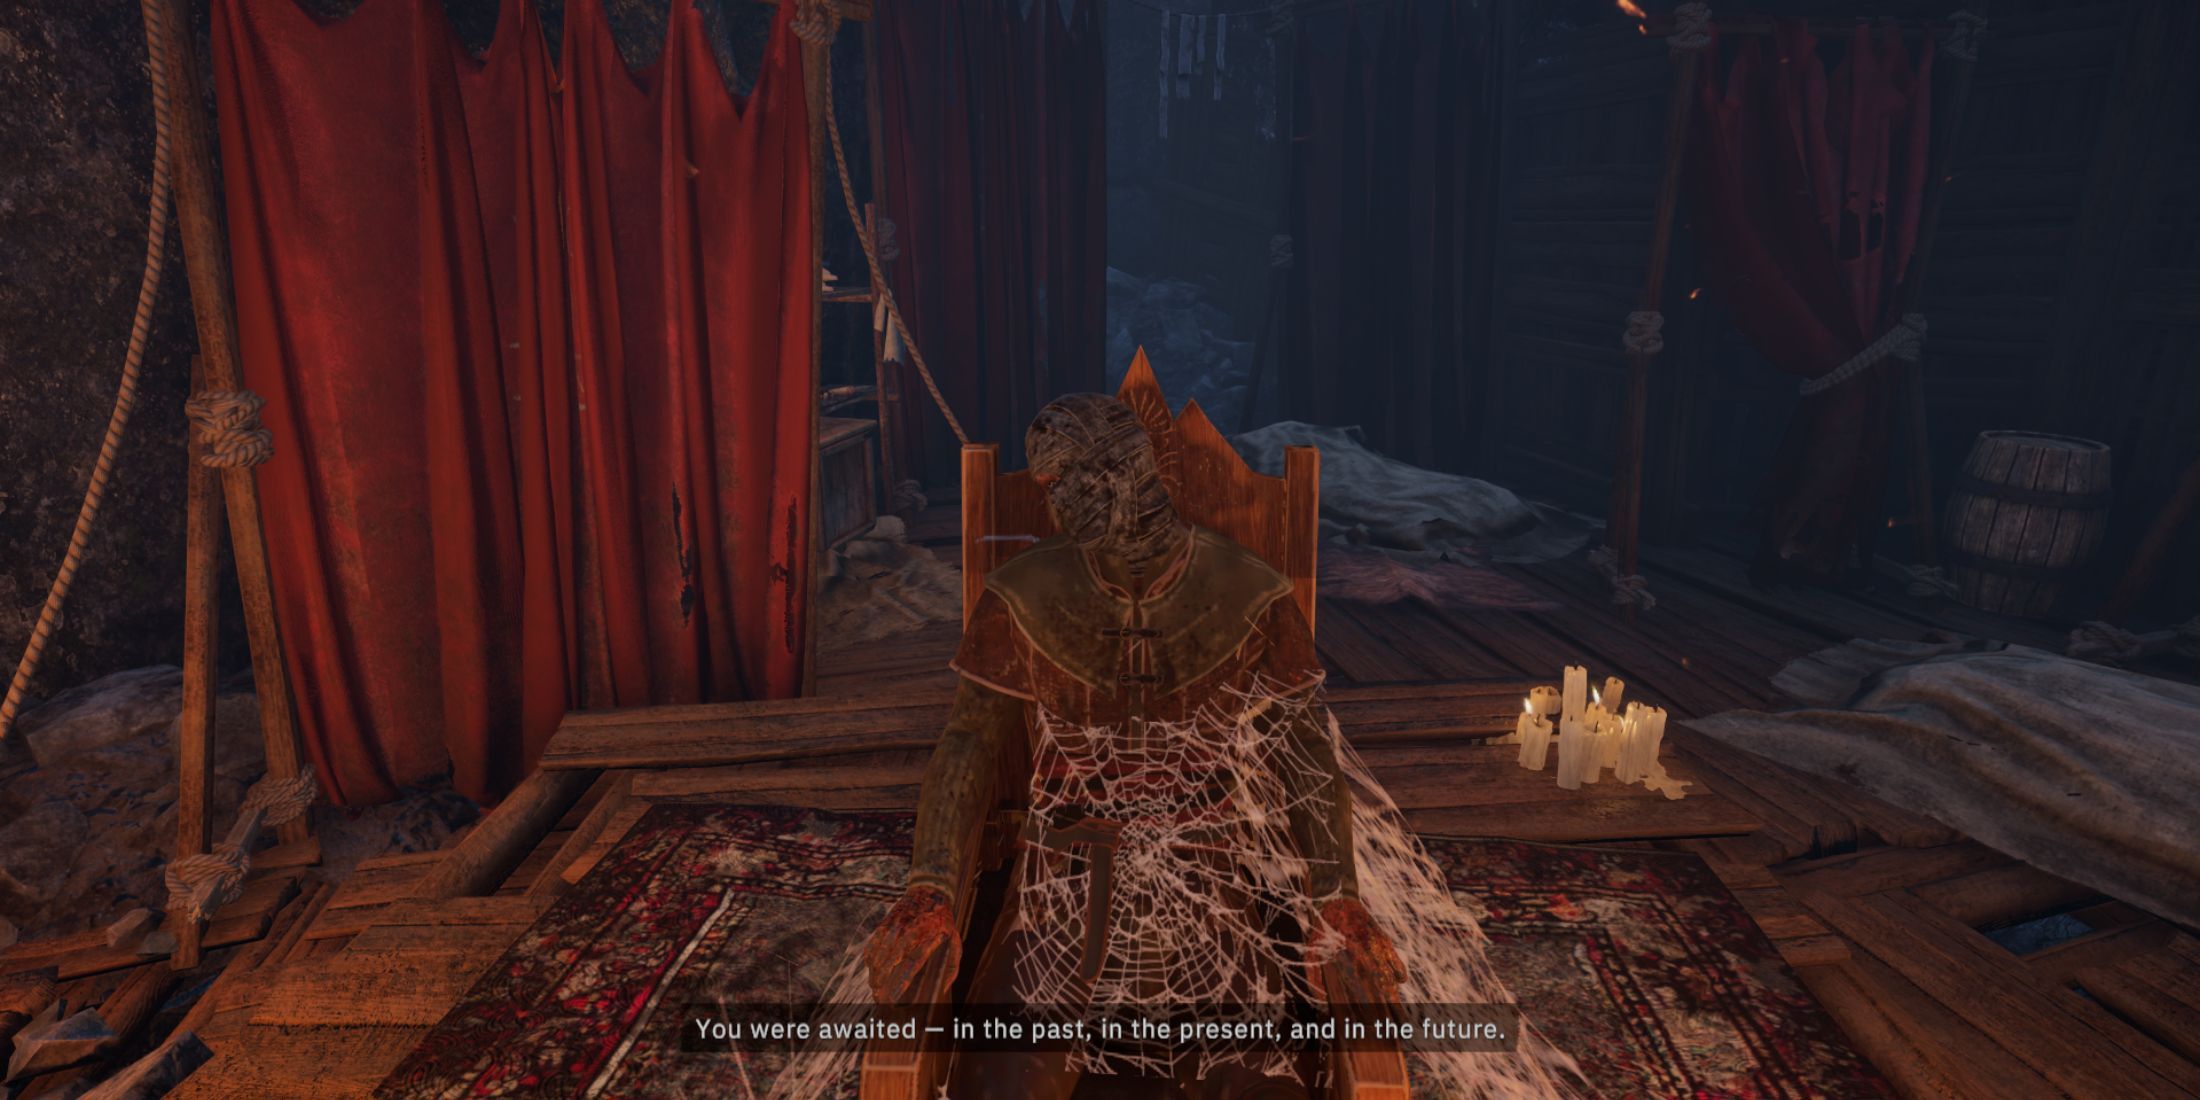
Pull the handle on the lever and take the elevator ride downstairs. You’ll come across a cave that has a fast travel point called the Toll House. There, you’ll find The One seated on a chair surrounded by cobwebs. Initiate a conversation with him.
Following a mysterious discussion with him, I consented to his request. He assigned me the job of delivering the Mark of the Plague to two individuals.
Delivering the Mark to Una
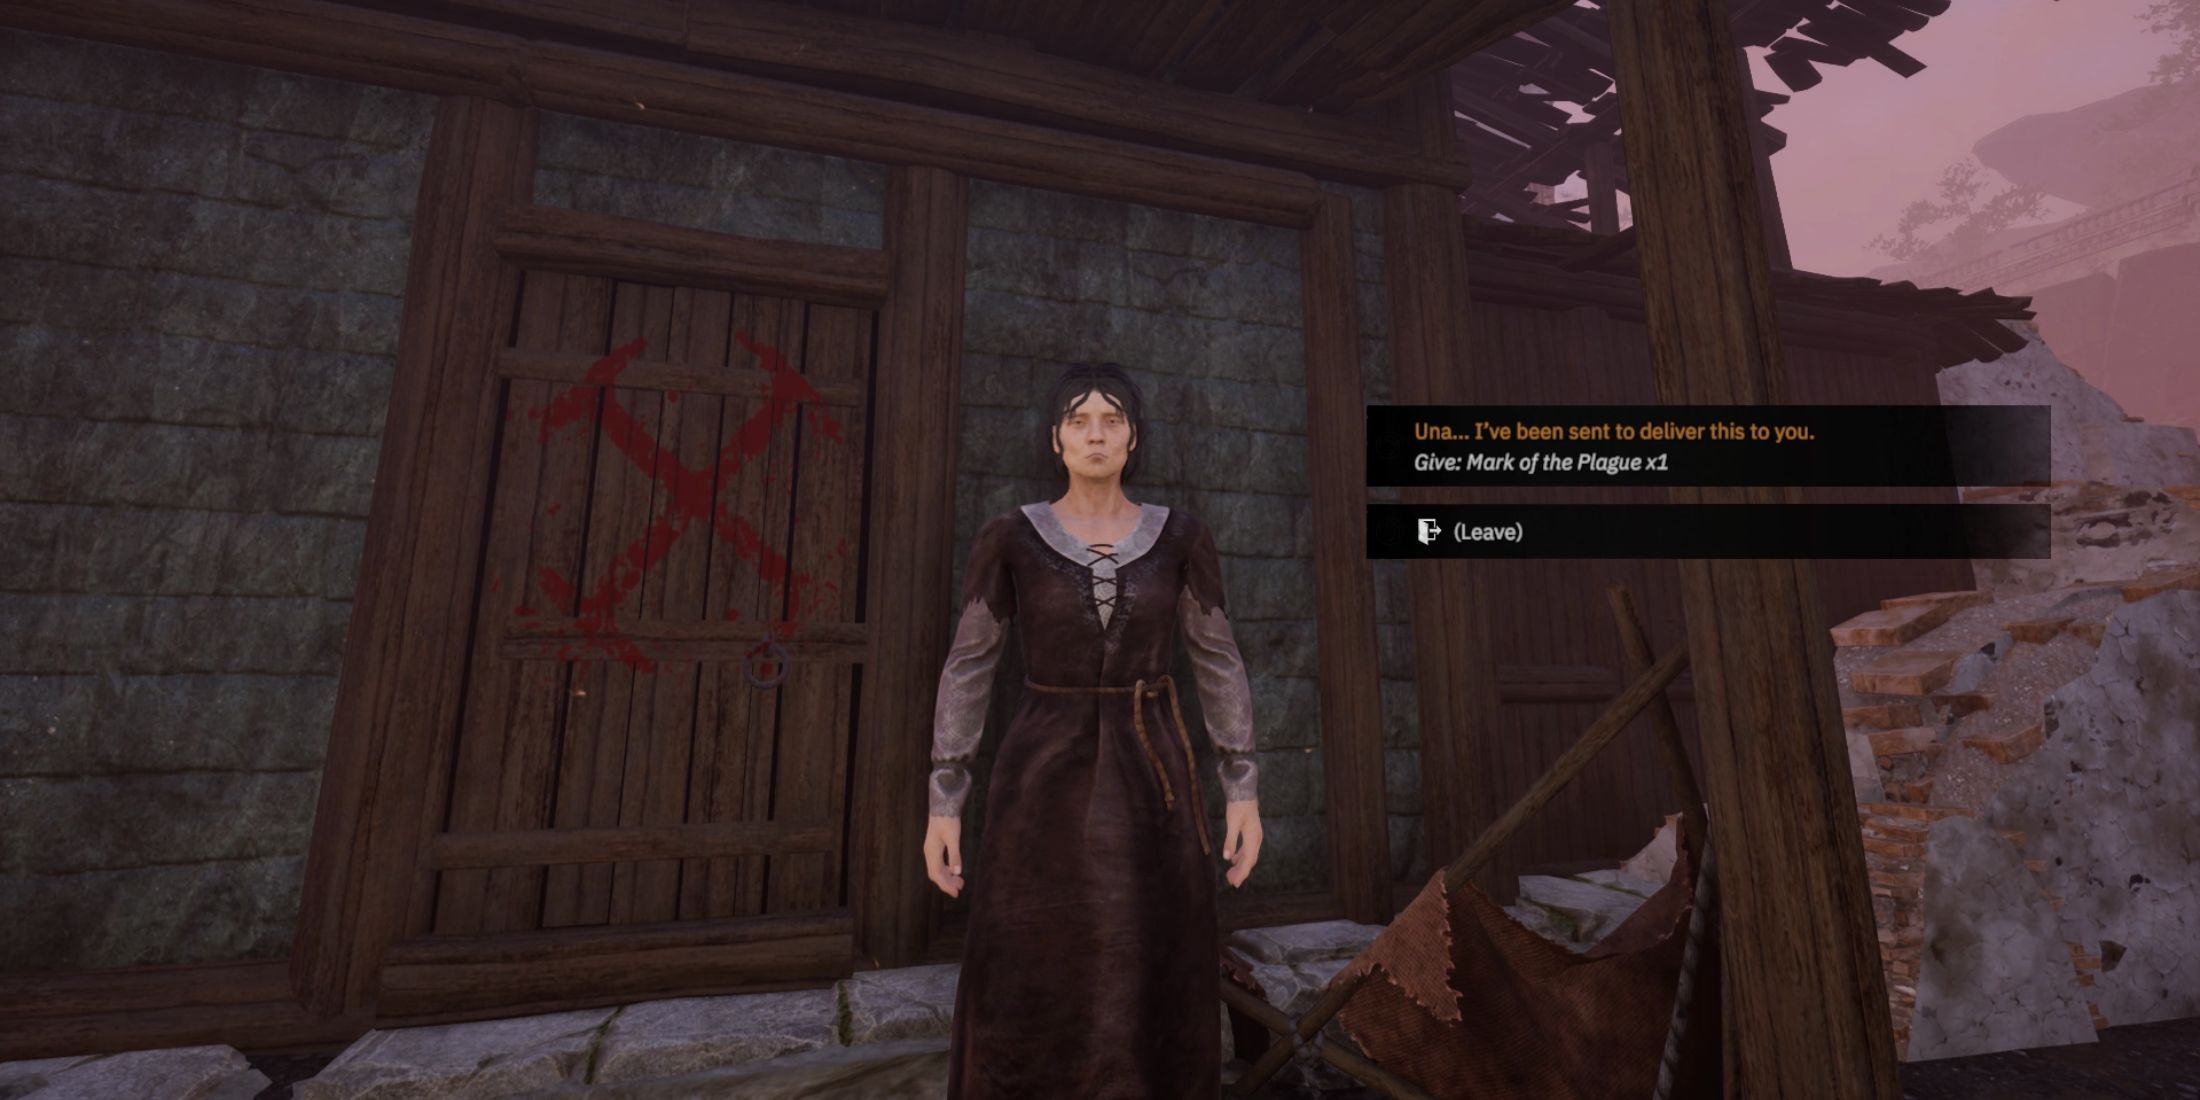
In a part of town hit hard by the plague, close to the city’s central square, you’ll find Una. Use the quest guide to locate her, then engage in conversation with her. During your chat, you’ll be given the choice to offer her the Plague Mark. Choose this option to finish off this part of the mission.
By bestowing the Mark of the Plague upon Una, you are effectively ending her life, preventing progress in the I’ll Be Waiting quest.
Delivering the Mark to Ignatius
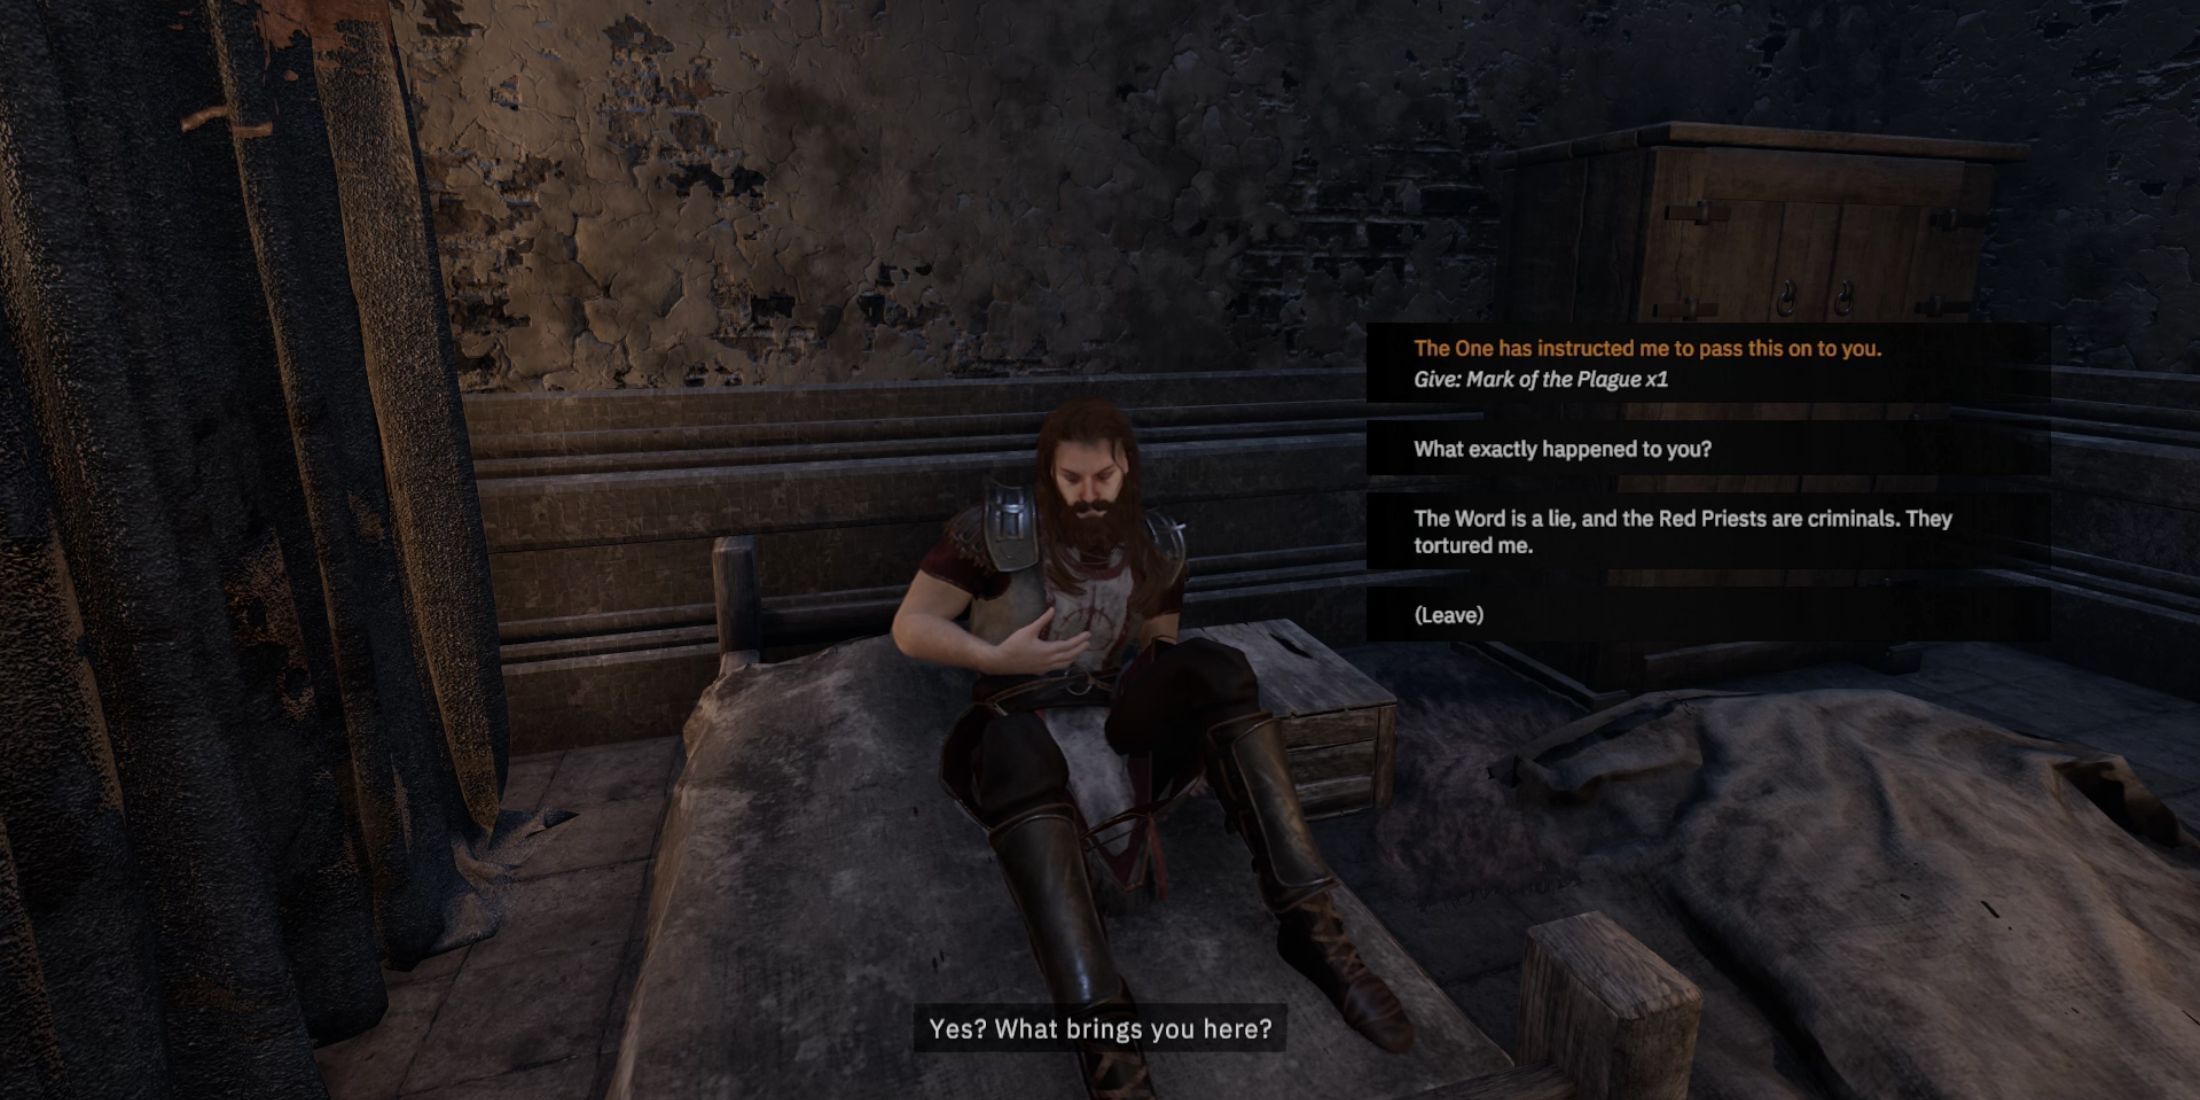
After chatting with Una, return to the Central City’s Hospital and engage Ignatius in conversation. Unlike Una, he may not accept the Mark of the Plague as easily. Use the “Fear not. It will occur during your slumber” dialogue to persuade him to accept it.
Return to The One

Head back to The One for another conversation. You can swiftly reach him via the fast travel point in the central square or by setting up camp. After going through his discourse, present him with the Last Seal of the Plague. This will transport you to a different rendition of the Island Asylum.
Island Asylum Revisited

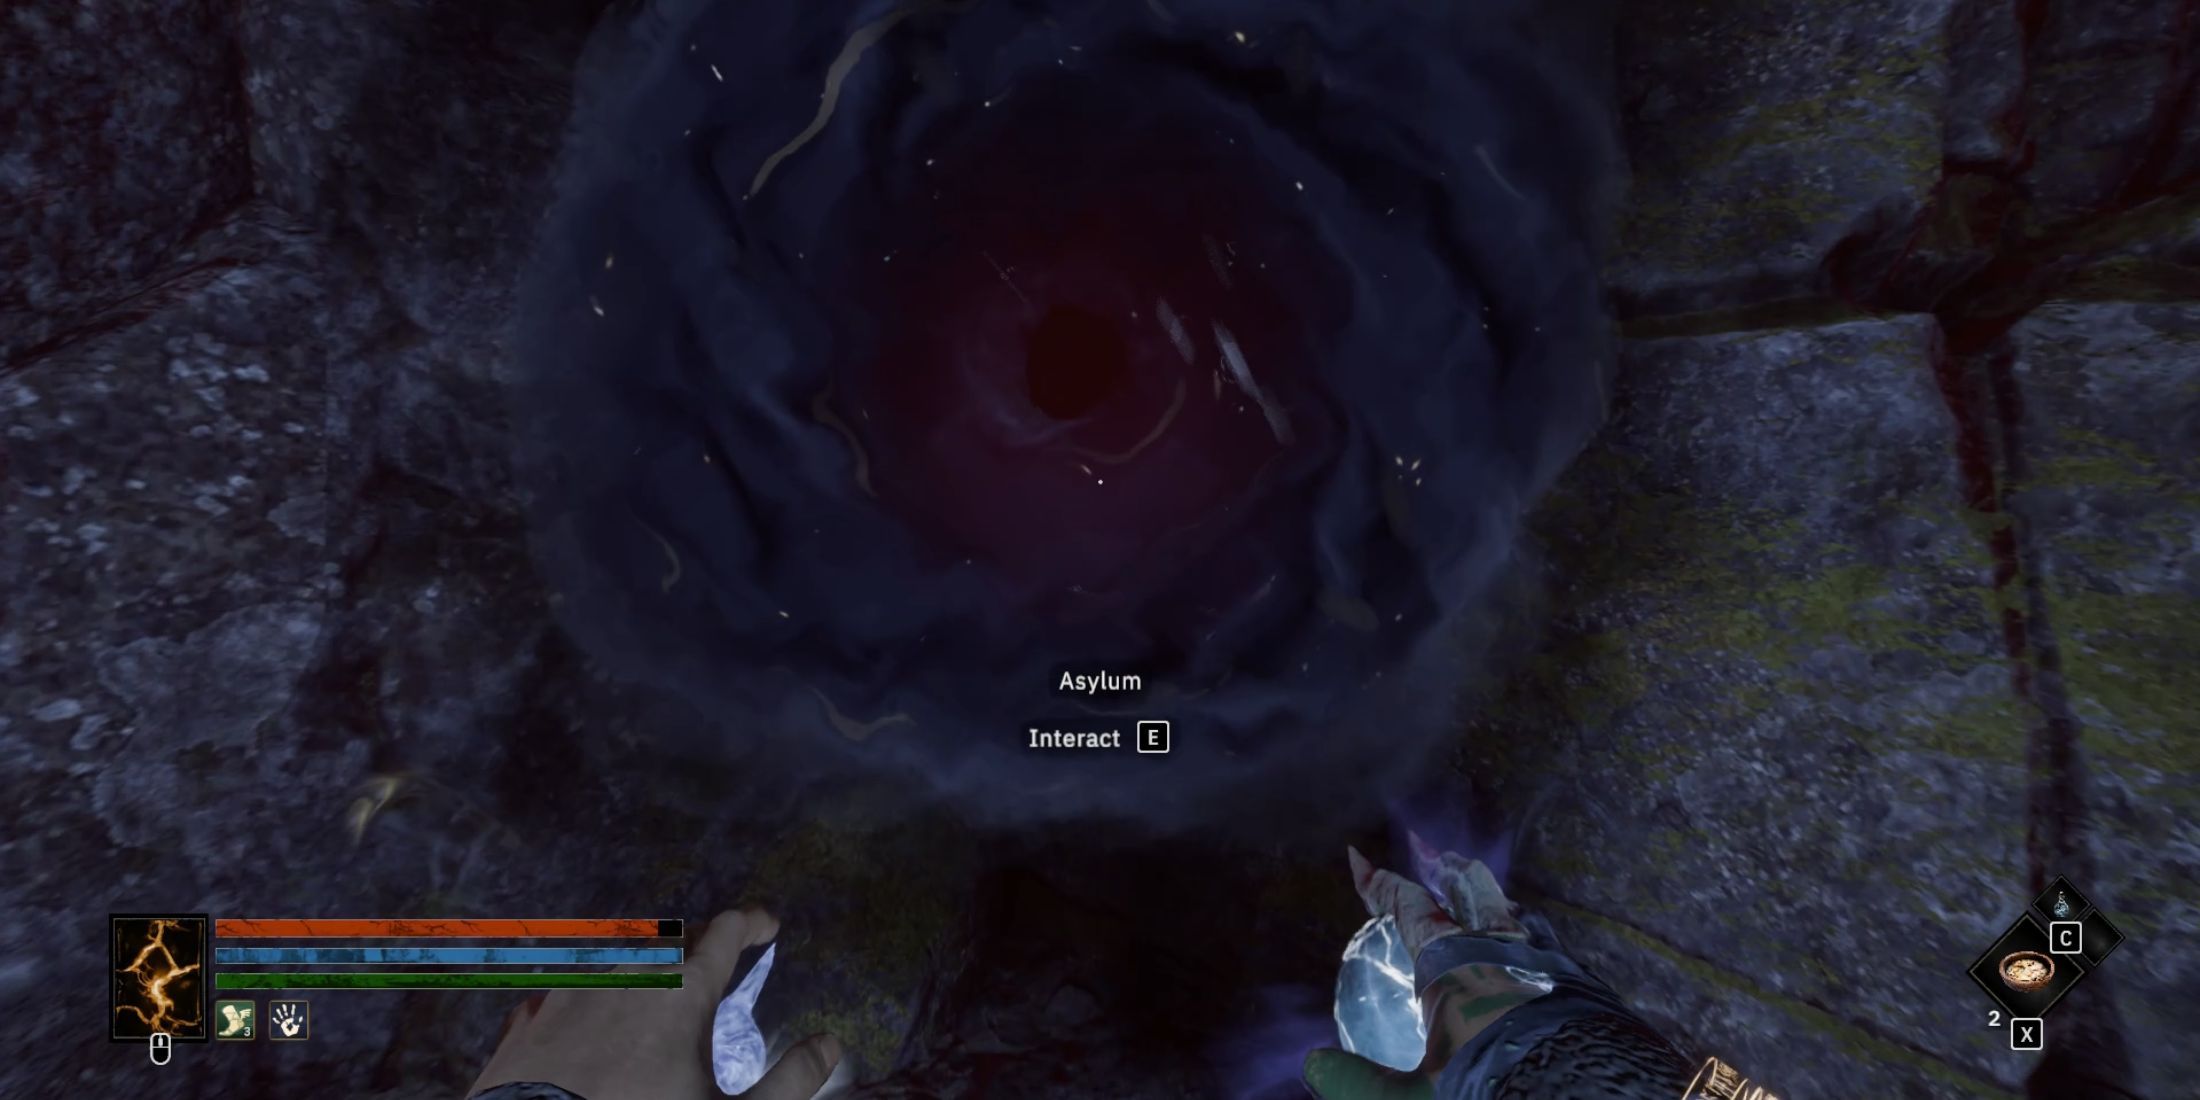

In this iteration of Island Asylum, things are distinct from what you encountered during the Prologue. The entire landscape is drenched in blood. Continue advancing, and eventually, you’ll come across a hole in the floor. Descend through it to discover a portal leading to the Asylum, then engage with it.
In case you didn’t spot it during the Prologue, you can discover the Old Letter within one of the rooms to initiate the Memorable quest in Tainted Grail: The Fall of Avalon.
Through the portal, you’ll find yourself transported to an alternate location, ready to face off against the formidable Plaguewraith boss. Overpowering this adversary will reward you with the complete Plaguewraith armor set and the mighty Crimson Crusher two-handed weapon.
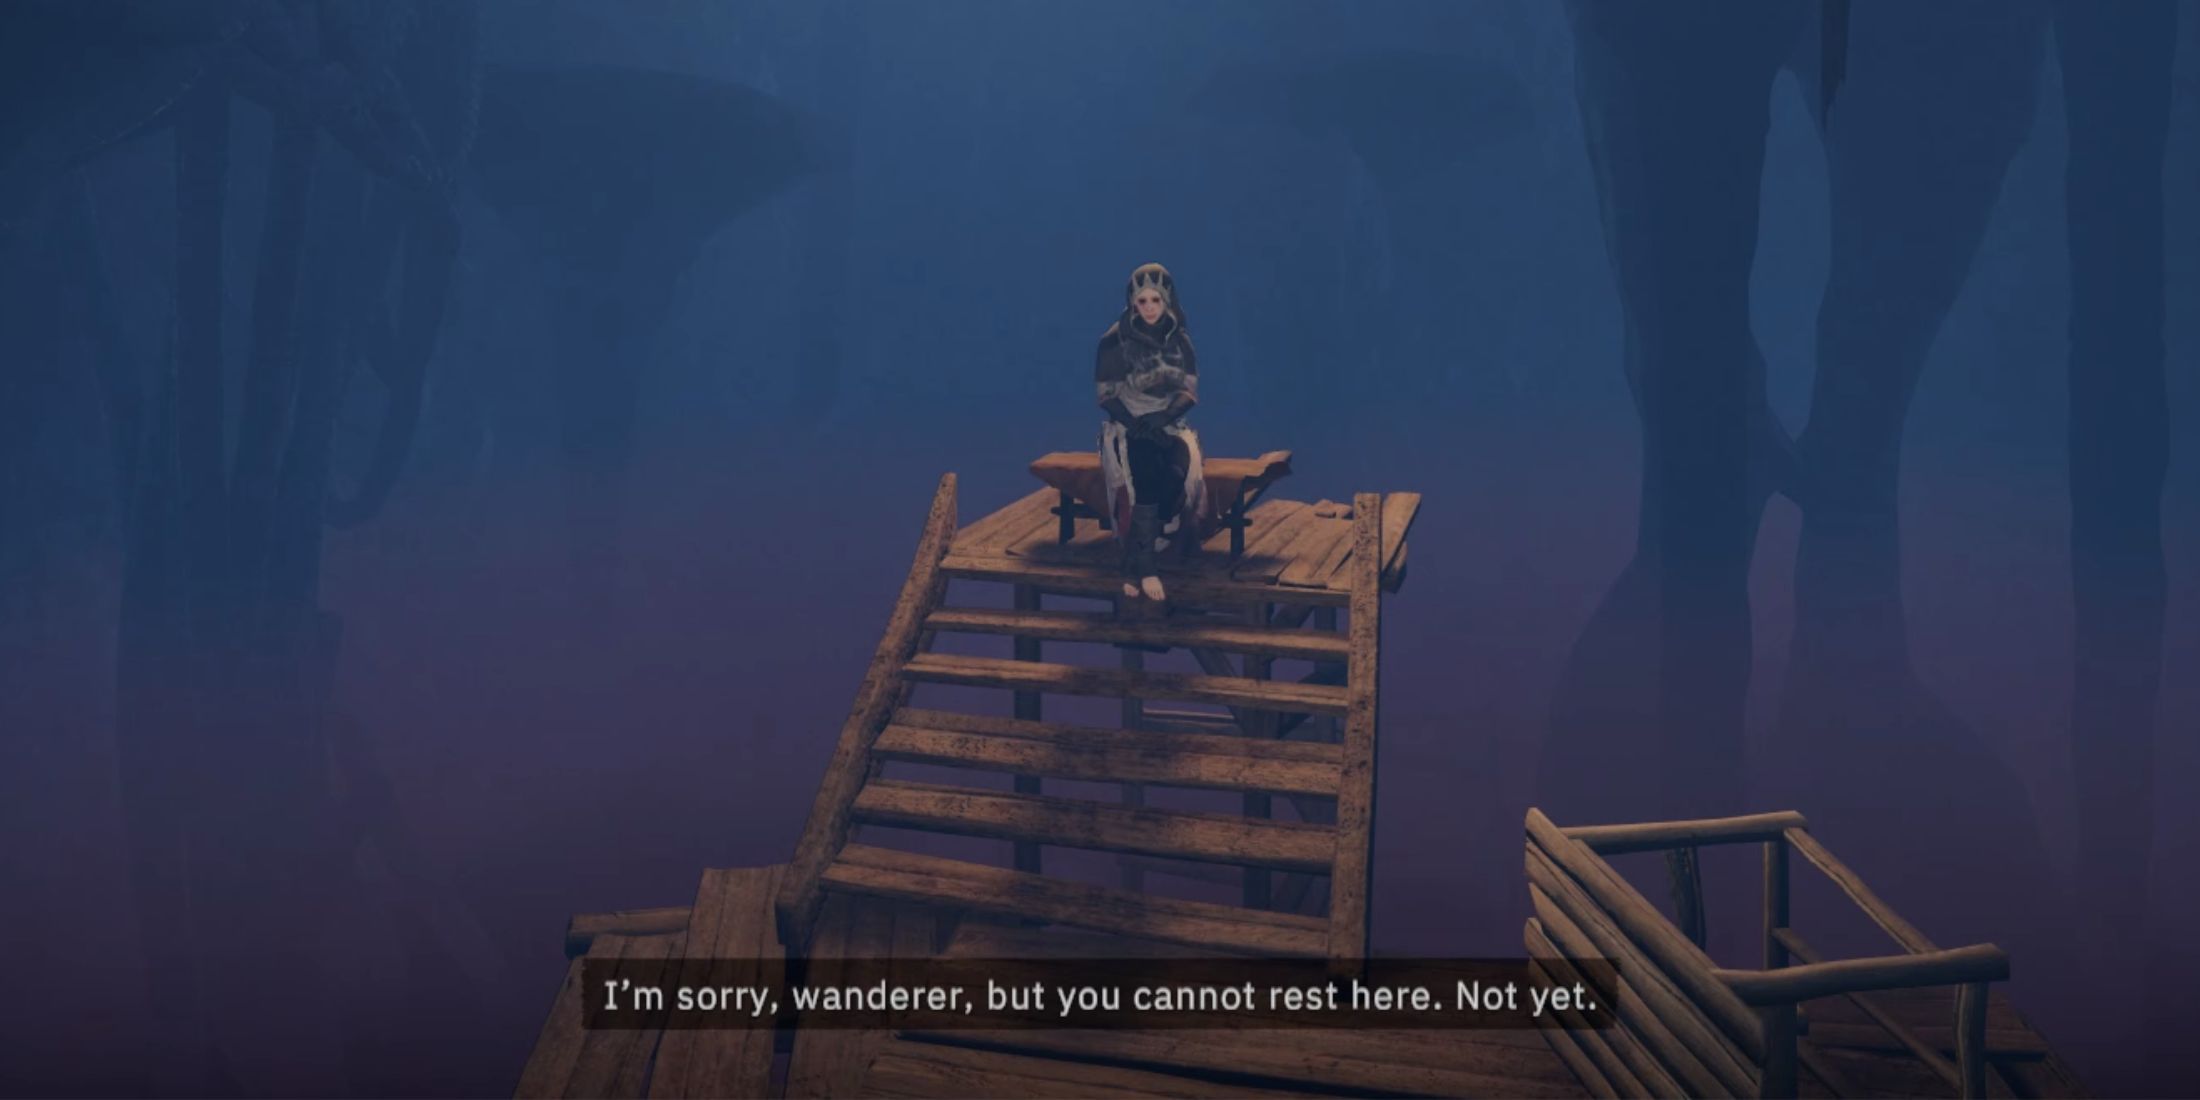
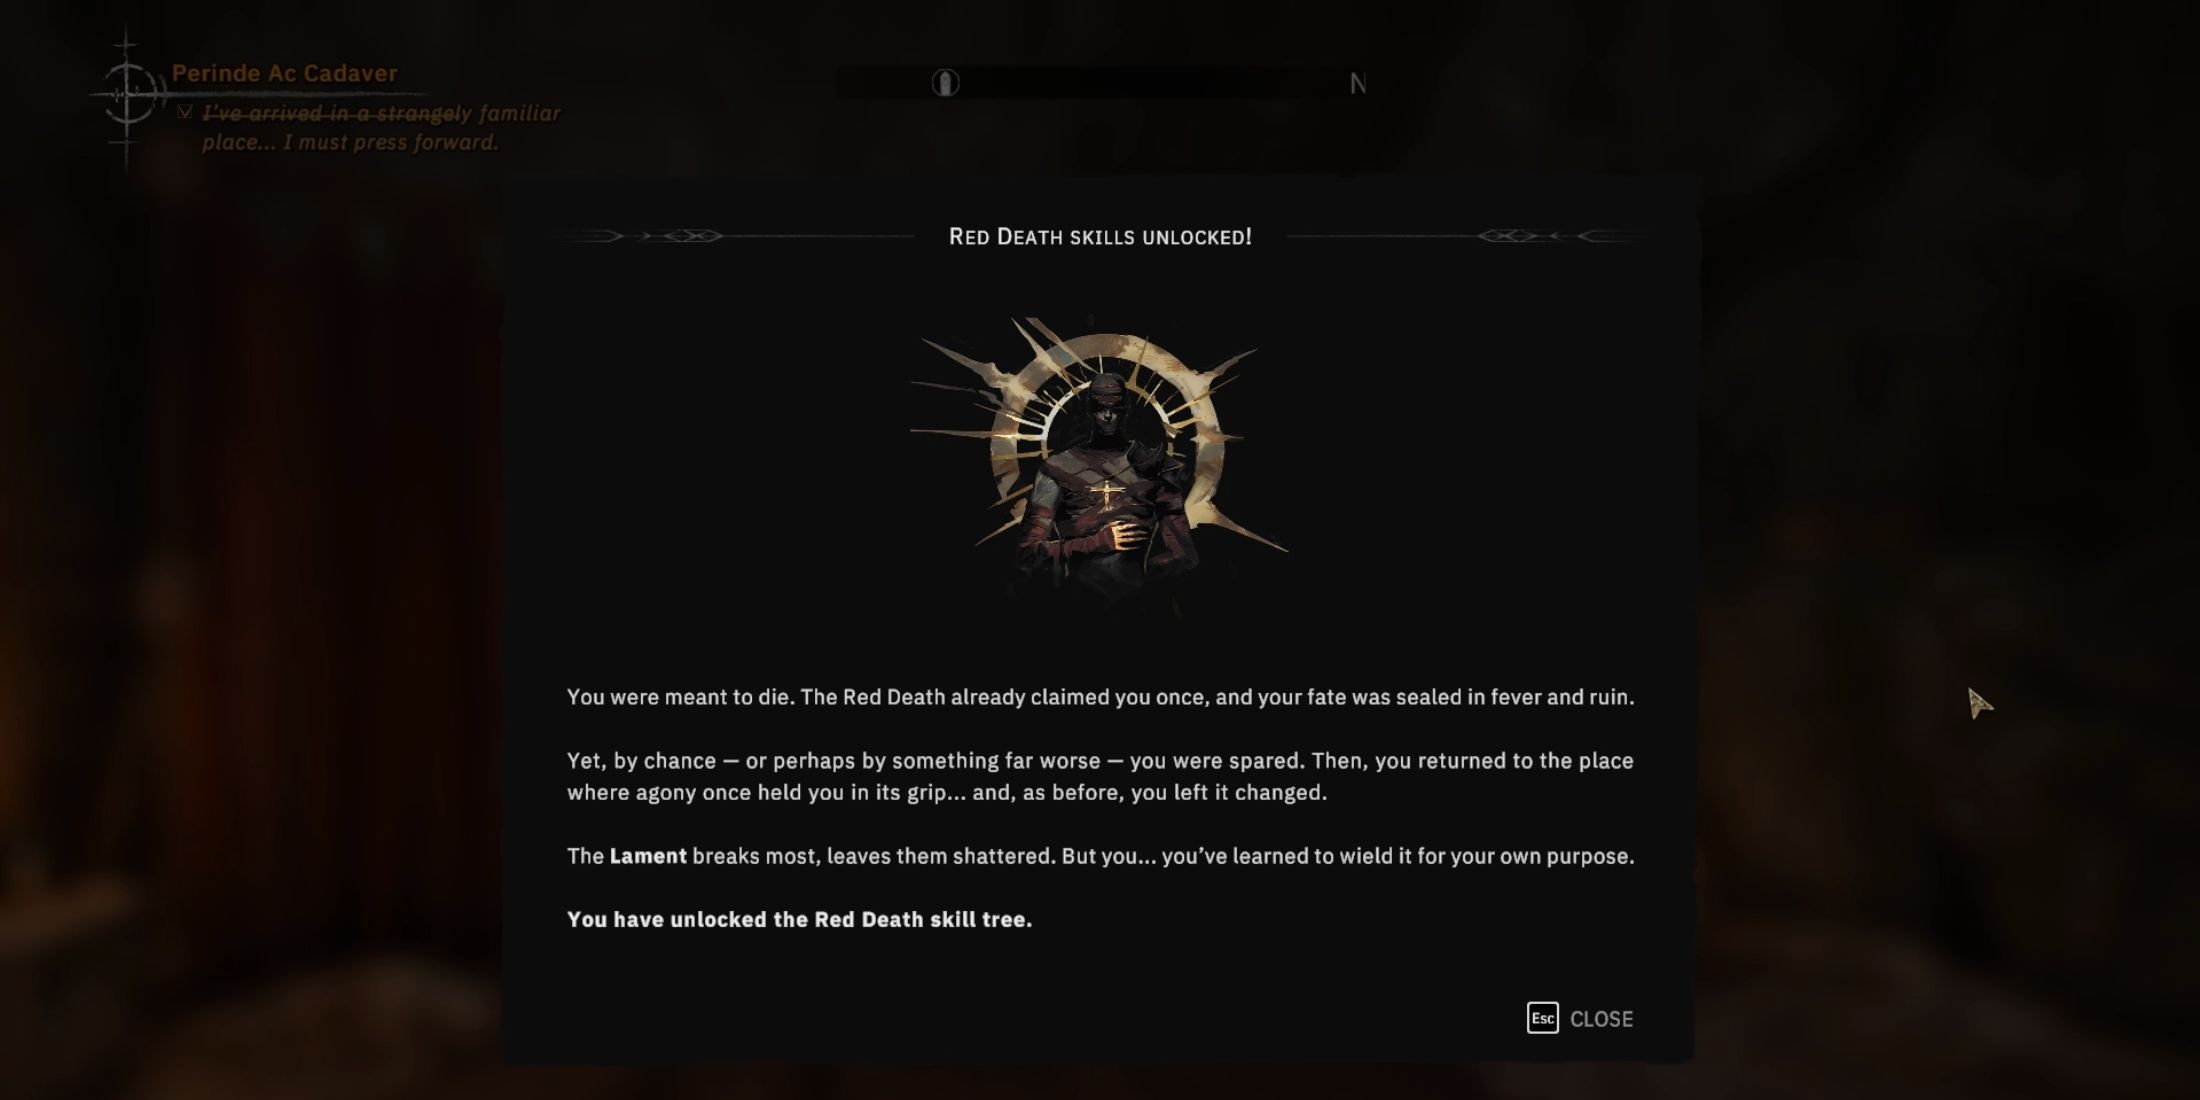
From here, continue your progress, and in time, you’ll encounter a lady seated on a wooden structure resembling a bench, nestled on a platform. Engage her in conversation, and upon the conclusion of this exchange, you’ll regain consciousness once more at the Toll House, now with the Red Death Skill Tree unlocked as a new addition.
As a reward for completing the quest, you’ll get an additional 2400 XP and the Prophet armor set.
Red Death Skill Tree, Explained

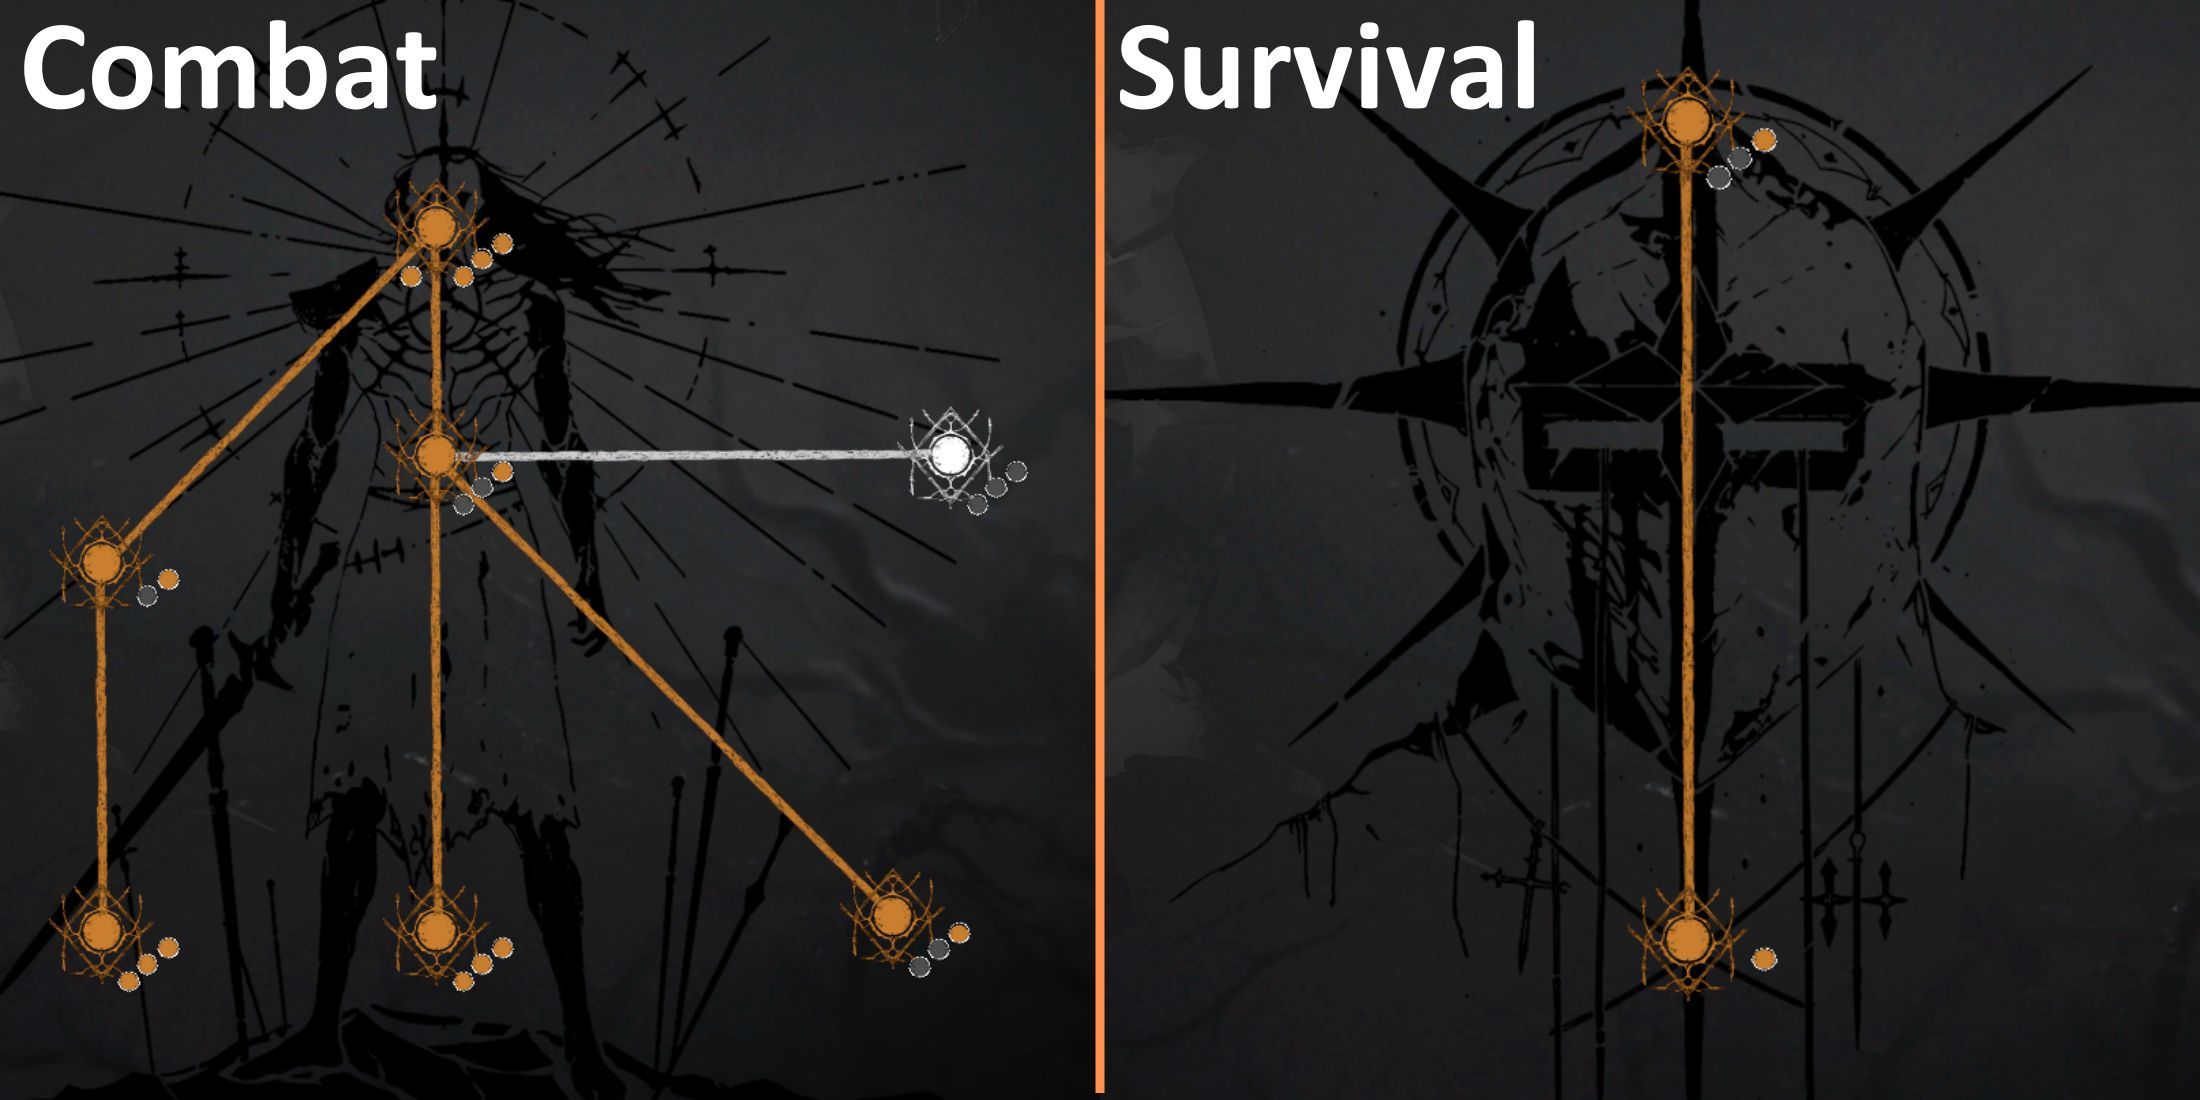
For players who favor an aggressive approach, the Red Death Skill Tree serves as a significant game-altering advantage. Divided into two main sections – Combat and Survival – this skill tree rewards players with “Lament” stacks proportionate to the amount of HP they are lacking in the Combat branch.
Initially, you are limited to carrying up to 100 Lament items. As you advance through the skill development, you’ll discover various ways to obtain Lament and even boost the maximum amount you can hold. In contrast, the Survival branch provides you with two significant defensive bonuses.
Here are all the skills available in the Red Death skill tree:
| Branch Name | Skill Name | Effects | Prerequisite Skill |
|---|---|---|---|
| Combat | Cry In Pain | Lament stacks increase damage dealt by 0.4%/0.6%/0.8%/1%. | – |
| Long Regret | Increases the delay before Lament starts to decay by 50%/100%. | Cry In Pain | |
| Give In And Give Up | Increases max Lament stacks by 50/75/100. | Long Regret | |
| Grieve Thy Enemies | Killing an enemy grants 10/15/20 stacks of Lament. | Cry In Pain | |
| Weep In Success | Critical Hits grant 2/3/4 Lament Stacks. | Grieve Thy Enemies | |
| Hold Back Tears | Start every fight with 15/25/35 stacks of Lament. | Grieve Thy Enemies | |
| Unnamed Skill | Dealing Damage to an enemy has a 25%/50%/75% chance of granting a stack of Lament. | Grieve Thy Enemies | |
| Survival | Plague Warden | Cannot lose more than 50%/33%/25% Health from a single hit. | – |
| Red Death’s Embrace | Prevents death once. Renews after resting by a Fueled Bonfire. | Plague Warden |
Best Skills in the Red Death Skill Tree
The Red Death skill set provides significant damage enhancement but carries a substantial risk. This enhanced damage becomes active when your health is significantly reduced. Given the high damage levels that enemies inflict in advanced stages, it’s crucial to construct your character with caution if you intend to exploit this skill tree effectively.
Without further ado, let me share some impressive abilities of the Red Death character you might want to explore in Tainted Grail: The Fall of Avalon:
Moving on, I’d like to draw your attention to the top skills of the Red Death character that are worth examining in Tainted Grail: The Fall of Avalon.
- Cry In Pain: While the damage boost early on is low, when you put four points into it, you’ll get a 1% damage increase for each percentage HP you’re missing.
- Give In Give Up: Increasing your max stack means you’ll be able to rack up more damage if you keep encountering mobs.
- Weep In Success: If your build helps you get more critical hits, this skill will let you quickly build up stacks of Lament without losing your health.
- Hold Back Tears: Every combat encounter begins with a stack of Lament, which means you’ll be able to start each fight with a 15% boost to your damage if you’ve got Cry in Pain maxed out.
- Red Death’s Embrace: Basically, it gives you a second wind. There’s no reason not to unlock this skill in Tainted Grail: The Fall of Avalon.
You can use the Origin Potion to reallocate perk points after unlocking the skill tree.
Read More
- All Shadow Armor Locations in Crimson Desert
- Jujutsu Kaisen Season 3 Episode 12 Release Date
- Dark Marksman Armor Locations in Crimson Desert
- How to Beat Antumbra’s Sword (Sanctum of Absolution) in Crimson Desert
- Top 5 Militaristic Civs in Civilization 7
- Sega Reveals Official Sonic Timeline: From Prehistoric to Modern Era
- Sakuga: The Hidden Art Driving Anime’s Stunning Visual Revolution!
- Keeping AI Agents on Track: A New Approach to Reliable Action
- How to Get the Sunset Reed Armor Set and Hollow Visage Sword in Crimson Desert
- Best Weapons, Armor, and Accessories to Get Early in Crimson Desert
2025-05-30 16:09