Nioh 3 brilliantly recreates historical Japan, offering stunning landscapes filled with terrifying demons. Players can also capture their favorite moments with the game’s Photo Mode, a user-friendly tool packed with features for creating the perfect screenshot to showcase their adventures in Nioh 3.
How to Use the Photo Mode in Nioh 3
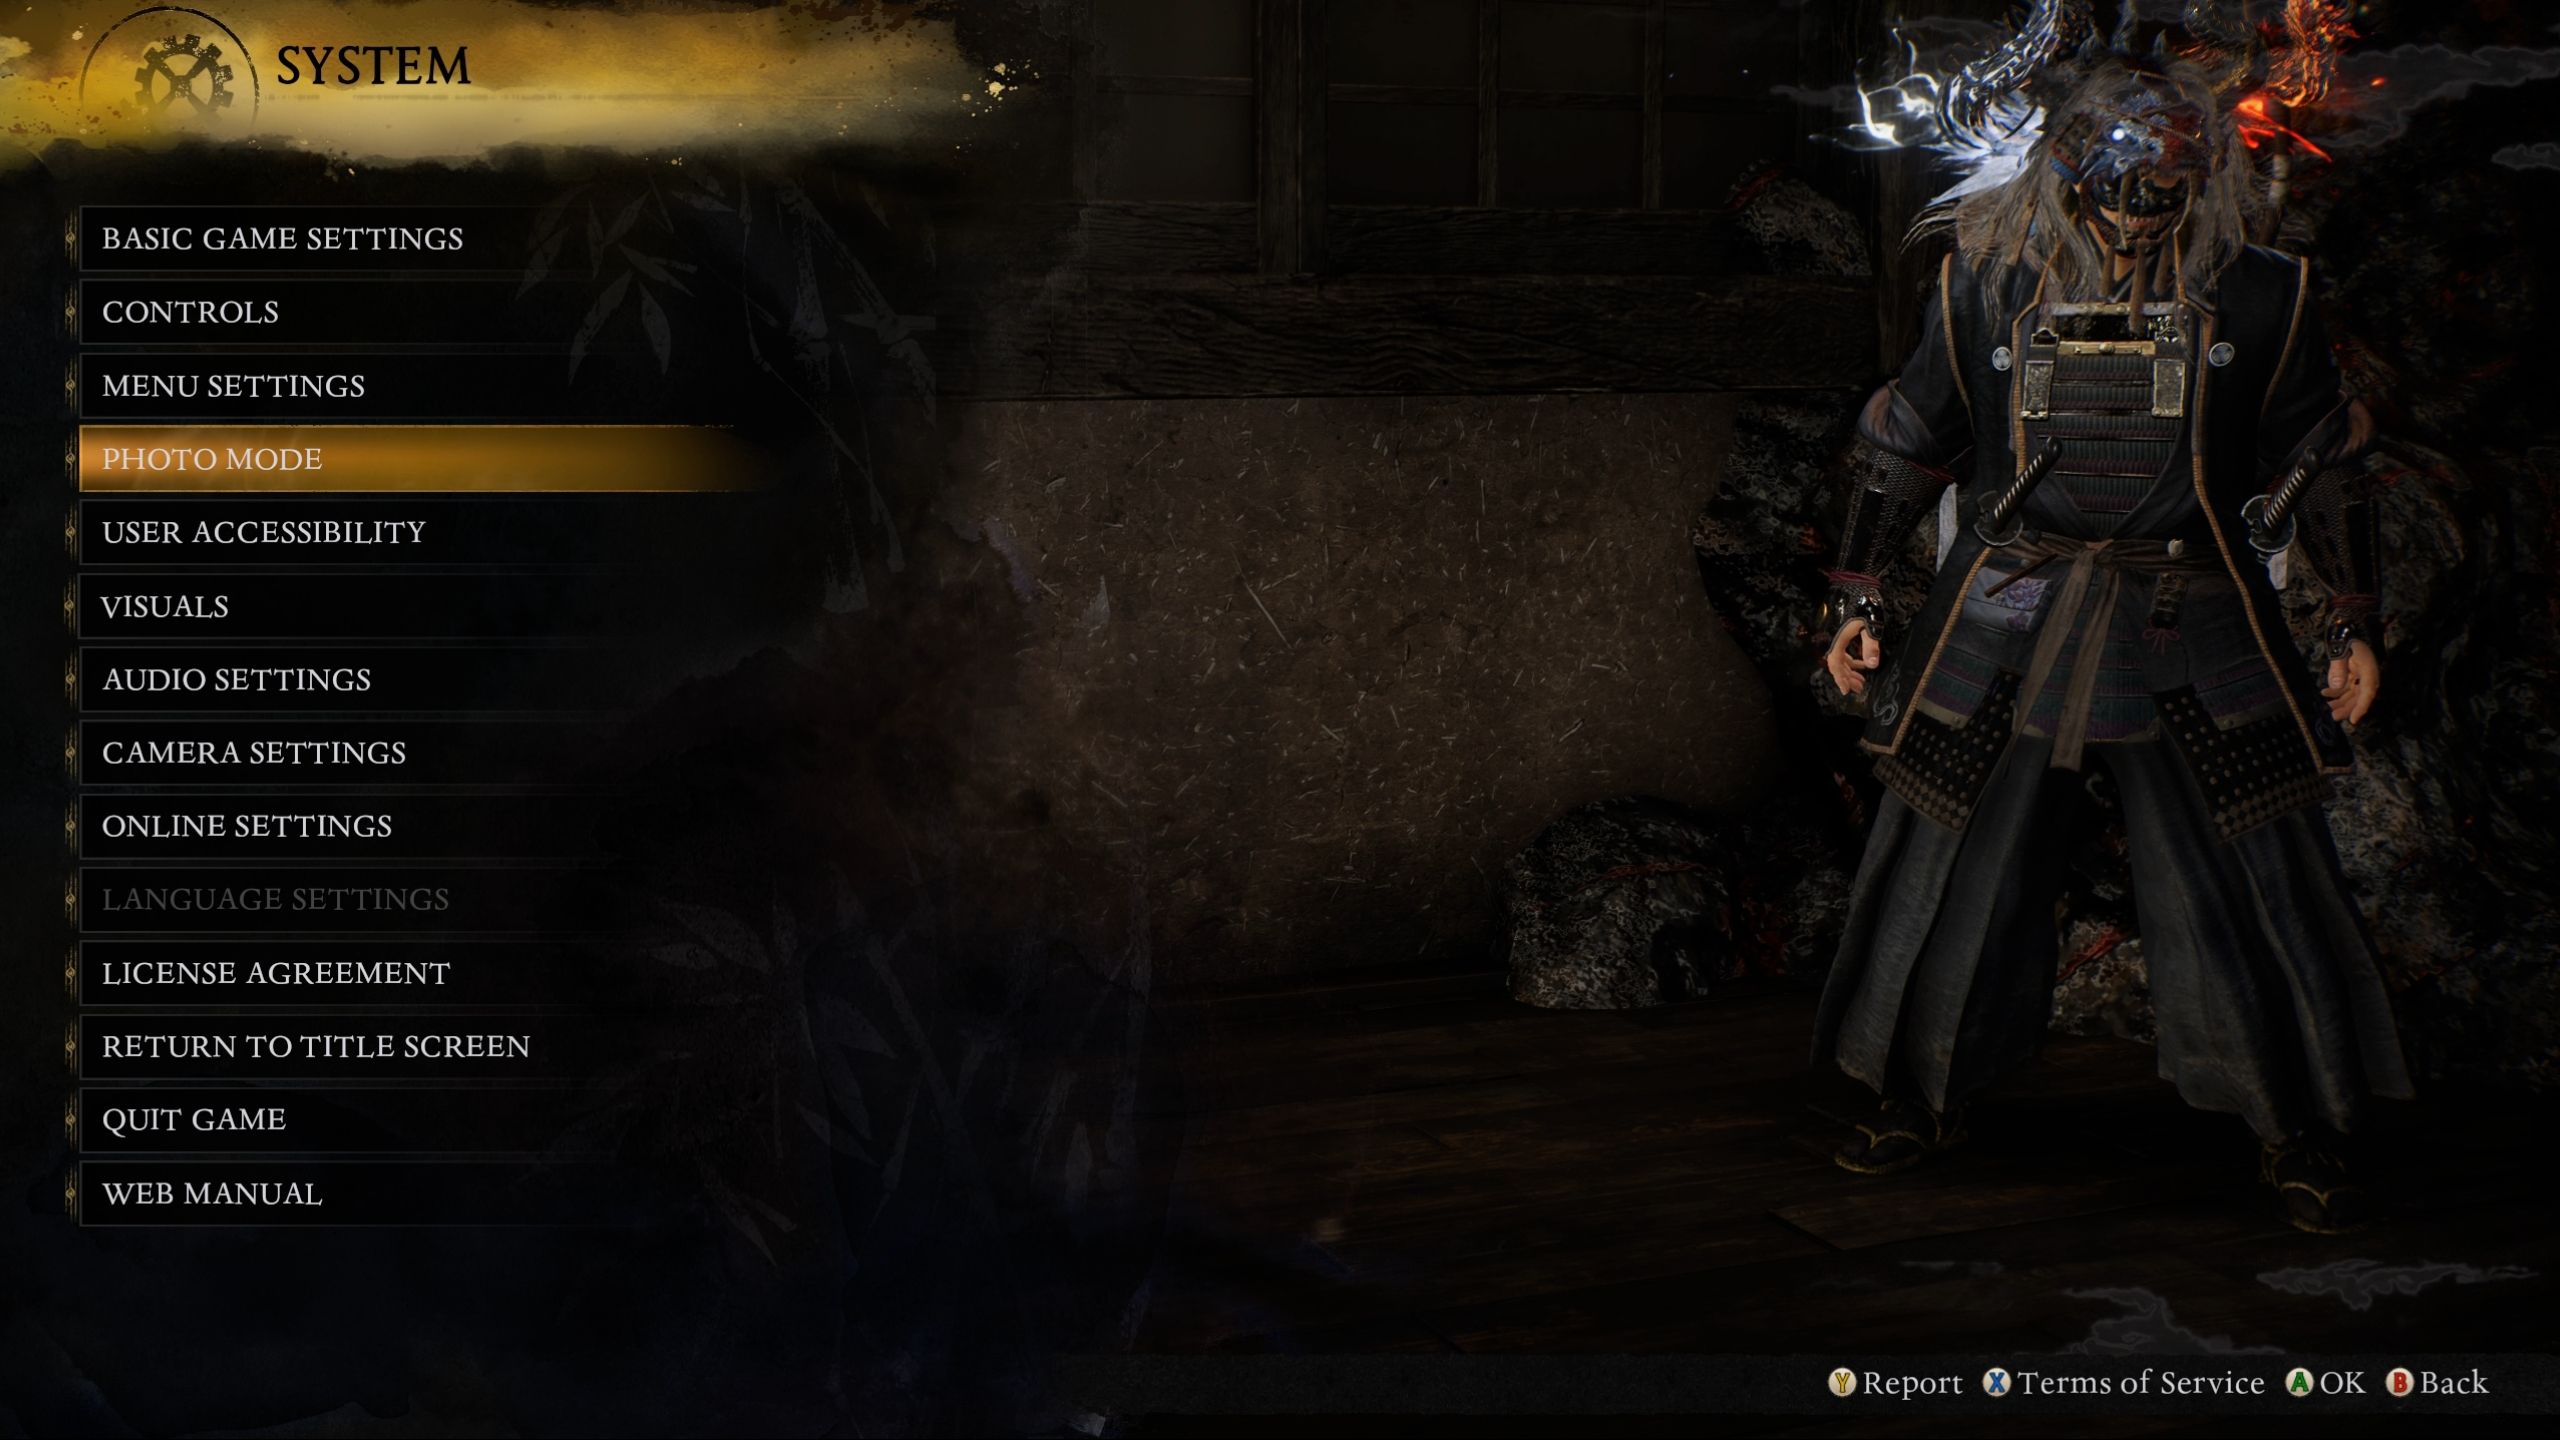
Using photo mode in Nioh 3 is easy! Just go to the System Settings and choose Photo Mode from the menu. This will pause the game, giving you time to take the perfect screenshot.
You can activate photo mode in Nioh 3 by pressing the Options/Menu and R1/RB buttons on your controller, or the “P” key on your keyboard. Just make sure the shortcut is turned on first in the photo mode settings.
Nioh 3’s photo mode offers a variety of settings that let you customize your screenshots before you capture the perfect moment. Here’s a guide to all the options you’ll find.
| Feature | Photo Mode Setting | Features Explained |
|---|---|---|
| Camera | Camera Tilt | This will allow you to frame your shot by adjusting the tilt of the camera, and increasing or decreasing the default FOV to add more of the in-game scene into the frame. |
| Field of Vision | ||
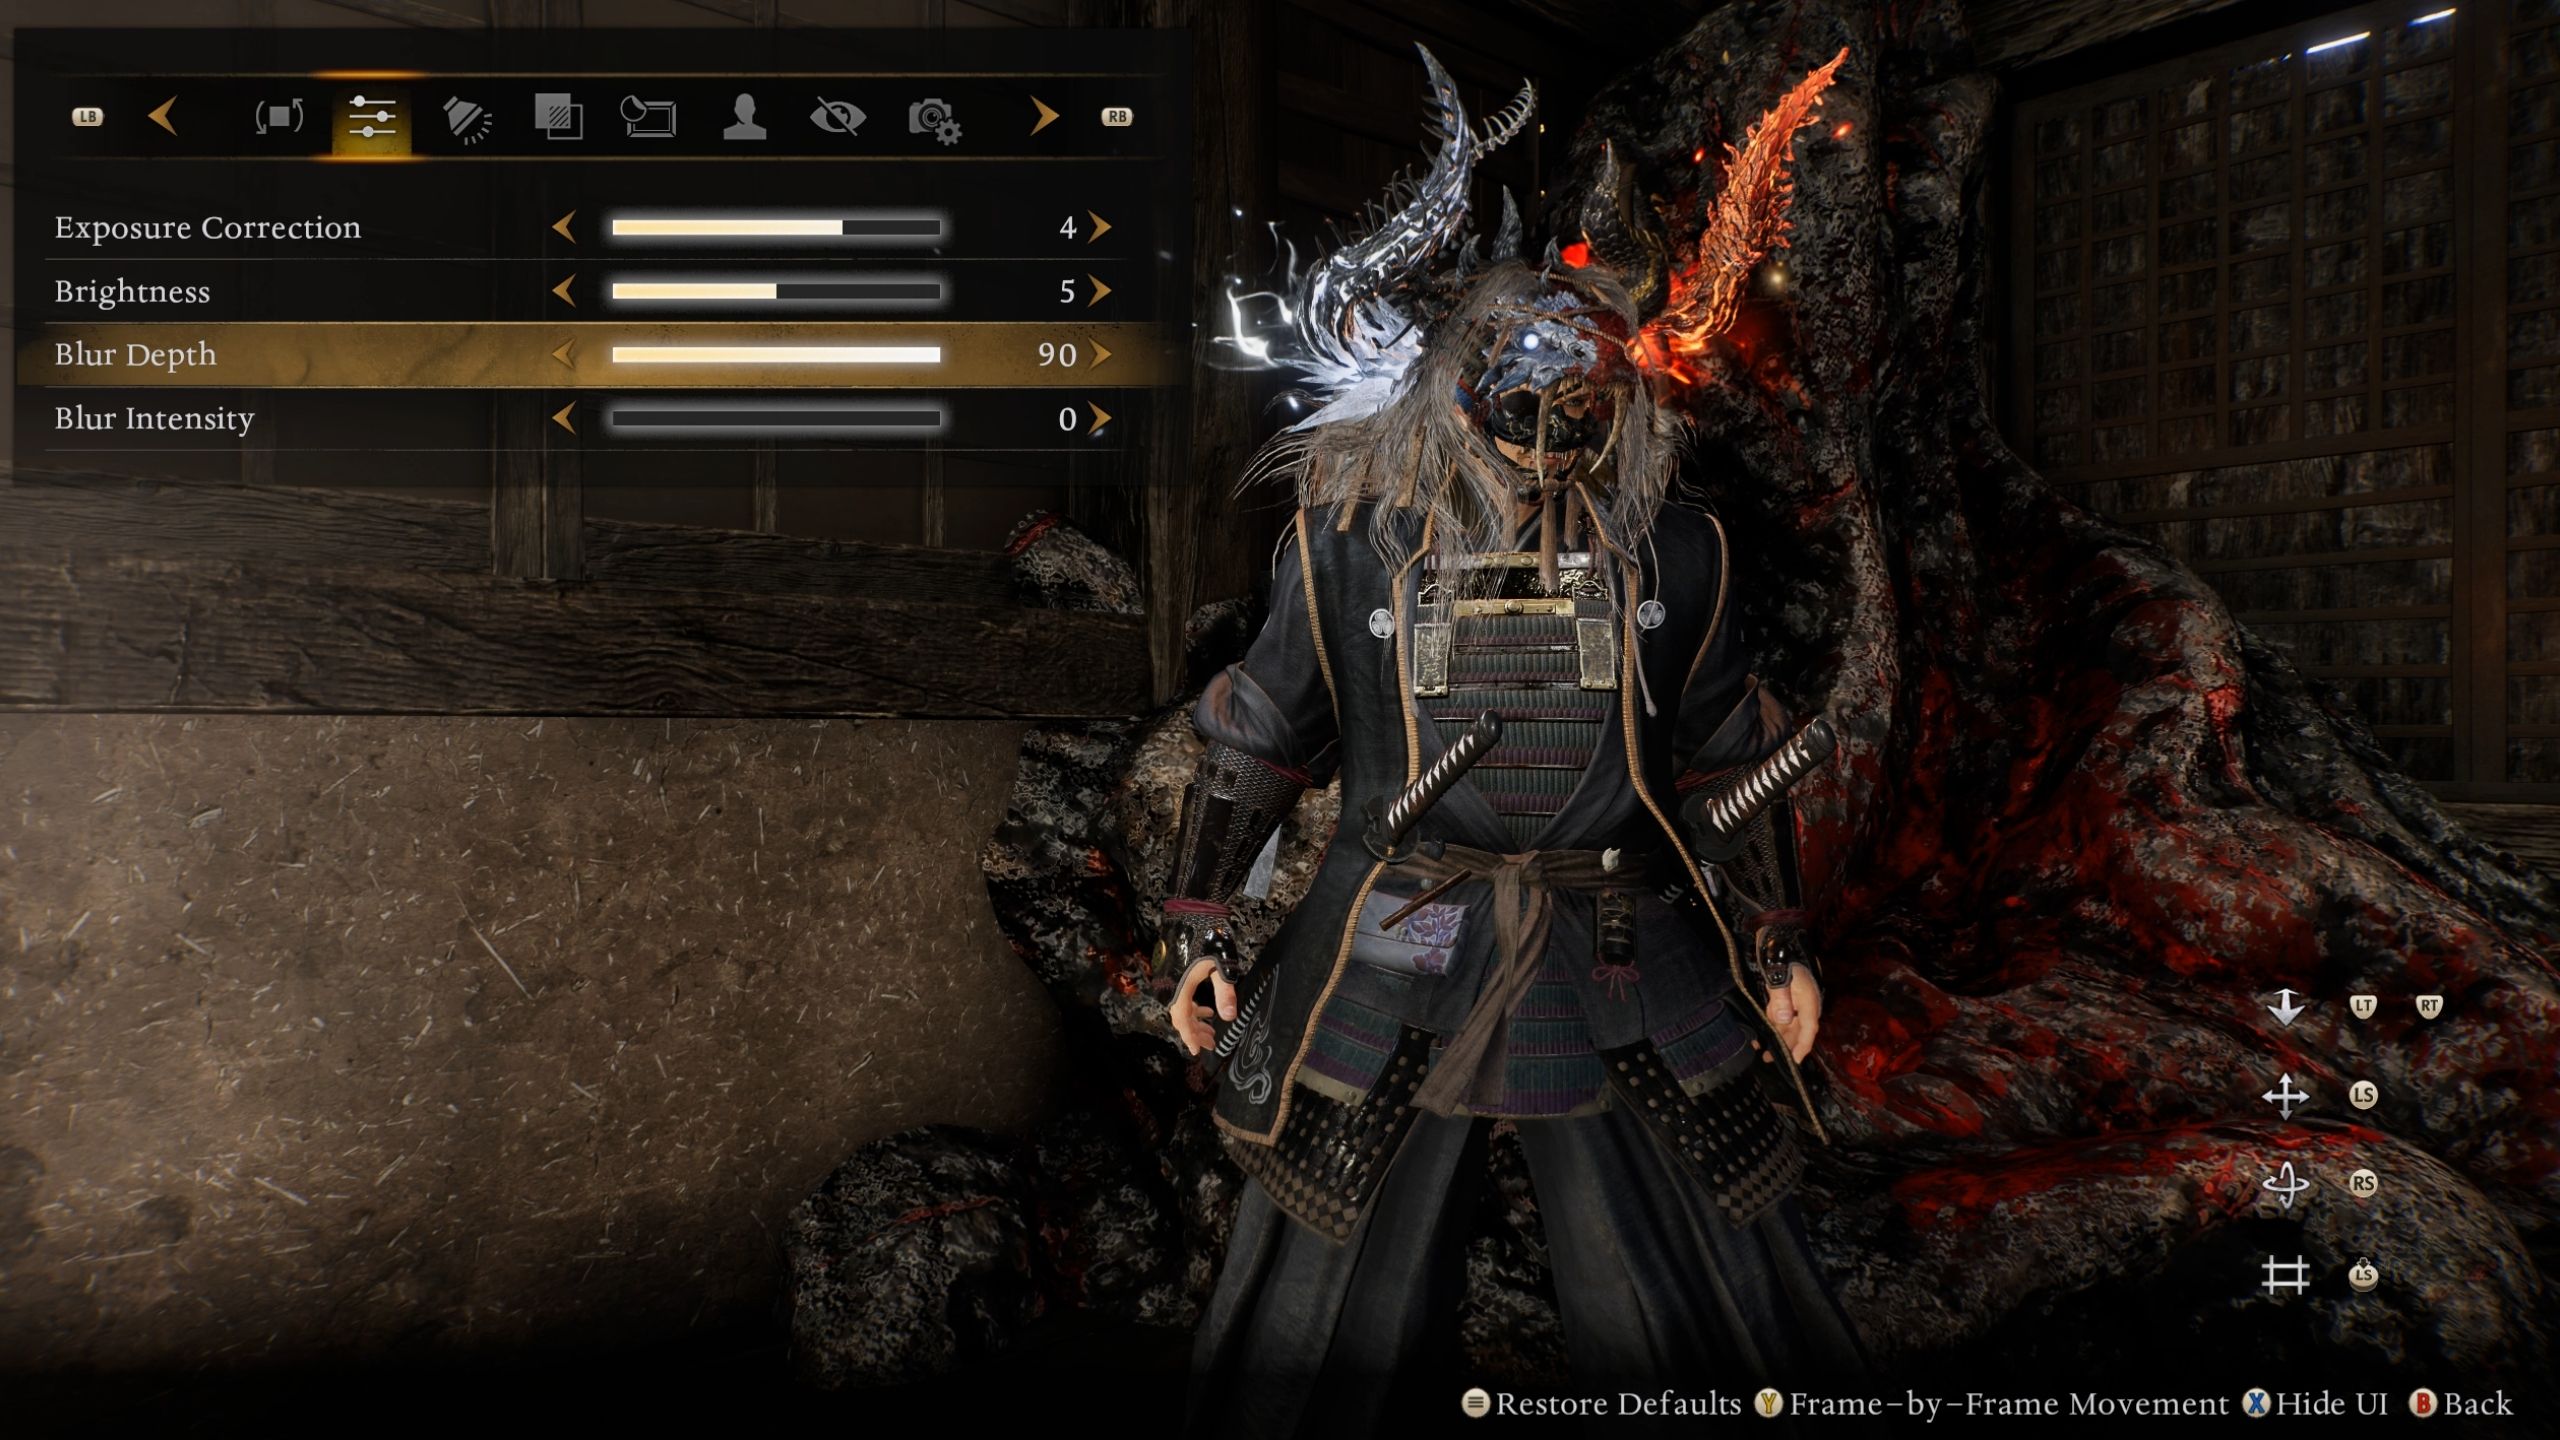
| Image Tuning | Exposure Correction | It will allow you to brighten up the in-game scene and add a Bokeh (blue) effect to add focus to your character or another NPC in the scene. |
| Brightness | ||
| Blur Depth | ||
| Blur Intensity | ||
| Lighting | Lighting Number | Players can add simulated lighting sources to their scenes. This isn’t only great for brightening up your image, but also helps add a dramatic flair to your screenshots. |
| Toggle Lighting | ||
| Adjust Position | ||
| Lighting Brightness | ||
| Lighting Hues (Red, Green, Blue) | ||
| Aesthetics | Filter | Apply a range of assorted filters based on your taste. |
| Frames & Stickers | Frame | Players can add a frame, some fun stickers, or simply some vital information to the screenshot, depending on their requirements. |
| Sticker | ||
| Show Copyright | ||
| Player Information | ||
| Date and Time | ||
| Text Position | ||
| Text Orientation | ||
| Characters & NPC | Show Player | This section can help you remove your character or any other NPCs in the vicinity. Great for capturing specific objects or vistas in-game. |
| Show Friendly NPCs | ||
| Show NPCs | ||
| Show Enemies | ||
| Expressions | ||
| Line of Sight (Vertical & Horizontal) | ||
| Items & Effects | Show Head Armor | You can further tweak the scene by adjusting your character’s appearance or help you remove any gore effects from the scene. |
| Show Melee Weapon | ||
| Show Ranged Weapon | ||
| Show Blood on Weapons | ||
| Show Bleeding | ||
| Show Effects | ||
| Show Bloody Graves | ||
| Show Benevolent Graves | ||
| Show Dropped Items |
Read More
- All Skyblazer Armor Locations in Crimson Desert
- One Piece Chapter 1180 Release Date And Where To Read
- All Shadow Armor Locations in Crimson Desert
- How to Get the Sunset Reed Armor Set and Hollow Visage Sword in Crimson Desert
- Cassius Morten Armor Set Locations in Crimson Desert
- New Avatar: The Last Airbender Movie Leaked Online
- Grime 2 Map Unlock Guide: Find Seals & Fast Travel
- Amber Alert Secrets & CDs In Crime Scene Cleaner Act 2
- Euphoria Season 3 Release Date, Episode 1 Time, & Weekly Schedule
- All Golden Greed Armor Locations in Crimson Desert
2026-02-10 07:06