I absolutely love gardening in Heartopia – it’s seriously the most relaxing thing! And keeping my plants watered is a big deal. Honestly, well-watered crops just grow so much better, and I get way more coins when I sell them! The best part is, Heartopia makes watering super easy, even for beginners like me. No complicated stuff to learn, which is awesome!
How to Water Crops With Watering Can in Heartopia
You’ll learn about gardening early on from Blanc, a character who really loves plants and will show you how to get started. After that, watering your crops will become part of your daily tasks.
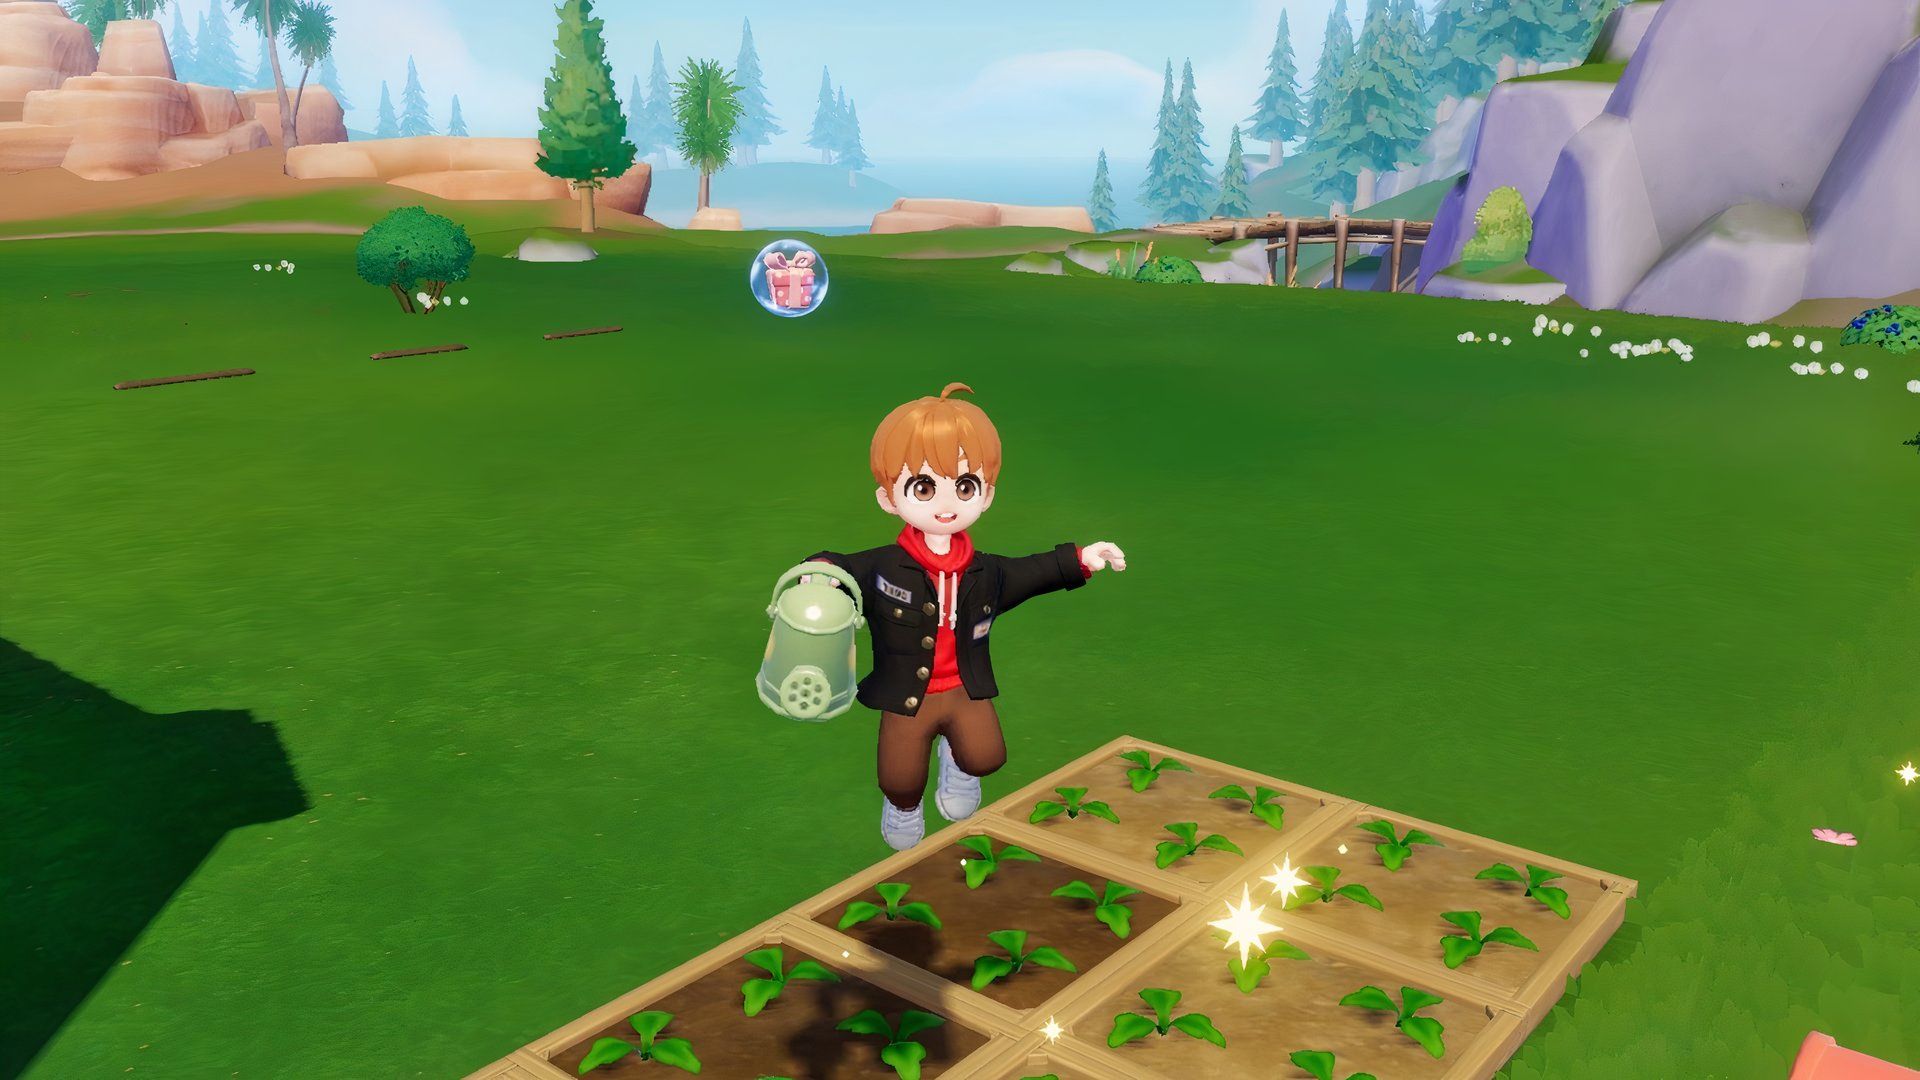
To water your plants in Heartopia, start by selecting your Watering Can from the toolbox. Then, simply walk up to your garden. When you’re close enough to a plot, it will be outlined in white, showing you which one you’re about to water.
Once you’re ready, just tap or click the Watering Can icon. Your character will water the chosen plot, and the soil will quickly become darker. This color change shows that the crop has been watered.
To save time, Heartopia lets you water several plants at once. Instead of tapping the action button (like F), simply hold down the Watering Can icon a bit longer. This allows you to water multiple garden plots simultaneously, which is a huge help for larger gardens.
How to Fix Watering Can in Heartopia
Just like other tools in Heartopia, your Watering Can won’t last forever. After using it a lot, you’ll need to repair it to keep your crops watered.
You can fix your Watering Can with either a Repair Kit or a Crafty Repair Kit. You can make these kits yourself, or you can purchase them from shops around town. If you want to buy one, Ka Ching, located near the Suburban Lake, sells a standard Repair Kit for 200 gold. She also has Crafty Repair Kits available for two Wishing Stars.
If the soil in your garden is already dark, it has enough moisture and doesn’t need watering. Only water when the soil appears dry or light brown.
How to Craft and Use Repair Kits in Heartopia
You can make a Repair Kit with five branches. Bob will teach you how to craft it, so it’s available to you early on. Once you’ve made it, the Repair Kit will be added to your backpack.
To use the Repair Kit, first choose a tool from your toolbox, like a pickaxe or watering can. Then, place the Repair Kit on the ground. As long as you stay nearby, your equipped tool will automatically be fixed.
Read More
- All Shadow Armor Locations in Crimson Desert
- How to Get the Sunset Reed Armor Set and Hollow Visage Sword in Crimson Desert
- Best Bows in Crimson Desert
- All Golden Greed Armor Locations in Crimson Desert
- Wings of Iron Walkthrough in Crimson Desert
- How to Craft the Elegant Carmine Armor in Crimson Desert
- All Helfryn Armor Locations in Crimson Desert
- How To Beat Ator Archon of Antumbra In Crimson Desert
- Keeping Large AI Models Connected Through Network Chaos
- Sakuga: The Hidden Art Driving Anime’s Stunning Visual Revolution!
2026-01-30 12:34