Initially, installing a CPU cooler was a simple and hassle-free task as most processors came with built-in air coolers due to their moderate heat production. However, as processors began to grow more powerful, the heat they produced increased significantly. Recognizing consumer trends that often involved replacing the stock cooler with a third-party one, major chip manufacturers like Intel and AMD have largely stopped including coolers in their initial packages. This move not only reduces electronic waste but also cuts down on costs.
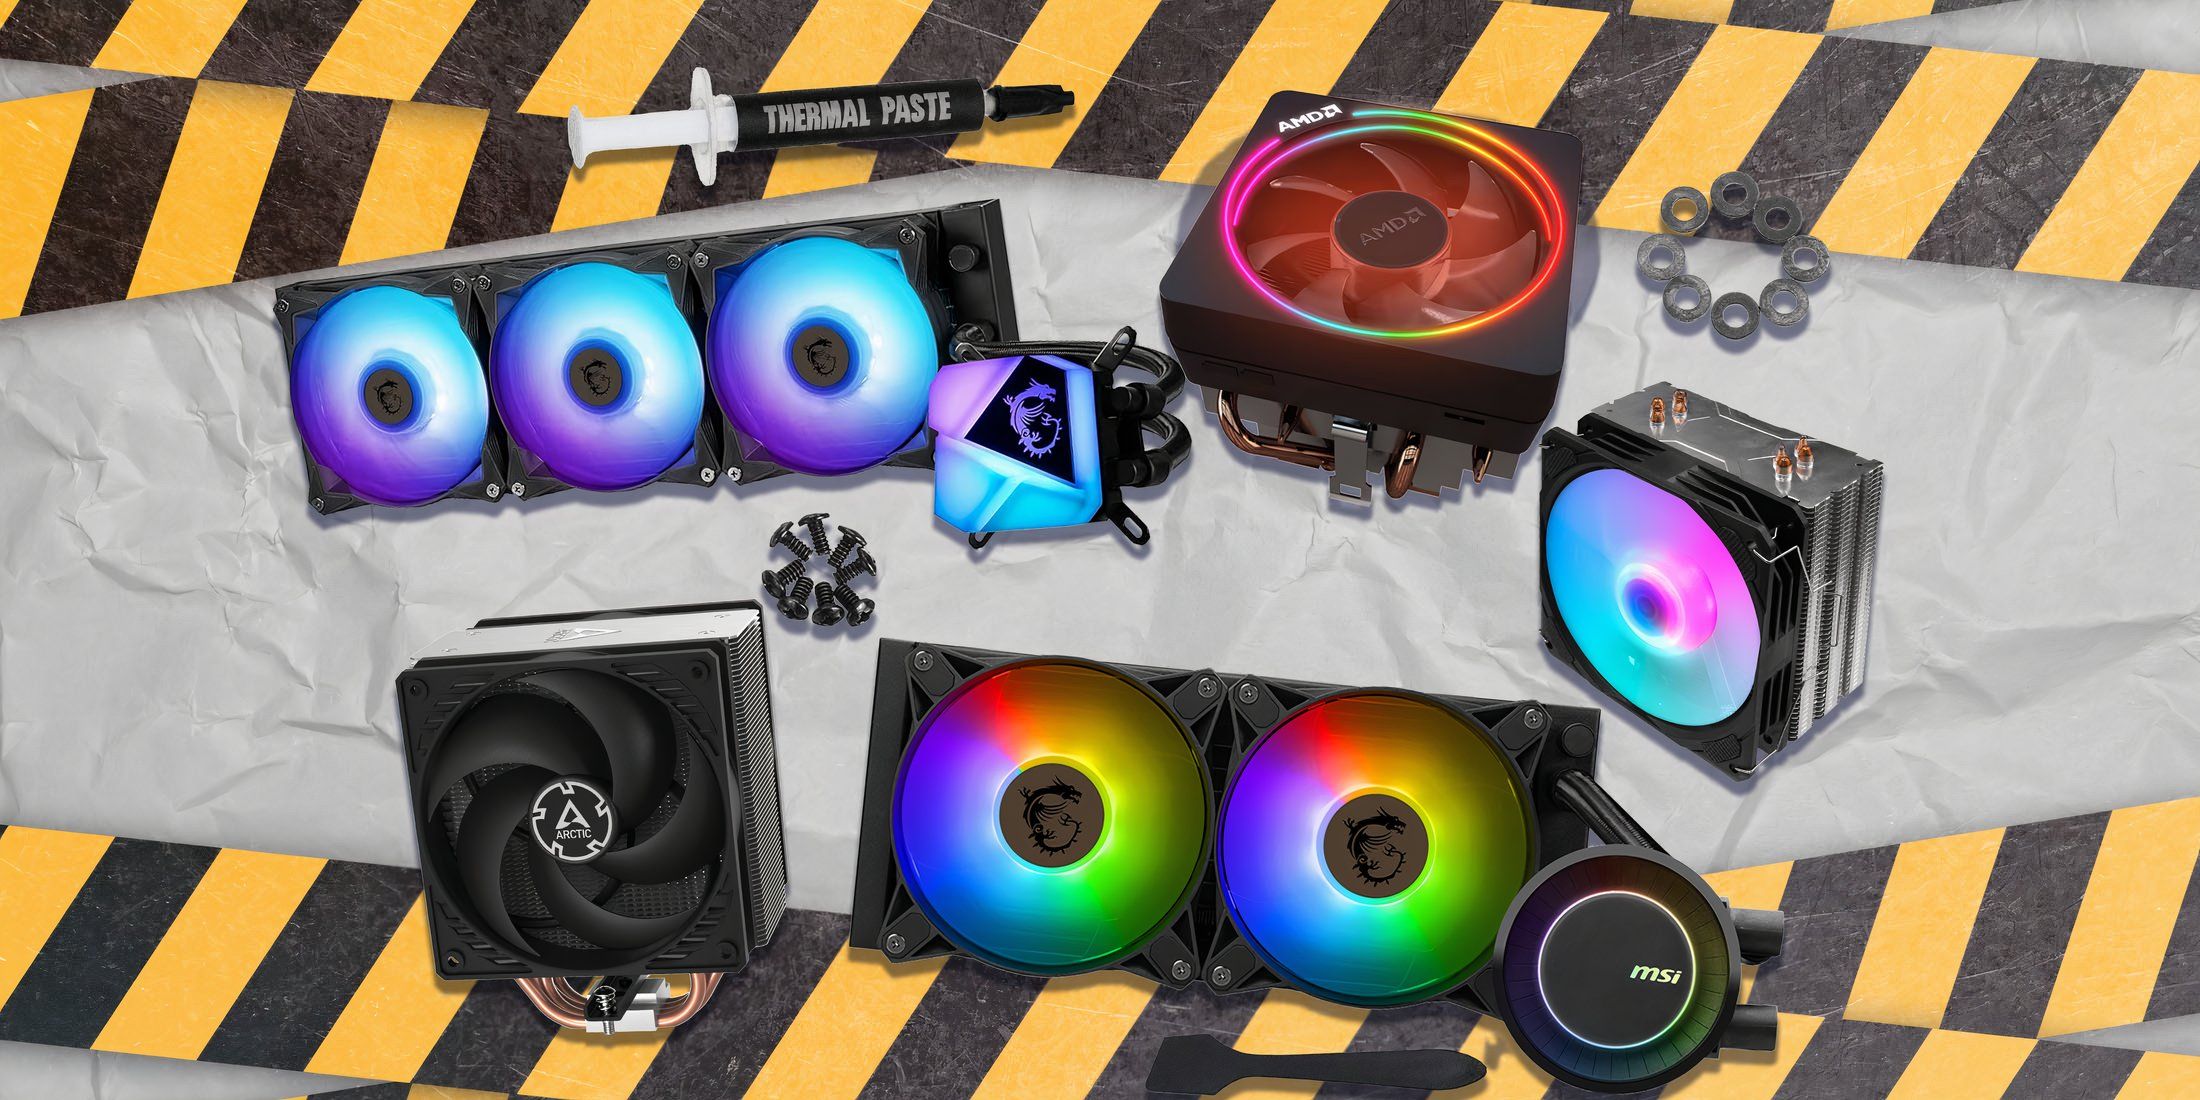
Upgrading from stock CPU coolers to air coolers or All-In-One (AIO) systems can significantly enhance cooling efficiency and aesthetics. While installation might seem challenging, this guide aims to make the task simple and straightforward for you. The installation process may differ slightly based on your chip manufacturer, but the overall steps are quite similar. This tutorial is mainly designed to help you secure a third-party cooler onto current-generation processors with ease.
In this tutorial, we’ll discuss how to set up air-coolers and All-in-One (AIO) liquid coolers on both Intel and AMD motherboards. While most procedures are similar for both brands, there are some variations in the mounting phase, particularly with regard to brackets and backplates. Notably, AMD motherboards come with built-in backplates, while Intel requires a separate one for mounting any cooler except their stock models.
Preparing the motherboard
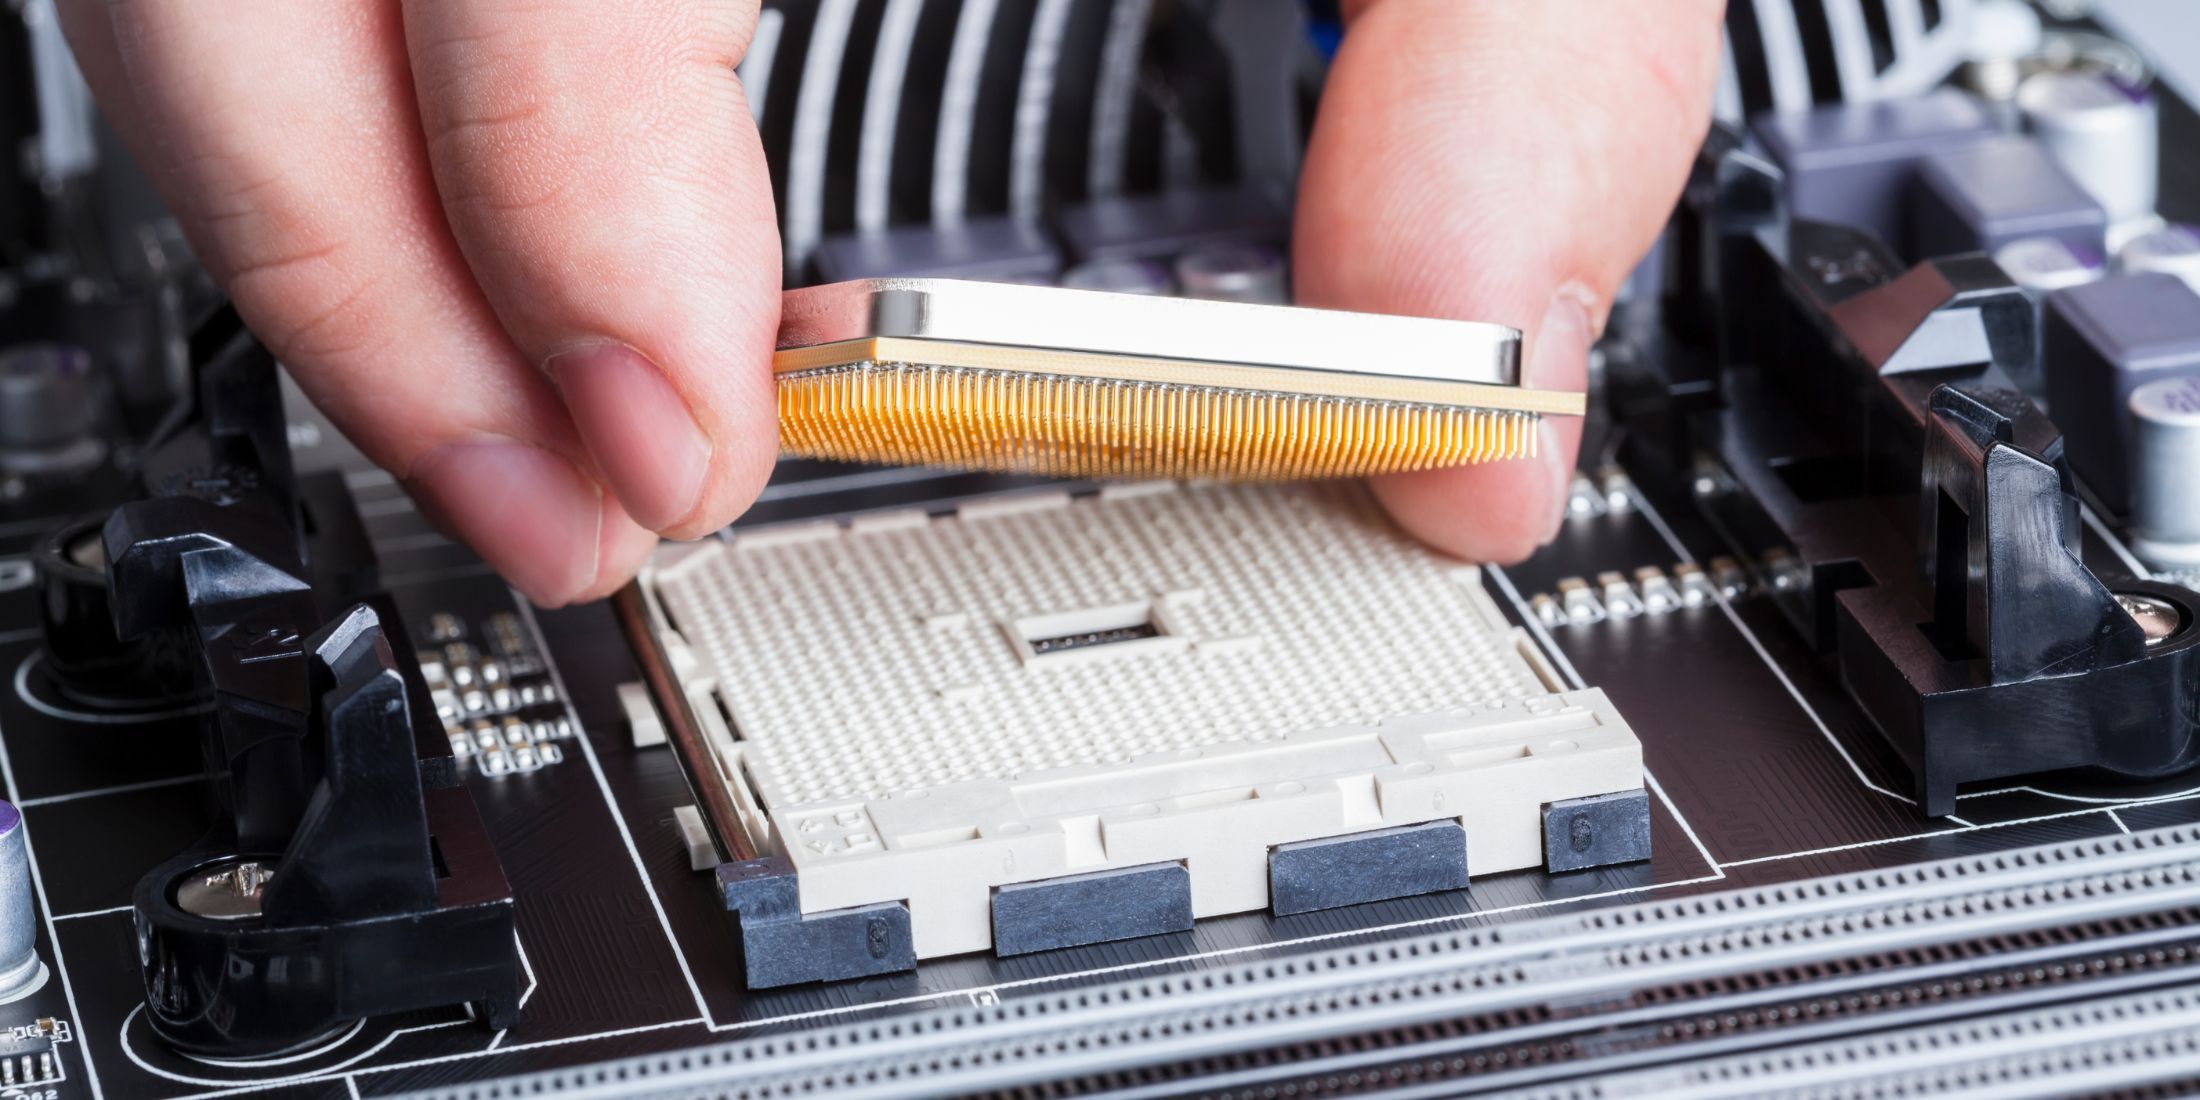
Arrange the motherboard atop its case for a secure work area. If it’s an AMD chip, undo the screws surrounding the CPU slot and save them carefully. For Intel chips, note that the motherboard won’t have the two brackets already attached. Proceed to set the processor in place; our tutorial on processor installation can help you out. Consult the cooler’s manual to identify the suitable mounting hardware for your specific processor-motherboard combo.
Before you start working, it’s a good idea to get a plate or container handy. This will help keep smaller items like screws organized and hard-to-lose during your project.
Installing Stock Air-Coolers
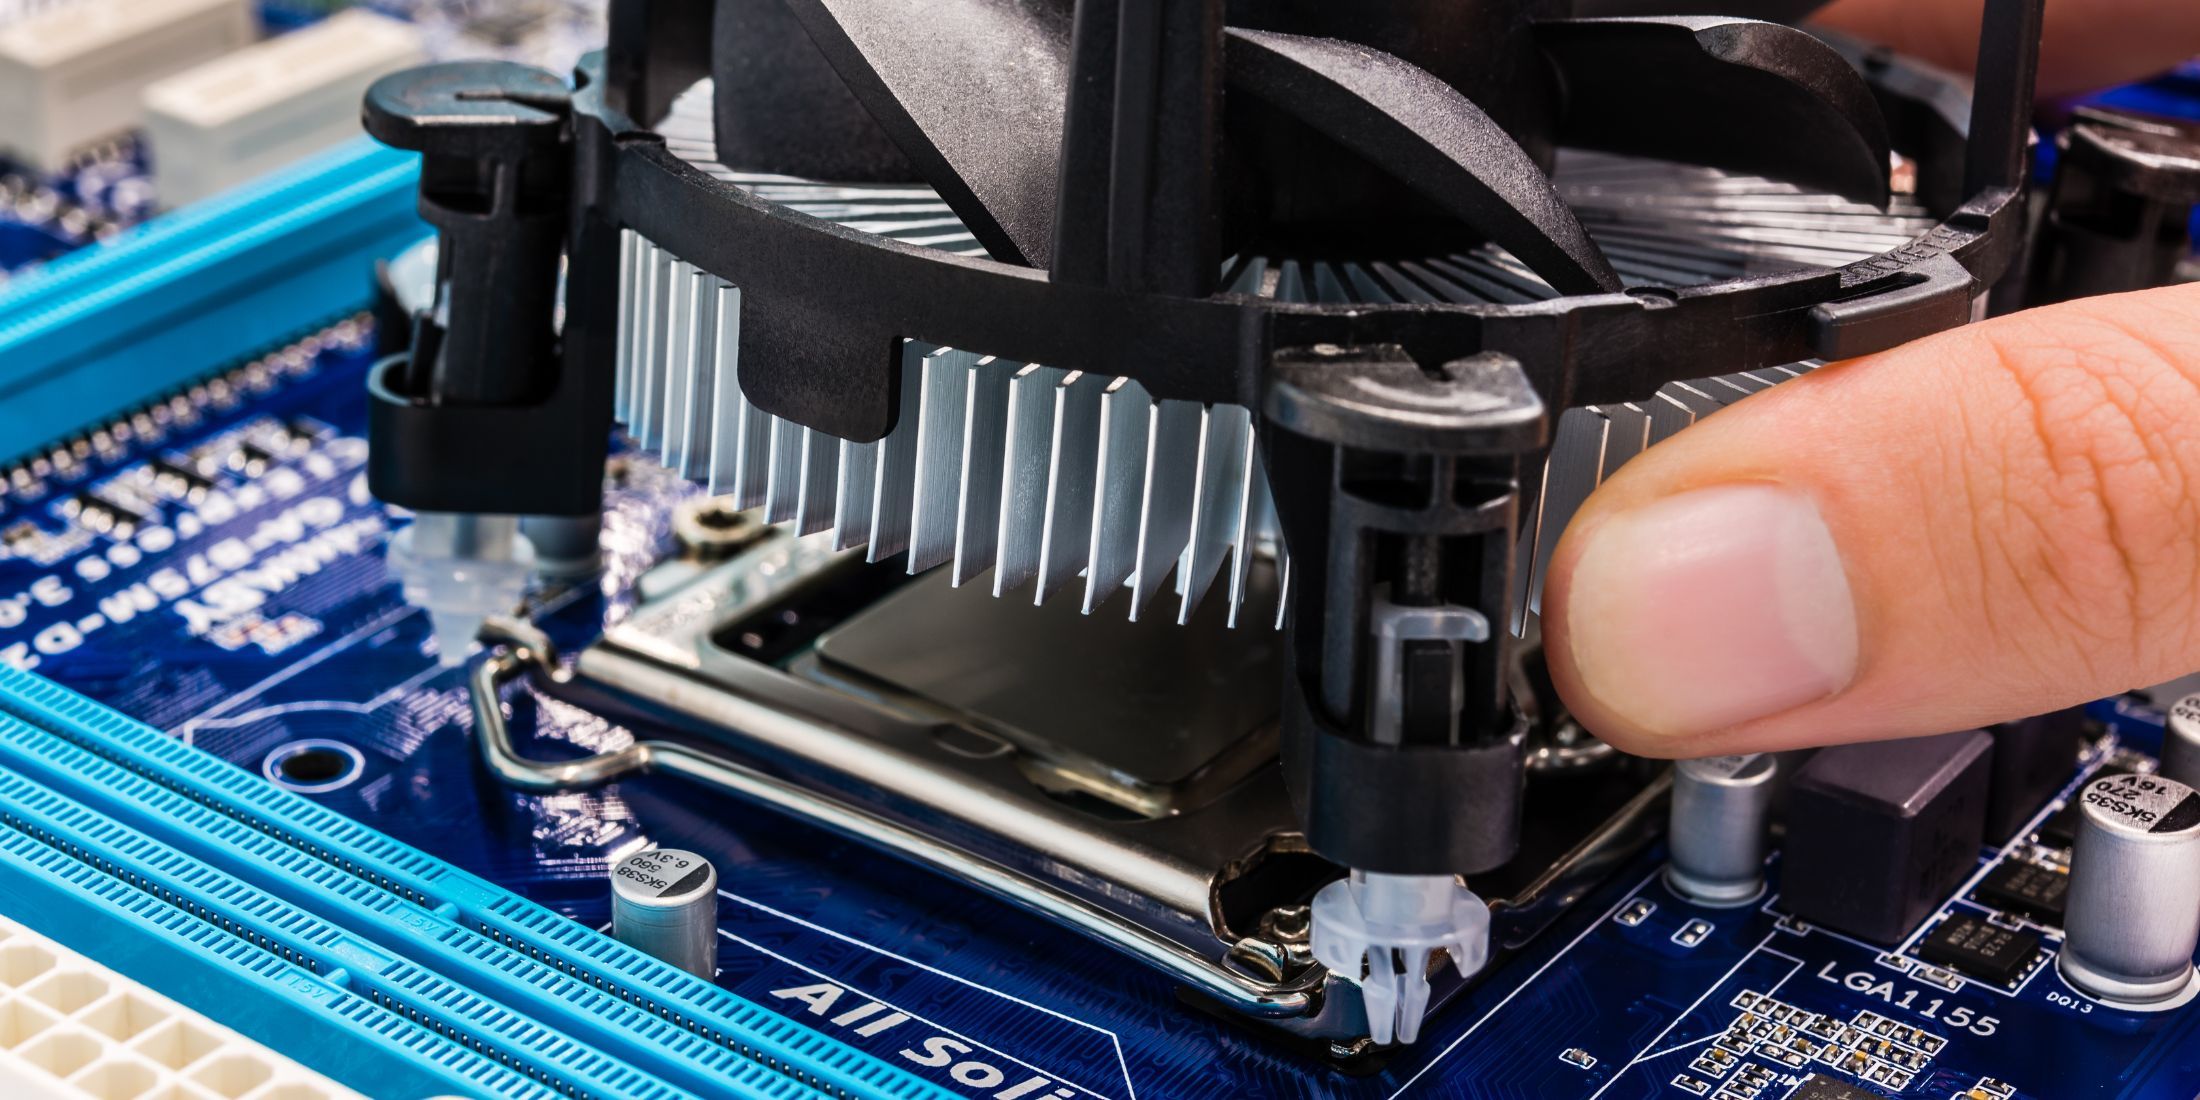
On AMD motherboards, a backplate with four mounting holes for the cooler is already attached. For Intel motherboards, however, there’s no pre-installed backplate; instead, you simply place the cooler over the processor, press down on the four pins so they snap into position, and then alternately screw them in to ensure a secure fit. After that, refer to your motherboard manual to connect the fan cable to the CPU fan header.
To ensure a hassle-free adjustment process if there’s an alignment issue, partly insert the pins first, then return to tighten them fully later on. This way, you can more easily rectify any misalignments since the pins will remain somewhat loose for adjustments.
Installing Third-Party Air-Coolers

For AMD systems, you’ll find four circular plastic components that should be placed over the standoffs on your motherboard. Inside the CPU cooler package, locate the metal bracket and line up its holes with those of the plastic pieces. Use the included screws to secure the metal bracket in place.
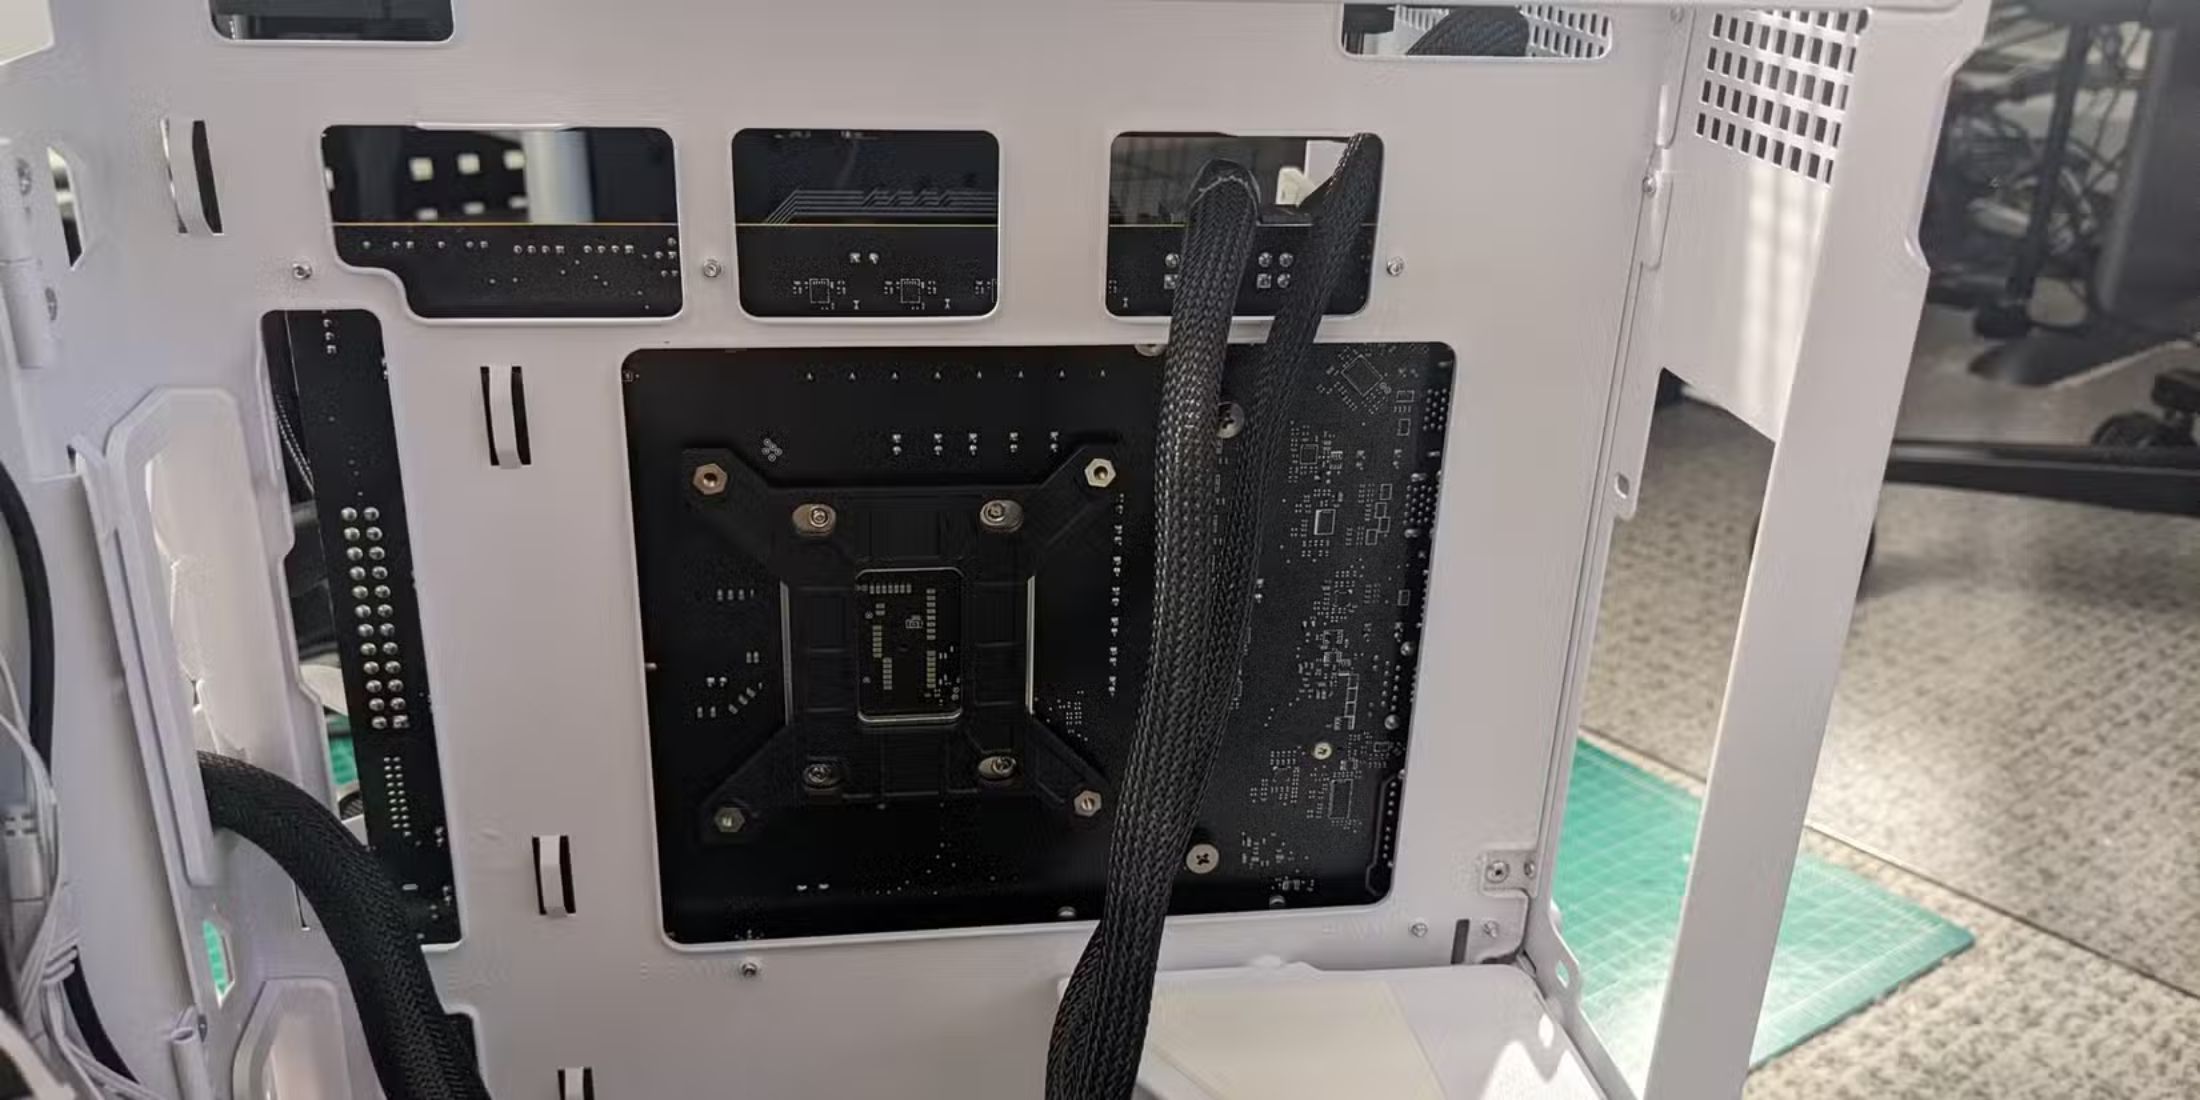
For Intel systems, search for a backplate within the box. Position it behind your motherboard by aligning it with the holes surrounding the CPU socket. You might need to adjust the backplate’s ends by sliding them in or out to fit the motherboard’s holes. Depending on the cooler, you may need to connect the mounting brackets either to the standoffs of the backplate or the cooler’s baseplate.
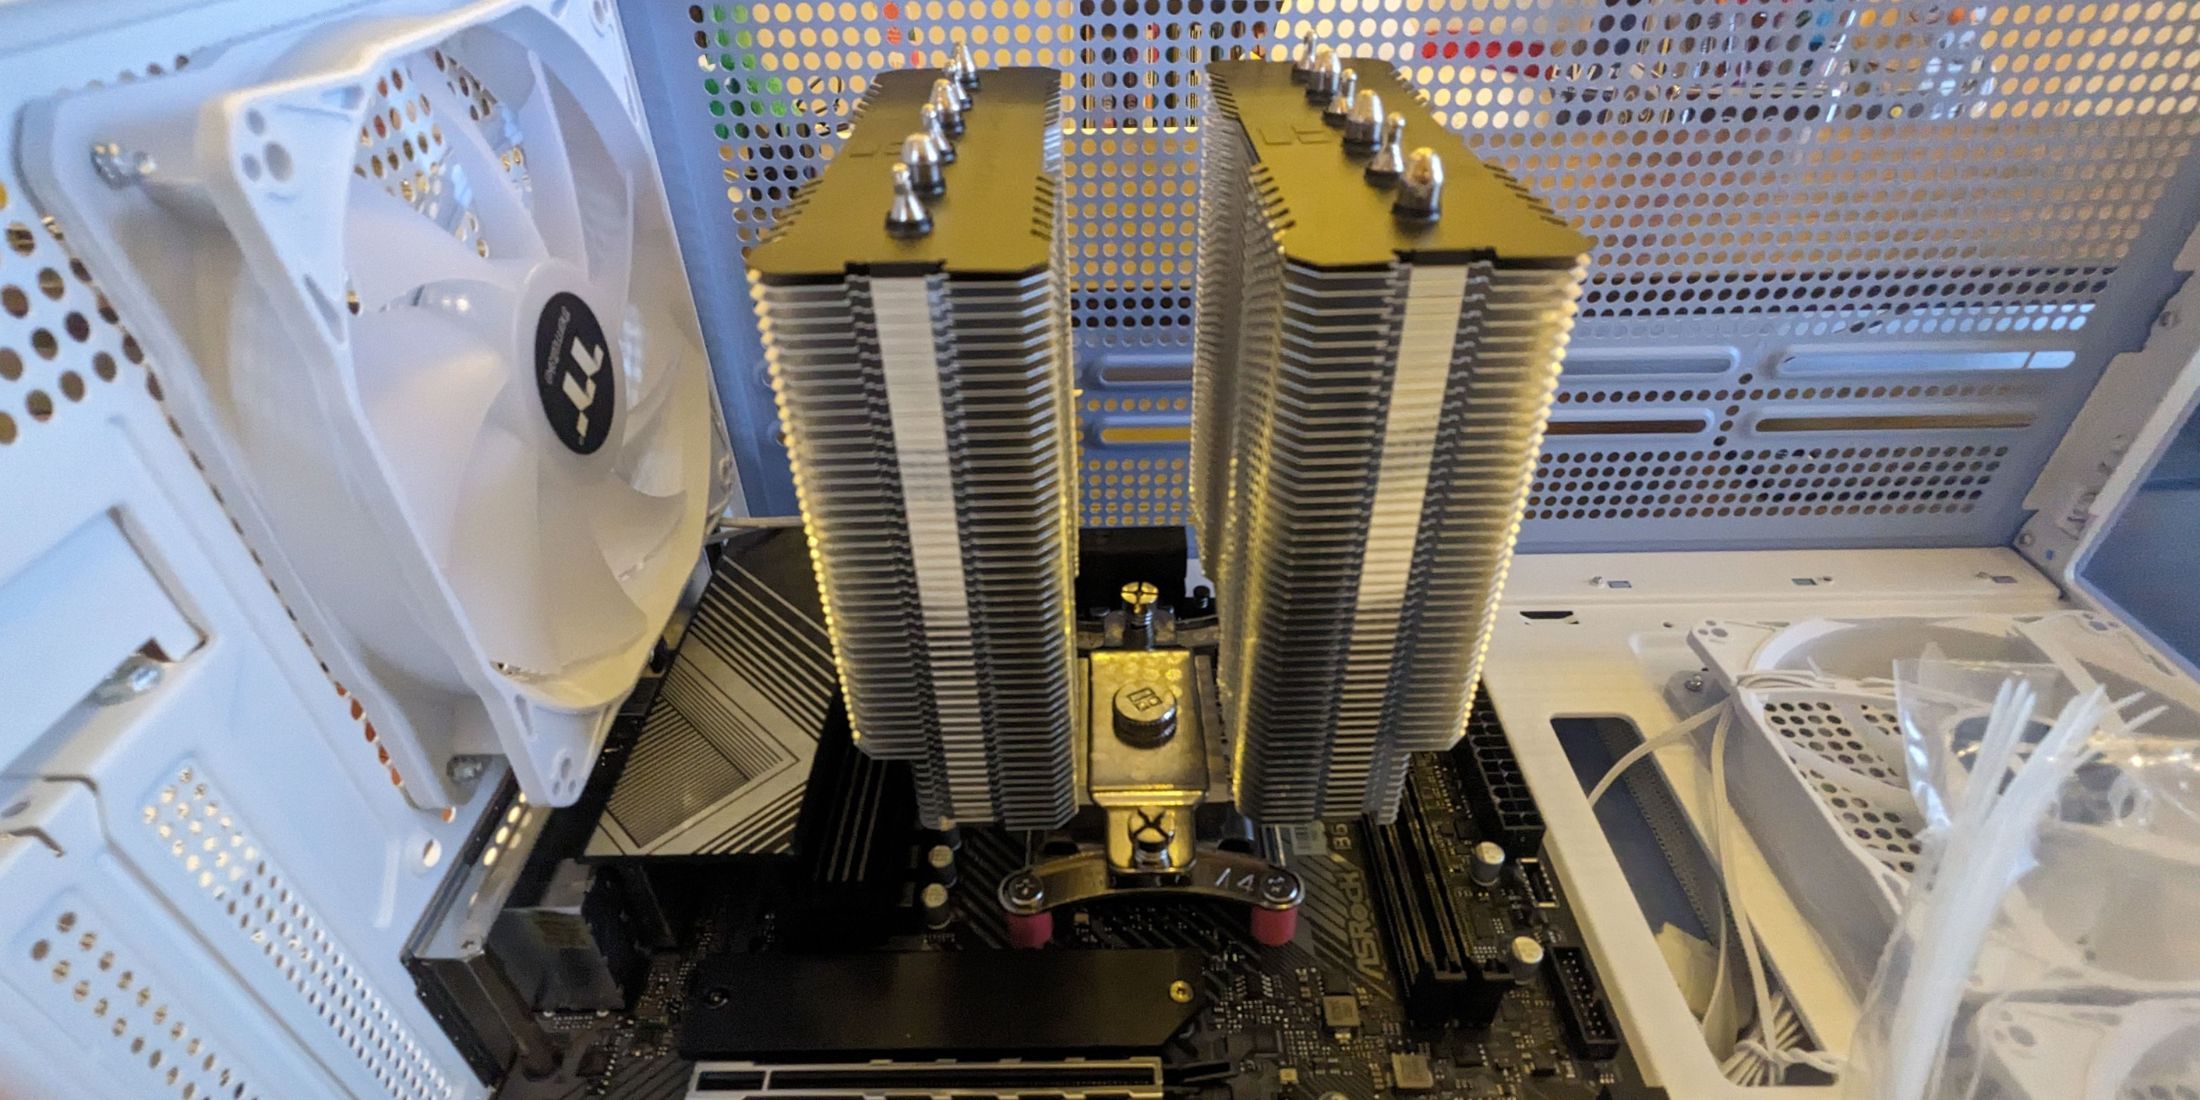
When applying thermal paste, you can use a small blob (that will spread when pressure is applied) or evenly distribute it yourself. This step might not be necessary if the heatsink already has paste applied. Don’t forget to remove any protective layers on the heatpipes before they touch the processor. Position the heatsink carefully over the processor, ensuring that the screws on either side line up with the holes in the metal bracket. The heatsink should only be placed vertically and not horizontally. Start by tightening each screw slightly, then switch between them until both are securely fastened.
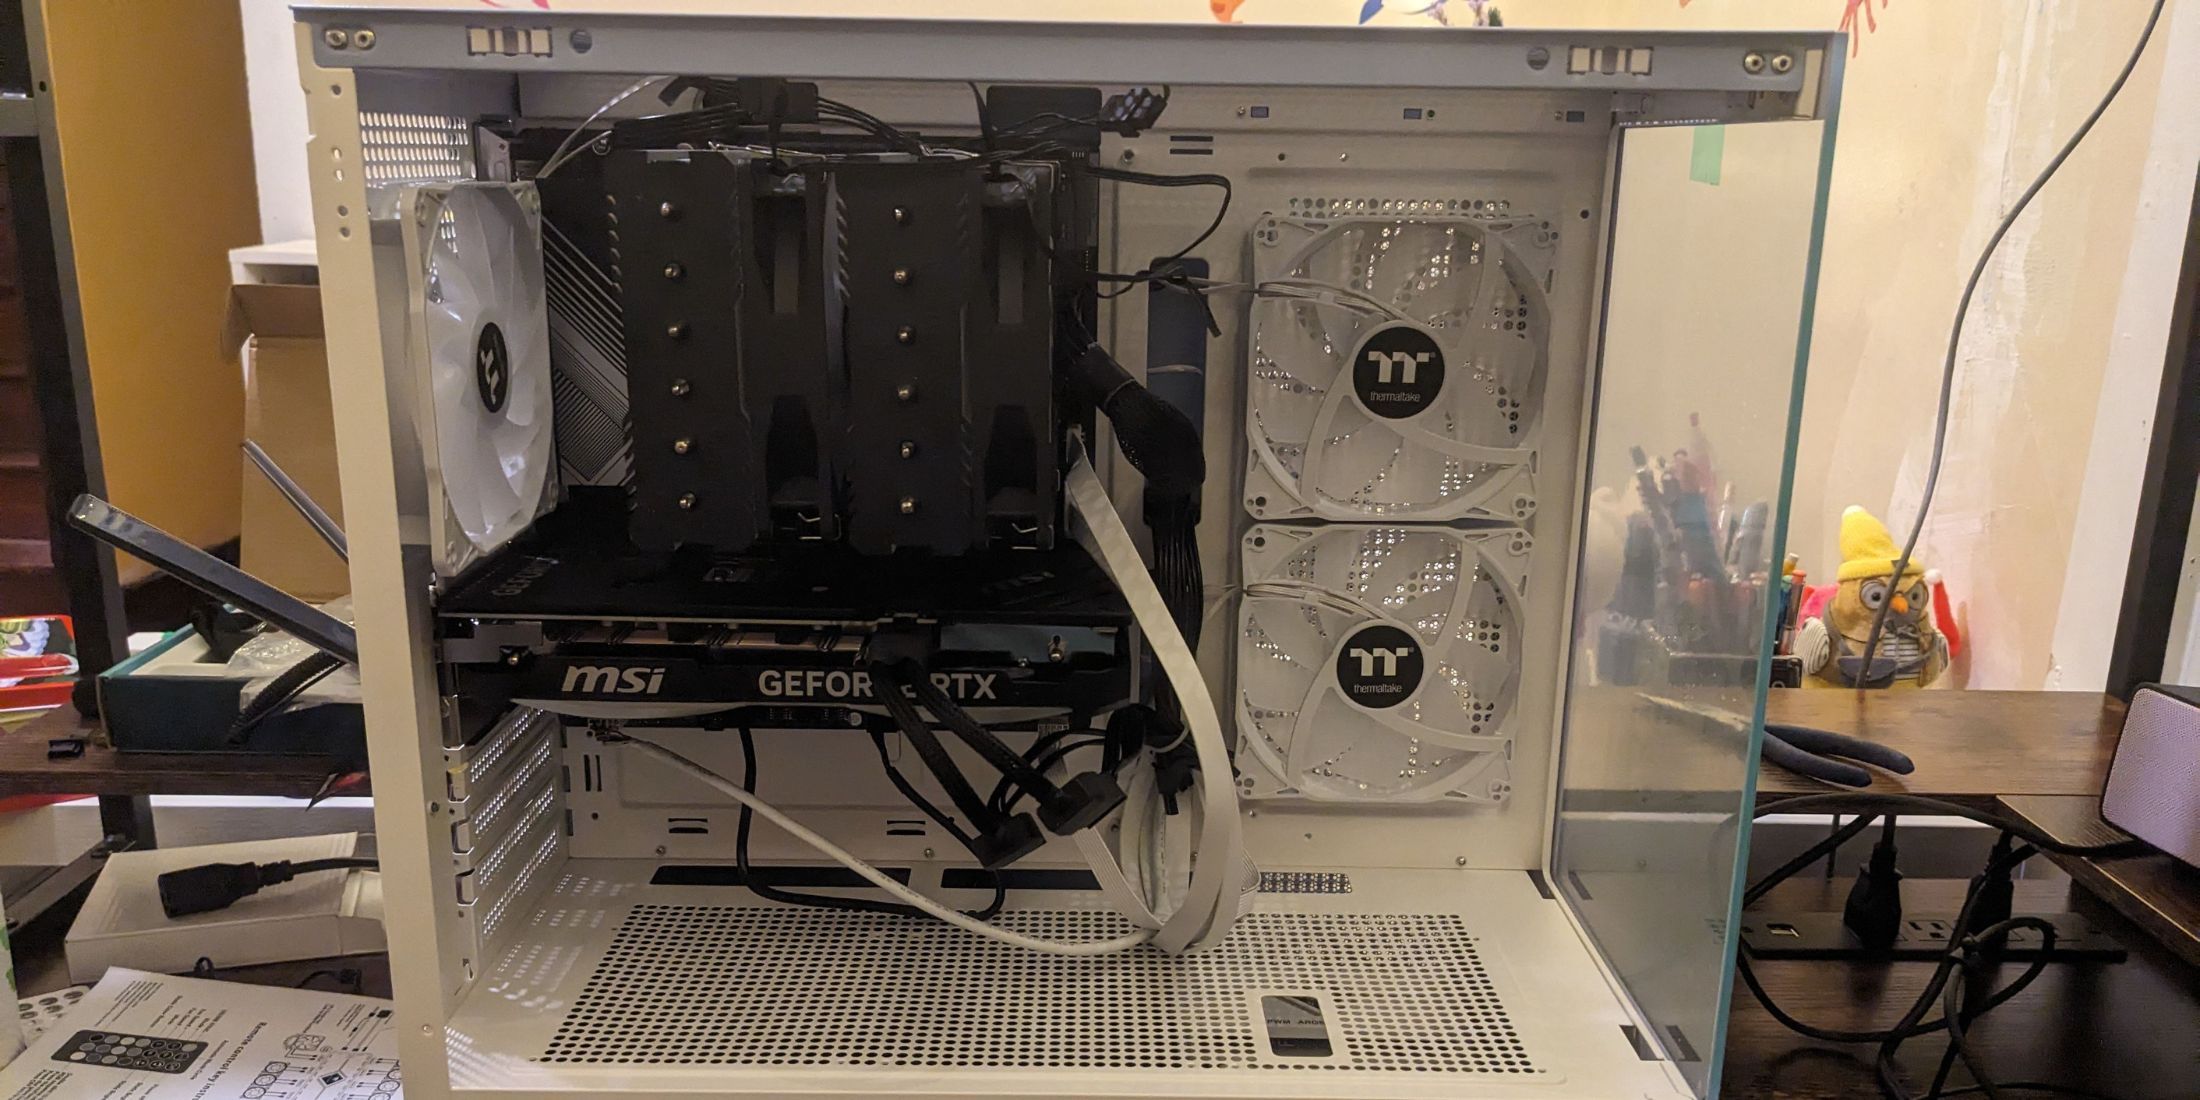
Position the CPU fan with its airflow directed towards the heatsink on both sides for optimal cooling. The fan should have an arrow to guide you on the direction of airflow. Use the four metal clips provided with the cooler to secure the fan. Each clip has two ends, one fits into small holes in the fan and the other locks onto the grooves of the heatsink. Repeat this process on both sides of the fan for stability. Lastly, connect the fan’s cable to the CPU_FAN header on your motherboard. If your fan is RGB, remember there will be an additional cable that needs to be connected to the 4-pin RGB header. For ARGB fans, you may need a 3-pin connector instead.
Installing AIOs
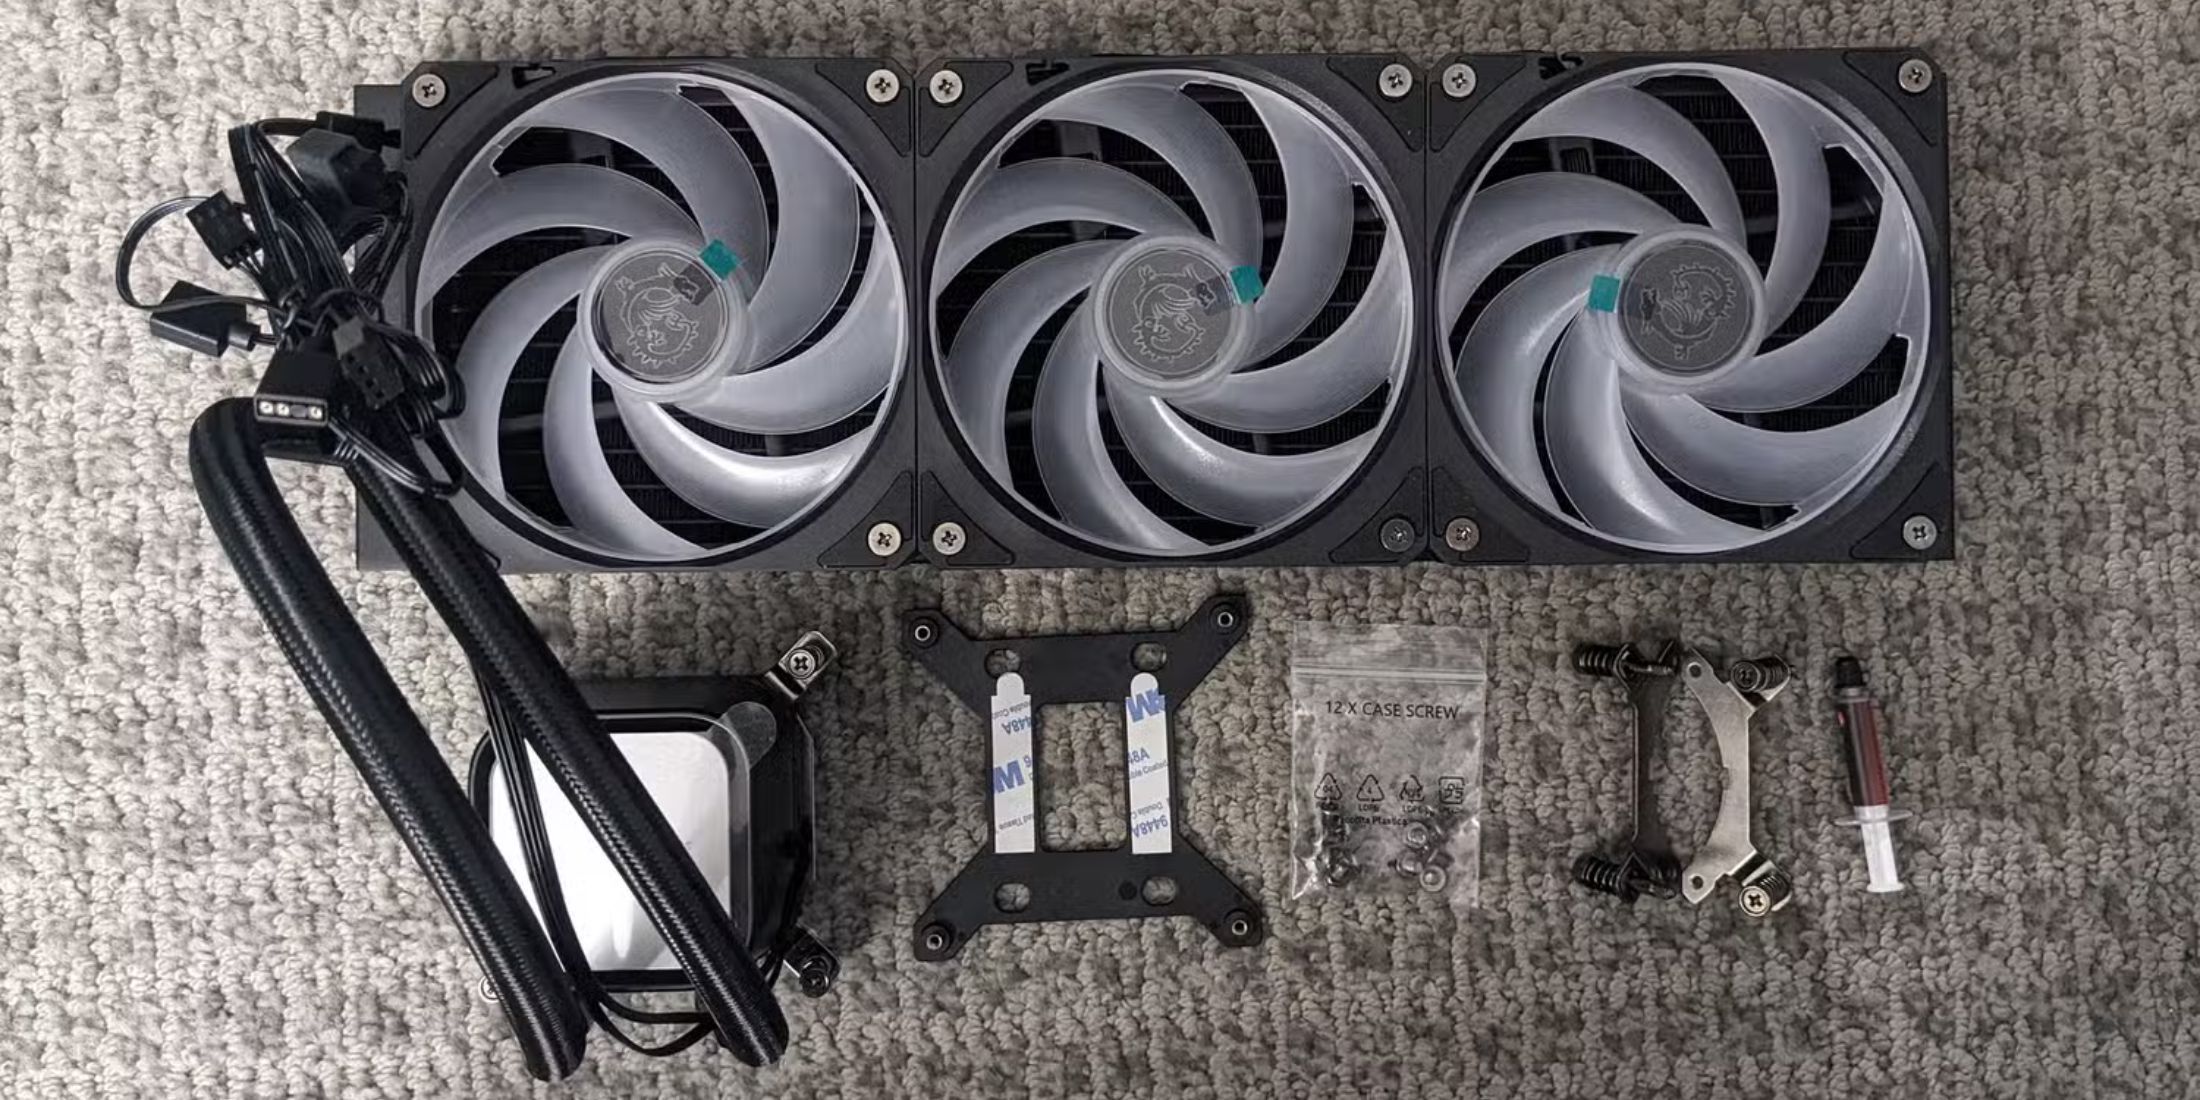
Here are some water blocks that include a pre-installed mounting bracket. On the other hand, certain ones may require attachment. If the bracket isn’t already attached, search for it in the package and secure it to the water block using screws. Make sure to refer to the manual for this process as it may differ among coolers. For Intel motherboards, you will first need to install a backplate followed by four standoff screws before setting the waterblock in place.
After fastening the bracket, proceed to configure the radiator and its cooling fans according to your preference, ensuring optimal performance of the All-In-One (AIO) system. Generally, the radiator is positioned on top of the casing, but you have the flexibility to mount it on the front or side if your PC case supports such an arrangement. Once you’ve decided how you want the radiator oriented, connect the fans provided with the AIO to the radiator. Ensure that these fans are blowing air out of the case, through the radiator for proper cooling.
Firstly, let’s spread some thermal paste, as we talked about earlier. Then, gently secure the water block onto the processor-adjacent standoffs using screws. Be careful not to overtighten a single screw; instead, give each one a few turns before moving on to the next. Repeat this process for all screws to ensure an even connection with the CPU, much like you would with air coolers.
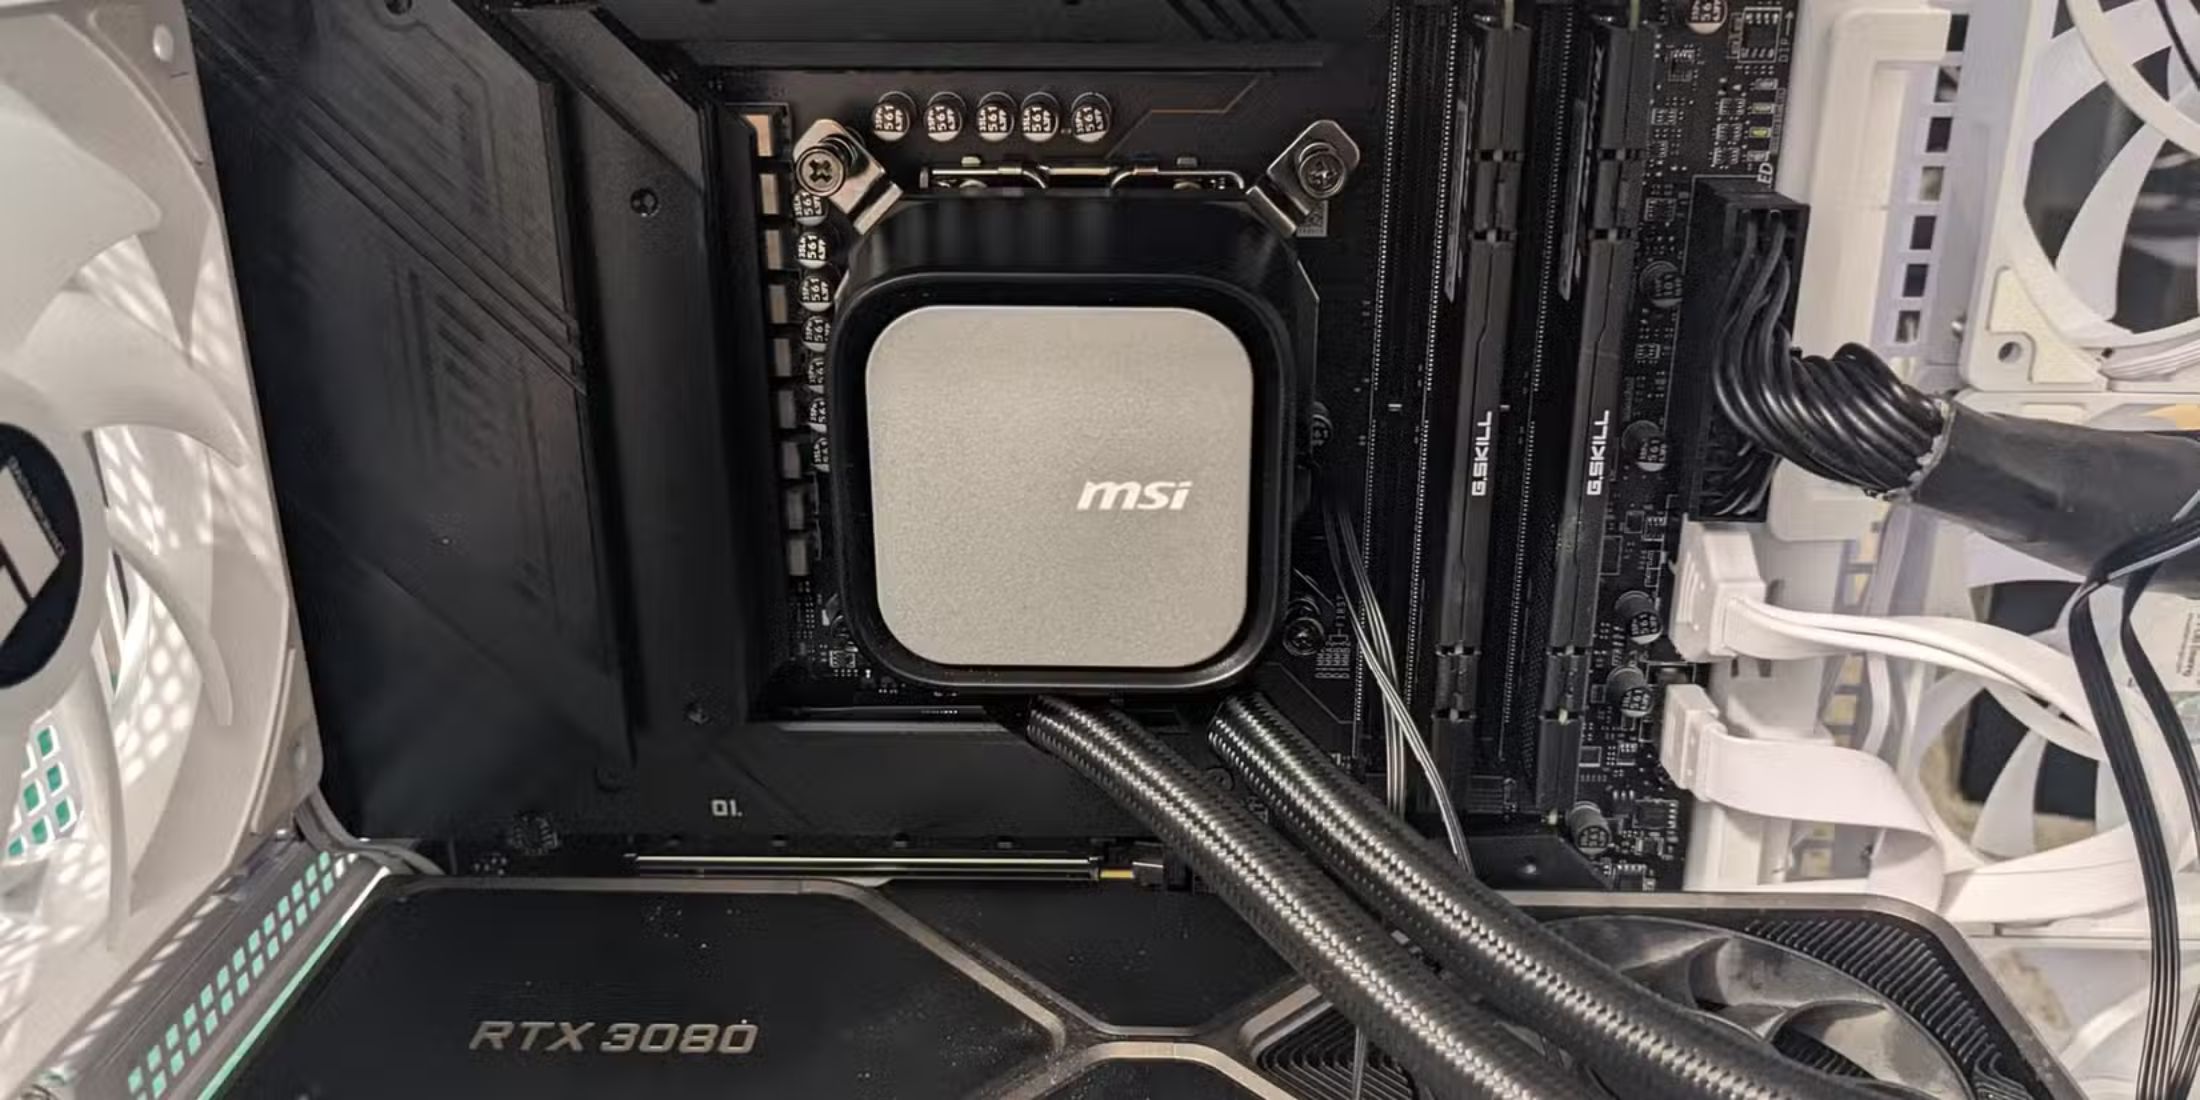
In the final stage, I’ll be connecting the cables. The CPU pump fan will slot into the CPU_FAN or comparable socket, typically found at the top of the motherboard. As for the ARGB fan cable, it goes into a 3-pin RGB connector, whereas non-ARGB cables are inserted into 4-pin slots. For locating these connectors, I’d recommend checking the motherboard manual.
FAQ
Q: Should I get an air cooler or AIO?
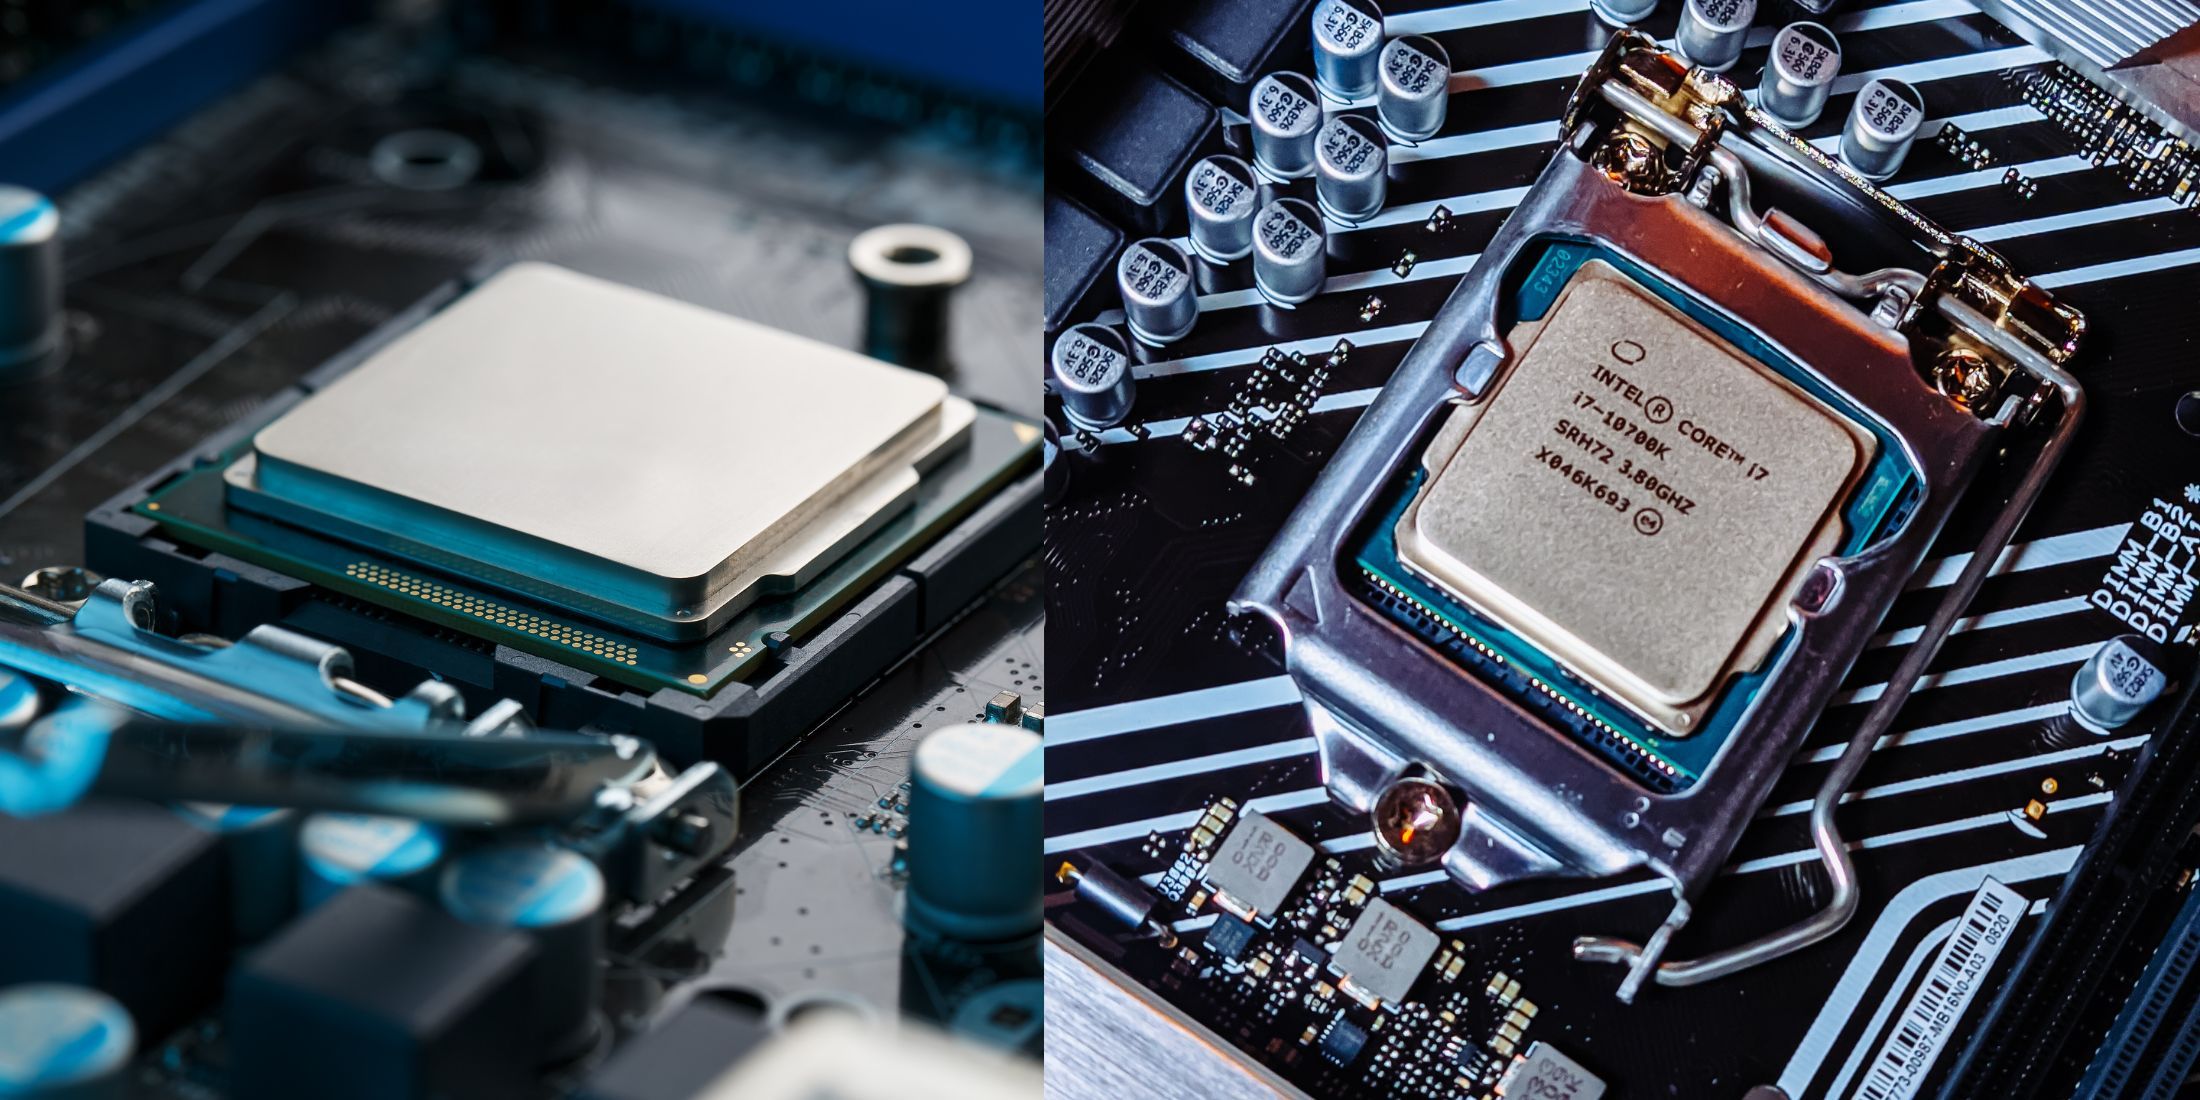
The performance of a cooling system, whether it’s an air cooler or an All-In-One (AIO) liquid cooler, depends on the heat output of the CPU when it’s under heavy use. Moderately powerful processors, such as 10th/11th generation Intel Core i3/Core i5 and AMD Ryzen 5 7600/7600X or Ryzen 7 7800X3D, can operate effectively with air coolers. However, more potent processors tend to generate excessive heat that most air coolers may struggle to manage, making an AIO cooler a better choice for them due to its superior cooling capacity.
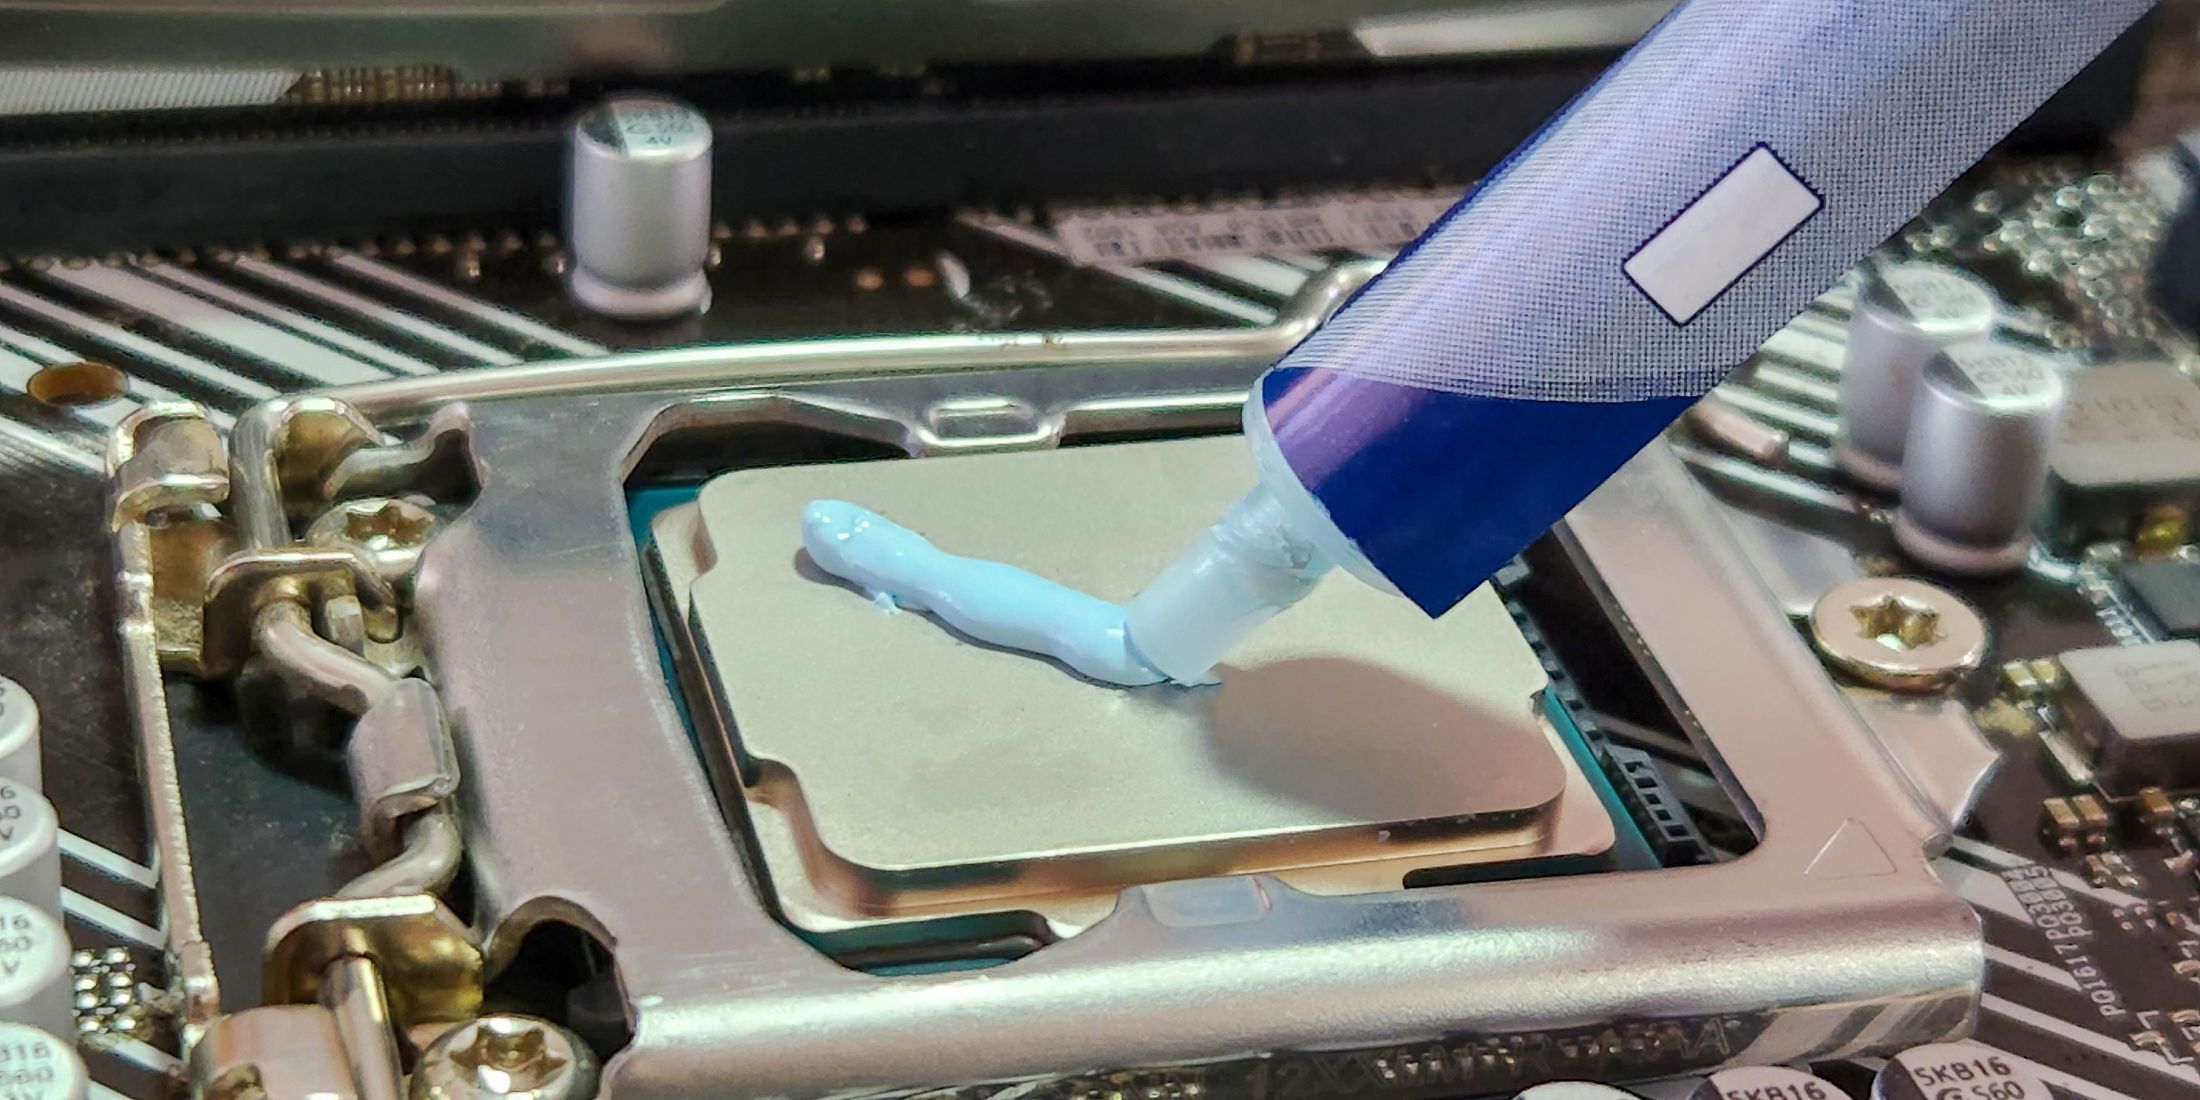
Q: What is the best way to apply thermal paste?
As a movie enthusiast, I’d say: When it comes to keeping my computer running smoothly, nothing beats a good layer of thermal paste between the CPU and its cooler. Think of it like butter on hot popcorn – a thin, even coat is all you need for optimal heat transfer. Luckily, applying it is as easy as dropping a pea-sized blob in just the right spot or spreading it out using a tiny spatula. Some coolers even come with this step taken care of, making setup a breeze!
Q: Which is more reliable: an Air Cooler or an AIO?
Air coolers have a more straightforward design and fewer components compared to All-in-One (AIO) liquid cooling systems. Maintenance is easy since the only electrical part is the fan, which is cost-effective to replace if needed. AIOs are more intricate, featuring tubing, coolant, and a waterblock. A leak in the coolant can potentially harm the computer, and fixing a faulty waterblock can be challenging. However, despite being less dependable, modern AIO models have improved significantly and come with warranties for added assurance.
Read More
- 6 Best Mechs for Beginners in Mecha Break to Dominate Matches!
- Esil Radiru: The Demon Princess Who Betrayed Her Clan for Jinwoo!
- Unleash Willow’s Power: The Ultimate Build for Reverse: 1999!
- Unlock the Ultimate Armor Sets in Kingdom Come: Deliverance 2!
- How to Reach 80,000M in Dead Rails
- Eiichiro Oda: One Piece Creator Ranks 7th Among Best-Selling Authors Ever
- T PREDICTION. T cryptocurrency
- One Piece 1142 Spoilers: Loki Unleashes Chaos While Holy Knights Strike!
- EUR HUF PREDICTION
- Top 5 Swords in Kingdom Come Deliverance 2
2025-01-31 20:15