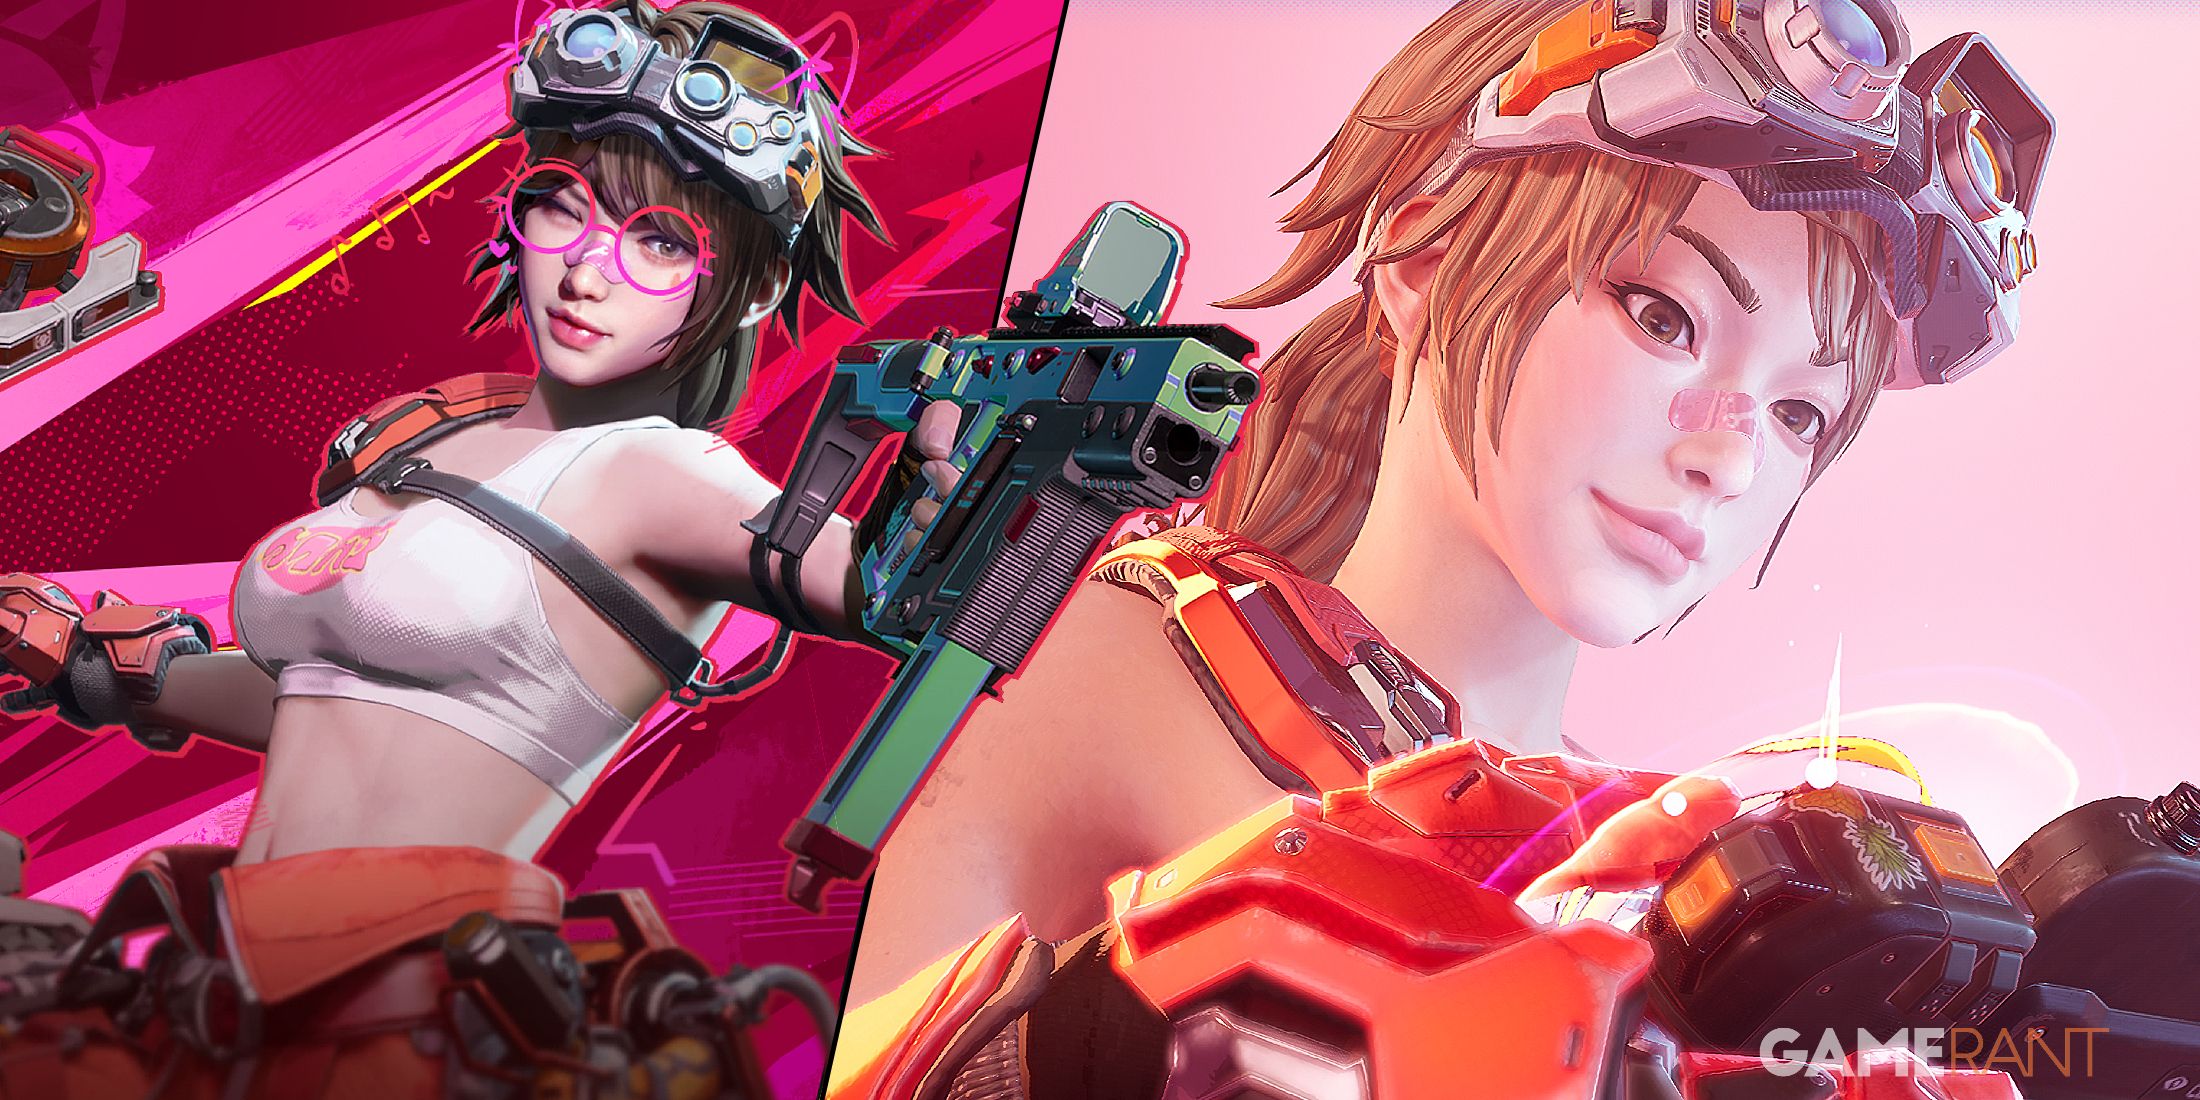
In a twist from traditional 5v5 hero-shooter games, FragPunk introduces Shard Cards, enabling players to customize the game’s rules. This title also boasts an array of vibrant characters called Lancers, each with distinctive skills. Although there are numerous characters catering to various playstyles, Nitro stands out for his defensive prowess.
As a devoted fan, I’d love to share my insights on mastering Nitro, one of the initial Lancers available in FragPunk. Known for her expertise in fortification, defense, and trap placement, she is an unstoppable force that rivals any opponent, particularly when deployed on the defensive squad. In this article, I’ll delve deep into playing Nitro in FragPunk, discussing her skills and offering valuable tips and tricks to optimize her effectiveness in combat.
1. Understanding Nitro’s Abilities: Familiarize yourself with Nitro’s unique abilities, including her defensive structures, traps, and active skills. Each ability should be utilized strategically based on the situation at hand.
2. Building Defensive Structures: Constructing robust defensive structures is essential to maximizing Nitro’s potential. Choose appropriate locations for fortresses, walls, and turrets that will provide optimal protection against enemy attacks.
3. Placing Traps Wisely: Deploy traps thoughtfully around your defenses to catch enemies off guard and disrupt their advancement. Experiment with different trap combinations to find the setup that best suits your playstyle.
4. Utilizing Active Skills: Nitro’s active skills can turn the tide of battle in your favor. Mastering when to use each skill is crucial for success. For example, using her area-of-effect healing ability at the right moment can save your team from defeat.
5. Team Synergy: Coordinate with your teammates to create a well-rounded strategy that capitalizes on Nitro’s defensive capabilities while complementing other Lancer abilities. Communication and cooperation are key to victory in FragPunk.
6. Adapting to the Battlefield: Be prepared to adjust your strategy based on the ever-changing battlefield conditions. Pay attention to enemy movements, adapt your defenses accordingly, and make use of Nitro’s versatility to overcome obstacles and capitalize on opportunities.
7. Practice Makes Perfect: Spend time honing your skills in FragPunk to truly master Nitro and become an unstoppable force on the battlefield. Analyze your performance, learn from mistakes, and continuously improve to climb the ranks and dominate in competitive play.
Nitro’s Skills In FragPunk Explained
-
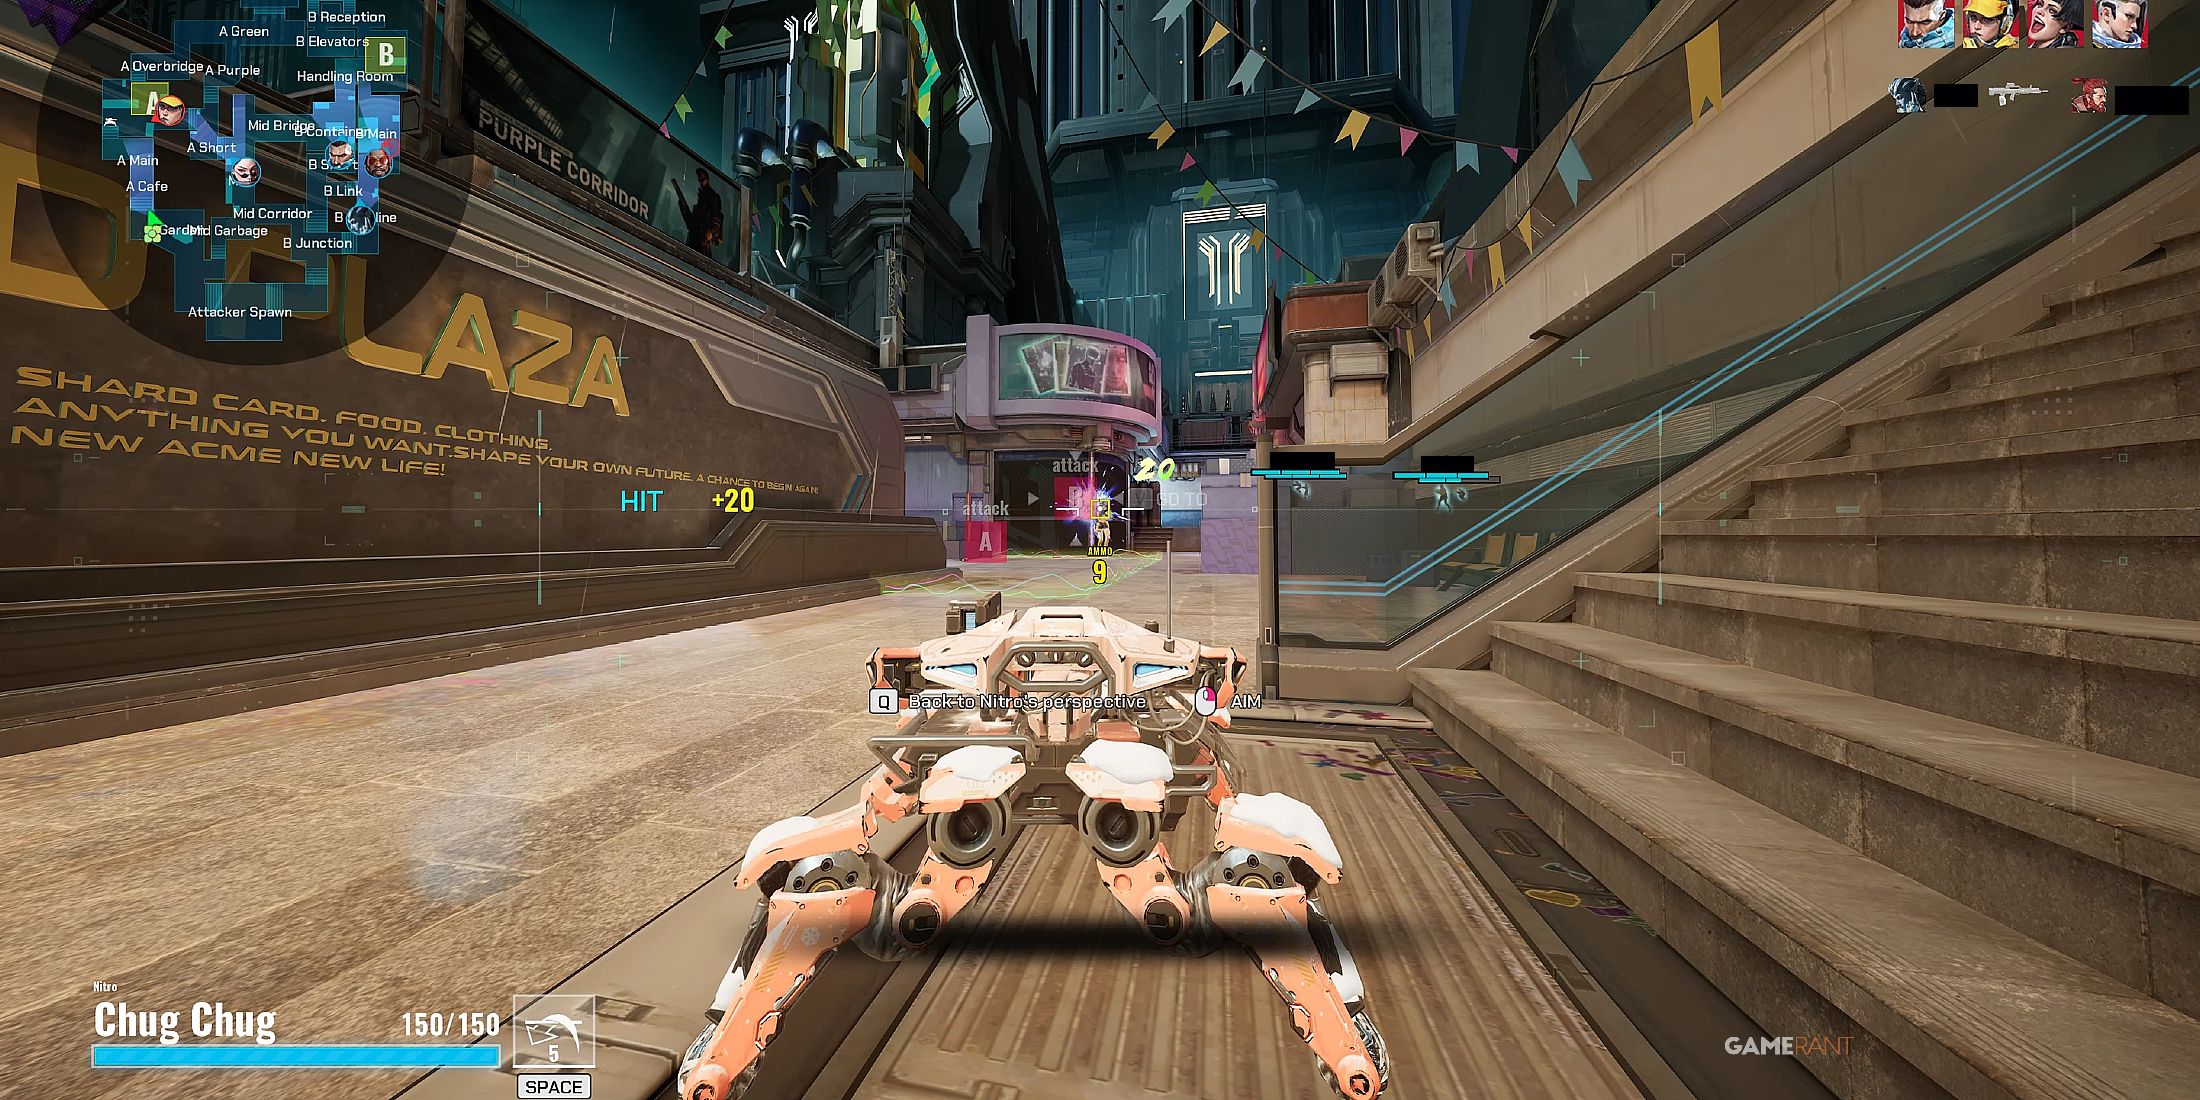
Chug Chug
Use a versatile battlefield drone capable of distant operation. It’s armed with a cannon holding ten rounds. Each round, Nitro gets just one Chug Chug drone, but once acquired, it can continue to use the drone until it gets damaged or destroyed.
-
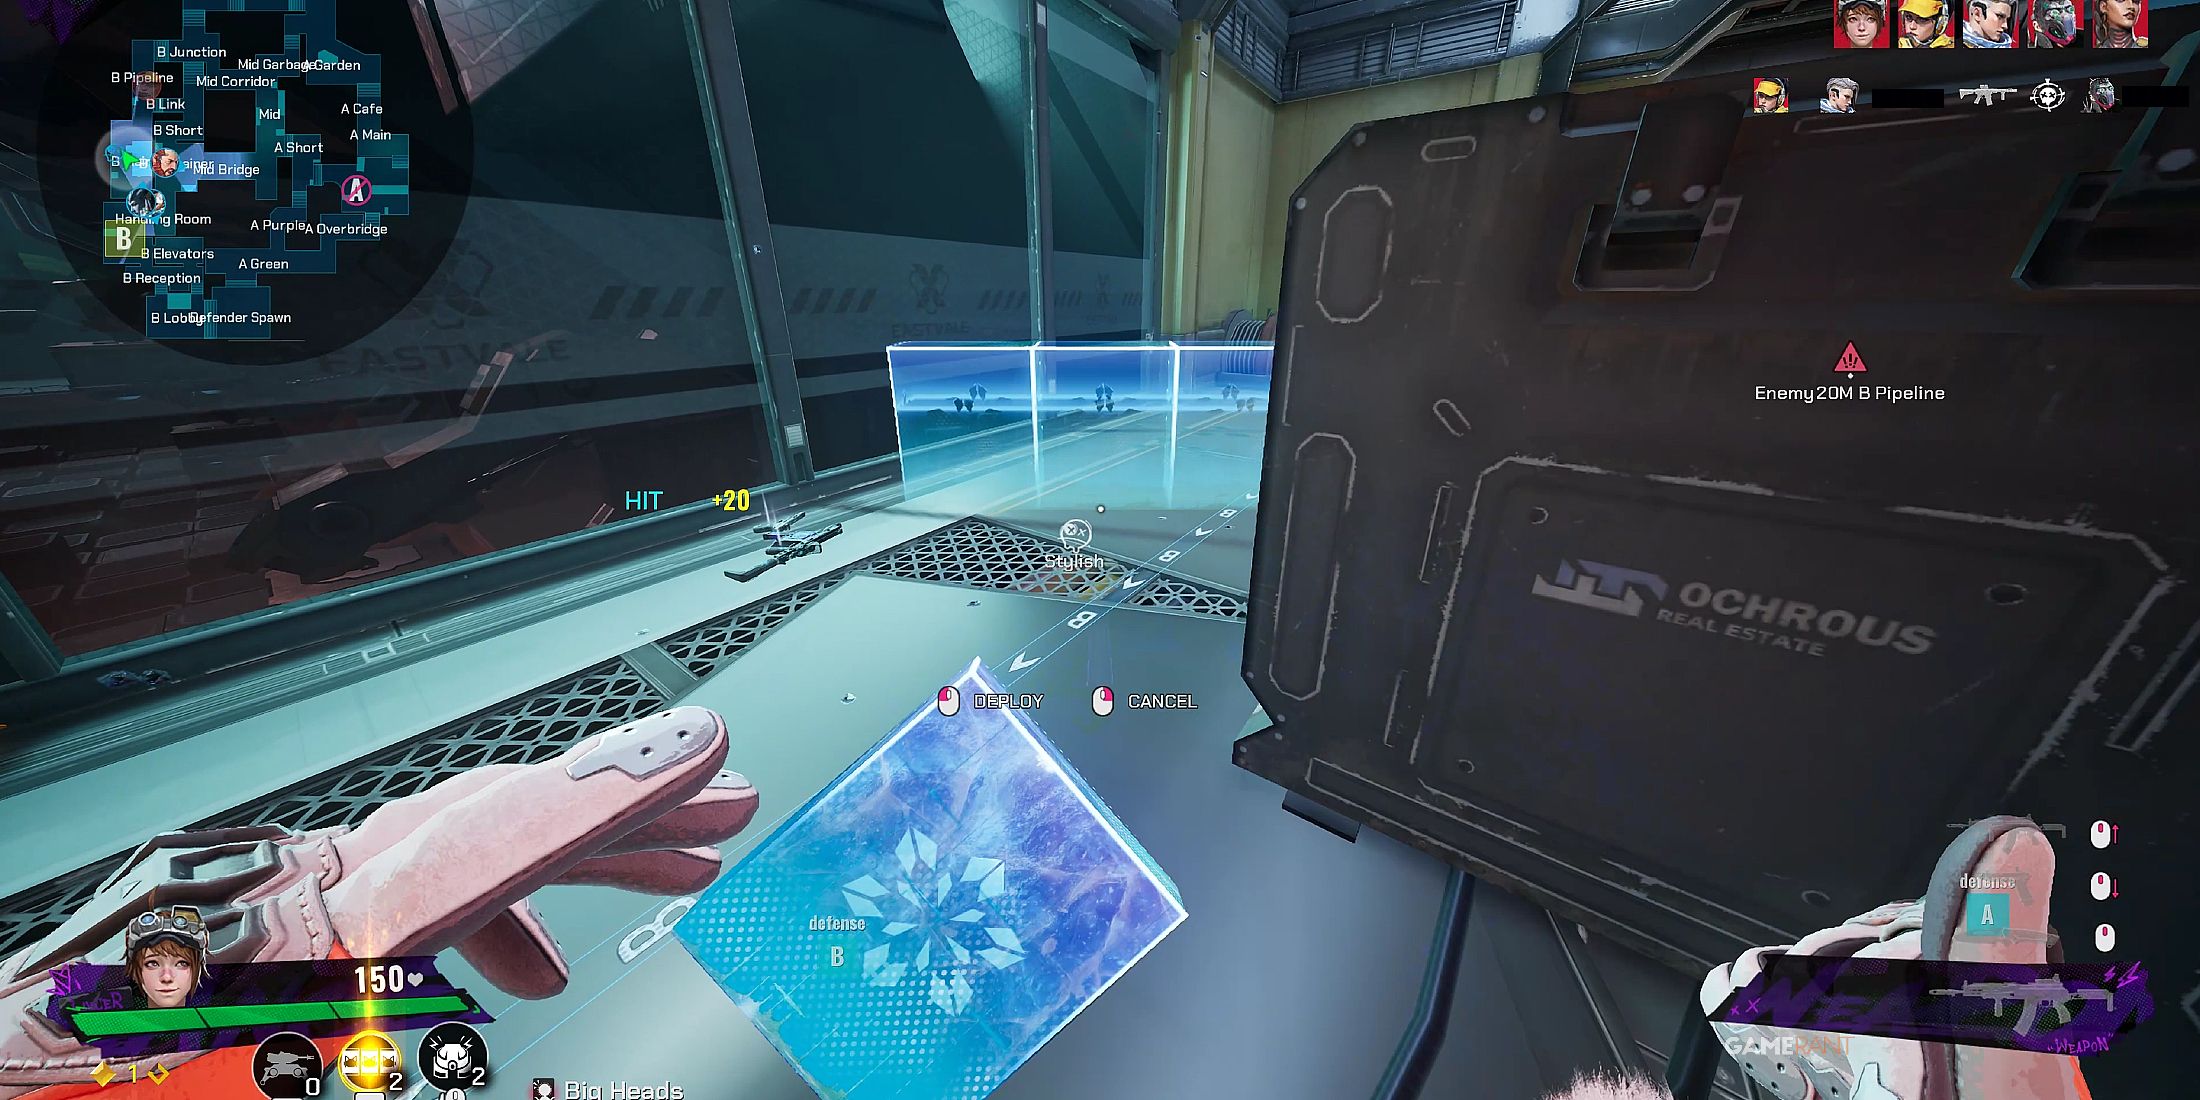
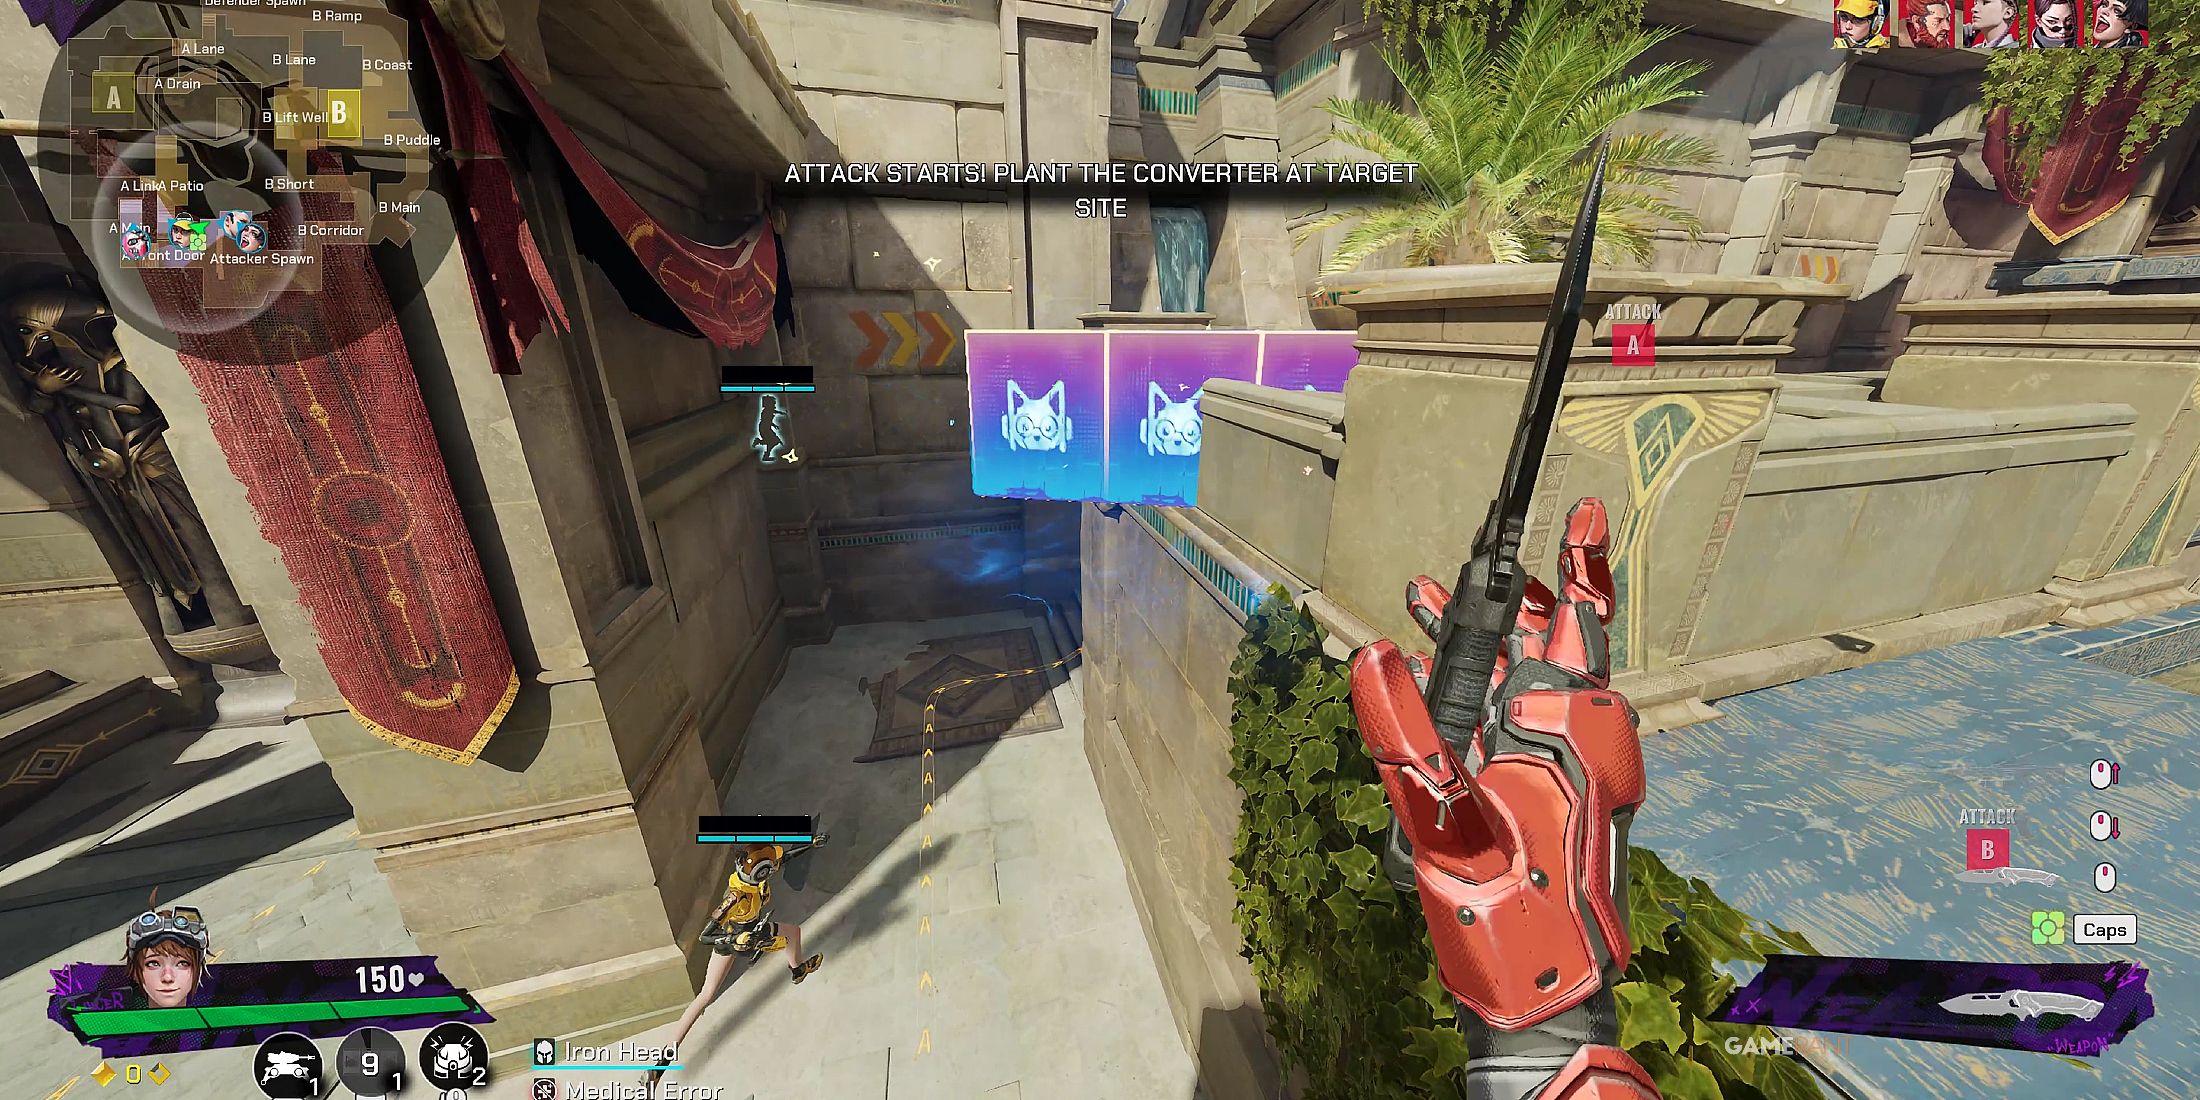
The Wall
Arrange a barrier made of three protective shield segments at the specified spot. Normally, this barrier can only be used twice during each round, unless Skill-enhancing Shard Cards are in play.
-
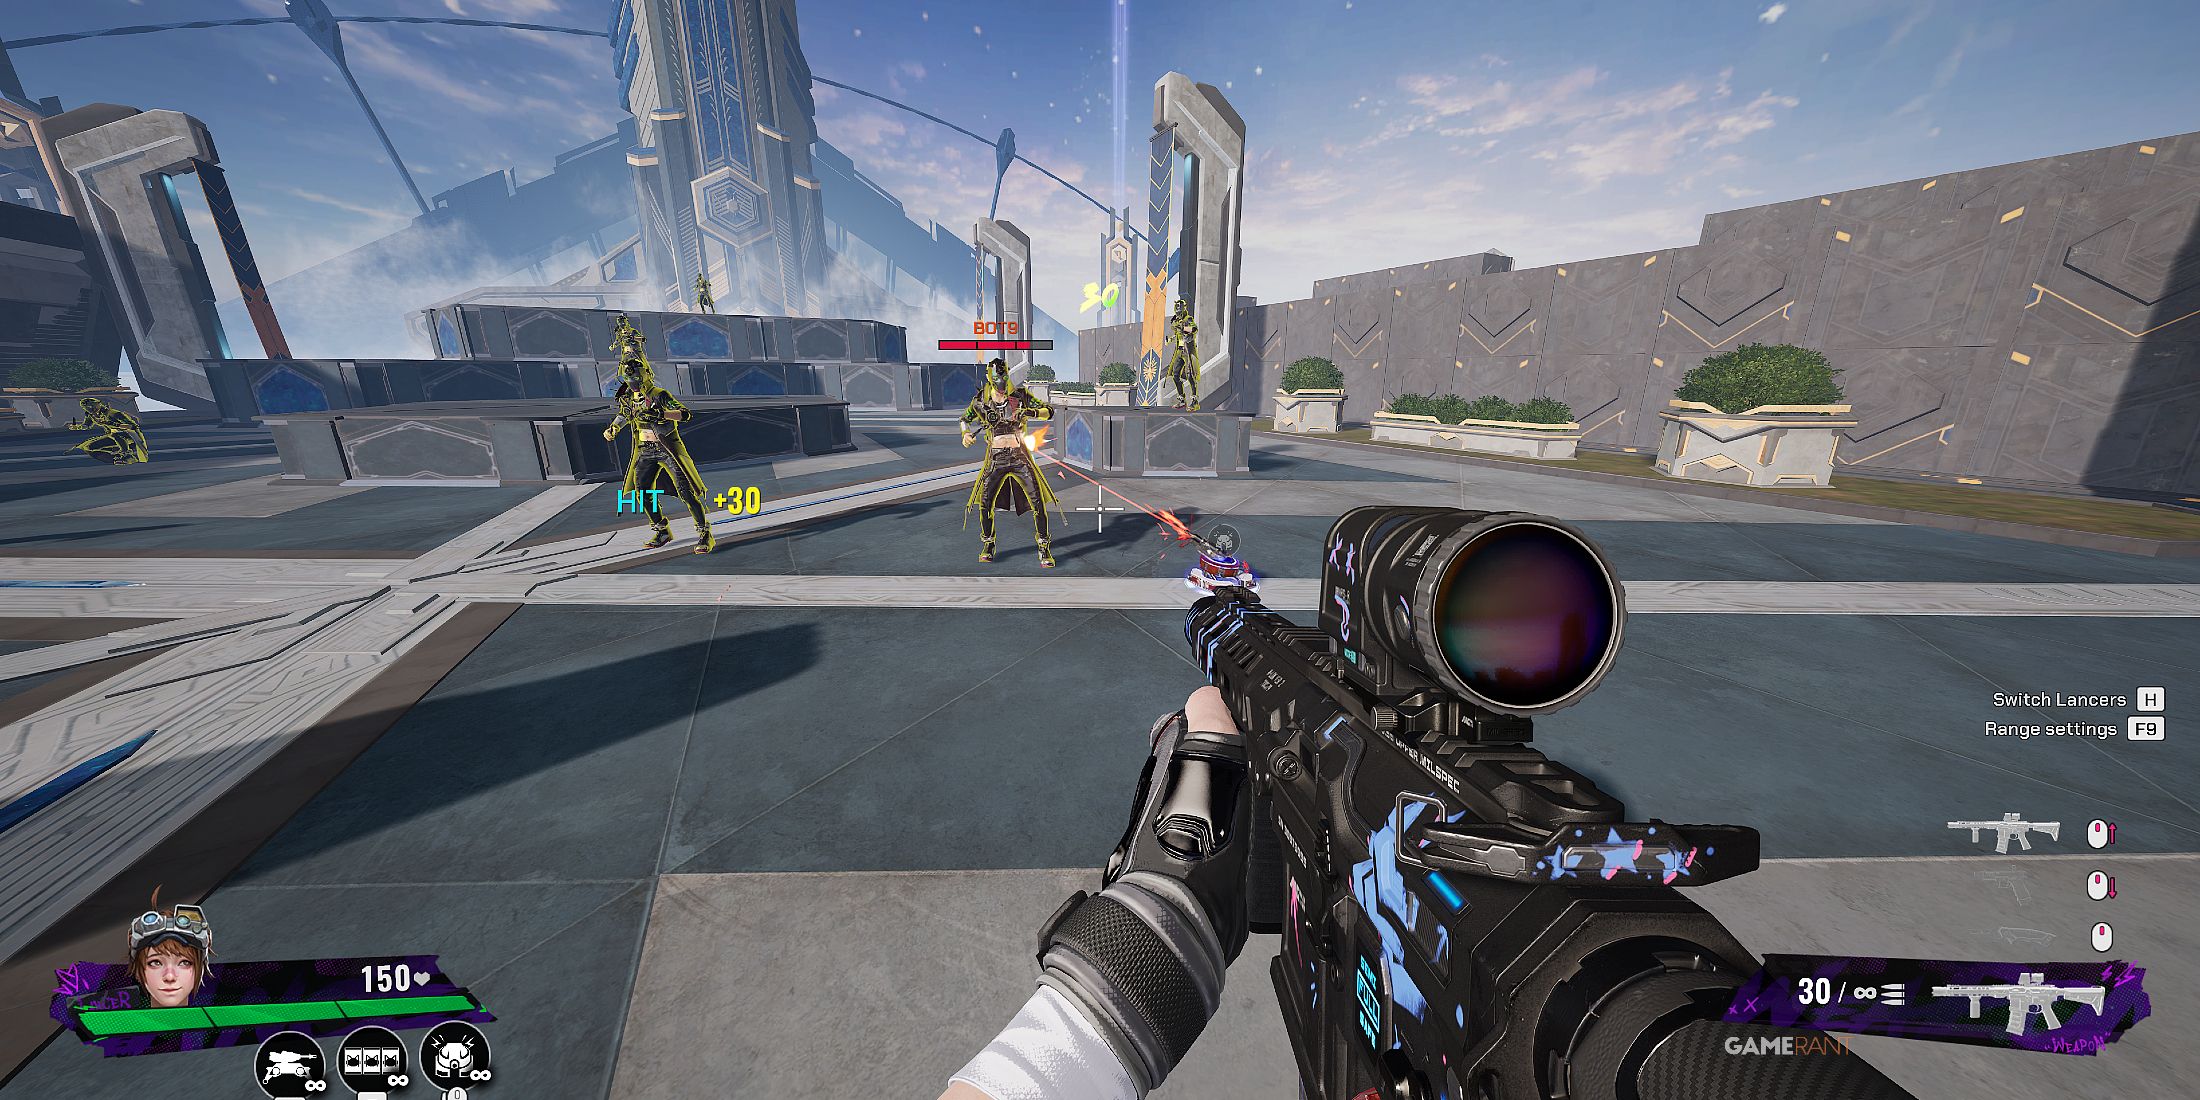
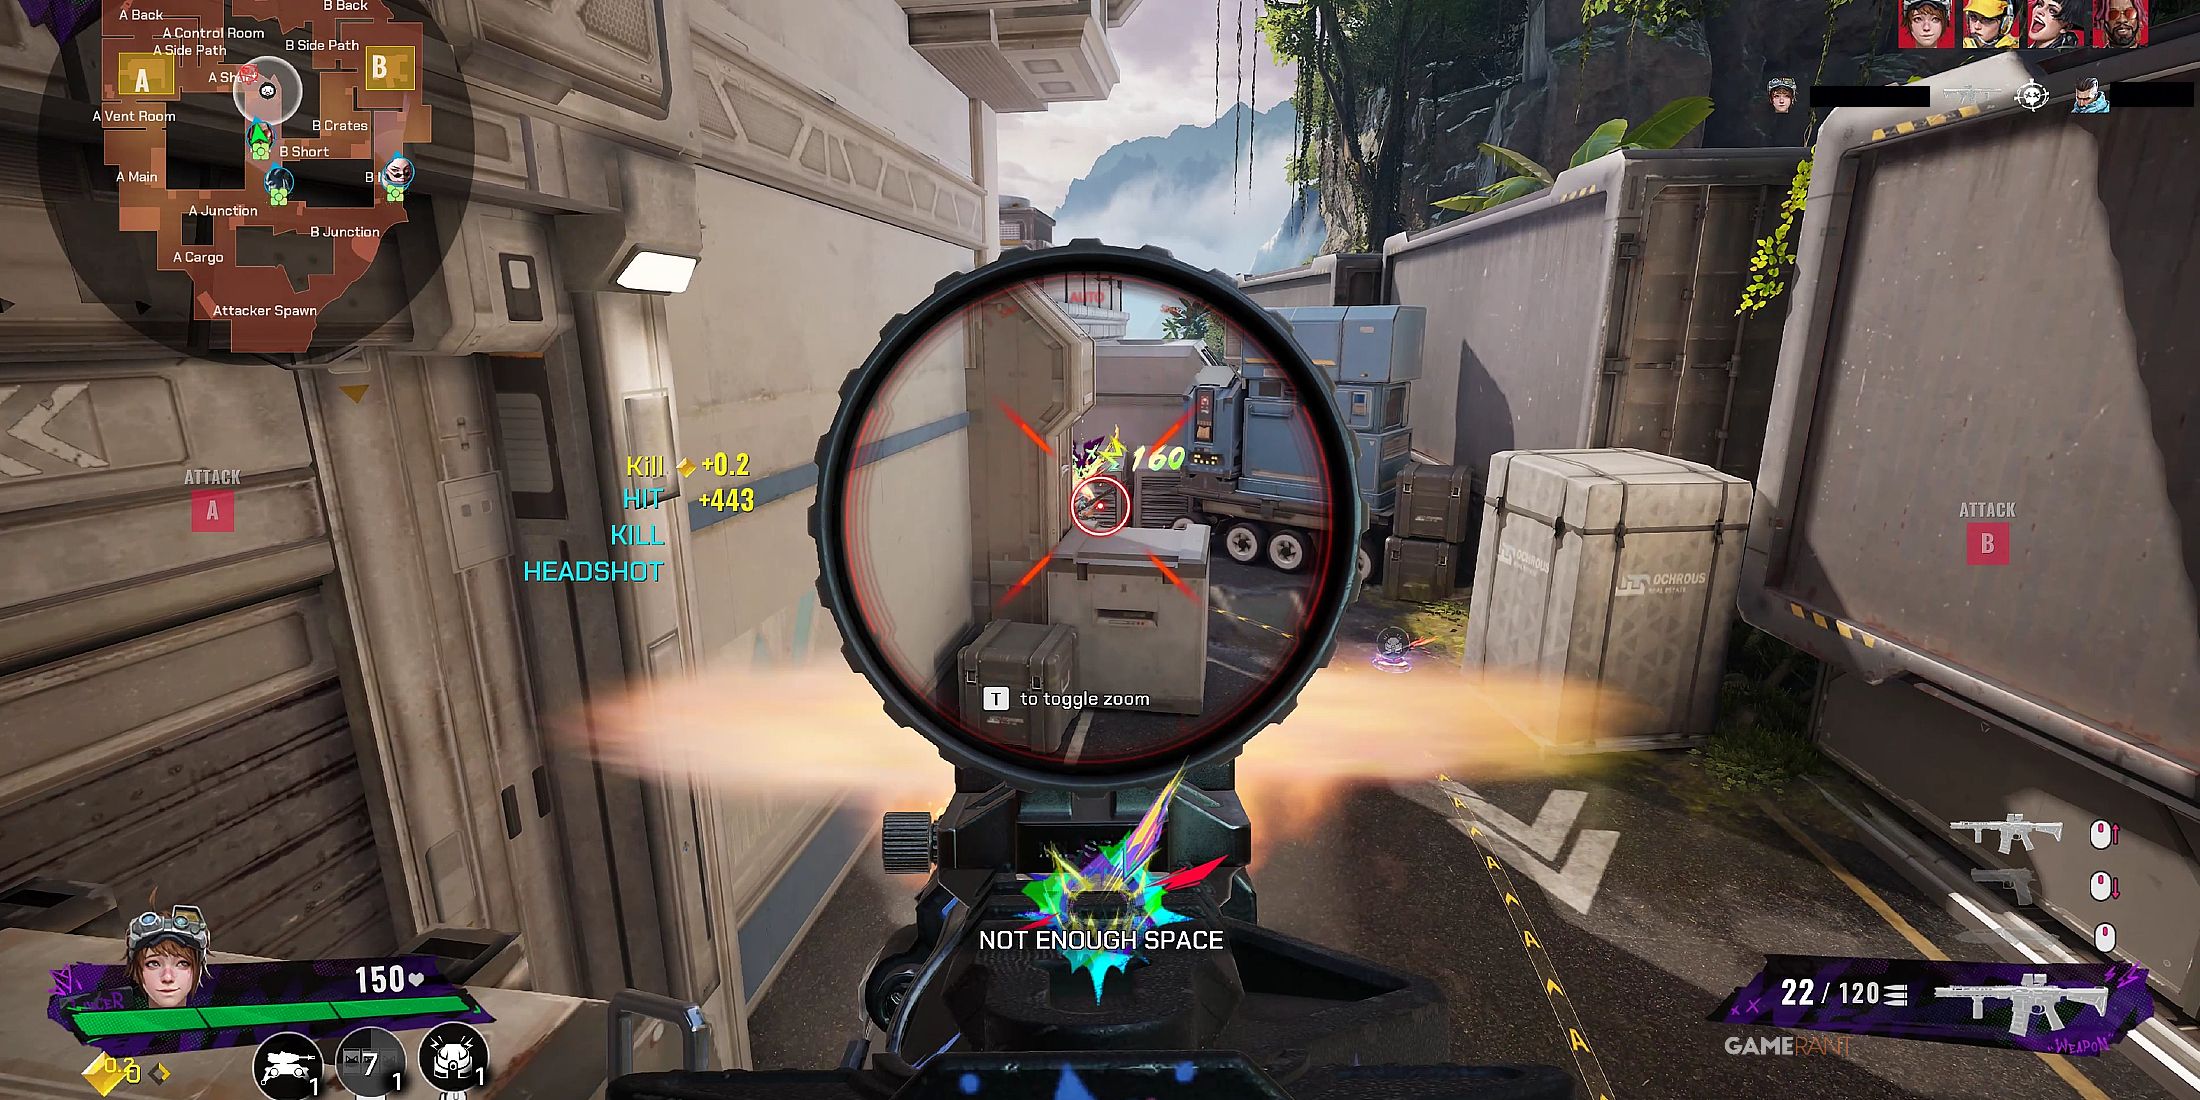
Mr. PewPew
As a gamer, I’d say: “I place a self-operating sentry turret on the battlefield, targeting foes within its reach. These turrets can be destroyed and initially have just two rounds of ammunition, unless enhanced with Shard Cards.
Nitro Tips & Tricks In FragPunk

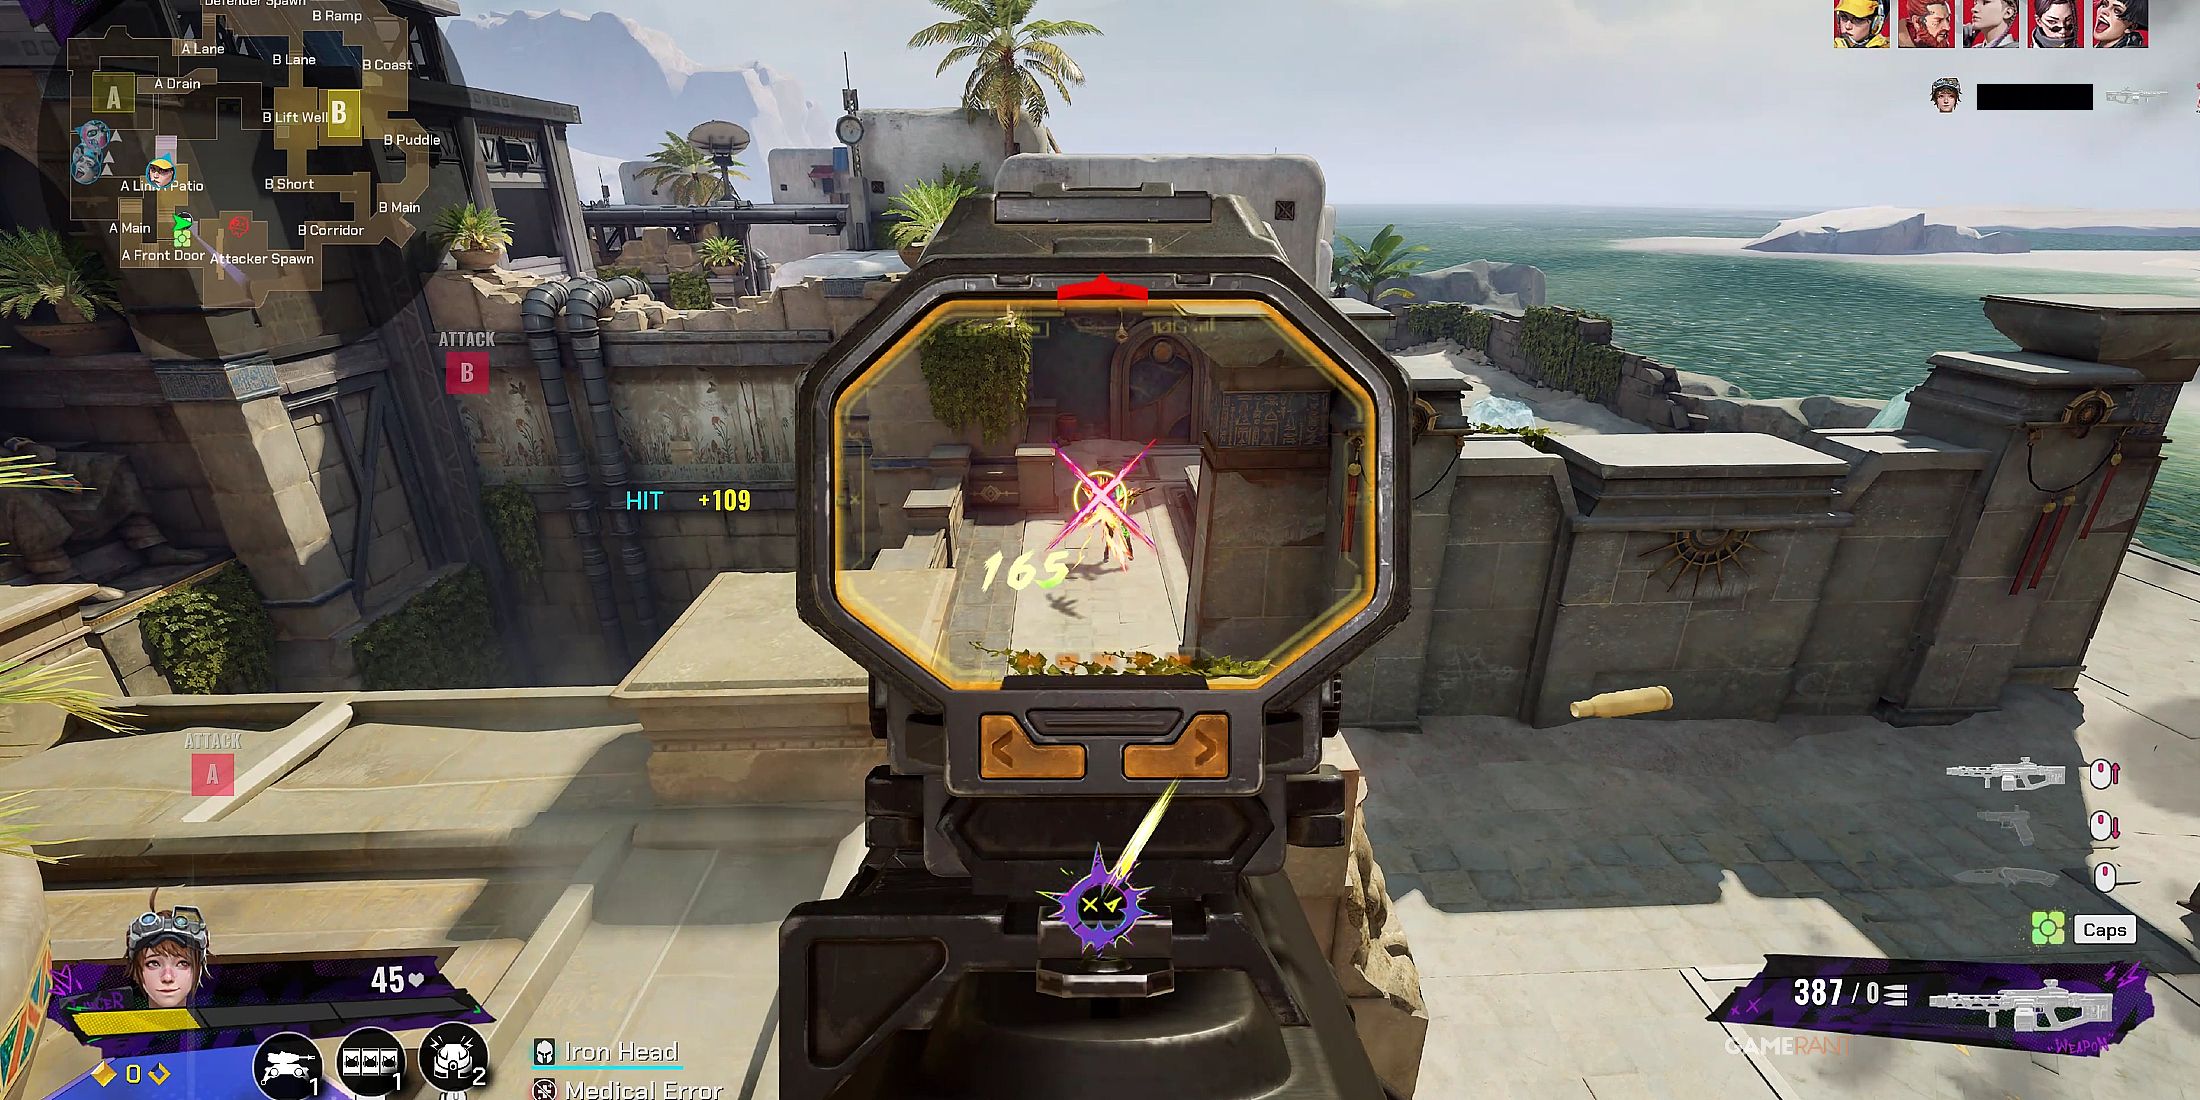
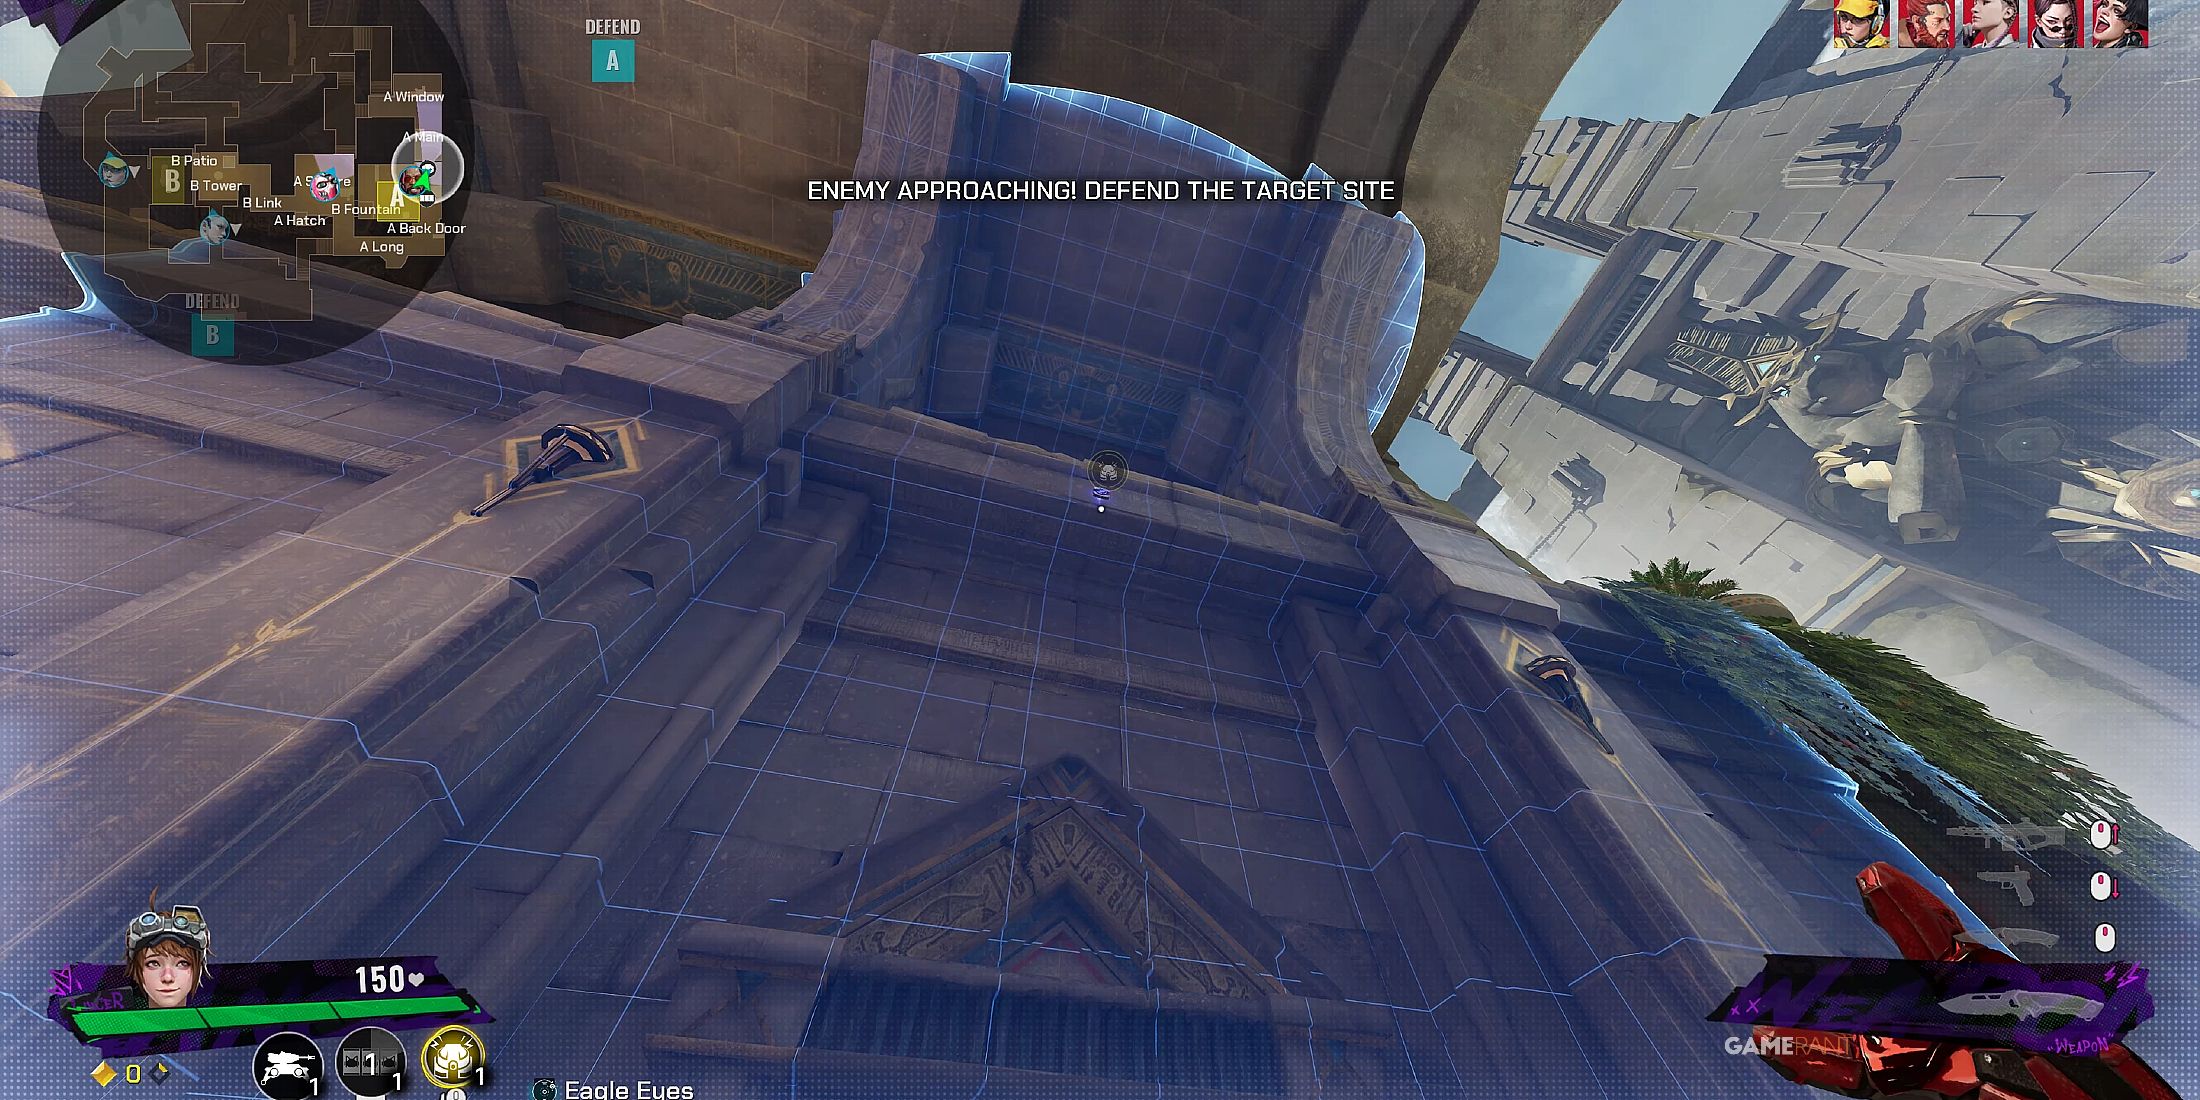
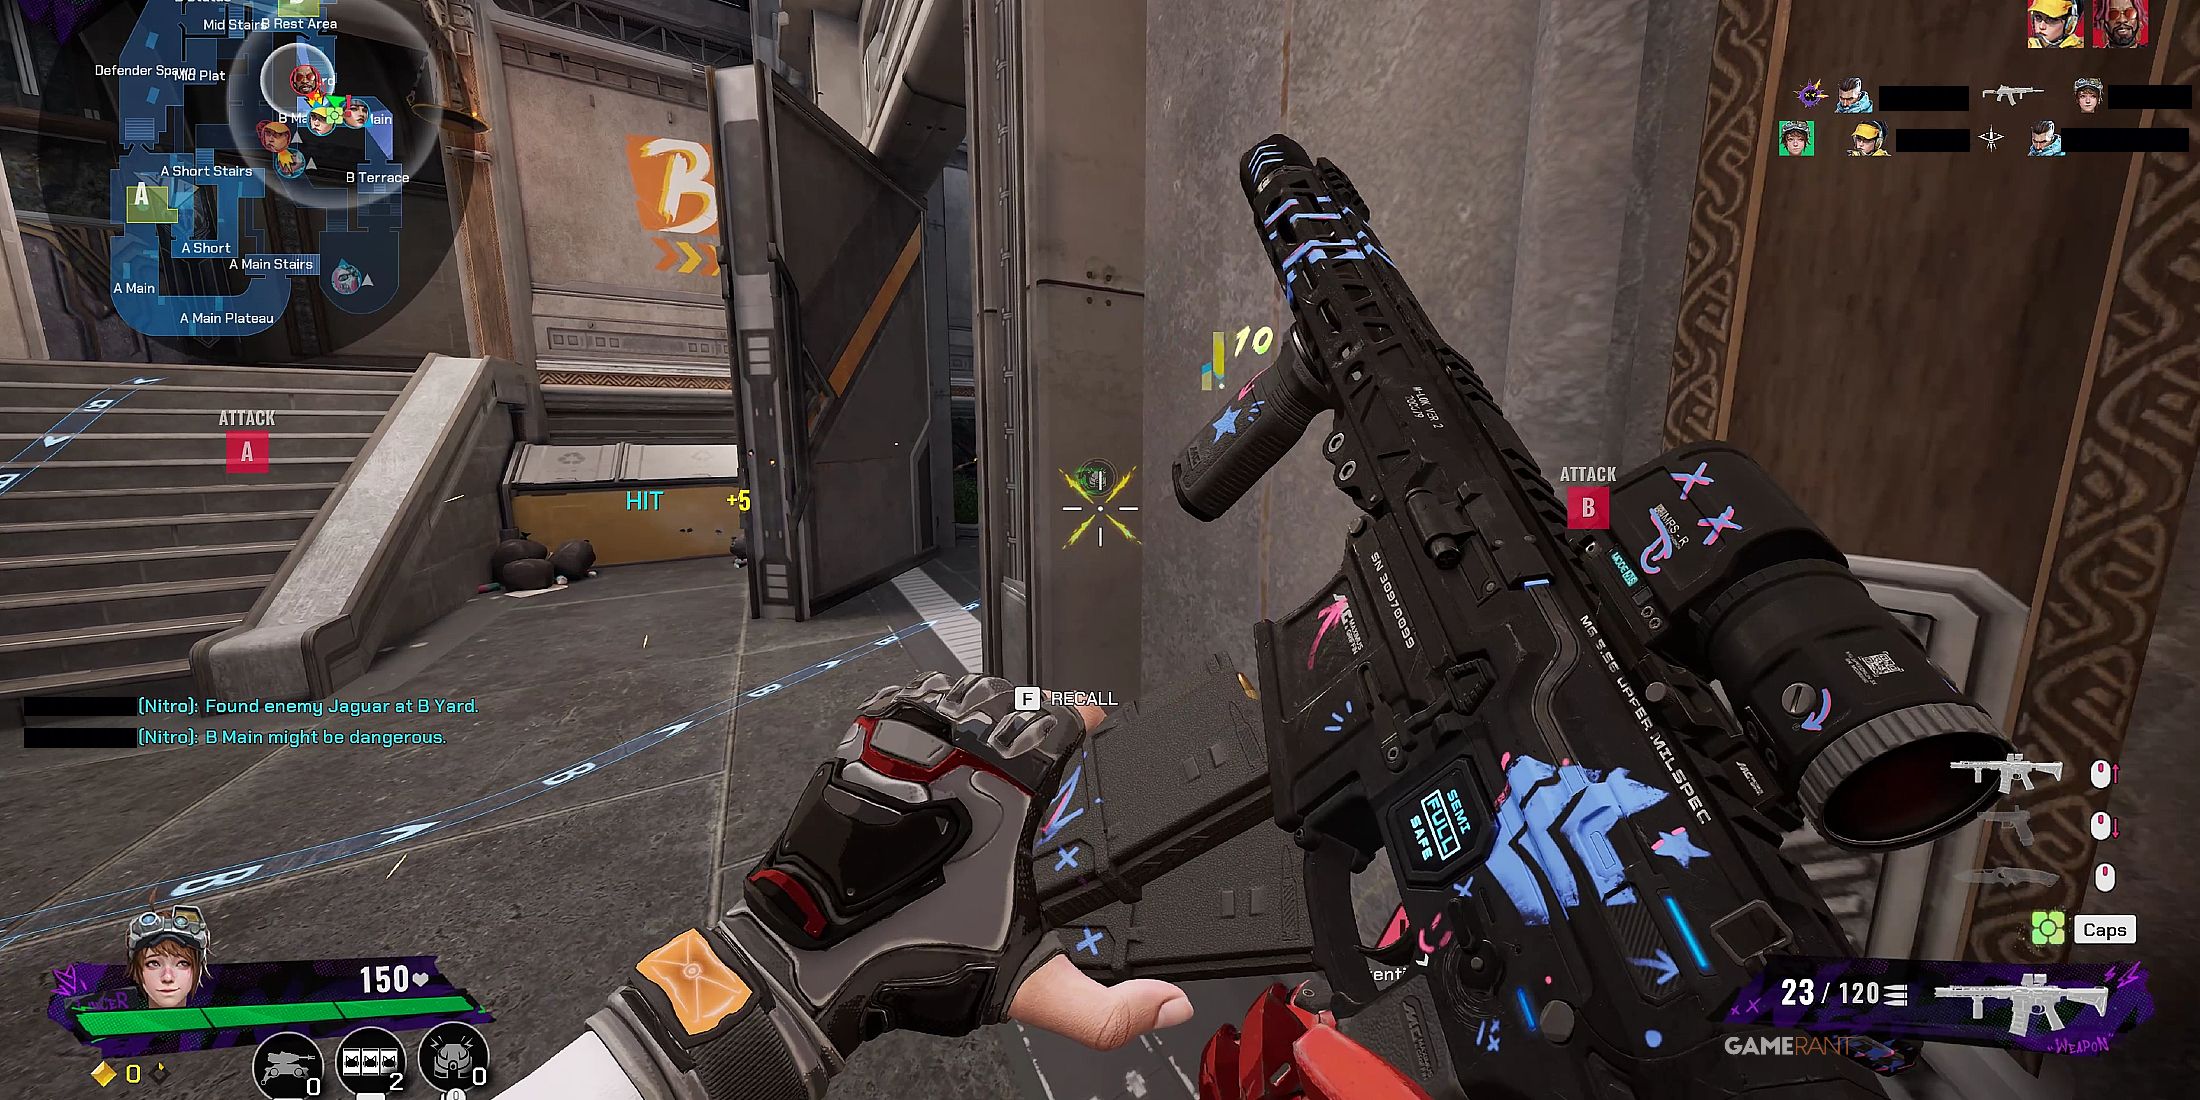
Nitro’s skillset is a valuable addition to the defense team because she excels at fortifying both A and B sites. Her main abilities are geared towards strengthening our defenses. On the offensive side, her combat drones can be highly effective in locating the enemy team members. Additionally, they become quite annoying when their cannon is effectively deployed. Here, we’ll cover some helpful tips for playing Nitro in FragPunk.
Use Chug Chug For Surveillance & Diversion

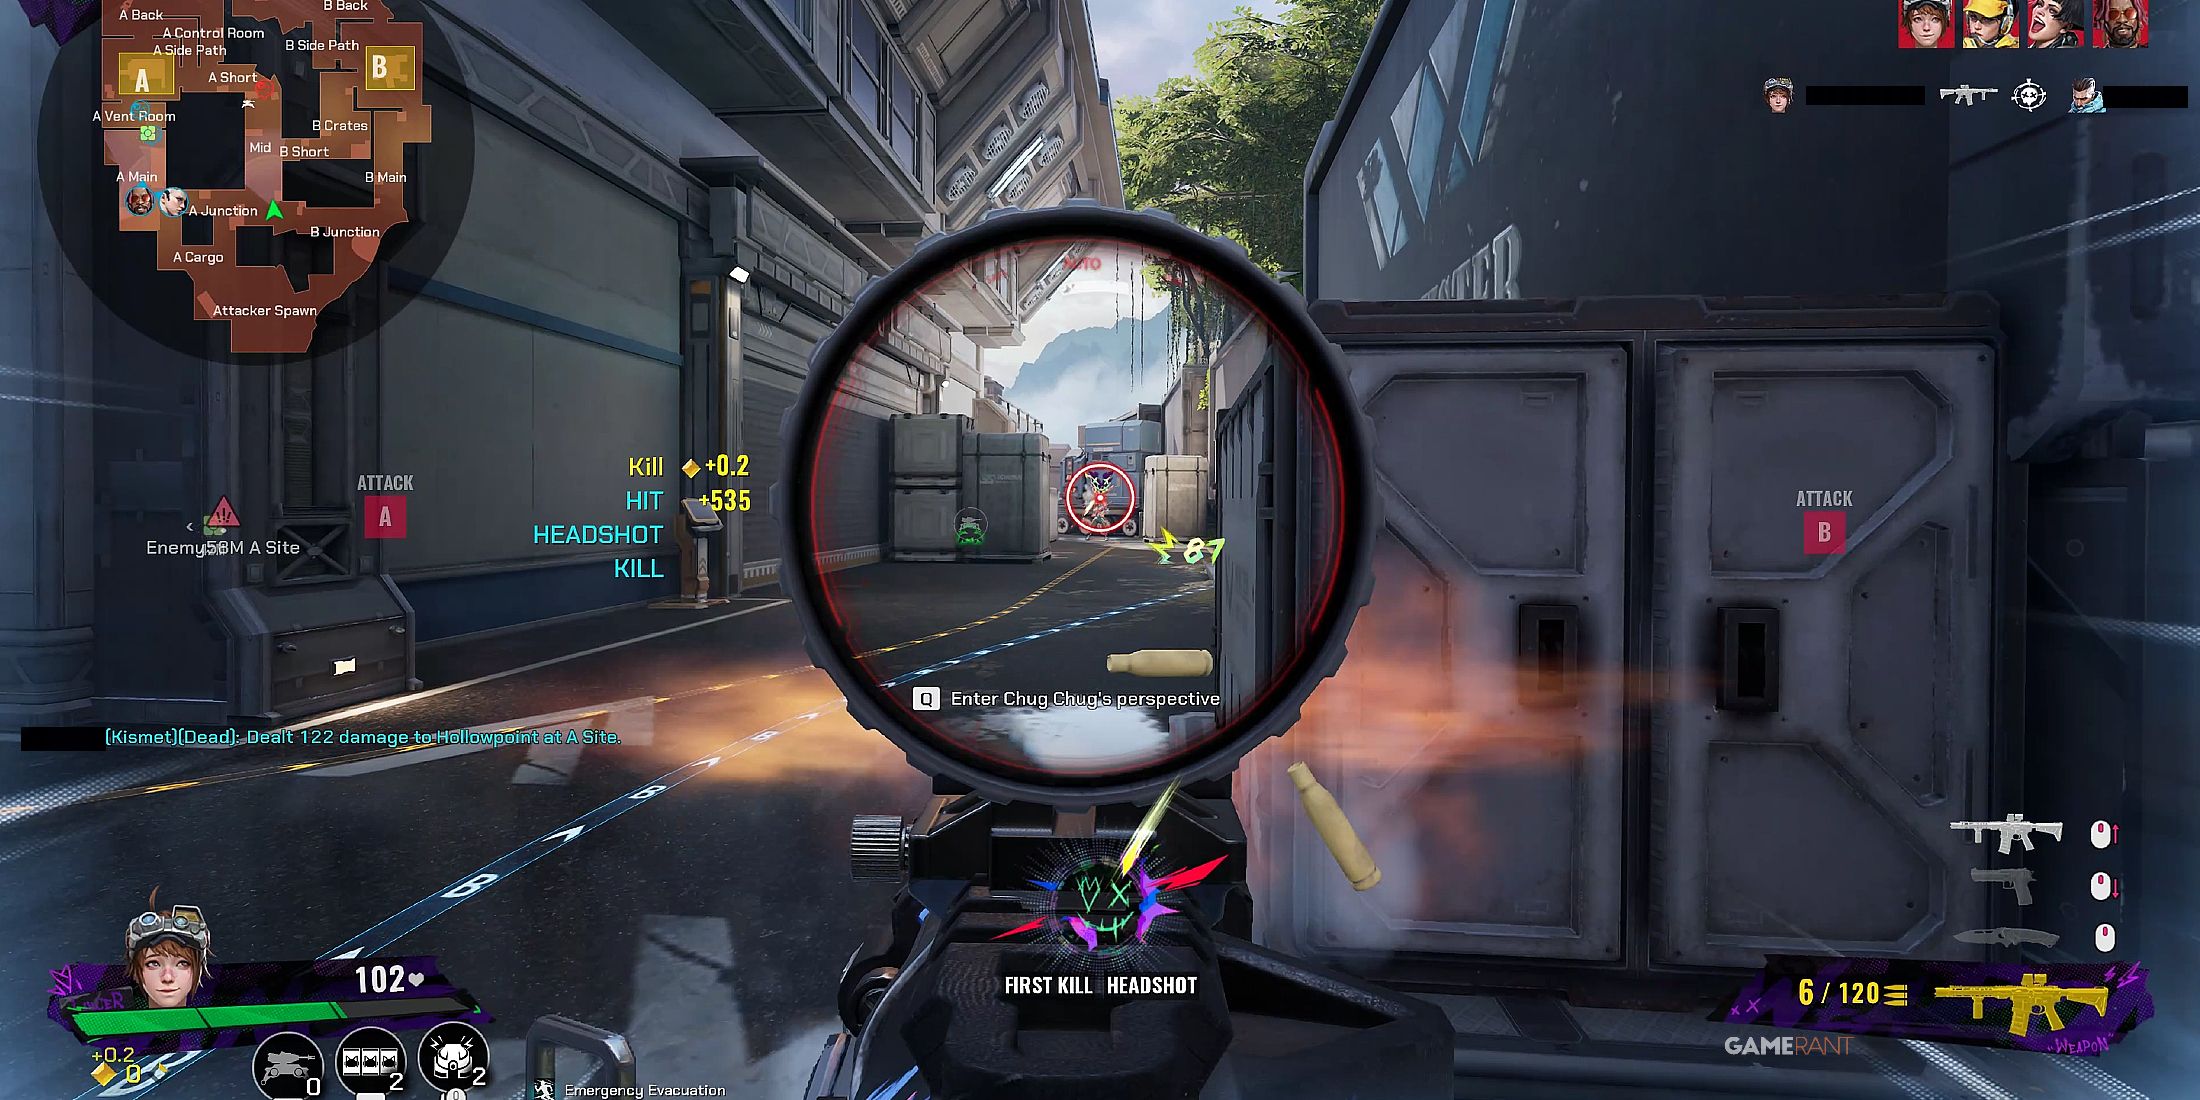
In a nutshell, Chug Chug might not seem very useful at first glance due to its fragile nature and relatively low damage output from its cannon (only 20 points per shot). However, it truly excels in two crucial situations: reconnaissance and distraction. Players can operate Chug Chug remotely, allowing them to explore the immediate surroundings ahead, thus detecting enemies lurking behind corners or significant locations to predict their actions. Furthermore, by controlling Chug Chug, players can also mark enemy positions for their teammates.
In a related manner, Chug Chug functions exceptionally well as a strategic diversion for the opposing team. When a location is heavily fortified or an adversary controls a critical position, deploying Chug Chug can be an efficient tactic to misdirect their focus—and this is particularly effective when using its cannon. This distraction offers our team an opportunity to attack, surprising the enemy as they are preoccupied with neutralizing the drone. Additionally, Chug Chug can prove very useful in disabling other traps by blasting them with its cannon, since the drone itself won’t trigger these devices.
The Wall Is More Than Just Cover

Players frequently rely on The Wall as a cover choice, hiding behind it to dodge incoming attacks or positioning it in doorways to mask friendly traps. Yet, The Wall boasts some distinctive talents that are usually underestimated. For instance, walls can be vertically stacked. Though this might not always yield the best results, stacking them can entirely seal off a doorway, much like Pathojen’s Shroom Wall does.
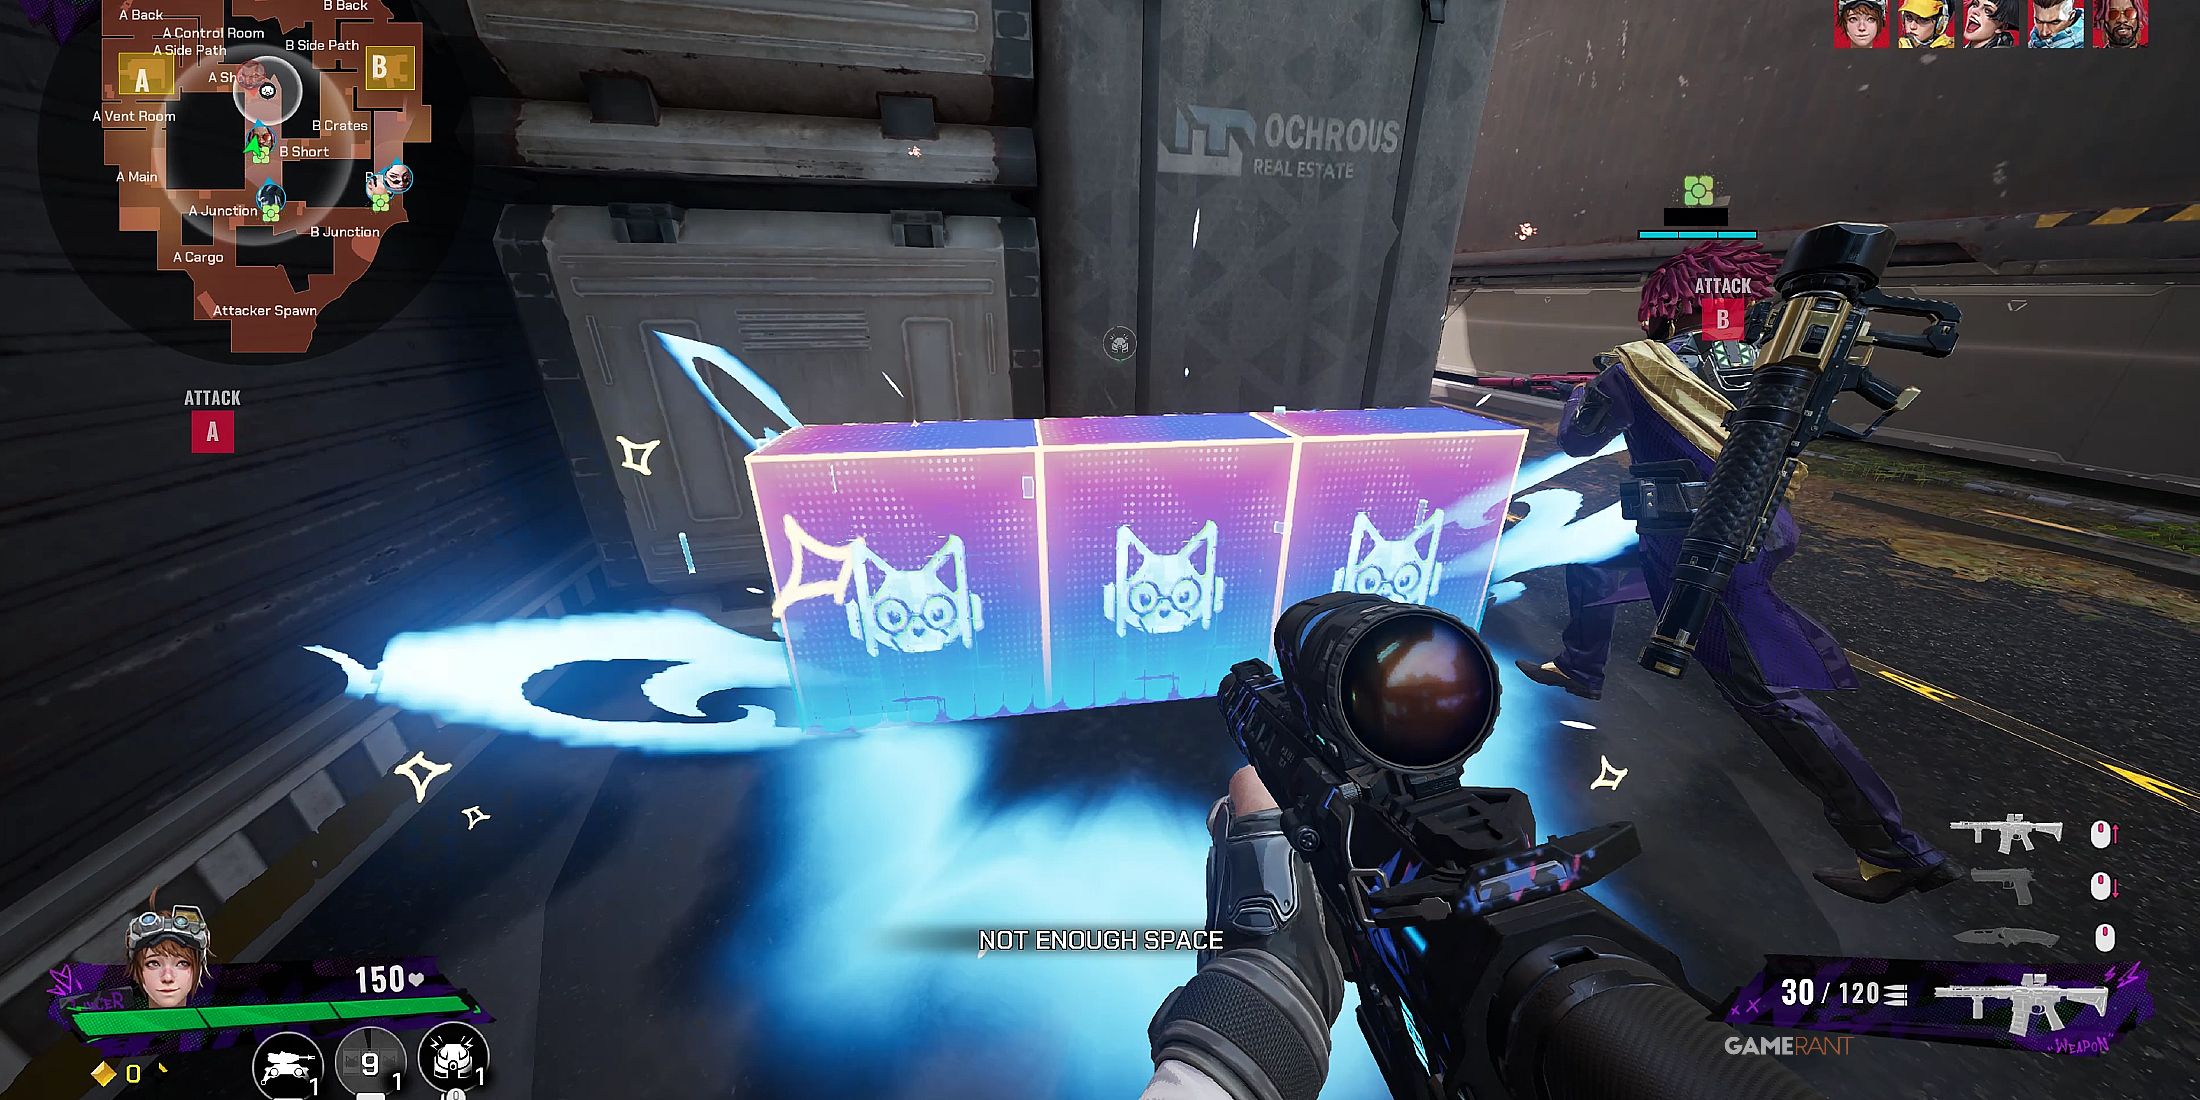
Additionally, The Wall isn’t just useful in blocking off areas; it can also be positioned against structures that are typically difficult for players to climb onto, serving as a platform for reaching previously unreachable angles. When paired with the stacking mechanic, this feature gives players an opportunity to surprise their opponents, whether they are on the attack or defending.
Smart Trap Placement Is Key With Mr. PewPew
For Mr. PewPew, players might initially consider dropping the turret on the floor or in a doorway and moving on. However, it’s important to note that the turret performs optimally in open areas, thanks to its extensive detection range. A more effective strategy would be to place the turret higher up at entry points or even in the center of the site for maximum coverage. This approach not only enhances defense but also aids attackers—elevating Mr. PewPew high up can help monitor a planted Converter, while attaching it to the ceiling within the site can force enemies out, making a significant impact on gameplay.

One useful method for both attackers and defenders when employing Mr. PewPew is quickly locating the enemy. For example, if players can hear opponents within a location or hiding behind a corner but aren’t certain of their precise position, they can fire Mr. PewPew towards the area. If the turret spots an adversary, its laser and the damage numbers from its shots will expose their location, making it simpler to launch an attack swiftly. This tactic also benefits defenders, who may use Mr. PewPew strategically by placing it at entrances to sites to serve as a warning system for incoming attacks.
Read More
- Best Awakened Hollyberry Build In Cookie Run Kingdom
- AI16Z PREDICTION. AI16Z cryptocurrency
- Best Mage Skills in Tainted Grail: The Fall of Avalon
- Tainted Grail the Fall of Avalon: Should You Turn in Vidar?
- Nintendo Offers Higher Margins to Japanese Retailers in Switch 2 Push
- Nintendo Switch 2 Confirms Important Child Safety Feature
- Nintendo May Be Struggling to Meet Switch 2 Demand in Japan
- Top 8 UFC 5 Perks Every Fighter Should Use
- Nintendo Dismisses Report On Switch 2 Retailer Profit Margins
- Nvidia Reports Record Q1 Revenue
2025-03-11 04:05