
Quick Links
- How To Enter The Dragon Temple
-
Preparation For Dragon Temple
-
Navigating Labyrinthine Path
-
Exploring Drakongrace Shinjuku
-
How To Defeat Malvirta Drako Eht
-
How To Defeat Homo Margo
As someone who’s been through their fair share of virtual battles in numerous worlds, let me tell you, the battle against Homo Margo is no walk in the park. But fear not, my fellow adventurers! With a bit of strategy and a dash of courage, we can emerge victorious.
In the same vein as its forerunners, ReFanatzio boasts an impressive collection of labyrinthine layouts within the game.
From the very start of your initial adventure within the Regalith Grand Cathedral, it’s clear that you’re in for something special. Yet, some might be curious about which of these cathedrals presents the greatest challenge.
Without question, when it comes to essential tasks only, the Dragon Temple stands out as the most challenging and lengthy dungeon among the group. Conquering this one and completing the operation without spending several days on it is certainly an arduous challenge.
With the help of our helpful guide, you ought to navigate that difficult region successfully, assist Eupha in overcoming the Dragon God, and then shift focus towards side missions and character development relationships.
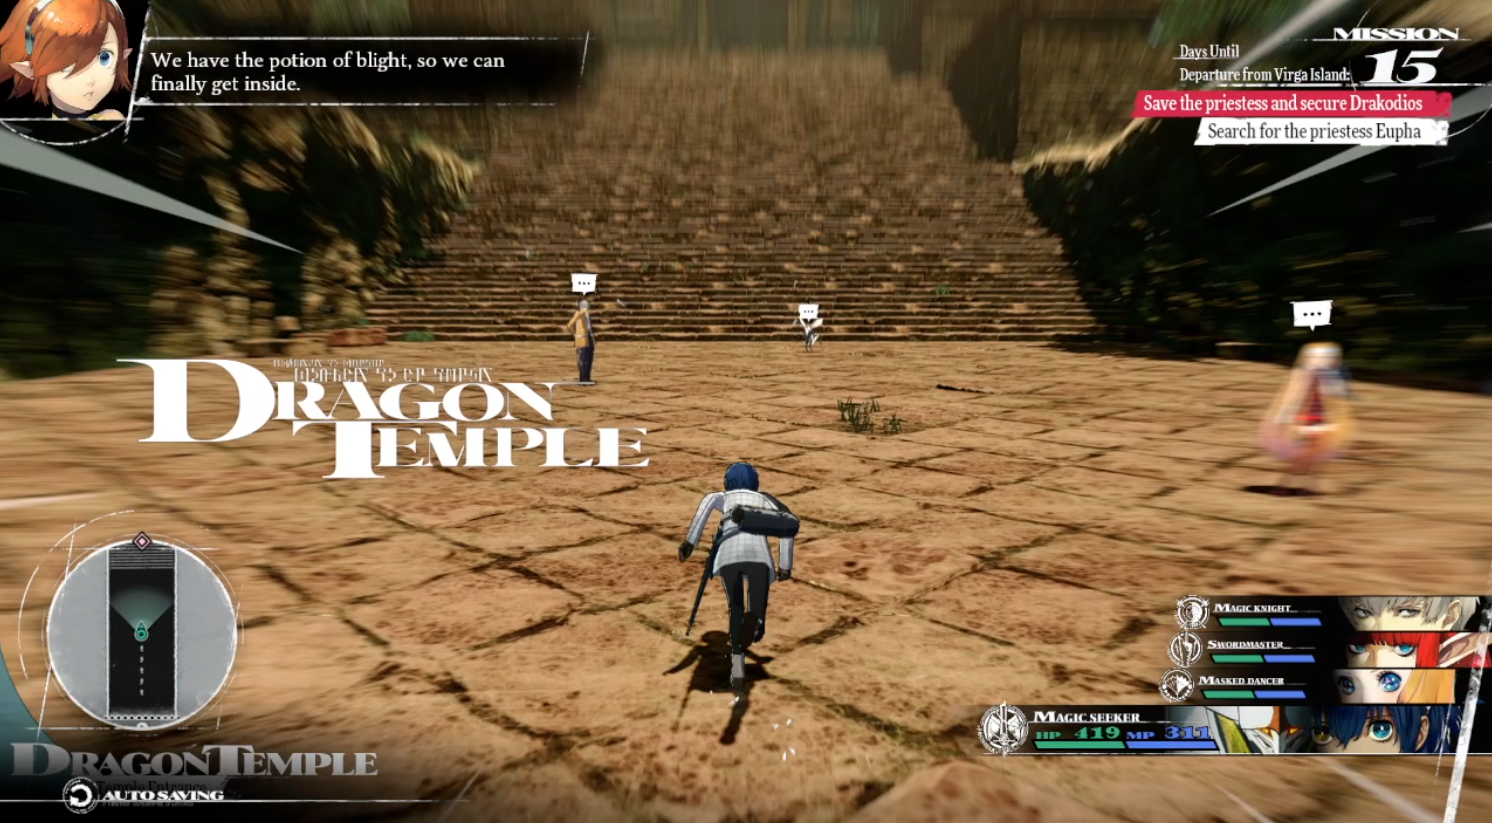
How To Enter The Dragon Temple
Different from your recent experiences, you won’t be able to casually enter the Dragon Temple straight away. Instead, you’ll notice a massive tree obstructing the path to this region.
A tree that can be removed from the game world only when the player possesses a specific item, namely the Potion of Blight.
To brew this special elixir, you can seek assistance from our guide, Edeni. However, it’s essential for you to find the crucial ingredient first – it’s called Parchwater.
Instead of chatting with multiple NPCs to find out the location of the required ingredient, you can simply go directly to the vendor who stocks it instead. This will help you save time and effort.
Heading over to Comfort Concoctions, located on Sunshade Row within the city of Grand Trad, will allow you to purchase this item for 500 Reeve.
After that, you’ll be able to return to the Virga Islands using teleportation, where you can complete your current quest. In return, you will receive the essential Blight Potion, which grants access to the Dragon Temple.
It requires two days to reach your destination, and upon arrival and potion usage, you’ll face the formidable Treebeast Alento adversary. Keep in mind that several of these creatures dwell within the Dragon Temple, making it wise to devise an effective combat plan beforehand.
Given the circumstances, characters such as Commanders/Generals, Masked Dancers, and Mages/Wizards perform exceptionally well against these enemies since they’re vulnerable to fire.
After being overcome, you will gain access to the Dragon Temple. The initial part, referred to as the ‘hallway’, offers some interesting artifacts to gather, so be sure to check it out thoroughly. However, the real adventure starts once you step into the Maze-like Passage.
Preparation For Dragon Temple
In essence, the sheer variety of enemy types and distinct features within this dungeon make it nearly impossible to find a team configuration or strategy that works flawlessly in every situation.
Initially, I’d recommend a flexible approach: Adapt as you go, switching character roles for different levels in the dungeon, and being quick-thinking when necessary. But there are crucial preparations that should never be overlooked:
- Before you leave Virga Islands, be sure to buy any Magla Refill items you can get your hands on. You should have some in reserve from previous dungeons. However, you should buy Fruit Cordial from the water merchant, as well as any other MP preserving items available to you.
- I suggest leveling up your Commander Archetype so that you’ll have access to the General Archetype before the final boss fight, because without this the battle is a real pain.
- Consider collecting at least 12x Gold Beetles, as this will net you the Venomward Charm which is a vital accessory for the Dragon God boss fight.
- Before heading to Dragon Temple, accept the quests around the Virga Islands, as this will allow you to complete ‘A Guiding Gift’ while we explore the Dragon Temple. Plus, you’ll be able to unlock the Masked Dancer Archetype to study if you complete Junah’s quest in Orbwise Path ahead of time.
- Consider working to further Brigetta’s Bond to the point that you can purchase Igniters in her shop in Grand Trad that allow party members to cast Almighty Magic, as this will mean you’ll always have a useful move despite the wide variety of enemies.
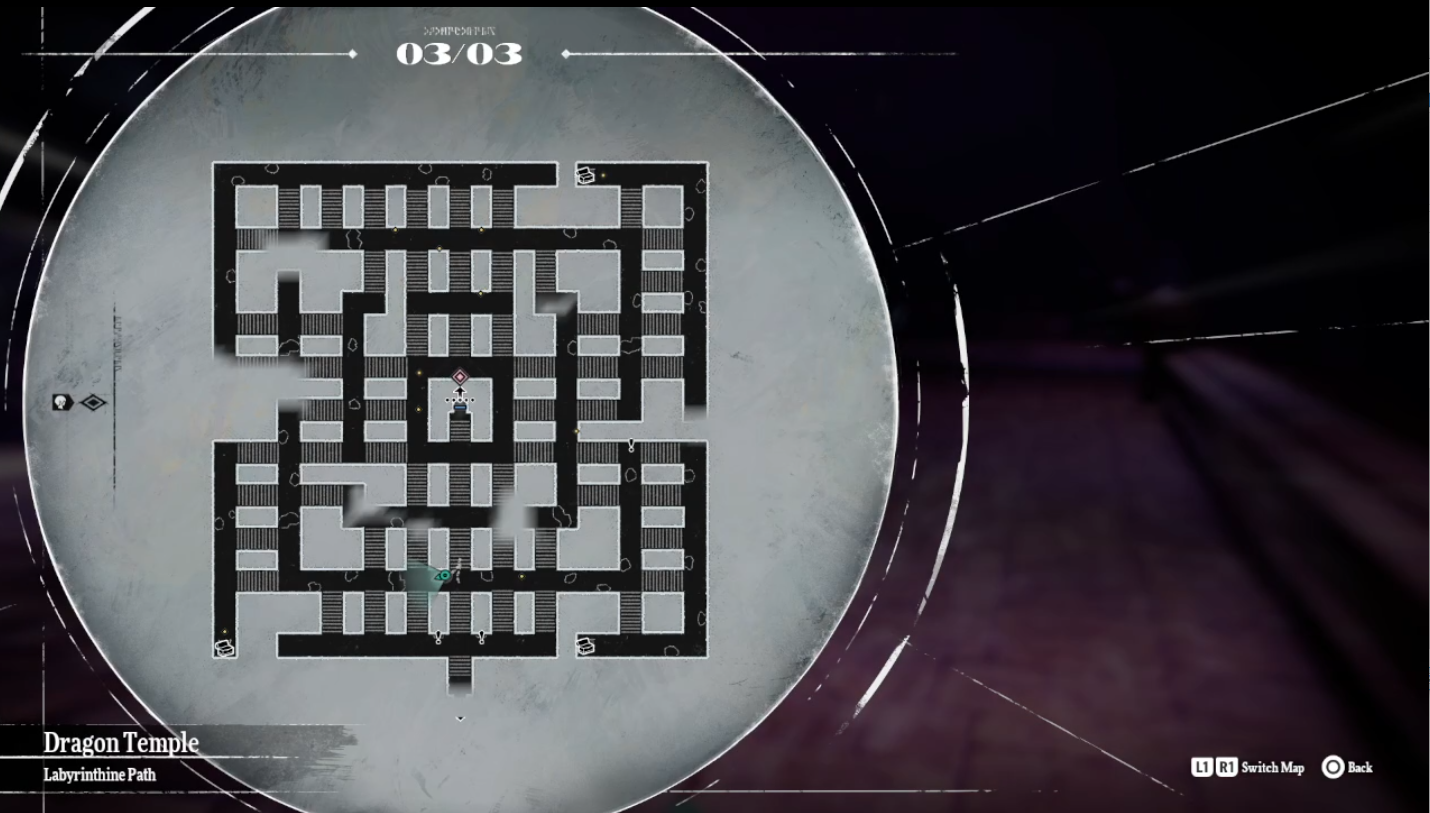
Navigating Labyrinthine Path
As a dedicated fan, let me tell you about my recent exploration through The Labyrinthine Path. This place is just as intriguing as its name suggests, filled with numerous paths leading up and down winding staircases. But here’s the twist – only one path will advance your journey, while the rest will mysteriously transport you back to the beginning. It’s a test of patience, strategy, and intuition that keeps me coming back for more!
As a gamer, if you’re tired of the endless trial and error when navigating staircases, here’s a handy tip: Instead of focusing on each step, try looking up towards the ceiling. This simple trick might reveal a golden thread, subtly hinting at the pathways that won’t send you back to the beginning of this area. Give it a try!
You might initially assume this would present as a frustrating memory-based test, but fortunately, you can effortlessly determine which stairs are incorrect because a thick fog will envelop the player when they choose the wrong path. In essence, it boils down to a straightforward process of trial and error to advance.
Before setting off on your journey, don’t forget to grab the object close to the entrance. This artifact, known as a “Polar Stone”, is essential for finishing the mission titled ‘A Guiding Gift.’
You might take a route that leads you from the current location, down the stairs, and into the next area. However, considering the simplicity of navigating and retracting steps if needed due to testing paths or mistakes, I must admit, it’s not strictly necessary.
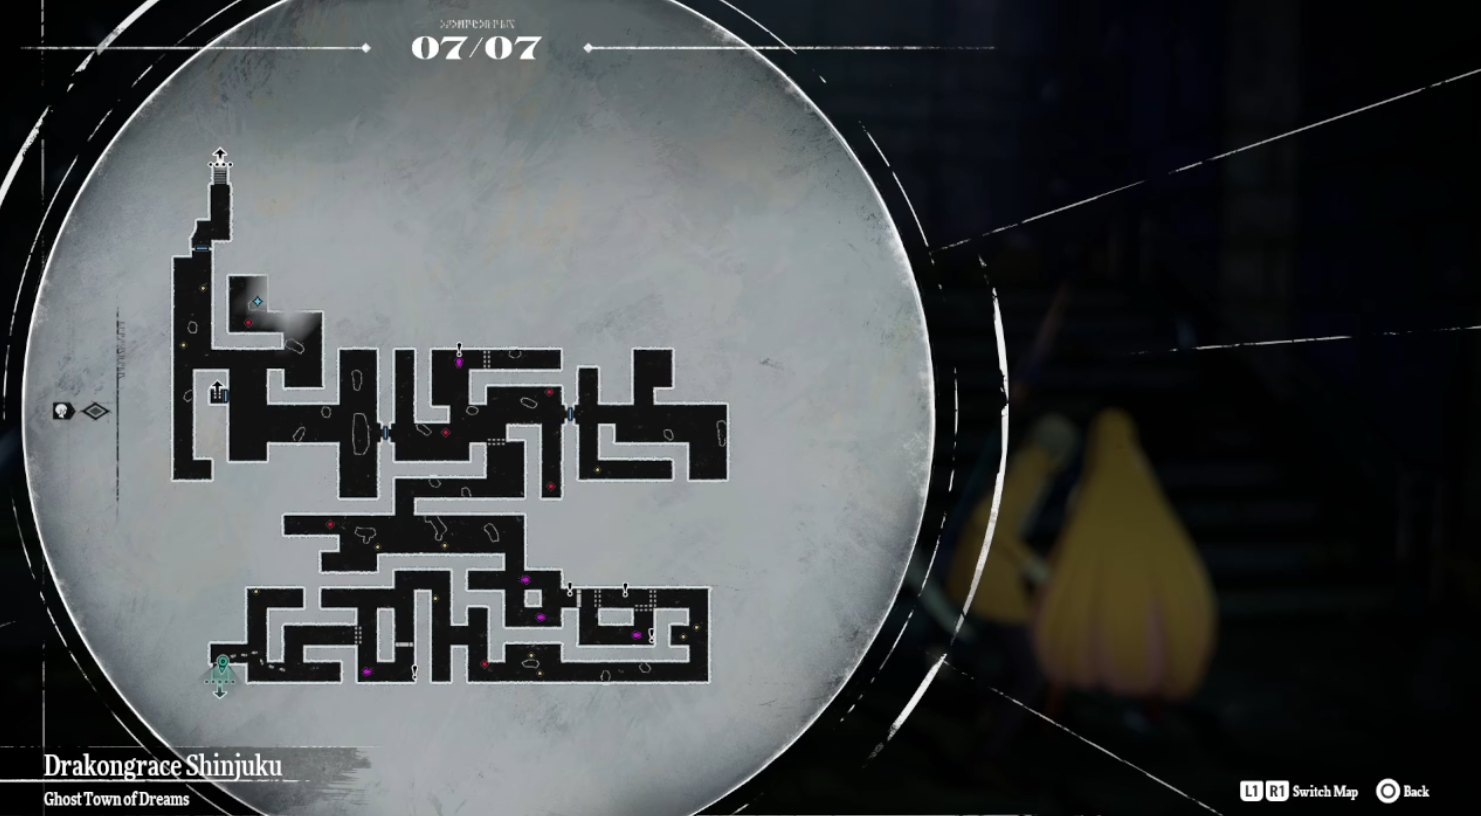
Additionally, having a map that highlights the locations of all the optional treasure chests could prove beneficial for you, since some of them contain high-quality equipment.
As a fellow enthusiast, I can’t stress enough how important it is not to overlook any details. Here’s a handy guide with essential points you should tick off before proceeding:
| Tranquil Trilby | Defense: 82 | Prevents Rage |
|---|---|---|
| EVA: 0 | Magic +4 | |
| Firebloom Signal | Attack: 285 | Pierce Damage |
| Hit: 97 | Increases Fire Attack Power | |
| Paladin’s Mace | Attack: 295 | Strike Damage |
| Hit: 96 | Small MP Recovery at beginning of each turn |
In this region, the primary foes you’ll encounter are Spellwrought Gargostas and Spektos of Lament.
In simpler terms, since the Spekto foes are vulnerable to light attacks, it would be beneficial to choose a character class with healing abilities (Healer Archetype) or, if that’s not possible, use a skill or an igniter that allows for light magic attacks.
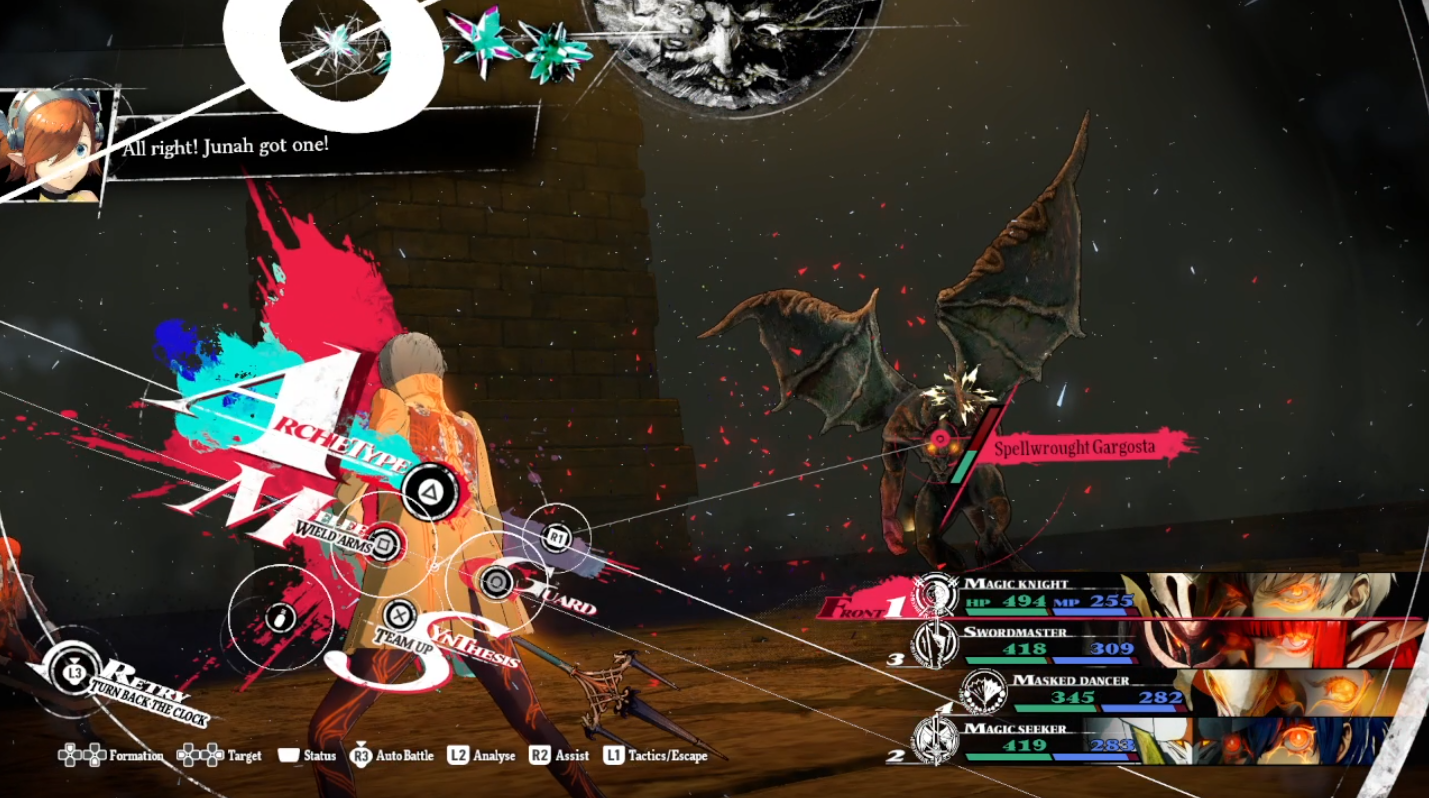
Regarding the Gargostas, they are vulnerable to wind magic, so it’s optimal to have a character with an Archetype like Seeker or Magic Seeker, as using a Cyclone spell against them would be particularly effective.
In essence, search for all four tablets located upstairs first. This action will pave a clear route to each concealed chest. After that, venture down the stairs, allowing you to progress through the Canopy Chamber.
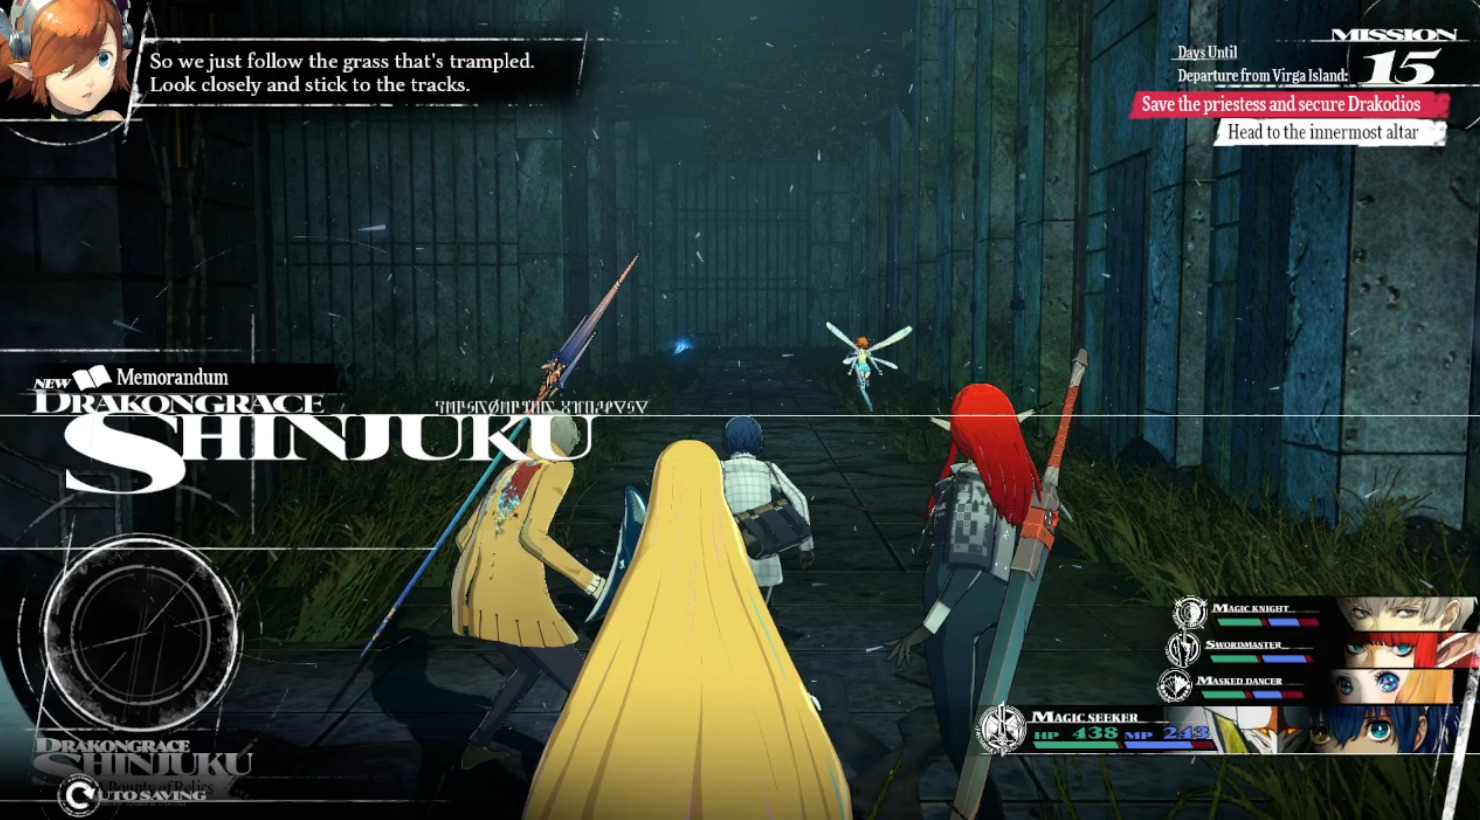
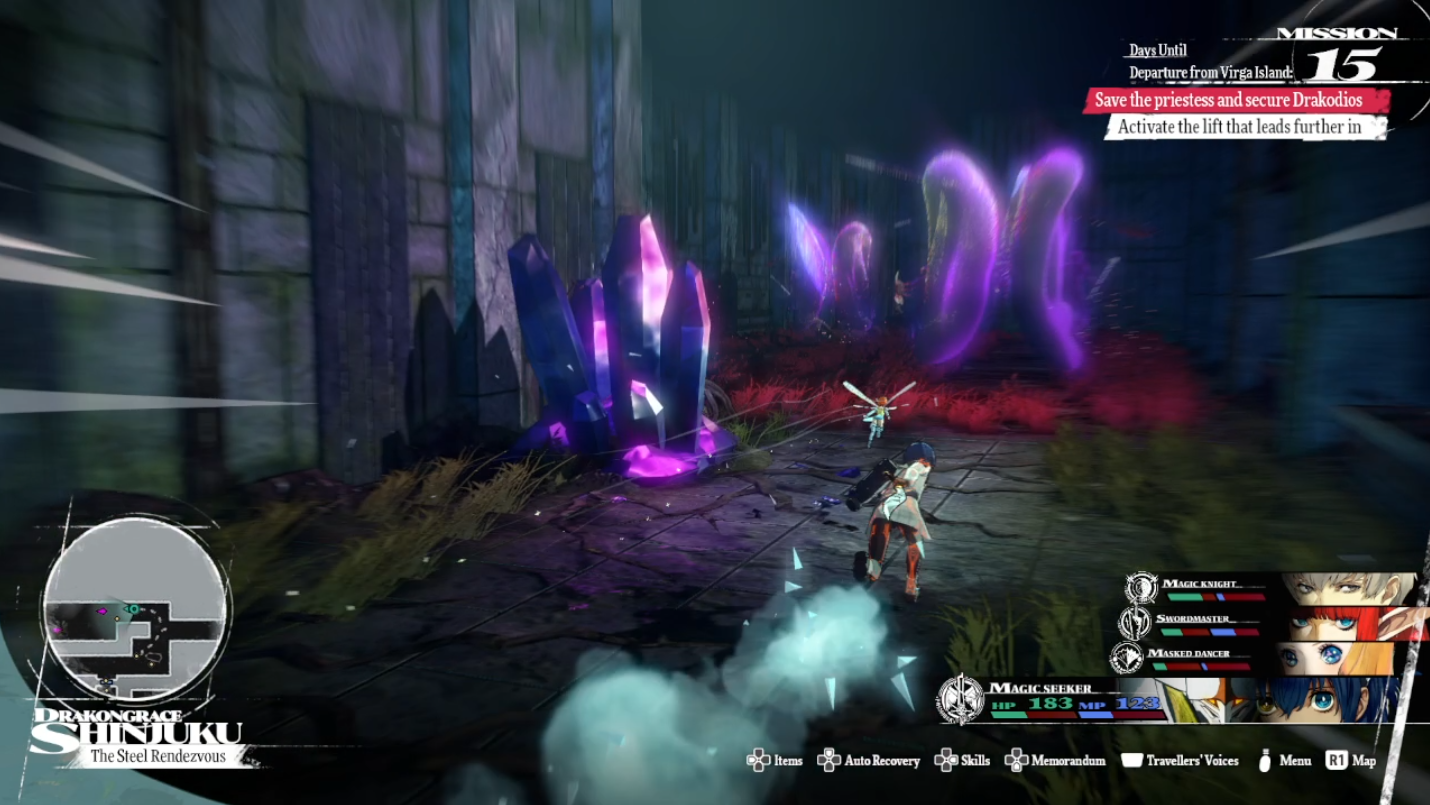
Exploring Drakongrace Shinjuku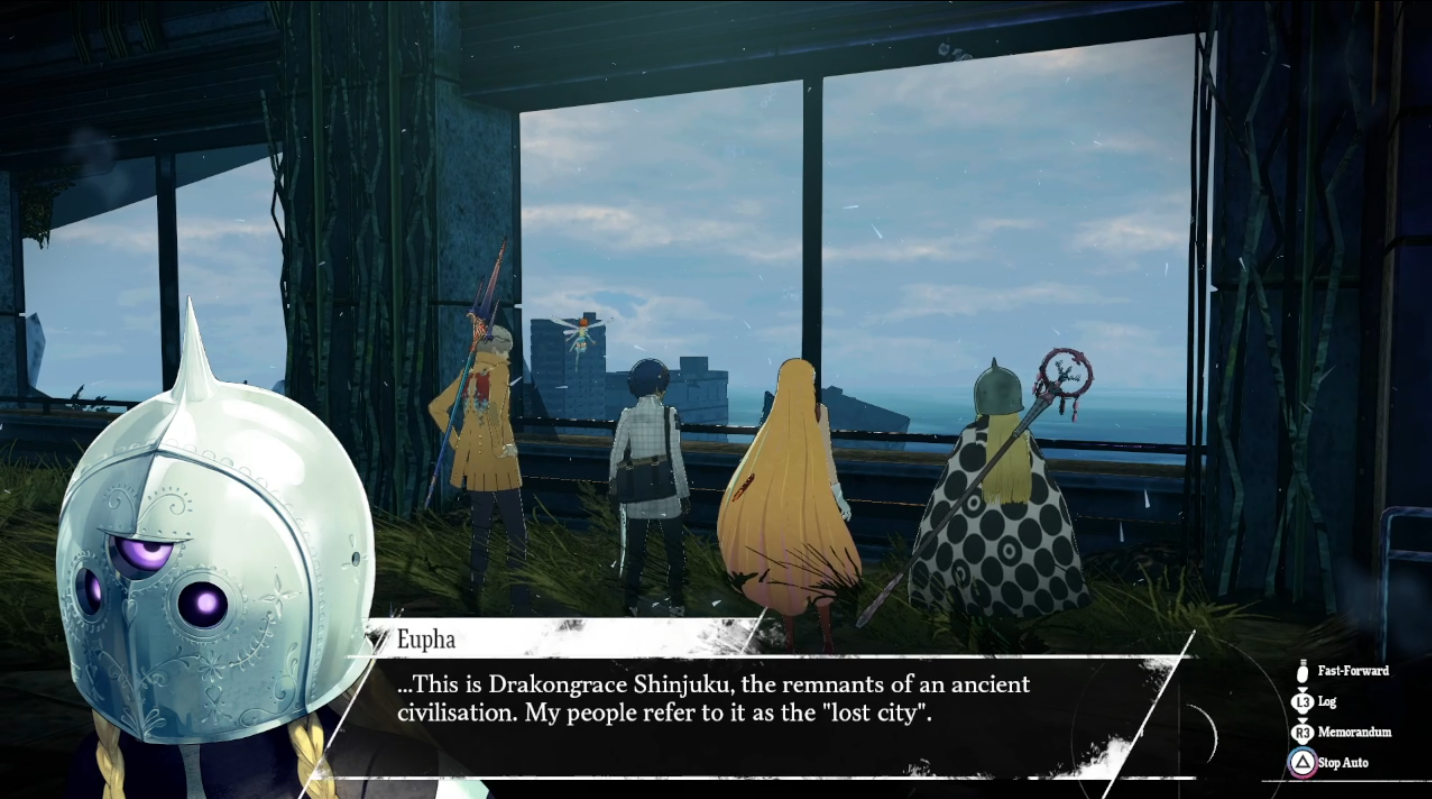
Following your short stroll through Canopy Chamber, you’ll quickly arrive at the long-lost city of Drakongrace Shinjuku, a place brimming with artifacts, treasure, and adversaries that will turn your time there into a living nightmare.
Here’s the challenge: The complexity increases substantially from here, as the length of this part of the dungeon is overwhelming, it’s packed with foes to battle, which in turn depletes your MP and essential survival supplies.
In this part, consider utilizing the Thief Archetype to benefit from the Magic Plunder ability, which will help you incrementally restore your MP. Moreover, it might be beneficial to choose the Merchant class in this segment since you’ll likely be quite wealthy by then.
Here’s a breakdown of this multi-level zone, where each floor houses unique sets of adversaries and peculiarities. Shall we examine them one at a time?
Bounty of Relics
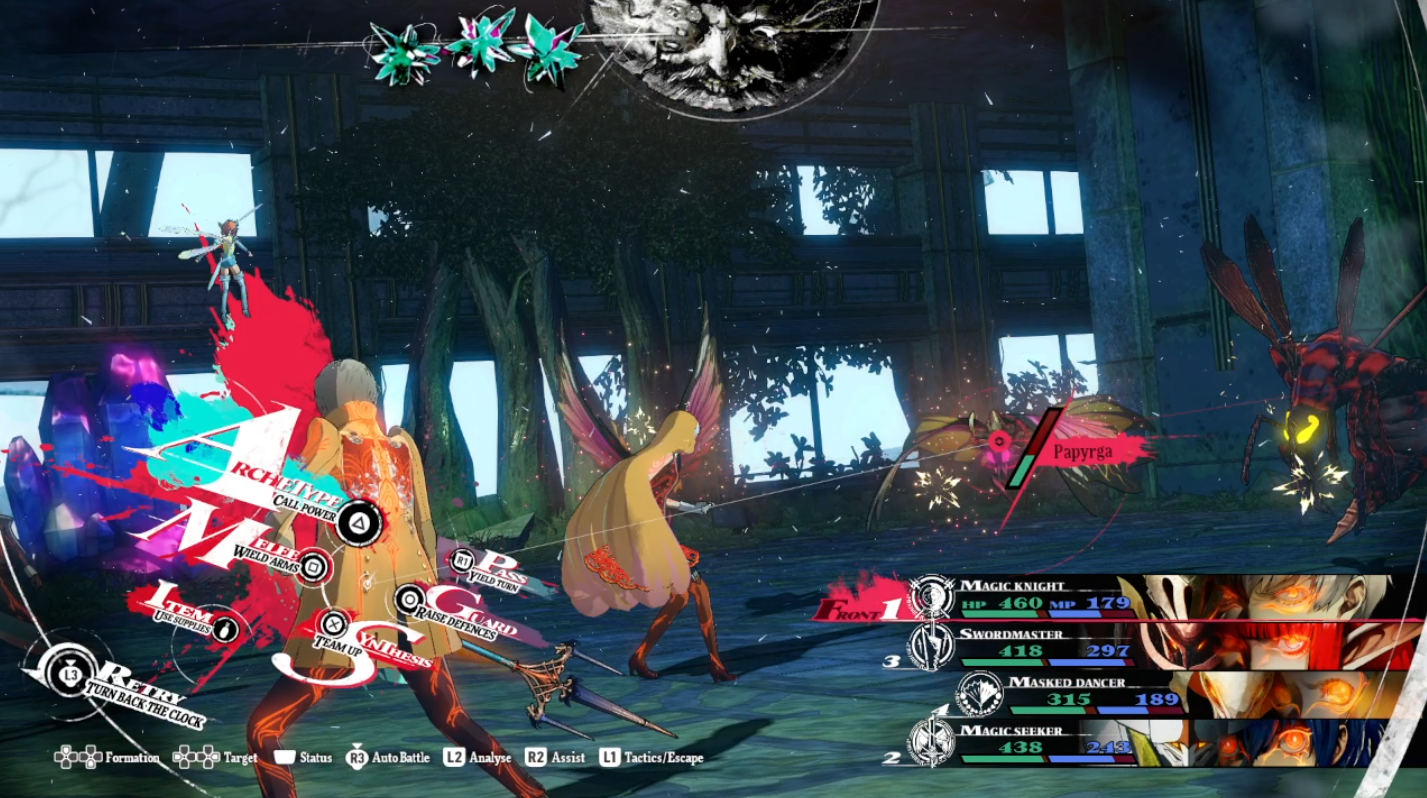
The first enemies you will encounter are the butterfly enemies known as Papyrga and wasp enemies known as Labovesps.
These can be quickly removed with a surprise attack, followed by either physical assaults to conclude the battle or utilizing wind magic since Labovesps are vulnerable to it.
As you progress deeper within the initial zone, you’ll encounter additional Treebeast Alento foes, so make sure to prepare your fire-based spells.
At approximately this location, you should encounter the “Magla Hollow”. This would be an opportune moment to peek inside and save your progress, as it’s advisable to do so if you ever need to take a break and return to this dungeon. By saving here, you can avoid wasting time navigating the complex Labyrinthine Path upon your return.
Additionally, don’t forget to explore the room adjacent to this one and retrieve the “Dark Magla Crystal” hidden within, as this artifact will enable you to unlock a chest holding the “Alabaster Mail”. This armor piece is particularly effective when it has been purified, offering excellent protection against both light and dark magic assaults.
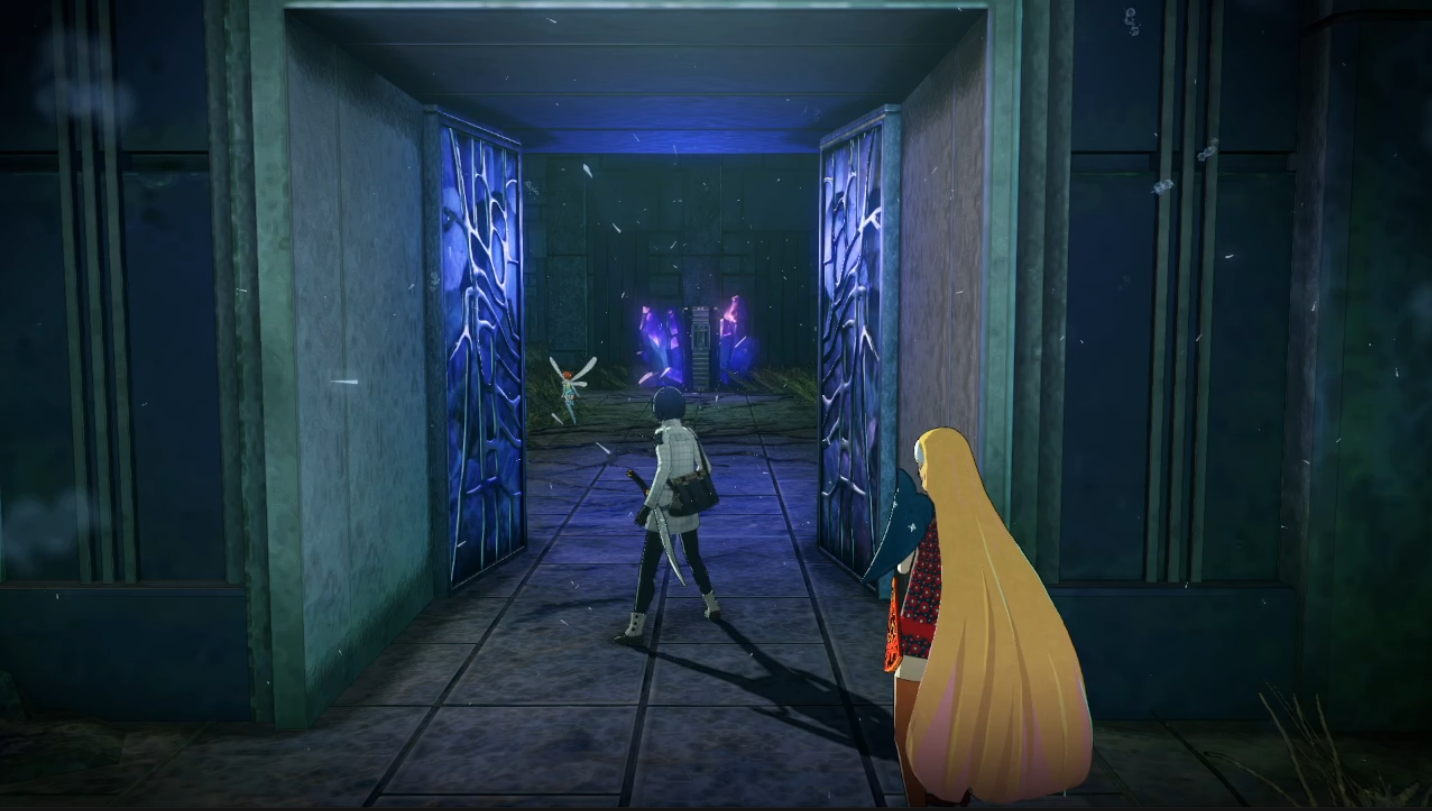
After taking a break, you’ll soon reach a spot where a row of lifts takes you to various levels within this towering skyscraper.
Unfortunately, floors two and three are off-limits for now, but feel free to explore floors one and four instead. For a direct route to the fourth floor, simply take the elevator there.
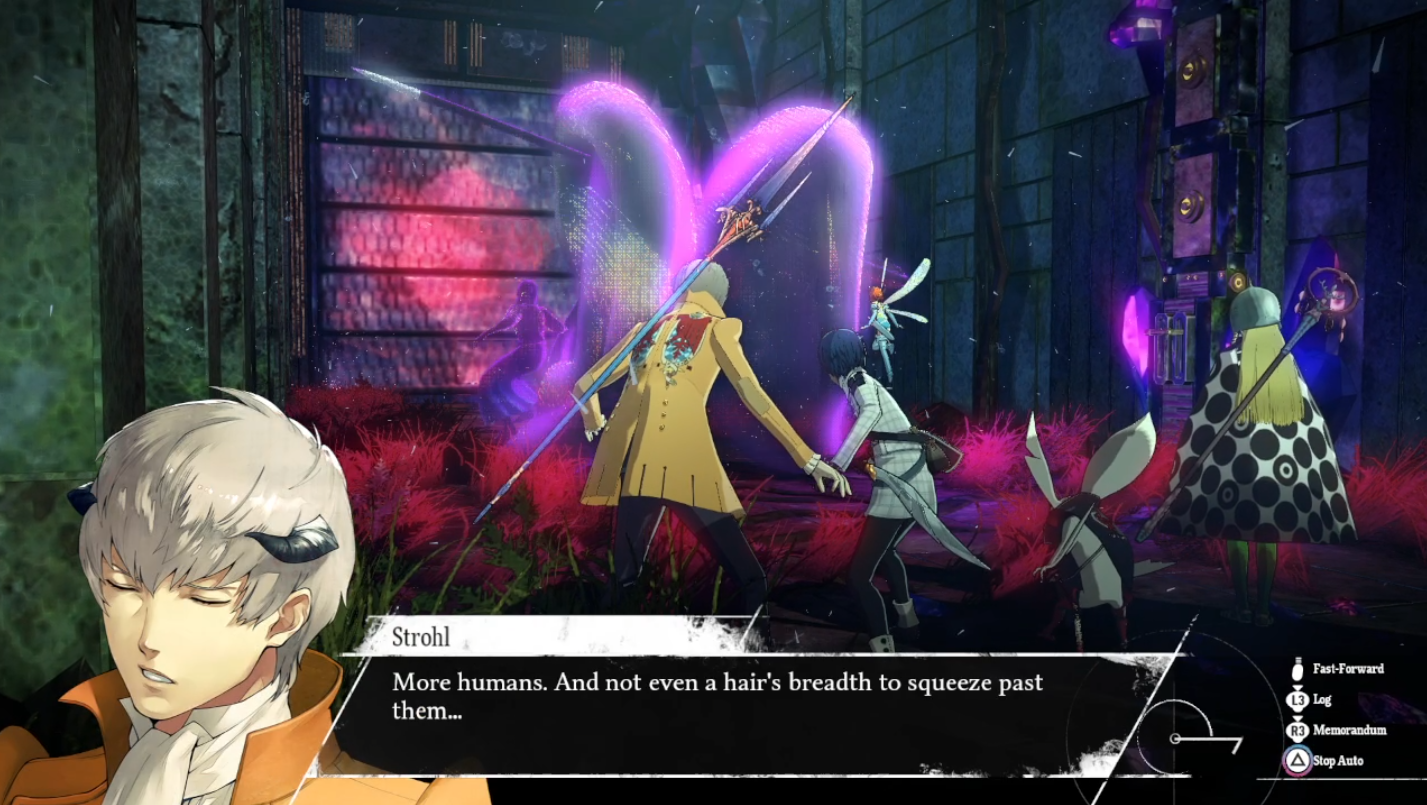
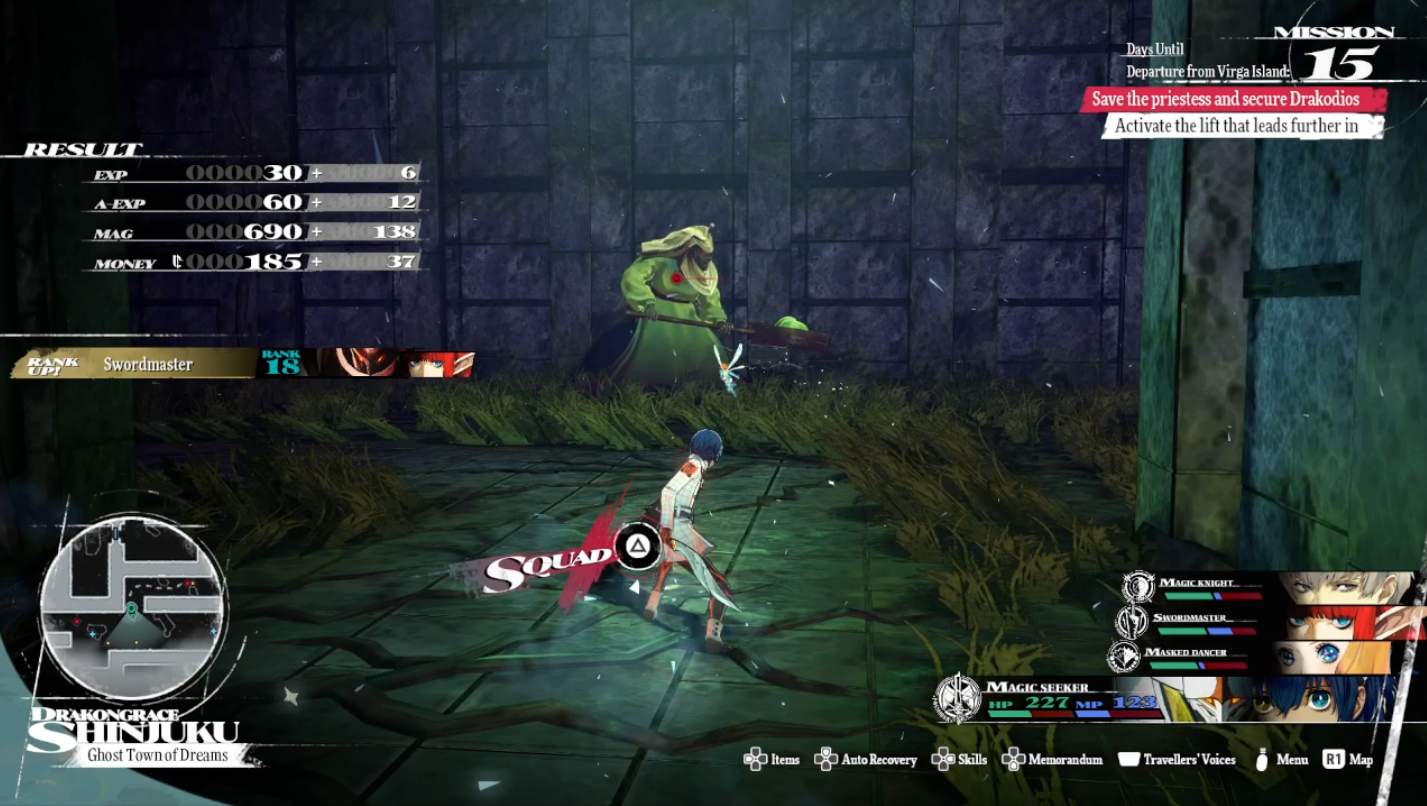
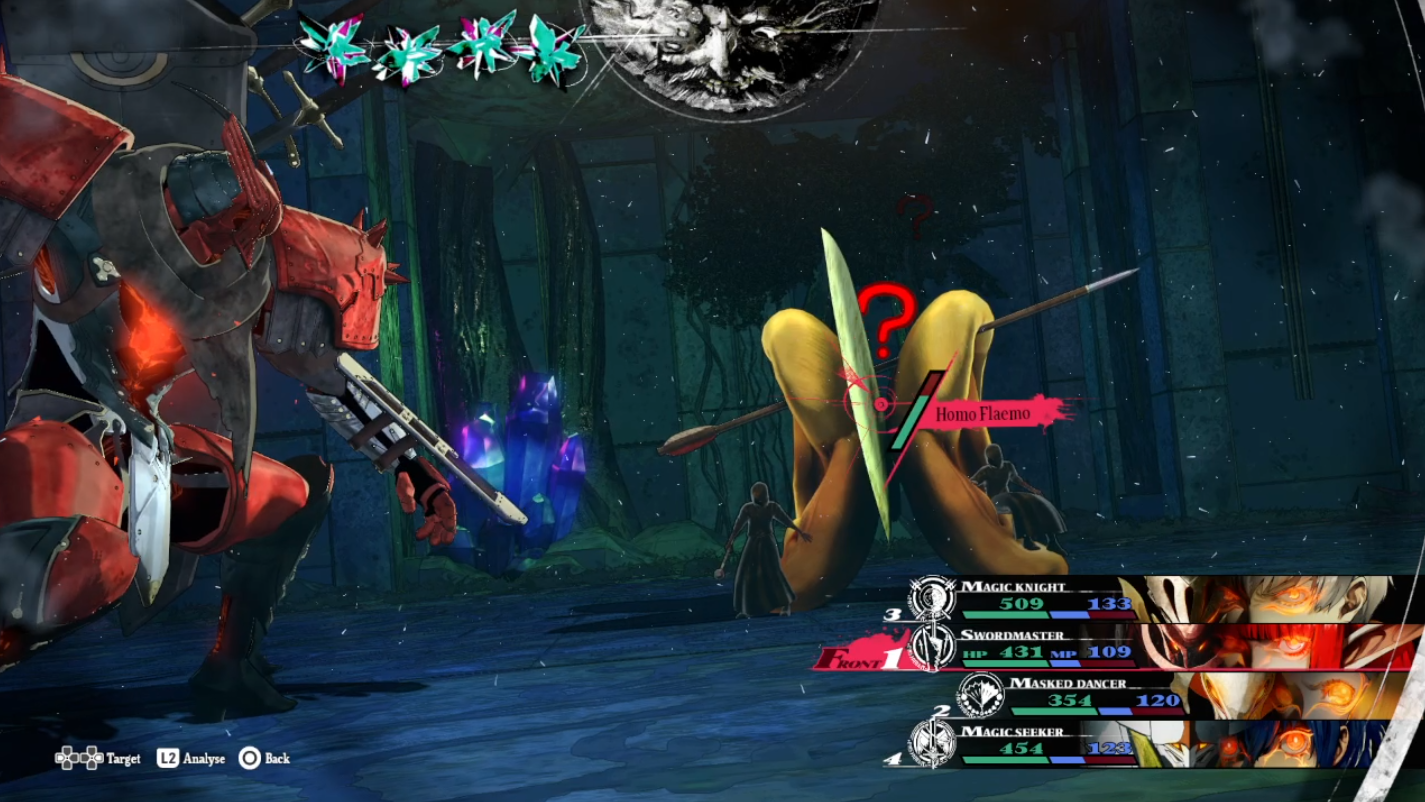
Before reaching your destination, you’ll encounter an unusual, ghostly foe who resembles a human. This mini-boss follows a set route only when you move as well. Utilize this pattern to strategize your approach and steer clear of confrontation with it instead.
In case you find yourself apprehended, it’s advisable to make a swift exit as soon as possible. The struggle isn’t typically worth the exertion or resources you’d expend. Moreover, when you flee, the adversary usually vanishes, which means they won’t pose a problem anymore.
As you’re about to board the lift, it’s highly probable that you’ll encounter another type of adversary known as Mageleaf Alento. This foe is similar to the Treebeast in its general behavior, but there’s a key difference – Mageleaf Alento is vulnerable to Wind magic. Therefore, to tackle this opponent effectively, employ your Seeker Archetype.
After you’ve thoroughly examined this region to your satisfaction, make your way down to the Steel Rendezvous using the elevator.
Floor IV – The Steel Rendezvous
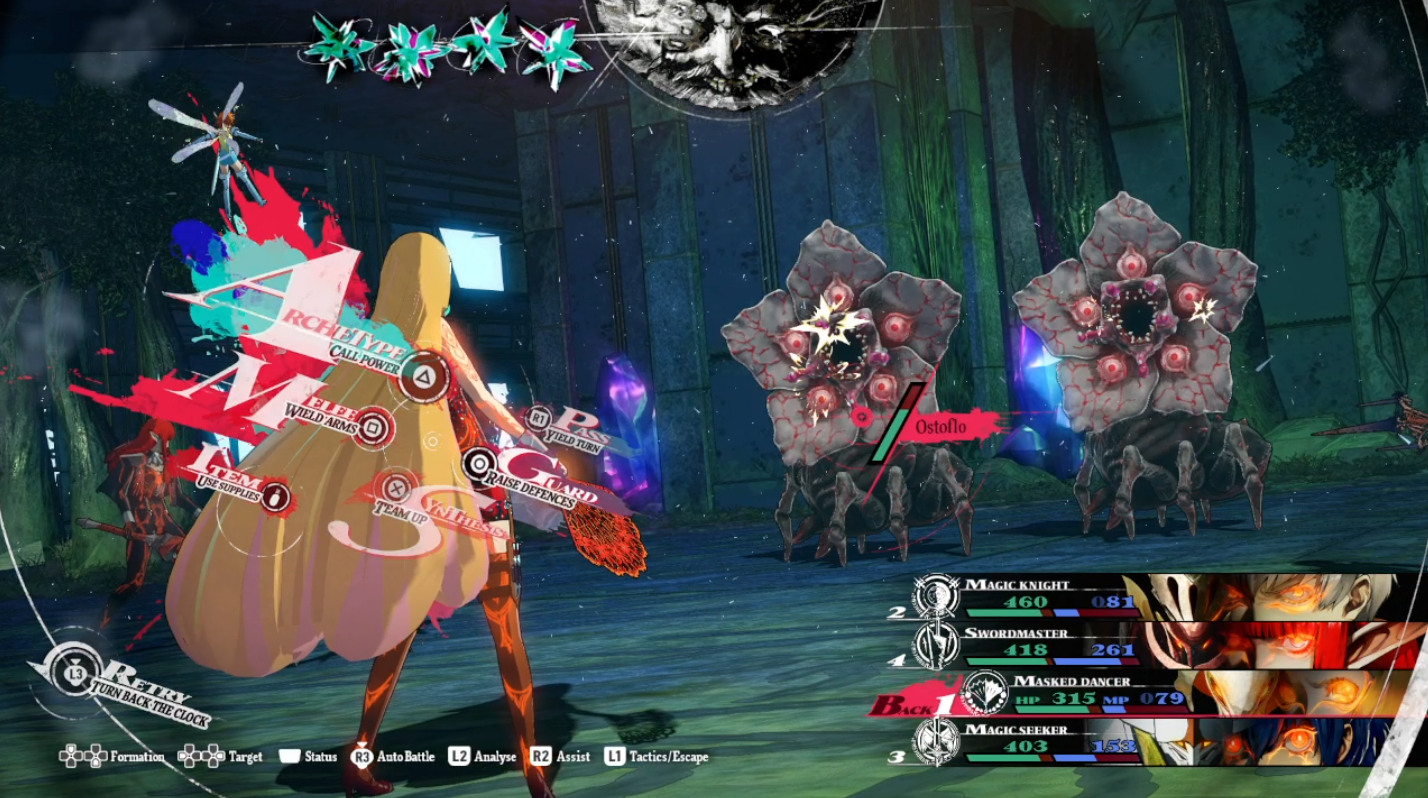
As soon as you round the first bend in this fresh region, you’ll run into another new type of foe, the Ostoflo. Be cautious with these plants, for if you let them react, they can inflict irritating status conditions. Therefore, it would be wise to swiftly eliminate them using Fire magic.
Additionally, take note of the squid enemies resembling hidden landmines scattered across this level. Approach them carefully and attack to set them off, then swiftly move away as they detonate.
Shortly afterwards, you’ll come across a formidable creature known as Crag Manjula. Given its resistance to physical attacks, it would be prudent to concentrate your efforts on casting elemental spells, particularly those of the Ice variety.
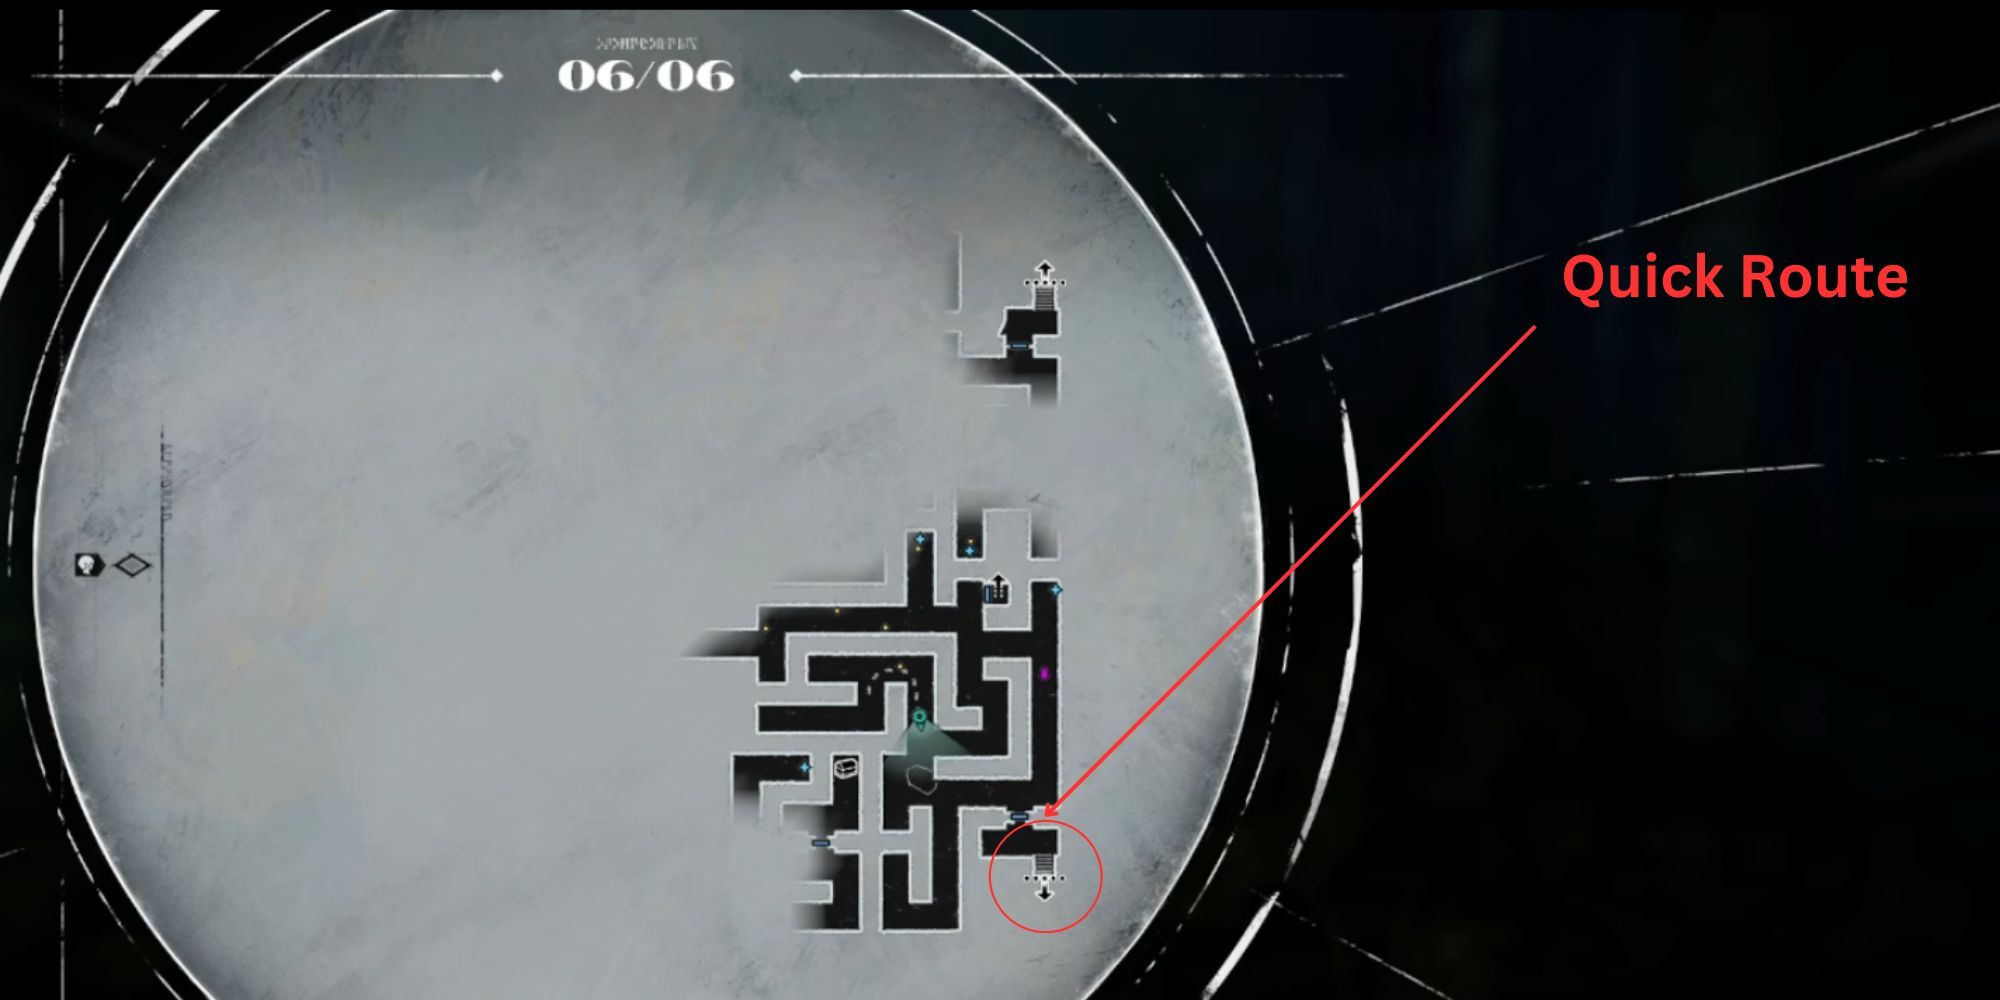
You can take a swift route through this dungeon or opt for a longer journey that offers you additional treasures, battles with more creatures, greater rewards, and smoother exploration once the Ear Monsters have been vanquished.
Should your focus lies solely on making progress, you can quickly reach a set of stairs located at the lower right corner of The Steel Rendezvous map, which will take you directly to a crucial switch necessary for advancement. Yet, this route may cause you to overlook a substantial amount of game content.
To swiftly finish this dungeon, feel free to jump straight to the conclusion of the Ghost Town of Dreams segment, which is where we wrap up the loop and find ourselves back in this spot again.
As I delve deeper into this sprawling dungeon, my mission on this particular level is to traverse its unique spaces alongside other floors. My objective is to locate hidden mechanisms scattered throughout, which, once activated, unlock metal gates and pave the way for my advancement.
As you progress through this stage, you’ll come across many auditory obstacles that you should approach cautiously to ensure they don’t catch you unawares.
Initially, you’ll find out that you can employ these doors and levers to ensnare these monsters, ensuring a secure pathway to the following zone for yourself. Following the initial lever, swiftly cross the bridge with Manjula, and you’ll encounter your subsequent challenge involving switches.
You’ll also find a Chest behind this Human that contains the Chef’s Mitts, so make a quick detour before crossing the bridge
Instead of using the doors as a detour around this creature, consider disregarding them entirely and opt for the path to your left instead. The main challenges you’ll encounter apart from countless enemies on this route will be an expansive open space where two Ear Monsters are circling about.
You’ll want to synchronize your stroll along this path counter-clockwise with them, and it’s best to steer clear of any possible unwanted run-ins. A short while later, you’ll find yourself navigating down the staircase into the next location, known as “The Ghost Town of Dreams.
Ghost Town of Dreams
This brings you to the new, tougher, Drakongrace Shinjuku area known as The Ghost Town of Dreams.
As a gamer, I noticed that this level is packed with more human characters and tougher, tank-like enemies. If you’re thinking about tackling this floor, it would be wise to prioritize strategies for conserving your Magic Points (MP) while devising your battle plan.
At this stage in the game, if you’ve consistently engaged every foe, your Mana Points (MP) might be quite depleted. My recommendation would be to follow this guidance now. Instead of continuing the fight, try a ‘Stun and Escape’ strategy where you momentarily stun enemies and then swiftly retreat. This approach should help you complete the dungeon without needing numerous returns.
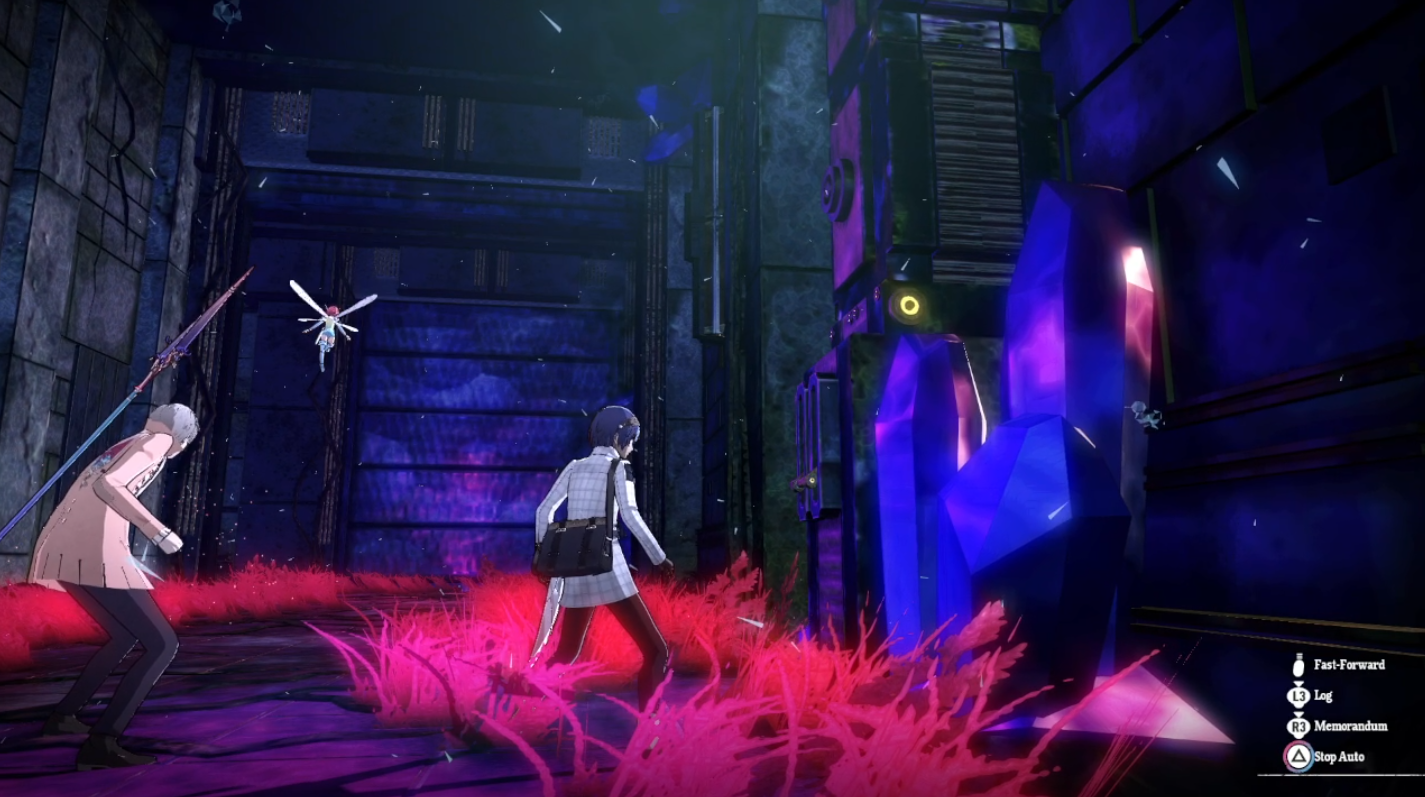
Additionally, not only are there challenging enemy versions roaming around, but this new region is abundant with Dark Magla Crystals. It would be wiser to prioritize destroying these crystals over engaging in turn-based fights. This strategy will clear the area and reward you with a valuable item called a Hero’s Leaf of Light.
As a gamer, if you opt for the peaceful path, remember to keep an eye out for sneaky Golden Homo Tentas lurking beneath the ground. They can easily take you by surprise if you’re not vigilant. However, the bulky frying pan, apple, and Cyclops enemies usually stumble around too much to catch up with you in most instances.
Proceed on your journey down the specified route, and you will encounter a spot featuring a lever that swings open the door on your right, unveiling an Ear Creature. Ignore the Ear creature and venture through the newly opened doorway instead.
After that, you will notice two additional Ear Monsters circling a compact area. Just as before, slip through the space between them and proceed in the same path they are taking to steer clear of any unwanted confrontations.
To successfully navigate through this loop, make sure to flip every switch along the way. This action will result in confining the Ear Monsters within an airlock, and simultaneously, it’ll pave a route forward for you.
Make a swift advance or take them by surprise as you face the upcoming group of adversaries, leading to another location where you’ll find an Ear Creature. This time, keep moving forward and conceal yourself in a cozy little recess on your right side, so that the Ear Creature can move past you.
Next, proceed to the endpoint of the trail, turn on the switch, and quickly return to the small hideaway just before the Ear Monster returns, then continue moving ahead. This action enables you to return to The Steel Rendezvous once more.
Once you’ve explored the fresh section of the upper floor, push through another batch of adversaries, pass through the doorway, and proceed down the hallway to your right. There, you’ll encounter another Ear monster. To contain the incoming creature, use the door, then venture across the bridge that lies ahead.
This action will also provide a means for you to delve deeper into the Phantom Town of Dreams should you choose to do so at a later time.
Along your journey, you’ll find an option to go another way, and this route will take you to a room where you’ll discover a Star White Mask – a mask used in creating Masked Dancer masks at the Akademia. Make sure to grab it too!
After this step, you’ll finish the circuit and be able to move towards the lower right corner, where The Steel Rendezvous is located. There, you’ll find a staircase that leads to an otherwise unreachable part of the area containing the elevators, known as the Bounty of Relics.
Upon arrival, I found myself with two convenient spaces at my disposal. One of them housed a treasure chest, which contained the All-In Abacus, and the other one held a switch that initiated one of the elevators. Once I activated this switch, I discovered a secret shortcut leading me back to the Elevators themselves.
Unfortunately, though there’s a room containing the lever that operates the elevator required for reaching the Dragon’s Altar, it’s currently inhabited by Ear Monsters, making it inaccessible.
Instead, you now have an operational elevator at your disposal, allowing you to travel to where these Ear Monsters are appearing. With a single trip, you could potentially eliminate them all.
Catching The Real Ear Monster

This elevator descends to a hidden part of “The Steel Rendezvous”, a location that conceals a labyrinth-like zone where an elusive Ear Monster resides. Unlike its counterparts, this creature is more likely to flee than engage in combat with you.
To successfully capture and eliminate this individual, make use of the surrounding doors and levers. Position them strategically first, then pursue them relentlessly.
As you proceed, please remember to flip every switch you encounter along the way. This action will block their possible exits, leading them towards a blind alley where you can engage in battle with them.
If you aim for a swift resolution, Electric-based magic proves most effective, given their vulnerability to such attacks. A reliable choice is the Synthesis move, Magic Knight’s Hammer, which can eliminate them promptly.
If you’d like to minimize the harm received during a fight, you might consider attempting to apply a status effect such as Confuse, which could make the encounter less challenging for you.
Once you’ve resolved any pending matters, feel free to return to the Treasury of Relics via the elevator. Then, step into the chamber that used to be infested with spectral Ear Creatures. This should make your exploration smoother.
You can now use the switch to activate the Elevator marked III, which will take you to yet another area known as the Moment of Epiphany.
Are you starting to see what I mean about this dungeon dragging on for way too long?
The Moment of Epiphany
Since we’re nearly reaching the final boss, it might be wise to utilize some rejuvenating magical artifacts now. If you prefer battling instead of stunning and fleeing, this region isn’t overly challenging or heavy on MP consumption.
Yet, let me propose that we persist with this approach, since it’s crucial to be at our peak condition for the upcoming decisive battle.
On this particular floor, there’s not a lot of wiggle room when it comes to variation, and the foes you’ll face are quite similar to those you’ve previously met in the Dream Ghost Town, with minor exceptions.
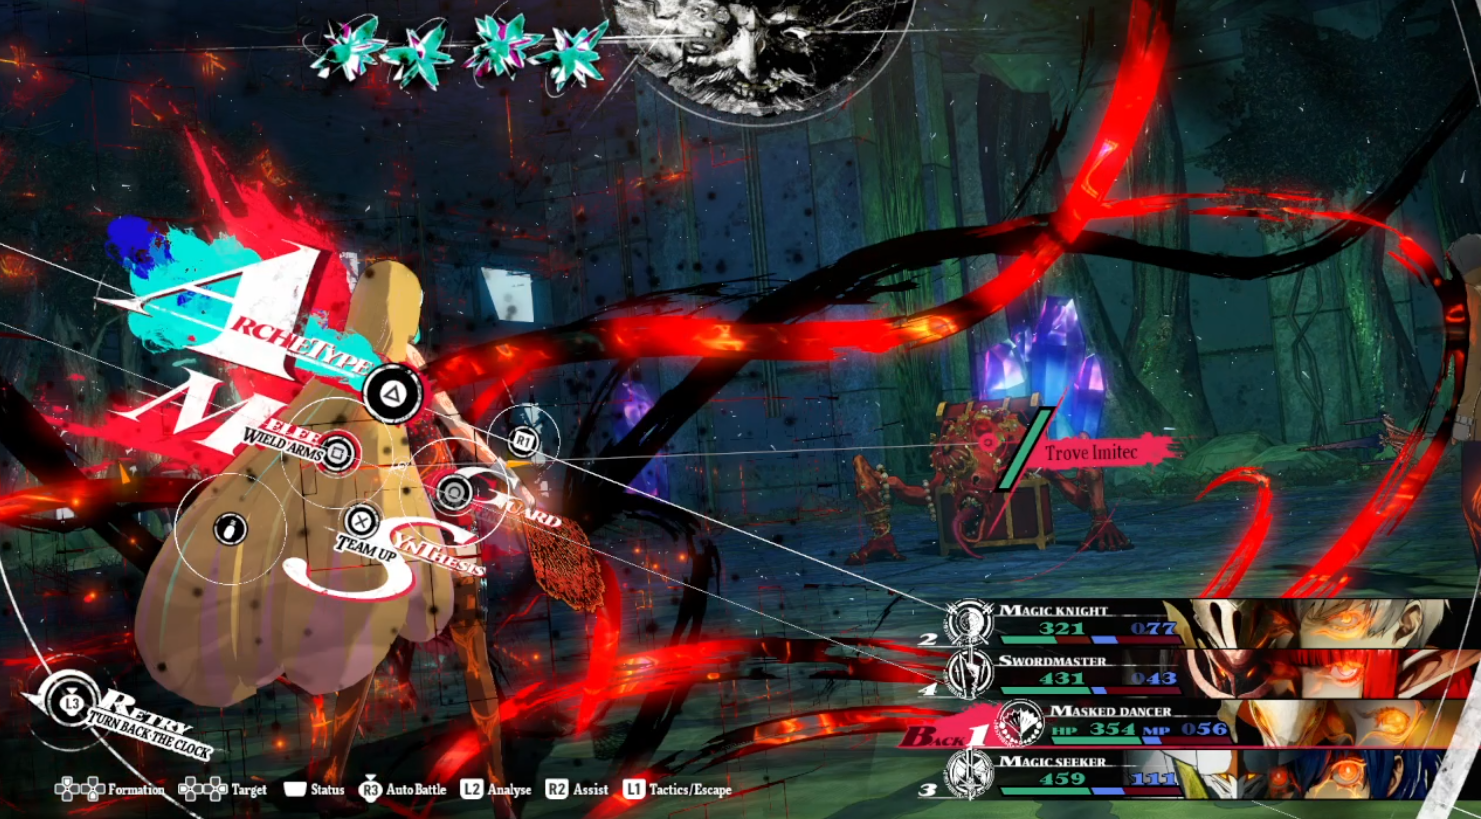
On this level, you’ll find a Trove Imitec along with some Spektos. In such a situation, employing light magic could be beneficial. Additionally, slash attacks should prove useful when dealing with the Homo Stormmu.
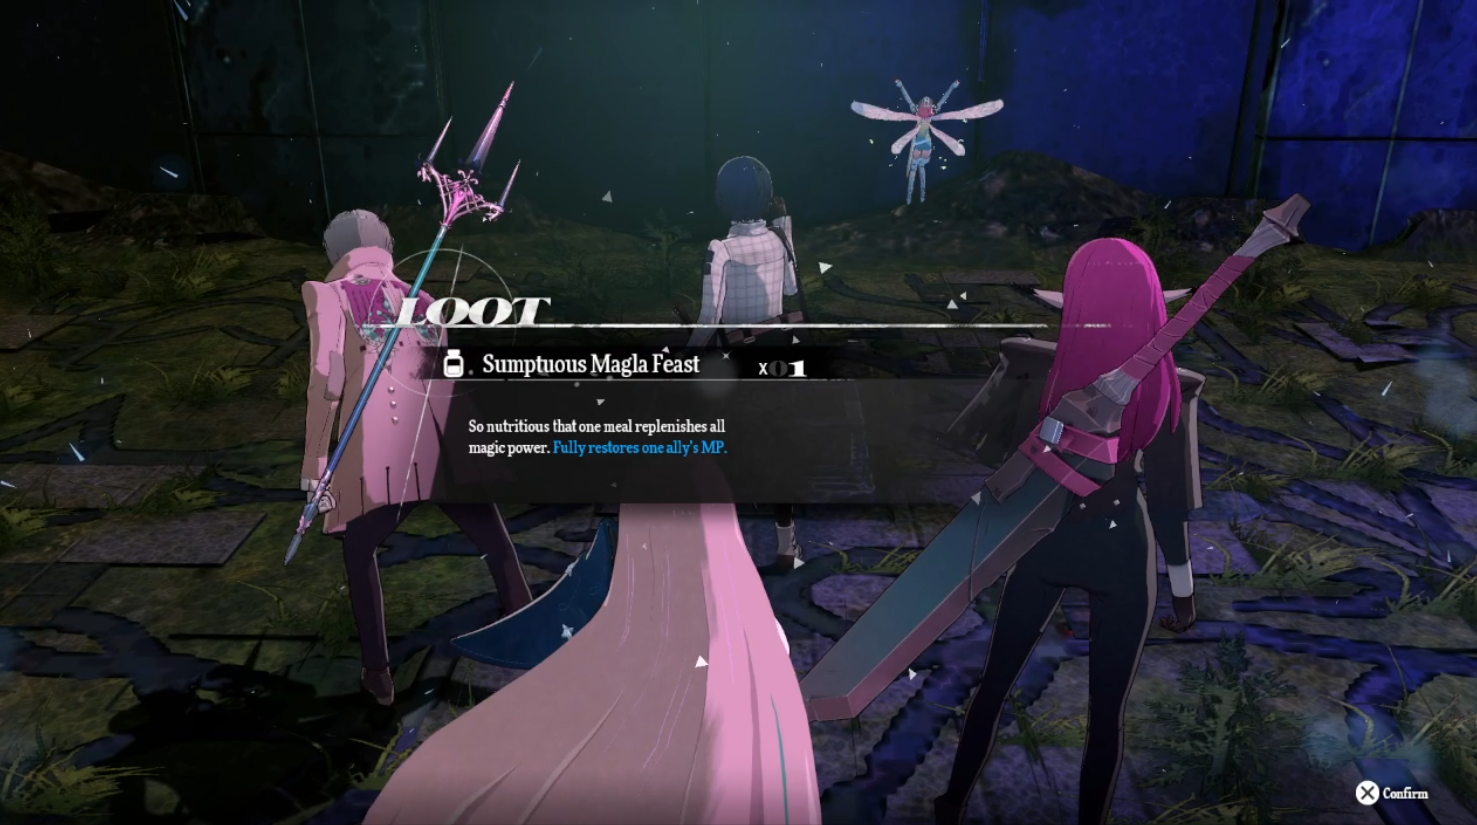
As you progress along the path, take care to either overcome or bypass opponents that come your way. However, don’t forget to check out the room with a chest, and if you manage to defeat the Trove Imitec there, you’ll acquire a Sumptuous Magla Feast, which might prove useful for the upcoming boss fight.
After this, you will come to an open area with many enemies and some Dark Magla Crystals.

Consider removing the crystals for a smoother navigation in this room, or simply dash towards the opposite side of the room and unlock the grand patterned doors that lead to the Altar of the Twelve.
To your right, you’ll find a quick path that takes you back to the Moment of Epiphany’s entrance. This could be your last opportunity to retrace your steps and search for any hidden treasures before you move on. If there are still areas to explore, think about revisiting the Bounty of Relics.
Now you have a dragon to slay.
How To Defeat Malvirta Drako Eht
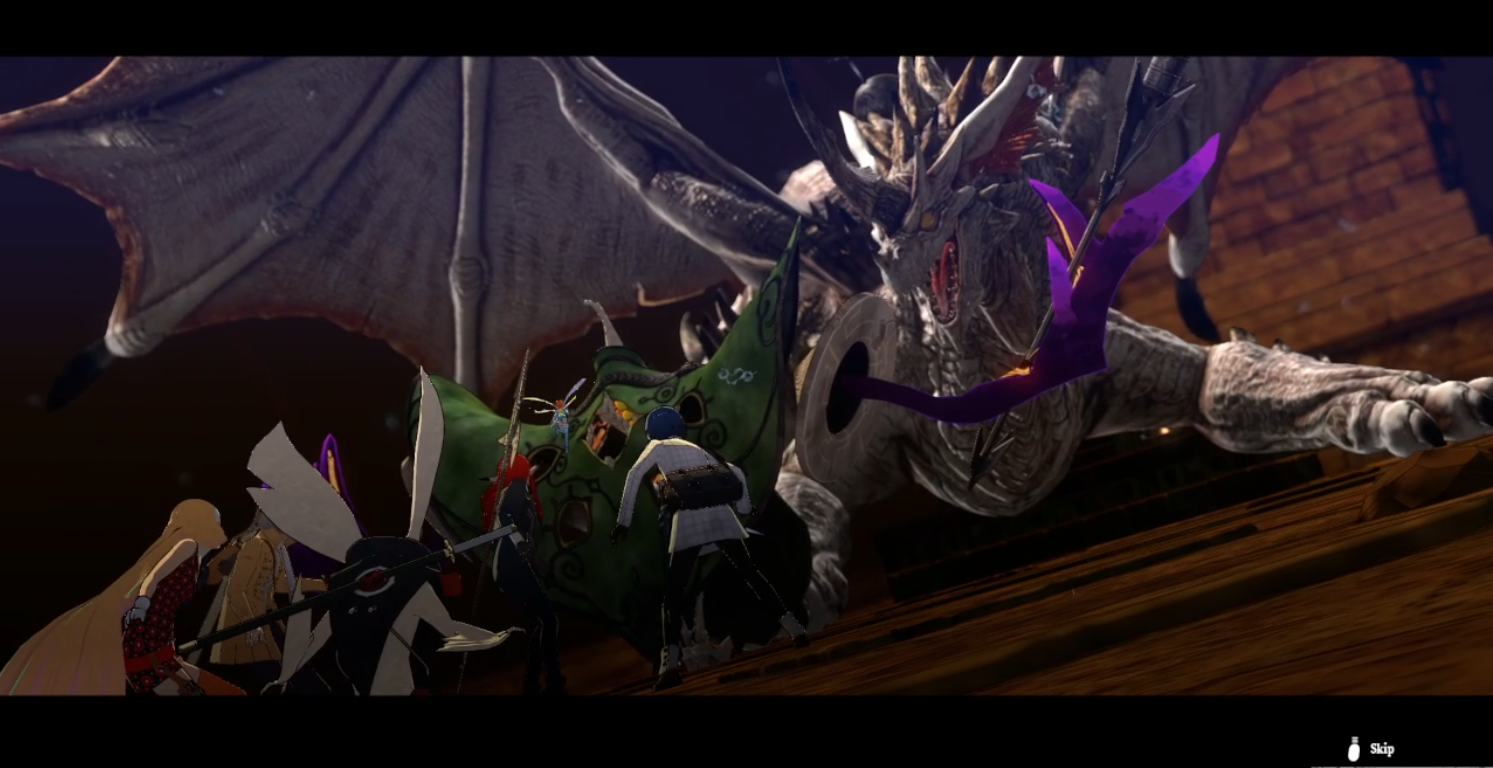
Before the battle commences, Eupha will be added to your party and you’ll have the ability to choose the Summoner class. This role is particularly beneficial in this fight, and I’d advise you to pair it with a Seeker, General, and Healer. Keep in mind that many other combinations are equally effective as well.
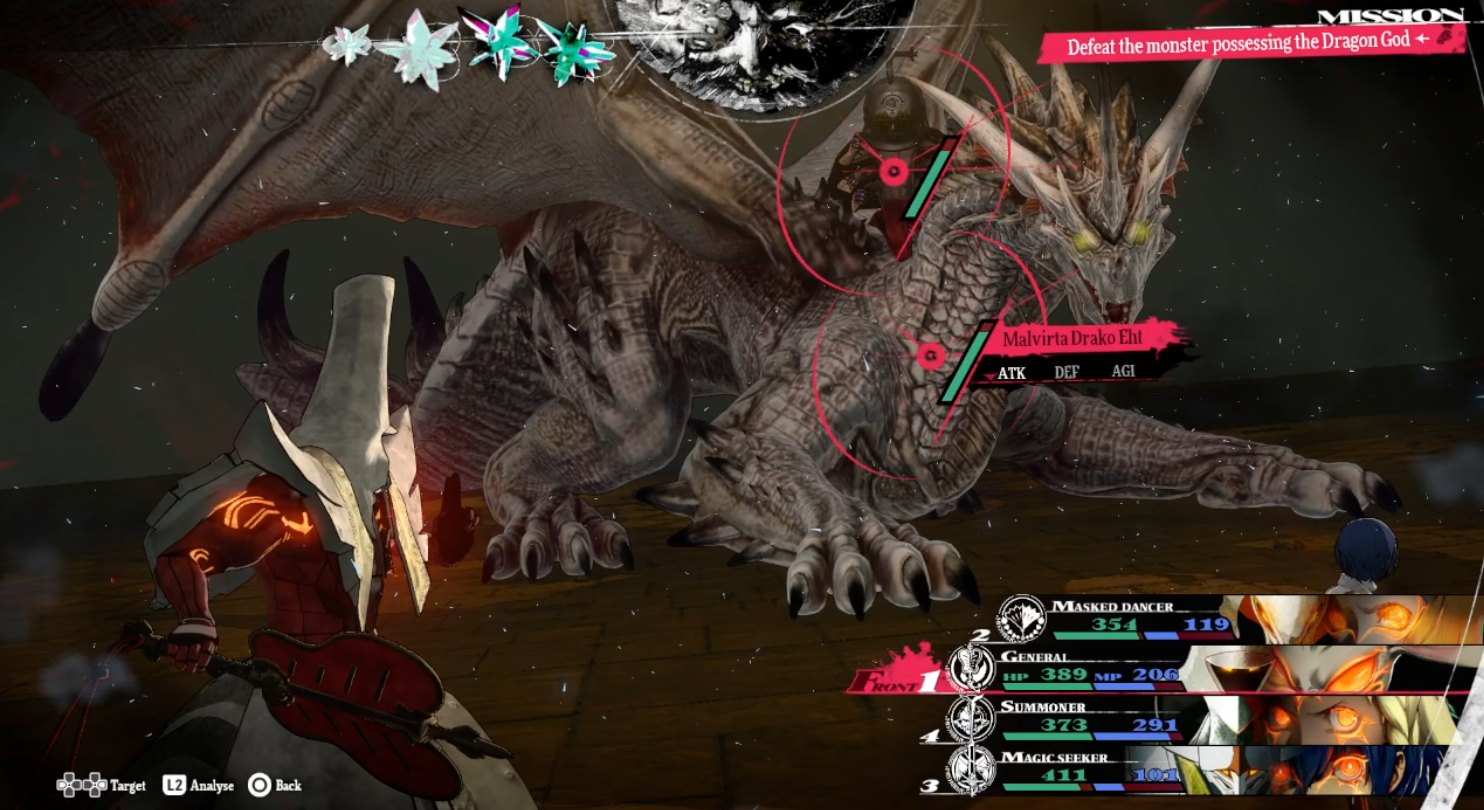
At the start of the battle, you’ll see there are two entities for you to confront – Homo Margo and Darko Eht, Malvirta in reverse order. It might be wise to eliminate the human riding the dragon first.
An effective approach here would be to utilize the power of Wind Magic. With an activated Magic Seeker and Summoner, you can execute abilities such as Cyclone and the Summoning of the Eagle Lion to inflict reasonable damage.
Then you can either bolster your team with offensive options like the General Archetype that can chip in with Megidola attacks, or go with an archetype that can apply buffs to the main damage dealers.
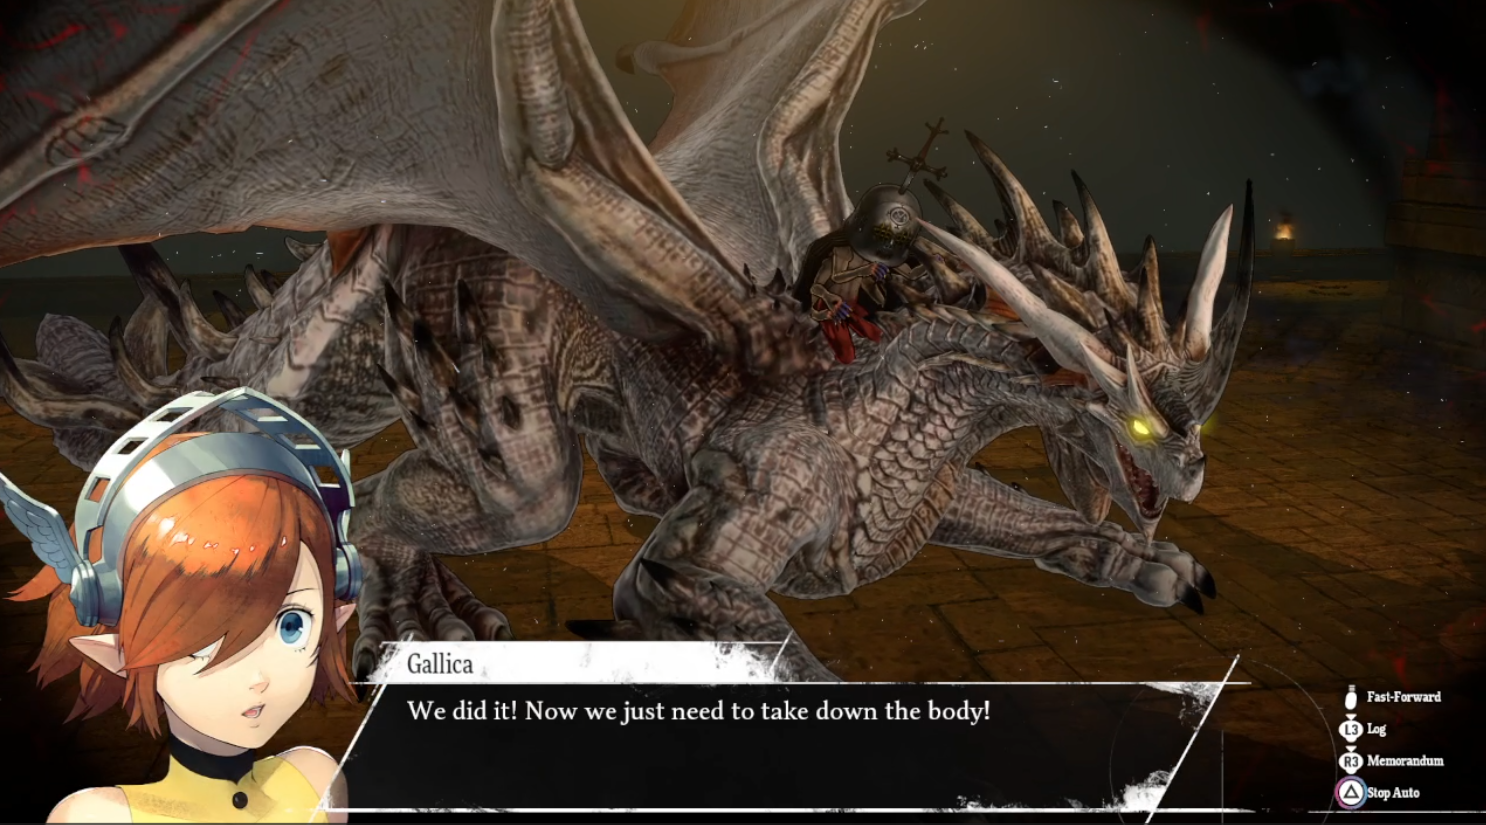
It should be straightforward for the Human to descend, followed by slaying the Dragon. However, if your team is specialized in Wind magic, strategizing to exploit the Dragon God’s weaknesses might require some inventiveness.
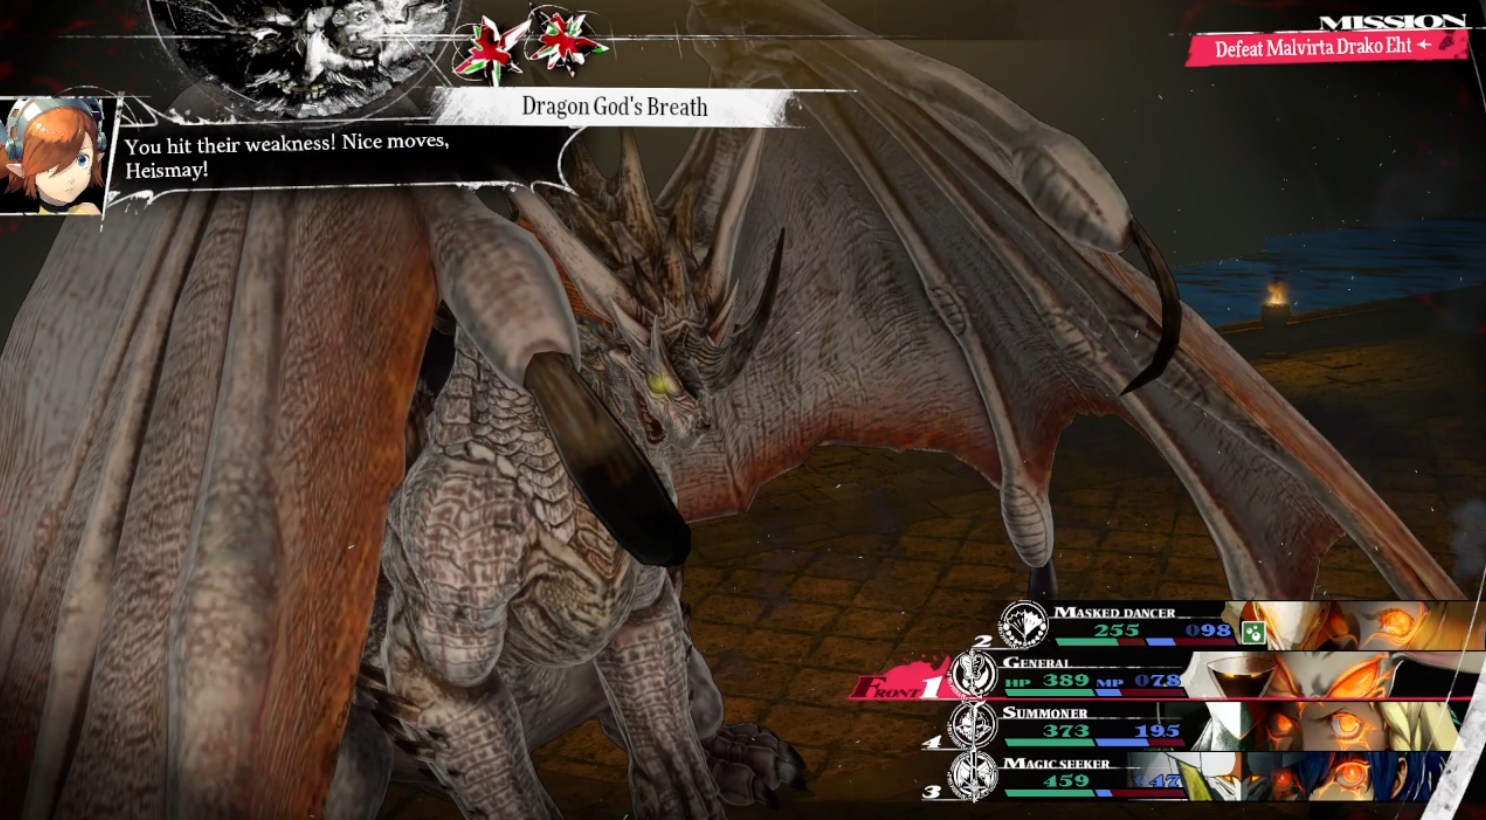
I would personally suggest you use either the Synthesis attacks of the Masked Dancer to apply one-time weaknesses to whatever elemental attacks you have access to, or use the General’s Frigid Fortress Tactic to apply Ice weakness while also dealing ice damage, allowing you to get into a steady loop of powerful Ice attacks.
Regarding the opponent’s skills, they are capable of removing all negative effects, so it wouldn’t be beneficial to spend your time and mana trying to weaken them in that manner. Additionally, they possess a “Poison Scratch” attack that inflicts poison quite frequently, so it would be wise to have an effective response to this to prevent being gradually whittled down.
As a fellow enthusiast of Gold Beetles, you’d want to ensure you have the Venomward Charm in your possession. Earned by collecting a dozen of these precious insects, this enchanting item offers an incredible advantage: immunity to draconic poison. In our current battle, such a protective asset could be invaluable!
Beyond the current abilities, they can utilize a team-based dark magic attack known as “Dragon God’s Breath.” Therefore, if you encounter characters who are vulnerable to this spell, such as healing-oriented Archetypes, it would be prudent to exercise caution unless they are being used exclusively for healing or removing status ailments.
Simply continue whittling down the boss while addressing any ailments that come your way, and you’ll eventually emerge victorious.
How To Defeat Homo Margo
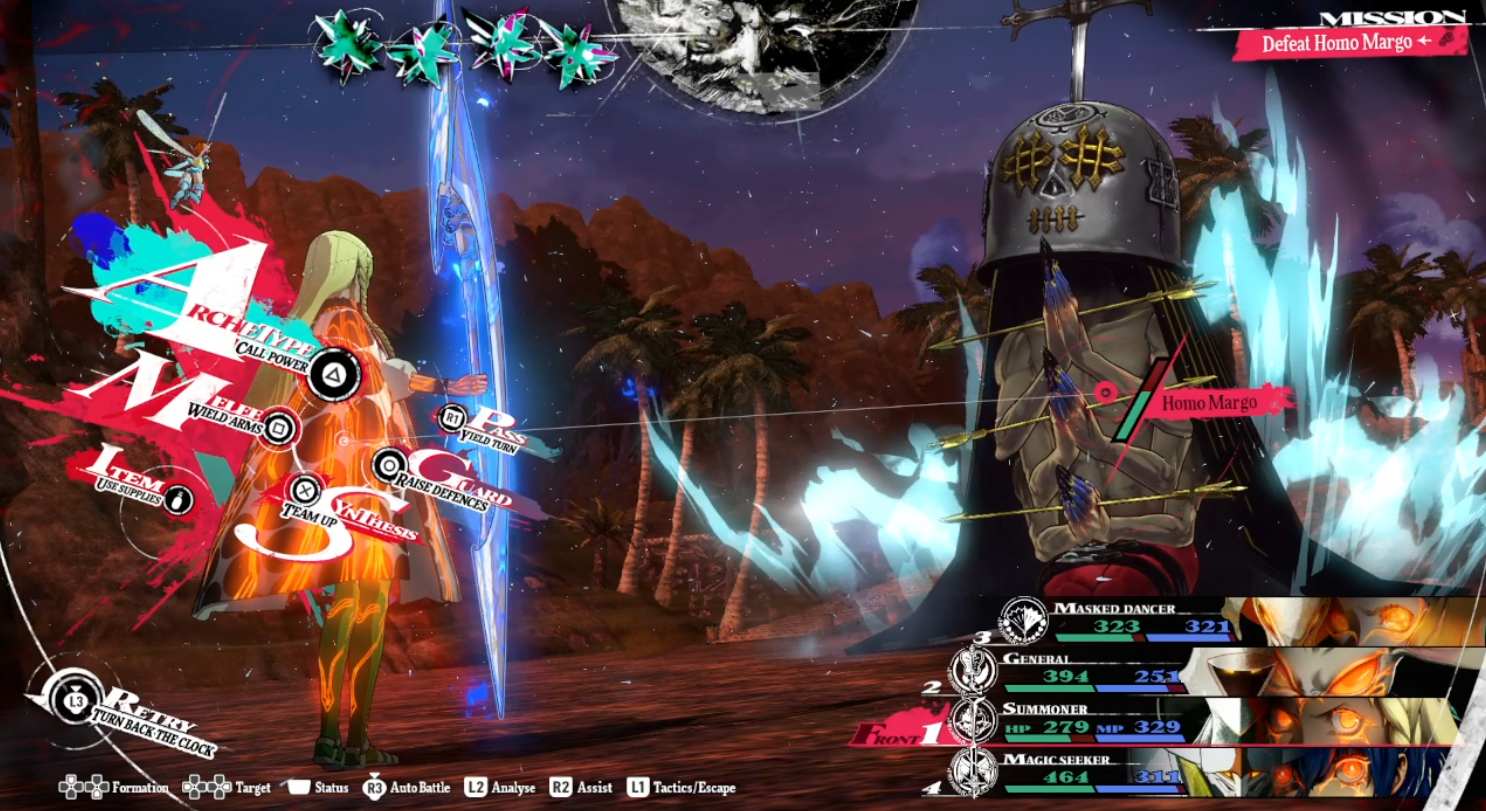
It appeared as though you had finished your tasks, but so did I. Unfortunately, it turns out that Homo Margo didn’t meet his end and is now heading towards the Virga Islands with the intention of causing harm. This necessitates our response to return fire and bring peace back over there.
To win this fight effectively, it’s crucial to start off aggressively, making sure your entire team contributes right from the beginning. In other words, utilizing powerful Synergy moves during the initial turn could help deplete their health rapidly.
In other words, when they perform their Prayer Reversal technique, it results in the creation of a protective shield made from elements that typically deflects incoming assaults.

The bad news is that this makes the Eupha’s Summoner Archetype all but useless from an offensive point of view, and they are a mandatory party member. However, they can be used to cure status ailments like anxiety in a pinch and apply gradual healing.
After the initial round, it’s beneficial to have a character with a General Archetype on your team, or if that’s not possible, having developed Brigetta’s bond and acquiring an Igniter that casts All-Encompassing Magic will certainly improve your chances of success.
In this situation, divine magic offers the most advantage since it’s effective no matter the opposition’s defense. To add, even though not the primary solution, the Merchant Archetype could prove useful in a tight spot too.
Applying status effects can be advantageous, but let’s be honest, without the General Archetype, you might find yourself engaged in a long, tough struggle instead.
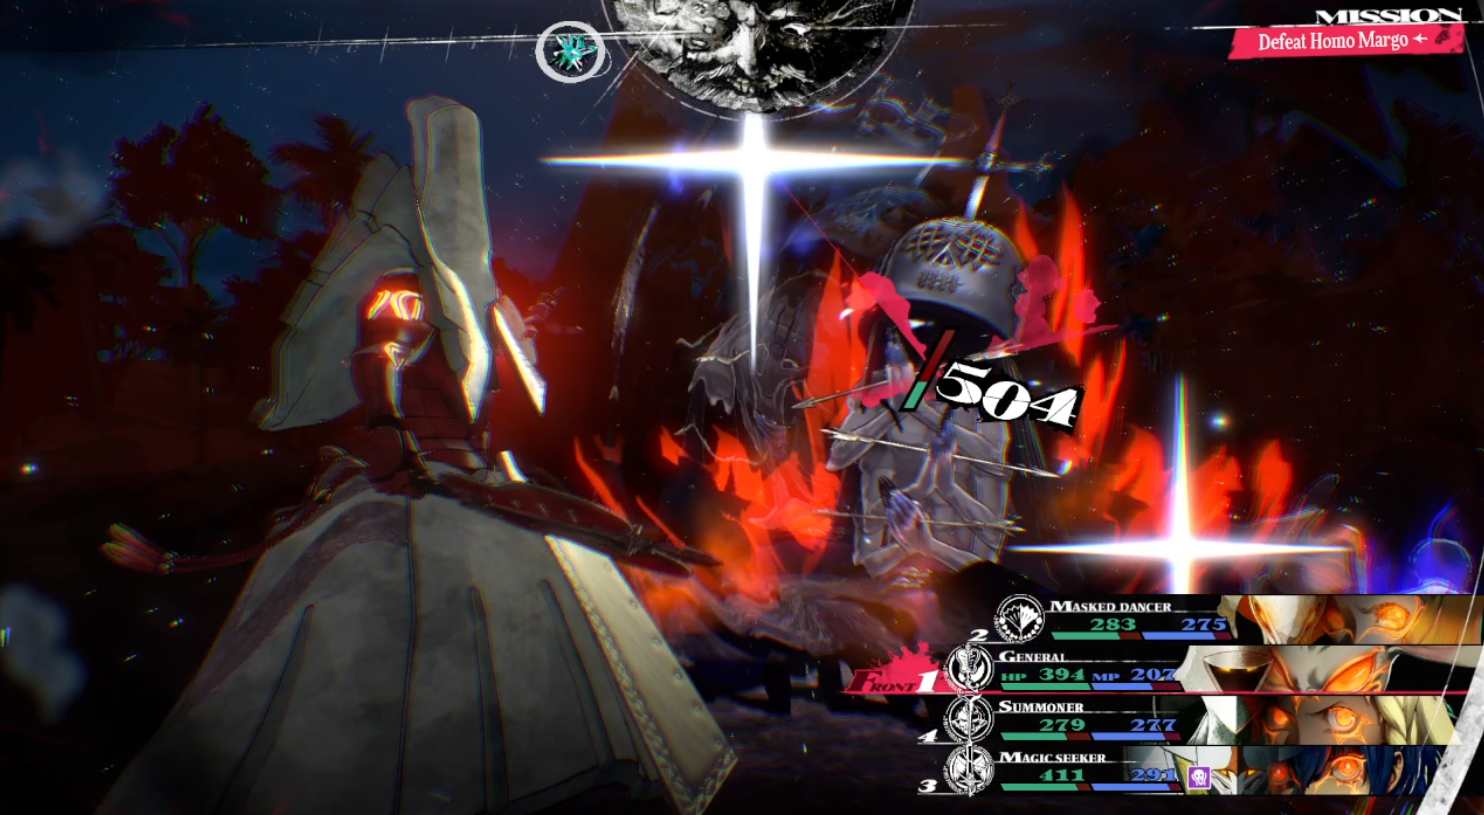
In terms of countering their assaults, it can be quite unpredictable since their Prayer Reversal alters their typing, and they’ll emit a distinct glow to signal the type of attack approaching.
In other words, if the fire’s color is blue, it might indicate they’ll use ice magic. Therefore, assess your team members carefully, possibly repositioning some to the defensive line, especially those who may be vulnerable when a different type of magic is used.
As a fan, I’d highly recommend always keeping the “Set Skill Knight’s Proclamation” handy. This tactic enables me to steer attacks away from vulnerable allies, ensuring that I can continue my offensive without interruption.
If you continue to manage your anxiety, adapt as its effects shift, and persistently use Almighty damage, you’ll likely succeed in this battle. This victory will mark the conclusion of the Dragon Temple Operation.
Read More
- EUR CAD PREDICTION
- EUR ARS PREDICTION
- XRP PREDICTION. XRP cryptocurrency
- EUR MYR PREDICTION
- LUNC PREDICTION. LUNC cryptocurrency
- USD RUB PREDICTION
- POL PREDICTION. POL cryptocurrency
- CHR PREDICTION. CHR cryptocurrency
- OKB PREDICTION. OKB cryptocurrency
- USD BRL PREDICTION
2024-10-14 14:41