
In Monster Hunter Wilds, the Bow stands out with its intricate moves and mechanics, making it challenging to decide on a particular build path. The diversity of moves and mechanics exclusive to the Bow makes the gear selection for a build more complex than one might anticipate. From unique Coatings to specific armor Skills, crafting an effective Bow build involves combining various elements.
Each Bow in Monster Hunter Wilds has its own unique set of coatings that can be applied to arrows. These individual coatings make each bow distinct within its upgrade tree. During a hunt, the specific coatings associated with a bow are the only ones you can equip. Some coatings cause status effects, while others increase damage output. Timing and strategic use of these coatings can significantly speed up your monster-hunting process.
How To Play A Bow Build
Deal Damage Through Creating Wounds And Exploiting Weaknesses
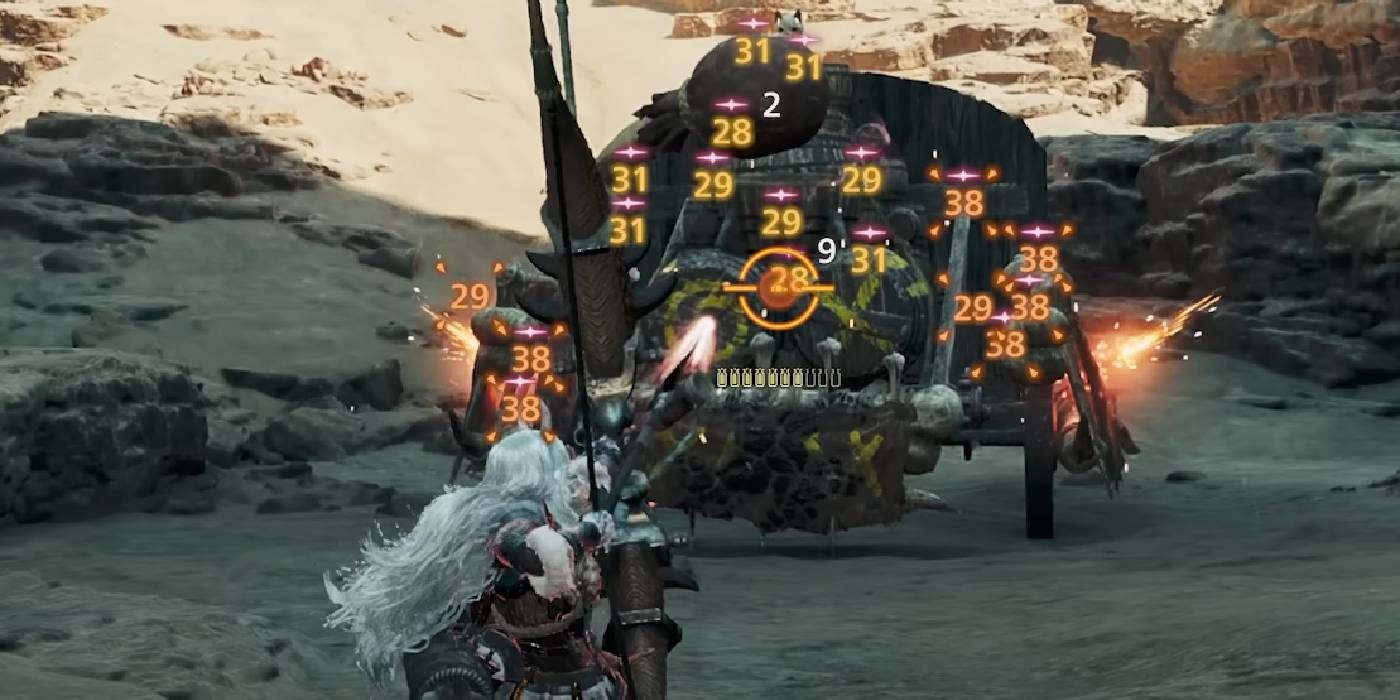
The aim of any Bow character setup is to sustain your stamina while inflicting open wounds on monsters for consistent, high damage per second (DPS). Bows can be incredibly damaging against monsters when used effectively, particularly if your build includes several skills that favor an aggressive approach. However, since each arrow you fire depletes your stamina, it’s crucial to manage both your offensive output and mobility simultaneously.
In my Monster Hunter Wilds adventures, I’ve noticed that the affinity of any bow significantly impacts my chances of scoring critical hits. With a high affinity, I can ensure that my bow builds are optimized for dealing maximum damage in those crucial moments when I string together combos on my targets.
When playing with a Bow build, it’s essential to make use of these key tactics that highlight the weapon’s special abilities:
1. Aim carefully and patiently, taking advantage of its long range and precision.
2. Use the draw speed to fire multiple arrows quickly in succession.
3. Take full advantage of the stealth aspect by using it to get closer to enemies undetected.
4. Make use of the special abilities like poison or explosive arrows for maximum damage.
5. Keep an eye on your arrow count and manage it wisely, as you may need to conserve ammo in certain situations.
| Bow Move | Input (PlayStation) | Input (Xbox) | Input (PC) | Description |
|---|---|---|---|---|
| Arc Shot | L2 + R2 + Circle | L2 + R2 + B | Left Click + Right Click + F | Creates an AoE aura where multiple arrows will rain from the sky when you fire it, creating Open Wounds on monsters within it. |
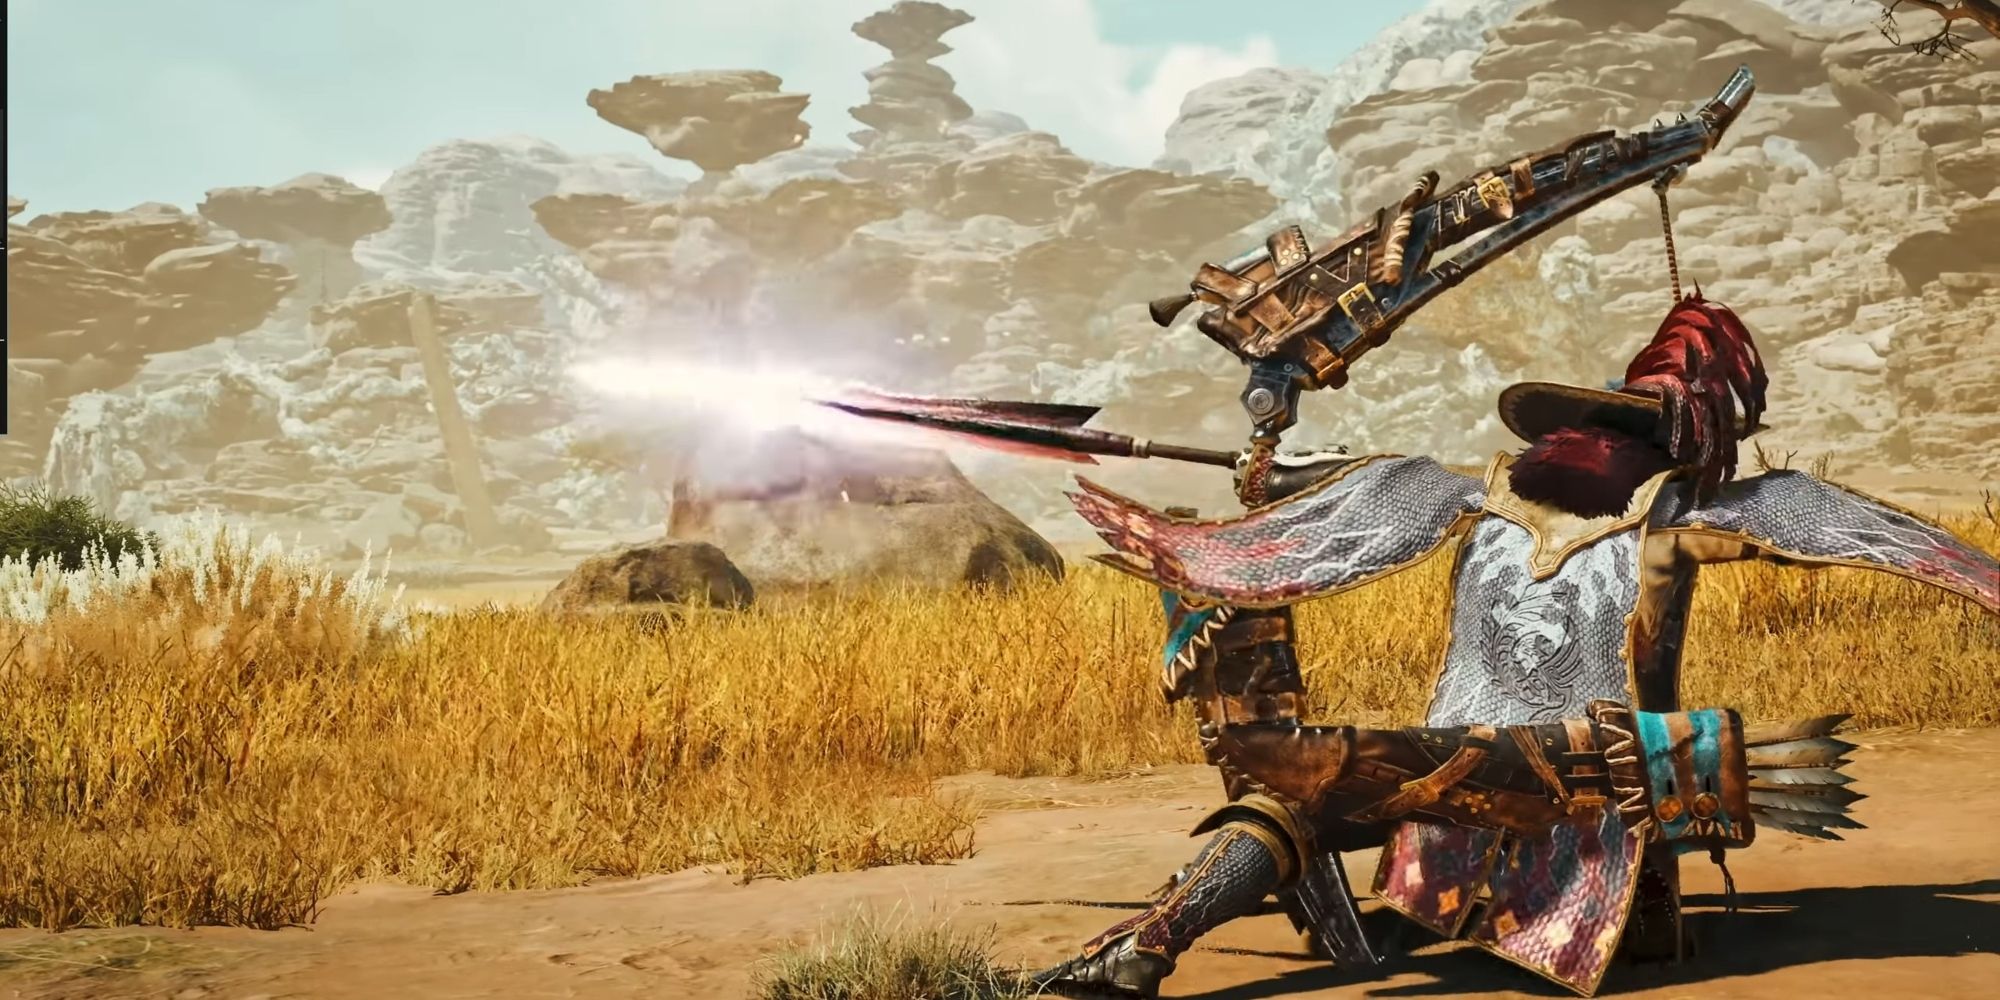
| Dragon Piercer | Triangle + Circle | Y + B | R + F | Go into a kneeling stance where you charge a single, powerful arrow that does a large amount of damage. |
| Thousand Dragons | R2 + Triangle + Circle | R2 + Y + B | Left Click + R + F | Load several arrows into your Bow before firing them all at once in a powerful, short-range attack. |
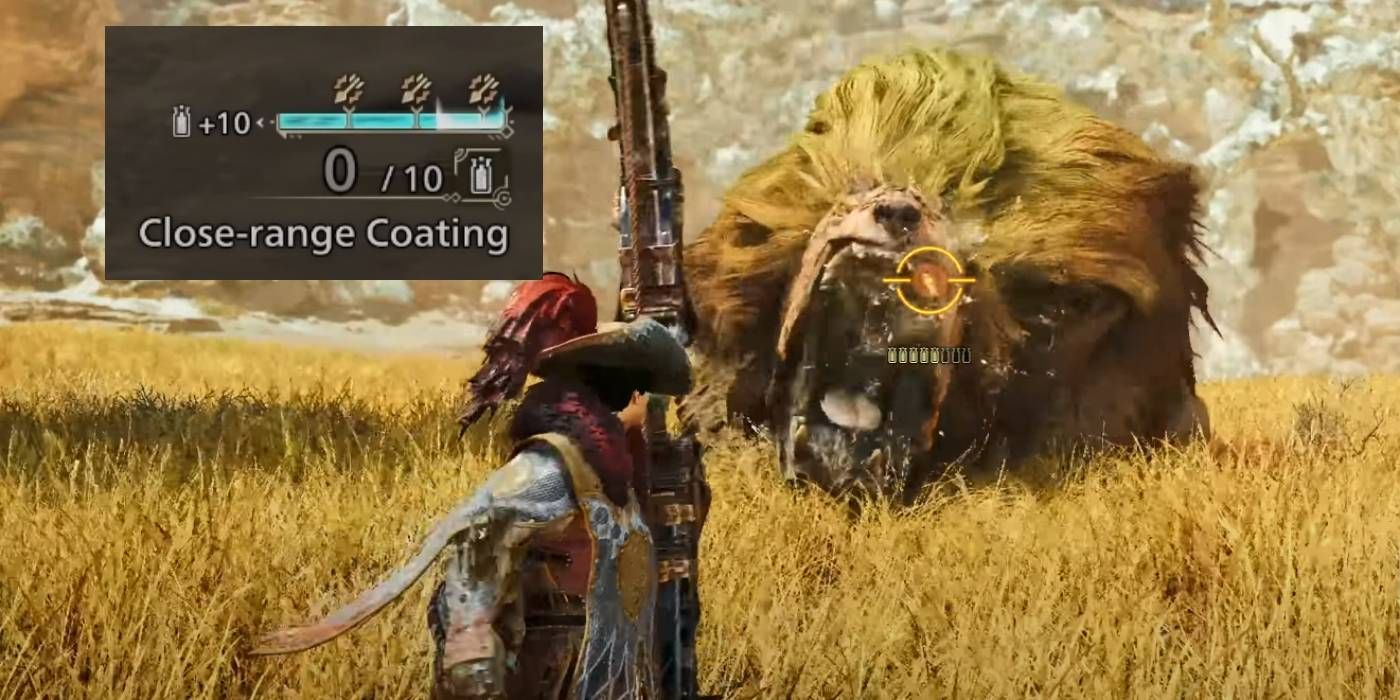
| Select/Apply Coating | L1 + Triangle, X | L1 + Y, A | Ctrl + Up/Down Arrow, R | Go through the various Coatings exclusive to your unique Bow, then load them into your weapon for the next few shots you fire. You can see how many coated shots you have left under your reticle through phials. |
| Ready Tracer | R2 + Square | R2 + X | Left Click + E | Load a unique arrow that explodes after a short time when lodged into a target. While a Tracer is active, all your following arrows will home onto its location, targeting wherever the Tracer is. |
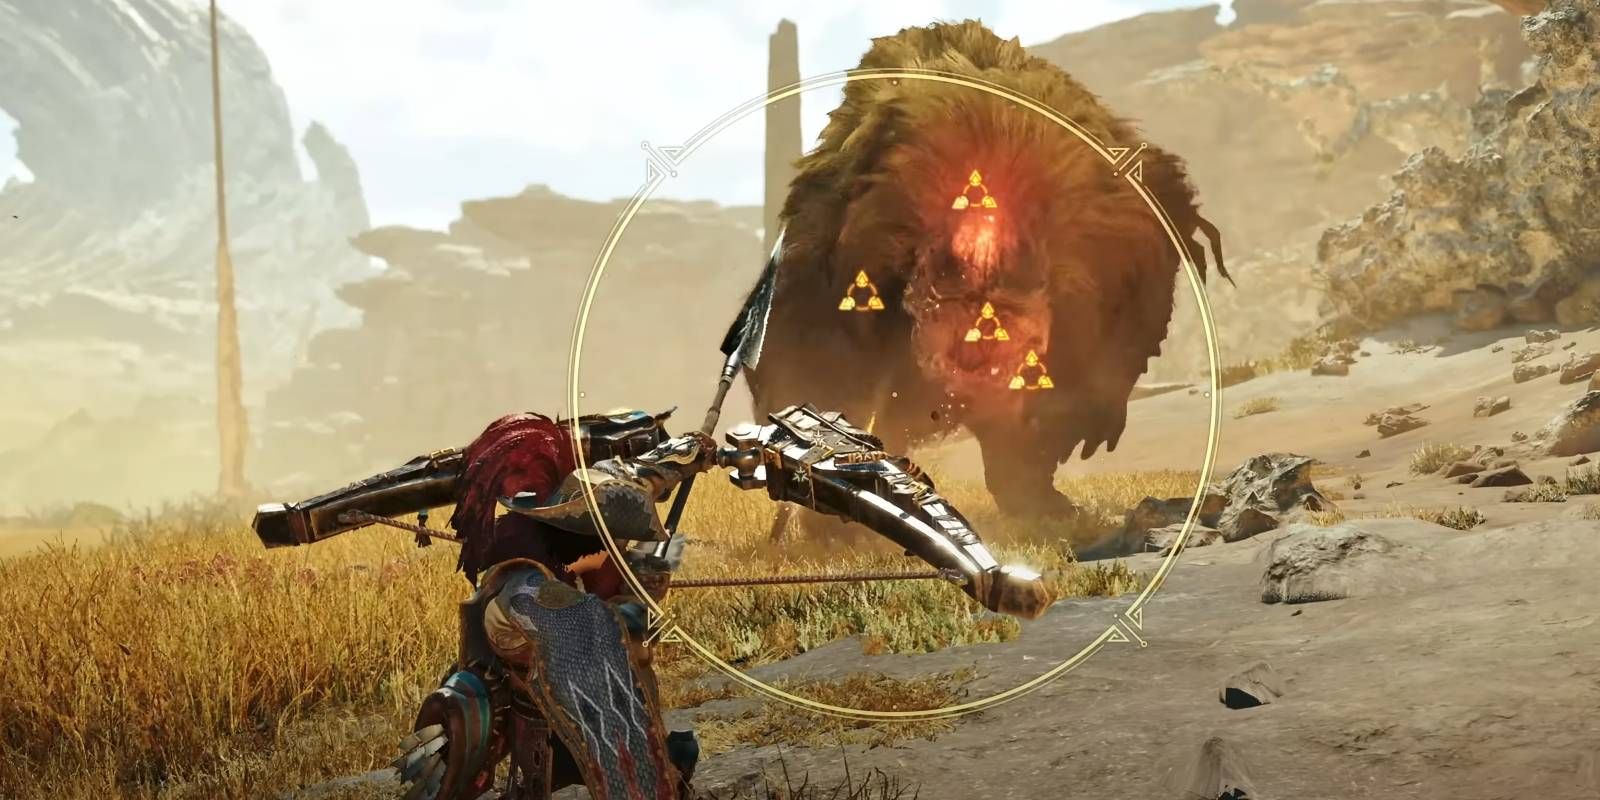
| Focus Strike: Hailstorm | L2 + R1 | L2 + R1 | Left Click + Shift | A Focus mode attack in Monster Hunter Wilds where a new reticle shows up, targeting Open Wounds on a monster. As you charge this move, more spots are targeted, releasing a volley of arrows that track Wounds to destroy them when released. |
Regardless of the type of Bow setup you choose, you’ll also need to replenish the Trick Arrow Gauge in order to employ Tracers and Coatings during a hunt. The Trick Arrow Gauge is refilled either by hitting a monster or by skillfully dodging an enemy attack using your Charging Sidestep. Typically, one-third of the Gauge is required for most actions, making it beneficial for certain builds to offer multiple methods for replenishing this resource.
Best Bow Gear & How To Get It
Match The Right Skills To Weapon Upgrades
In Monster Hunter World, the optimal equipment for Bow builds is gear that uses less Stamina, which can be achieved via skills or weapon/armor modifications. You’ll need to gather specific gear or unlock suitable weapon upgrades that come with the desired skills. As you progress through both Low-Rank and High-Rank missions, certain Bow equipment will become more attractive as they offer increased power.
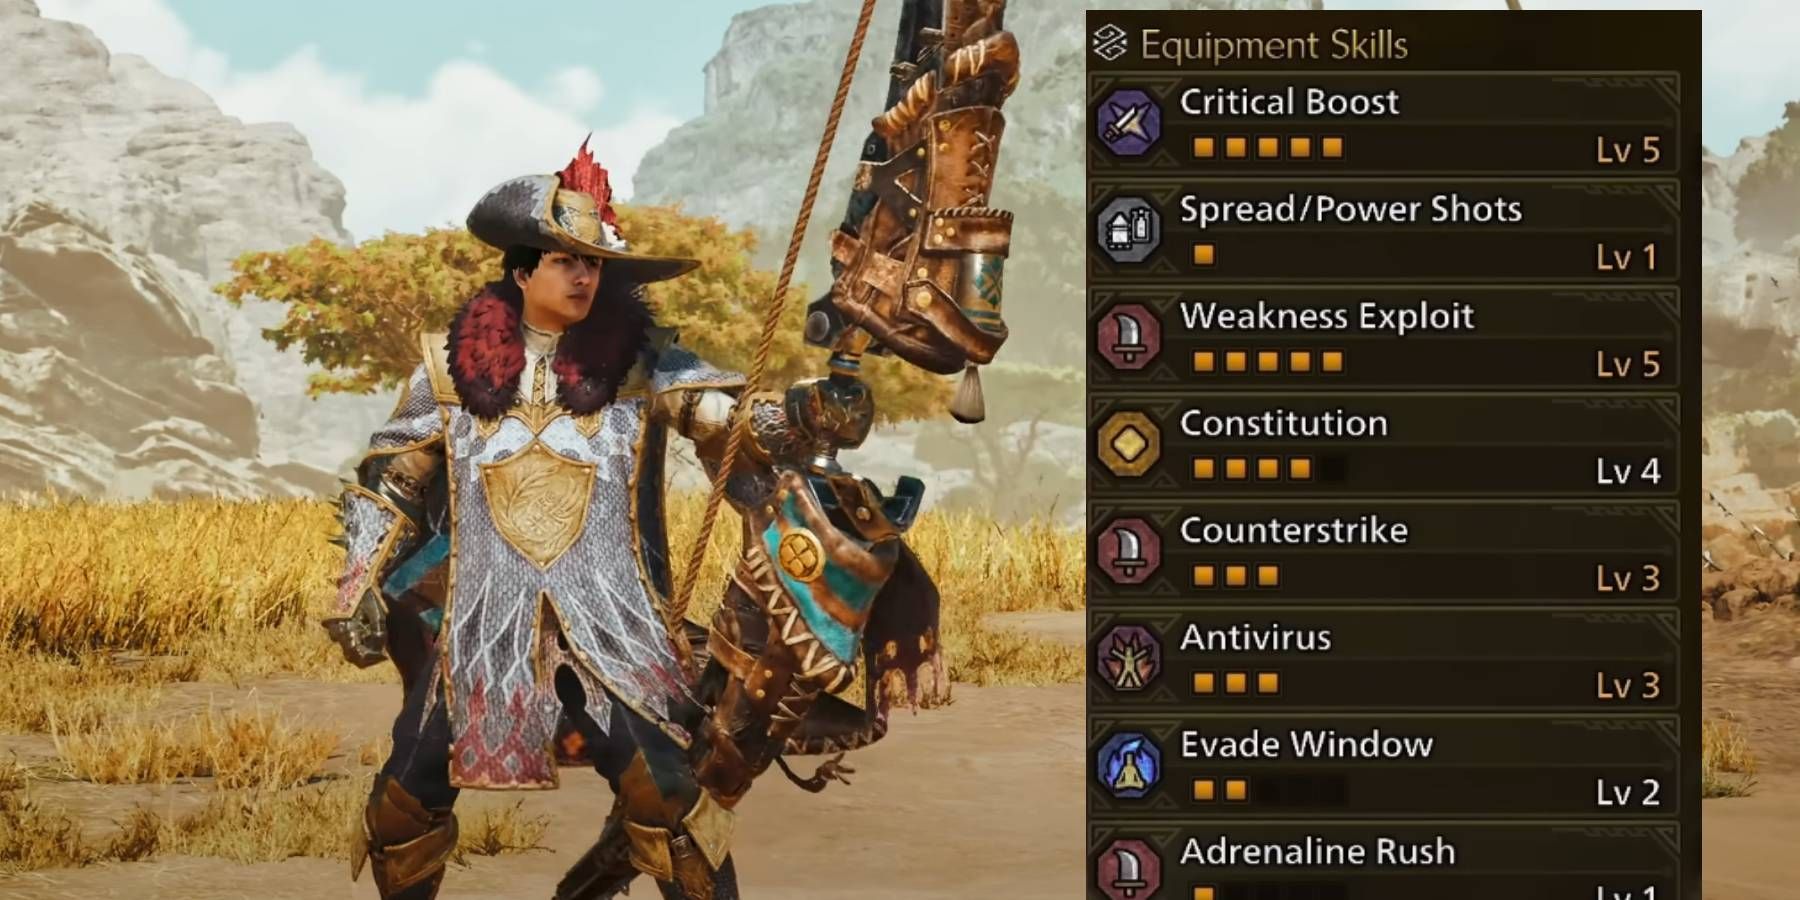
Regardless of your current Rank, certain Skills are almost essential for a Bow to function effectively in any build. Typically, Skills that enhance your Affinity and damage when aiming at a monster’s weak points are beneficial for Bows, particularly if they are fully upgraded. Here are some Skills to keep an eye out for on any type of gear for a powerful Bow setup:
This version maintains the original meaning but is more conversational and uses simpler language, making it easier for readers to understand quickly.
- Constitution – Lessens fixed Stamina depletion.
- Critical Boost – Boosts the damage from critical hits.
- Stamina Surge – Speeds up Stamina recovery.
- Spread/Power Shots – Increases the attacking power of the Bow’s Power Shots and Quick Shots.
- Burst – Provides additional elemental and raw damage to your weapon after landing attacks consecutively.
- Weakness Exploit – Increases Affinity when you attack monster weak points and Wounds.
The tables below provide details on optimal equipment for both low-tier and high-tier Bow builds. They cover essential skills as well as the decoration slots available within specific weapon or armor items.
The tables given here outline the ideal gear for a Low-Rank or High-Rank Bow setup, encompassing necessary skills and decoration slots found in particular weapons or armor components.
| Best Low-Rank Bow Weapon | |||||||
|---|---|---|---|---|---|---|---|
| Bow | Rarity | ATK | DEF | Element | Affinity | Skills | Coating(s) |
| Albirath Bow I | 4 | 192 (160) | 0 | Fire 110 | 15% | Ballistics (Lv1), Critical Element (Lv1) | Power, Blast |
| Best Low-Rank Bow Gear | |||
|---|---|---|---|
| Gear | How To Get/Craft | Slots + Recommended Deco | Skills |
| Albirath Bow I |
|
1 – Blaze Jewel (Fire Attack) | N/A |
| G. Ebony Helm |
|
1 – Physique Jewel (Constitution) | Burst (1) |
| G. Ebony Mail |
|
1 – Physique Jewel (Constitution) | Bleeding Resistance (1) |
| G. Ebony Braces |
|
1 – Physique Jewel (Constitution) | Burst (1) |
| G. Ebony Coil |
|
0 | Burst (1), Bleeding Resistance (1) |
| Xu Wu Greaves |
|
1 – Physique Jewel (Constitution) | Stamina Surge (1) |
| Surge Charm I |
|
N/A | Stamina Surge (1) |
Wearing four pieces of Guardian Ebony Odogaron armor enables you to activate the Burst Boost (Level 4), which increases the duration of your Burst and boosts your attacks significantly. This bonus is only active during Burst, but the long-lasting effect of this special armor set ability is maximized when you have all four pieces equipped for optimal results.
| Best High-Rank Bow Weapon | |||||||
|---|---|---|---|---|---|---|---|
| Bow | Rarity | ATK | DEF | Element | Affinity | Skills | Coating(s) |
| Verzweiflung | 8 | 252 (210) | 0 | Dragon 150 | 20% | Critical Element (3) | Power, Blast |
| Best High-Rank Bow Gear | |||
|---|---|---|---|
| Gear | How To Get/Craft | Slots + Recommended Deco | Skills |
| Verzwiflung |
|
3 – Spread Jewel (1), Dragon Jewel (1), Dragon Jewel (2) | Critical Element (3) |
| Gore Helm β |
|
2 – Chain Jewel (3), Shock Absorber (1) | Evade Window (1), Coalescence (1) |
| Arkvulcan Mail β |
|
2 – Chain Jewel (1), Phoenix Jewel (2) | Weakness Exploit (1) |
| G. Arkveld Vambraces β |
|
3 – 3x Physique Jewels | Weakness Exploit (2) |
| Gore Coil β |
|
2 – Chain Jewel (1), Phoenix Jewel (2) | Constitution (2) |
| Gore Greaves β |
|
3 – Chain Jewel (1), 2x Sane Jewel (1) | Flinch Free (1), Antivirus (1) |
| Surge Charm III |
|
N/A | Stamina Surge (3) |
In Monster Hunter Wilds, having several identical skills on your equipment will lead to their advancement, with each level intensifying their impact. This might require some effort and time to create an optimal Bow setup, but equipping the right gear could turn you into an unbeatable force during upcoming hunts.
Read More
- All Skyblazer Armor Locations in Crimson Desert
- How to Get the Sunset Reed Armor Set and Hollow Visage Sword in Crimson Desert
- One Piece Chapter 1180 Release Date And Where To Read
- All Shadow Armor Locations in Crimson Desert
- Marni Laser Helm Location & Upgrade in Crimson Desert
- All Golden Greed Armor Locations in Crimson Desert
- All Helfryn Armor Locations in Crimson Desert
- How to Beat Stonewalker Antiquum at the Gate of Truth in Crimson Desert
- All Icewing Armor Locations in Crimson Desert
- Black Sun Shield Location In Crimson Desert (Buried Treasure Quest)
2025-03-20 06:39