Megabonk features a wide variety of items – dozens, in fact – that significantly impact a player’s progress in each game run. While some items are accessible from the beginning, others can only be unlocked by completing specific quests.
In Megabonk, items come in five different rarities. While rarer items are tougher to find and often stronger, they aren’t always the best choice. This guide highlights helpful items that players should carry on every playthrough, no matter how common or rare they are.
Ghost

- Rarity: Common
- How to unlock: Survive the Final Swarm for 60 seconds
- What it does: Using an interactable summons ghosts
It’s easy to take everyday items for granted since you find them often in chests and from Moai Statues. But don’t underestimate them – they can be just as valuable as rare, powerful items during a playthrough.
Picking up the Ghost item causes ghosts to appear whenever you interact with objects in the game, like pots, shrines, statues, tumbleweeds, and chests. Since these objects are found throughout the game world, players who explore thoroughly can gather a lot of ghosts, making it much easier to defeat large groups of enemies and powerful bosses.
This item is especially useful for speedy characters like Tony McZoom and Calcium. They can zip around the map and interact with lots of objects quickly.
Credit Card
- Rarity: Uncommon
- How to unlock: N/A – Starting item
- What it does: Increase Damage by +2.5 percent when opening a chest
In Megabonk, players use gold to unlock chests. While the first chest is affordable at just 30 gold, the cost increases dramatically with each one opened. This means that the longer you play, the harder it becomes to earn enough gold to continue unlocking chests. However, opening chests is very common at the beginning of the game.
The Credit Card boosts a player’s damage by 2.5% every time they open a chest. Getting it early in the game, before chest costs get too high, can significantly increase damage output and become a key part of a successful run.
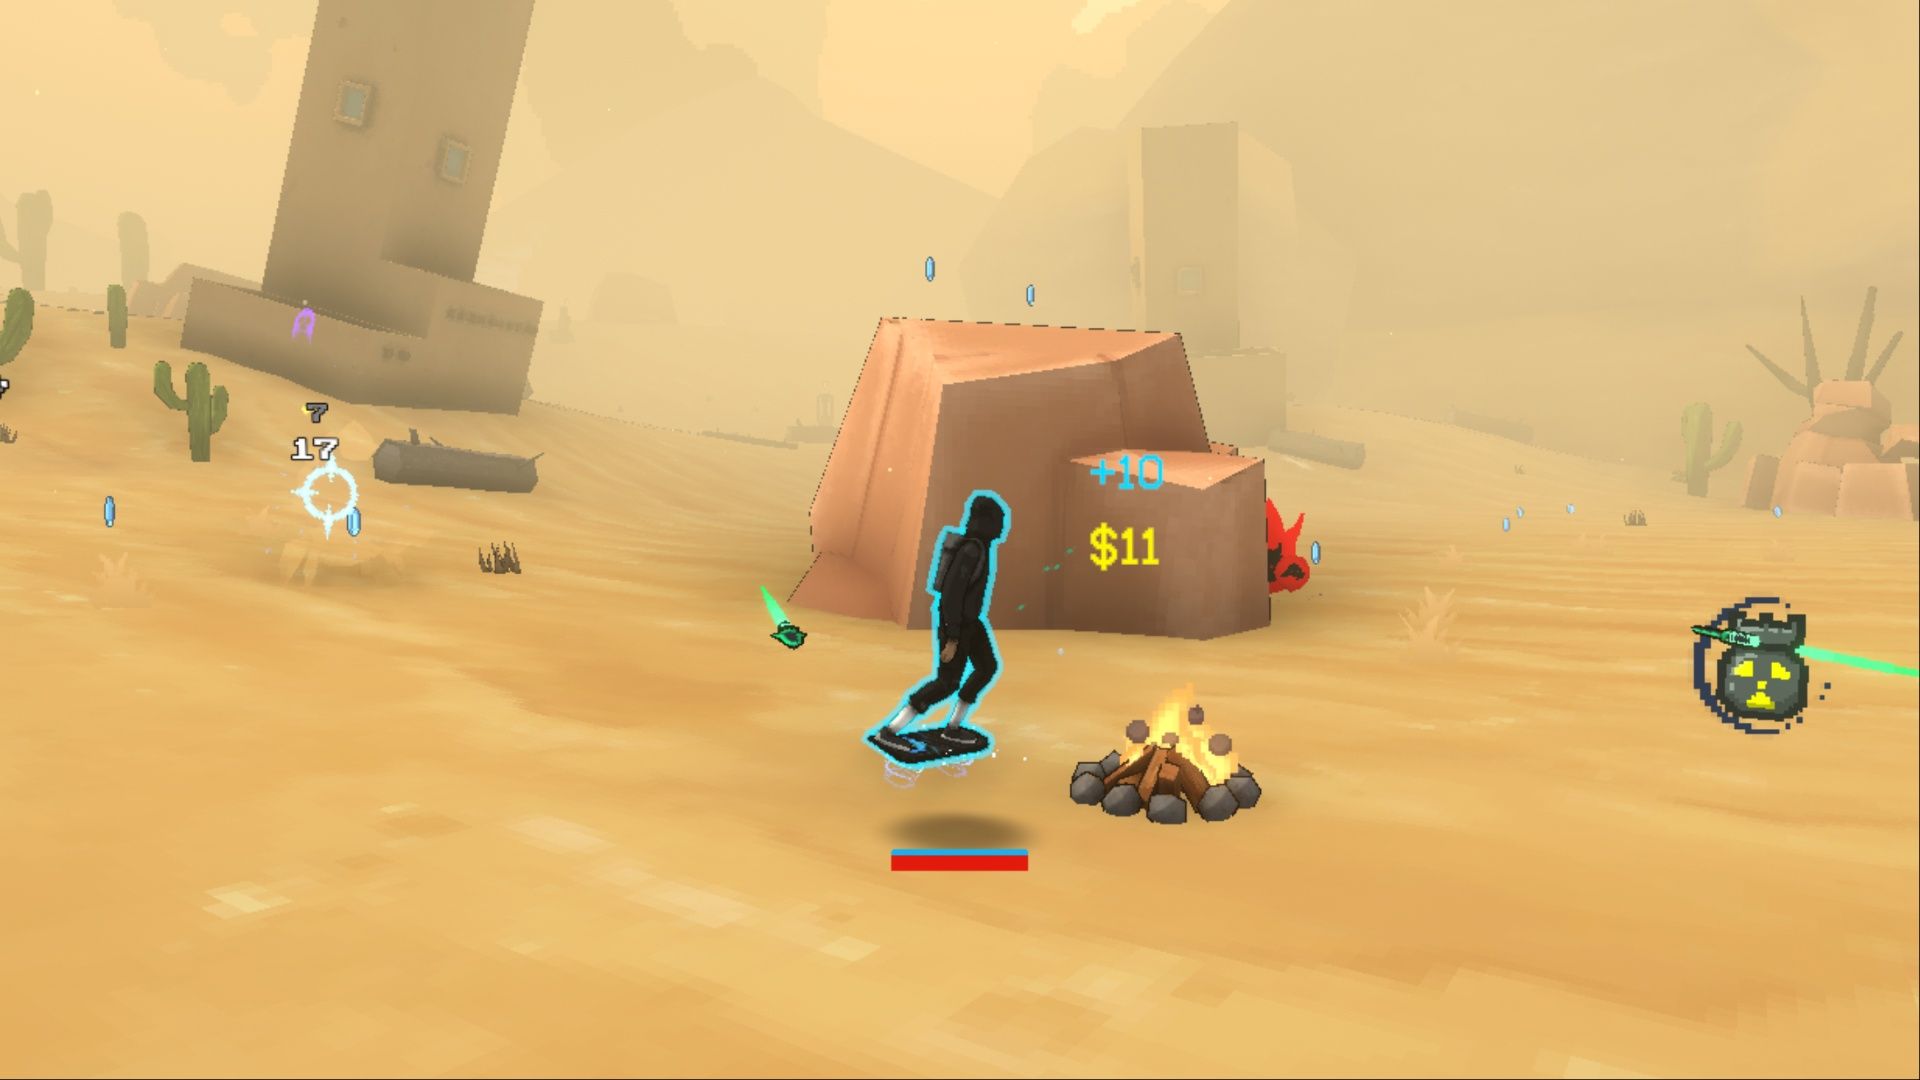
Campfire
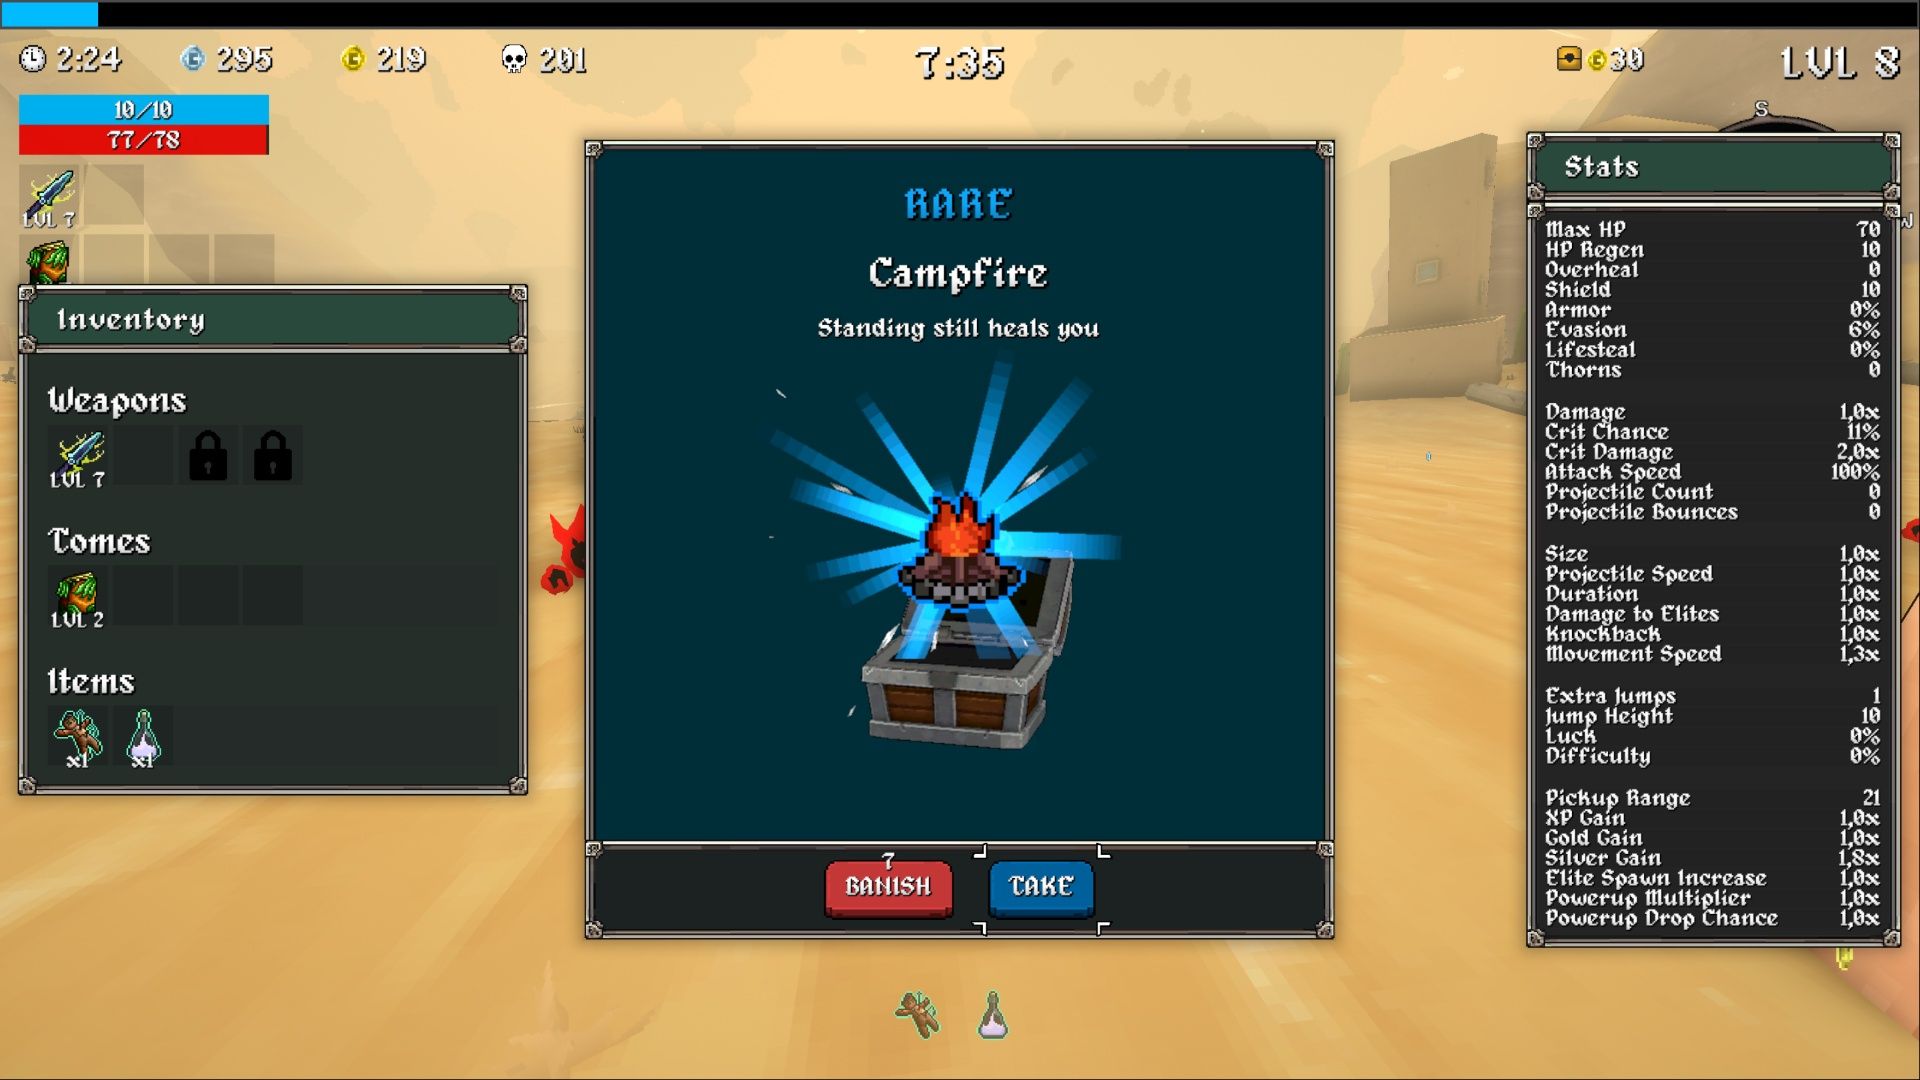
- Rarity: Uncommon
- How to unlock: N/A – Starting item
- What it does: Standing still heals you
Okay, so the Campfire isn’t a flashy item, I get that. It doesn’t give you a power boost or anything cool like that. It just… heals you if you stand near it. But honestly? It’s a lifesaver early on. When I’m just starting a run and still figuring out what build I want, it lets me stay alive long enough to actually get to that powerful build. It’s a solid way to survive the first bit, you know?
In Megabonk, a single Campfire restores a small amount of health (+1) each second, but it does so very quickly, allowing players to fully heal in just a few seconds. This makes it a highly useful item. Players can find more Campfires during a run, eventually eliminating the need to focus on their health regeneration stat.
Don’t ignore the Campfire just because it doesn’t directly increase your damage. It’s really valuable for staying alive. Just be careful – enemies like the Cactus and mini/stage bosses can attack from a distance, so don’t stand still for too long!
Sucky Magnet
- Rarity: Legendary
- How to unlock: Complete every single Charge Shrine on one map
- What it does: Periodically drag in all XP around you
The Sucky Magnet is a very rare item, meaning players won’t find it frequently. But if they do get it, they’ll be able to explore the game map more easily, without needing to go back and collect XP shards as often.
You can find small shrines dedicated to Succ on the map, and power-ups that attract items will sometimes appear. Getting these power-ups relies on chance. The Sucky Magnet is different – it makes sure players collect all experience points dropped on the map at regular intervals.
This is especially helpful when the final wave of enemies appears. Players who want to stay close to the portal but still earn experience from the final wave can position themselves near the entrance and wait for the Sucky Magnet to activate before entering.
Bob (Dead)

- Rarity: Rare
- How to unlock: Survive the final swarm for 2 minutes
- What it does: For every 14 units moved, summon Bob (he’s dead)
Ghosts are a useful way to slowly harm enemies, and the ‘Bob’ item lets you do just that. Every time you move 14 units with the Bob item equipped, you’ll summon a ghost. This item works especially well with fast-moving characters or those who have increased their speed with an Agility Tome, making for a strong strategy.
As a big fan of Megabonk, I’ve learned that getting a specific item, like Bob (Dead), is totally up to chance. You can’t always rely on seeing him during a playthrough, which is a bummer! But when he does show up, it seriously changes how you play. If I’m going for the Pacifist Challenge, getting Bob (Dead) makes me immediately grab the Agility Tome – it makes that challenge SO much easier. Even if I wasn’t planning on focusing on agility, Bob (Dead) still does passive damage to enemies, and honestly, that’s always a good thing!
Anvil

- Rarity: Legendary
- How to unlock: Complete 3 Challenges
- What it does: Weapon upgrades can now have +1 stats
As I’ve been playing, I’ve noticed that when you level up, the game gives you choices to improve your gear. Usually, these are new weapons and tomes you can add to your collection, or upgrades for the ones you already have. But once you’ve grabbed every weapon and tome available, you’ll only get offered upgrades from then on – no more new stuff to choose!
Normally, weapon upgrades will improve only one or two stats. However, finding the Anvil item allows weapons to gain a third stat boost. This is a huge advantage because stacking more rare and powerful upgrades will significantly improve a weapon’s performance when it’s fully upgraded. For players aiming to survive the final waves, achieve a high kill count, and climb the leaderboards, the Anvil is nearly essential.
Moldy Cheese
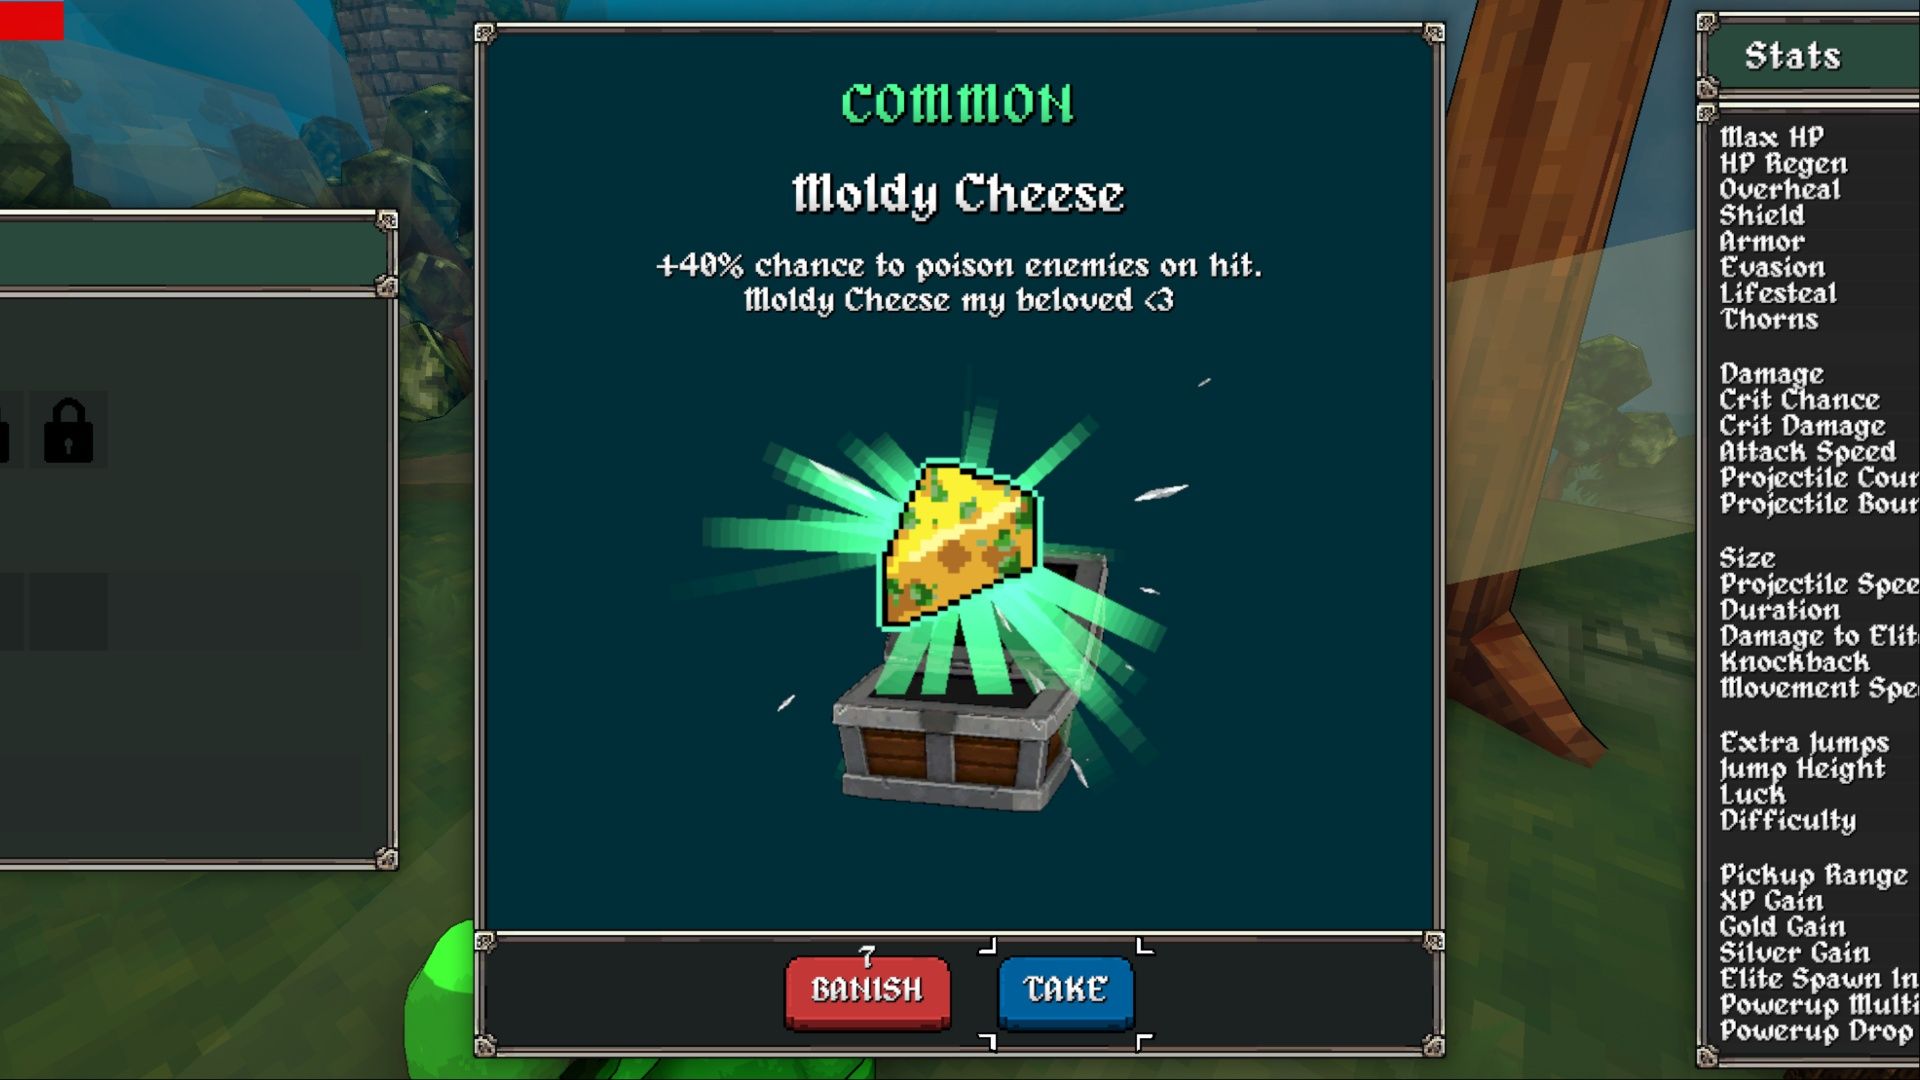
- Rarity: Common
- How to unlock: N/A – Starting item
- What it does: +40 percent chance to poison enemies on hit
Moldy Cheese appears frequently in Megabonk, and players will almost always want to pick it up when they find it. It slowly poisons enemies, making it especially effective against tough monsters by consistently dealing damage over time.
In Megabonk, players often collect as much Moldy Cheese as possible because its damage increases with each one you find. To get more, the best strategy is to gather common items and then use a microwave to clone the Moldy Cheese, boosting your overall damage output.
Read More
- All Skyblazer Armor Locations in Crimson Desert
- How to Get the Sunset Reed Armor Set and Hollow Visage Sword in Crimson Desert
- All Shadow Armor Locations in Crimson Desert
- Marni Laser Helm Location & Upgrade in Crimson Desert
- Best Bows in Crimson Desert
- All Helfryn Armor Locations in Crimson Desert
- All Golden Greed Armor Locations in Crimson Desert
- How to Craft the Elegant Carmine Armor in Crimson Desert
- Keeping Large AI Models Connected Through Network Chaos
- One Piece Chapter 1179 Preview: The Real Imu Arrives in Elbaf
2025-10-29 11:36