As a seasoned adventurer of Remnant 2, I have encountered my fair share of challenging dungeons, but none quite like the enigmatic Lament. This dungeon is a labyrinthine tomb raider’s paradise, filled with mind-bending puzzles that put my wits to the ultimate test.
During your journey in Remnant 2, you may come across the enigmatic Lament dungeon, hidden in the lush land of Yaesha. Known for its perplexing riddles, this challenging site is a must-explore for players seeking an intriguing diversion from the usual gameplay of Remnant 2. It’s reminiscent of the classic tomb raider experience, providing a refreshing shift in perspective.
In a Souls-like game with a gun theme, you’ll find fewer shooting sequences in this dungeon than in other areas. Instead, players should primarily rely on their intelligence to obtain all the available loot. Below is a concise overview of each challenge in the Lament’s labyrinth.
All Treasures In The Lament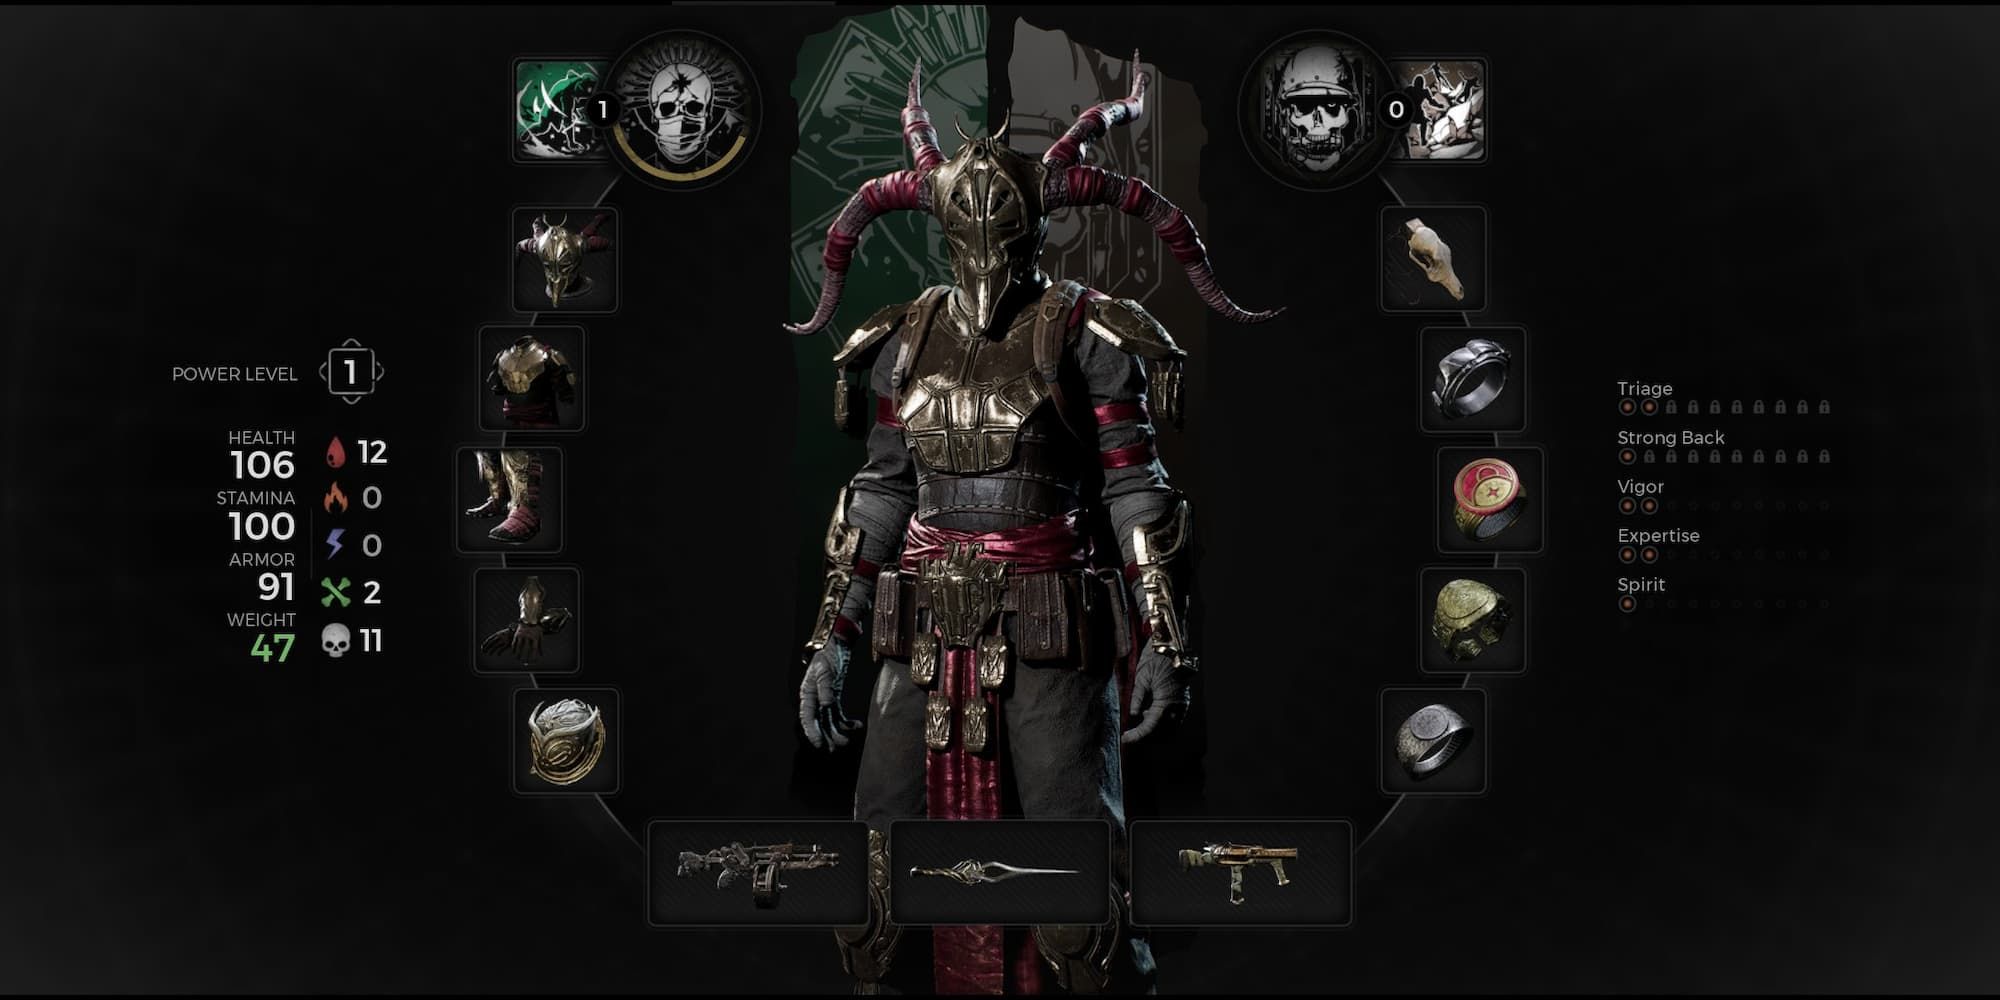
In The Lament, there are plenty of valuable treasures hidden within, and upon completing all the puzzles, players will have unobstructed access to collect all the following items:
- Red Widow Set: In the coffin in the main chamber
- Blood Tinged Ring: On the balcony overlooking the main chamber
- Lodestone Crown: Behind a hidden wall in Kolket’s Tomb
- Ring of Diversion: Within Kolket’s Tomb
- Overdrive (Mutator): Dropped by Wither
As a fan, I’d describe it this way: During my current playthrough of The Lament, I have the freedom to exit and re-enter at any given point. Once I return, all the challenges and obstacles within will be resolved, ensuring a smoother experience for me. However, if I decide to start anew with a fresh campaign, I’ll need to go through the entire process again from scratch, hoping that The Lament appears in my new game.
How to Get Past the Arrow Traps
To succeed in this part of the dungeon, there’s no hidden trick. Instead, players must skillfully dodge the volleys of arrows by carefully timing their steps. Be warned, though, that the sequence of trap activations changes when you reach the midpoint of each lane. So, weave your way through the lanes with a zigzag pattern, but pause the direction switch just as you cross the halfway mark to prevent getting impaled.
Playing with the level’s last lever disarms all arrow traps, allowing gamers to advance freely in the “Remnant 2” campaign without any hindrance from these traps.
The Lament Door Puzzle Solution
Each time you enter a new Lament dungeon, begin by examining the book next to the corpse on the first-floor ramp. Pay close attention to the symbol at the beginning of the book. Then, search for this same symbol on the tapestries concealing the deceased Pan on the tables within the room. The arrangement of symbols above each tapestry varies with each instance, so be sure to check them carefully.
Approach the circular gadget near the door and match the rings with the symbolic representations shown on the nearby figures to unlock the door. The significance of the arrangement sequence appears insignificant.
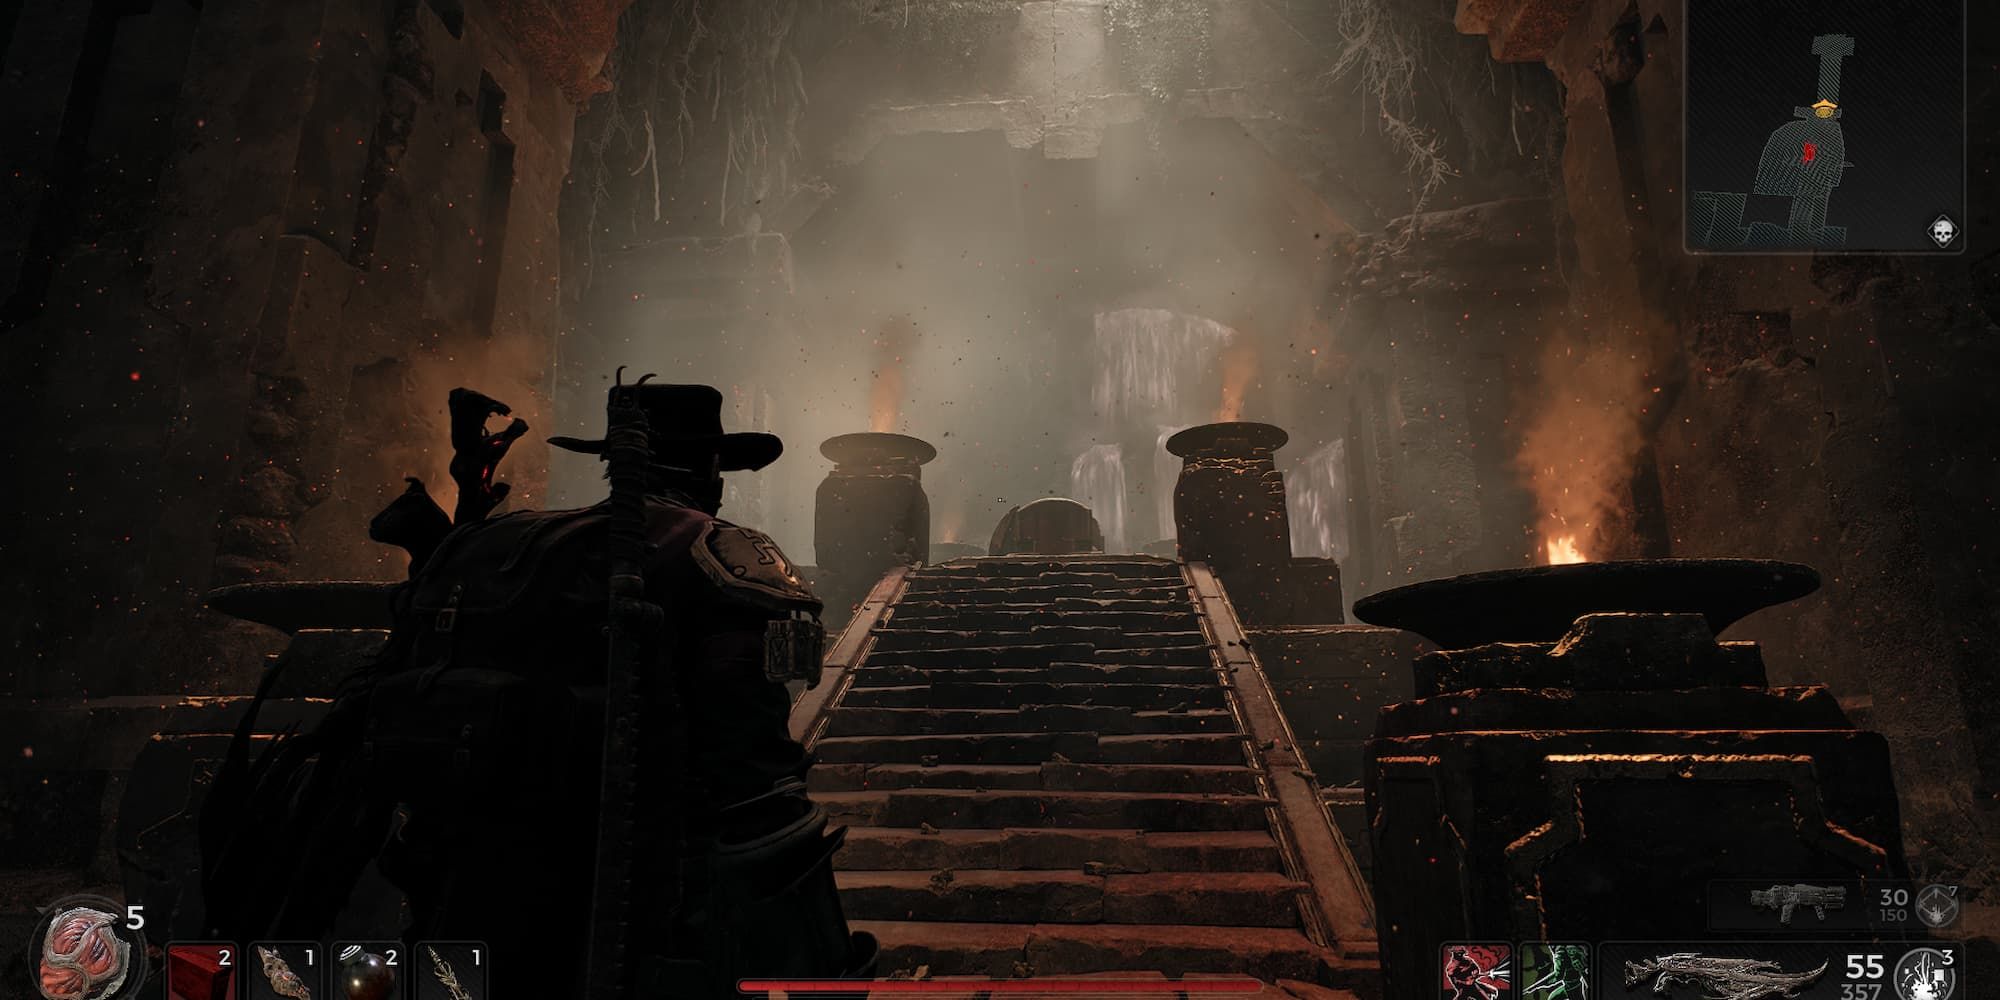
Reaching the Main Chamber
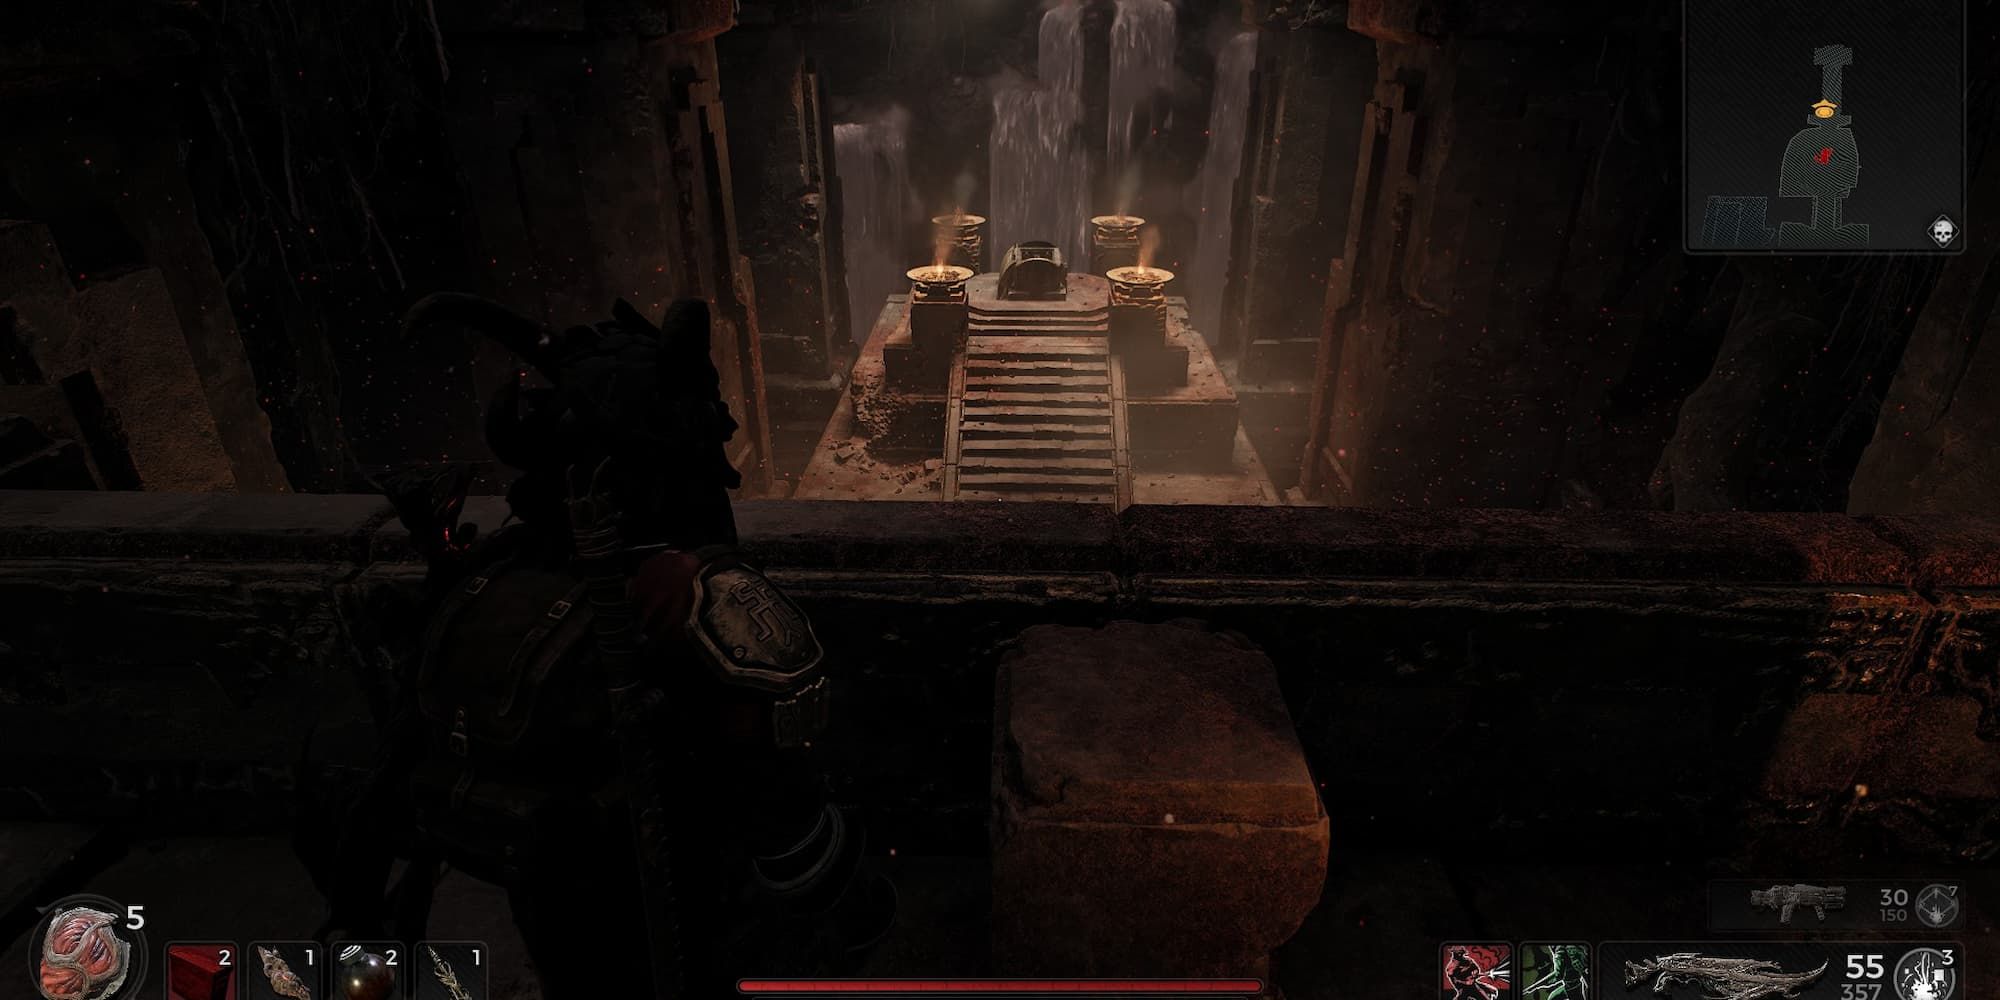
Players can get to the main burial chamber via a secret passageway. From the recently-unlocked checkpoint, turn toward the collapsed pillar in one corner of the room and roll through the vases to reveal a hole leading one floor down. From here, turn right, and go down to the small pool. There’s a tunnel behind one of the waterfalls — crouch through and go to the end to obtain a key to the storage room on the other side of the hall.
As a seasoned adventurer with years of exploration and survival under my belt, I’ve faced many challenges that tested both my wits and reflexes. Following these instructions, I approached the shortcut leading back up the stairs, feeling the familiar adrenaline rush as I unlocked the hidden storage room. With bated breath, I looted the ancient chest, its contents shimmering in the dim light.
Floating Platforms Section
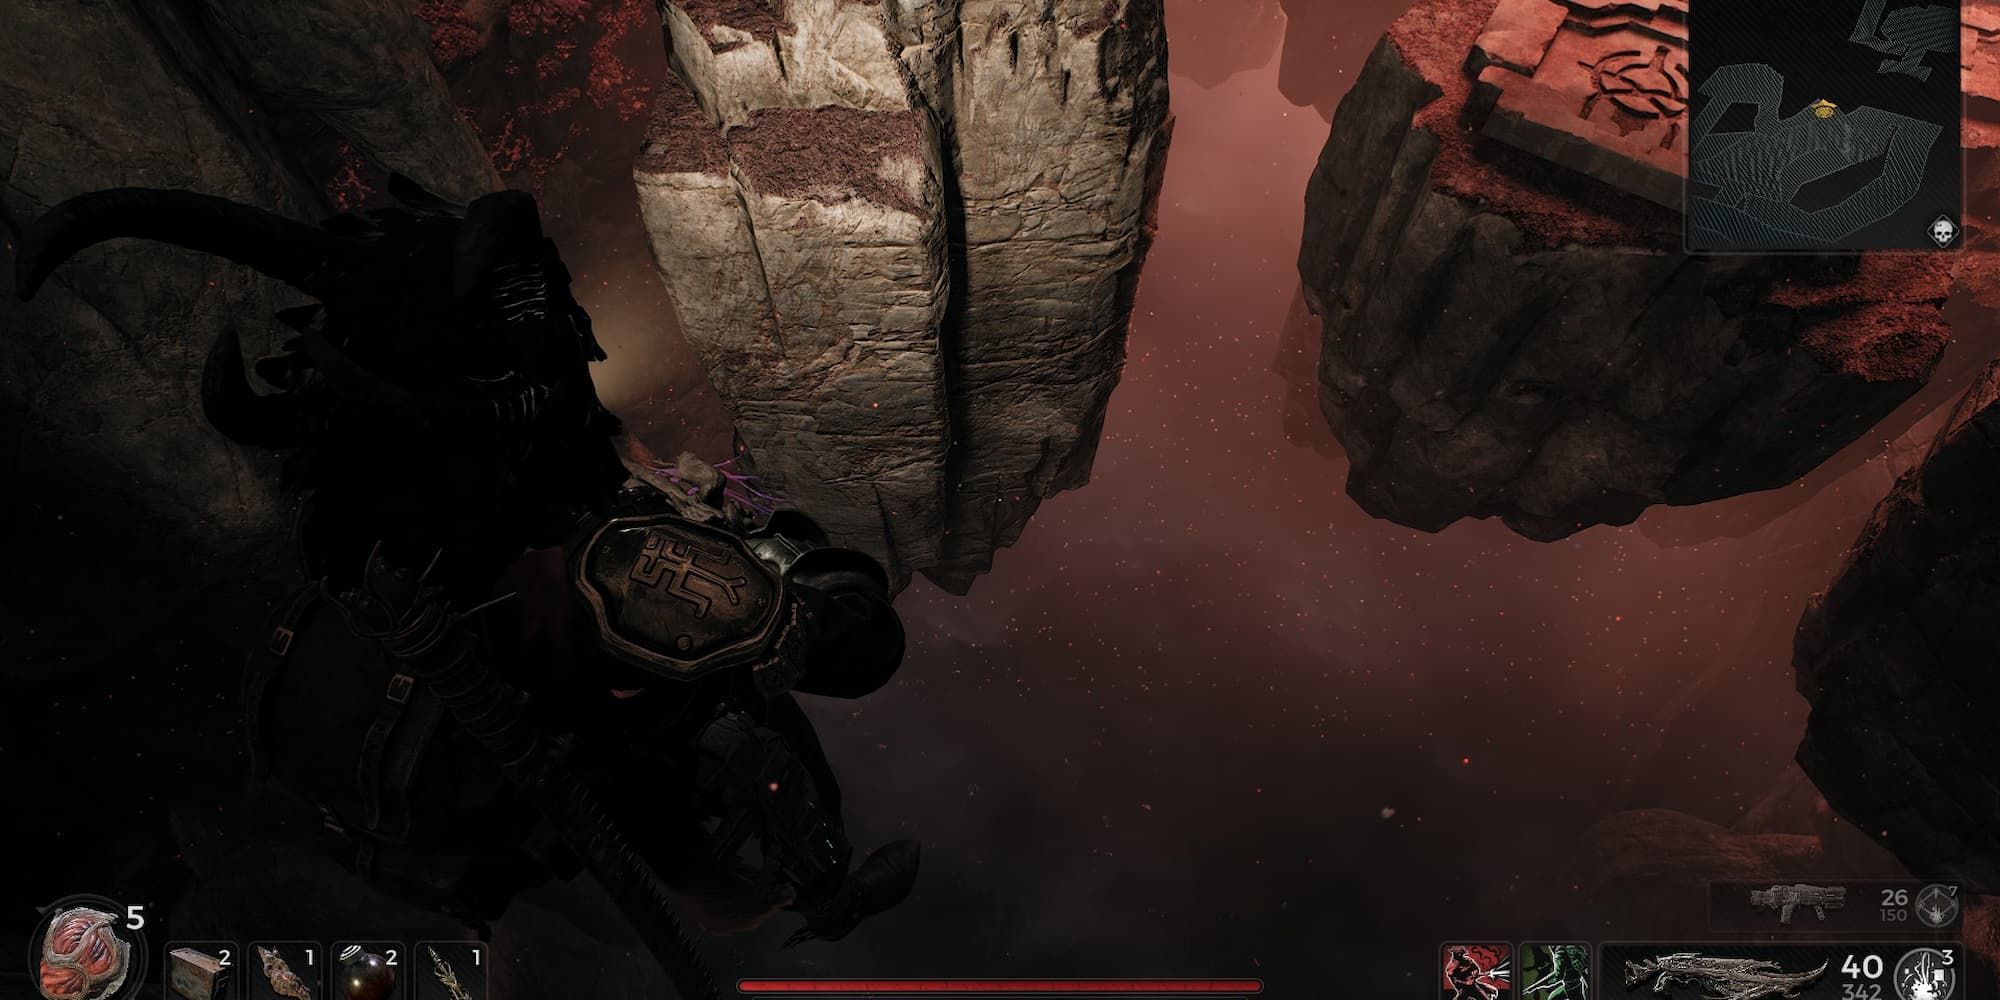
Before venturing further into this section of the dungeon, obtain the “Kolket’s Razor” item as a prerequisite. You can acquire this item by defeating “Wither,” a mini-boss with a chance to appear when you open coffins in the hall following the door puzzle. Wither shares similarities with other Aberrations in “Remnant 2,” but instead of dropping Traits, it rewards you with a Mutator upon defeat. Examine Kolket’s Razor and engage it to transform it into “Kolket’s Key.”
From a gamer’s perspective, to move between the levels, we have to locate hidden bridges connecting each platform. If there are gaps between them, take aim and fire, then jump across once the bullets cease. However, the door leading to the next area is locked tight, and only Kolket’s Key can unlock it.
How to Reach the Boat In Kolket’s Tomb
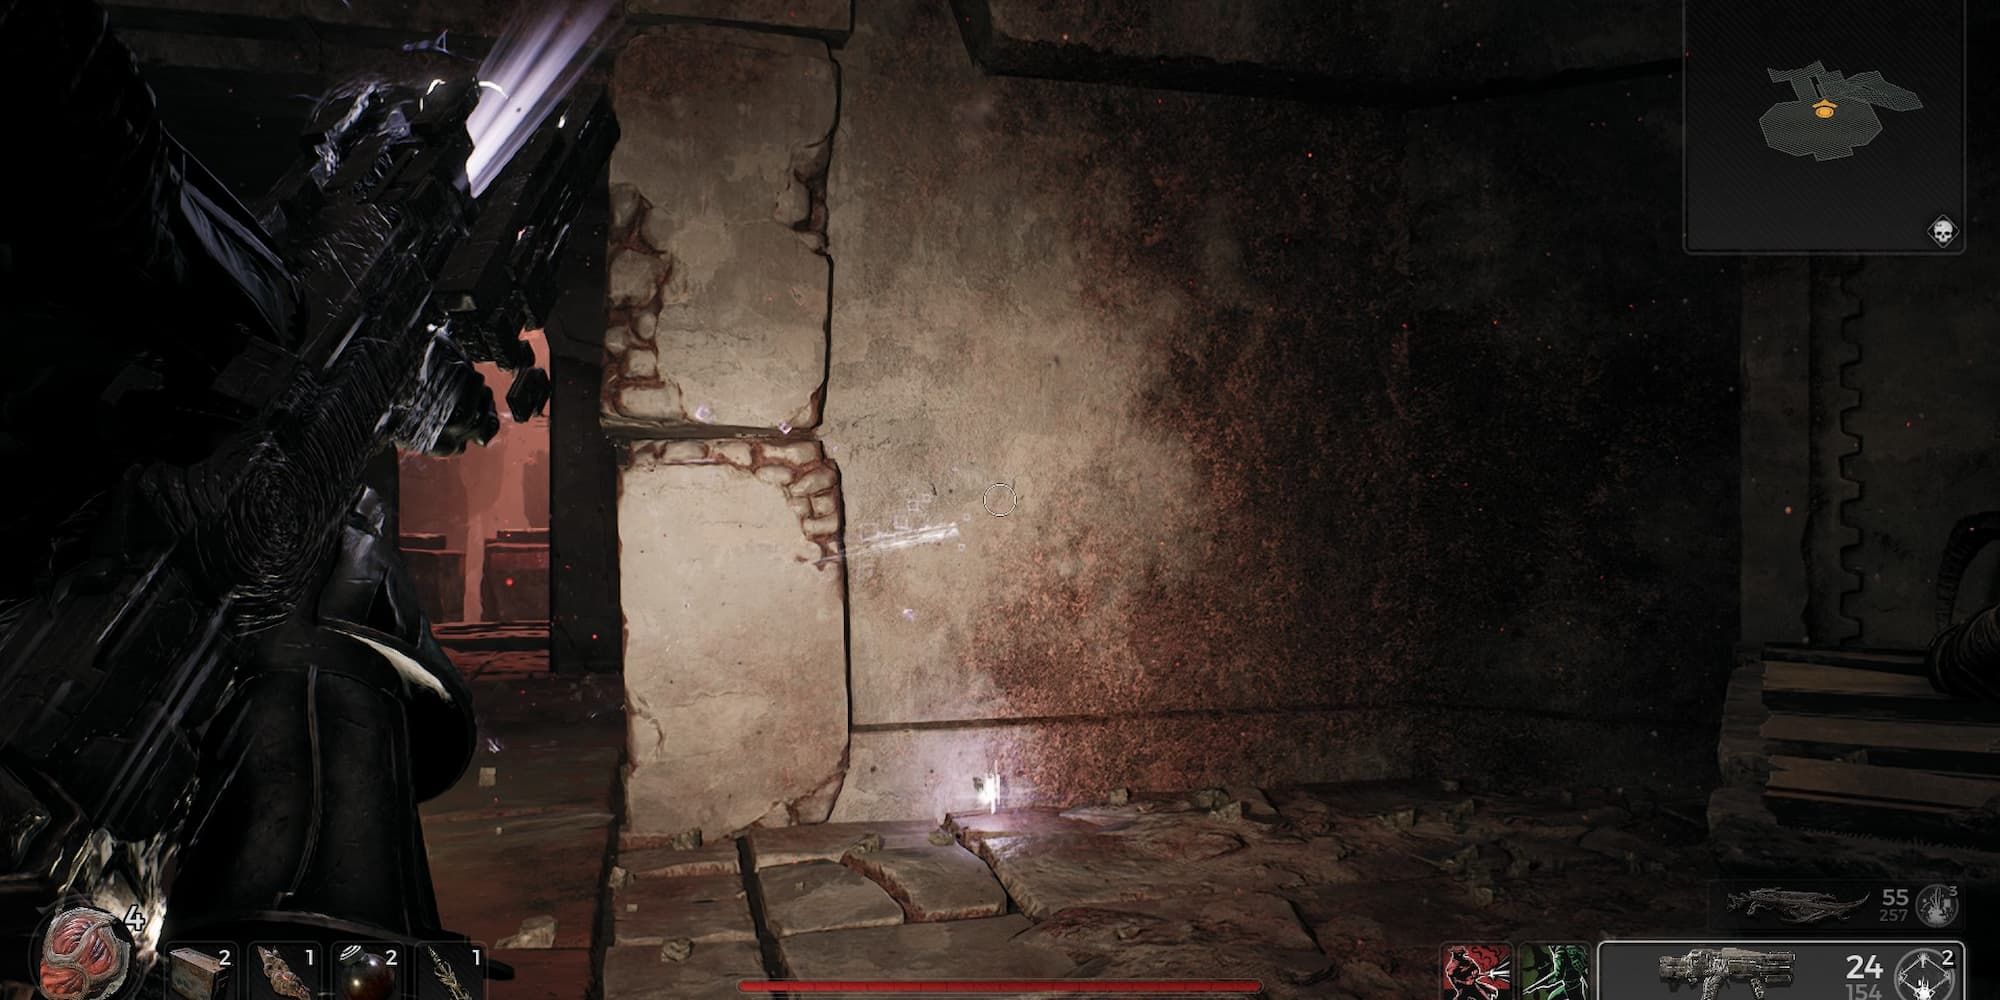
As a gamer, I’ve often admired the boat tucked away in the room beyond the platform section, but usually, it’s off-limits. However, there’s a trick to bypassing that illusory wall. By focusing my energy and using my abilities wisely, I can phase right through it. Once inside, I can proudly claim the Lodestone Crown – an exceptional helmet that sheds light on dark corners like a head-mounted flashlight.
As a fan, I’d describe it like this: When I hold the Lodestone Crown and bring it close to other lodestones, something fascinating happens. The exact implications of this reaction for the land of Yaesha remain a mystery to me, though.
Read More
- SOL PREDICTION. SOL cryptocurrency
- BTC PREDICTION. BTC cryptocurrency
- LUNC PREDICTION. LUNC cryptocurrency
- ENA PREDICTION. ENA cryptocurrency
- USD ZAR PREDICTION
- USD PHP PREDICTION
- WIF PREDICTION. WIF cryptocurrency
- HYDRA PREDICTION. HYDRA cryptocurrency
- MDT PREDICTION. MDT cryptocurrency
- USD VES PREDICTION
2024-07-18 17:24