As a seasoned Satisfactory player with countless hours under my belt, let me share some valuable insights about using Conveyor Belts to optimize your factory’s efficiency.
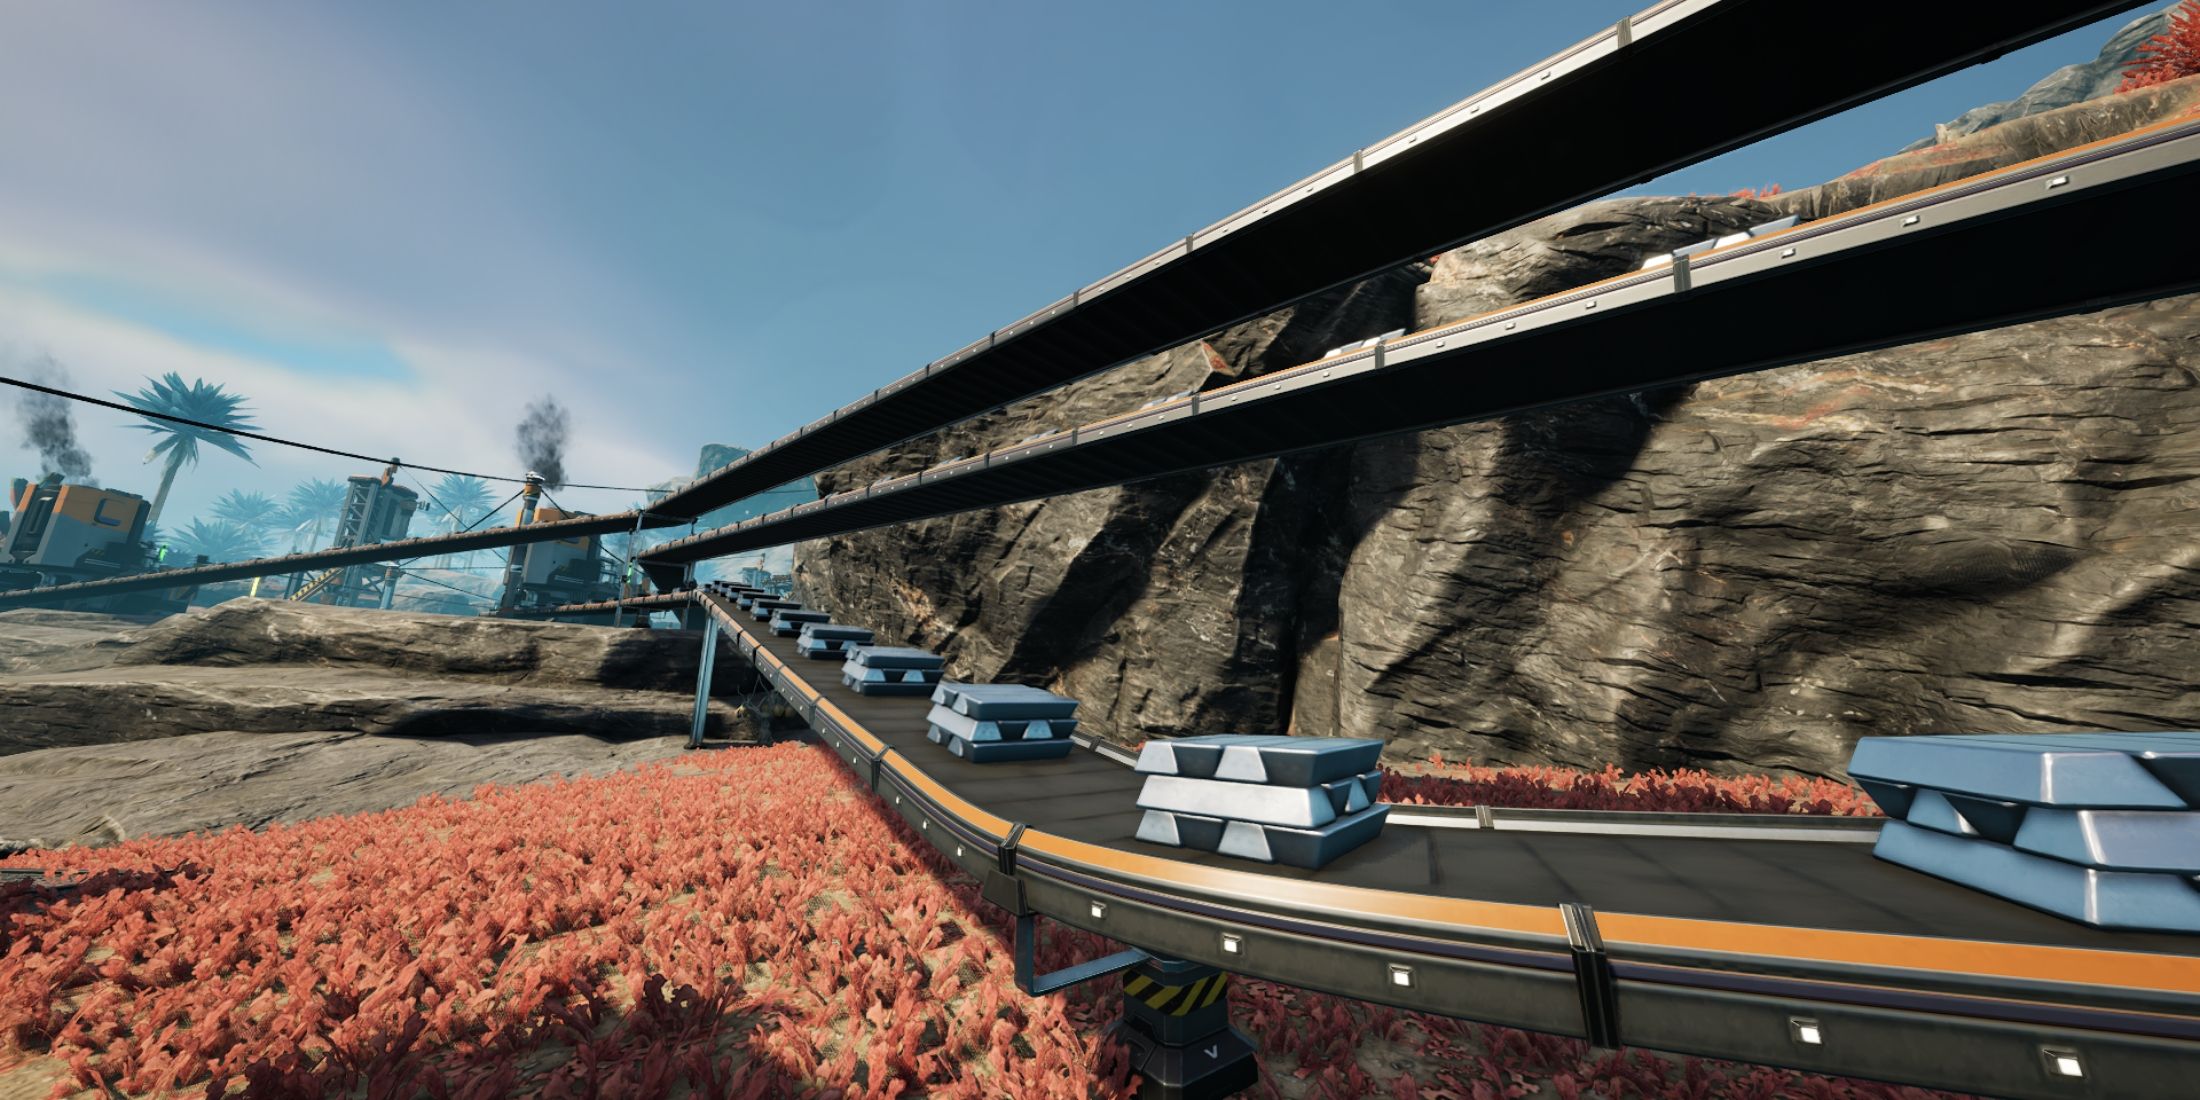
In the game called Satisfactory, Conveyor Belts play an essential role in constructing any type of automation or establishing a manufacturing process. The reason being, these conveyor belts enable automatic movement of materials and goods from one spot to another, thus eliminating the need for manual transportation by players.
In the thrilling world of Satisfactory, as a newcomer, I didn’t find Conveyor Belts immediately at my disposal, not even during the initial tutorial. Instead, these handy tools were a reward for achieving specific milestones within the HUB. This design choice is thoughtfully implemented to avoid overwhelming beginners like myself with an overabundance of tasks right from the get-go. Here’s how it all pans out: the game gradually introduces you to its depth, ensuring a smoother learning curve and a more enjoyable gaming experience.
How To Make Conveyor Belts Mk.1
To unlock the Conveyor Belt Mk.1, you need to achieve the HUB Upgrade 4 Milestone in Tier 0 first. Once this milestone is reached, navigate to the build menu under the Logistics Tab and craft the Conveyor Belt Mk.1 using these required materials:
| Materials | Amount |
|---|---|
| Iron Plate | 1 (Increases with length) |
You can create Iron Plates by first mining Iron Ore, then transforming the ore into Iron Ingots through processing, and finally refining those ingots into Iron Plates using either a Crafting Table or a Construction Station.
How To Use Conveyor Belts
- Open the build menu and select ‘Conveyor Belt Mk.1’.
- Aim your character at an open port, either output or input, and press the LMB. This will create a starting point for the Conveyor Belt.
- Now, find the location to which you want to connect the other end. The Conveyor Belt’s hologram will snap into place with a blue outline.
- Click LMB again to complete construction.
It’s not possible for Portable Miners to utilize Conveyor Belts. Instead, players must position a Miner Mk.1 or an upgraded version to automate the mining process.
In the game ‘Satisfactory’, it’s essential to link a Conveyor Belt with both an input and an output. You can determine whether a port is an input or an output by examining the structure’s hologram in the build menu. The orange port serves as the input, while the green port acts as the output.
If the hologram fails to align properly, it could indicate that the terminations of the Conveyor Belts are linked to incorrect destinations (such as both being outputs), or that the rotation speed of the Conveyor Belt exceeds what’s physically achievable in the current setup.
If the hologram changes from blue to yellow, it indicates a problem known as clipping, where your current path seems to pass through other structures such as trees or buildings. Although this issue can be disregarded for now, clicking the Left Mouse Button will generate a functioning belt.
How to Unlock Better Conveyor Belts
In this setup, we have five types of Conveyor Belts labeled Mk.2, Mk.3, Mk.4, and Mk.5. To access each advanced level of Conveyor Belt, you need to accomplish the corresponding Milestone in the HUB. As the game advances and players meet FICSIT’s objectives, these levels will become available automatically. Here are the key points:
| Conveyor Belt Tier | Transport Rate | How to Unlock | Crafting Materials |
|---|---|---|---|
| Mk.1 | 60 | Tier 0 – HUB Upgrade 4 | 1x Iron Plate |
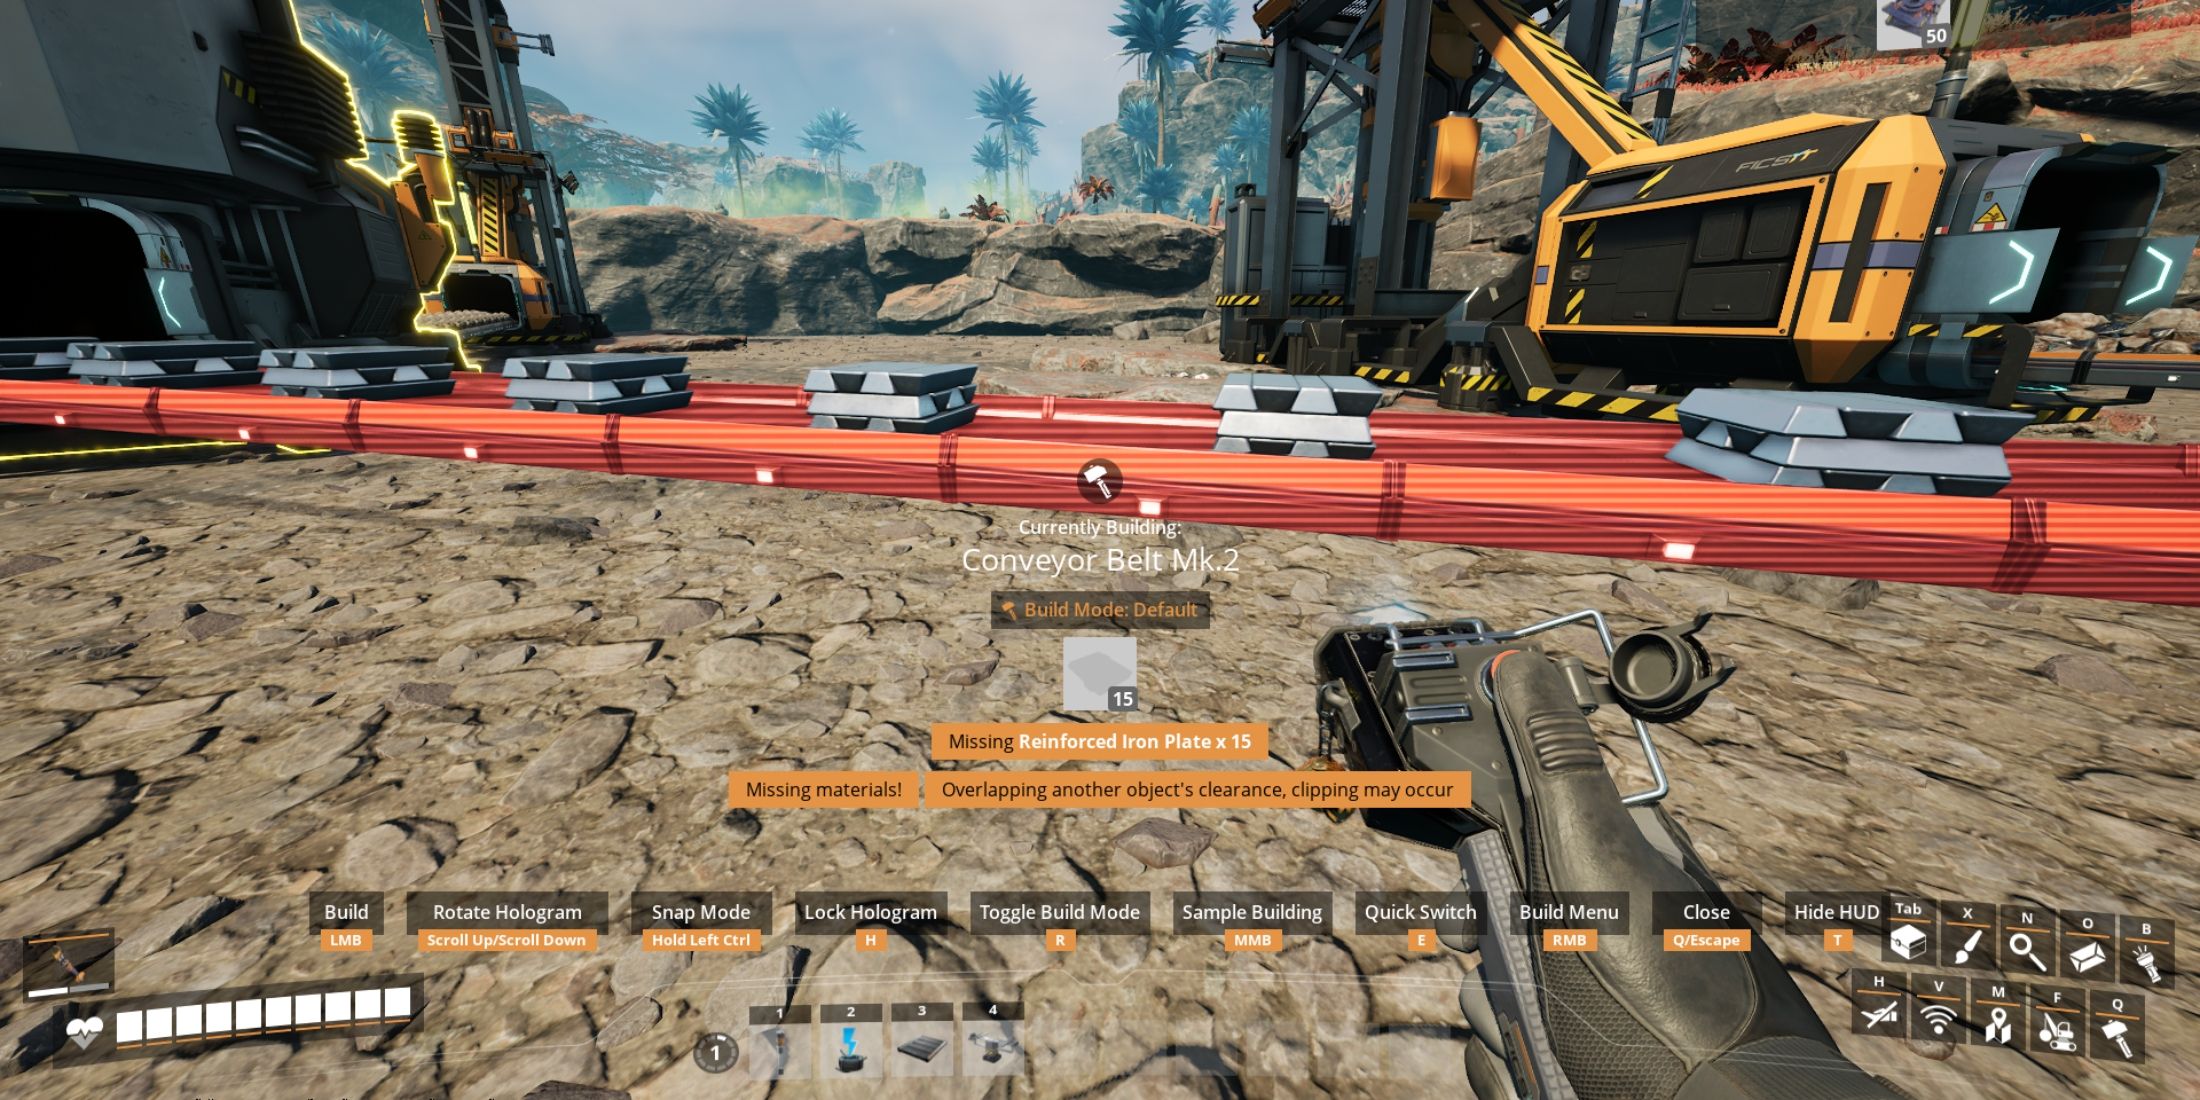
| Mk.2 | 120 | Tier 2 – Logistics Mk.2 | 1x Reinforced Iron Plate |
| Mk.3 | 270 | Tier 4 – Logistics Mk.3 | 1x Steel Beam |
| Mk.4 | 480 | Tier 5 – Logistics Mk.4 | 1x Encased Industrial Beam |
| Mk.5 | 780 | Tier 7 – Logistics Mk.5 | 1x Alclad Aluminum Sheet |
The only difference between Conveyor Belts of different tiers is the speed at which they transport materials. Conveyor Belt Mk.2, for example, is twice as fast as Mk.1, the Mk.3 is 4.5x faster than Mk.1, and so on. However, simply upgrading all Conveyor Belts in a production chain without any forethought will not yield proportional results. This is because the bottleneck in many production lines is not the speed at which the materials are being transported but the processing speed for refining those materials.
By hitting ‘N’ and then typing “Conveyor”, you can swiftly access a list of all structures you can craft with that name, making it a speedier method for choosing what to construct compared to browsing through the build menu manually.
Tips On Using Conveyor Belts Correctly

- Like all buildings and structures in Satisfactory, Conveyor Belts can be dismantled at any time, and the player will be able to recoup the entire cost. If the Conveyor Belt is in operation and there are items actively being transported, everything will be deposited inside your inventory. If there is no space in your inventory, excess materials will be deposited on the ground in the form of a small storage container.
- If you’re in a hurry, you can manually pick materials off of any Conveyor Belt by walking up to it and picking it up. This can come in handy when you need a material urgently and can’t wait for the automation to finish. Since manual crafting is always faster than automated crafting, this can speed up the completion of milestones, especially in the early game.
- Existing Conveyor Belts can be upgraded to the next tier by selecting the next tier from the build menu and interacting with the belt.
- Always keep a surplus of Iron Plates in a storage container in case of an emergency in the early game. Even after graduating to the next tiers, having the ability to always construct Mk.1 belts goes a long way in connecting far-off resources to the main base.
Read More
- LUNC PREDICTION. LUNC cryptocurrency
- SOL PREDICTION. SOL cryptocurrency
- BICO PREDICTION. BICO cryptocurrency
- BTC PREDICTION. BTC cryptocurrency
- USD ZAR PREDICTION
- VANRY PREDICTION. VANRY cryptocurrency
- USD CLP PREDICTION
- WQT PREDICTION. WQT cryptocurrency
- BLACK PREDICTION. BLACK cryptocurrency
- USD COP PREDICTION
2024-09-14 14:53