Quick Links
-
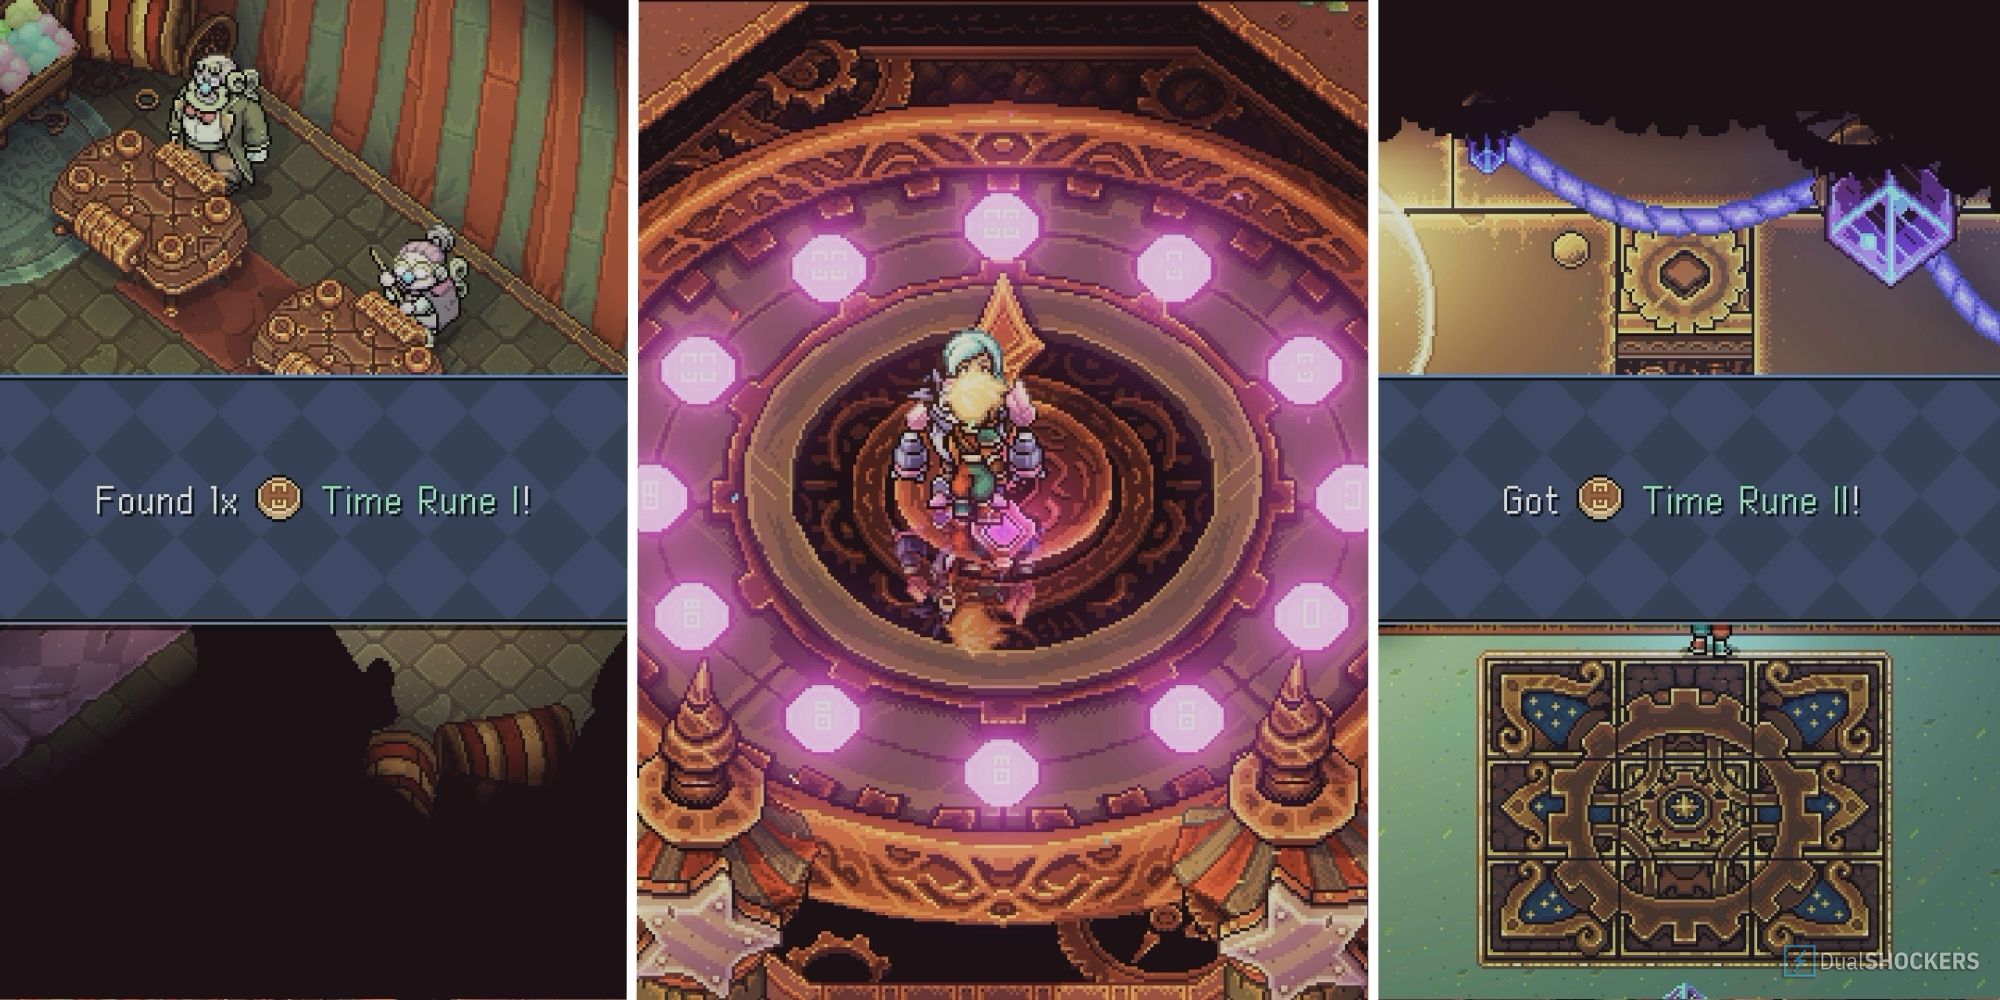
Time Rune I
- Horloge Town
-
Time Rune II
- Goodies Pond
-
Time Rune III
- Rail Forest
-
Time Rune IV
- Ivory Towers Station
-
Time Rune V
- Ivory Towers
-
Time Rune VI
- Horloge Town
-
Time Rune VII
- Lost Island Station
-
Time Rune VIII
- Were Rock
-
Time Rune IX
- Horloge Town
-
Time Rune X
- Lost Island Station
-
Time Rune XI
- Big Top
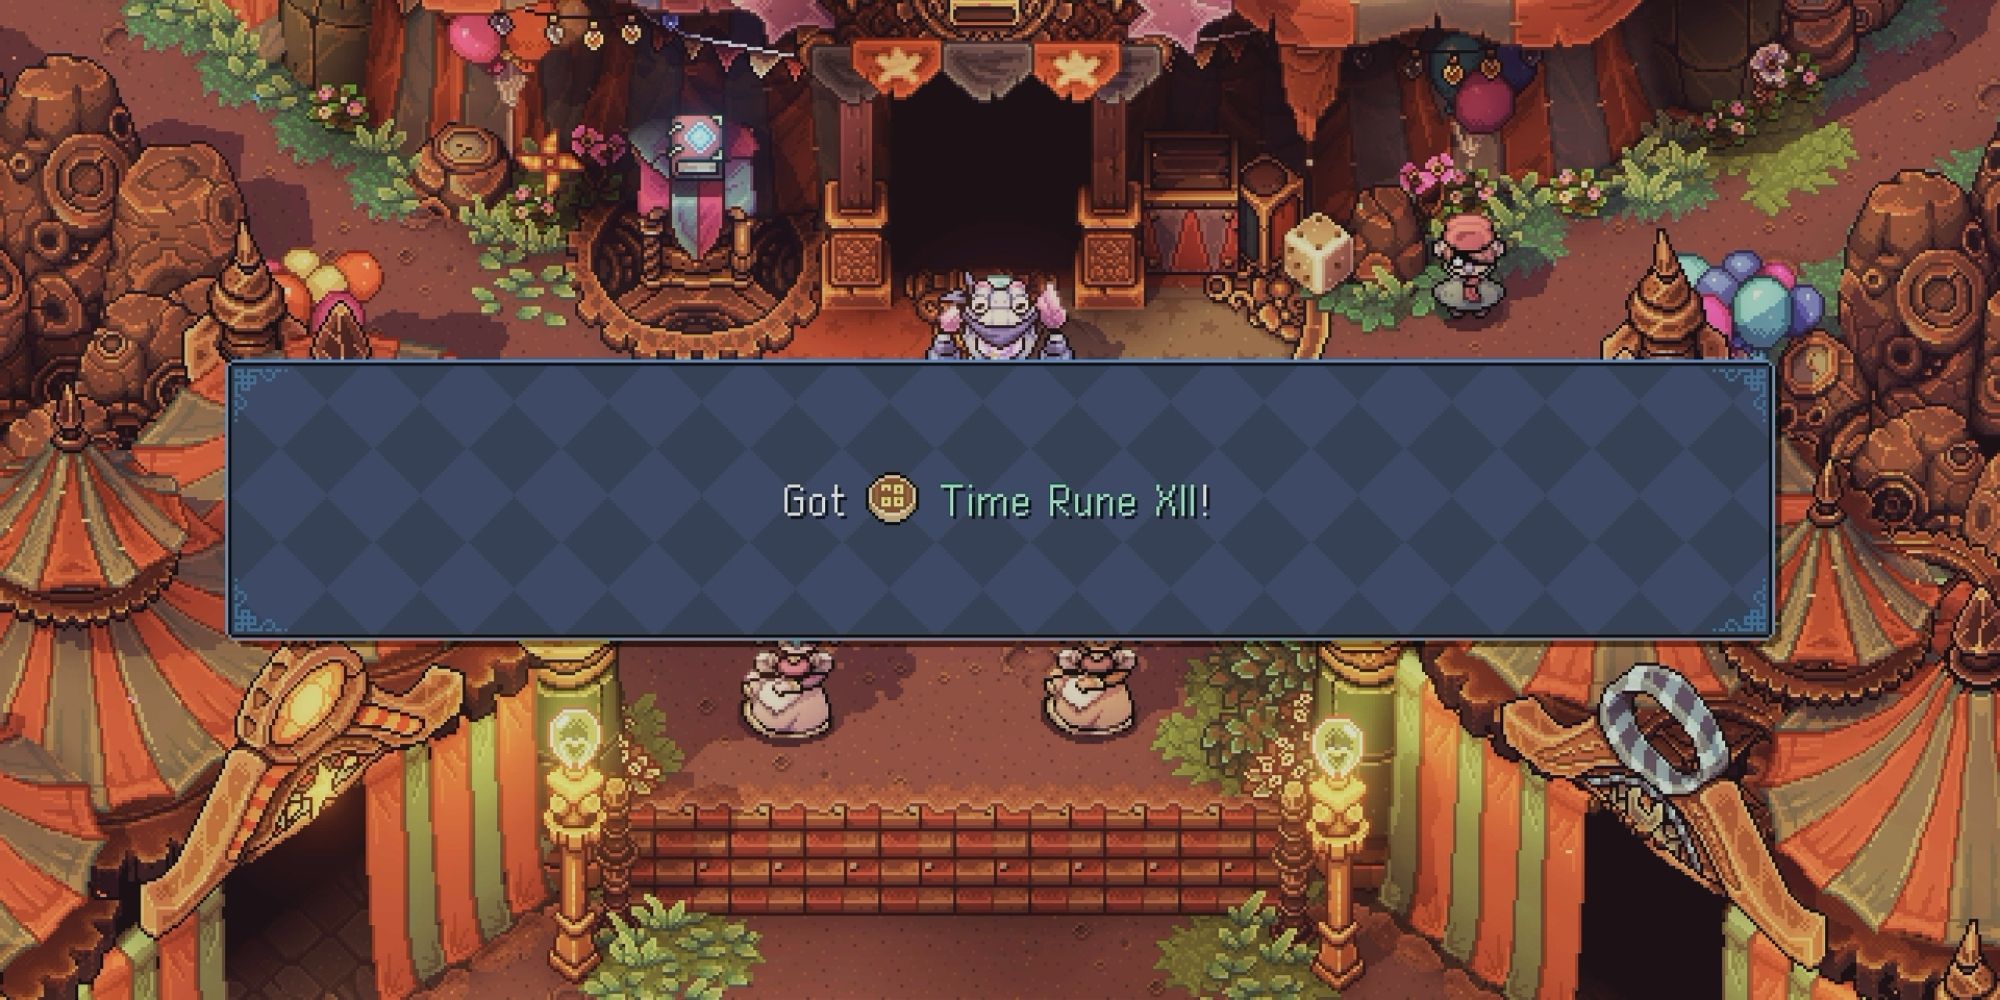
-
Time Rune XII
- Horloge Town
-
Rewards For Finding All The Time Runes
In the game Sea of Stars, the entirety of the DLC titled “Throes of the Watchmaker” was made available for free. This addition brings new experiences such as a fresh character, mini-games, additional puzzles, and, just like any great Japanese Role Playing Game (JRPG), more collectibles to find.
Similar to how Rainbow Conches were found in Sea of Stars, here in Throes of the Watchmaker, we have Time Runes. Once these are gathered, they unlock a hidden conclusion or secret for us, so to speak.
Because you can only obtain the DLC during the final stages, it’s likely that you’ve already secured the Falcon-Eyed Parrot. This bird is a must-have for completionists everywhere, and he significantly helped me in locating all the runes effortlessly.
Get ready, ex-Solstice Warriors now turned circus artists! In this tutorial, I’ll walk you through locating all Time Runes in Sea of Stars: Throes of the Watchmaker and unveil a fascinating secret that connects to Sabotage Studio’s other game.
In this manual, we’ll mainly help you find all the Time Runes. However, please note that it won’t provide a solution to every puzzle, as some are designed to be fairly self-explanatory.
Time Rune I
Horloge Town
To put it simply, you can only access this specific Time Rune after you have participated in both Fishing and Wheels mini-games. In order to fight with the Wheel champions, you first need to discover the Warlock Figurine.
To obtain the Warlock Figurine, catch all types of fish (essentially four different bags of fish) provided by the DLC. It may seem confusing since there are only three types of bags, but you must catch each type at every single fishing spot.
Once you’ve completed Rail Forest, feel free to proceed with the task at hand. Below, you’ll find the locations of the fishing spots and the specific bags where you can fish.
In this way, the information provided remains clear and easy to understand while still maintaining a natural conversational tone.
- Bounty Basin in Horloge Island – Small Goodie Bag, Medium Goodie Bag
- Goodies Pond in Lost Island Station – Small Goodie Bag, Big Goodie Bag
- Were-Lake in Wolf Rock Station – Medium Goodie Bag, Big Goodie Bag
1. Following your catch, head to the Were-Lake, have a chat with the NPC located there. He should reward you with a Magnet Hook. Now, you can retrieve a chest from the same lake which contains a Warlock Figurine within.
2. After collecting all your catches, make your way to the Were-Lake and speak with the NPC there. He’ll hand over a Magnet Hook as a reward. Now, you can fish out a chest in that same lake which contains a Warlock Figurine inside it.
After that, revisit Horloge Town and confront the three Wheel Champions. You’ll find their tent located southwest of the town square. I managed to defeat them using both Mage and Thief toy characters.
As a token of appreciation, you’ll receive some Clown Noses which you can use to earn additional tickets. Once you conquer all three levels, you’ll be awarded the Time Rune I and a trophy as well.
Time Rune II
Goodies Pond
Once you’ve secured your way onto the train, you’ll be able to travel to the Lost Island Station located towards the eastern part of the map. It is here where you’ll discover the Goodies Pond, a place that may already be familiar to you if you have acquired the Warlock Figurine.
After shrinking yourself, navigate through a whirlpool and dive to uncover a region where you can access a container from it. To do this, simply jump into the water and swim towards the north-flowing waterfall.
Within this container lies a sliding puzzle that challenges your problem-solving skills. Unfortunately, I can’t offer detailed instructions on its solution since I myself stumbled upon the answer through trial and error – persistence being the key!
After lining up the tiles correctly, the gate will open, and you will have the Time Rune II.
Time Rune III
Rail Forest
As you delve into the Rail Forest, the second level in Throes of the Watchmaker, you will discover a grappling hook which propels you towards certain wall grates. After using this tool, ascend the wall. To your left, there’s a concealed doorway that awaits discovery.
Within, you’ll find a container, much like the norm, and within this container lies a riddle. In this instance, it calls for the rotation of four circular elements. Your objective is to arrange them so that they create an upward-facing directional symbol.
As a gamer, here’s my take on it: From the heart of this game, let’s work our way out, because the inner circles have a knack for influencing their neighbors as well. Once you manage to align them perfectly, the Time Rune III will be up for grabs!
Time Rune IV
Ivory Towers Station
As you board the train, your primary stop ahead is the Ivory Towers. Upon disembarking at the station, you’ll be right in the heart of things, or more precisely, in the central hub. There’s a puzzle box situated within this vicinity, so make your way towards it when you can.
The challenge is about changing the positions of the circuit tiles to allow the energy flow towards the light bulb. This task is straightforward, as all you have to do is click on one tile and then another for an immediate switch.
Since it’s not feasible to key in the solution, I highly recommend taking a screenshot of the circuit layout as a clear reference for the placement of the components when attempting to acquire the Time Rune IV.
Should you manage to complete the puzzle by utilizing all the pieces, not only will you illuminate the second lamp, but you’ll also receive a Sour Licorice as a reward. This sweet treat adds an extra point to your character’s Magic Attack power.
Time Rune V
Ivory Towers
In the Ivory Towers, your mission is to light up four symbols to unlock the central door and deliver a well-deserved punch to the self-absorbed King Narcis. When you’re about to activate the fourth symbol, instead of heading into the main building, carry on moving a bit southwards where you’ll come across a staircase that descends to an entrance.
In this particular room, you’ll find a box with a puzzle inside. It requires arranging nine levers in the proper order. My screenshot serves as a helpful reference for solving it.
If you encounter trouble viewing the screenshot, I’ve provided an alternative – a table detailing the positions of each lever numbered from 1 through 9, running left to right for your convenience.
| Levers | 1 | 2 | 3 | 4 | 5 | 6 | 7 | 8 | 9 |
|---|---|---|---|---|---|---|---|---|---|
| Position | Right | Right | Left | Left | Left | Right | Left | Right | Right |
The Time Rune V will pop up as a reward after you place all the levers in the correct order.
Time Rune VI
Horloge Town
To acquire the Time Rune, you must first have the Mule Drone, a item that is acquired naturally while navigating through the Ivory Towers dungeon. Once obtained, proceed to the northeastern tent in Horloge Town, where you can adjust the location of the stairs to ascend.
Upon rising, you’ll encounter a puzzle involving moving boxes. This puzzle has two stages, but performing just one is sufficient to obtain the Time Rune. However, I would suggest attempting both stages for optimal results.
Initially, ensure that an entry point matches up with the dead-end one. Once inside, navigate the pathway to discover the Time Rune enclosed by bars. Above this rune, you’ll come across a hint to help determine the proper placement of the boxes to crack the puzzle.
I’ll help you out with this challenging task. As we typically do, I’ll label the boxes from left to right as numbers 1 through 5, using the screenshot for reference.
- Push box number 5 all the way up.
- Push box number 1 all the way up.
- Push box number 1 to the right so it bumps into box 5.
- Push box number 1 down so it tucks cozily between numbers 3 and 4.
- Push box number 4 to the right and then up until it hits number 5.
- Push box number 4 to the left, then down, to connect it with number 2.
- Finally, push box number 5 down and then left to finish the puzzle.
Enter the box, and voilà , you’ll find the Time Rune VI unobstructed.
Time Rune VII
Lost Island Station
To reach the Lost Island Station, you should board a train and then find the puzzle box located in the farthest eastern area of the region. This particular puzzle is known for being quite simple.
To make the electrical circuit work and light up the bulb, ensuring you get the Time Rune VII, you need to modify the platform heights according to the screenshot’s indication.
For individuals who find written instructions more suitable, here’s an easier way to put it: The platform located at the very north should be set to its highest point. The one to its left should be lowered slightly, while the other three platforms should be only slightly elevated from ground level.
Time Rune VIII
Were Rock
In “Were Rock”, your objective involves retrieving some Bridge Keys. These keys are designed to fit into lamp bulbs, enabling you to activate bridges. Once you’ve crossed the initial bridge, you’ll come across a cave adorned with scalable walls.
In “Were Rock”, you have to get some Bridge Keys that can be used on lamps to turn on bridges. After crossing the first bridge, you’ll discover a cave with walls you can climb.
As you make your way to the heart of the cavern, descend the rocky surface to uncover a solitary opening. Upon entering, you’ll encounter a compact mystery-filled container. Shrink yourself and venture within to tackle the intriguing challenge it presents.
The puzzle isn’t particularly complex. To get things moving, push the central pedestal that’s colored purple. This action will bring about a mechanism. Adjust the levers to properly position the platforms, allowing the mechanism to glide across and eventually end up on the other side.
To make solving this timed puzzle more efficient, I recommend arranging the platforms in advance. As the mechanism moves along, adjust its path until it reaches the final point. Once it does, the eighth Time Rune will be unlocked.
Time Rune IX
Horloge Town
You’ll encounter Time Rune IX initially, but it’s likely to be the final one you’ll acquire. It’s hidden away in Horloge Town and obtaining it involves completing a series of tasks first.
Heed my words: Venture towards a tent on the eastern part of the town. There, you’re likely to encounter a Non-Player Character (NPC) in search of something called a “Certificate of Balloonery.” Let’s secure this item before anything else.
Leave your tent and head towards the southeast direction until you reach an edge. After descending, you will encounter a rope for you to traverse. Continue along this rope, and eventually, you’ll come across a crate that can be moved by blowing a strong breath on it.
Next, utilize the box as a step, ascend it and proceed through a passage to your left. Continue on until you come across a puzzle box. This puzzle requires you to move three boxes beneath the gears.
- First, ignore all the boxes below and climb to the top. Then, push the northwesternmost box under the gear.
- Go down the nearest stairs, keep walking right, and push the second box. After that, walk across the central platform to reach the third box to the left and push it.
- Finally, go back to ground level, pull the box in the middle, and you’ll see balloons flying in Horloge Town.
First, make your way to the heart of the town, specifically the area with the town square clock. From there, head west-southwest, direction being approximately 225 degrees, towards the Wheel Champions’ tent. You’ll notice a ledge nearby that you can jump onto and use the balloons to bounce across to the other side. There, you’ll find an entrance on the ground level. Simply walk in to obtain the Certificate of Balloonery.
Hand over the certificate to the NPC, and he will permit you to open the box hidden behind him. However, take note that the following region won’t involve puzzles but instead is inhabited by five formidable monsters.
In our last battle at Renown 5, I emerged victorious. However, for a more challenging experience, I suggest attempting it at Renown 6, especially after acquiring the gear from the Big Top dungeon. It’s a tough fight, but with careful strategy, you should be able to pull through. Upon success, you’ll receive Time Rune IX as a reward.
Time Rune X
Lost Island Station
To obtain the Rune you require, head over to Lost Island Station. Once there, locate the initial container within the overworld. You’ll find a straightforward puzzle that requires using your grappling hook with the Mule Drone. Good luck!
Initially, bypass the initial handle, and instead, seize the closest anchoring point using the Drone. Continue moving forward, go down the ladder, and then find another spot to attach the grappling hook. After attaching it, pull the lever to hoist it up.
After that, ascend the ladder and securely fasten yourself to reach the other side. The following steps should be clear. Arrange the grapple points as planned, defeat the opponents above, initiate the timer first, and eventually, you’ll acquire the Time Rune X.
Time Rune XI
Big Top
Continue exploring the dungeon as usual until you encounter and defeat Pif, Paf, and their robot, Pantouf in the final stages of the dungeon.
Or
Proceed through the last dungeon of the DLC by overcoming challenges until you reach and conquer Pif, Paf, and their mechanical ally, Pantouf at the end.
Following that, you will have to explore two additional compulsory sections to gather more tickets. As you make your way along the right-hand path, you’ll come across an exterior staircase next to a circus tent, which descends to an entrance below.
Head over there, step inside the cube, and you’ll encounter a challenge. This challenge requires you to arrange the three lampposts in the center, which have a greenish metallic floor beneath them. You can adjust the positions of these lampposts by manipulating them through rows or columns.
I usually figured things out as I went along, but if I could do it, so can you! Once you properly position the streetlights, the gates will unlock, and the Time Rune XI will become yours.
Time Rune XII
Horloge Town
Once you’ve conquered the main adversary in The Throes of the Watchmaker game, you’ll be instantly teleported back to the local pub in Horloge Town.
Leave the building, and Time Rune XII is positioned near you. Adhering to these instructions will help you acquire all Time Runes, enabling you to set them on the town’s central clock and uncover its hidden mystery.
Rewards For Finding All The Time Runes
The satisfaction of locating all Time Runes serves as my trophy or achievement, and I find that to be more than enough. However, if you thought there would be additional rewards such as items like equipment or a new combo scroll, you might end up feeling disappointed.
The real prize for discovering all Time Runes within “Throes of the Watchmaker” is a hidden feature that further illustrates the bond between “Sea of Stars” and “The Messenger”, Sabotage Studio’s first title.
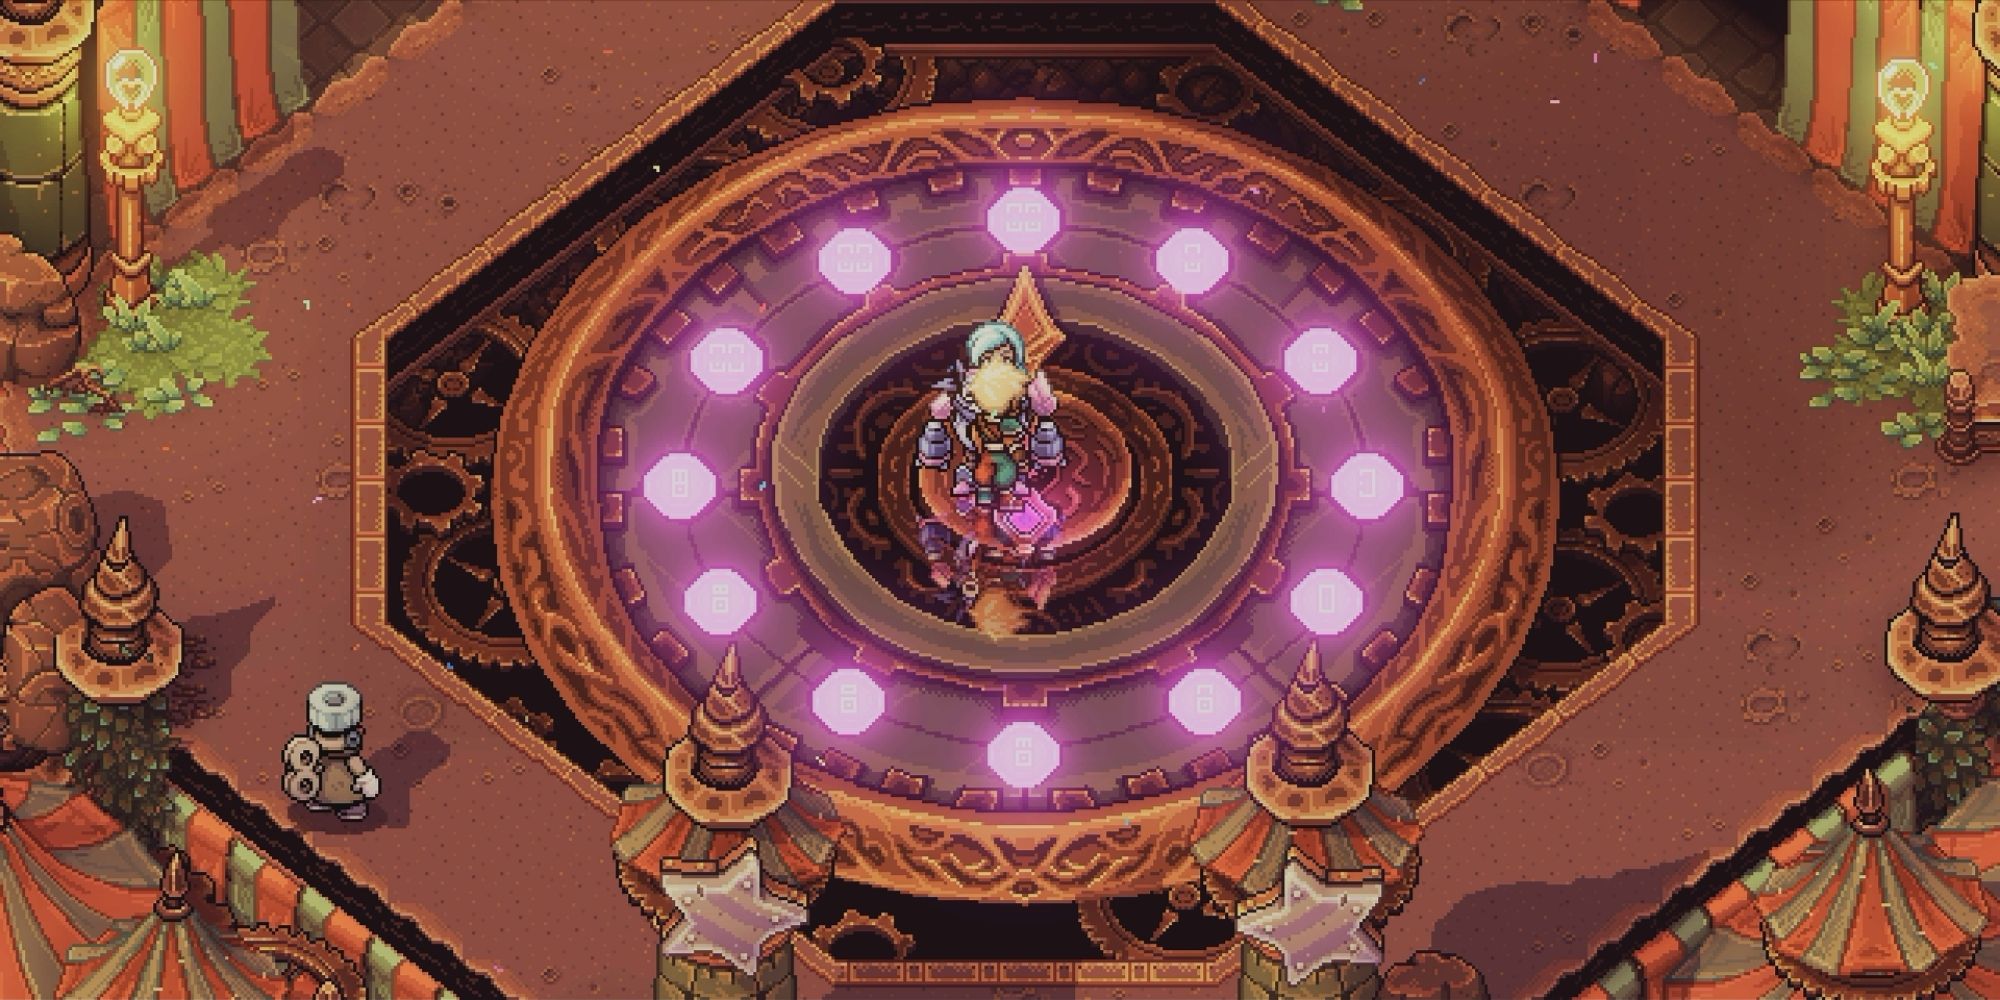
As the collector of all Time Runes, I’ll make my way to the heart of Horloge Town – the grand clock. There, I’ll engage with a peculiar device and insert the runes into its mechanism. With a magical transformation, the runes will morph into an elevator, whisking me off to another intriguing destination.
In typical fashion, Garle is bound to make an appearance and command attention. He’ll catch sight of a premonition involving two recognizable figures connected to The Prophet, plotting their malevolent intentions for the days ahead.
Garl chooses to transmit a message across time for the sake of a promising future. To accomplish this, Garl, now known as the Prophet of Hope, determines to craft a prediction.
As a gamer, I found this a delightful and touching touch that seamlessly fits into The Messenger’s storyline. But for folks not acquainted with The Messenger, gathering the Time Runes feels less like a narrative progression and more like an intriguing puzzle to solve.
Indeed, wrapping up with Sea of Stars feels quite satisfying as it strongly implies that Throes of the Watchmaker is the final chapter for this fantastic indie role-playing game.
Read More
- All Skyblazer Armor Locations in Crimson Desert
- How to Get the Sunset Reed Armor Set and Hollow Visage Sword in Crimson Desert
- All Shadow Armor Locations in Crimson Desert
- Marni Laser Helm Location & Upgrade in Crimson Desert
- All Helfryn Armor Locations in Crimson Desert
- All Golden Greed Armor Locations in Crimson Desert
- All Icewing Armor Locations in Crimson Desert
- Best Bows in Crimson Desert
- How to Beat Stonewalker Antiquum at the Gate of Truth in Crimson Desert
- Legendary White Lion Necklace Location in Crimson Desert
2025-05-24 15:42