Near the end of the Golden Ridge area in The Outer Worlds 2, you’ll be tracking down De Vries and Seer Wiley as part of the main quest, “On the Trail of the Traitor.” Seer Wiley creates a difficult situation: you’ll have to decide whether to save hostages or let them die to help your former target escape. Here’s what happens depending on the choice you make.
Should You Save the Hostages in The Outer Worlds 2?
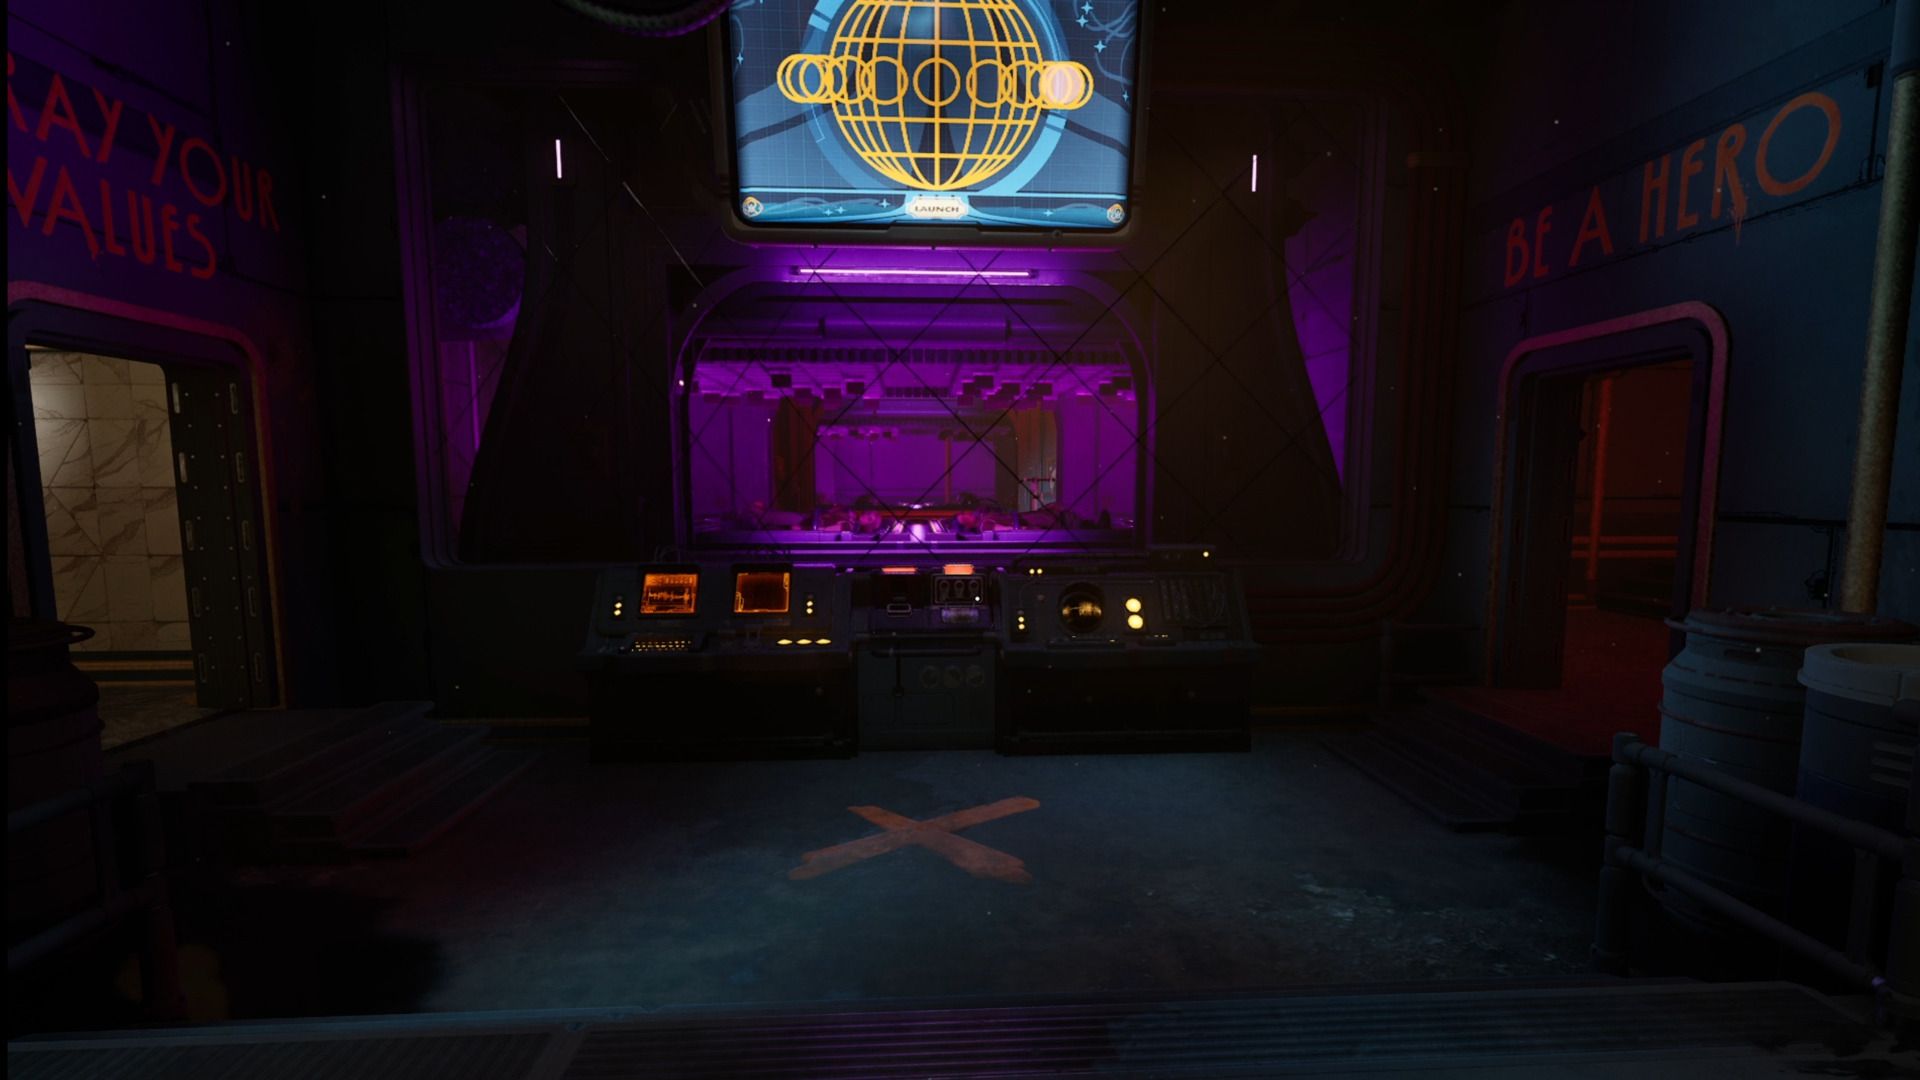
As you approach the end of Golden Ridge, you’ll navigate the halls of Alexandra Monastery, pursuing your two targets. Eventually, you’ll come to a room with two doors: one labeled “Betray Your Values” and the other “Be a Hero.” Looking ahead through a window, you’ll see human hostages tied up and unable to escape.
Going through the door on the right leads to a puzzle room, but gives Seer Wiley and De Vries extra time to carry out their plans while you solve it. If you choose the more difficult path and go through the left door, it creates bigger problems for those you’re pursuing.
What Happens if You Save the Hostages in The Outer Worlds 2?
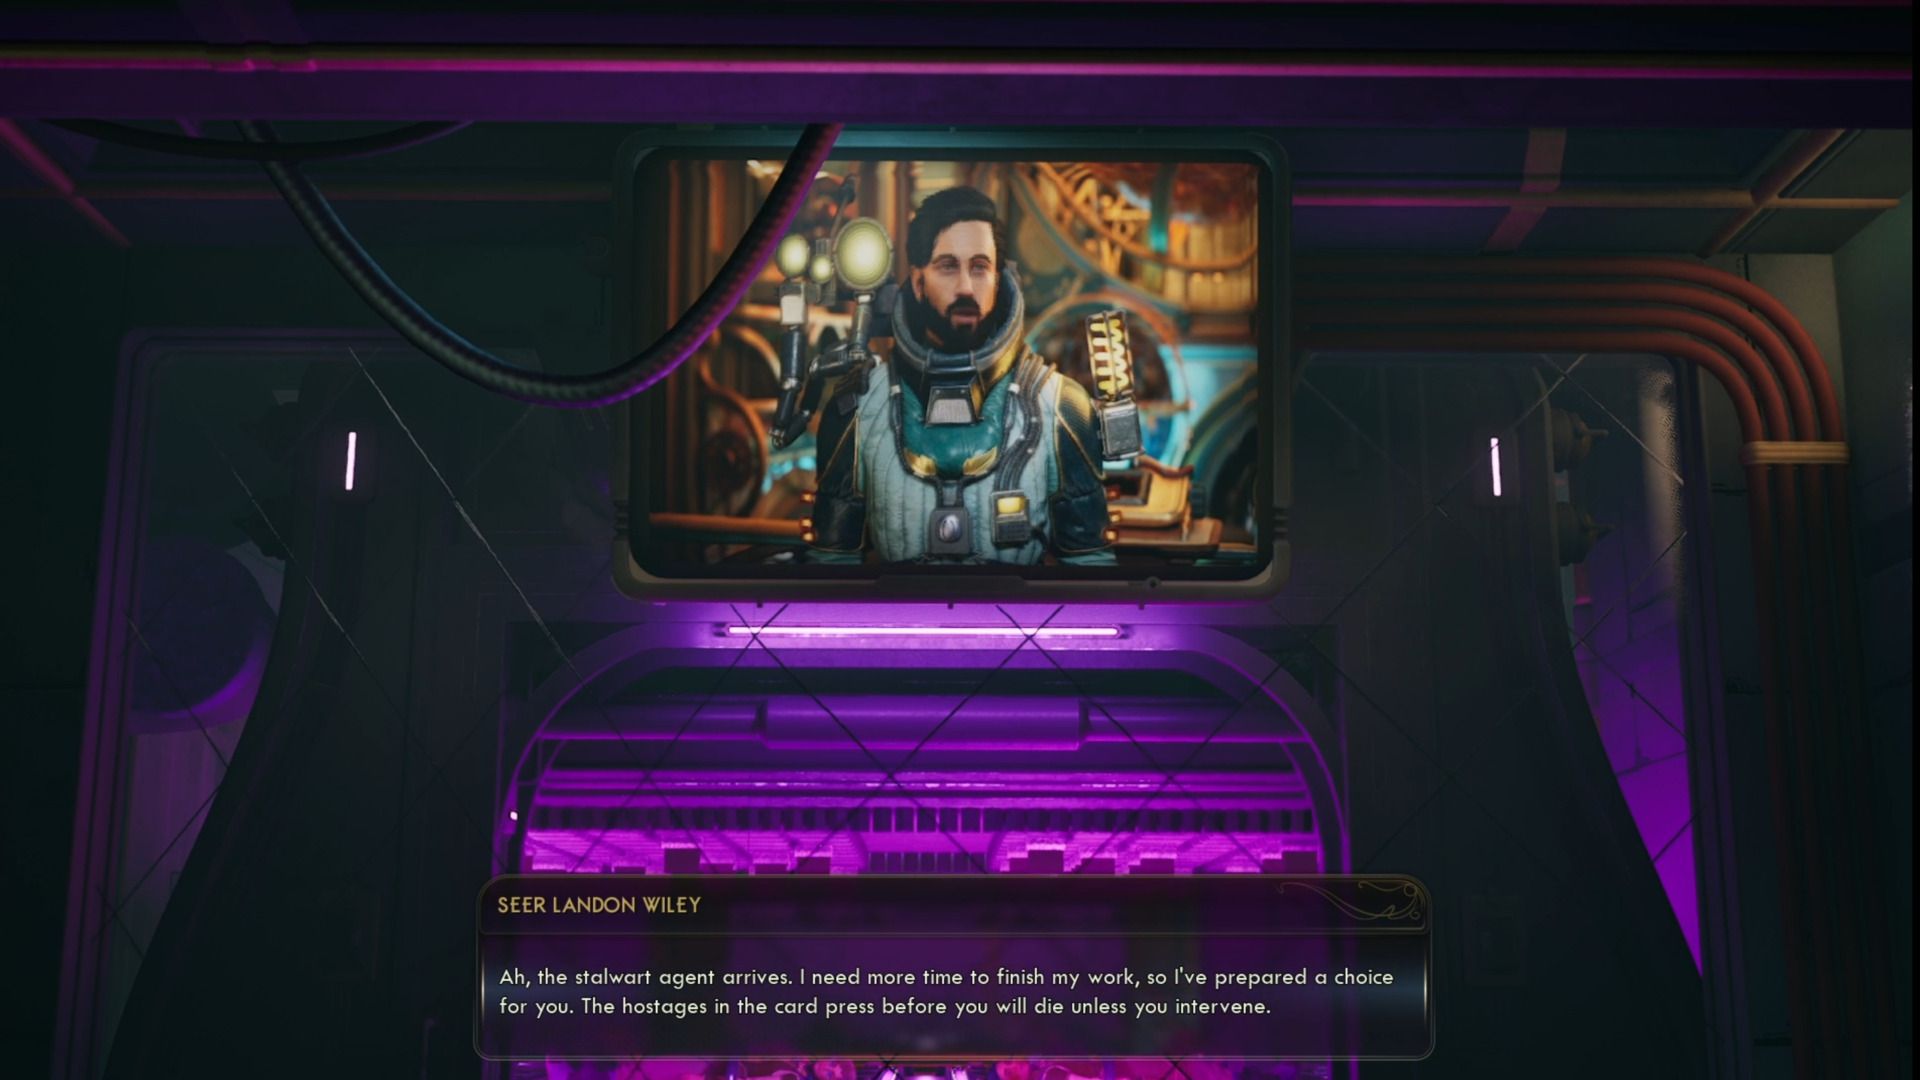 Image via Game Rant; Source Obsidian Entertainment
Solving the puzzle and helping the Seer will increase your reputation with the Order of the Ascension by +3. However, this also gives Wiley enough time to send De Vries the security codes she needs. As a result, De Vries will be able to activate Automech enemies to fight you when you reach the Greater Tranquility Substation.
This adds new enemies to fight, and how challenging they are will depend on your character’s strengths. However, most players shouldn’t have too much trouble, particularly if you’ve upgraded your hacking skill, which makes you more effective against robots. You’ll also earn a bit of extra experience.
What Happens If You Let the Hostages Die?
Allowing Wiley to harm the hostages will decrease your Order reputation by 3 points. However, you can still undo this decision before reaching the Seer’s arena. Once you arrive, De Vries will express her disapproval of the Seer, and the Automechs will attack both you and her soldiers. This will make the Greater Tranquility Substation easier to navigate, but you’ll earn less experience.
Interestingly, you can solve the puzzle to try and save the hostages, but choosing to “Activate Keypunch Cycle” will still lead to their deaths, just like if you hadn’t tried to rescue them at all.
How to Complete The Outer Worlds 2 Orb Puzzle
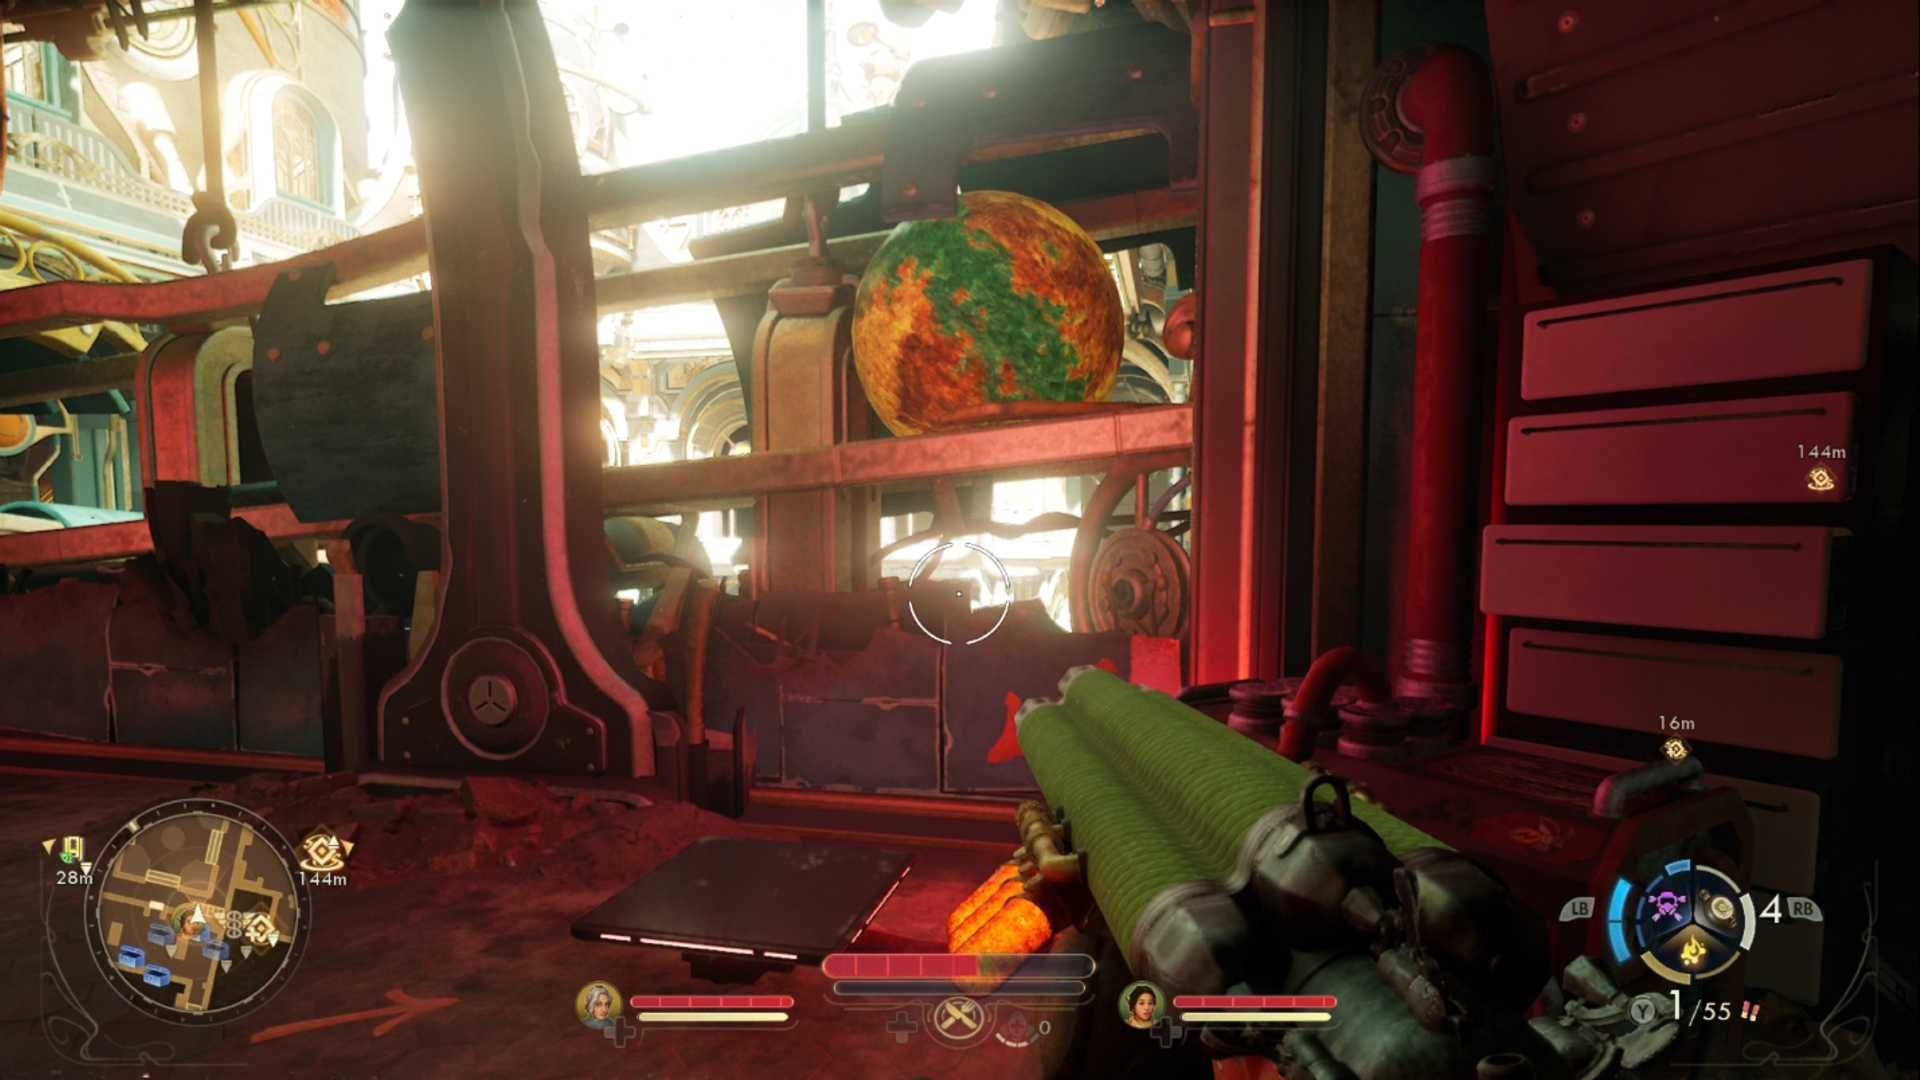 Image via Game Rant; Source Obsidian Entertainment
 If you decide to do what’s right, or if you’re willing to eliminate the hostages yourself, go to the puzzle room on the right. Take the stairs to your left, and you’ll enter a larger area with enemies. Once you’ve defeated them, go up to the top floor and enter the room with the orb visible through glass on your right, which is above some floor panels. The goal is to activate these panels in a way that keeps the orb moving. Begin by stepping on each panel, and move to the next one whenever the orb gets stuck on the other side.
After the orb rolls to the end of the hallway, fall through the opening in the floor. The orb will now be stopped by some objects marked with red targets. Shoot these targets to allow the orb to continue moving. Then, follow the red cables on the floor to a lever. Pull the lever two times, adjusting based on the orb’s current position, and then follow the orb to a new set of pressure plates.
Okay, so once you get back to those pressure plates and stand on them like you did at the start, a safe will lower down. You need to open that safe – it has the Auto-Pneumatic Keypunch Activation Keycard inside. Then, just use the keycard on the device near the hostages. After that, it’s up to you – you can choose to save the hostages, or… well, you can make a different choice if you want.
Read More
- All Skyblazer Armor Locations in Crimson Desert
- One Piece Chapter 1180 Release Date And Where To Read
- How to Get the Sunset Reed Armor Set and Hollow Visage Sword in Crimson Desert
- All Shadow Armor Locations in Crimson Desert
- All Golden Greed Armor Locations in Crimson Desert
- How to Beat Stonewalker Antiquum at the Gate of Truth in Crimson Desert
- Cassius Morten Armor Set Locations in Crimson Desert
- Grime 2 Map Unlock Guide: Find Seals & Fast Travel
- Marni Laser Helm Location & Upgrade in Crimson Desert
- USD RUB PREDICTION
2026-01-20 23:06