![]()
Jump Links
-
First Playthrough
- Ema Plate 1/22
- Ema Plate 2/22
- Ema Plate 3/22
- Ema Plate 4/22
- Ema Plate 5/22
- Ema Plate 6/22
- Ema Plate 7/22
- Ema Plate 8/22
- Ema Plate 9/22
- Ema Plate 10/22
- Ema Plate 11/22
- Ema Plate 12/22
-
New Game+ (Second Playthrough)
- Ema Plate 13/22
- Ema Plate 14/22
- Ema Plate 15/22
- Ema Plate 16/22
- Ema Plate 17/22
- Ema Plate 18/22
- Ema Plate 19/22
- Ema Plate 20/22
- Ema Plate 21/22
-
New Game++ (Third Playthrough)
- The Final Ema (22/22)
Silent Hill f boasts the most complex combat system of any game in the Silent Hill series. While some compare it to ‘soulslike’ games, it’s simply the most detailed and developed combat the series has ever offered. Earlier Silent Hill titles didn’t prioritize combat as much, treating it as less important than other elements.
To make battles easier, keep a close eye on your health, stamina, and sanity. Luckily, you can actually increase your maximum levels for all of these! Look for Ema Plates hidden throughout the game – they’re in boxes, behind secret doors, or just out in the open. Collecting all the Ema Plates is the only way to fully upgrade your character.
Achieving this will unlock the “Close to the Sun” trophy, but it’s not possible during your initial playthrough. You’ll need to complete the game at least three times to collect all the necessary items – and you can only start a third playthrough after successfully finishing two different endings.
Generally, focus on improving your stamina and health before your sanity, especially if you’re not playing on Hard mode or Lost in the Fog.
First Playthrough
During your initial game, you won’t be able to access all of the Ema collectibles, as some are hidden behind locked doors and containers. However, you *can* find all the others that are out in the world, though they won’t be easy to discover.
Exploring the map requires careful searching before you discover anything. You’ll find most of the collectibles on your first playthrough – there are 12 to discover initially. The last 10 are unlocked in New Game+ mode, with the final one appearing in New Game++.
Ema Plate 1/22
Okay, so I found out the first Ema plate is super easy to get! It’s right before the Field Puzzle, but if you *really* hustle, you can snag it right after solving the puzzle too.
You managed to grab the key from the well and escape through the window, finally reuniting with Shu to head towards Rinko’s house. Before you meet up with him, quickly check the small area just ahead – you’ll find some healing items and the first Ema figure resting on what appears to be a wooden feeding trough.
Ema Plate 2/22
You can find the second Ema plate when you return to the Otherworld for the second time. Be sure to collect it *before* obtaining the Naginata, as you won’t be able to go back to get it afterward.
You’ll find an Ema plate near an Inari door, sitting on top of some boxes. You can’t open this door yet, but remember it – you’ll need the Fox Pin to come back later.
Ema Plate 3/22
You’ll be able to find the next Ema plate while on the way to Ebisugaoka Middle School.
You’ll revisit the House you first saw at the start of the game on your way to the school. Soon after leaving, keep an eye out for the third Ema plate – it’s hidden on a small, rocky wall in an alleyway.
Ema Plate 4/22
When you’re at Ebisugaoka Middle School, you can step outside into the courtyard to tackle the Stairwell Puzzle. To find a hidden area, head all the way to the left side of the map – you’ll see a small, fenced-in spot.
You’ll find the fourth Ema plate inside the fenced area. Be careful though – there are a lot of monsters in there! If you’ve already picked up the Stairwell key, they’ll all be awake and aggressive.
Ema Plate 5/22
On your next trip to the Otherworld, you’ll discover the fifth Ema plate in the area dedicated to Shu within the Worship Hall.
This item is easy to overlook, especially if you’re focusing on escaping danger. First, defeat the nearby enemy. Then, you’ll find the next clue, Ema, on the shelf where that enemy was located.
Ema Plate 6/22
You’ll find the next Ema plate along the path to the Mountain Refuge. Just be sure not to go *past* the refuge itself – you’ll have missed it if you do.
You’ll find the Ema near a sleeping monster on a tree trunk. Getting close will wake the monster up, so you need to quickly take the Ema to safety.
Ema Plate 7/22
Returning to the Otherworld means witnessing disturbing cutscenes of Hinako undergoing unsettling rituals. These rituals aren’t just for show; completing them unlocks new abilities for you, including the Fox Mask, which allows you to pass through specific walls.
Behind one of these walls is a room where the seventh Ema plate can be found.
Ema Plate 8/22
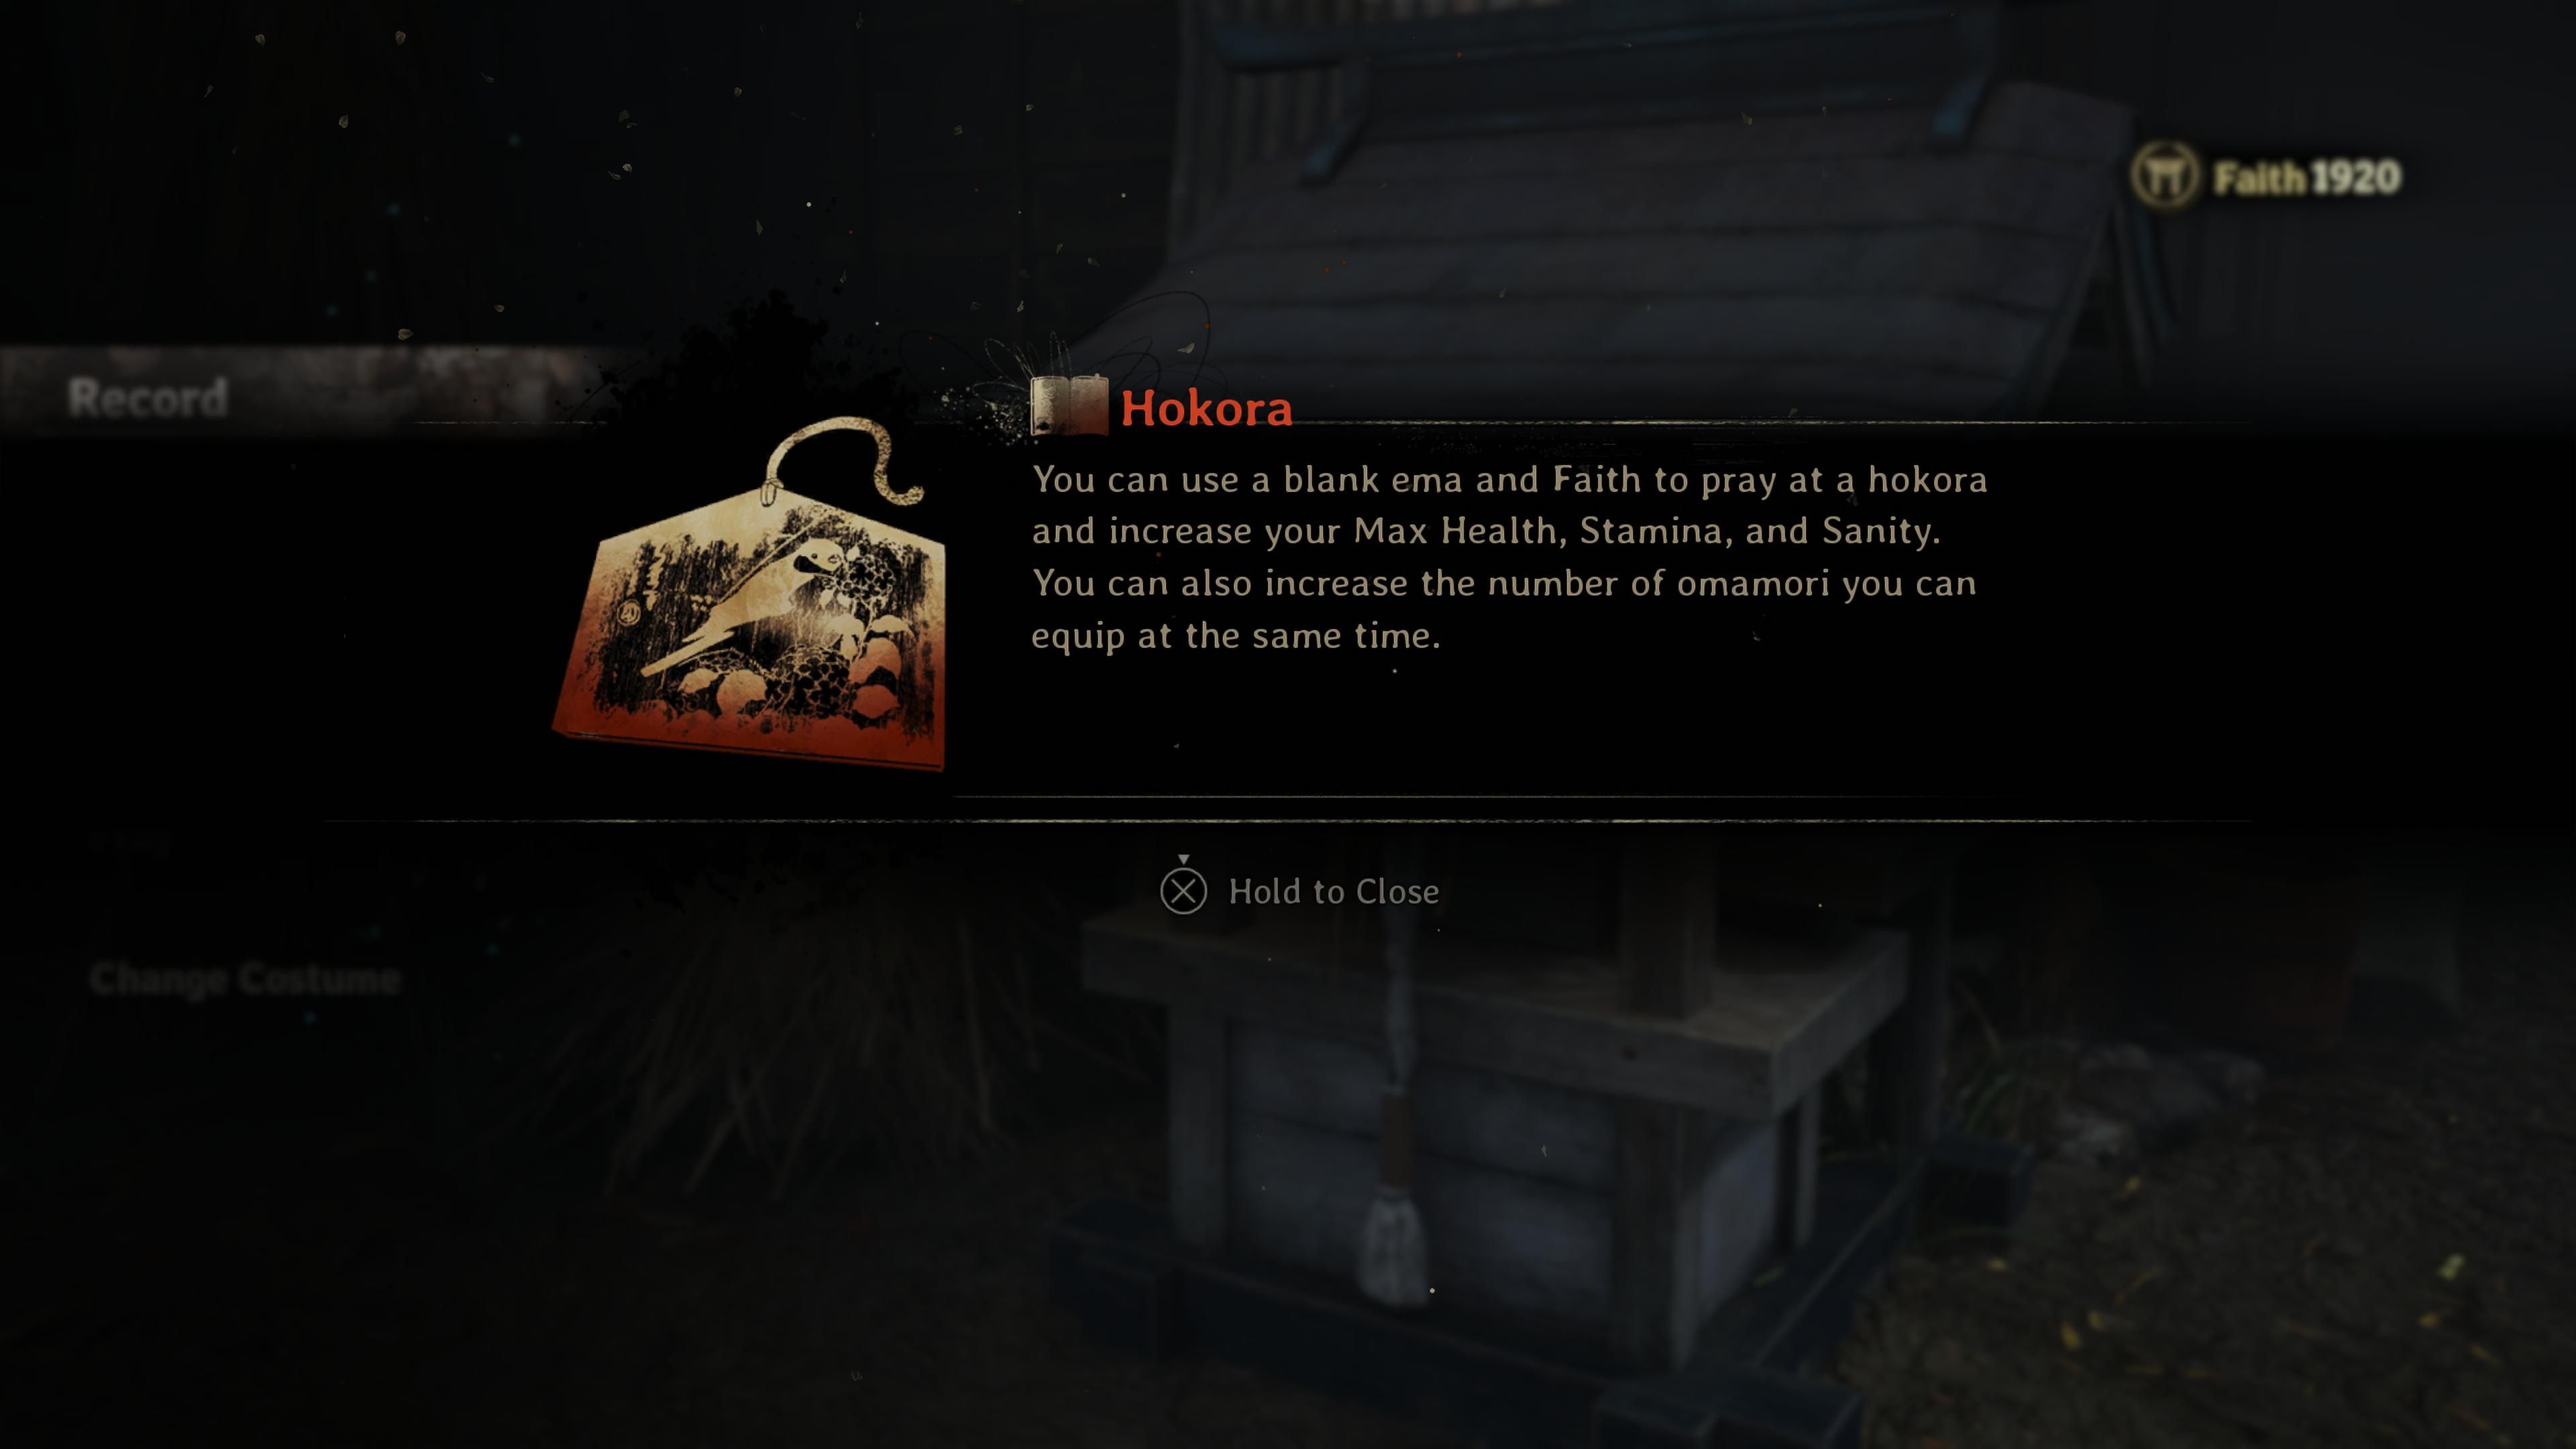
To find the Ema plate, you’ll need to take a small detour. As you approach the Shimizu Residence, don’t go up the mountain path. Instead, continue straight past the small shrine (hokora) and take the path leading down.
Taking this pathway will lead you to the eighth Ema.
Ema Plate 9/22
When you visit the Shimizu Residence, you’ll notice it exists in three variations, each marked with a Roman numeral.
Head down the first hallway on the left in Shimizu Residence II and enter the first room. You’ll see the Ema plate displayed inside. Interestingly, Hinako remarks that her own home doesn’t have a room like this one.
Ema Plate 10/22
You’ll find the next Ema at the end of the hallway inside Shimizu Residence III, which is still at Hinako’s house. Be prepared for a lot of monsters in this area, so make sure you’re well-equipped!
Ema Plate 11/22
This area doesn’t have a map, but you can find the 11th Ema while gathering crests for the Mural Puzzle. It’s located in the last section with the foxes, behind an Inari door. You should already have the Fox Pin by now, which will allow you to open the door and enter.
Resting on the display case is the next Ema.
Ema Plate 12/22
You’ll find the final Ema plate during the chase with the Fog Monster. It’s located right in front of a hokora – specifically, the one you pass just before the second pregnancy monster fight.
New Game+ (Second Playthrough)
Don’t worry if you didn’t collect all the Ema during your first time playing – you can find them again in the same spots on future playthroughs. Plus, replaying the game lets you uncover more of the story and access secret Inari doors and boxes, now that you have the Fox Pin.
If you’re playing the game again and decide to discard the Fox Pin before returning to the Shimizu house, you won’t be able to open one of the containers, which means you’ll miss out on getting Ema plates.
Ema Plate 13/22
You’ll find your first Ema plate during a second playthrough after going down a long staircase. It’s located right near a Hokora shrine, so if you have enough Faith, it’s a good idea to go back and upgrade your abilities while you’re there.
Ema Plate 14/22
When you first reach the Otherworld, you’ll encounter the Shrine Vault Puzzle. As you’re solving it, keep an eye out for a large, decaying tree on the right side of the area. Before you reach the tree, though, turn left instead of continuing straight – you’ll find a small piece of land hidden there.
In this area, you’ll find the next Ema sitting on a tree stump.
Ema Plate 15/22
As you walk to Rinko’s house, you’ll follow a long road that eventually leads to a cutscene. Along this road, you’ll find a small shrine directly across from a hokora. Inside this little shrine is an Inari box.
Opening the box gives you some revealing documents, alongside the next Ema.
Ema Plate 16/22
On the walk to Ebisugaoka Middle School, there’s a hidden little garden that feels nice and private. That makes it even more tempting for Hinako to rush in and start summoning monsters!
Resting on a stool in this backyard is the 16th Ema plate.
Ema Plate 17/22
If you return to the Worship Hall on later playthroughs, you’ll receive the Fox Arm sooner than expected. This makes that part of the game much easier, and it also hints at which version of Hinako is currently active in the Otherworld.
In Rinko’s area, run past her and the first gate until you spot a narrow opening in the wall. Squeeze through it – you’ll encounter an enemy, but you can easily defeat them with the Fox Arm and well-timed attacks. At the end of the hallway, you’ll find another Inari door.
Opening this door leads to Rinko’s doll room – it’s full of her beloved dolls! Inside, you’ll find a desk with the next piece of the Ema, as well as a lucky Omamori charm.
Ema Plate 18/22
As you walk the path to Shu’s house, you’ll come across a small, gazebo-like structure with seats. Just to the left of it, and easy to miss, is a hidden Inari box.
Opening this box gives you more reading material, as well as the next Ema plate.
Ema Plate 19/22
Returning to the Otherworld – the place where the rituals took place – you can discover a hidden area. Here, you’ll find Agura no Hotei-sama and solve a puzzle to purify the Sacred Sword.
It’s in this area, up in the structure, where you can find the next Ema plate.
Ema Plate 20/22
Okay, so heading back to the Shimizu place, just after the playground, you’ll see a house with its gate wide open – feel free to wander in. The first time I went there, I found some healing stuff, which was great. But after that, if you go back, you can find the next piece of the Ema plate hidden in the bushes.
Giving the Fox Pin to the Jizo statue near the Shimizu Residence during a third playthrough will prevent you from obtaining the ninth Ema Plate.
Ema Plate 21/22
The last Ema plate on your second playthrough requires you to still have the Fox Pin.
Okay, so when I was exploring the Shimizu Residence, I found another one of those Inari Boxes! It’s right near the room with the spinning pictures, and opening it was *amazing*. Seriously, more lore documents – I’m a sucker for that stuff! – and finally, the last Ema plate for the whole game. I was so excited!
New Game++ (Third Playthrough)
The Final Ema (22/22)
Okay, so getting the last Ema plate is a bit tricky! You actually need to be on what the game calls New Game++, which basically means you’ve already seen two different endings. The good news is, the first ending you get counts towards that total, so you just need to unlock one more to be able to get it!
Okay, so getting this armor piece is going to take a while – looks like I really should have focused on upgrading my gear in previous runs! I found the last piece of Ema’s gear on the path to the Shimizu Residence, so that’s one less thing to worry about.
A hidden Jizo statue has appeared, and offering your Fox Pin to it unlocks the true ending. Just before you find the statue, you’ll see the last Ema resting on a stone.
Read More
- All Skyblazer Armor Locations in Crimson Desert
- All Shadow Armor Locations in Crimson Desert
- How to Get the Sunset Reed Armor Set and Hollow Visage Sword in Crimson Desert
- Marni Laser Helm Location & Upgrade in Crimson Desert
- Best Bows in Crimson Desert
- All Helfryn Armor Locations in Crimson Desert
- All Golden Greed Armor Locations in Crimson Desert
- How to Craft the Elegant Carmine Armor in Crimson Desert
- Keeping Large AI Models Connected Through Network Chaos
- One Piece Chapter 1179 Preview: The Real Imu Arrives in Elbaf
2025-10-07 03:42