Following her escape from the fields, Hinako finds herself back in the Dark Shrine Corridors during Chapter 4 of Silent Hill f. The Corridors have a much more oppressive atmosphere, and the obstacles you’ll encounter are significantly more dangerous. Although this chapter doesn’t focus on a large puzzle, its complicated, maze-like layout requires thorough investigation. You’ll also battle your first major boss in Silent Hill f within the Corridors Chapter. This guide will take you through every part of the chapter, helping you locate all the hidden items and collectibles.
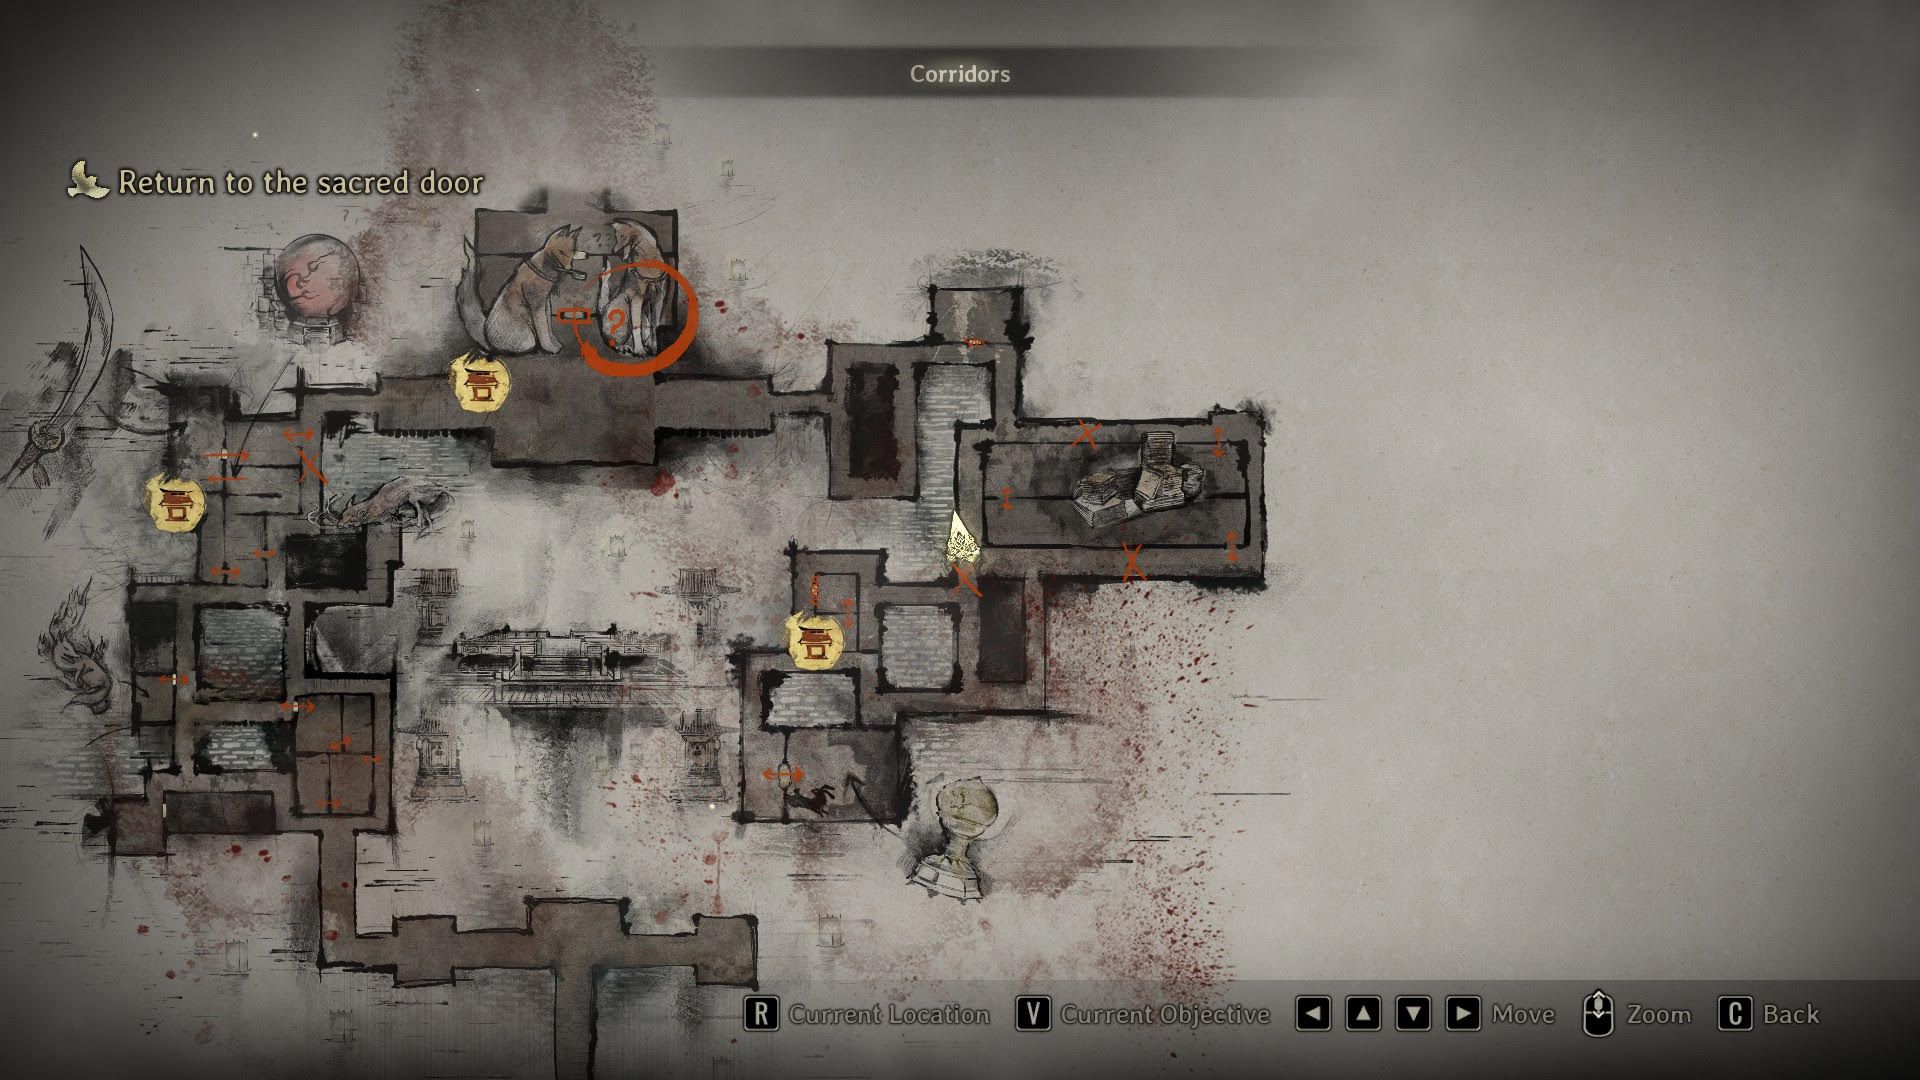
Wake Up And Check the Map

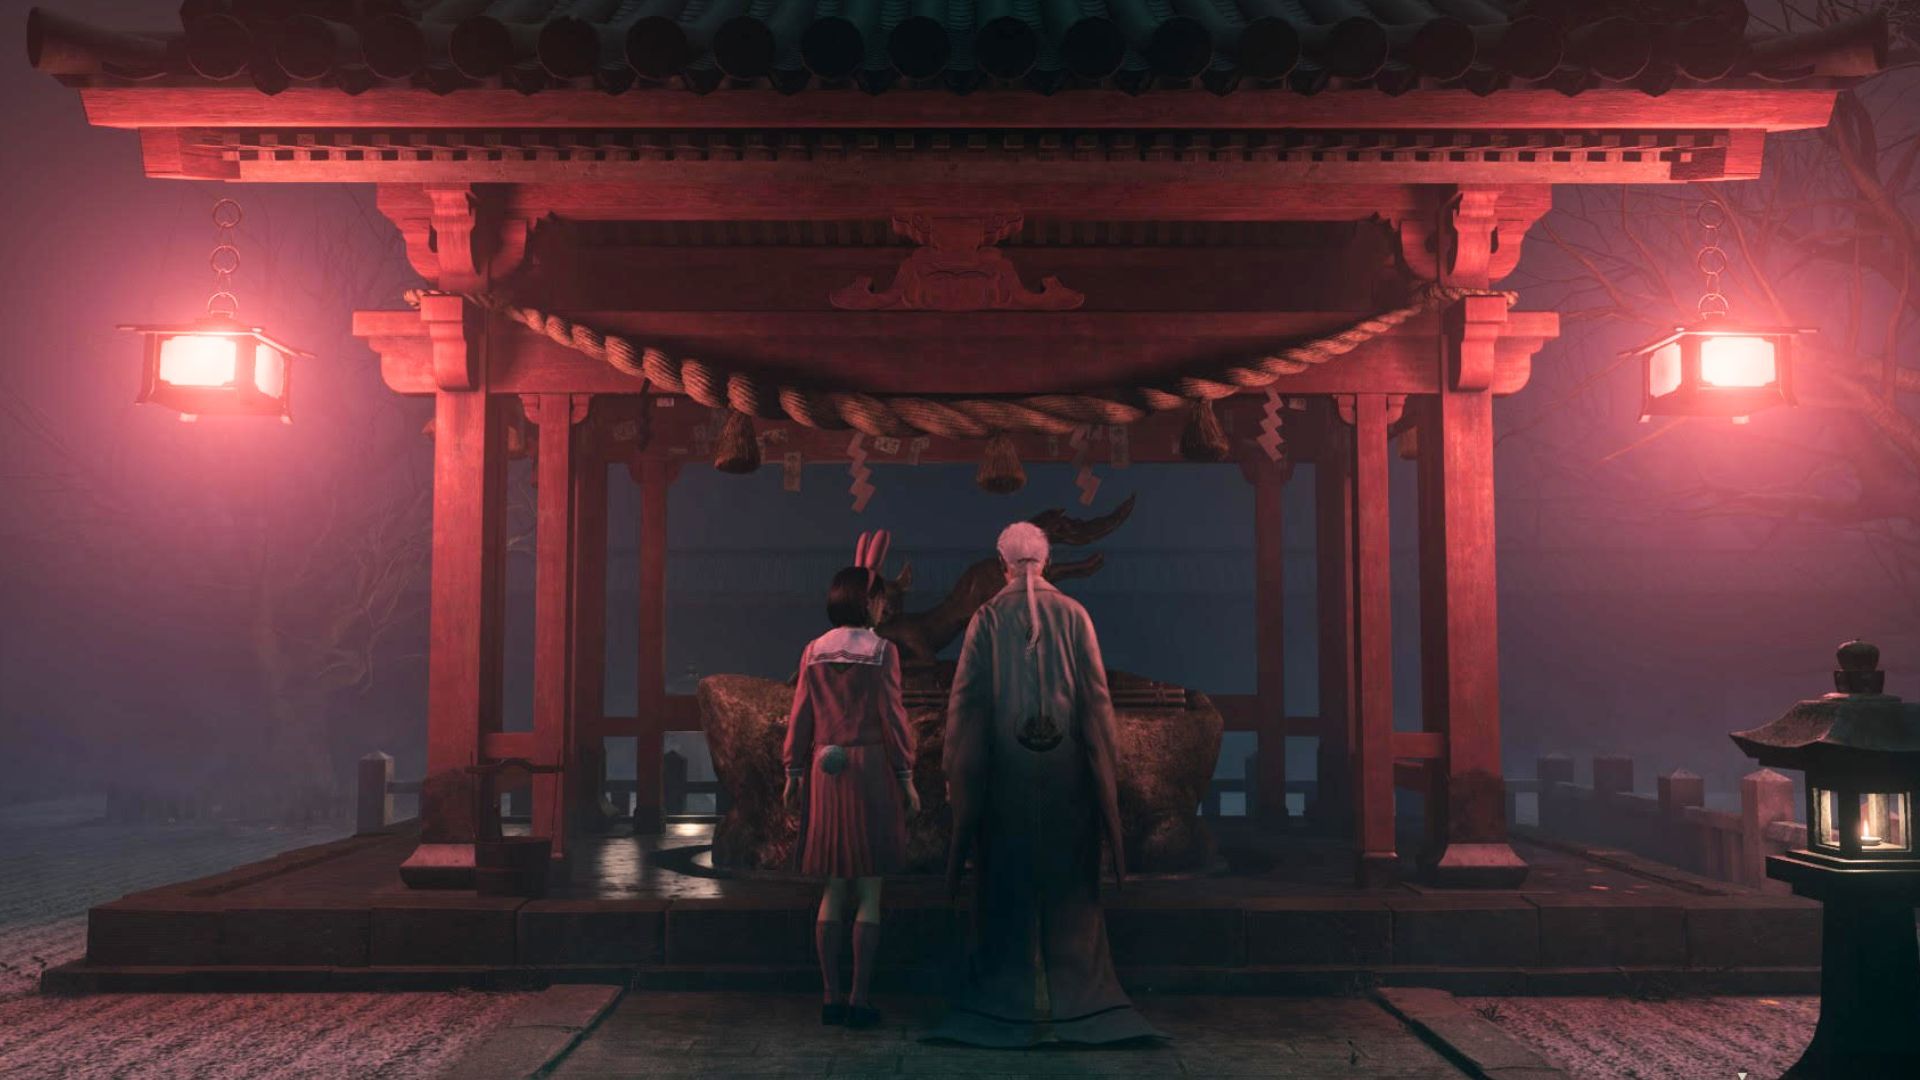
Okay, so when I wake up as Hinako, I’m already *inside* the Dark Shrine – pretty cool, right? I’ll have a Lantern with me. But things have changed since I was last there; the shrine’s layout is different! So, I need to bring up my map to study the new pathways before I get lost. Once I’ve figured things out, I just need to head north until I see a faint blue glow – that’s the Fox Mask. It’s supposed to disappear quickly, and then my objectives will change, so I need to be ready!
Find a Way to the Sacred Door
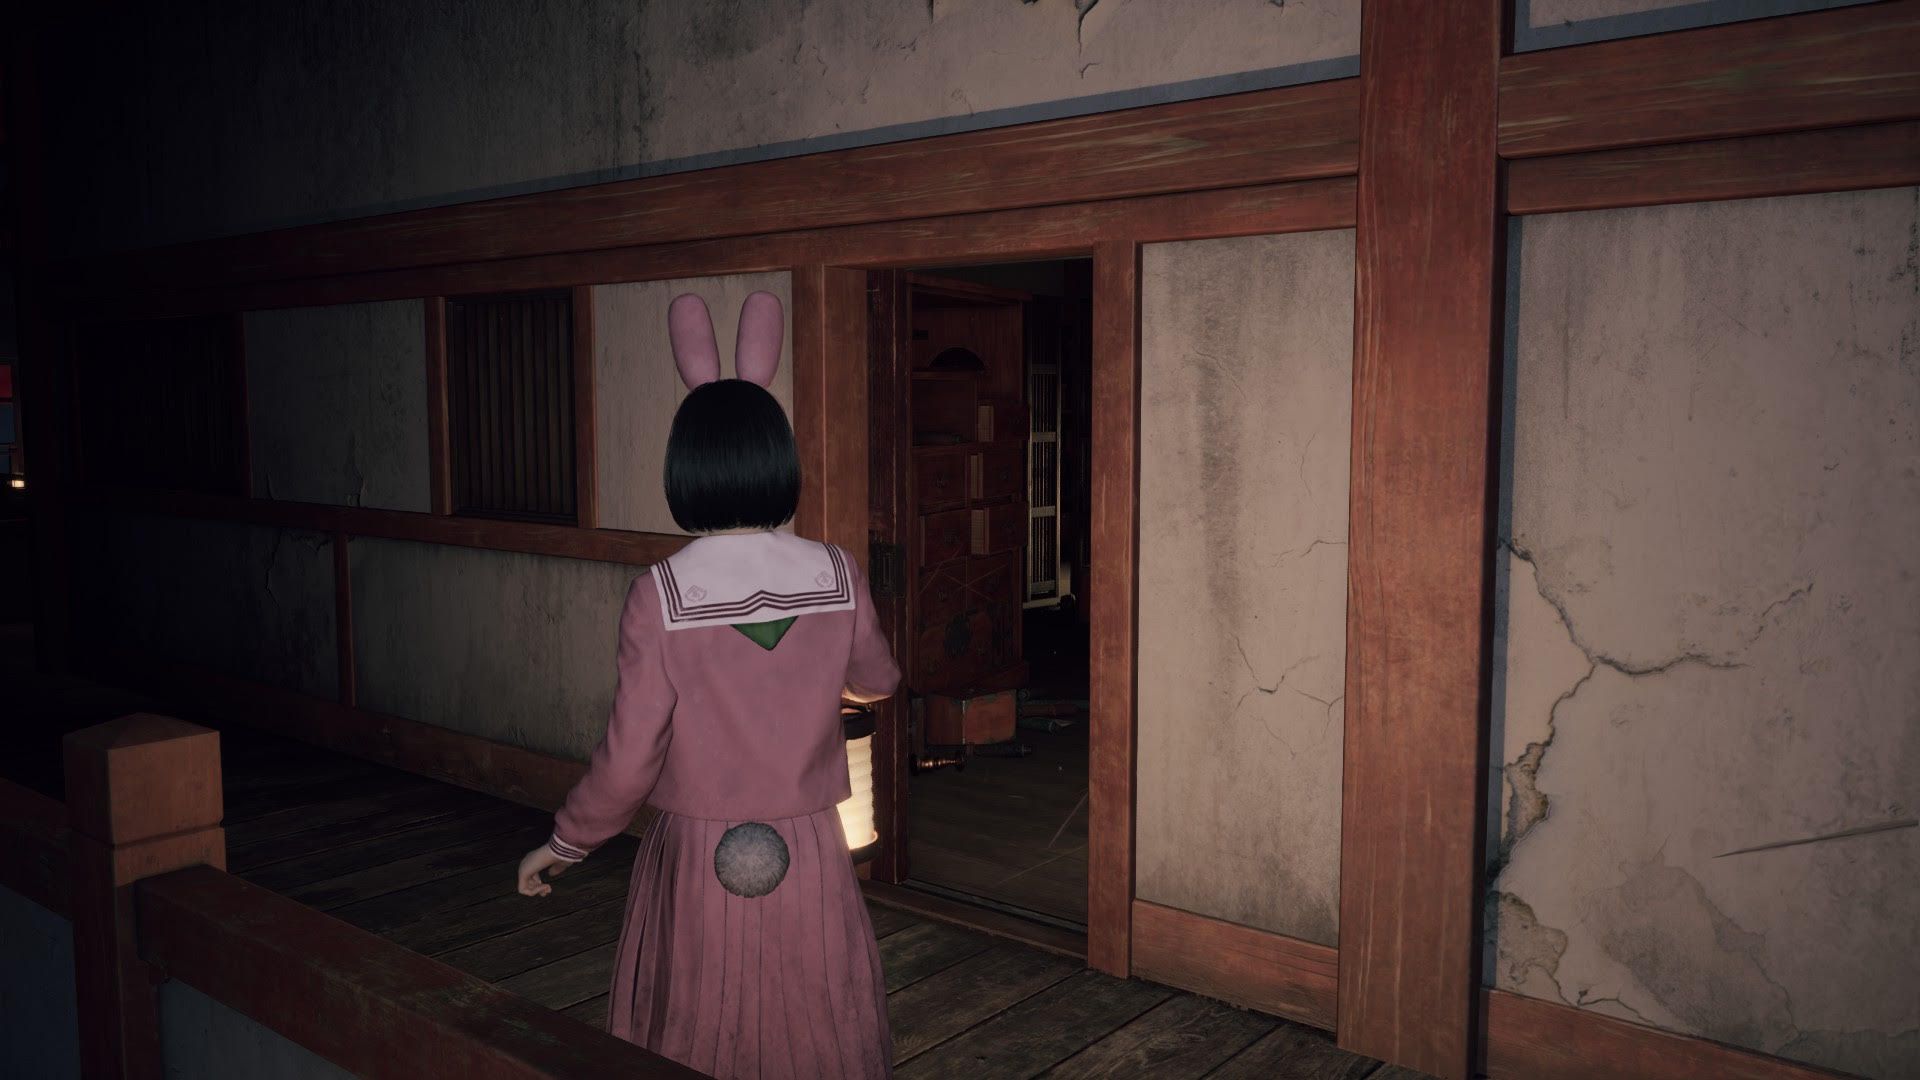
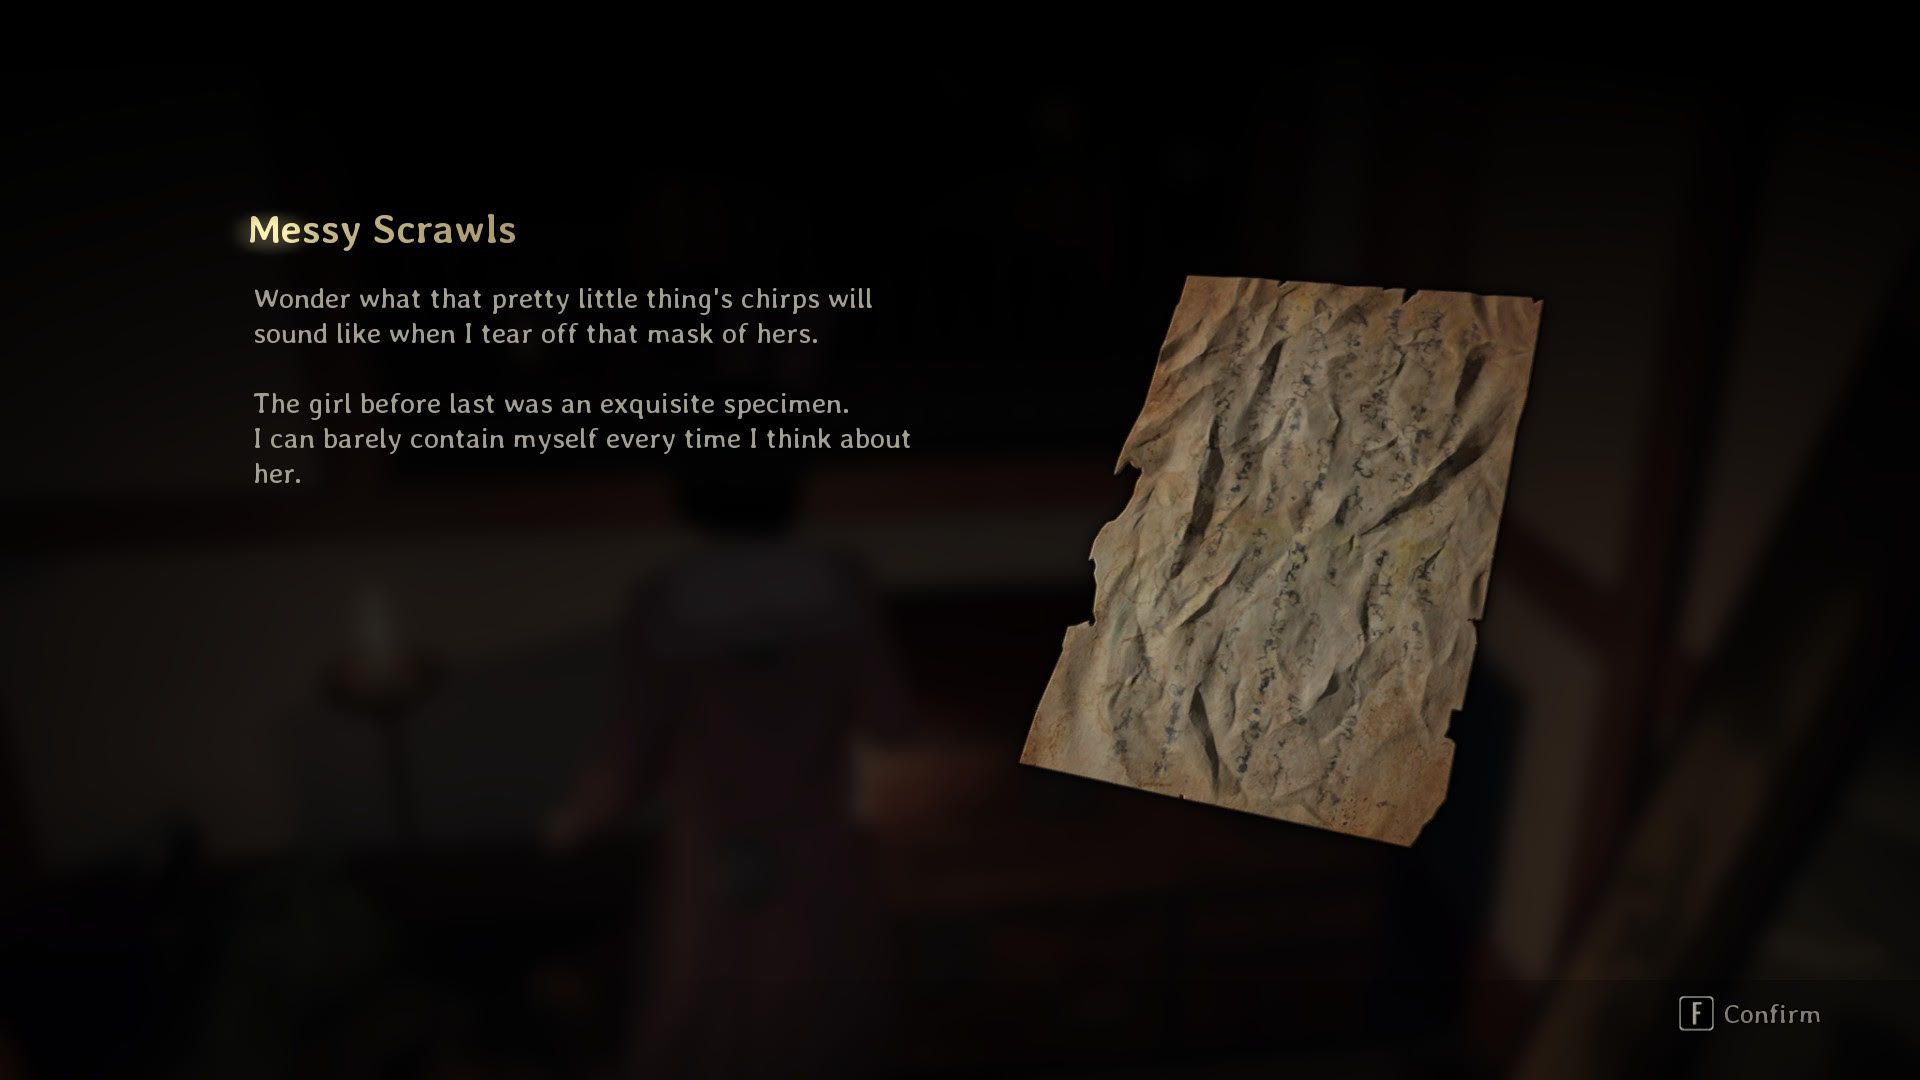
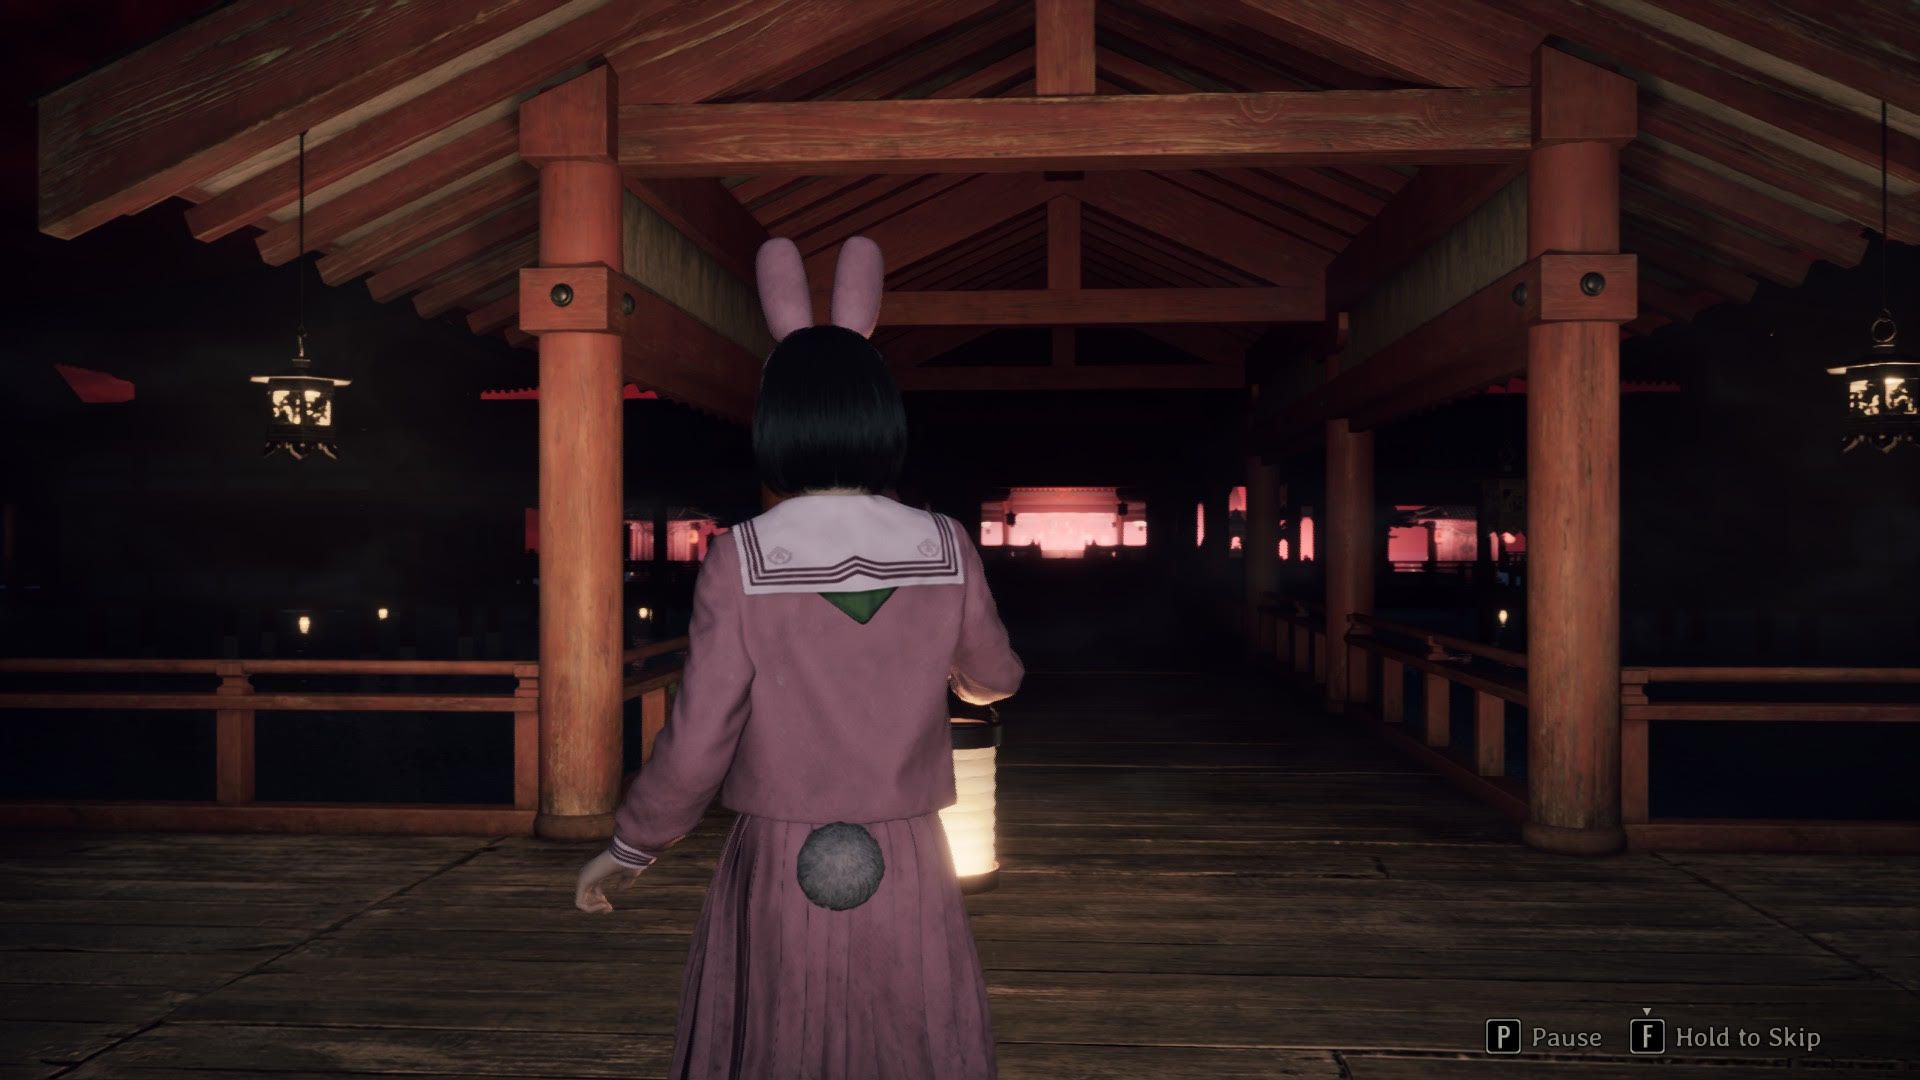
Okay, so the first thing I need to do is find this Sacred Door. The game tells me to head north until I see a building, and apparently I’m going to get a bit of a scare with a loud crash! Then I need to go around to the east side of the building – thankfully there’s a door already open. Once inside, it looks like a real mess. I’m supposed to check the left wall for some Messy Scrawls, and then look straight ahead for a small opening I can squeeze through. Sounds like fun!
Go through the opening, and you’ll see a drawer with Divine Water on your right. After you get it, leave the room and head west. Turn right, keep going straight until you reach a dead end, and then turn right once more.
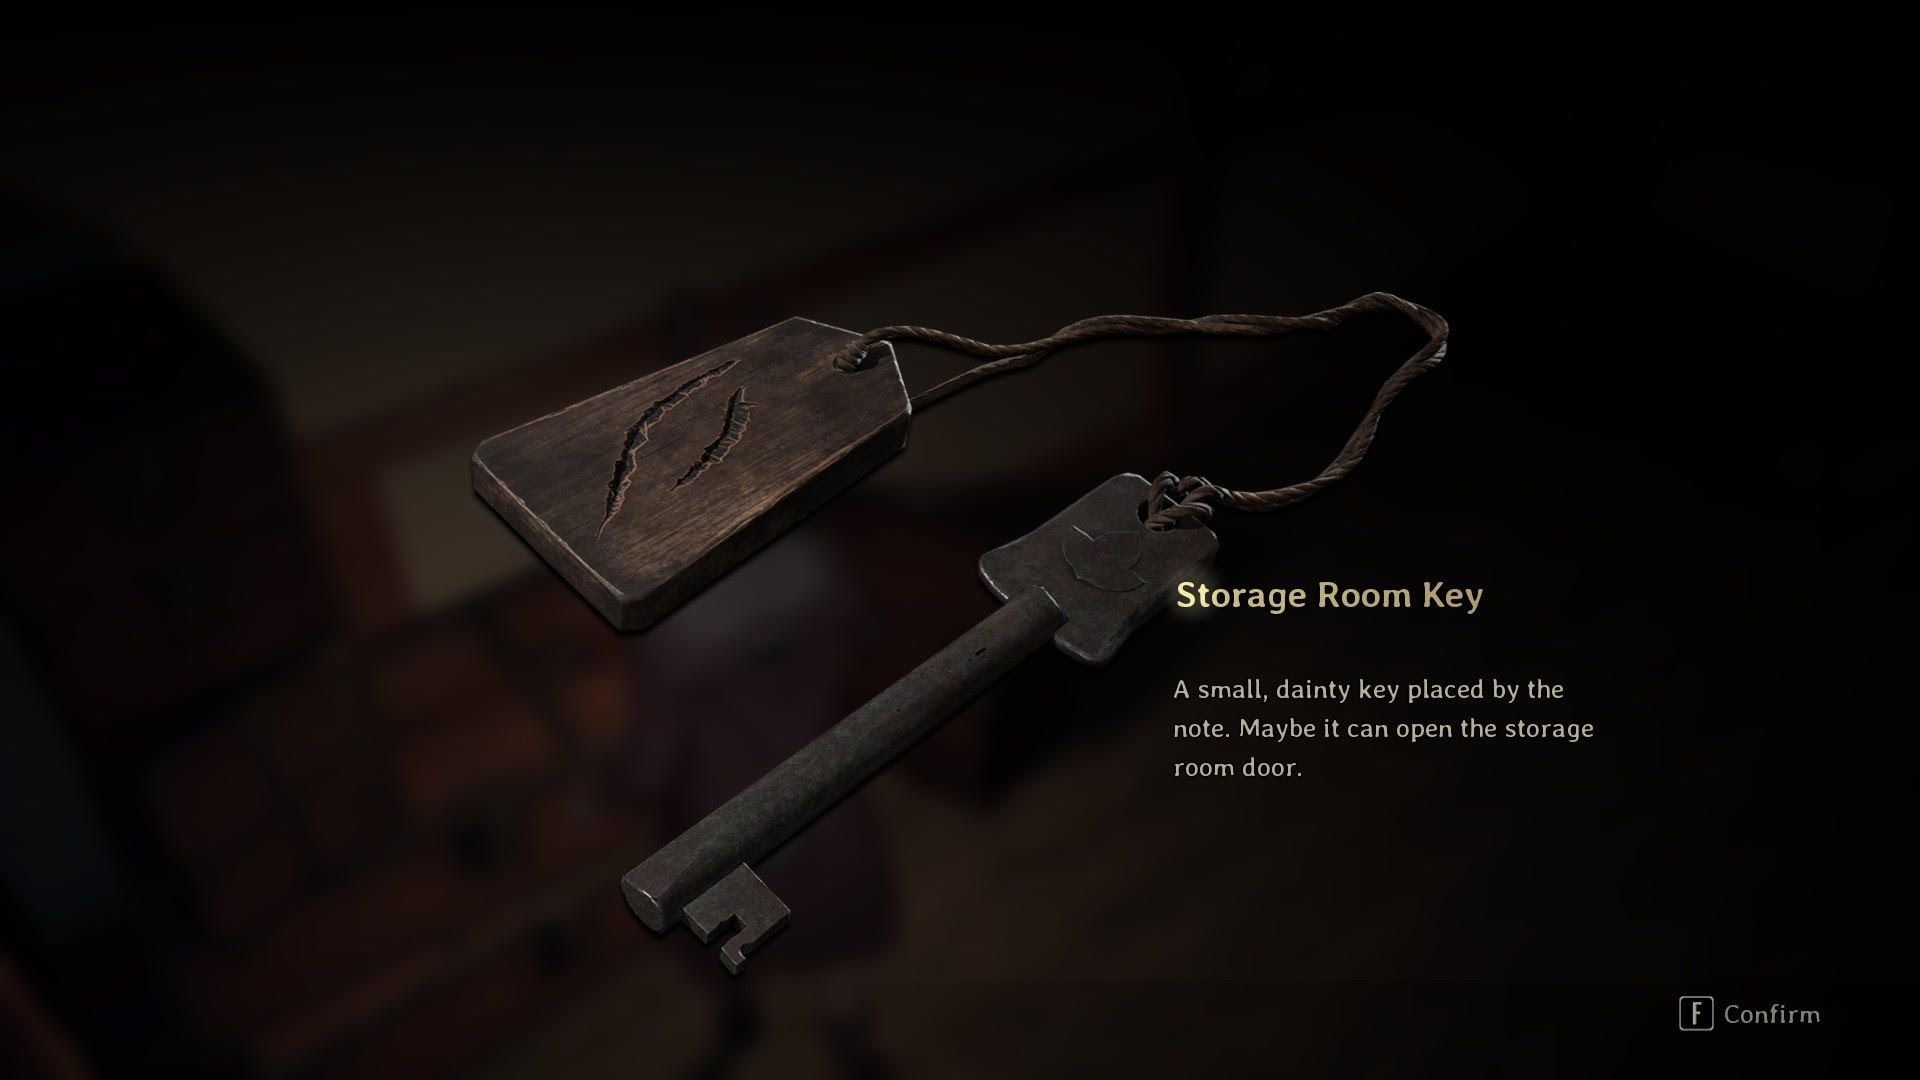
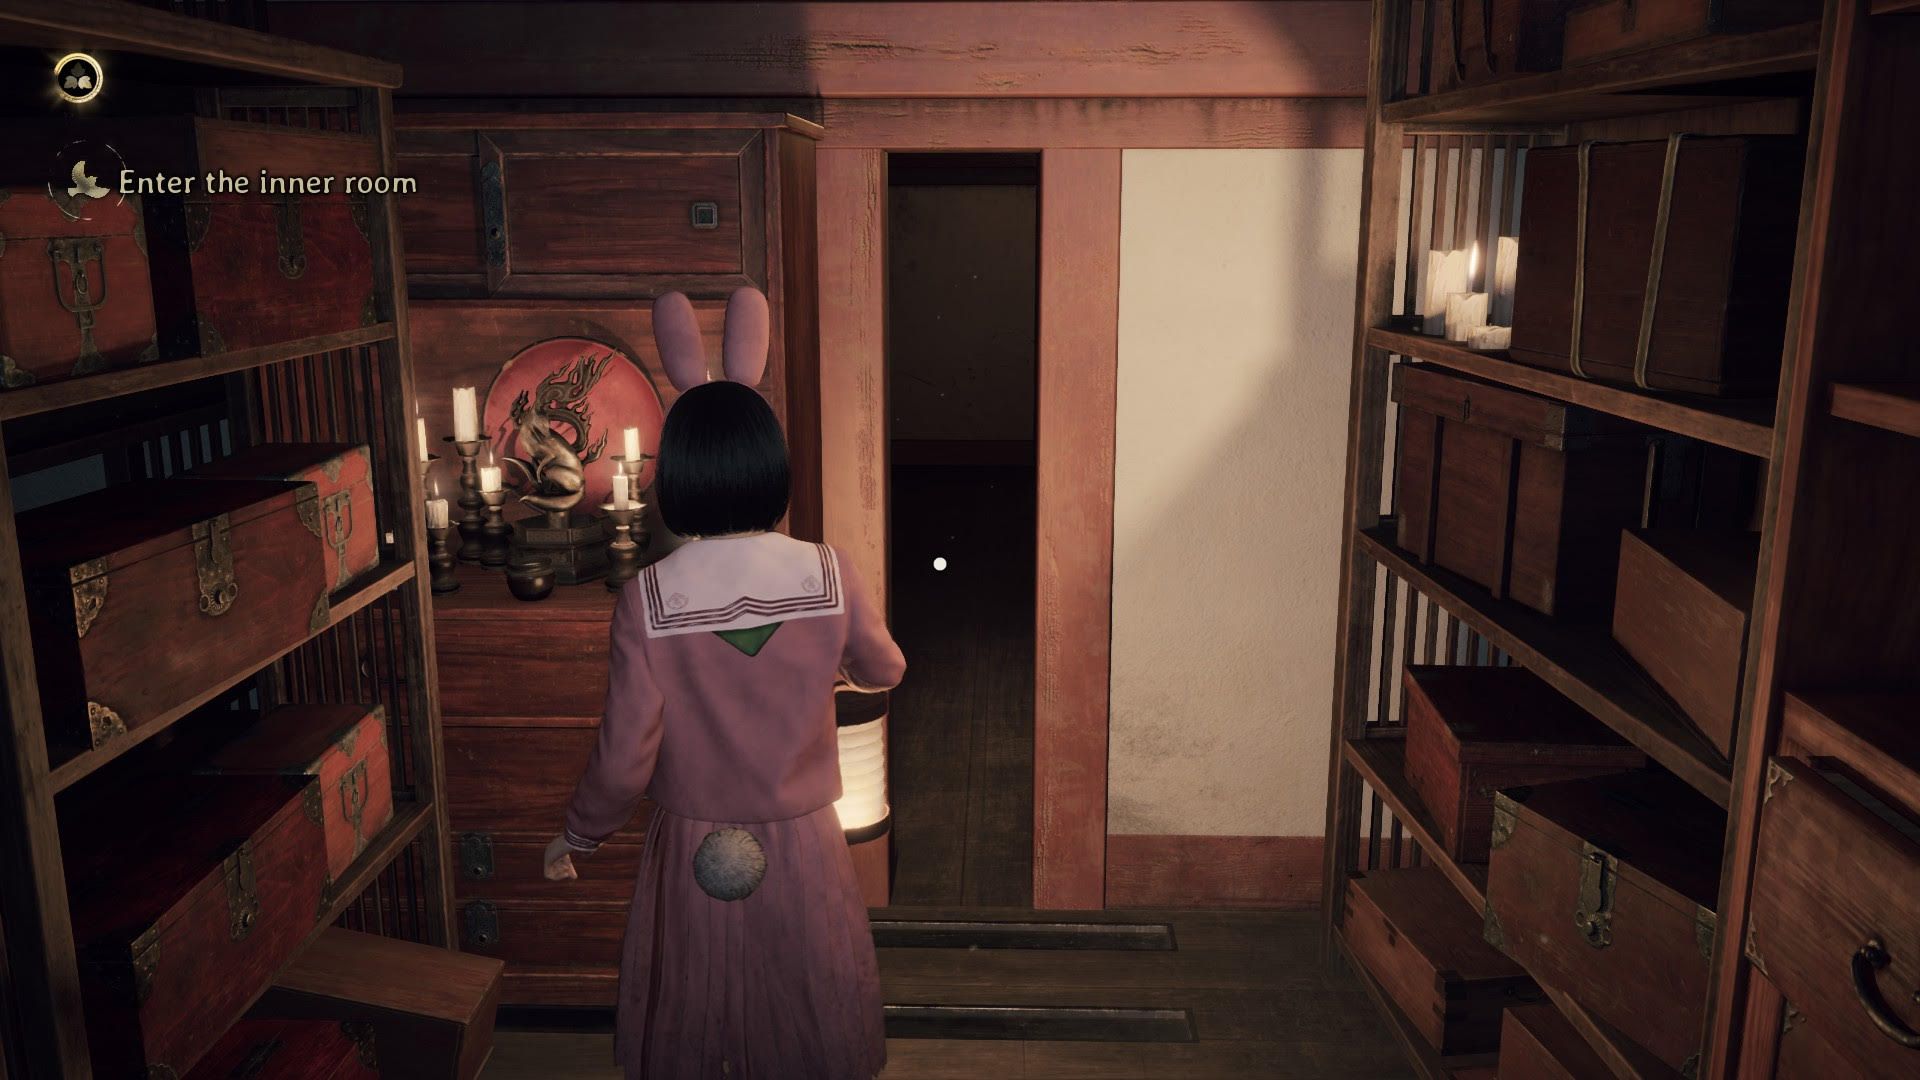
Head left into the room on the west side. You’ll need to crawl through a narrow space, and you’ll discover the Storage Key next to some drawers. After grabbing it, keep going straight ahead until you reach the first place you can save your game. Use the shrine to pray and save your progress.
Now that you have the Storage Room Key, go back through the passage you originally came from. When you get back, turn left and enter the room straight ahead. Open the drawer to get a Yokan, and then look around the area in front of you to find and pick up an Ancient Note.
Investigate the Strange Object
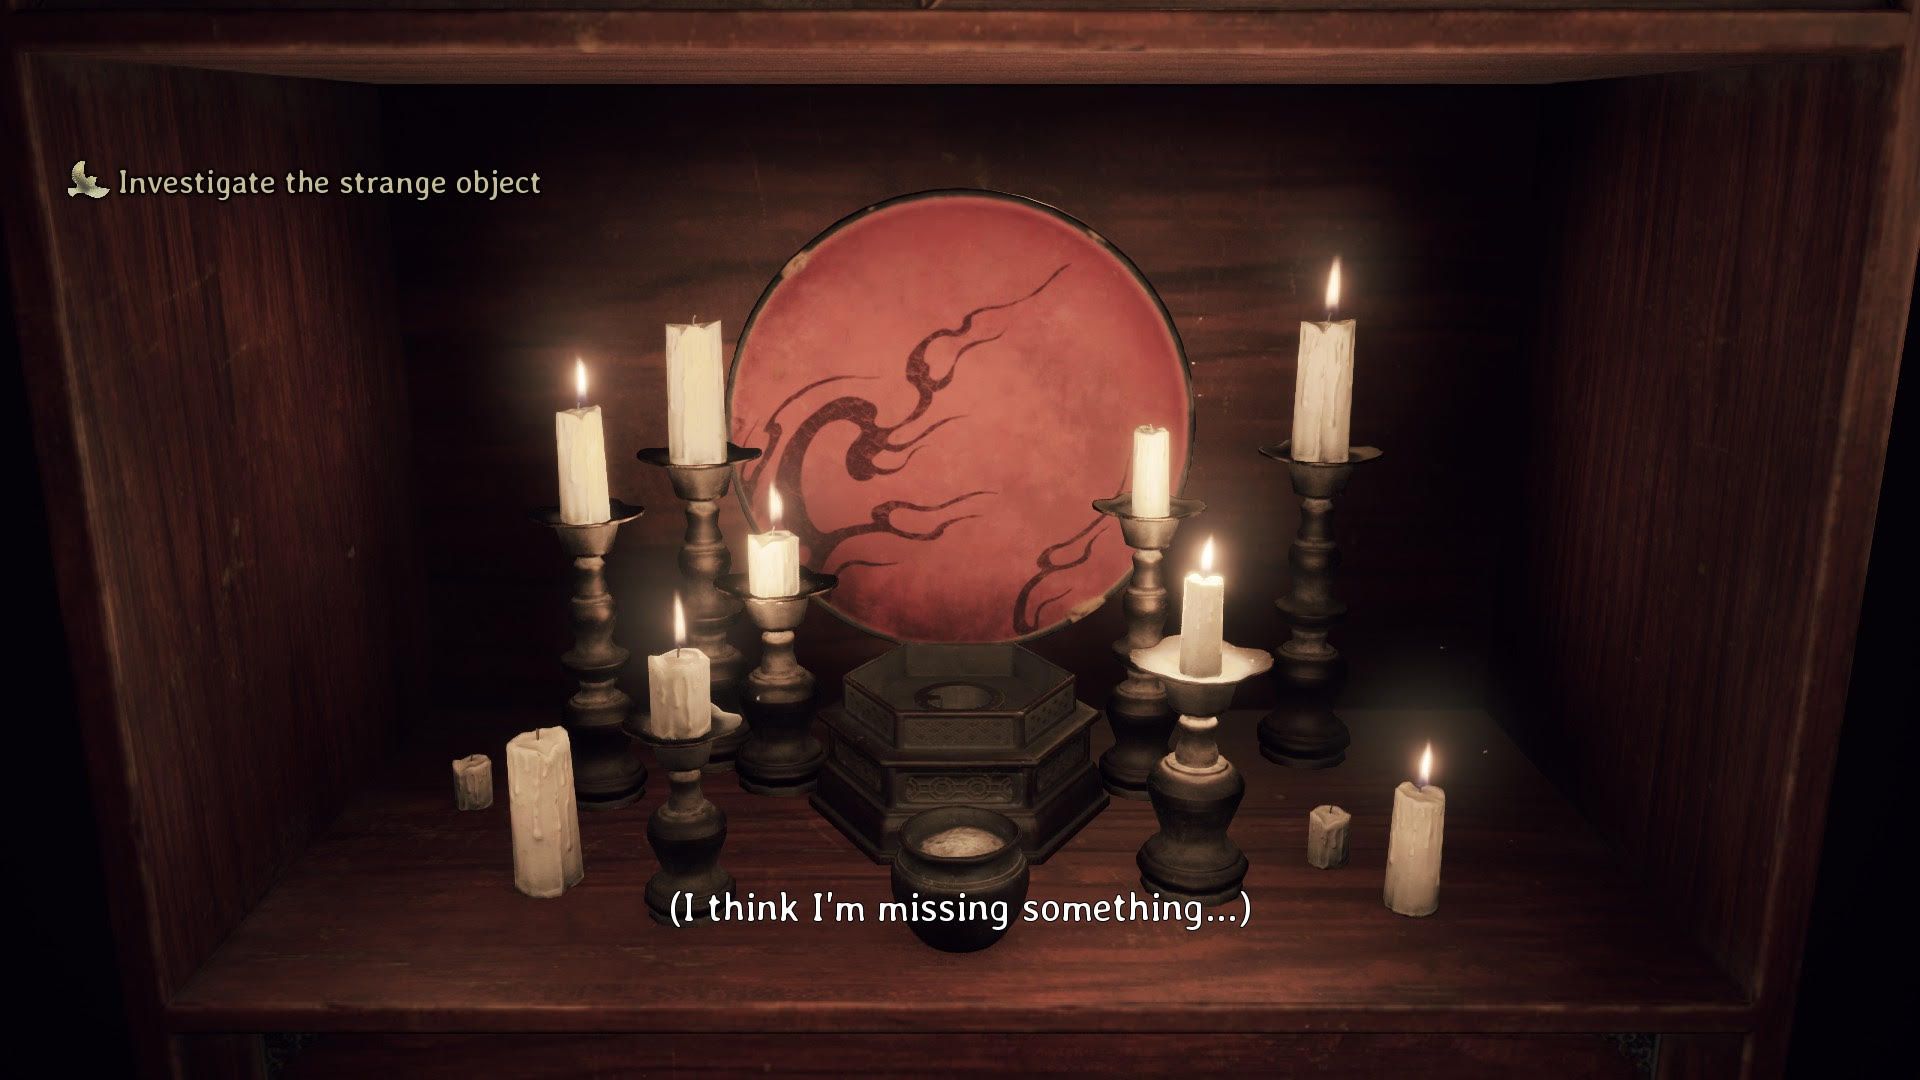
Once you’ve obtained the old note, go to the other side of the room. Examine the altar by interacting with it. Your next goal is to find the missing piece. To do this, leave the room and turn right, continuing along the path. You’ll eventually reach a door on your left. Use the Storage Key to unlock it, and then crawl through to the other side.
To your left is a letter called “A Warning”, and close by, Hinako’s Doll has a crucial message for you. Once you’ve read both, go back a little ways until you see an open door right in front of you.
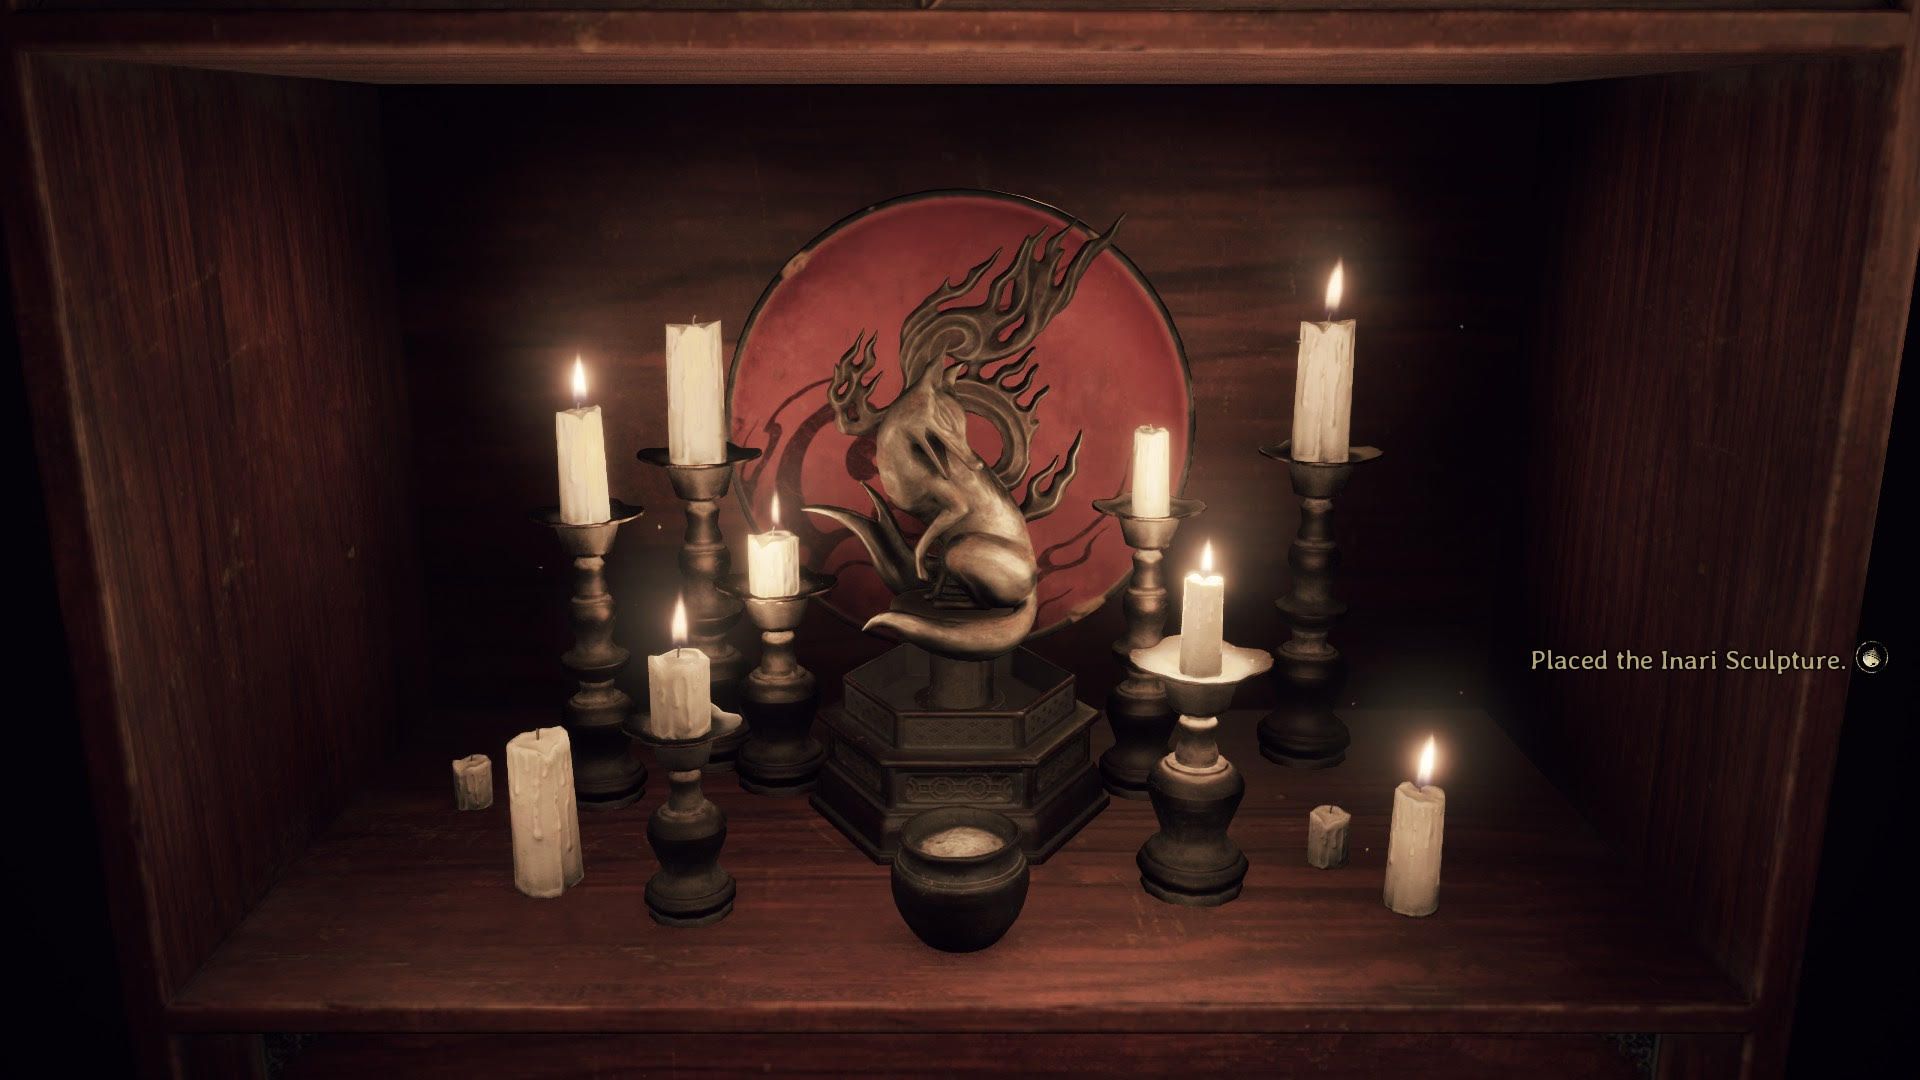
As you enter the newly opened room, you’ll see walls filled with many paintings. Head to the bottom-left corner to pick up the Inari Sculpture.
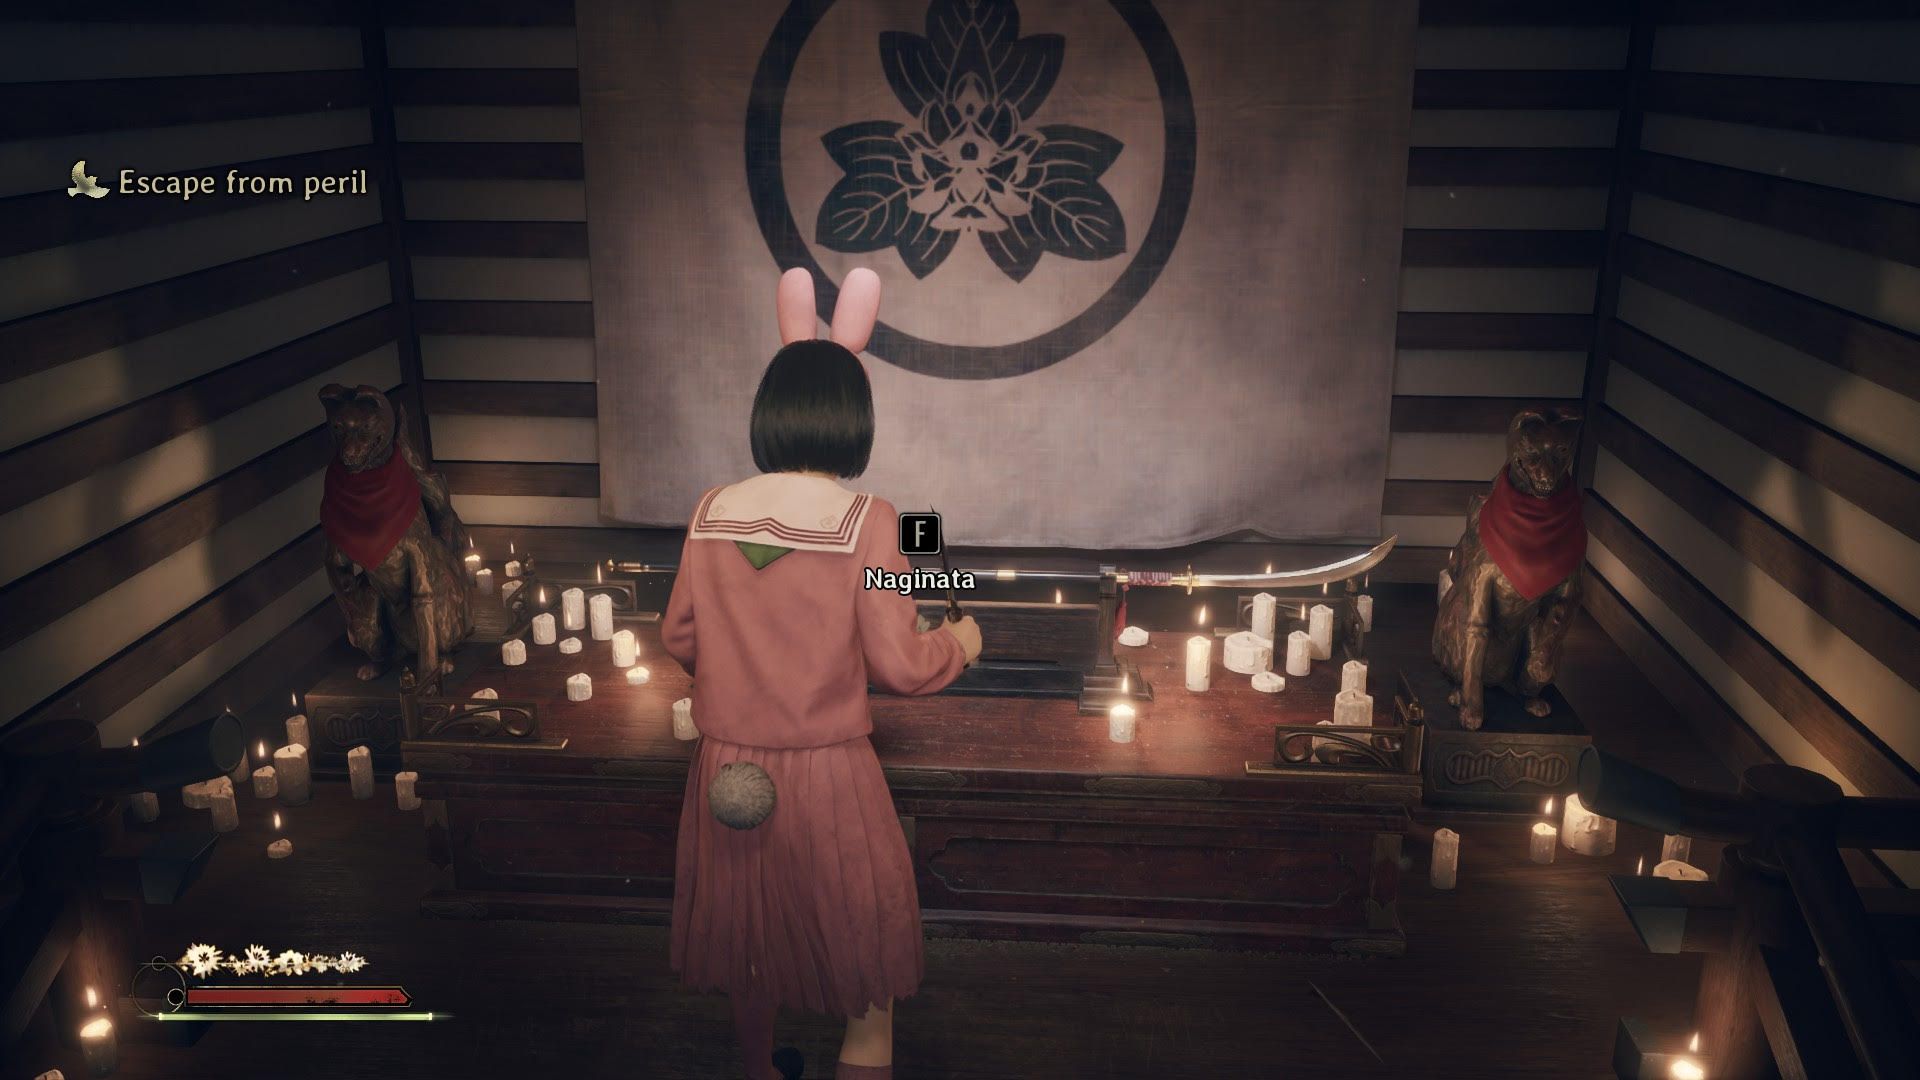
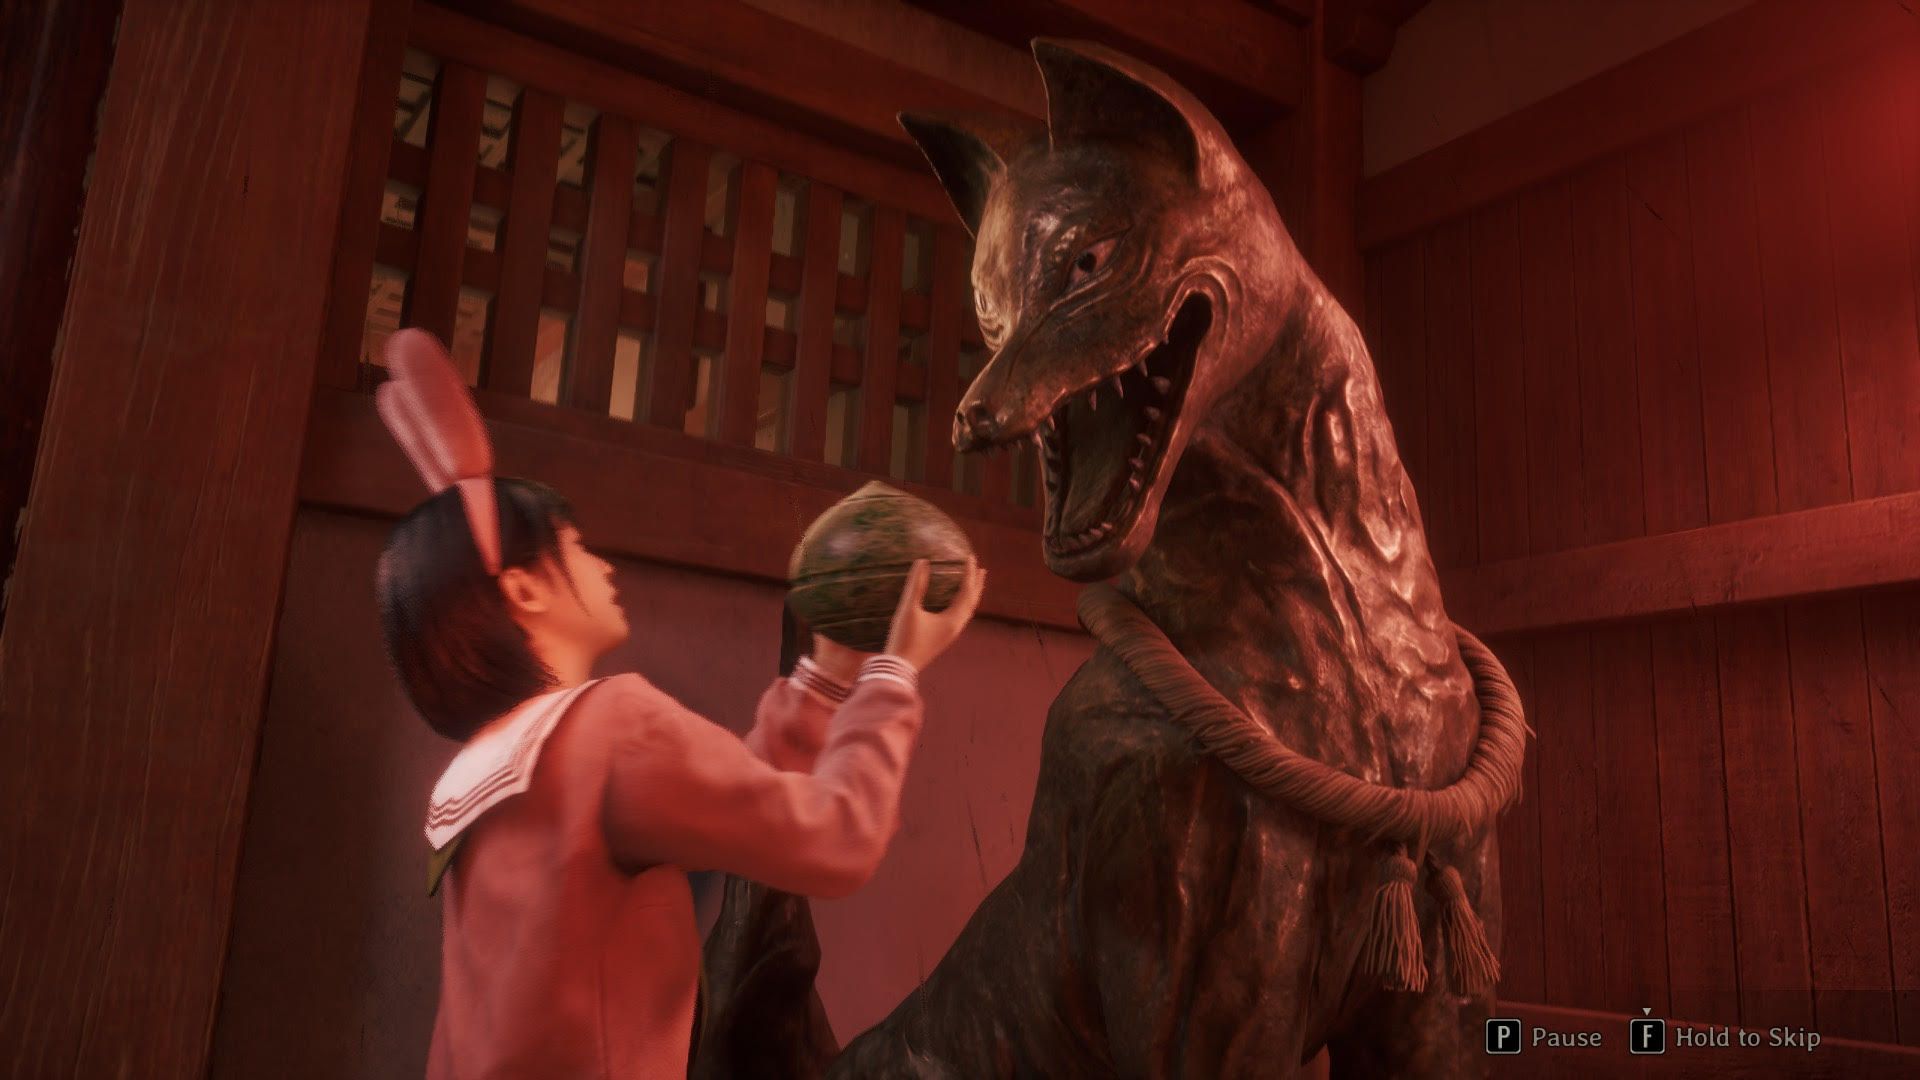
Go back to the altar and put the Inari Sculpture in the middle. This will cause a secret passage to open. Walk into the passage, and you’ll see a short cutscene. You’ll then encounter the Blade Leg Monster. Don’t fight it – instead, run straight ahead and pick up the Naginata weapon.
Escape and Head to the Sacred Door
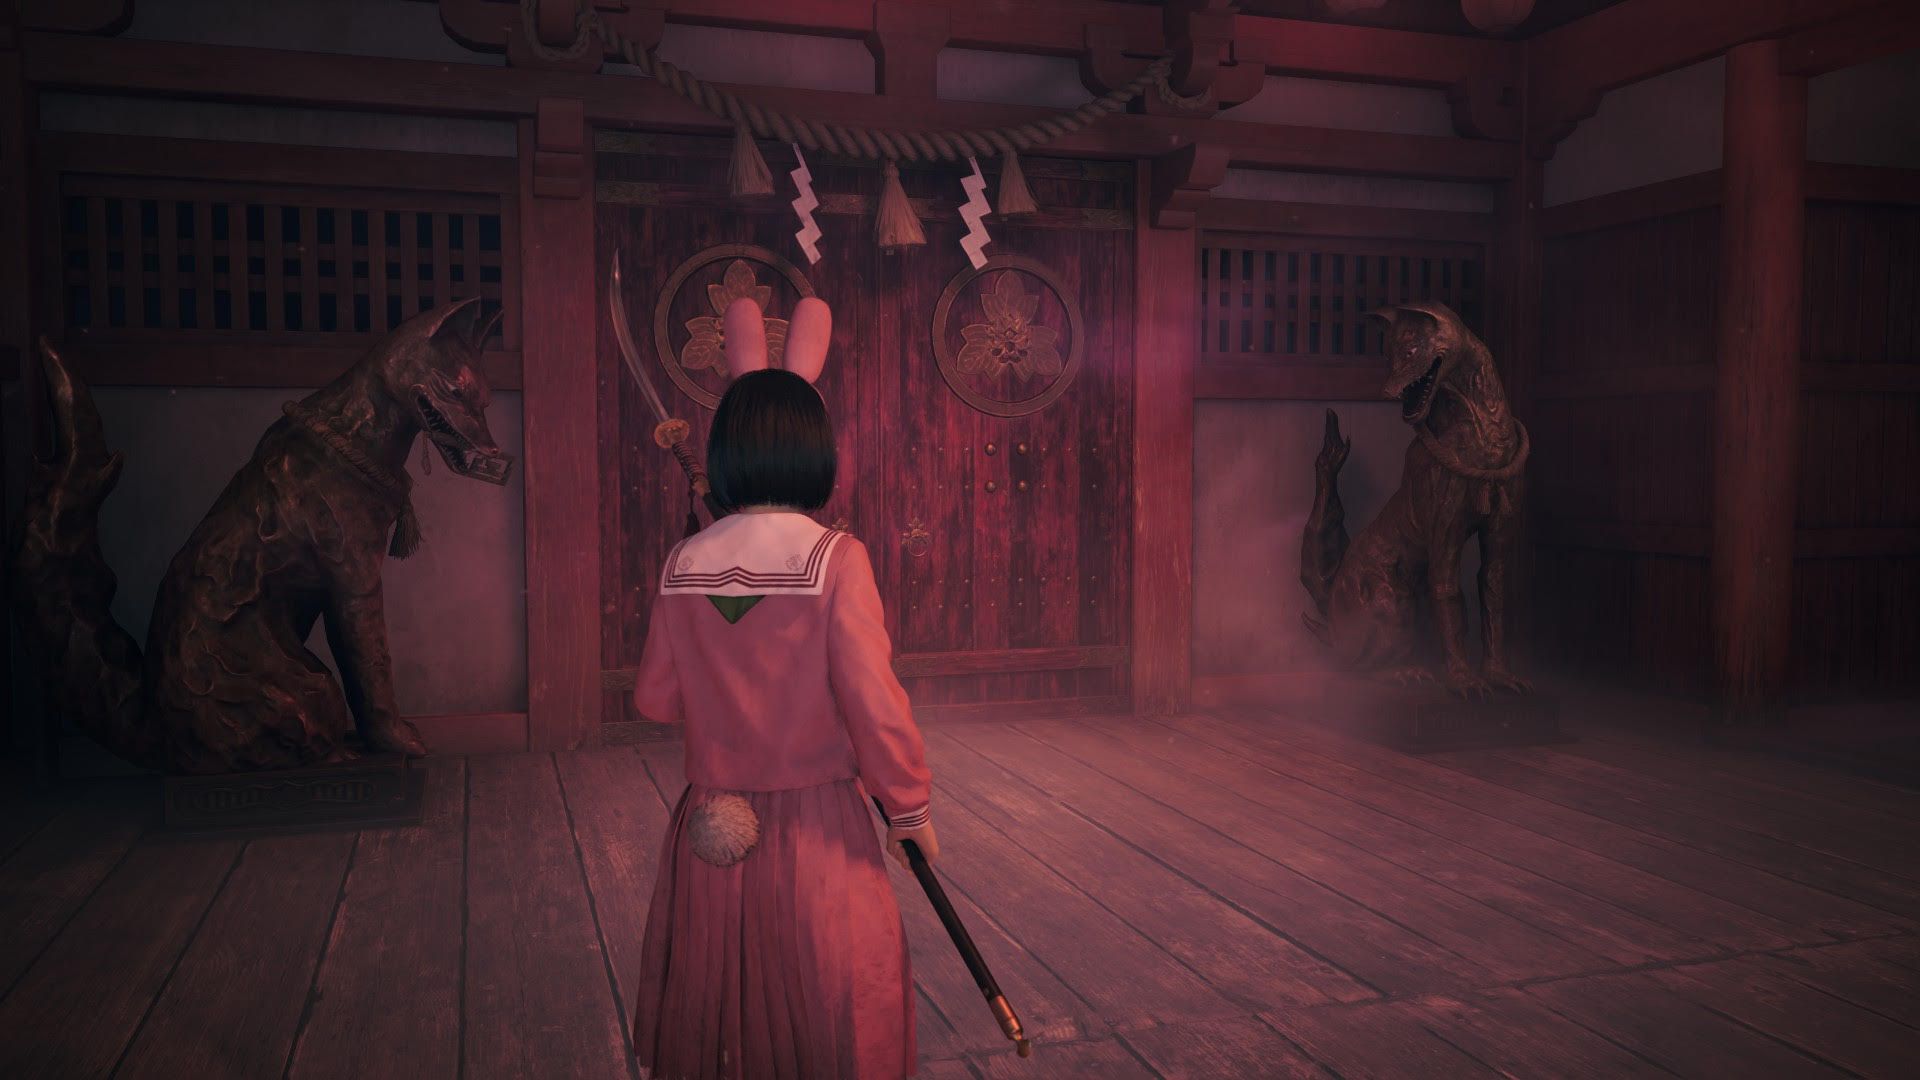
When you take the Naginata, your Lantern will break. The doors will then open on their own, allowing you to proceed towards the Sacred Door. As you leave, you’ll enter a room lit by lanterns, filled with a red mist. To your left, you’ll see a Hokora Shrine.
Before you go to the Sacred Door, head to the southwest part of this area first to pick up the Red Capsules.
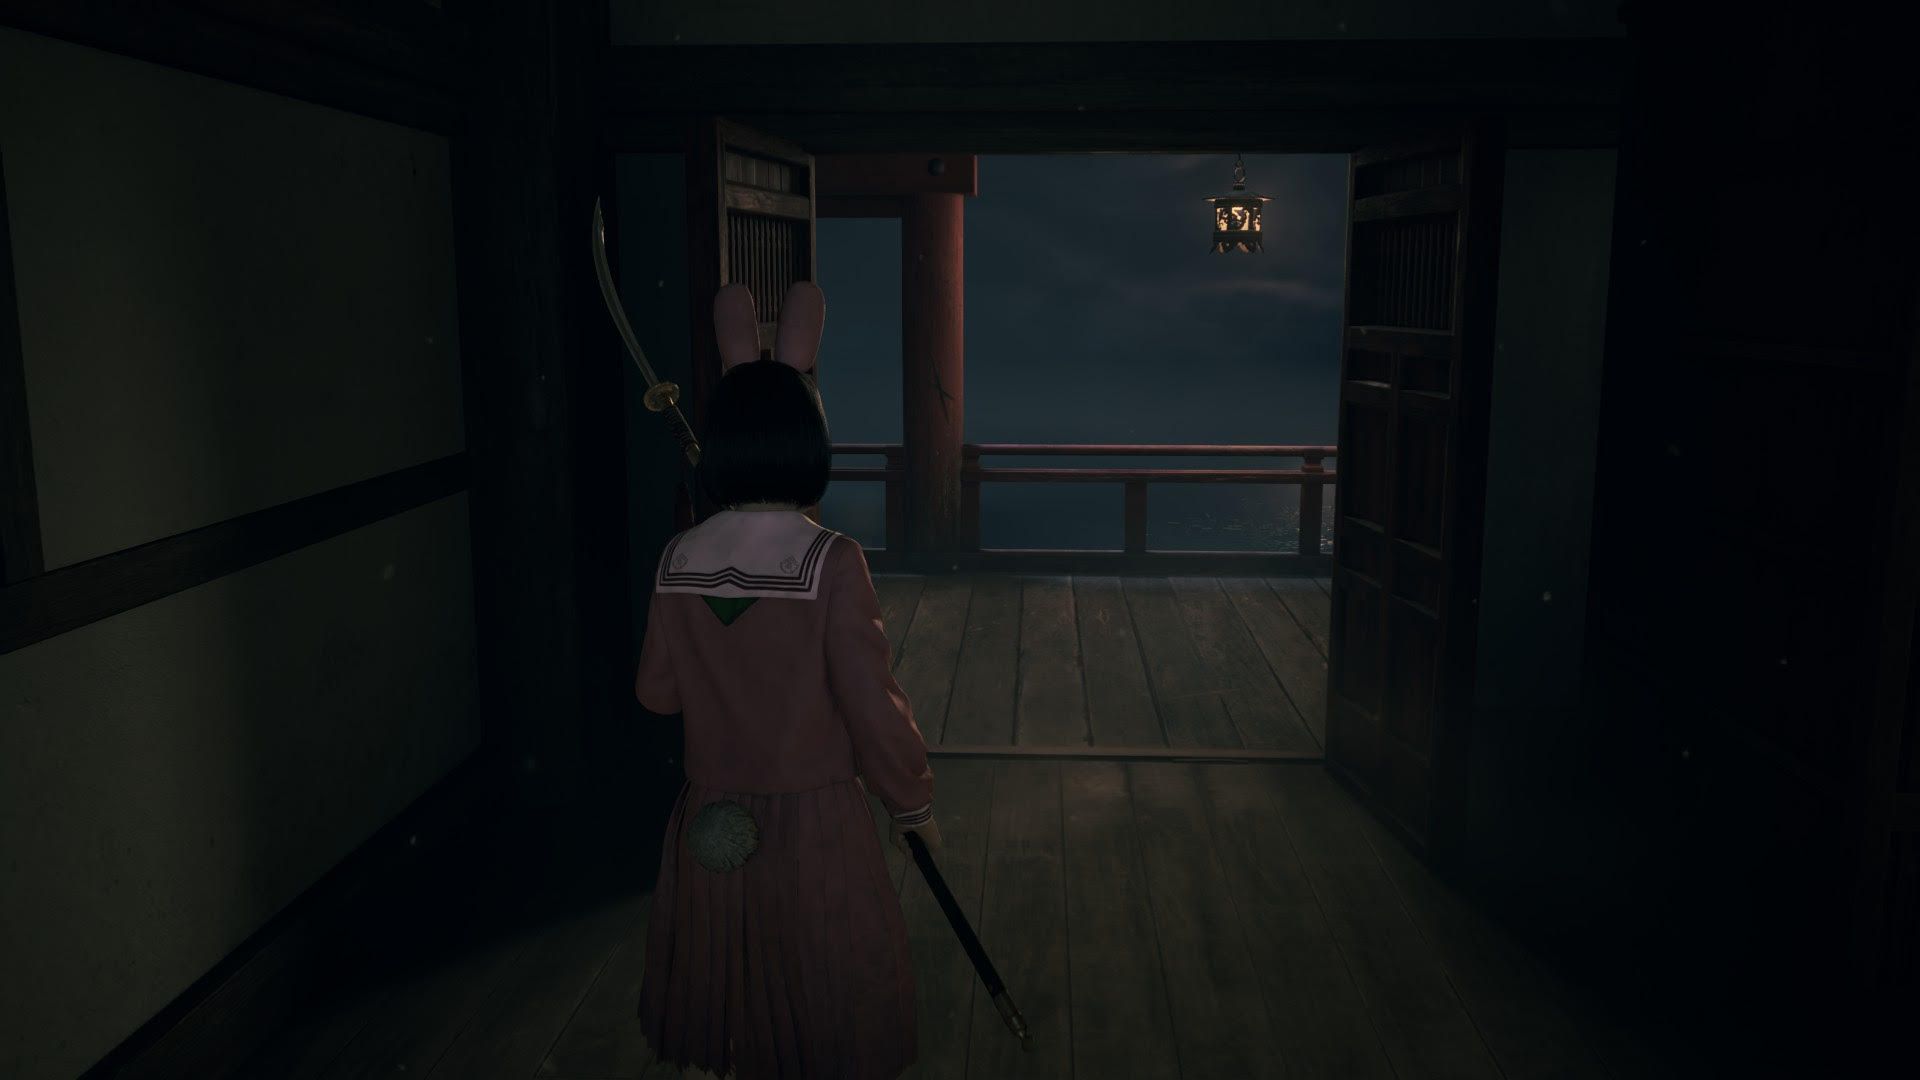
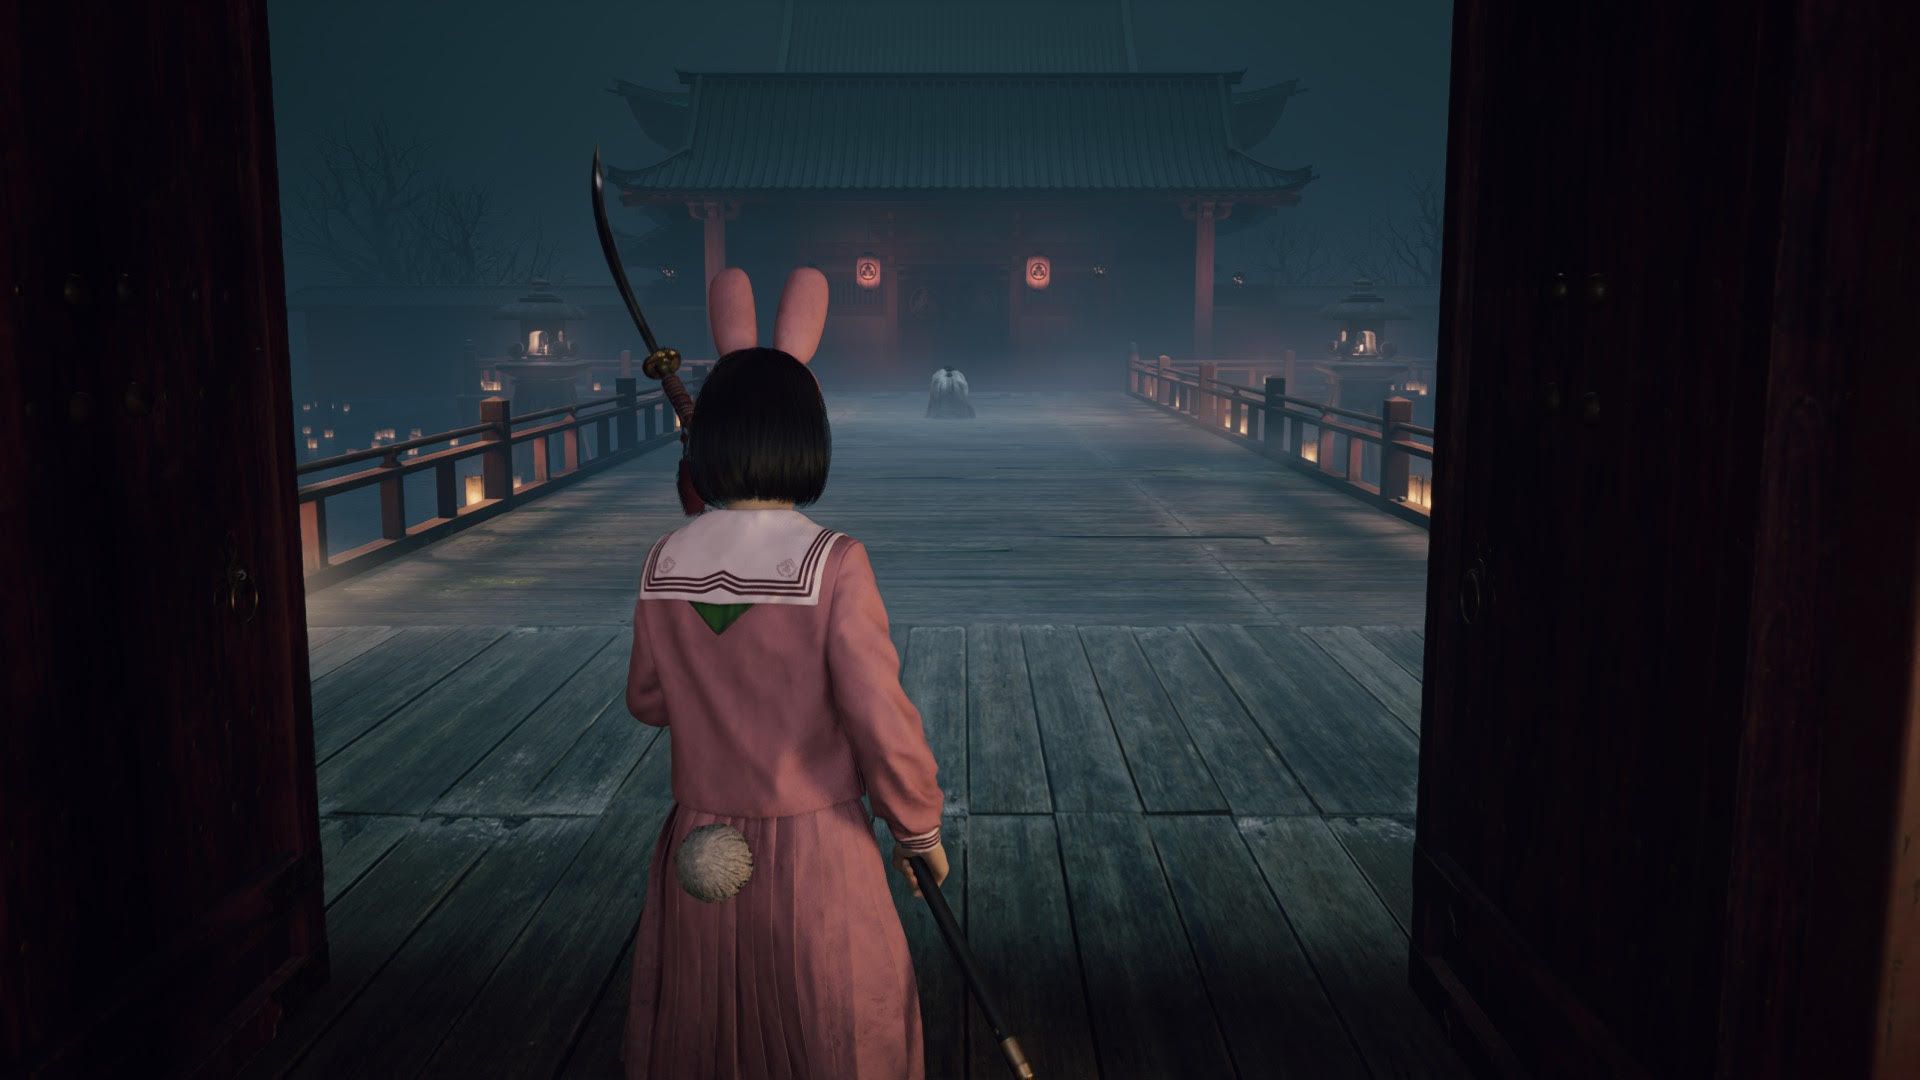
Inspect the Sacred Door
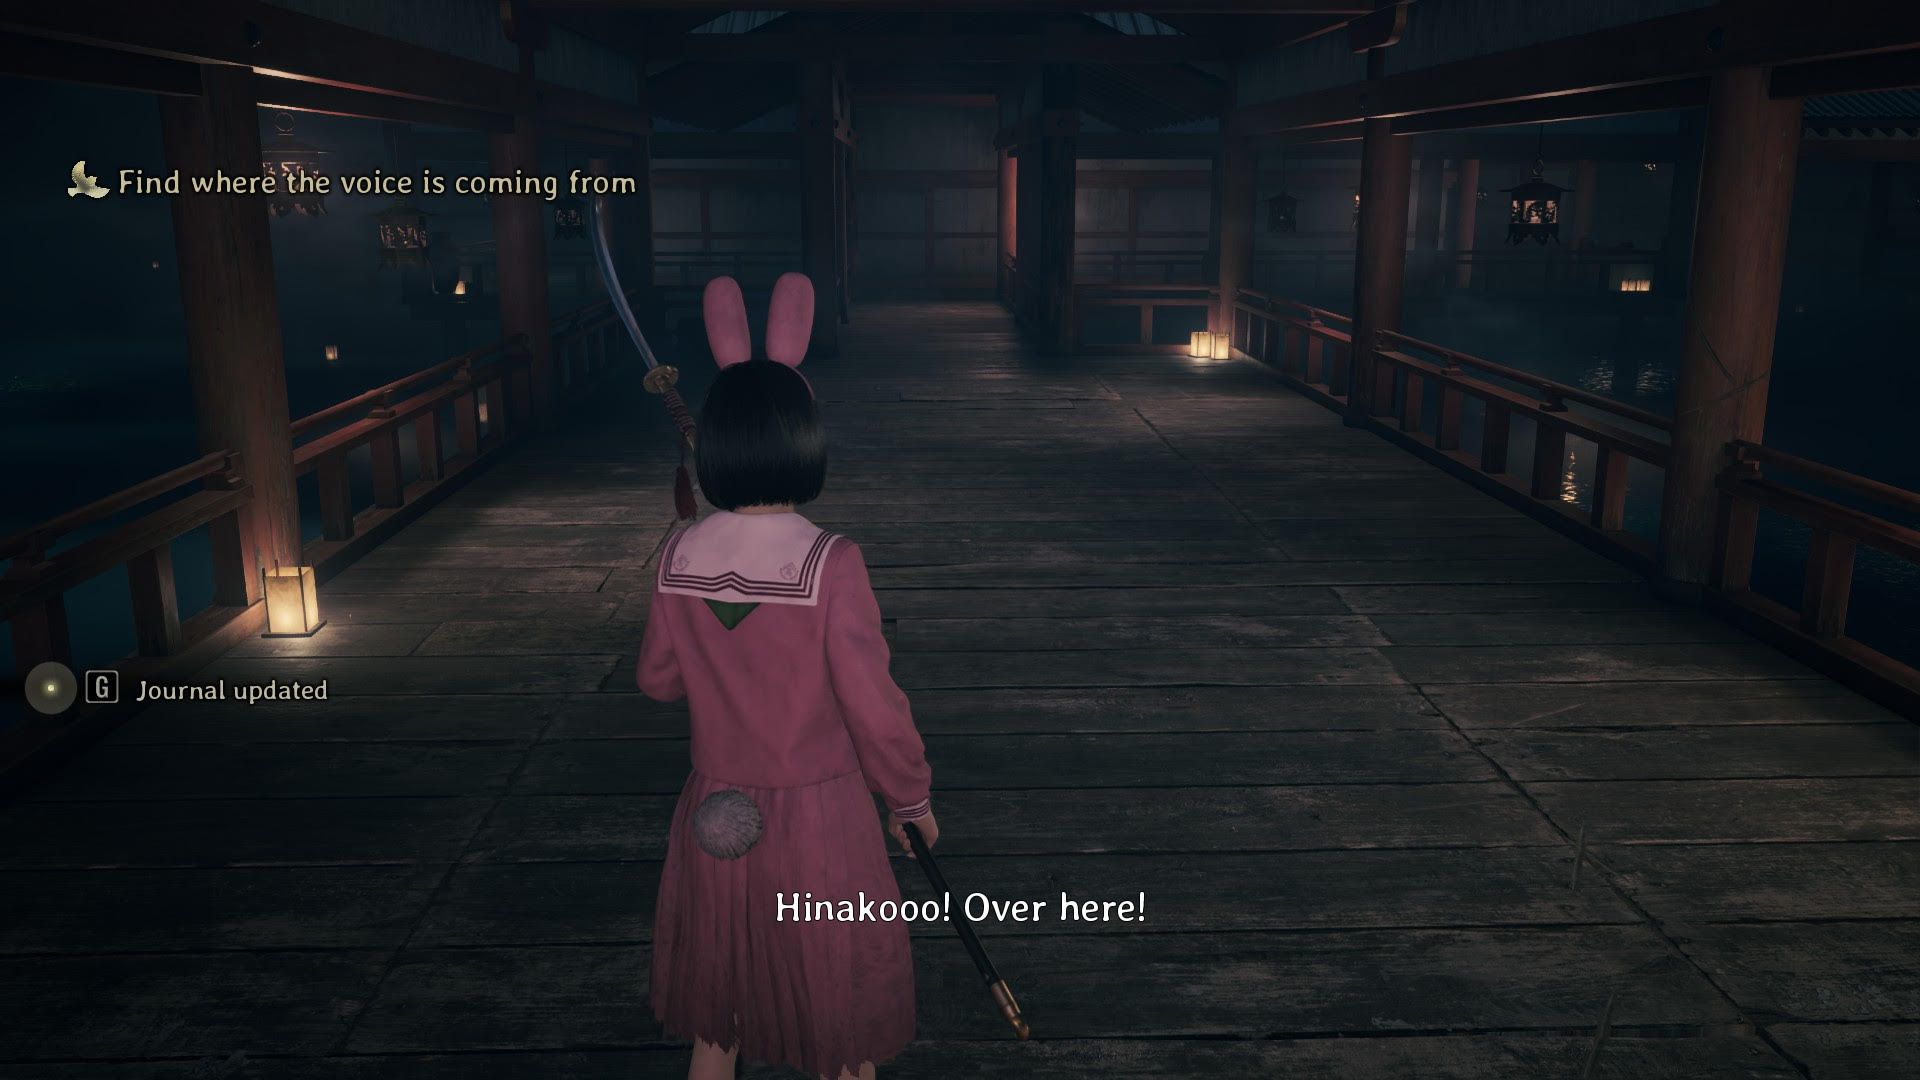
Try interacting with the door and the Inari Statue. Although the door is locked, touching them will cause a strange voice to speak to you. Keep heading west, and the map will slowly show more of the area around you. Watch out while exploring this area, as monsters may ambush you.
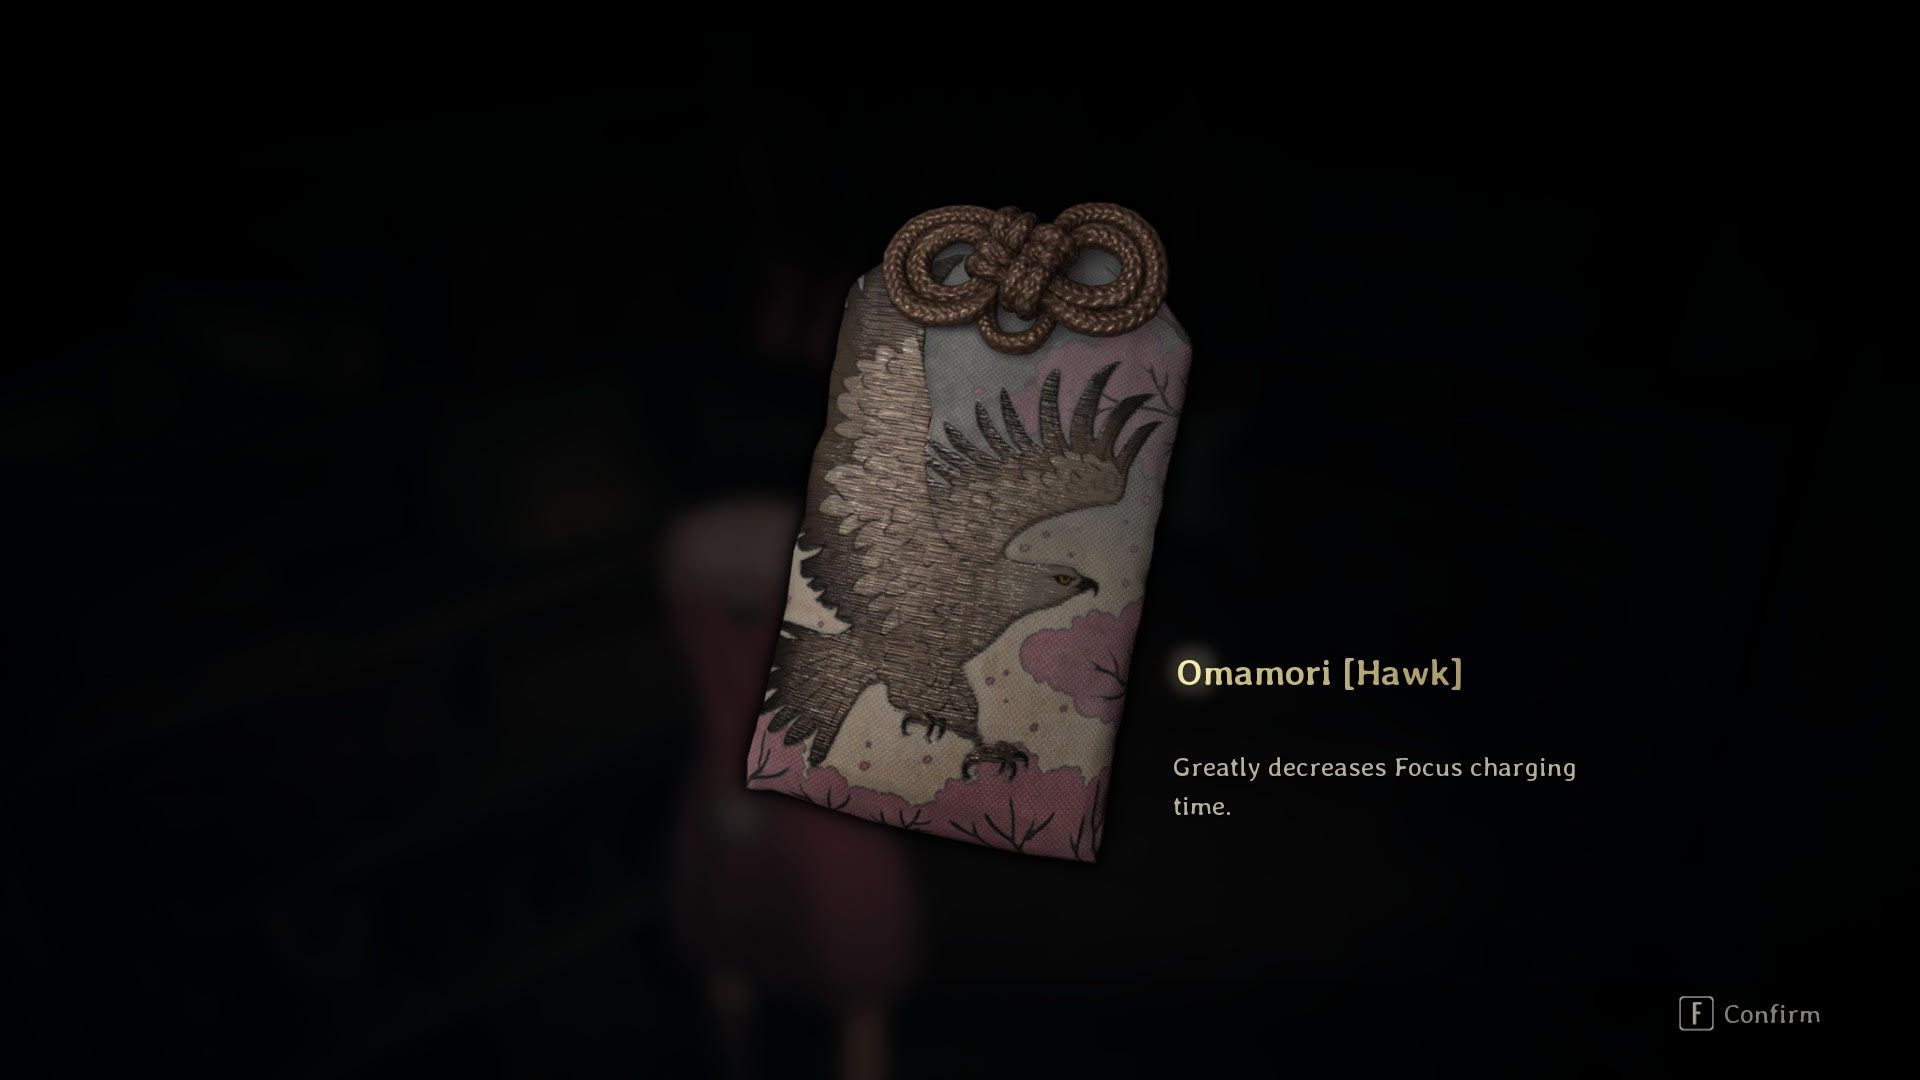
When you head upstairs, there’s a small room that’s worth checking out. As soon as you go inside, look in the drawer on your left to grab a Bandage. Then, take a look on the right side of the room to find an Omamori [Hawk].
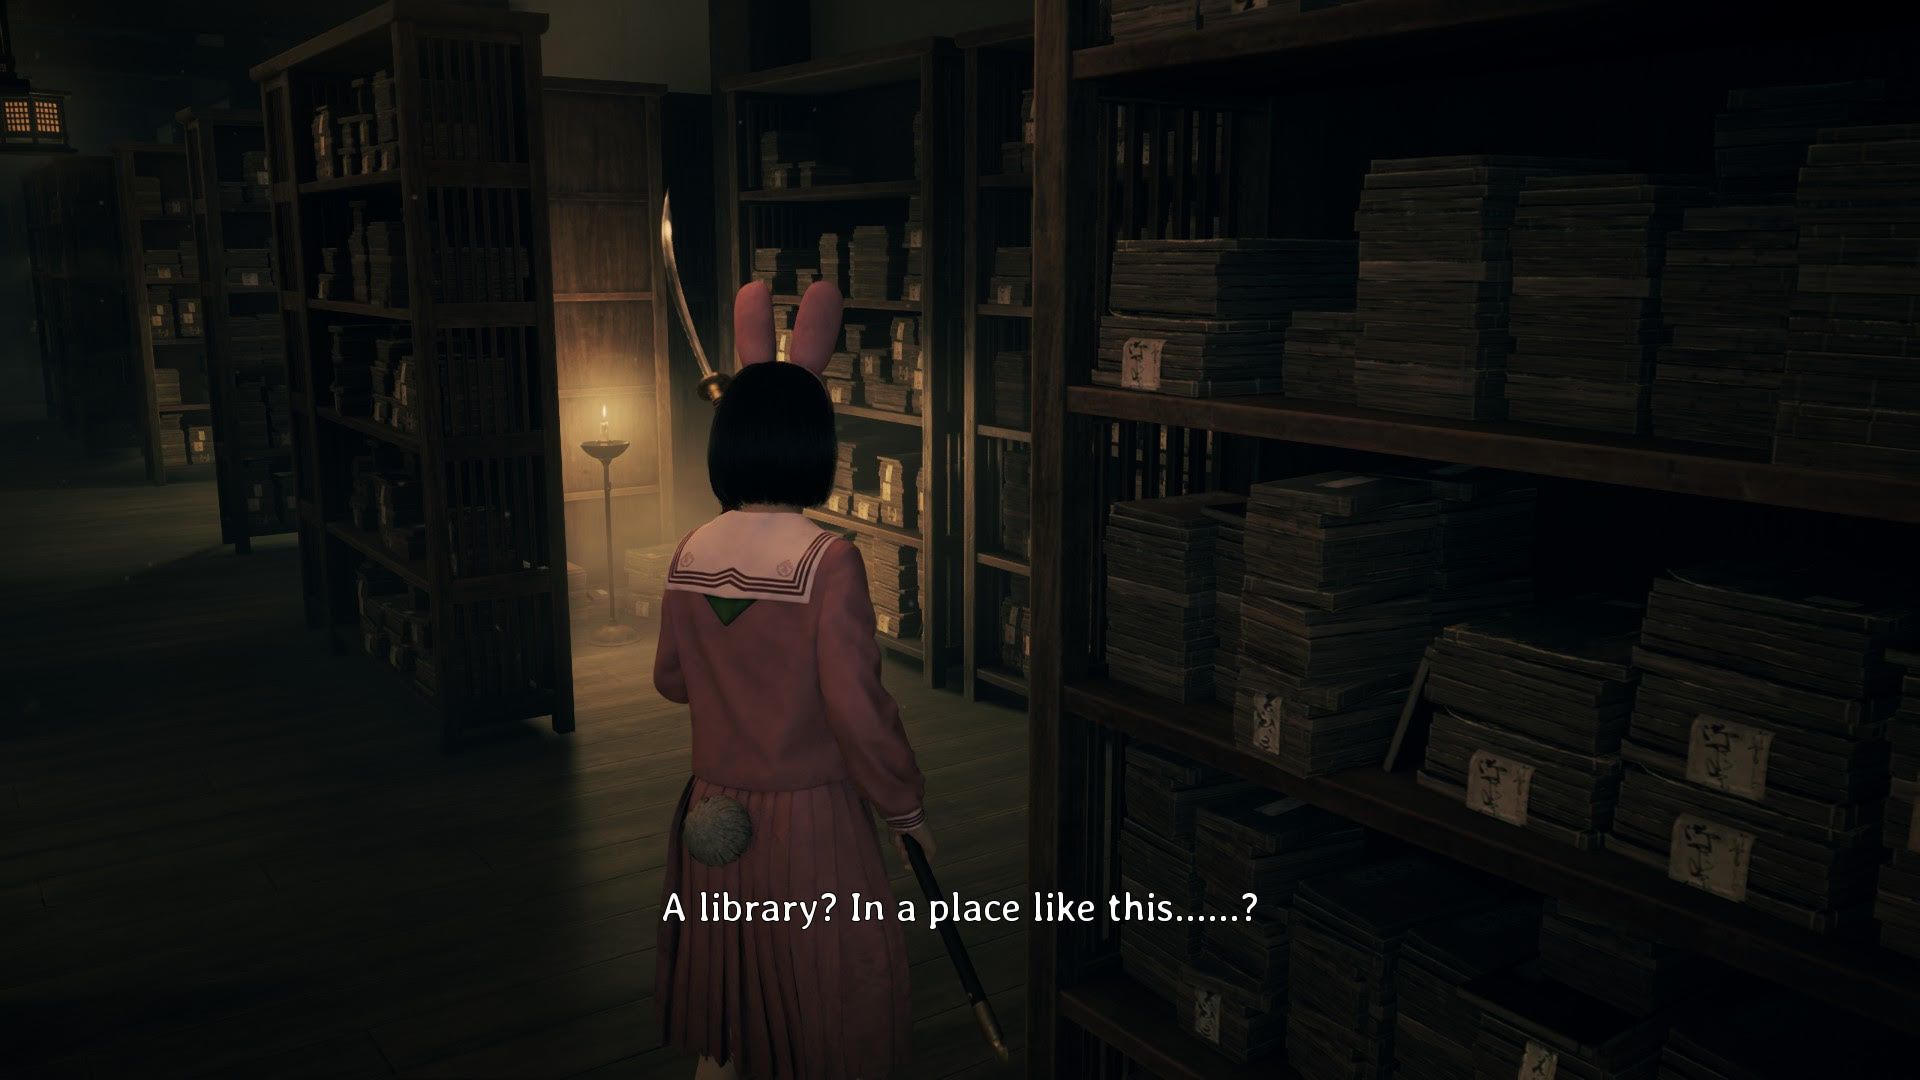
Now, exit the room and head west. Defeat the enemies and enter the doorway on your right. You’ll then be inside a Library.
Explore the Library and Nearby Rooms

When you go into the library, feel free to look around at your own pace. Here’s how to discover and gather everything: Follow these steps to explore and collect all items:
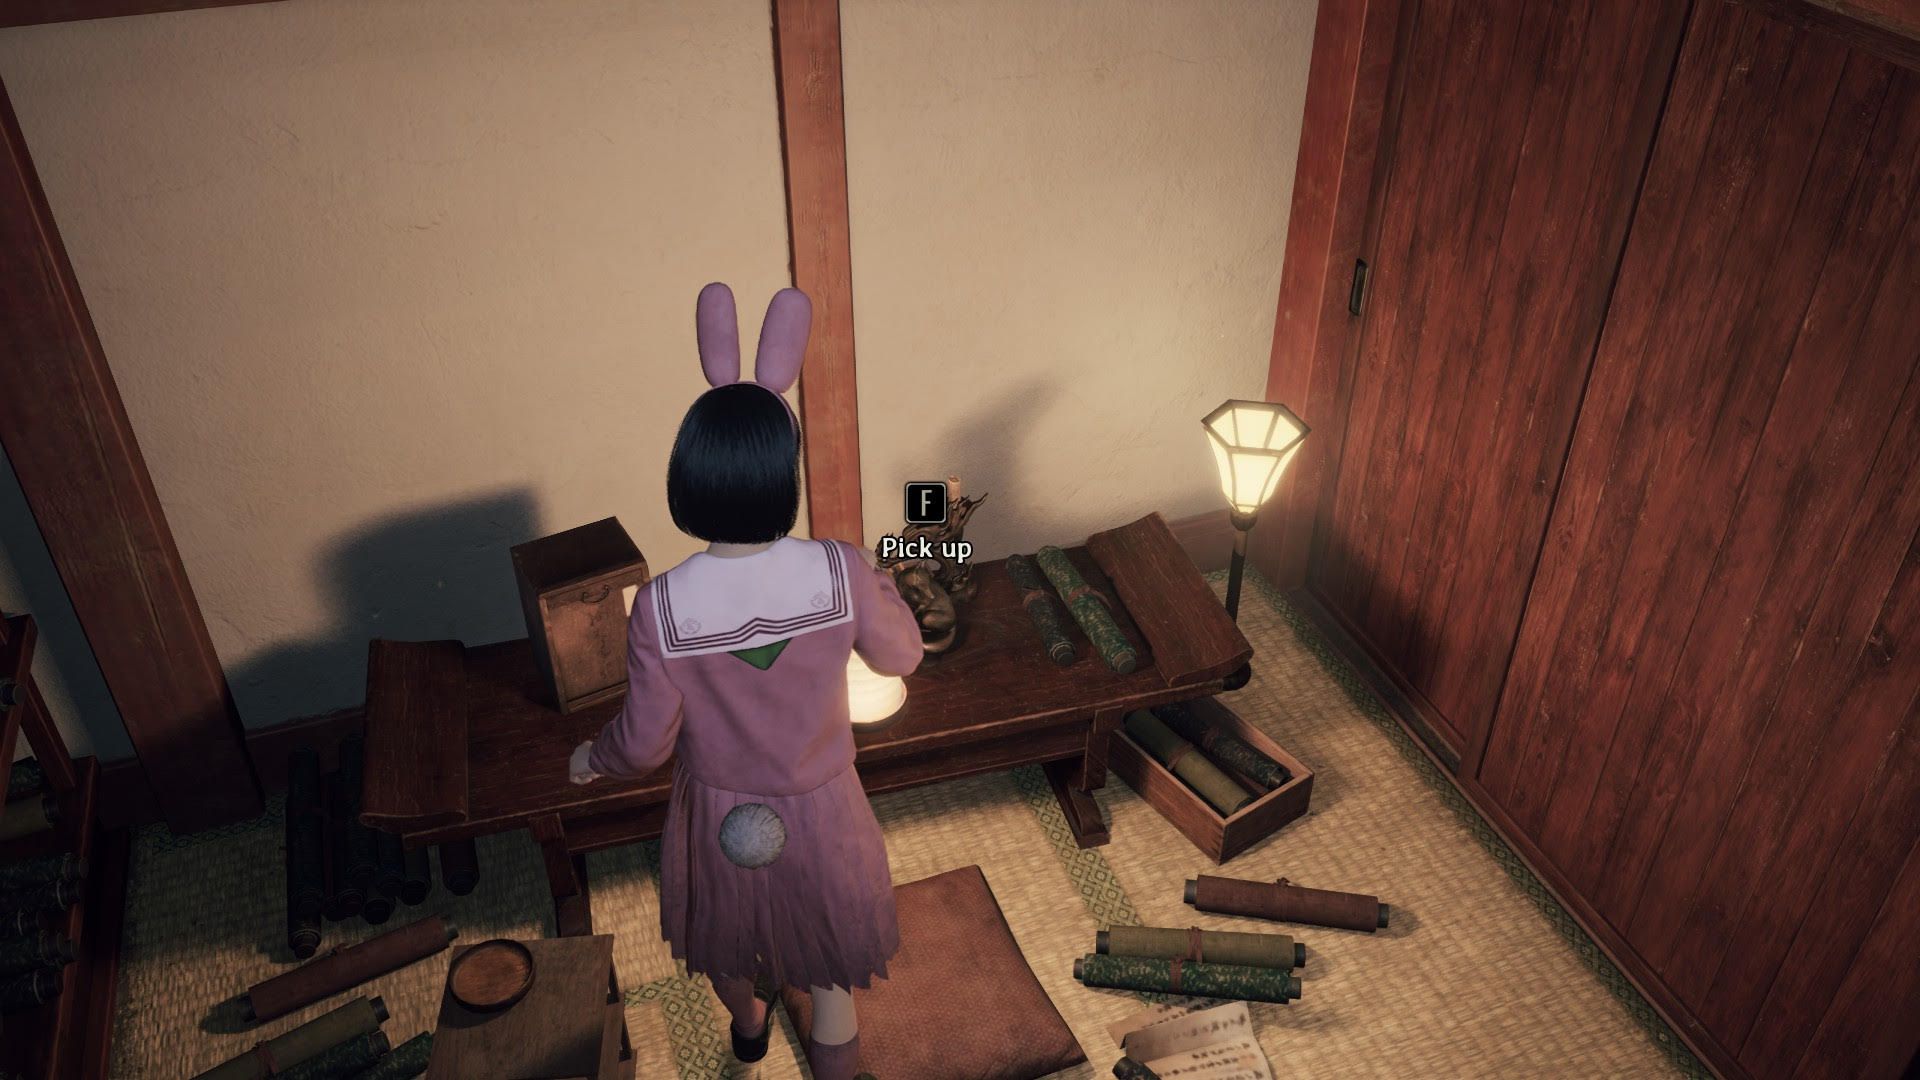
- Turn right from the entrance, then take the first right to find a Housemaid’s Note by a candle.
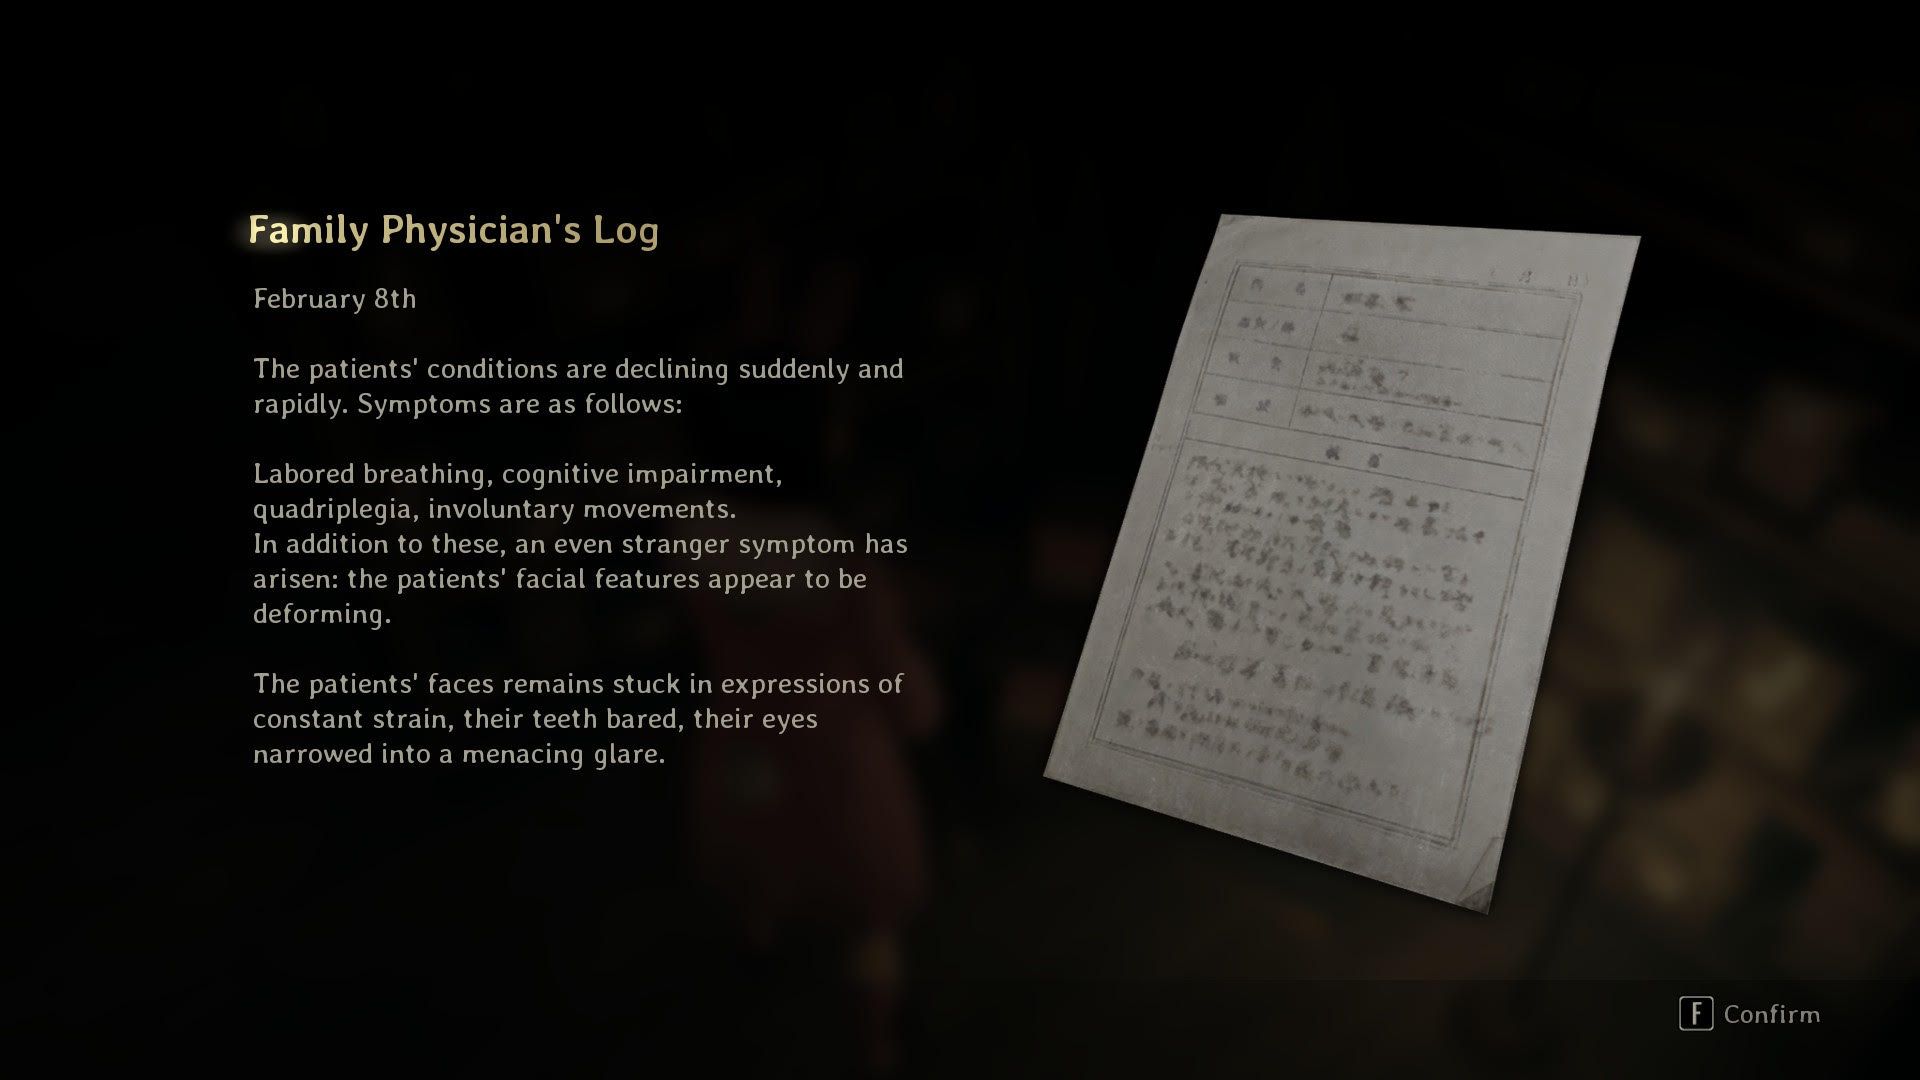
- Across from it, interact with a book on the shelf. Continue down the center; on your left, near a cushion, pick up a document. On the right, first go left to collect the Family Physician’s Log, then check the book on the shelf.
- At the end of the library, squeeze through a gap on the left to hear a voice.
- Then, walk east to a pile of books to grab the Research Notes on “Enmi-jugonroku”.
- Check the bench with a cushion and candles to pick up a Dried Carcass, and the next left to collect Red Capsules.
- Exit the library heading south, watch for a monster, then go down a small blocked corridor to collect Arare.
- Continue west through more blocked paths; at the southern edge, grab Kudzu Tea.
- Cross the bridge (beware of a monster) and enter a room with a Hokora.
- In the southeast corner, collect Divine Water, and near the Hokora on the west side, pick up a Yokan.
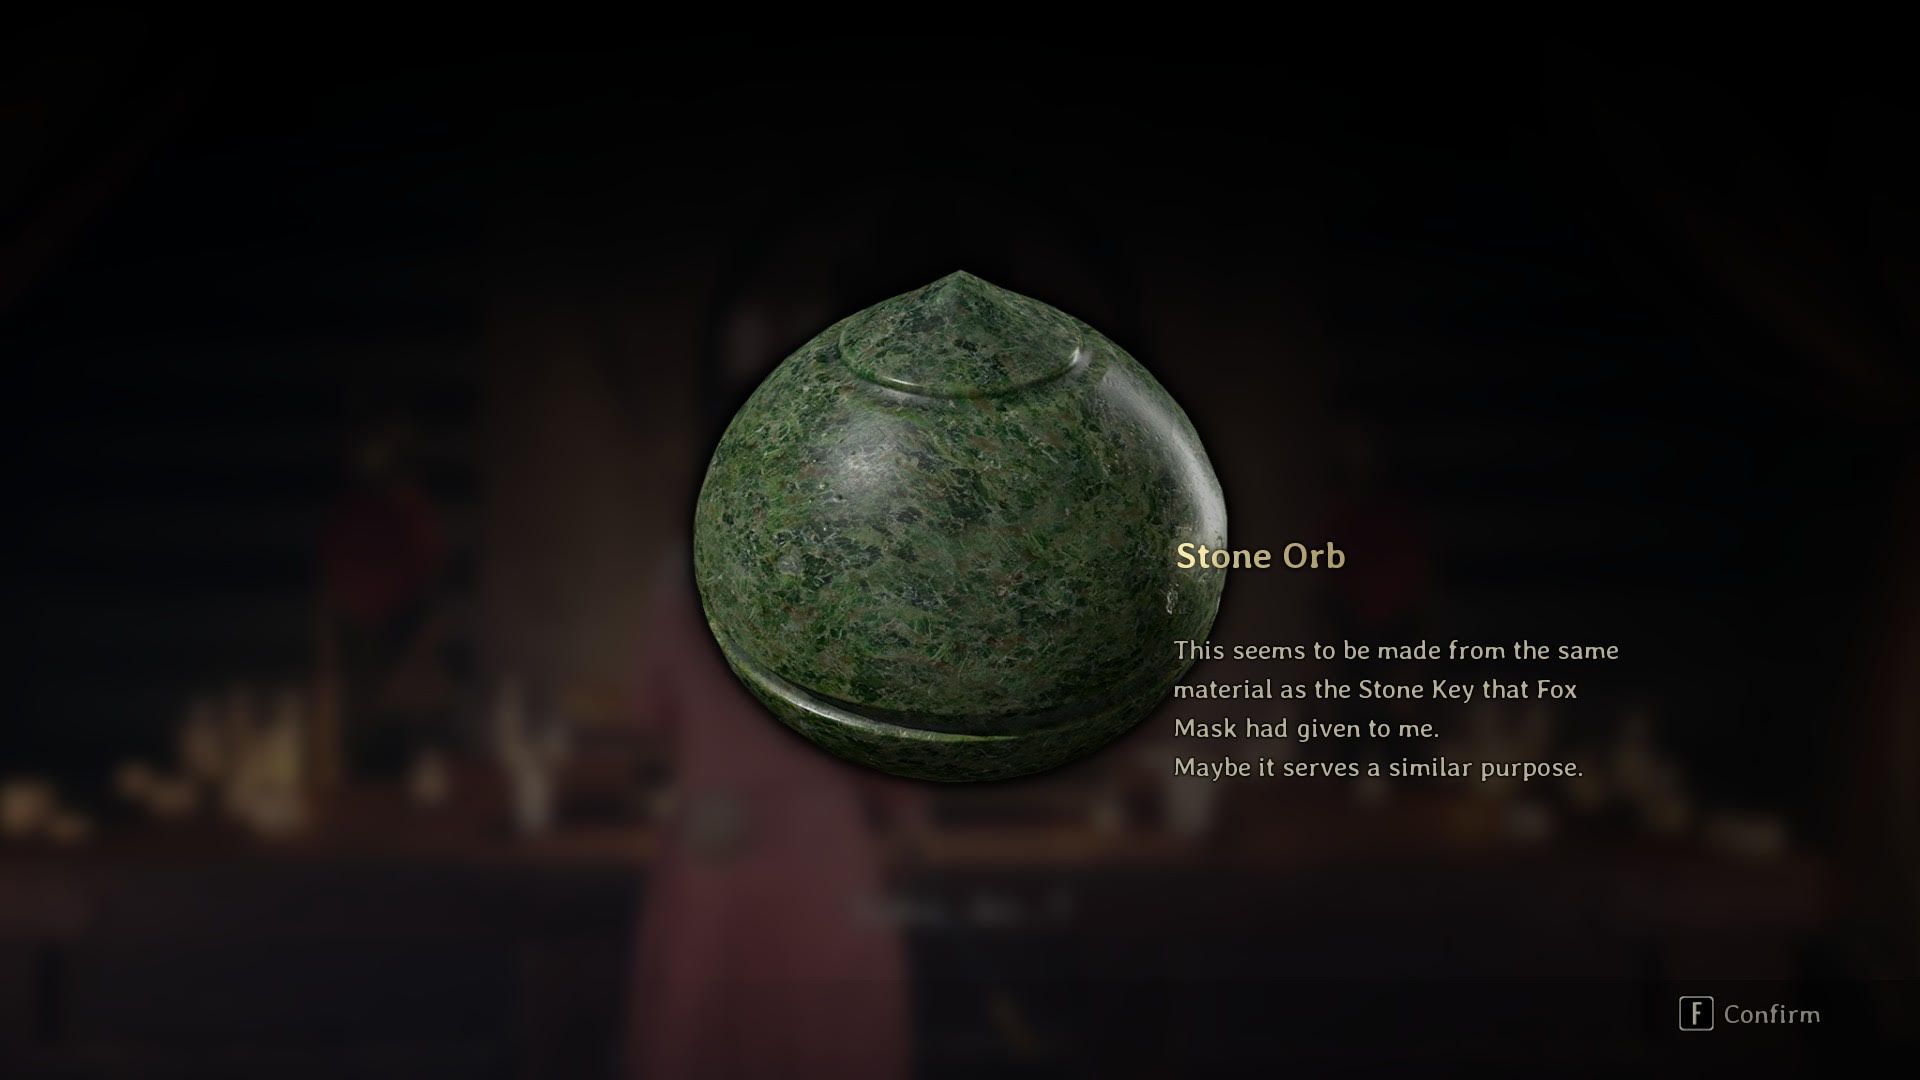
- Exit south, enter the next room, head to the altar, and pick up the Stone Orb.
Follow the Voice
On your return journey, a frightening creature will emerge, but you don’t need to fight it. Just run past the enemies, avoiding the groups of attackers that appear as you go. Once you get to the Sacred Door, Hinako will automatically put the Stone Orb in the statue’s mouth. This starts a new cutscene and opens up the next part of the game.
As you enter the new room, take a look around thoroughly. To the west, you’ll discover a Hokora, as well as a Bandage, First Aid Kit, and Divine Water. Over on the east side, there’s another Bandage and First Aid Kit, plus a Blessed Hand Mirror – this is an Omamori that you can equip to gain extra advantages.
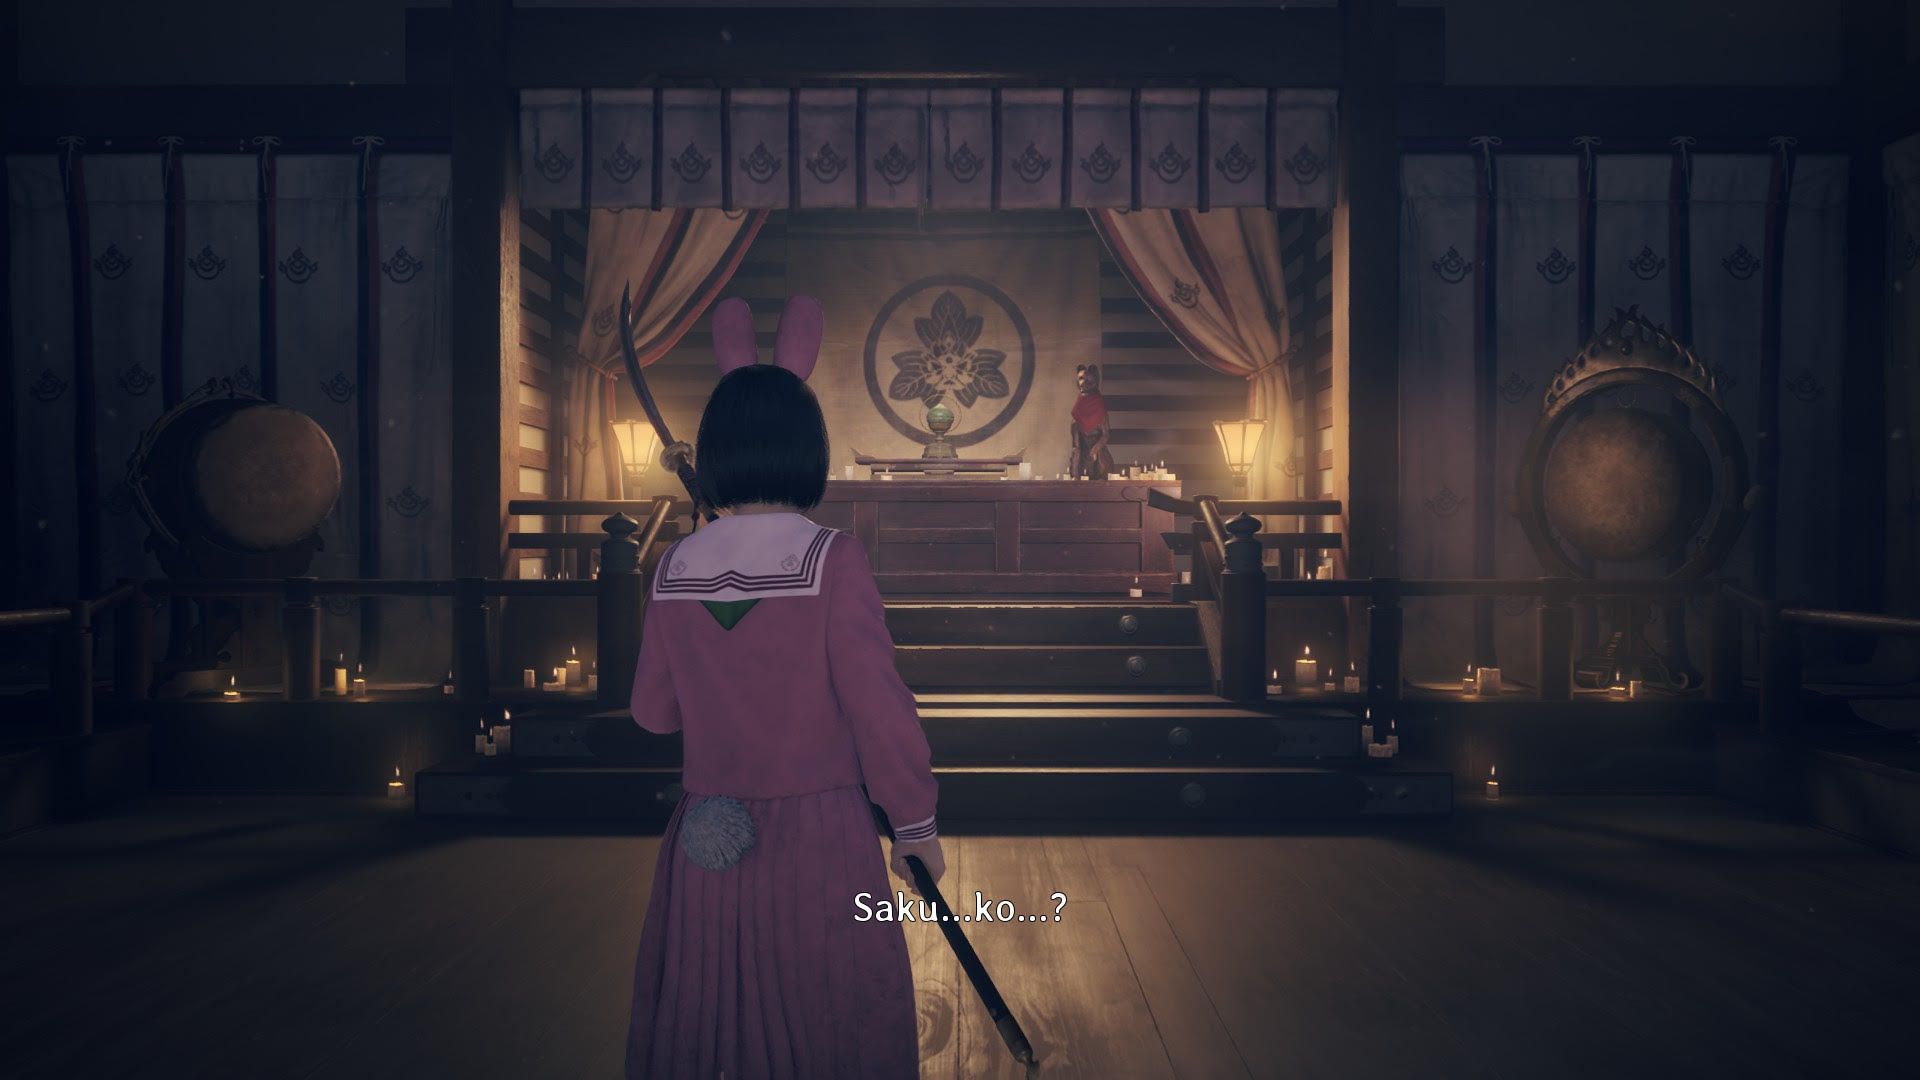
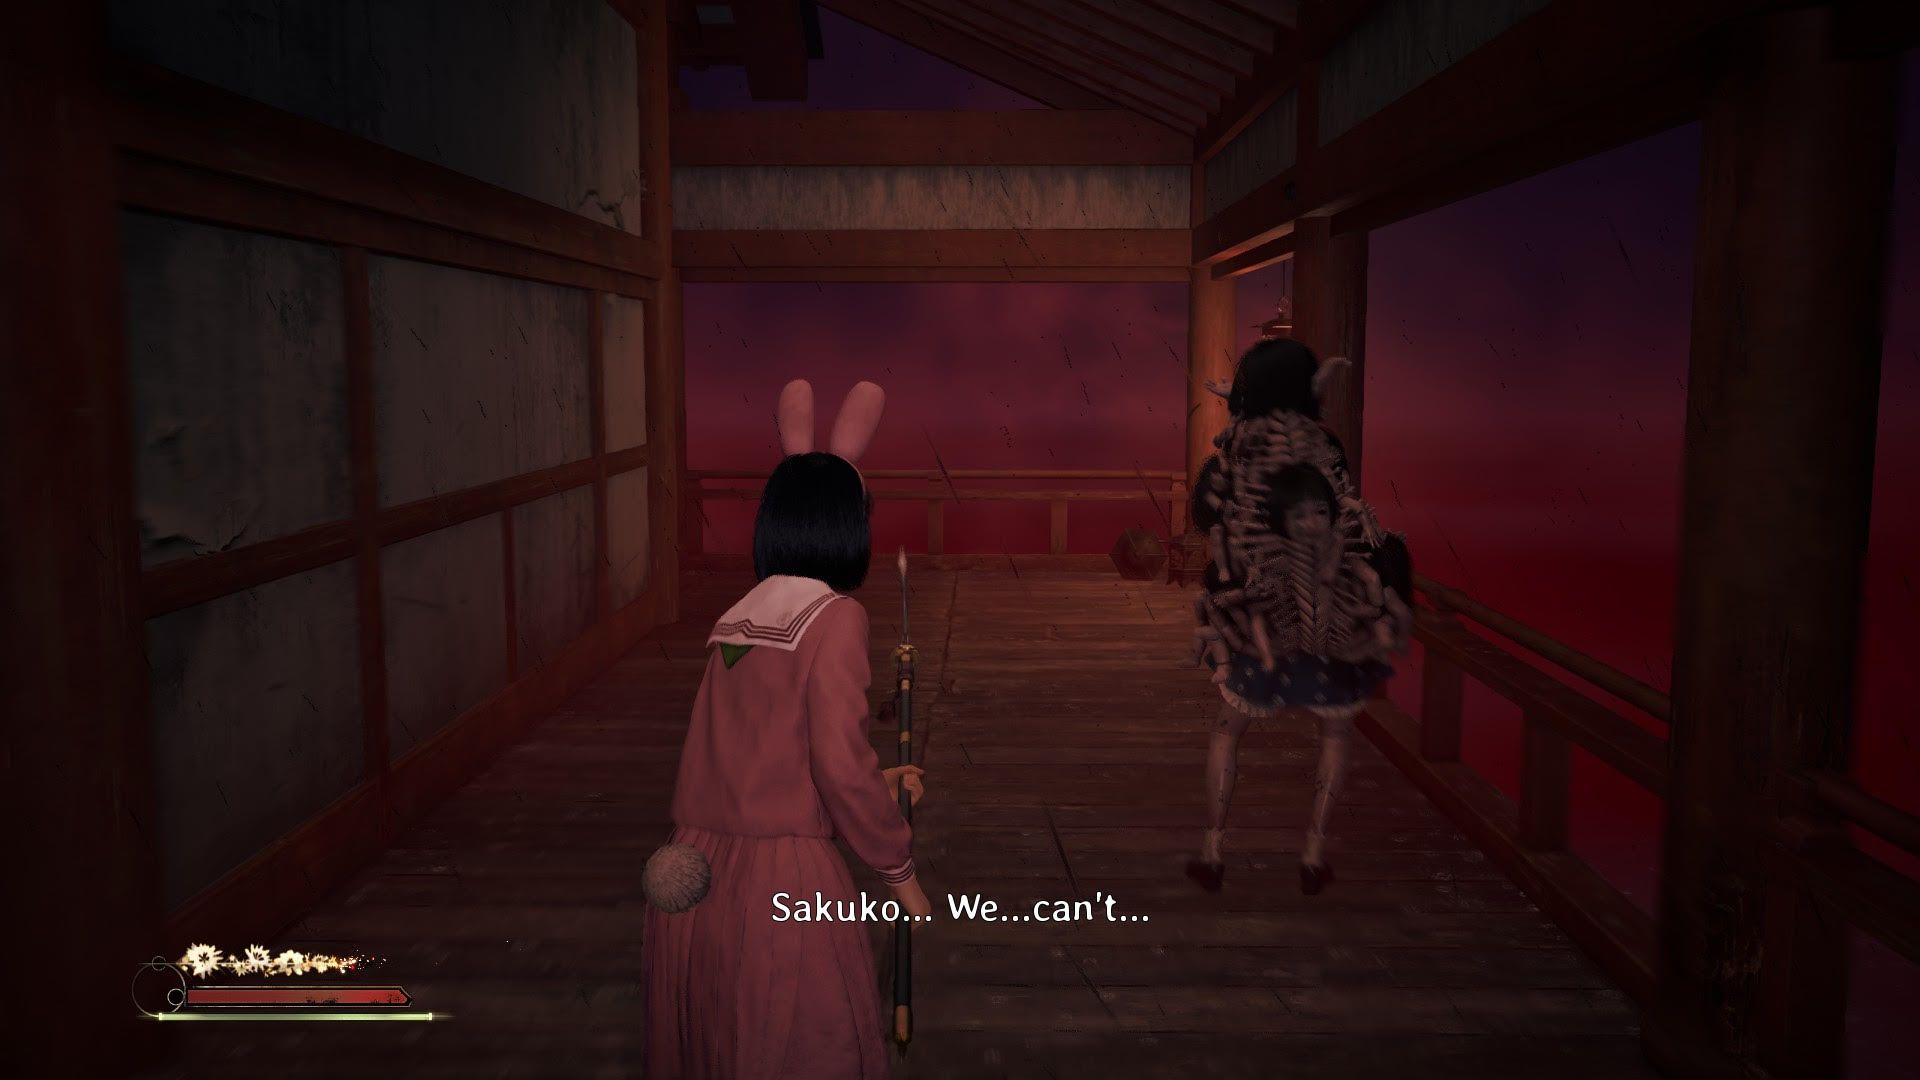
Go through the next doorway, and you’ll eventually find a figure weeping on the floor. This is Sakuko, the first significant boss in the game.
Defeat Sakuko


This battle is different from anything you’ve experienced up until now. In Silent Hill f, each attack from Sakuko significantly reduces your health, so a smart approach is crucial. She combines close-range and long-distance attacks, which makes her both unpredictable and a serious threat.
Sakuko fights by mixing up quick strikes, single attacks, and a grabbing move. When she tries to grab you, she’ll yell “Dodge This!” – that’s your signal to move! Dodge toward her to create an opening, because she’s defenseless right after attempting a grab (as long as you don’t get caught). During this short recovery time, she’s vulnerable to attacks, so hit her quickly before she starts fighting again.
After taking enough hits, Sakuko transitions into her second phase. She’ll start teleporting around the battlefield and charging up powerful attacks. Watch and listen carefully for clues – pay attention to the sounds she makes and how she glows. When she lifts her mace above her head, a light will appear and get increasingly brighter. The brighter the light, the closer she is to releasing a shockwave. Stop her charged attack before she can finish it.
Once Sakuko is defeated, a cutscene plays, marking the end of Chapter Four: Dark Shrine Corridors.
Read More
- All Shadow Armor Locations in Crimson Desert
- Jujutsu Kaisen Season 3 Episode 12 Release Date
- Dark Marksman Armor Locations in Crimson Desert
- How to Get the Sunset Reed Armor Set and Hollow Visage Sword in Crimson Desert
- Best Bows in Crimson Desert
- Wings of Iron Walkthrough in Crimson Desert
- How To Beat Ator Archon of Antumbra In Crimson Desert
- Keeping AI Agents on Track: A New Approach to Reliable Action
- All Golden Greed Armor Locations in Crimson Desert
- Top 5 Militaristic Civs in Civilization 7
2025-10-01 05:06