As a seasoned fan of visual novels, I’ve traversed numerous narratives, but none quite like the labyrinthine journey that is “Slay the Princess: The Pristine Cut”. This game has proven to be a rollercoaster ride of emotions and choices, leaving me on the edge of my seat.
In the game “Slay the Princess,” a new pathway known as “The Cage” was introduced with the launch of the Pristine Cut update. To unlock this path, players need to encounter the Prisoner in Chapter 2. However, they must choose specific dialogue options to do so. This guide aims to clarify which choices fans should make to navigate towards The Cage route in “Slay the Princess: The Pristine Cut.
This manual strives to limit spoilers as much as possible, but those who are fond of games with impactful decisions might notice it outlines certain events leading up to the Cage pathway.
Slay the Princess: The Cage Route Guide
Get the Prisoner
To enjoy the Cage route, players need to first encounter the Prisoner, who may appear in Chapter 2. To locate the Prisoner, visual novel enthusiasts should venture into the basement with the sword during Chapter 1 and save the Princess. Here are the specific choices that players must make:
- [Proceed to the cabin.]
- [Proceed into the cabin.]
- (Explore) [Take the blade.]
- [Enter the basement.]
- [Continue down the stairs.]
- I’m just here to talk.
- [Drop it.]
- Okay, we’ve talked enough.
- I’m getting you out of here. [Examine the chains.]
- And if there isn’t a key… do you have any ideas?
- [Return to the bottom of the stairs.]
- [Save the Princess.]
- [Approach the locked door.]
- [Warn her.]
- [Resist.]
Let the Prisoner Decapitate Herself
Players should now be at Chapter 2: The Prisoner. Their initial objectives in this chapter involve helping the Princess commit suicide and subsequently leaving her head behind. Fans of indie games can accomplish this sequence by picking up the blade and guiding it to the basement, where they should hand it over to the Prisoner. Here’s a breakdown of the choices they need to make:
- [Proceed to the cabin.]
- [Proceed into the cabin.]
- (Explore) [Take the blade.]
- [Enter the basement.]
- [Sit with her.]
- [Sit where you were told to sit.]
- (Explore) What would you have me do?
- Okay. I’m trusting you. [Give her the knife.]
- [Watch in uneasy silence.]
- [Leave the basement to claim your reward.]
Die
Upon ascending the stairs (without the Prisoner’s presence), players face a fatal end, and there are three distinct routes that lead to this demise. Regardless of the chosen path, it grants access to the Cage destination, but the Chapter 3 Voice variation depends on the selected path. In essence, enthusiasts of horror games can summon the Paranoid Voice, the Broken Voice, or the Cheated Voice along the Cage route.
In relation to the Voice players choose at the start, the different endings for the Cage route depend on the character Voice selected in the chapter. Specifically, if you pick the Paranoid Voice, an exclusive ending becomes available. Similarly, if you opt for either the Broken or Cheated Voice, a unique ending can be unlocked. Players are recommended to save their progress before proceeding with death in Chapter 2, and here’s a summary of the choices that lead to each Voice:
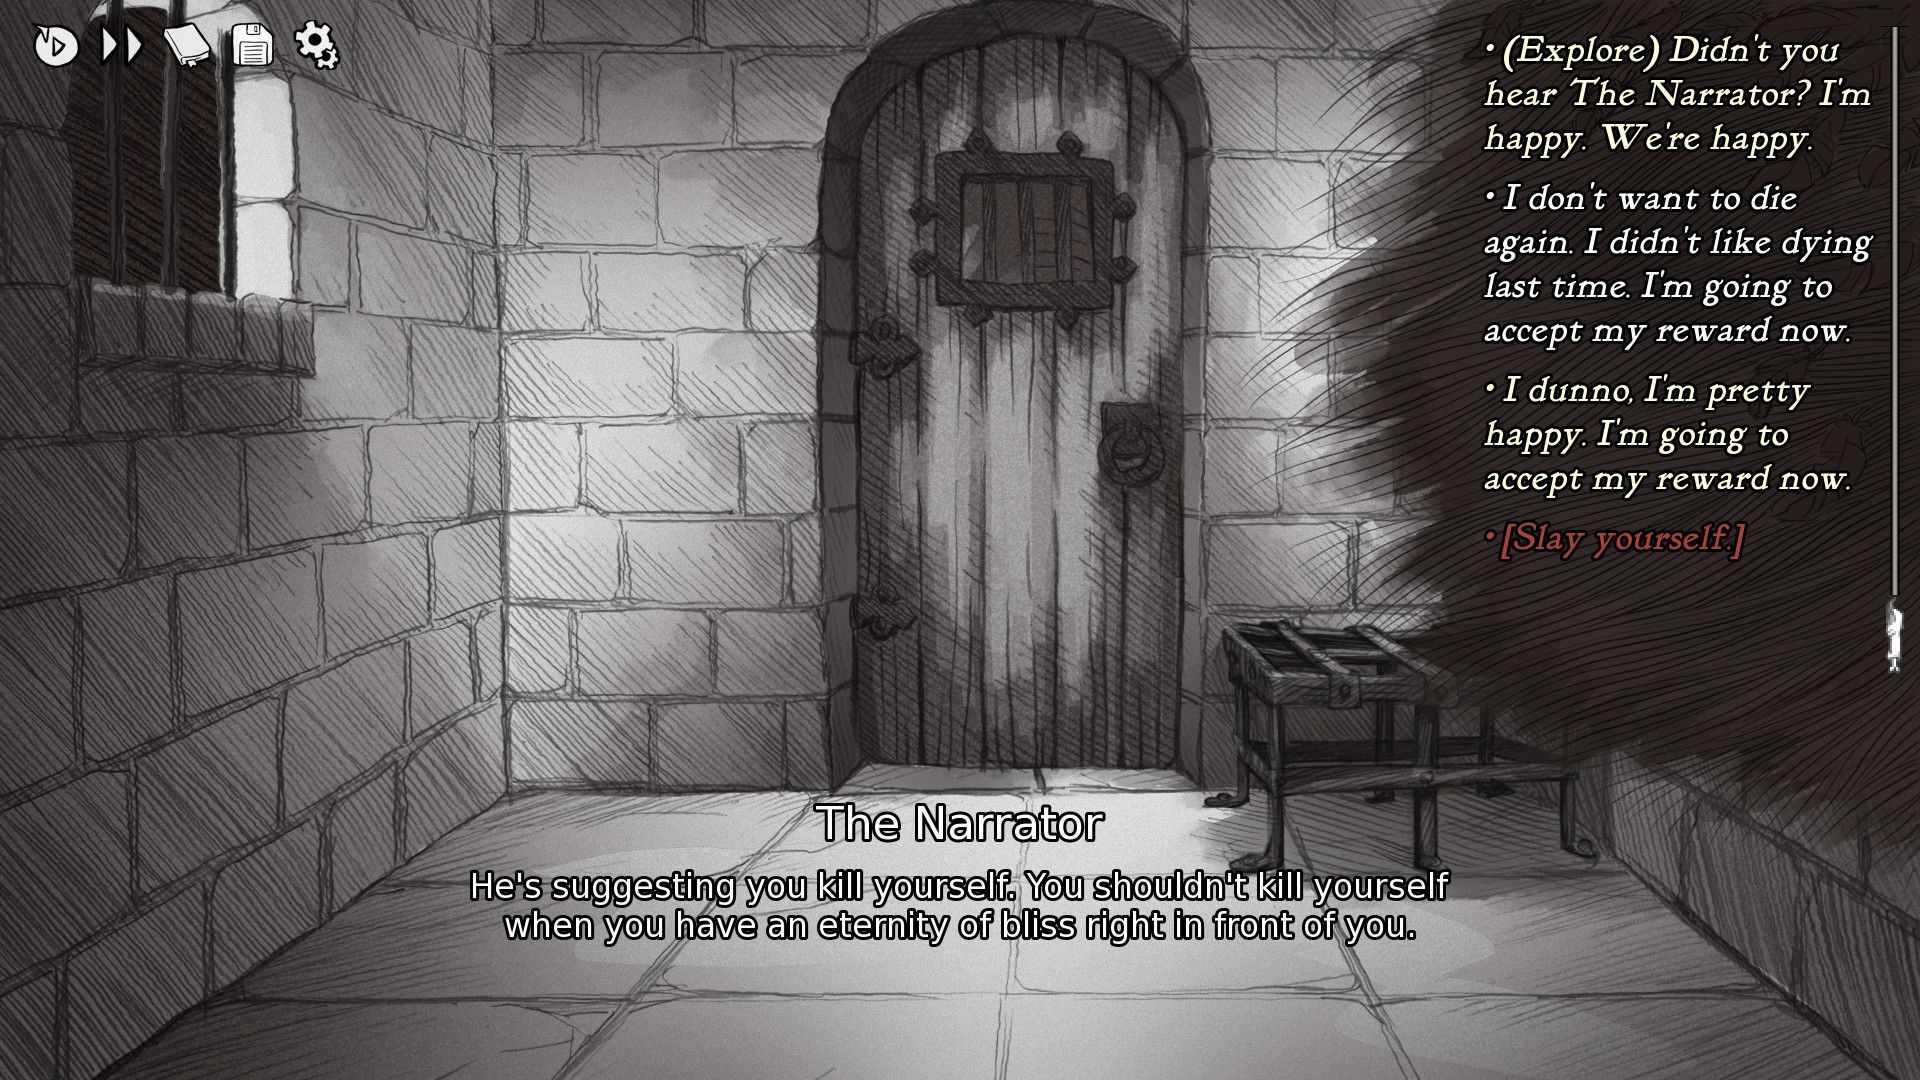
Voice of the Paranoid
- [Open the door and accept your reward.]
- That’s bull! Let us out of here!
- (Explore) What do you suggest, then?
- [Slay yourself.]
Voice of the Broken
- [Open the door and accept your reward.]
- That’s bull! Let us out of here!
- (Explore) What do you suggest, then?
- I don’t want to die again. I didn’t like dying last time. I’m going to accept my reward now.
- (Explore) Is there really no other way? Because I don’t want to use the blade on myself.
- [Give the blade to the Voice of the Skeptic.]
Voice of the Cheated
- [Open the door and accept your reward.]
- That’s bull! Let us out of here!
- I don’t want to die again. I didn’t like dying last time. I’m going to accept my reward now.
- Sorry, but we’re not doing that.
The Cage
Currently, players find themselves navigating the Cage’s pathway, which has multiple endpoints. For those who prefer games rich in storytelling, it is advisable to save at the start of the chapter and explore the various options presented throughout the journey. However, for those who wish to experience all the content, following these routes would be beneficial:
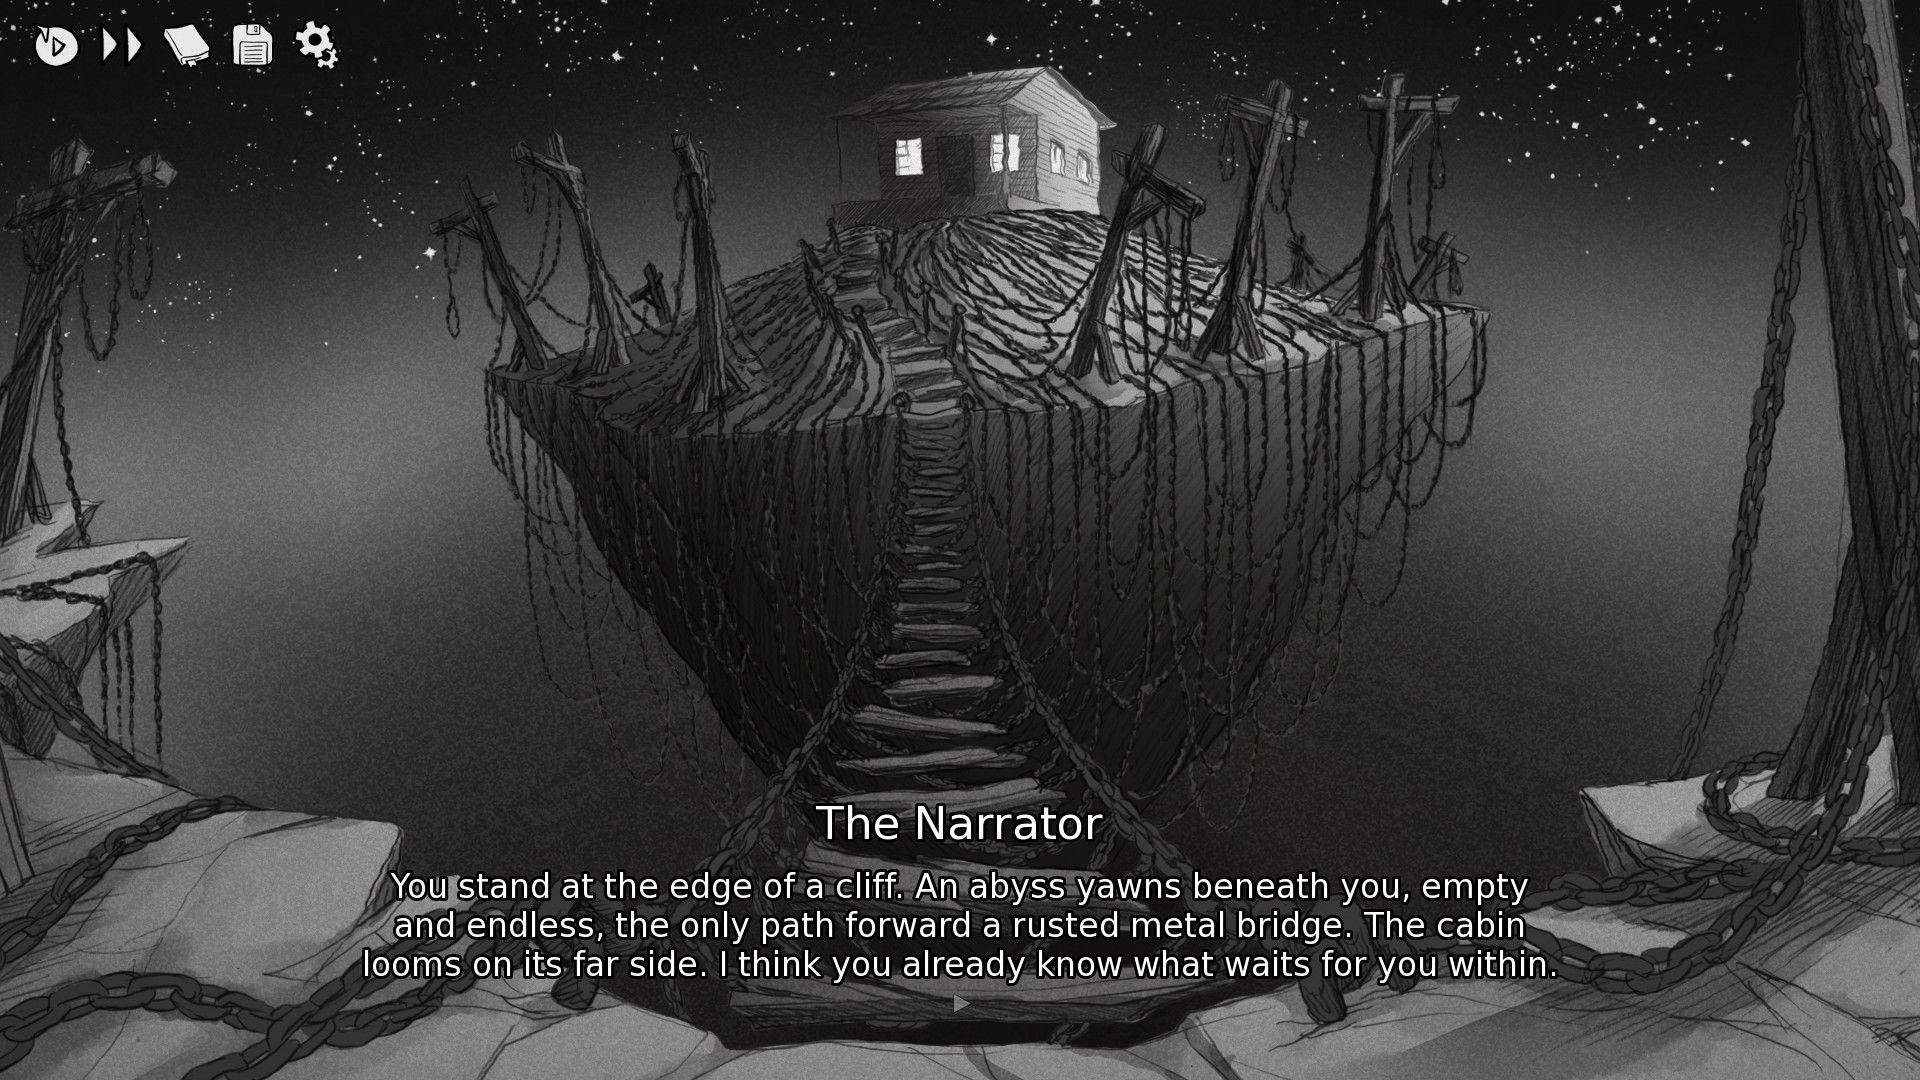
- Enter the cabin with the blade, talk to the Princess once, and then repeatedly remain silent.
- Take the Voice of the Cheated or the Voice of the Broken into Chapter 3. Before going to the cabin, acknowledge the blade and then toss it into the woods. Enter the cabin and talk to the Princess, selecting options that emphasize that the protagonist has not brought a weapon. While exiting the cabin, select the option that references free will and then drop the Princess.
- Follow the instructions in 2, but do not drop the Princess at the end.
- Take the Voice of the Paranoid into Chapter 3. Enter the cabin with the blade, talk to the Princess once, and then repeatedly try to free the protagonist. Give the Princess the implement.
Read More
- EUR MYR PREDICTION
- VANRY PREDICTION. VANRY cryptocurrency
- EUR CAD PREDICTION
- GBP RUB PREDICTION
- LUNC PREDICTION. LUNC cryptocurrency
- XRP PREDICTION. XRP cryptocurrency
- USD MXN PREDICTION
- USD DKK PREDICTION
- USD BRL PREDICTION
- CHR PREDICTION. CHR cryptocurrency
2024-10-26 17:43