
Quick Links
- The Ironclad
- Strength
- Corruption
-
The Silent
- Poison
-
The Defect
- Frost
- Lightning
- Power
-
The Watcher
- Ragnarok
- Like Water
- Infinite
As a seasoned adventurer who has braved the treacherous halls of Slay The Spire countless times, I must say that The Watcher is undoubtedly one of my favorite cards to play. With her unique blend of defense and offense, she offers an intriguing gameplay experience that keeps me coming back for more.
As it is rapidly advancing, numerous participants find themselves benefiting from: serendipitous streaks, skillfully crafted strategies with harmonious interactions, and an abundance of calculations that leave one bewildered.
When all the pieces fall into place and good fortune smiles upon you, you’ll find yourself erupting in mad laughter as you conquer one challenge after another.
Of course, isn’t without its challenges. Few can say they’ve beaten Ascension 20 with all four characters. What may seem like 80 runs, in reality, will turn into many more.
As time goes by, playing more often leads to enhanced skill. It becomes instinctive, and synergies serve as a guiding light through complex situations.
With the anticipated arrival of Slay the Spire 2, maybe now is the perfect moment to revisit that imposing tower and vanquish it completely this time around.
Adapt & Overcome

While it’s all well and good to suggest a “perfect” deck build, frankly, your deck will very rarely check all of the boxes required for the “God” build. Slay The Spire is a game all about adaptation and patience.
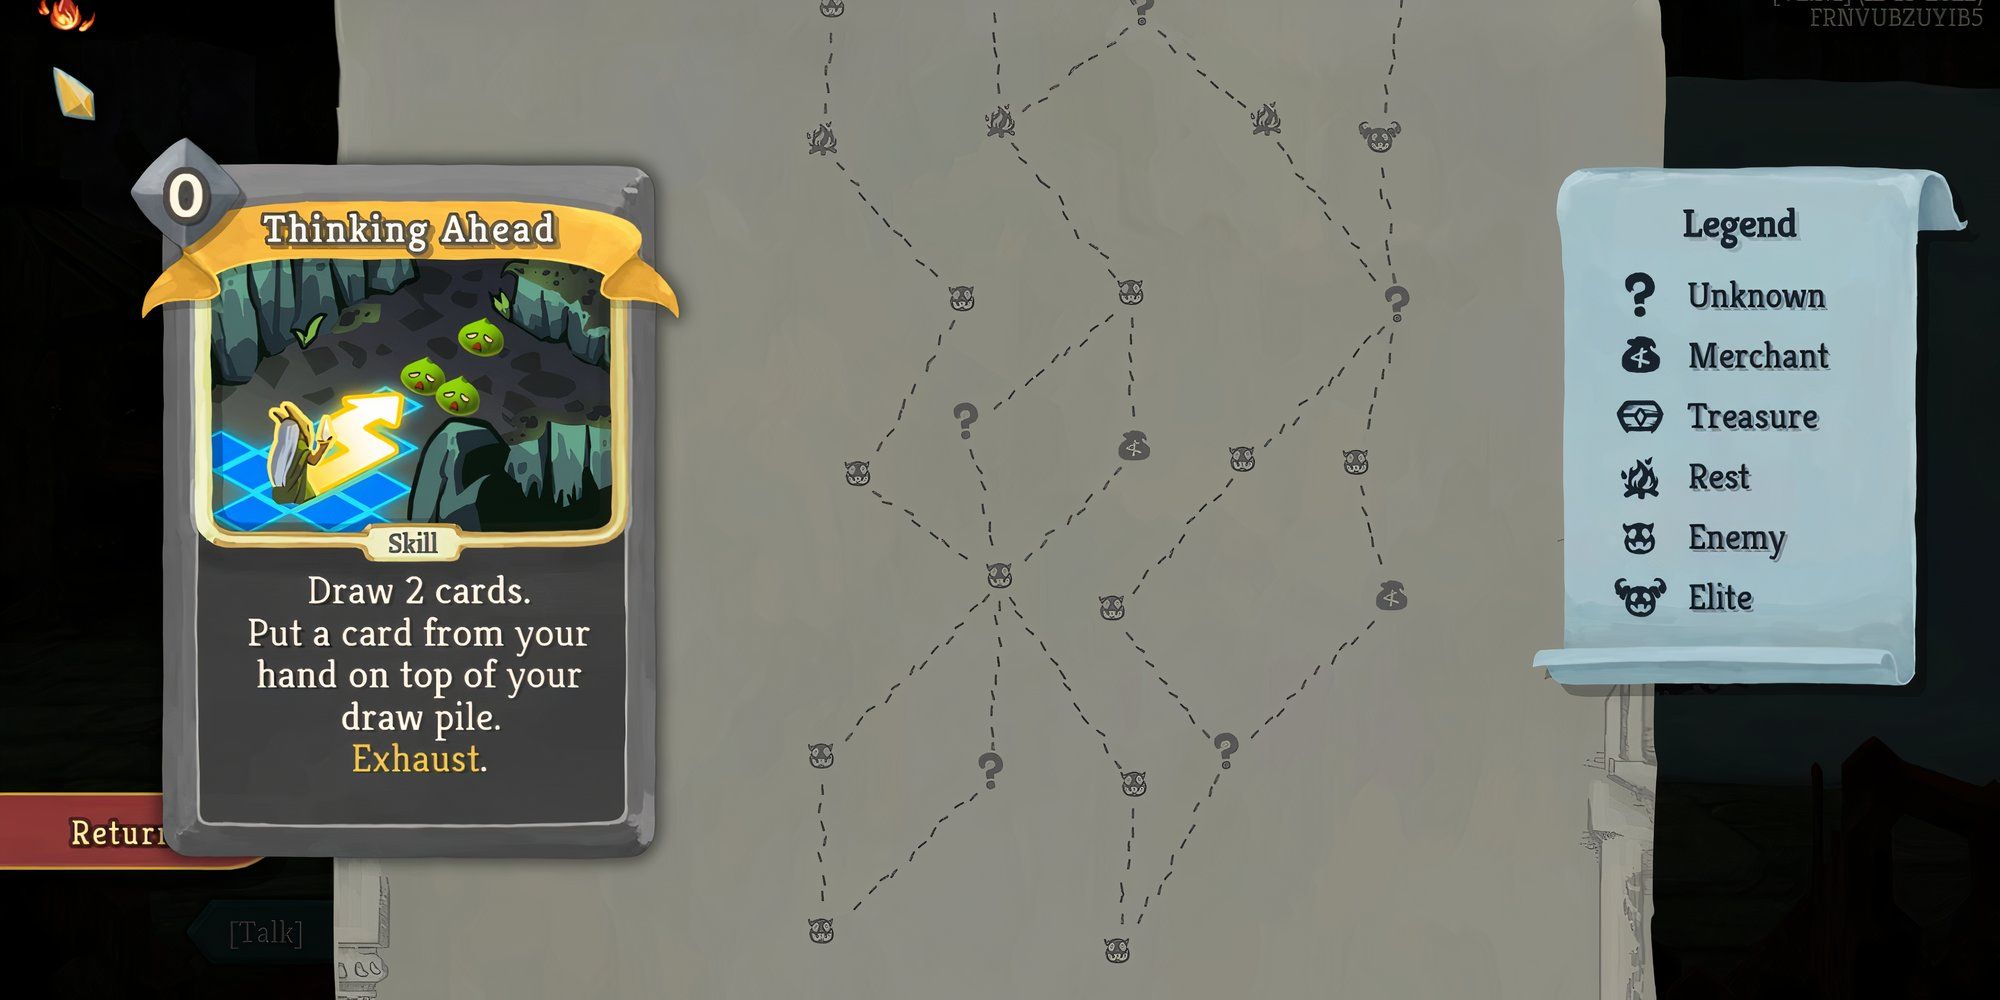
A crucial piece of advice is to focus on readying yourself for what’s imminent instead of the distant events. For instance, if the Slime Boss is approaching, it would be wise to gather weapons that can deal significant damage swiftly. And if an elite enemy stands between you and your goal, carrying a Catalyst might not be beneficial if you don’t have any poison-inflicting cards on hand.
Instead of focusing on a specific deck, remember that choosing cards without considering what’s available might lead to picking a card that doesn’t fit well with other options, which could be a missed opportunity for a beneficial combination.
Tips & Tricks For The Long Climb
Let’s dive right into the game, but I wanted to share some speedy suggestions to enhance the flow of your Ascension 20 sessions.
- Early question marks are traps. Focus on getting strong staple cards from hallway fights, and tackling the early Elites for relics
- Don’t pick a card expecting a relic to show up in the future. Necronomicon won’t always be there to save you.
- Gold doesn’t mean good. Rare cards aren’t always worth picking up, often they can hinder instead of help. Always consider whether it fits with your deck. (Unless it’s Offering… Always pick Offering.)
- Avoid shops unless you have a good amount of gold (around 250-300 is good). Shop relics like Brimstone and Runic Capacitor, or even Clockwork Souvenir can carry a run, or at least give you an edge in combat.
- Plan to encounter all 3 Act 3 bosses, and keep your health up. The final gauntlet is not a fun one.
- Upgrade cards at a campfire early. Having an upgraded card for longer will provide more value in the long run. You very rarely need to be at full health. Better to die in Act 1 and restart quickly instead of dying to the Act 3 boss.
- You will die – a lot. Don’t let it get you down. It’s part of the journey.
The Ironclad
Ironclad is likely the easiest class to ascend to level 20, given its uncomplicated gameplay style and clear mechanics, making it relatively effortless to grasp.
Strength
| Key Cards | Effect |
|---|---|
| Inflame | Gain 2/3 Strength |
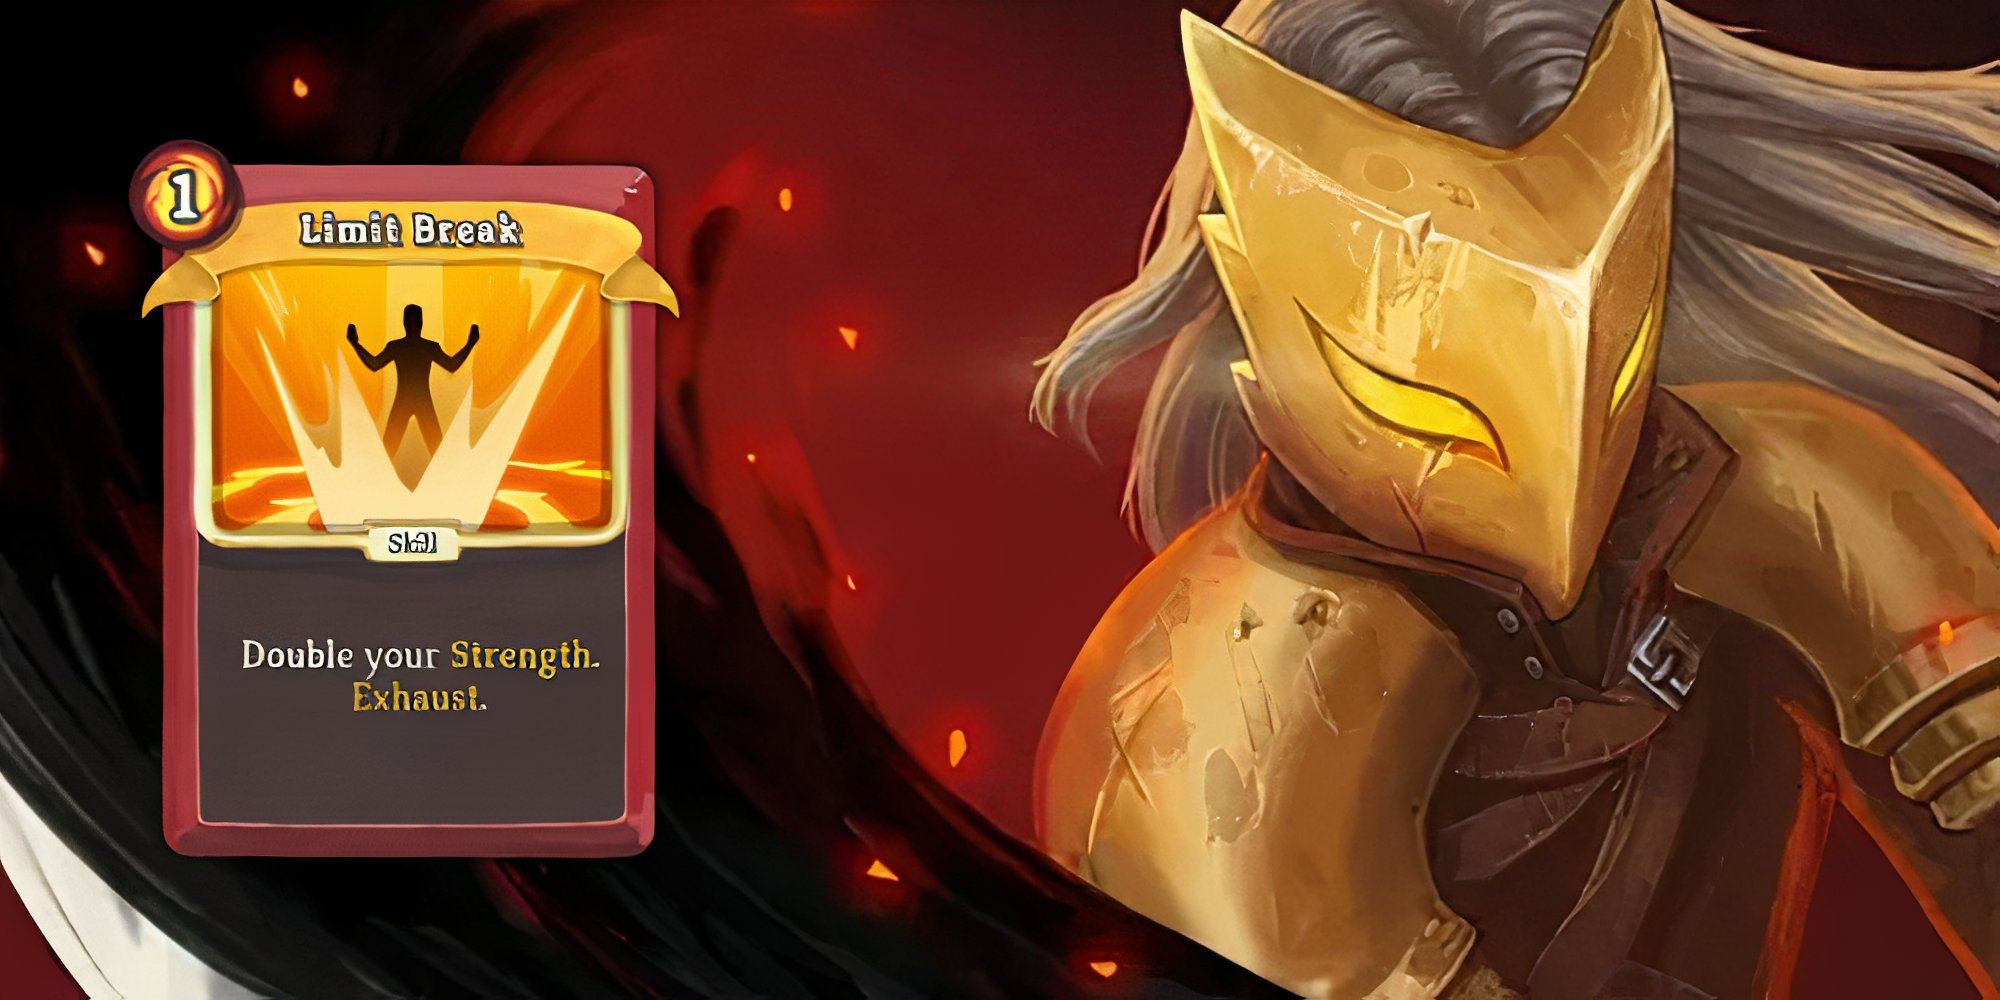
| Limit Break | Deal 14 Damage. Strength affects this card 3/5 times |
| Heavy Blade | Double your Strength |
| Reaper | Deal 4/5 damage to all enemies. Heal HP equal to unblocked damage. |
Two Ironclad builds are noteworthy, with the fundamental one focusing on strength. This playthrough encourages finding cards such as Limit Break and Inflame to amplify your strength advantage, while also prioritizing powerful attack cards like Whirlwind and Heavy Blade.
Should you employ Flex when carrying an artifact, you’ll solely reap the strength bonus, free from any penalties or negative effects.
Because this deck is quite aggressive, it might be beneficial for you to seek out healing cards such as Reaper that are enhanced by additional strength, along with Thunderclap for potent area-of-effect damage against weak targets. Should you encounter Brimstone or Offering, consider including them in your deck.
At the beginning of the match, prioritize dealing high damage swiftly. Use Twin Strikes as an example for this strategy to take down Act 1 Elites and Bosses effectively. Moreover, pay close attention to any question marks during Act 2, as Necronomicon can prove incredibly useful in that stage.
Corruption
| Key Cards | Effect |
|---|---|
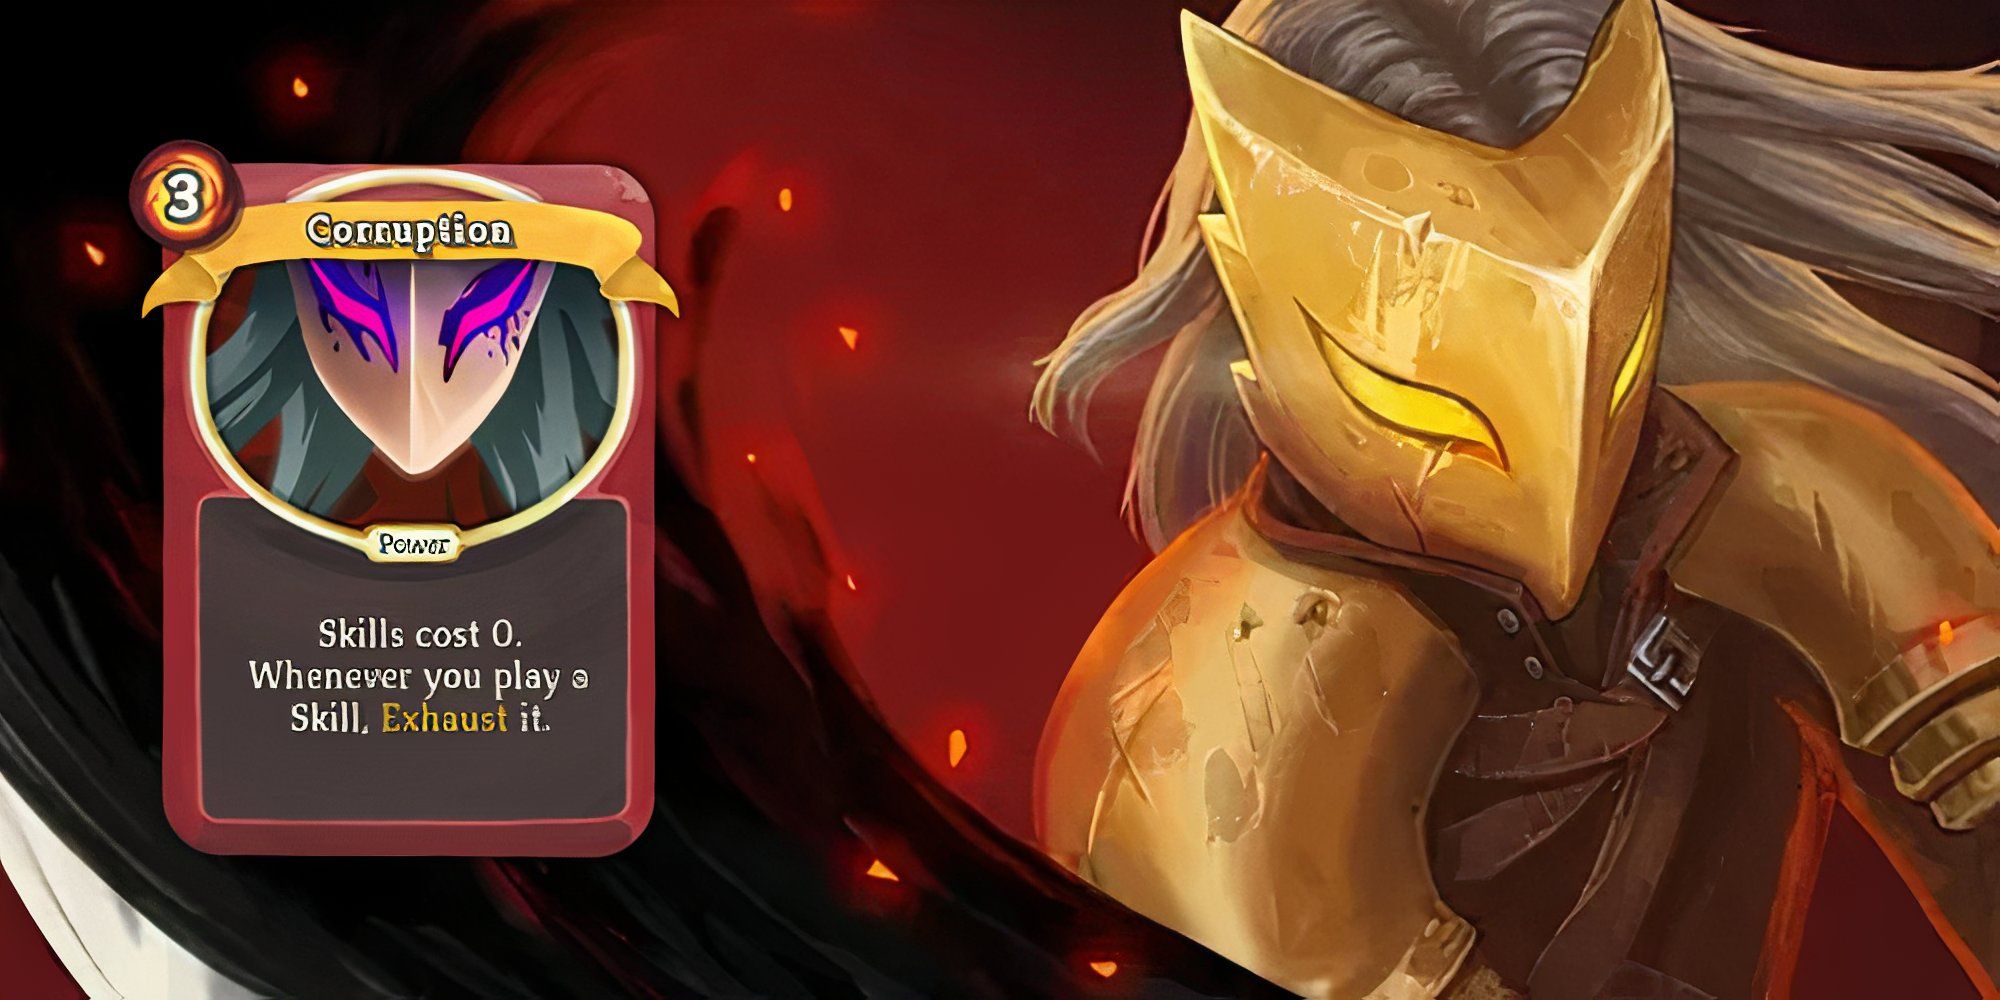
| Corruption | Skills cost 0. Whenever you play a Skill, Exhaust it. |
| Dark Embrace | Whenever a card is Exhausted, draw 1 card. |
| Feel No Pain | Whenever a card is Exhausted, gain 3/4 block |
| Body Slam | Deal damage equal to your current block |
Among the more intricate yet rewarding decks to handle, it revolves around the Power card Corruption. If you manage to find the key component in Dark Embrace and construct your deck primarily with skill cards, this deck can inflict a substantial amount of damage by converting your block into attack power.
As a passionate player, these key cards should be on your radar: Body Slam (it’s indispensable), Entrench, and Barricade. If Calipers are available, they are the ideal choice. Remember, Barricade can be rather sluggish at the start. The strategy here is to continuously cycle through your deck and exhaust cards to fortify your defense and deliver a powerful Body Slam to vanquish opponents.
If Dead Branch is an option, consider a Fiend Fire combo for more possibilities.
For the initial phase (Act 1), focus on developing high impact, singular attacks. In the second act, concentrate on area-of-effect (AoE) damage. The final act (Act 3) is about perfecting your card deck.
The Silent
Poison
| Key Cards | Effect |
|---|---|
| Corpse Explosion | Apply 6/9 Poison. When the enemy dies, deal damage equal to its max HP to ALL enemies |
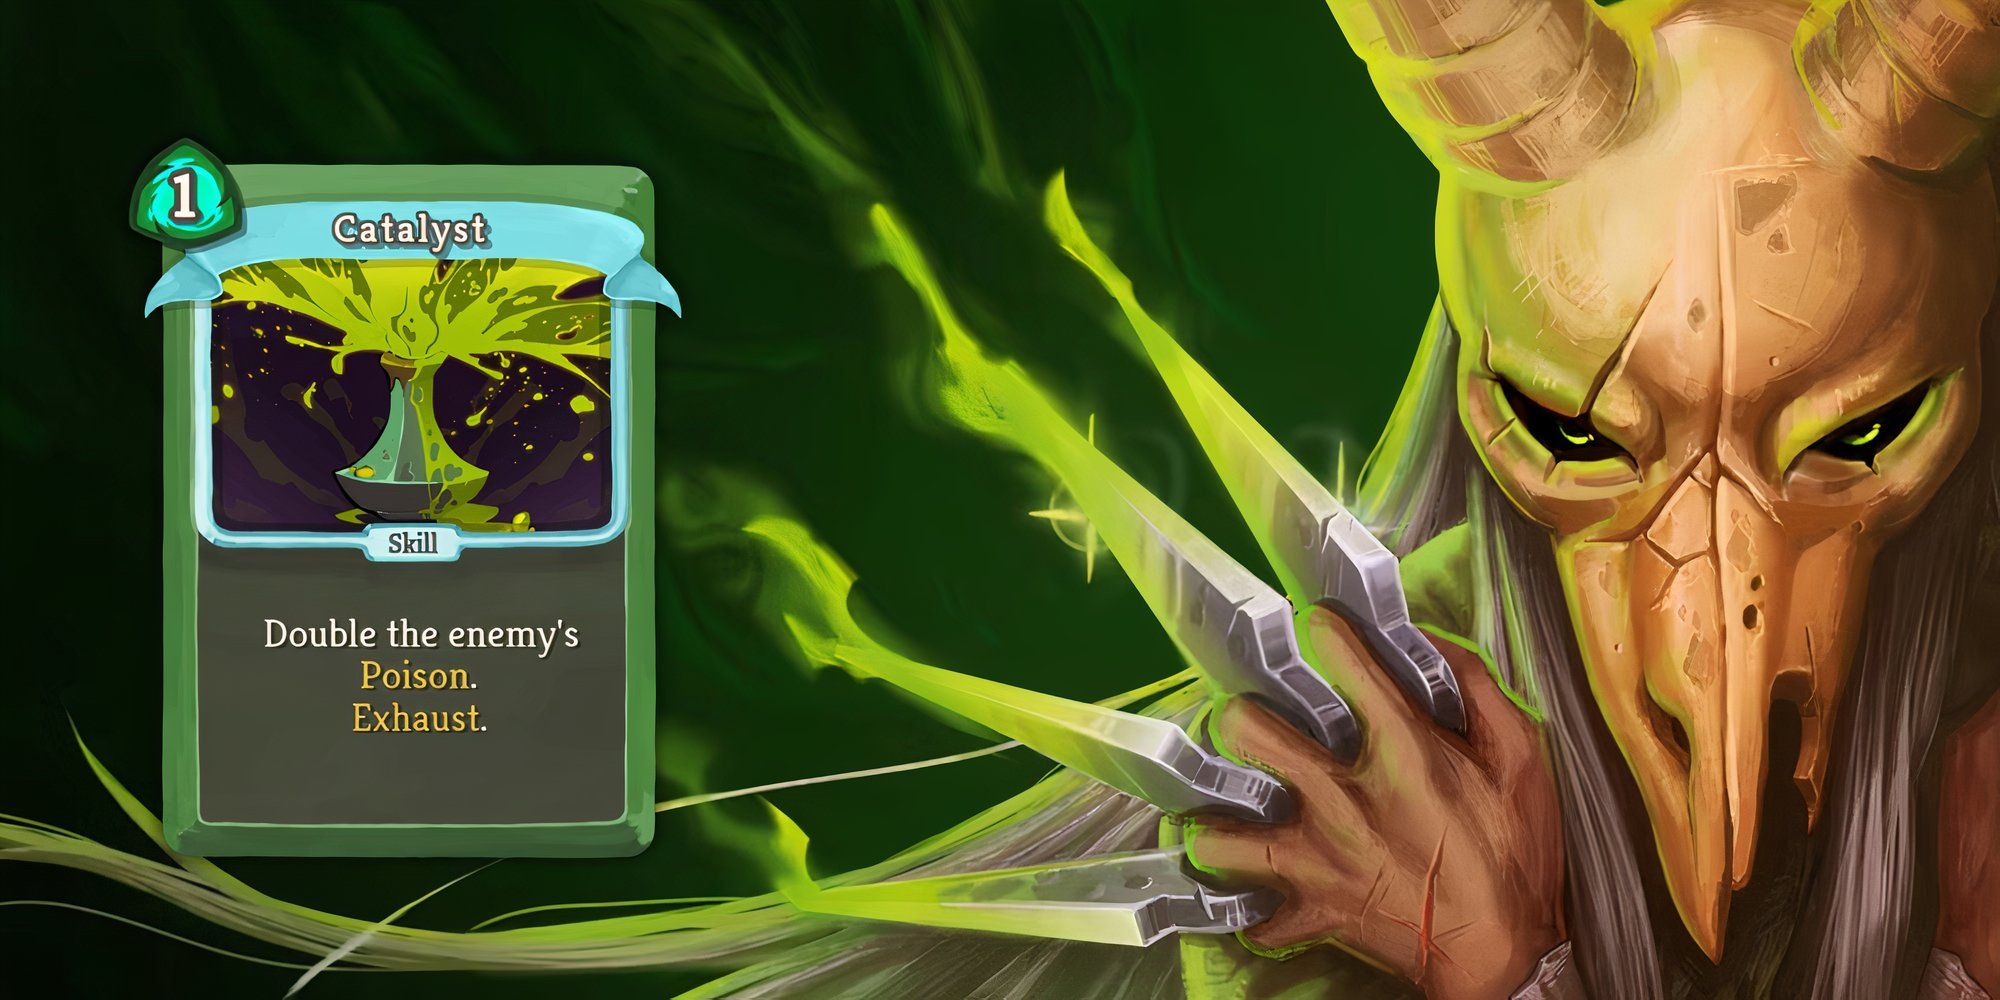
| Catalyst | Double/Triple an enemies poison |
| Burst | This turn, your next 1/2 Skill(s) is(are) played twice |
| Nightmare | Choose a card. Next turn, add 3 copies of that card into your hand |
| Wraith Form | Gain 2/3 Intangible. At the end of your turn lose 1 Dexterity |
In Ascension 20, this particular class can be quite challenging to handle due to its relatively weak performance during the early stages of the game.
Initially, The Silent lacks powerful attacks that inflict damage, making encounters with Gremlin Nob and Lagavulin quite difficult. However, should you manage to survive the first two acts, The Silent can significantly increase in power, becoming one of the most effortless characters to overcome the final challenge.
Among the reliable decks, and the one I utilized to conquer Ascension 20 Act 4, is the Poison/Wraith Form deck. This deck aims at damage reduction as you gradually accumulate poison on your adversaries. Nightmare and Wraith Form provide ample time for you to arrange your poison sequence, a combination that can sometimes be intricate to execute effectively.
To inflict area-of-effect (AoE) damage effectively with poison, consider including cards like Corpse Explosion and Crippling Cloud in your deck. If you manage to get hold of Burst and Catalyst, your deck will be nearly complete. Enhanced versions of these two cards offer exceptional single-target power, often outshining other decks significantly. Dealing 999 damage becomes almost guaranteed in this setup.
Absolutely, when encountering either Snecko Skull or Specimen, act swiftly and seize them without hesitation. This deck isn’t reliant on playing numerous cards per turn to be potent, which makes it an excellent choice for combating bosses such as the Time Eater.
While I would also suggest a Shiv deck, in practice, I found this deck to be too inconsistent in Ascension 20. It needs a lot of pieces to work well and really struggles against the aforementioned Time Eater and Corrupt Heart. Also if you don’t pull Blade Dance early, might as well pack up and head home.
Regardless of the deck you choose, Piercing Wail and Malaise can prove to be valuable additions during game progression. Eliminating your opponents’ artifacts to create a path for your poison is a crucial strategy.
The Defect
Although The Defect might initially appear challenging for beginners in Slay the Spire, it’s his vast array of build options that make him one of the most reliable and enjoyable characters to play, offering a unique gaming experience.
Here are a couple of initial ideas that leverage the force of nature for your benefit.
Frost
| Key Cards | Effect |
|---|---|
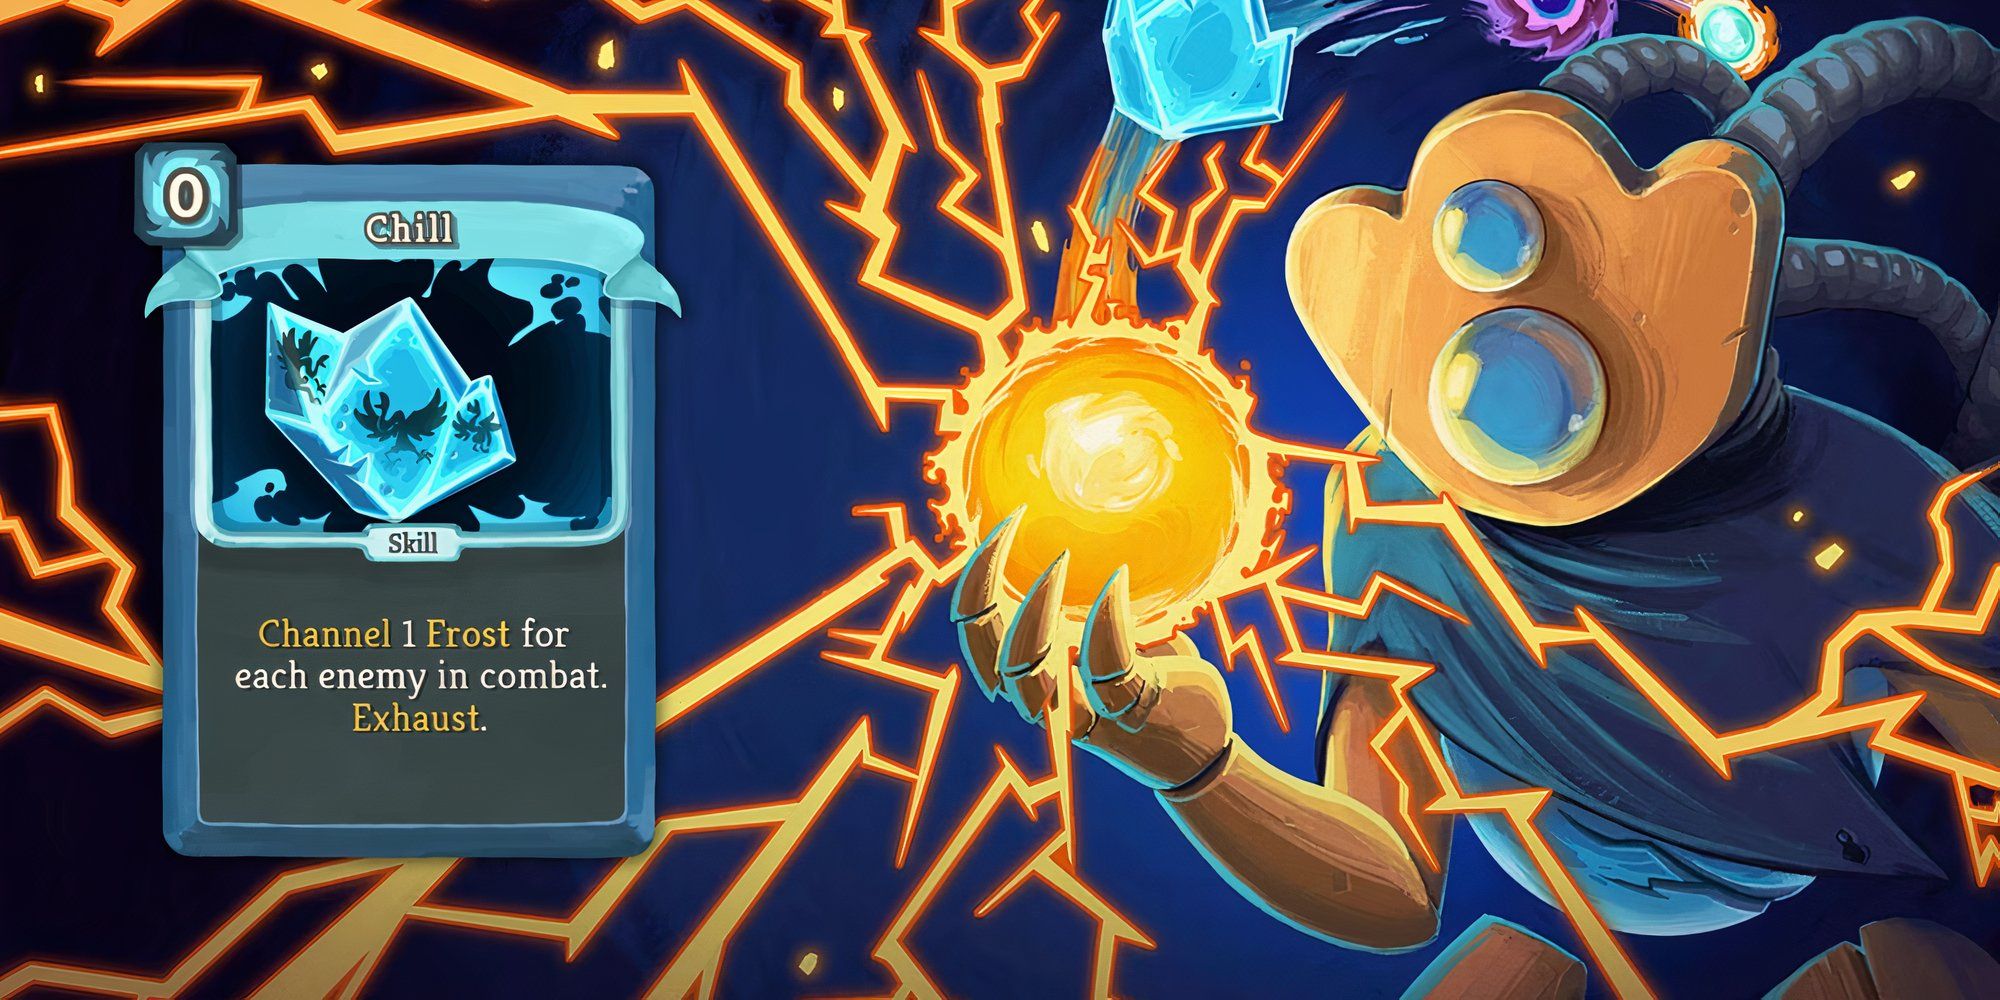
| Chill | Channel 1 Frost for each enemy in combat |
| Barrage | Deal 4/6 damage for each Channeled Orb. |
| Defragment | Gain 1/2 Focus |
| Biased Cognition | Gain 4/5 Focus. At the start of each turn, lose 1 Focus |
| Core Surge | Deal 11/15 damage. Gain 1 Artifact |
The first step is to construct your structure using ice orbs while boosting your concentration to cause numbers to spin. Once you’ve filled all nine slots with ice orbs, you’ll be close to being unbeatable. Cards such as Glacier and Chill will aid you in this task. Should you acquire an Inserter or Runic Capacitor, your chances of success will significantly increase.
Cards that increase your Focus, are almost always great for The Defect, Defragment and Biased cognition spring to mind. Similarly with The Ironclad, if you can get your hands on something that gives you an artifact, like Core Surge, you can mitigate negative effects like from Biased Cognition. Free 5 focus, nice! Also similarly to the Ironclad, Calipers are great here too.
From a personal perspective as a fan, when it comes to attack power, Blizzard can be a deceptive move due to its sluggish pace. It might not be the most effective choice in a pinch. Instead, I’d recommend giving Barrage a try for quicker and more efficient attacks. Alternatively, using Dark Orbs as cover while unleashing your frost orbs can be an excellent strategy for dealing damage in late-game scenarios.
While cards like Hyper Beam may not seem useful in the long run, they can get you through a lot of Act 1 and 2 multi-enemy fights.
Lightning
| Key Cards | Effect |
|---|---|
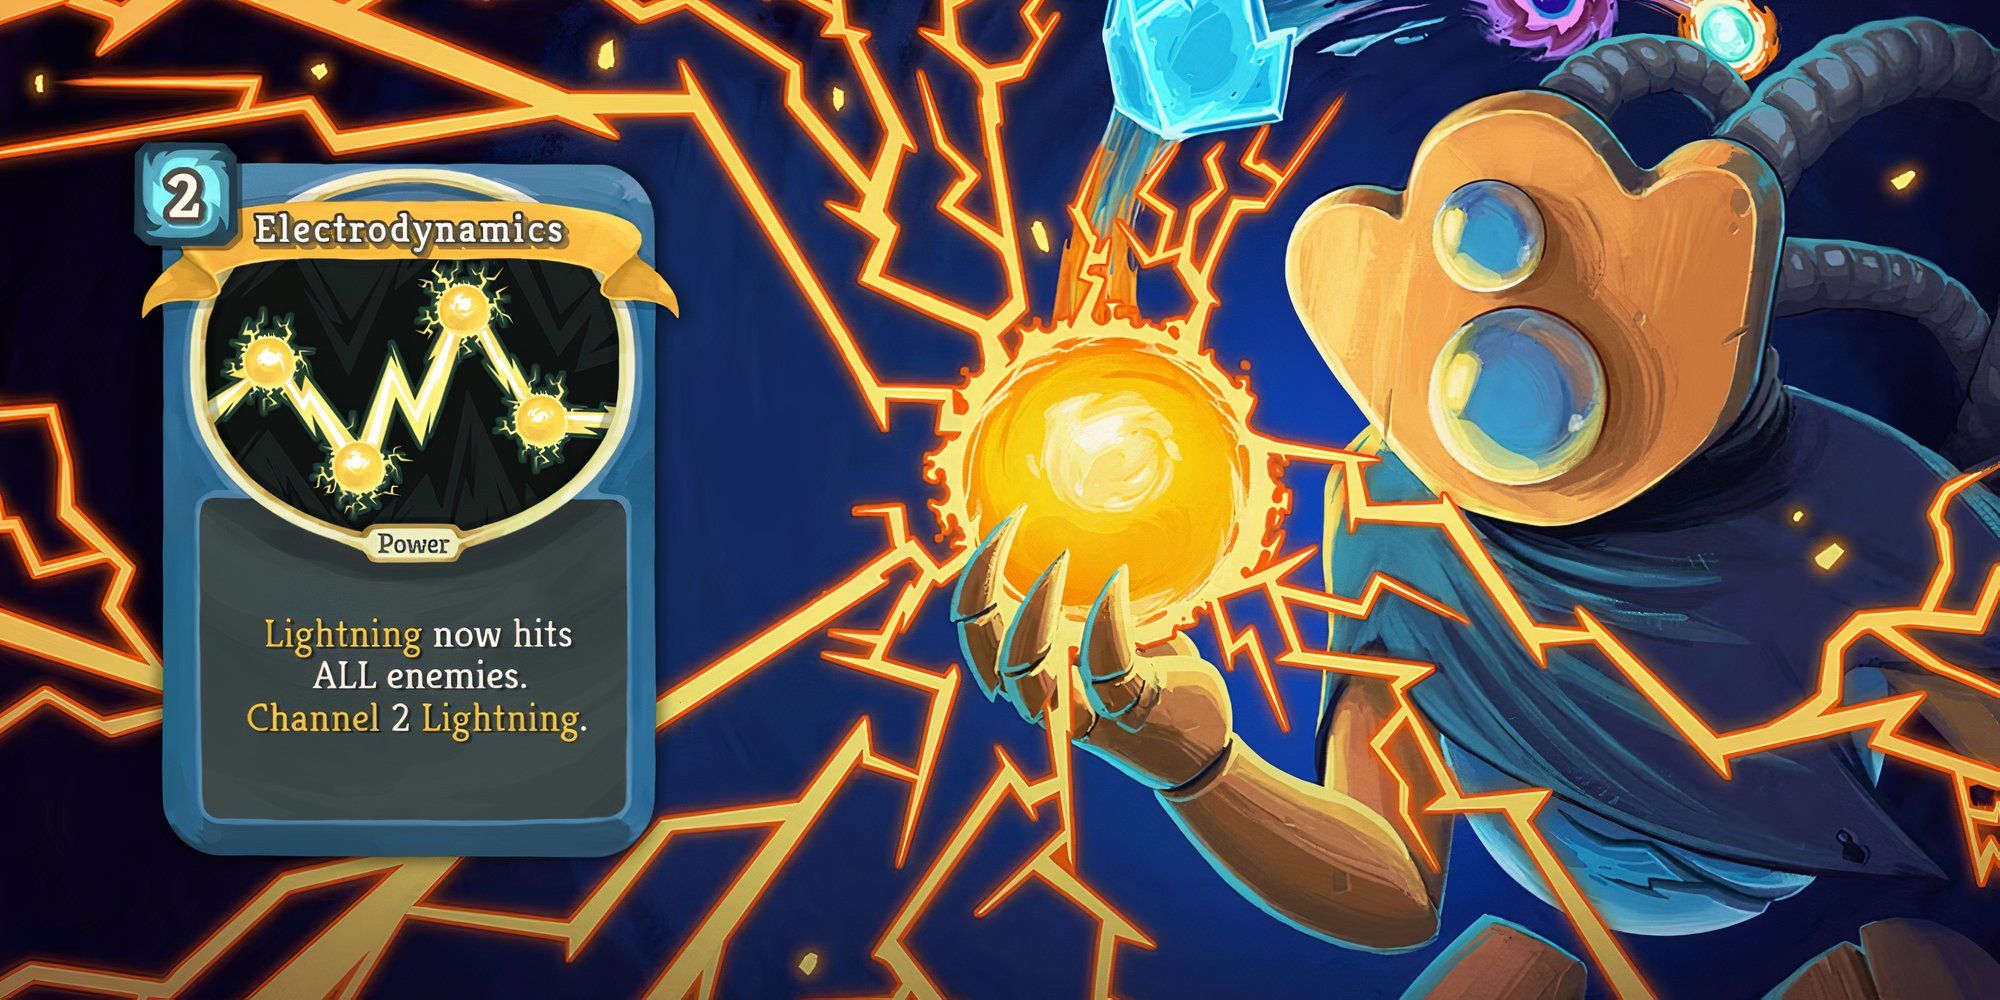
| Electrodynamics | Lightning now hits all enemies. Channel 2/3 Lightning |
| Bullseye | Deal 8/11 damage. Apply 2/3 Lock-On |
| Tempest | Channel x(+1) Lightning |
| Reinforced Body | Gain 7/9 Block x times |
As a fan, I’d like to share an interesting perspective: If the previous setup was defensive, think of this as its offensive counterpart. Instead of expanding your orb slots, you’ll want to keep them minimal. Simplicity often proves more effective. This setup is ideal for summoning your damage-dealing lightning orbs.
Indeed, cards that grant you lightning orbs are excellent in this scenario, such as Ball Lightning and Electrodynamics for powerful Area of Effect (AoE). Additionally, Bullseye could prove to be highly beneficial by enhancing the damage of your evokes.
Boosting your energy level could make Tempest an exceptional card for defeating adversaries. Much like Thunder Strike, but keep in mind that choosing it too early might lead to a situation where you have excess cards and no means to play them effectively.
Because this construction often has an aggressive character, you may find yourself frequently at low health. Cards such as Reinforced Body can assist in addressing this problem, and if you incorporate some Power cards into your deck, don’t hesitate to include a couple of Self Repair as well. Always keep safety in mind.
As a gamer, I’d definitely recommend beefing up Zap and Dual-cast right from the get-go during the run. These cards are your reliable companions throughout the gauntlet, and having no-cost cards in the early game is a game-changer, especially when combined with All For One or similar effects.
Power
| Key Cards | Effect |
|---|---|
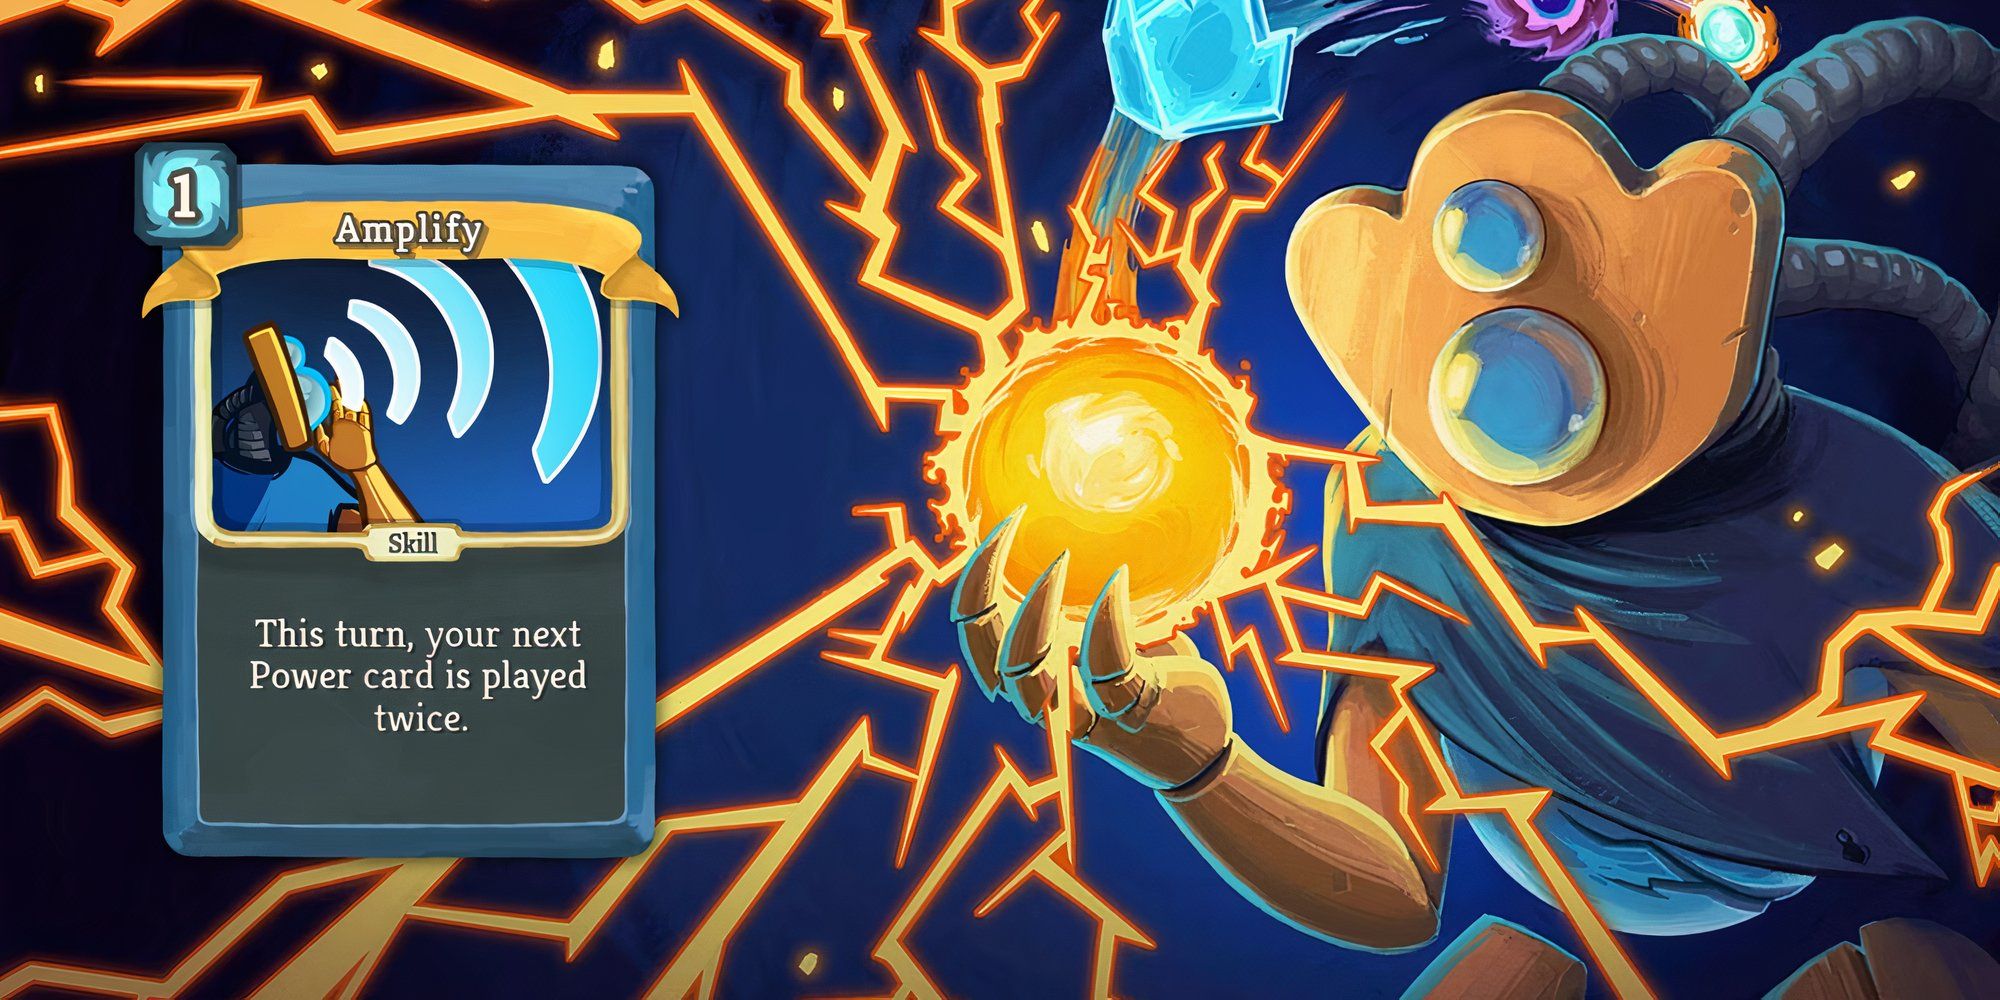
| Amplify | This turn, your next 1/2 Power(s) is (are) played twice. |
| Echo Form | The first card you play each turn is played twice. |
| Heatsinks | Whenever you play a Power card, draw 1/2 card(s). |
| Equilibrium | Gain 13/16 Block. Retain your hand this turn |
The final build I would recommend has taken me to the end of Ascension 20 Act 3 multiple times as I fight to reach the Heart. The power build can be all or nothing sometimes. It focuses on using power cards with Mummified Hand to stack abilities on top of each other.
In this approach, the crucial elements are Amplify and Heatsinks, along with numerous energy cards to maintain the smooth operation of your drawing mechanism. This deck offers flexibility and can be blended with various orb types based on the luck of the draw during a game.
Instead of running low on cards, utilize powerful options such as Echo Form and Creative AI to ensure a constant supply. Additionally, implement Equilibrium for managing the flow of cards entering and exiting your deck.
This deck has the potential to spin out of balance rapidly when used with the right cards. However, a single Boss can abruptly halt your progress. Notably, The Awakened One is particularly effective against power-building strategies such as this one. If you lack robust defense or a frost-based mechanic, it’s likely that you will perish during his second phase if you amass too many powers.
With all Classes: Beware of Reptomancer. She’s a run killer, and will often down you by turn 2. Prepare with AoE cards, or suffer the consequences.
The Watcher
The Watcher is generally considered the simplest character to play in Slay The Spire, largely because of her unique abilities and the types of cards she encounters. The Wrath Stance’s capability to deal double damage is truly formidable. Moreover, with cards like Scrawl+, she can swiftly move through her deck at an impressive pace.
Ragnarok
| Key Cards | Effect |
|---|---|
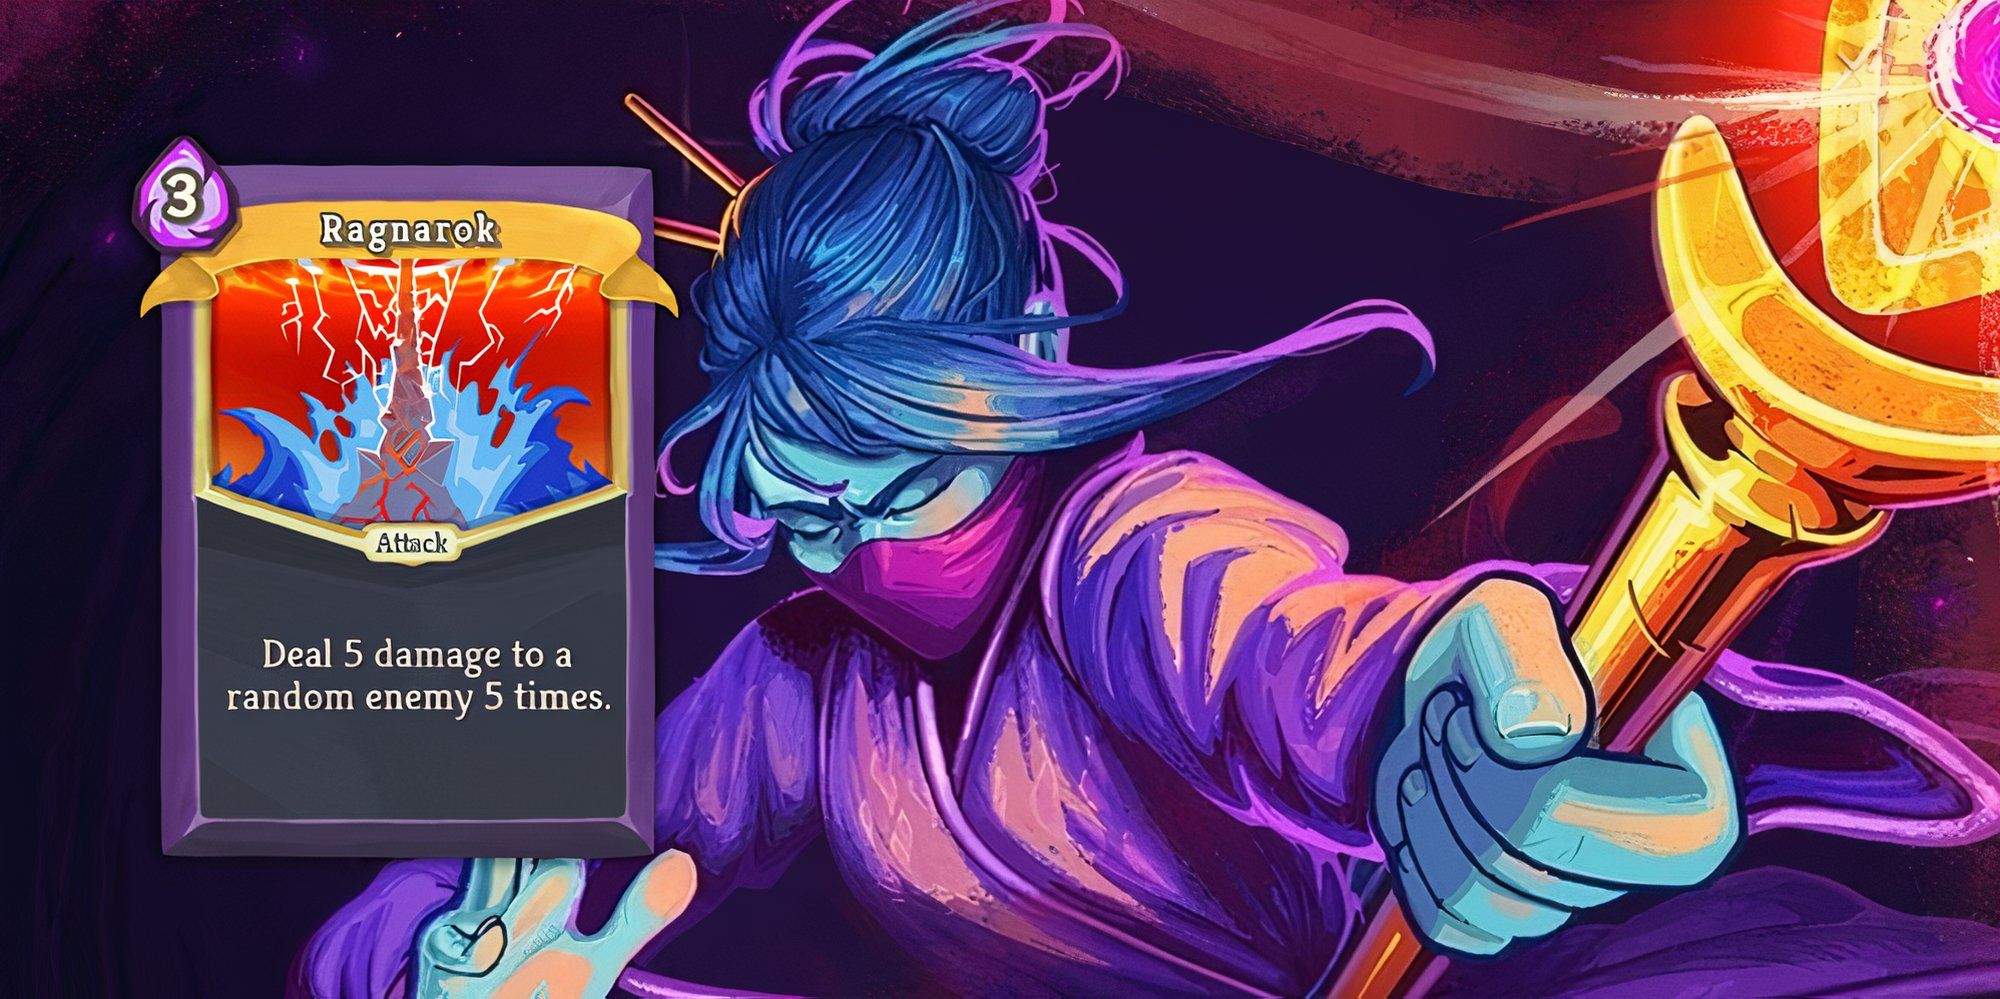
| Ragnarok | Deal 5/6 damage to a random enemy 5/6 times. |
| Wreath of Flame | Your next Attack deals 5/8 additional damage. |
| Crush Joints | Deal 8/10 damage. If the previous card played was a skill, apply 1/2 Vulnerable |
One of the more simple builds to play is the Wrath/ Ragnarok deck, which sees you stacking buffs with Wreath of Flame to unleash a mega Ragnarok down the road. Now if you pair this with cards that cause vulnerability like Crush Joints, you’re getting 50% vulnerability status on top of double damage.
It’s generally sufficient that you begin with a powerful attack card alone to conquer Act 1 on its own. You won’t even need the Ragnarok for this.
If you successfully locate the Divine entity, most of your conflicts along the way will likely resolve themselves. However, be cautious not to make any errors in judgment. I’ve unfortunately experienced quite a few attempts that failed due to assuming I had defeated an enemy with Divinity and instead found myself back at the starting point.
Naturally, relics that give you more strength are great too, as they scale with Wrath Stance.
Like Water
| Key Cards | Effect |
|---|---|
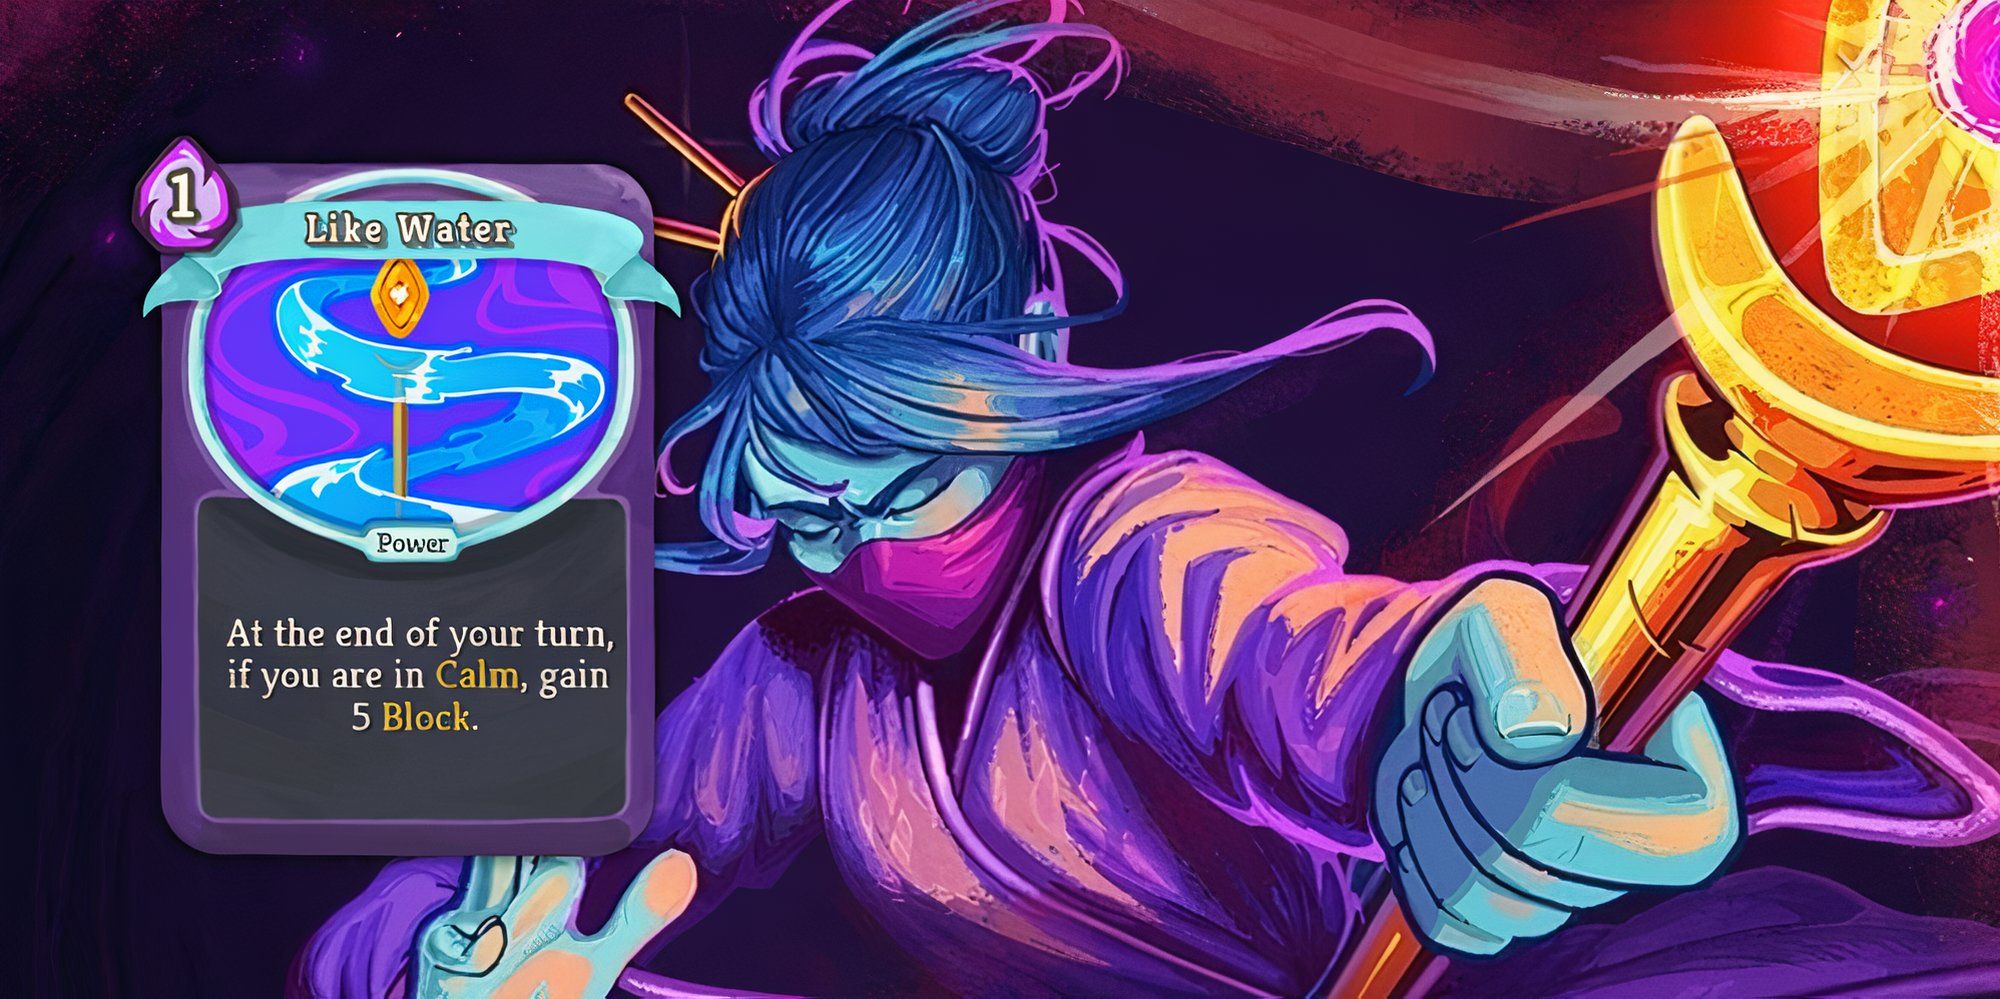
| Like Water | At the end of your turn, if you are in Calm, gain 5/7 Block |
| Talk to the Hand | Deal 5/7 damage. Whenever you attack this enemy, gain 2/3 Block |
| Mental Fortress | Whenever you switch Stances, gain 4/6 Block |
| Spirit Shield | Gain 3/4 Block for each card in your hand. |
As a gamer, I’ve come to realize that The Watcher’s standout feature isn’t just her offensive prowess, but her knack for piling up defense. Akin to Frost Orb Defect, The Watcher can accumulate a significant amount of passive protection through cards such as Talk to the Hand, Like Water, and Mental Fortress. The more I can amass these together, the better my chances become.
This construction frequently plays numerous cards during a single turn, often altering its stance for optimal benefits. Transitioning to a tranquil state can replenish your energy, while shifting to Fury boosts your damaging capabilities. Make use of cards such as Wallop not only for inflicting damage but also for regaining block points.
Here, the Vault stands out as it’s rather challenging to use effectively across various decks due to its current state. After all, who wouldn’t appreciate an additional turn?
Approach cards such as Wish with caution. On the surface, they appear incredibly beneficial, but mastering the art of choosing the optimal option requires more skill than one might initially assume. Selecting an inappropriate choice, especially when you could have been focusing on dealing damage, can lead to defeat. Remember, it’s important not to let greed cloud your decision-making process.
Infinite
| Key Cards | Effect |
|---|---|
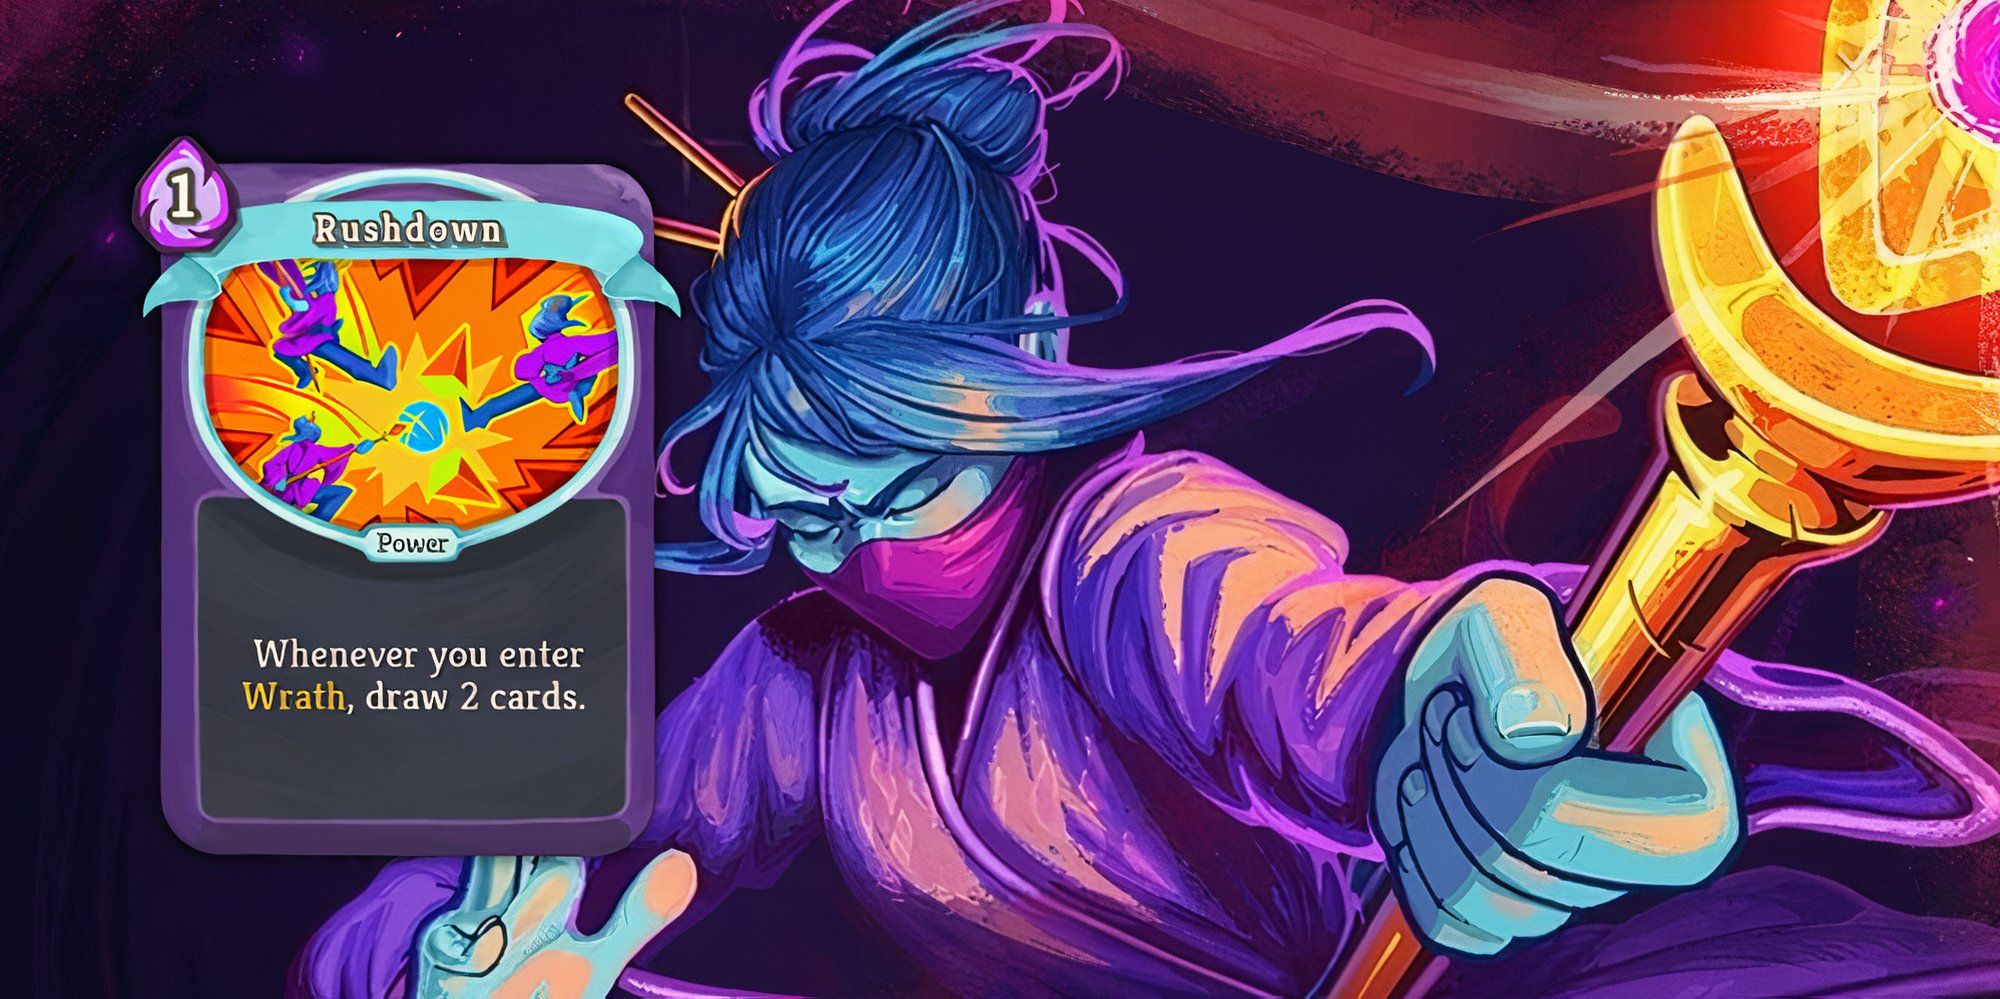
| Rushdown | Whenever you enter Wrath draw 2 cards. |
| Fear no Evil | Deal 8/11 damage. If the enemy intends to Attack, enter Calm. |
| Eruption | Deal 9 damage. Enter Wrath. |
Instead of using infinitives, allow me to rephrase: The Watcher’s deck stands out as being particularly user-friendly without requiring much effort on your part, which sets it apart from other options. The secret to this deck lies in maintaining a small number of cards and discarding the fundamental ones that aren’t necessary.
The effectiveness of this deck lies in its Rushdown ability. Each time you transform into Wrath form, you’ll receive two new cards. Once all the cards in the deck are in your hand, by transitioning between Calm and Wrath states, the recently played cards will return to your hand. Is it enjoyable? Absolutely. Does it seem like an unfair advantage? Indeed, it does.
This deck is versatile enough to handle most battles in the game, but be aware that it might restrict you from experimenting with other enjoyable build strategies for the Watcher. As always, keep an eye on Time Eater, as its play limit could potentially disrupt this deck if not managed properly.
As a fellow strategy enthusiast, I’d strongly recommend adding either Runic Pyramid or Mental Fortress to your deck for improved resilience as you work on setting up that winning combo. These cards can provide the extra durability your setup might need!
The captivating aspect of Slay The Spire lies in its dynamic gameplay where each playthrough offers a distinct experience. Though you may possess recurring cards, the combinations and permutations of these cards create unique builds for every game. Furthermore, the unpredictable events and relics contribute significantly to the game’s high replay value. So, even after conquering Ascension 20, be prepared for the Spire to lure you back in, aiming to surpass your previous achievements.
Read More
- March 2025 PS Plus Dream Lineup: Hogwarts Legacy, Assassin’s Creed Mirage, Atomic Heart & More!
- Esil Radiru: The Demon Princess Who Betrayed Her Clan for Jinwoo!
- Unleash Willow’s Power: The Ultimate Build for Reverse: 1999!
- 6 Best Mechs for Beginners in Mecha Break to Dominate Matches!
- Top 5 Swords in Kingdom Come Deliverance 2
- XRD PREDICTION. XRD cryptocurrency
- Unlock the Secret of Dylan and Corey’s Love Lock in Lost Records: Bloom & Rage
- Unlock the Ultimate Armor Sets in Kingdom Come: Deliverance 2!
- USD DKK PREDICTION
- Reverse: 1999 – Don’t Miss These Rare Character Banners and Future Upcoming Updates!
2024-12-27 15:10