As a seasoned veteran of the gaming world, I’ve seen my fair share of challenges, but let me tell you, the Gate of Infinity and the Dimensional Circle in Throne of Liberty have taken the cake!
In the game Throne and Liberty, seasoned MMORPG players might find it relatively simple to advance, but novice players could struggle initially to establish themselves and grasp the basics before reaching the endgame. However, even if they choose to play alone, this game offers numerous beneficial mechanics to increase their chances of acquiring loot and racking up experience points. Notably, the Secret Dungeons are a particularly appealing feature among many others.
As an enthusiastic fan, I’d love to share some essential insights about Secret Dungeons! Let me break down the key aspects for you:
What Are Secret Dungeons In Throne And Liberty?
An essential fact to understand about the Secret Dungeons is that they are adventures where players can participate individually or as a team of six (with the option for automatic matching). However, it’s important to note that these dungeons must first be unlocked before players can engage in them.
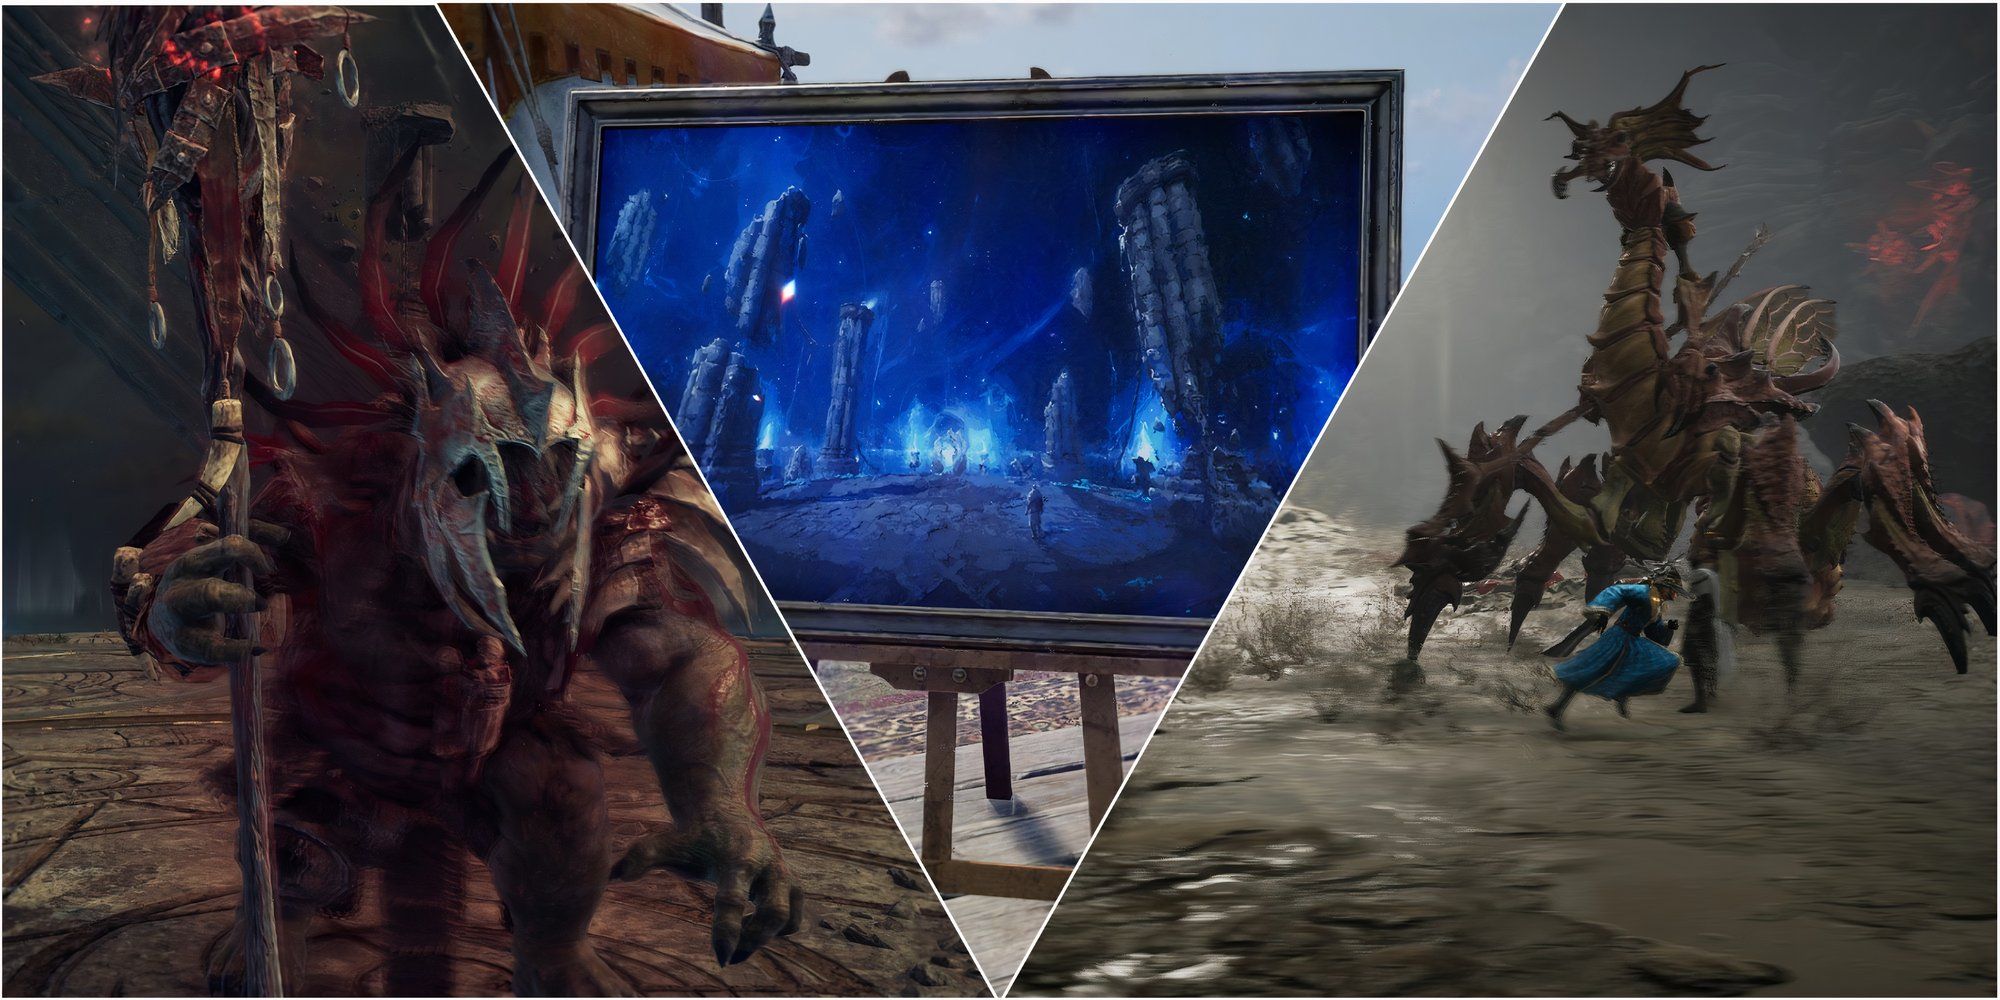
In your game, the initial Secret Dungeon becomes accessible approximately between levels 11 to 14. To unlock this, you need to finish Chapter 3: Veterans Never Die Appendix – Ashien’s Strange Painting from the Codex. Once players have completed a set of tasks in the Urstella Plains and reached the Starlight Observatory Ruins, they will be guided to converse with an NPC named Ashien. After examining a painting and conversing with the girl once more, they’ll gain entry to the secluded dungeon known as Taedal’s Tower.
Another version is known as the “Gate of Eternity,” where activities are scheduled on a weekly basis and involve a ranking system. These are advanced solo tasks for players who have progressed to a specific level, forming part of the end-game activities.
As a devoted gamer, I’ve found myself drawn to the thrilling world of the Dimensional Circle Dungeons. These are intricate 6-player adventures that I can dive into via matchmaking. They feature an array of dungeons brimming with formidable adversaries and mechanics that demand a touch of teamwork from my party mates and me.
Taedal’s Tower Overview
Taedal’s Tower is an individual challenge dungeon that progresses through levels of difficulty. You can find it by navigating to the ‘Secret Dungeons’ section within the Main Menu. For the initial entry, look for it next to Ashien in the Urstella Plains Starlight Observatory Ruins. Once you’ve been there, it will remain permanently accessible from the menu. Here are some key points about this Secret Dungeon:
- There’s a total of 20 challenges (20 floors), and each of them has its own mechanics.
- The difficulty increases on each of the floors.
- In some cases, players will have to collaborate with an NPC or protect them.
- The rewards increase accordingly with the level of challenge and include various precious items, like life crystals, Growthstones, and gold.
- No matter how many times players die, they can keep trying the challenge without penalties or cooldowns.
Below you’ll find details about each floor, suggested level for tackling its challenges, and the corresponding rewards.
| Floor | Recommended Level | Rewards |
|---|---|---|
| Floor 1 – Charging Gatekeeper | Level 15 | Quality Weapon Growthstone x1 Quality Armor Growthstone x2 Quality Accessory Growthstone x1 Recovery Crystal x5 EXP 1986 Sollant 1354 |
| Floor 2 – Rushing Queen Spider | Level 17 | Quality Weapon Growthstone x1 Quality Armor Growthstone x2 Quality Accessory Growthstone x1 Recovery Crystal x5 EXP 3973 Sollant 2707 |
| Floor 3 – Screams and a Healing Song | Level 19 | Quality Weapon Growthstone x2 Quality Armor Growthstone x4 Quality Accessory Growthstone x3 Recovery Crystal x5 EXP 5959 Sollant 4061 |
| Floor 4 – Spinning Goblins | Level 20 | Quality Weapon Growthstone x2 Quality Armor Growthstone x4 Quality Accessory Growthstone x3 Recovery Crystal x5 EXP 7946 Sollant 5414 |
| Floor 5 – Warrior’s Cry | Level 22 | Crafty Joker – Amitoi Summon Stone Quality Weapon Growthstone x2 Quality Armor Growthstone x4 Quality Accessory Growthstone x3 Recovery Crystal x5 EXP 9932 Sollant 6768 |
| Floor 6 – Finding the Piton in the Flames | Level 24 | Quality Weapon Growthstone x4 Quality Armor Growthstone x8 Quality Accessory Growthstone x5 Recovery Crystal x10 EXP 11918 Sollant 8121 |
| Floor 7 – The Bound | Level 26 | Quality Weapon Growthstone x4 Quality Armor Growthstone x8 Quality Accessory Growthstone x5 Recovery Crystal x10 EXP 13905 Sollant 9475 |
| Floor 8 – Poisons, Explosion, and Detox Herbs | Level 28 | Quality Weapon Growthstone x4 Quality Armor Growthstone x8 Quality Accessory Growthstone x5 Recovery Crystal x10 EXP 15891 Sollant 10829 |
| Floor 9 – Dance of the Flashing Sword | Level 30 | Rare Weapon Growthstone x1 Rare Armor Growthstone x2 Rare Accessory Growthstone x1 Recovery Crystal x10 EXP 17877 Sollant 12182 |
| Floor 10 – Commander’s Shadow Strike | Level 35 | Velvet Raven – Morphstone Rare Weapon Growthstone x1 Rare Armor Growthstone x2 Rare Accessory Growthstone x1 Recovery Crystal x20 EXP 19864 Sollant 13536 |
| Floor 11 – Maze of Death | Level 36 | Velvet Raven – Morphstone Rare Weapon Growthstone x1 Rare Armor Growthstone x2 Rare Accessory Growthstone x1 Recovery Crystal x20 EXP 21850 Sollant 14899 |
| Floor 12 – Answers in the Sand | Level 37 | Rare Weapon Growthstone x2 Rare Armor Growthstone x4 Rare Accessory Growthstone x2 Quality Recovery Crystal x5 EXP 23837 Sollant 16243 |
| Floor 13 – Drop! Lightning! Destroy! | Level 38 | Rare Weapon Growthstone x3 Rare Armor Growthstone x6 Rare Accessory Growthstone x4 Quality Recovery Crystal x5 EXP 25823 Sollant 17596 |
| Floor 14 – Out of Sight | Level 39 | Rare Weapon Growthstone x3 Rare Armor Growthstone x6 Rare Accessory Growthstone x4 Quality Recovery Crystal x5 EXP 27809 Sollant 18950 |
| Floor 15 – Stealers and Retrievers | Level 40 | Mischievous Joker – Amitoi Summon Stone Rare Weapon Growthstone x3 Rare Armor Growthstone x6 Rare Accessory Growthstone x4 Quality Recovery Crystal x5 EXP 29796 Sollant 20304 |
| Floor 16 – Precise Moment | Level 41 | Rare Weapon Growthstone x3 Rare Armor Growthstone x6 Rare Accessory Growthstone x4 Quality Recovery Crystal x10 EXP 31782 Sollant 21657 |
| Floor 17 – Unbreakable Shield of Cooperation | Level 42 | Rare Weapon Growthstone x4 Rare Armor Growthstone x8 Rare Accesory Growthstone x6 Quality Recovery Crystal x10 EXP 33768 Sollant 23011 |
| Floor 18 – Swirling Firestorm | Level 43 | Rare Weapon Growthstone x4 Rare Armor Growthstone x8 Rare Accesory Growthstone x6 Quality Recovery Crystal x10 EXP 35755 Sollant 24364 |
| Floor 19 – Reaching for Higher | Level 44 | Rare Weapon Growthstone x4 Rare Armor Growthstone x8 Rare Accesory Growthstone x6 Quality Recovery Crystal x10 EXP 37741 Sollant 25718 |
| Floor 20 – Revenge and Resurrection | Level 45 | Fierce Tiger – Morphstone Precious Weapon Growthstone x1 Precious Armor Growthstone x2 Precious Accessory Growthstone x1 Quality Recovery Crystal x20 EXP 39728 Sollant 27071 |
Gate Of Infinity Overview
The Gate of Infinity represents the ultimate solo challenge within Taedal’s Tower dungeons. It redesigns levels with additional objectives such as vanquishing bosses or completing stages within a specified time frame. To make things more challenging, there is an enhancement in difficulty level, along with increased health and damage output of the adversaries to overcome.
Every five days, I encounter fresh hurdles that are enticing for avid gamers at advanced levels, as the incentives for conquering them are simply irresistible. These rewards encompass rare items such as the Omnipotence Parchment, Precious Marind Ore, Training Dew, and Restoration Coins, not to mention a generous heap of Gold (Solant).
Moreover, there’s a scoring system that evaluates the performance of each player (such as time taken to finish, damage sustained, etc.). This system awards positions to those with the highest scores. If players aspire to be number one on their servers, then Gate of Infinity is undoubtedly what they seek.
Dimensional Circle Overview
The Dimensional Circle’s Dungeons are not meant for solo adventurers but rather collaborative dungeons. These are a set of 6-player missions where players can join forces through the matchmaking system. They feature multiple dungeons with formidable enemies and mechanics that emphasize teamwork among party members.
At level 20, or upon completion of the main questline and Codex Chapter 4, the Dimensional Circle will automatically become accessible via the main menu.
Here’s a list of all the dungeons and their respective requirements:
- Specter’s Abyss – Level 20
- Roaring Temple – Level 30
- Cave of Desperation – Level 40
- Death’s Abyss – Level 50
- Cursed Wasteland – Level 50
- Temple of Slaughter – Level 50
- Butcher’s Canyon – Level 50
- Cave of Destruction – Level 50
- Tyrant’s Isle – Level 50
In the worldwide version of “Throne of Liberty,” you can access these features via the “Co-Op Dungeon” section found in the main menu. The Dimensional Circle also comes with different levels, or “Tiers,” that increase in difficulty based on your gear score. For instance, Tier 2 offers more challenging level 50 dungeons such as:
- Island of Terror – Level 50+
- Voidwastes – Level 50+
- Valley of Slaughter – Level 50+
- Carmine Rage Island – Level 50+
- Torture Chamber of Screams – Level 50+
Ultimately, every week, Tier 2 dungeons undergo a rotation, during which specific “conditions” or effects (like debuffs, for instance) are imposed on both players and monsters. This transformation turns the chosen instances into what we call Challenge Dungeons, which also vary in difficulty levels and necessitate a minimum gearscore to access, starting at 2350.
In the Challenge Dungeons, monsters will deal more damage and have higher health. Additionally, there will be additional tasks such as time-limited challenges and specific conditions to meet in order to defeat the bosses. These features are not part of the usual runs but rather, they represent the toughest end-game content, best taken on by groups of six players.
Read More
- LUNC PREDICTION. LUNC cryptocurrency
- BTC PREDICTION. BTC cryptocurrency
- USD PHP PREDICTION
- USD ZAR PREDICTION
- BICO PREDICTION. BICO cryptocurrency
- USD COP PREDICTION
- SOL PREDICTION. SOL cryptocurrency
- USD CLP PREDICTION
- RBX PREDICTION. RBX cryptocurrency
- USDV PREDICTION. USDV cryptocurrency
2024-10-03 13:35