Quick Links
- Health Filament Location
- Chapter 4
- Chapter 5
- Chapter 6
- Chapter 7
- Chapter 9
- Chapter 10
- Chapter 11
- Chapter 12
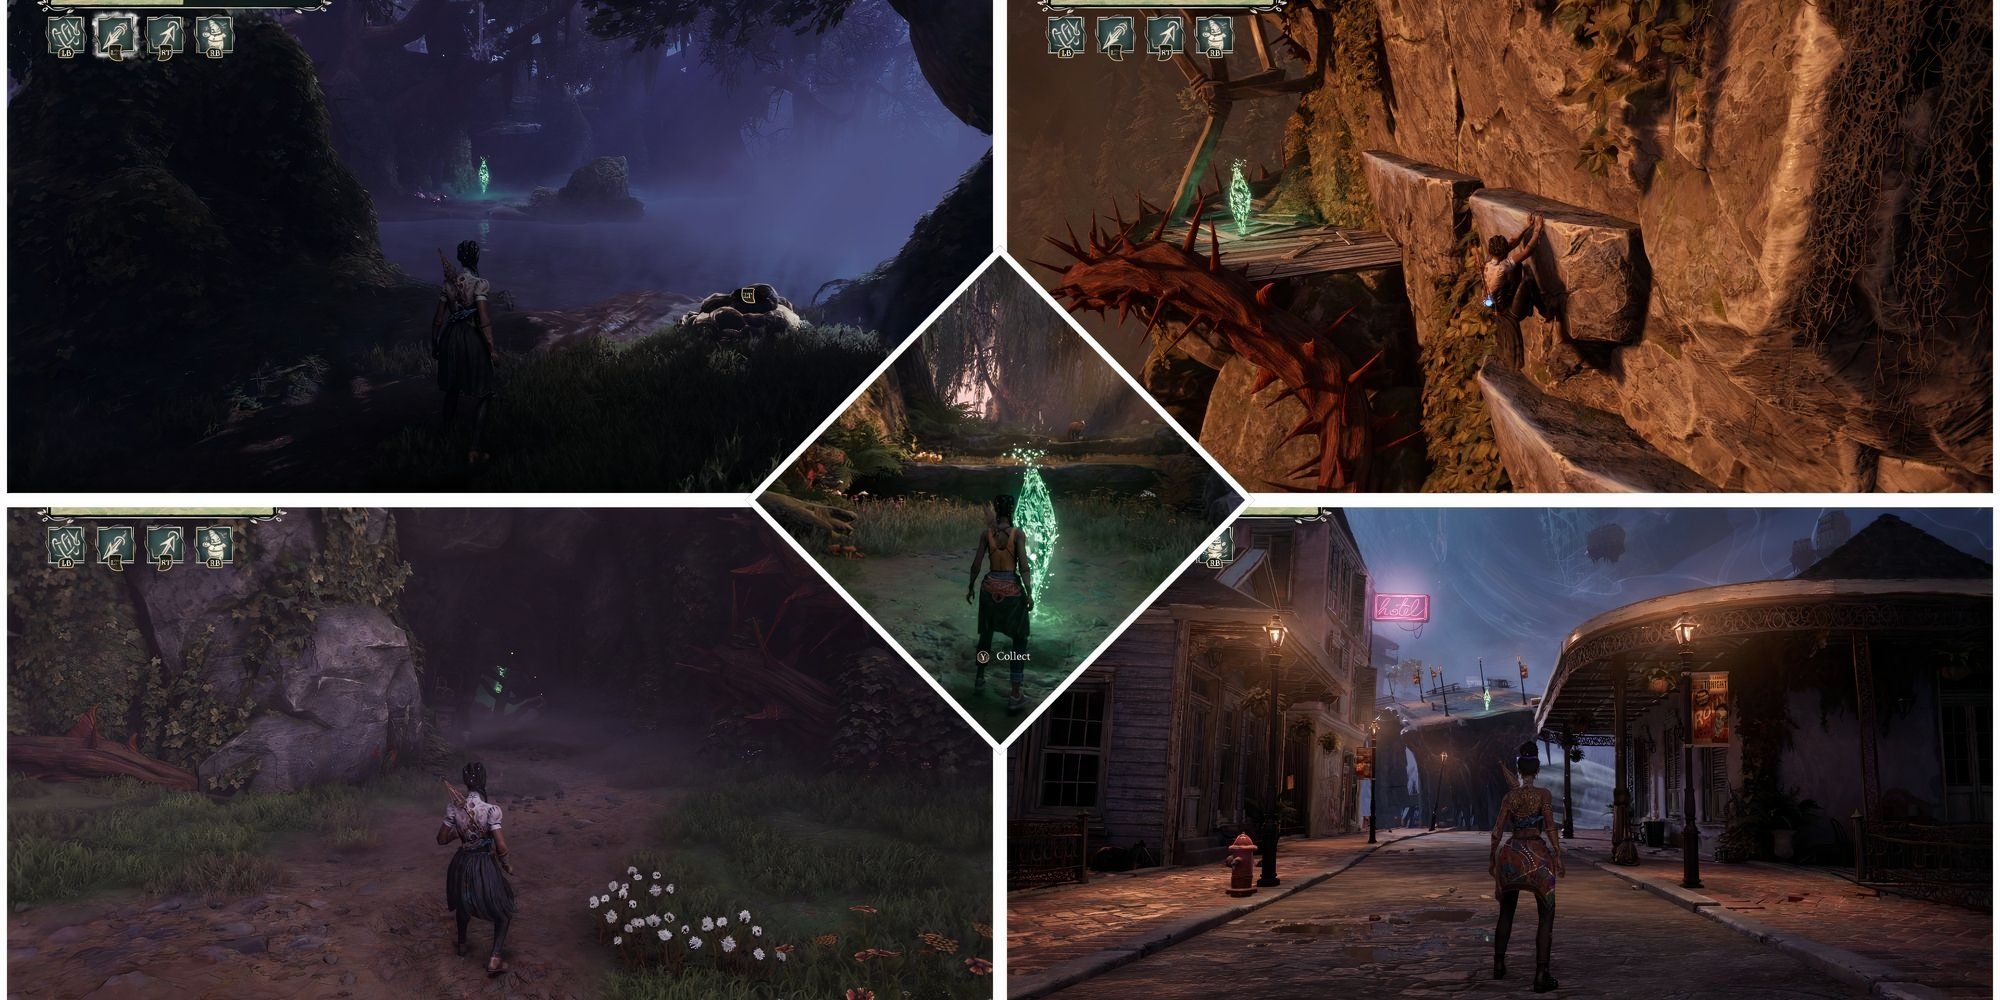
In your quest to locate your mother within the intriguing and alluring realm of Midnight’s South, you’ll discover valuable Health Filaments. These filaments will significantly ease your interactions with Haints and challenging boss battles, particularly when you’re playing at increased difficulty levels.
Each Health Thread is hidden within a different chapter of the narrative, with some being easily accessible and others requiring more effort to locate.
Absolutely, additional health is crucial, especially in action-adventure games, so if you’d rather not spend time hunting down those Health Filaments on your own. I’ll provide you with the precise locations for all Health Filament collectibles found in South of Midnight instead.
Health Filament Locations
In the specified chapters (3-7, 9-12), a total of nine essential Health Upgrades, known as Health Filaments, are located. Each individual chapter houses one of these upgrades, resulting in a total of three Health Filament discoveries throughout your journey.
Collecting all Health Filaments will also result in unlocking the “Fit as a Fiddle”achievement.
As a devoted reader, don’t fret if you skipped a chapter earlier, because with South of Midnight, you always have the flexibility to revisit past chapters whenever it suits you best.
The Health Filament in chapter 3 is part of the story and is located along the main path.
Chapter 4
As you approach the church towards the close of the chapter, proceed to the rear of it. Keep going until you spot a ledge that allows you to utilize one of your skills for grappling onto it.
Utilize your grappling hook to traverse the small island in the center of the lake. Once there, engage in some jumps across platforms and leap onto the debris to get to the second island. The Health Filament is just a short distance away from that location.
Upon arriving at the tree on the second island, just swing to the Health Cord with ease, and afterward, continue your journey by ringing the church bell.
Chapter 5
Advance through the chapter until you encounter the second instance of Two-Toed Tom’s memory flashback. Once you’ve done that, orient yourself towards the depicted house, then move rightward from there.
As you navigate along the telephone poles, you’ll find a place to grip and swing (or climb) across the lake. Keep going, and you’ll notice the Health Filament resting atop the water tank.
Navigating to the water tank should be effortless for you. Just activate your Weaver skill and create spectral platforms, then walk over them to get there.
Chapter 6
The filament, or crucial point, can be found quite early in the chapter. As you journey towards Bonnie’s residence, take a detour at the crossroads located within the woods. To your left, you will notice Old Smokey’s Barn.
Here’s a step-by-step:
- Enter the barn and reach its other side to find a hole where you can send your Crouton.
- Use your Crouton to destroy the Haint’s nest.
- Make your way back to the crossroads in front of Old Smokey’s Barn.
- You will spot a road going to the side of the barn.
- Summon the spectral cart using your Weaver ability.
- Push the cart into the barn and climb onto it to reach the top.
- You will find the Health Filament at the upper level of the barn.
Chapter 7
In my experience, navigating this chapter feels like a breeze. Just keep advancing, and before you know it, you’ll come across an exciting confrontation with the Haints. It’s there that you’ll have your initial tussle with the Brute enemy type for the first time.
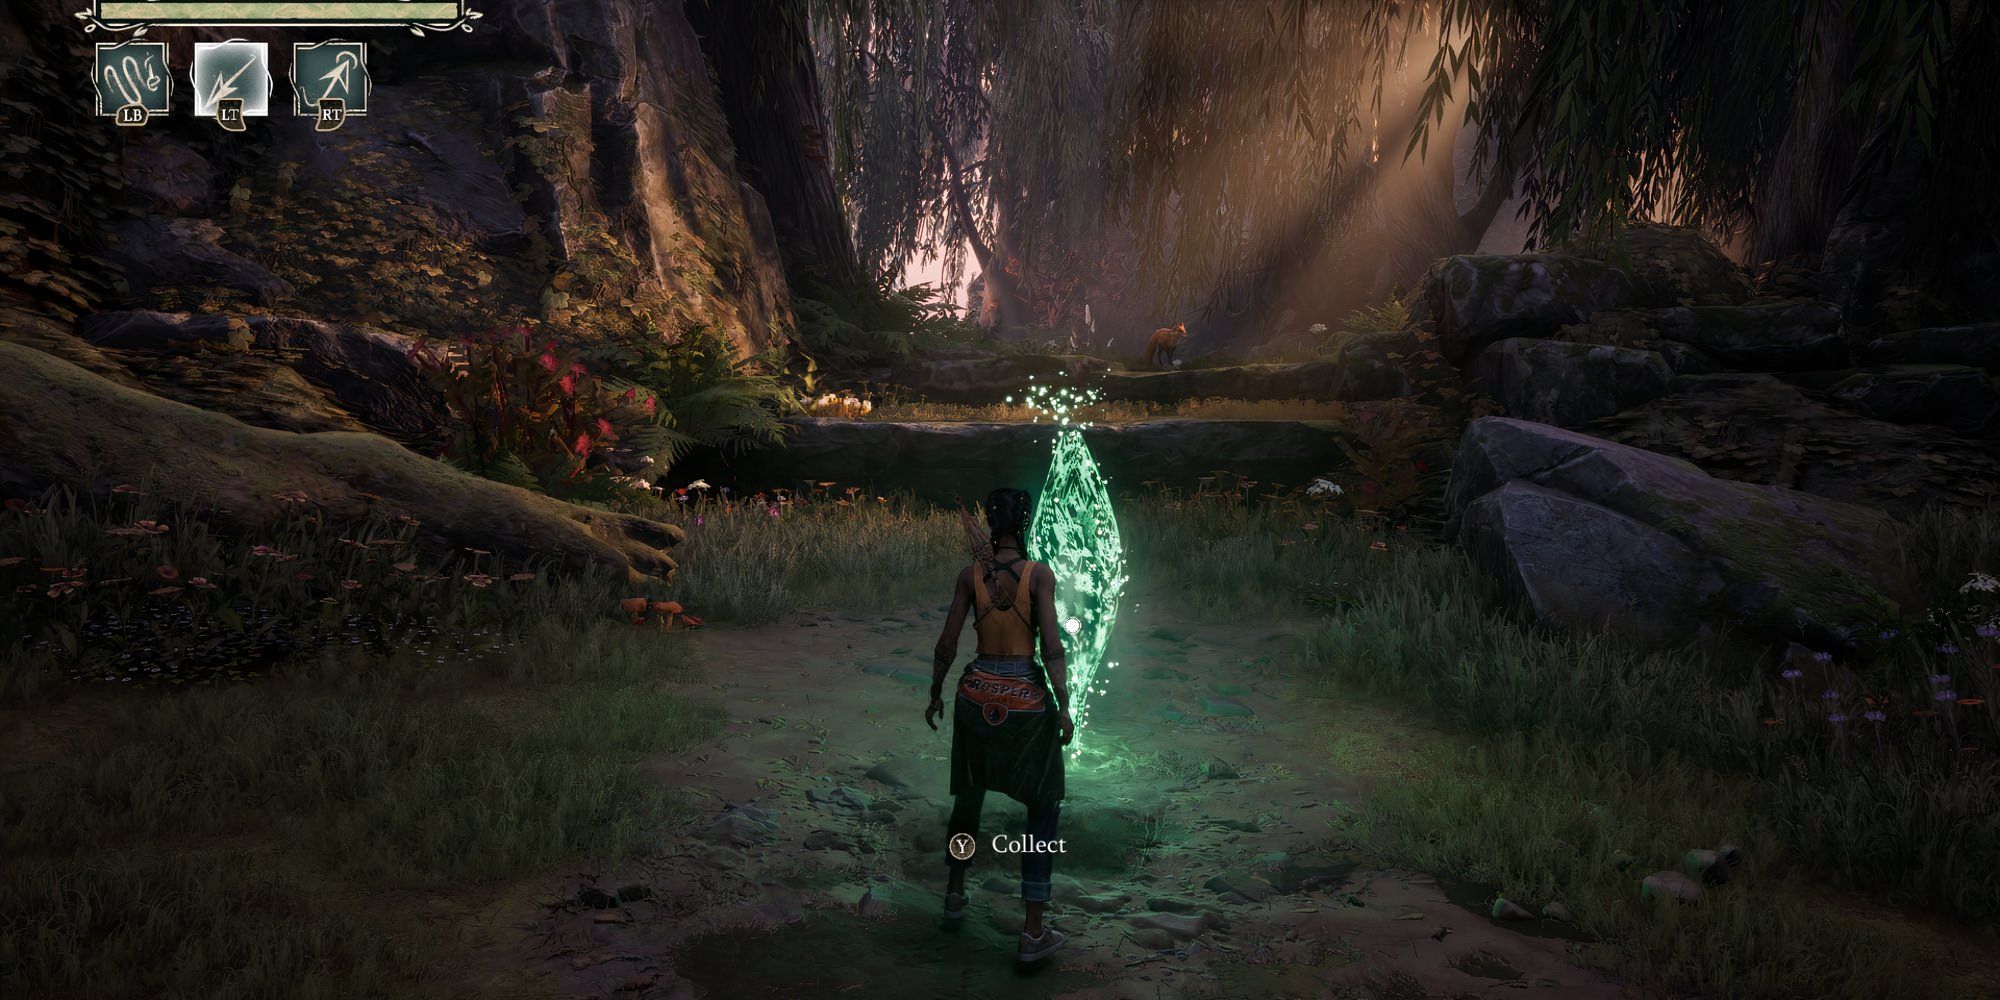
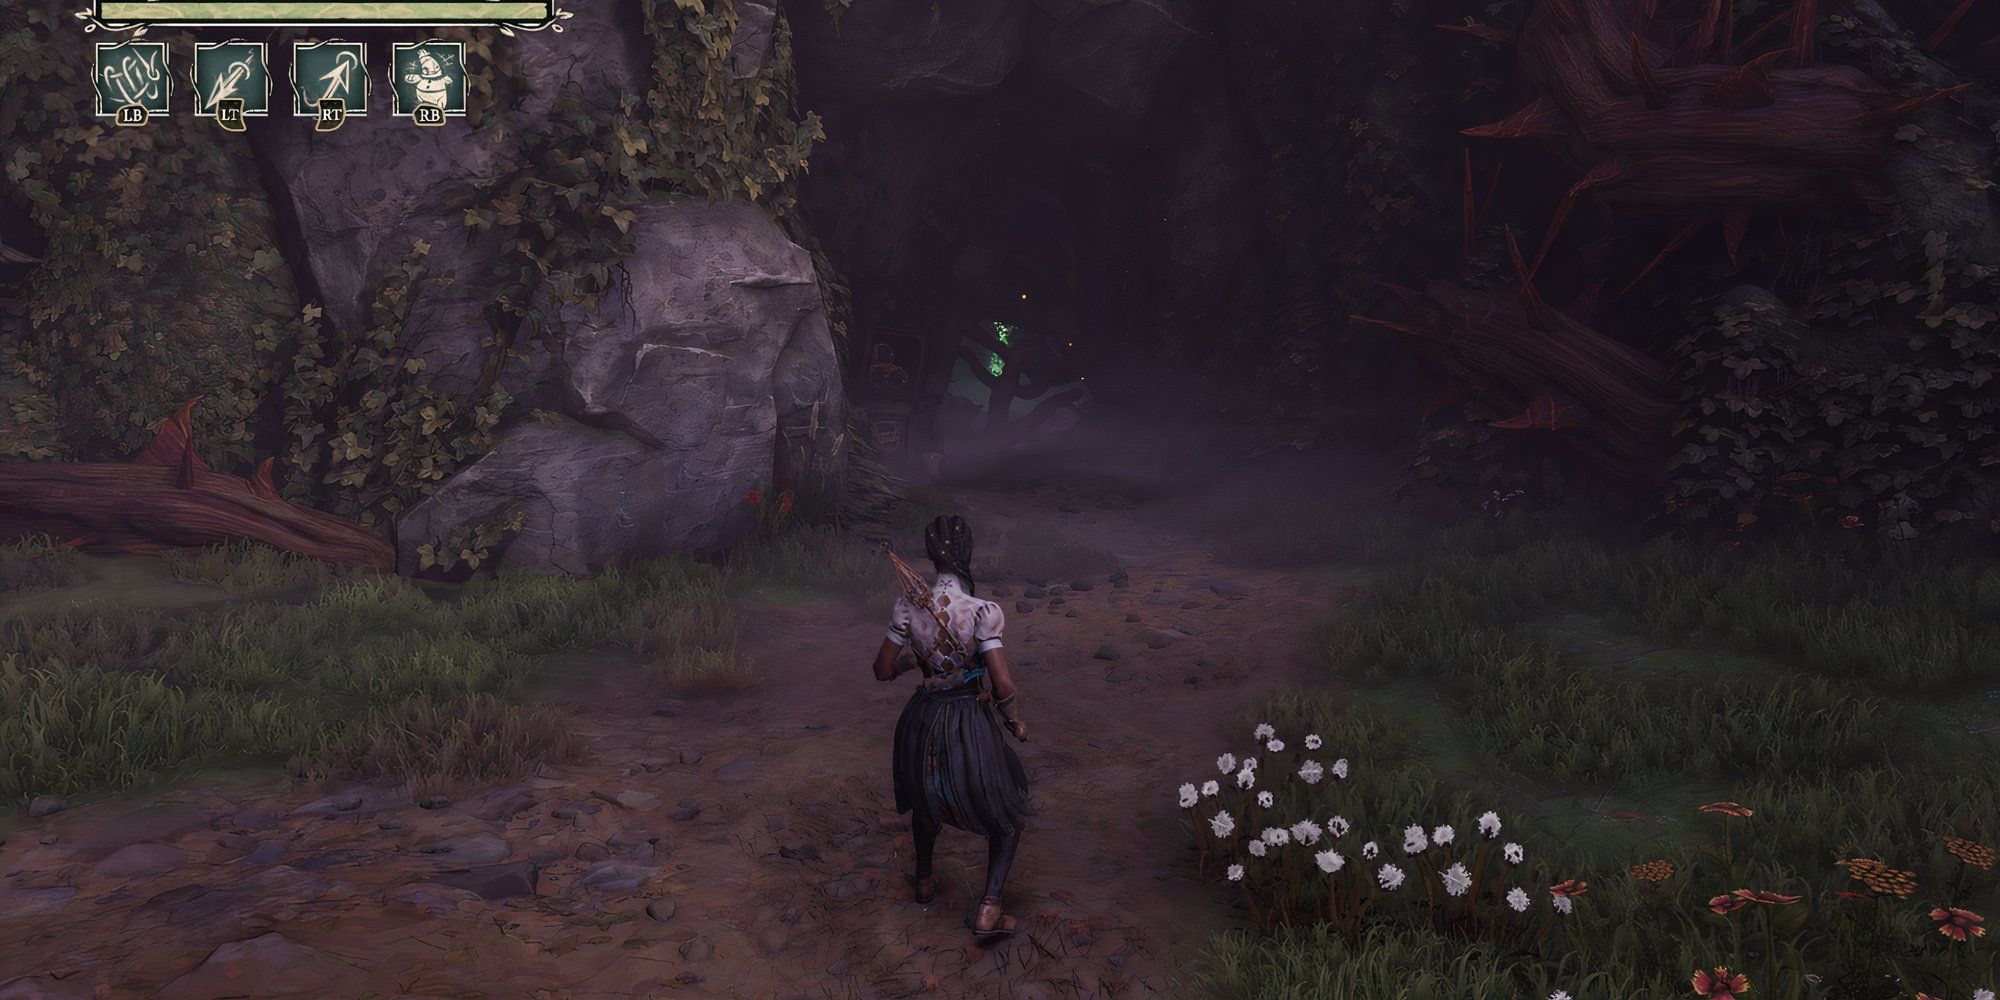
Following your victory against the gang of Haints, take note of a faint trail that guides you towards a tiny cavern nestled next to the battlefield.
Traverse the trail ahead, and you’ll come across the Health Fiber concealed among the foliage, which you can eliminate using your Strand Pushing power.
Chapter 9
In Chapter 8, the lack of a Health Strand is noticeable. You won’t find it in the deserted town where Itchy resides in Chapter 9. I’ve personally spent thirty minutes searching for it there, to no avail.
Initially, untangle all four stigma knots found in that specific location. Once you understand Itchy’s backstory, continue moving forward through the chapter until you come across the primary knot obstructing the entrance to Huggin’ Molly’s residence.
Heading towards the left of the manor, I stumbled upon some handholds that allowed me to traverse along. As I swung my way across, my keen eyes caught sight of the elusive Health Filament collectible. Grabbing it, I couldn’t help but feel a sense of accomplishment. Preparing myself for what lay ahead, I knew a challenging battle was on the horizon.
Chapter 10
The opening of the chapter finds you in a position where you’ve largely lost your unique powers. To proceed, it’s essential that you recover each one initially.
Following the acquisition of the final Weaver skill, create a bridge and cross it to get to the next isle. Once there, glance to your left, and you’ll see the Health Filament.
Avoid repeating my error, instead, use your Pull power to toss a rock at the mushroom first before you traverse it using your grapple.
Chapter 11
As I journey deeper into this chapter, I’ve got to keep advancing until Altamaha-ha, the formidable foe, begins pelting me with rocks for the very first time. Immediately afterward, I’ll come across the second Stigma Knot in my path.
Once you’ve untangled the mess, don’t rush off to the next spot straight away; rather, spend some time investigating this location until you discover a trail that leads through the woods.
Keep moving along the tree limbs till you reach the endpoint, and there you’ll find what you seek. From that point, simply call forth the tree branches and engage in a bit of jumping between platforms to claim your prize.
Chapter 12
As a fan, I’d say: Alright, let’s get this Health Filament! Keep moving forward through the chapter until you come across the spot depicted in the picture provided. That place is right after the Roux billboard where you do that exhilarating wall run!
Turn to your right from where you are now, and you should find the collectible you’re searching for quite clearly. But, remember that you’ll have to navigate some platforms to get there.
Call upon the ghostly platforms situated near the border of the ground, adjacent to the Health Filament spot. Then, utilize the wind tunnel to get to your prize.
With that said, you are now fully prepared to confront the King of Nightmares, Kooshma, who turned out to be quite manageable for me in battle. And with this victory, you can finally rescue your mother forever.
Read More
- All Skyblazer Armor Locations in Crimson Desert
- How to Get the Sunset Reed Armor Set and Hollow Visage Sword in Crimson Desert
- All Shadow Armor Locations in Crimson Desert
- Marni Laser Helm Location & Upgrade in Crimson Desert
- One Piece Chapter 1180 Release Date And Where To Read
- All Helfryn Armor Locations in Crimson Desert
- All Golden Greed Armor Locations in Crimson Desert
- All Icewing Armor Locations in Crimson Desert
- How to Beat Stonewalker Antiquum at the Gate of Truth in Crimson Desert
- Legendary White Lion Necklace Location in Crimson Desert
2025-04-09 00:41