As a seasoned adventurer who’s seen more twists and turns than a winding galactic highway, I can’t help but feel a sense of satisfaction as I guide you through this thrilling tale. The task at hand is clear: escape the clutches of this forsaken place, make your way back to Selo’s Shop, and unlock new abilities for our trusty speeder.
Star Wars Outlaws distinguishes itself from other Ubisoft open-world games with a one-of-a-kind advancement system. The creators have worked diligently to avoid the conventional skill point method. Although players can still enhance different aspects — be it their blaster, skills, speeder, or spacecraft — progression in this game is earned through gaining Experts instead.
In the game Star Wars Outlaws, your advancement is fueled by Skilled NPC companions, who are helpful figures that either teach you new abilities or improve your gear. This method gives a more individualized feel to progression, as it deviates from the common emphasis on raising stats. Selo Rovak is one of these Skilled individuals. She’s an accomplished mechanic who significantly improves your speeder. You can encounter her at Selo’s Shop during the Speeder Mechanic mission series.
Acquiring the Mechanic Mission
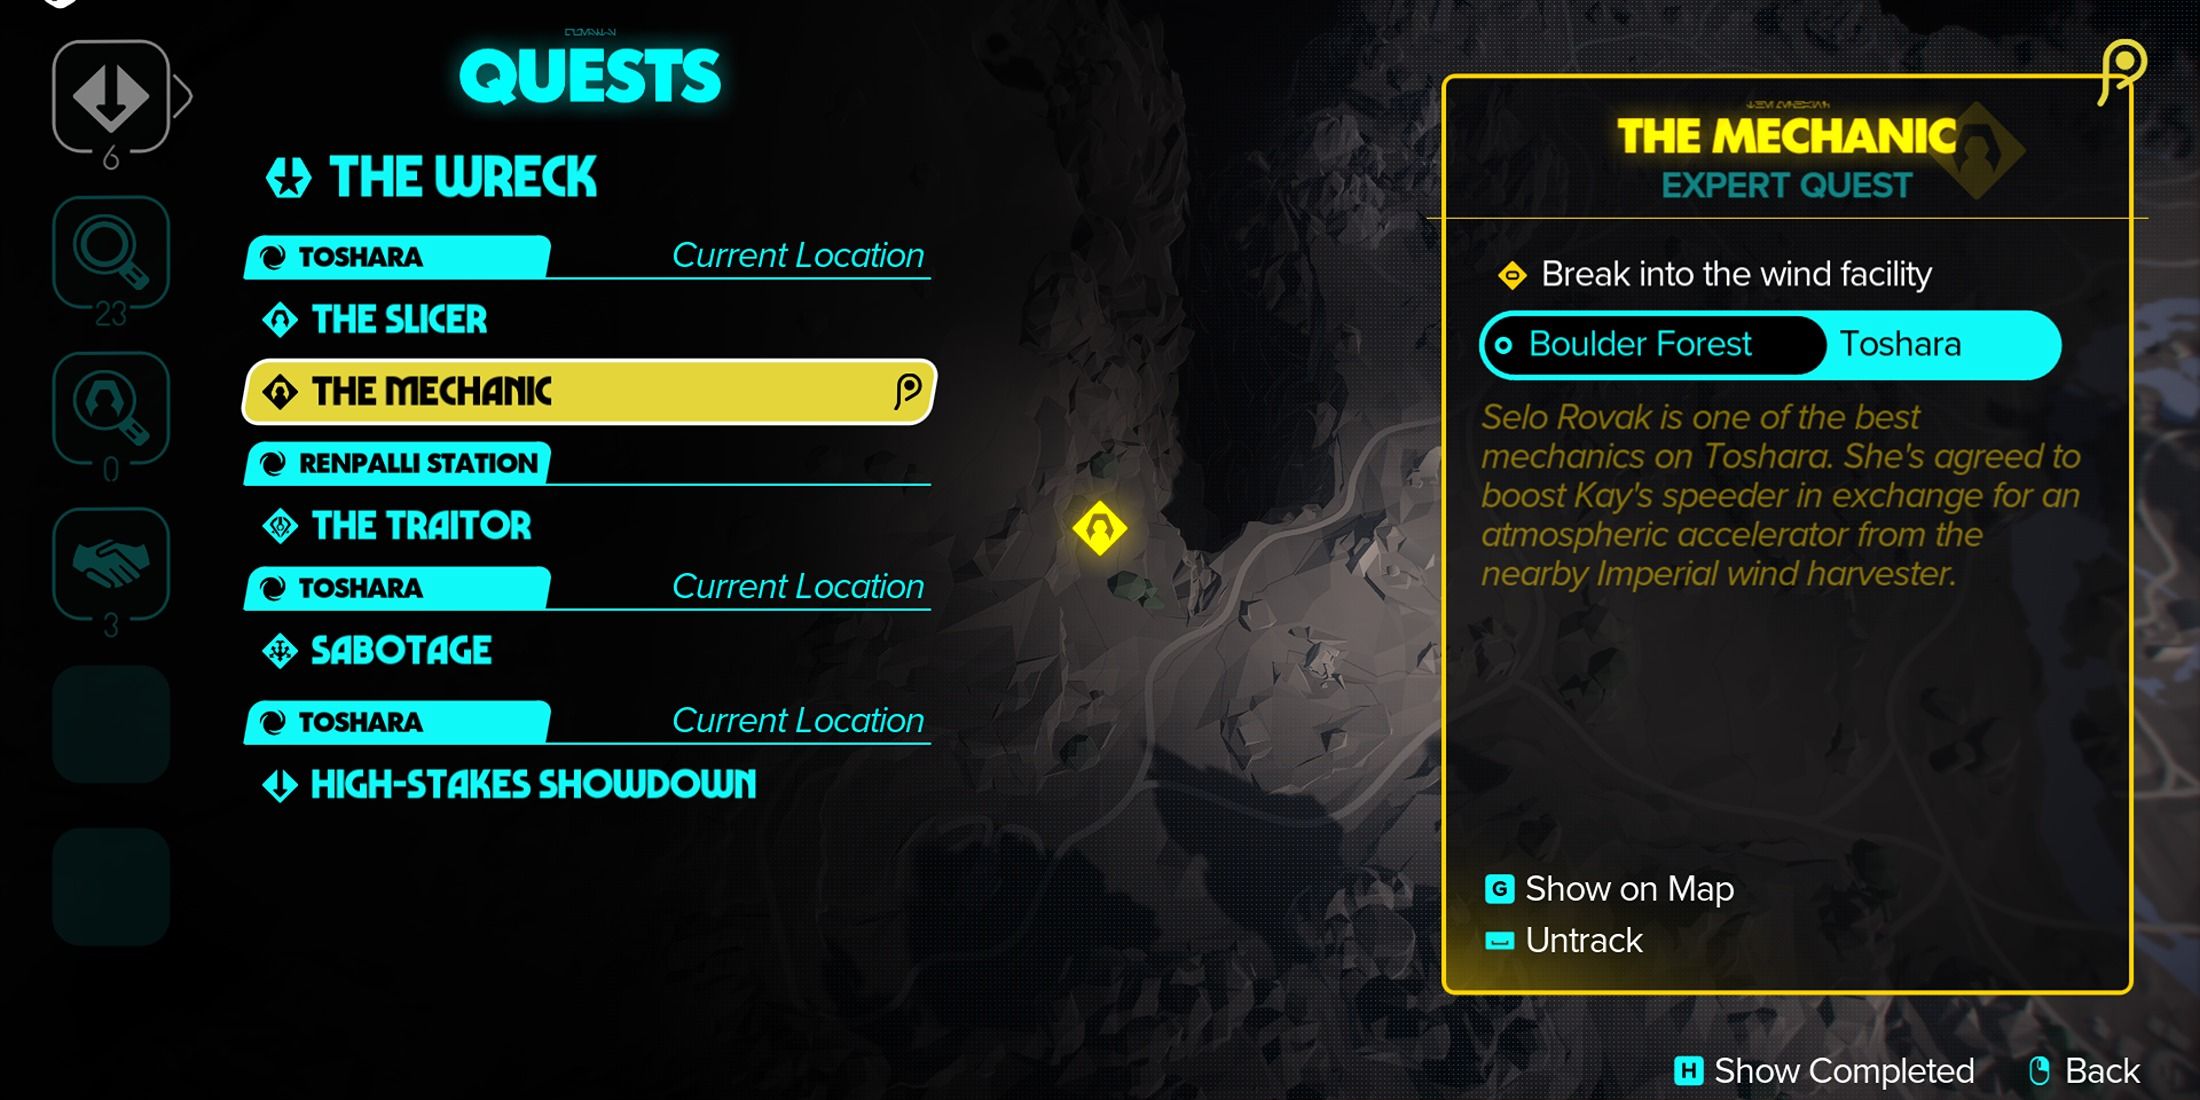
Upon entering Selo’s Shop for the first time and having a chat with Selo, you’ll be given a fresh expert mission named “The Mechanic”. In this mission, your goal is to gain access to an Imperial Wind Harvester and swipe a vital object called the Atmospheric Accelerator. This task requires you to infiltrate the harvester and make off with the accelerator.
Reaching the Wind Harvester may seem simple, but getting the item is quite a feat. The level isn’t tough in terms of sneaking or fighting, but it requires precise platforming moves. Make one mistake and it’s game over. Luckily, the game auto-saves frequently, so you won’t lose too much progress if something goes wrong.
Reaching the Imperial Wind Harvester
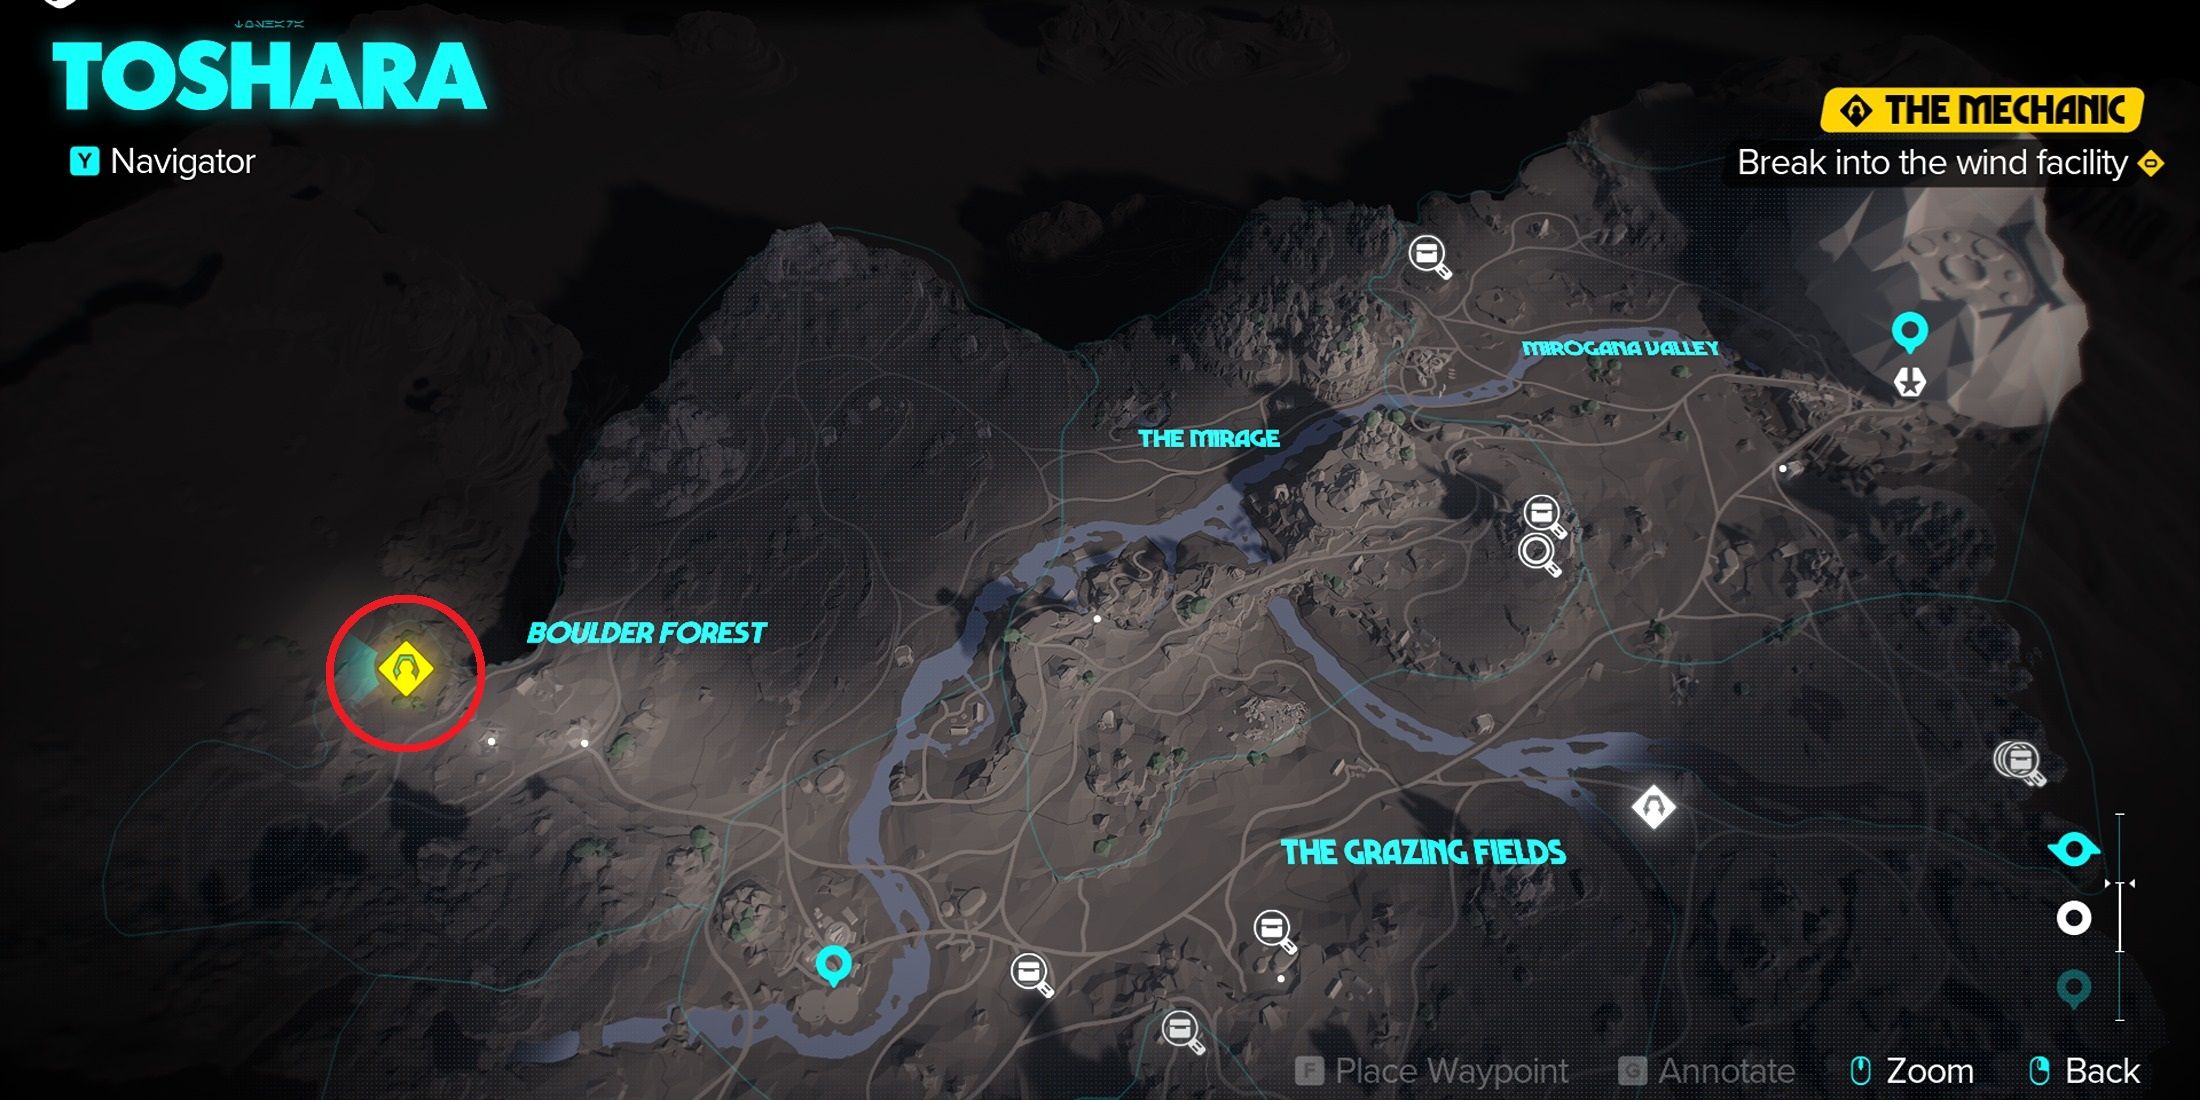
Following your conversation with Selo, navigate towards the Wind Harvester. It should appear on your map, and it’s quite accessible. You can find it to the west of Selo’s Shop, approximately a kilometer distant, so jump on your speeder and mount up and ride and travel there. Jump onto your speeder and make your speeder and head over.
As soon as you step into Harvester’s entrance, Selo and Kay Vess will start a discussion. Wait for their conversation to finish. Then, head towards the console close by and interact with it. This action will cause the large fan obstructing your way to stop, enabling you to venture inside.
Afterward, hop back on your speeder and proceed along the freshly unveiled path. Maintain your course and then veer right. Carry on until you encounter a metal wall with an open door. This serves as your signal to alight from the speeder and carry on walking.
Traversing Inside the Imperial Wind Harvester
1. Make your way indoors and select the lower route. Be careful to bypass the big fans overhead; they could toss you around if you attempt to go near them. At ground level, you’ll notice a red barricade. Have Nix, your reliable ally, deal with the button on the opposite side to deactivate the blockage.
After lowering the barricade, head towards the vent on your right and ascend the ladder. Proceed along the straight path until you reach some large pipes below. Then, turn left and leap onto the higher pipes. Now comes the challenging part: wait for the massive fans to stop before dashing across, or else they’ll push you onto the pipes. Time your move carefully, then make a swift run towards the other side.
After reaching that spot, go ahead and leap onto the pipes first, then to the platform beneath. Standing there, glance towards the southwest direction and fire at the yellow generator. This action will shut off the fans, enabling you to move forward. Make your way towards the closed door and hop onto the handholds located to its right side. Move along the wall until you find the large open pipe below. Descend through the opening and keep going straight until you come across another big drop. Do remember to collect the loot from the container here before squeezing through the narrow passage. Once through, look towards your west.
Every so often, large metal structures roll along, so it’s essential to coordinate your run perfectly to reach the destination safely. Misjudging the timing could lead to being squashed by these moving obstacles. Upon reaching the other side, leap onto the grate and navigate towards the upper-left platform. Remember that the fans situated in between will occasionally activate, so plan your ascent accordingly.
Pay attention to the lights near the fans – they will turn on once the fans are almost activated. Additionally, remember to pick up the other container located on the platform as well.
Upon landing, I swiftly take down the pair of yellow poles ahead to halt the whirling fan. Next, I propel myself across with my trusty grapple hook towards the next platform. Utilizing handholds, I navigate my way to another platform hovering slightly above and to my left. Remember, timing is crucial here as the fan’s force could hurl me off its edge at any moment.
Next, I found myself darting swiftly across the platform, carefully dodging the shifting blocks below. I leapt up onto a nearby railing and made my way towards the upper level. After that, I jumped atop the moving obstacles to reach the other side. Then, I grabbed hold of whatever was available for climbing, progressing towards the right while being cautious of the spinning fans.
Following your passage past the spectators, ascend and make your way into the ventilation shaft. Continue forward, scale the ladder, and then veer right. Upon descending through the hole in the floor, you’ll find yourself in a control room. Gather any valuables and open any containers within reach. Lastly, engage with the console, and as a result, Kay Vess will retrieve the Atmospheric Accelerator from the machine, effectively disabling all the fans.
Making Your Way Out
Your upcoming mission is to depart from this dismal location. Proceed through the left doorway and stick to the straightforward route, employing your grappling hook to traverse any chasms by swinging across them. Reach the large fan platform and carry on moving forward. For an unexplained reason, your vehicle will be stationed here; don’t ponder over its arrival, simply climb aboard. Now, make your way eastward, being cautious to dodge any active fan blades along the way.
Reaching Selo’s Shop Again
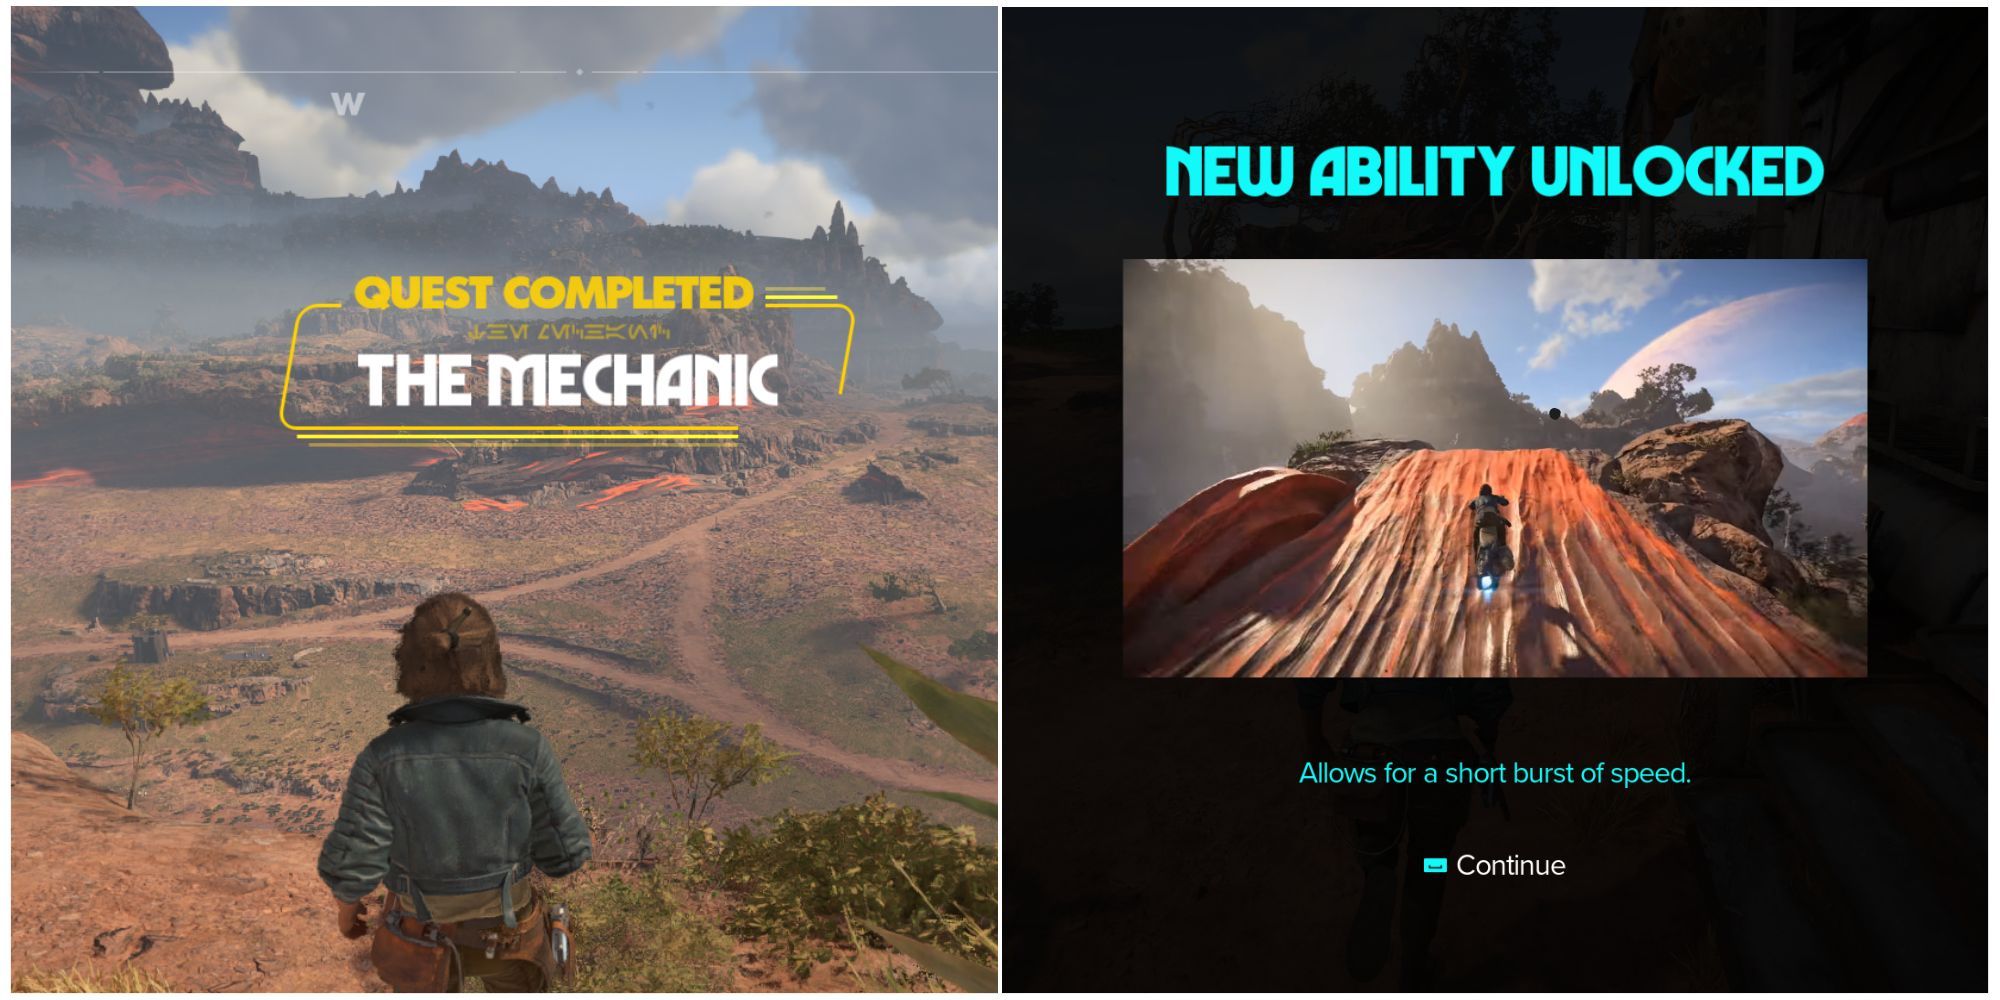
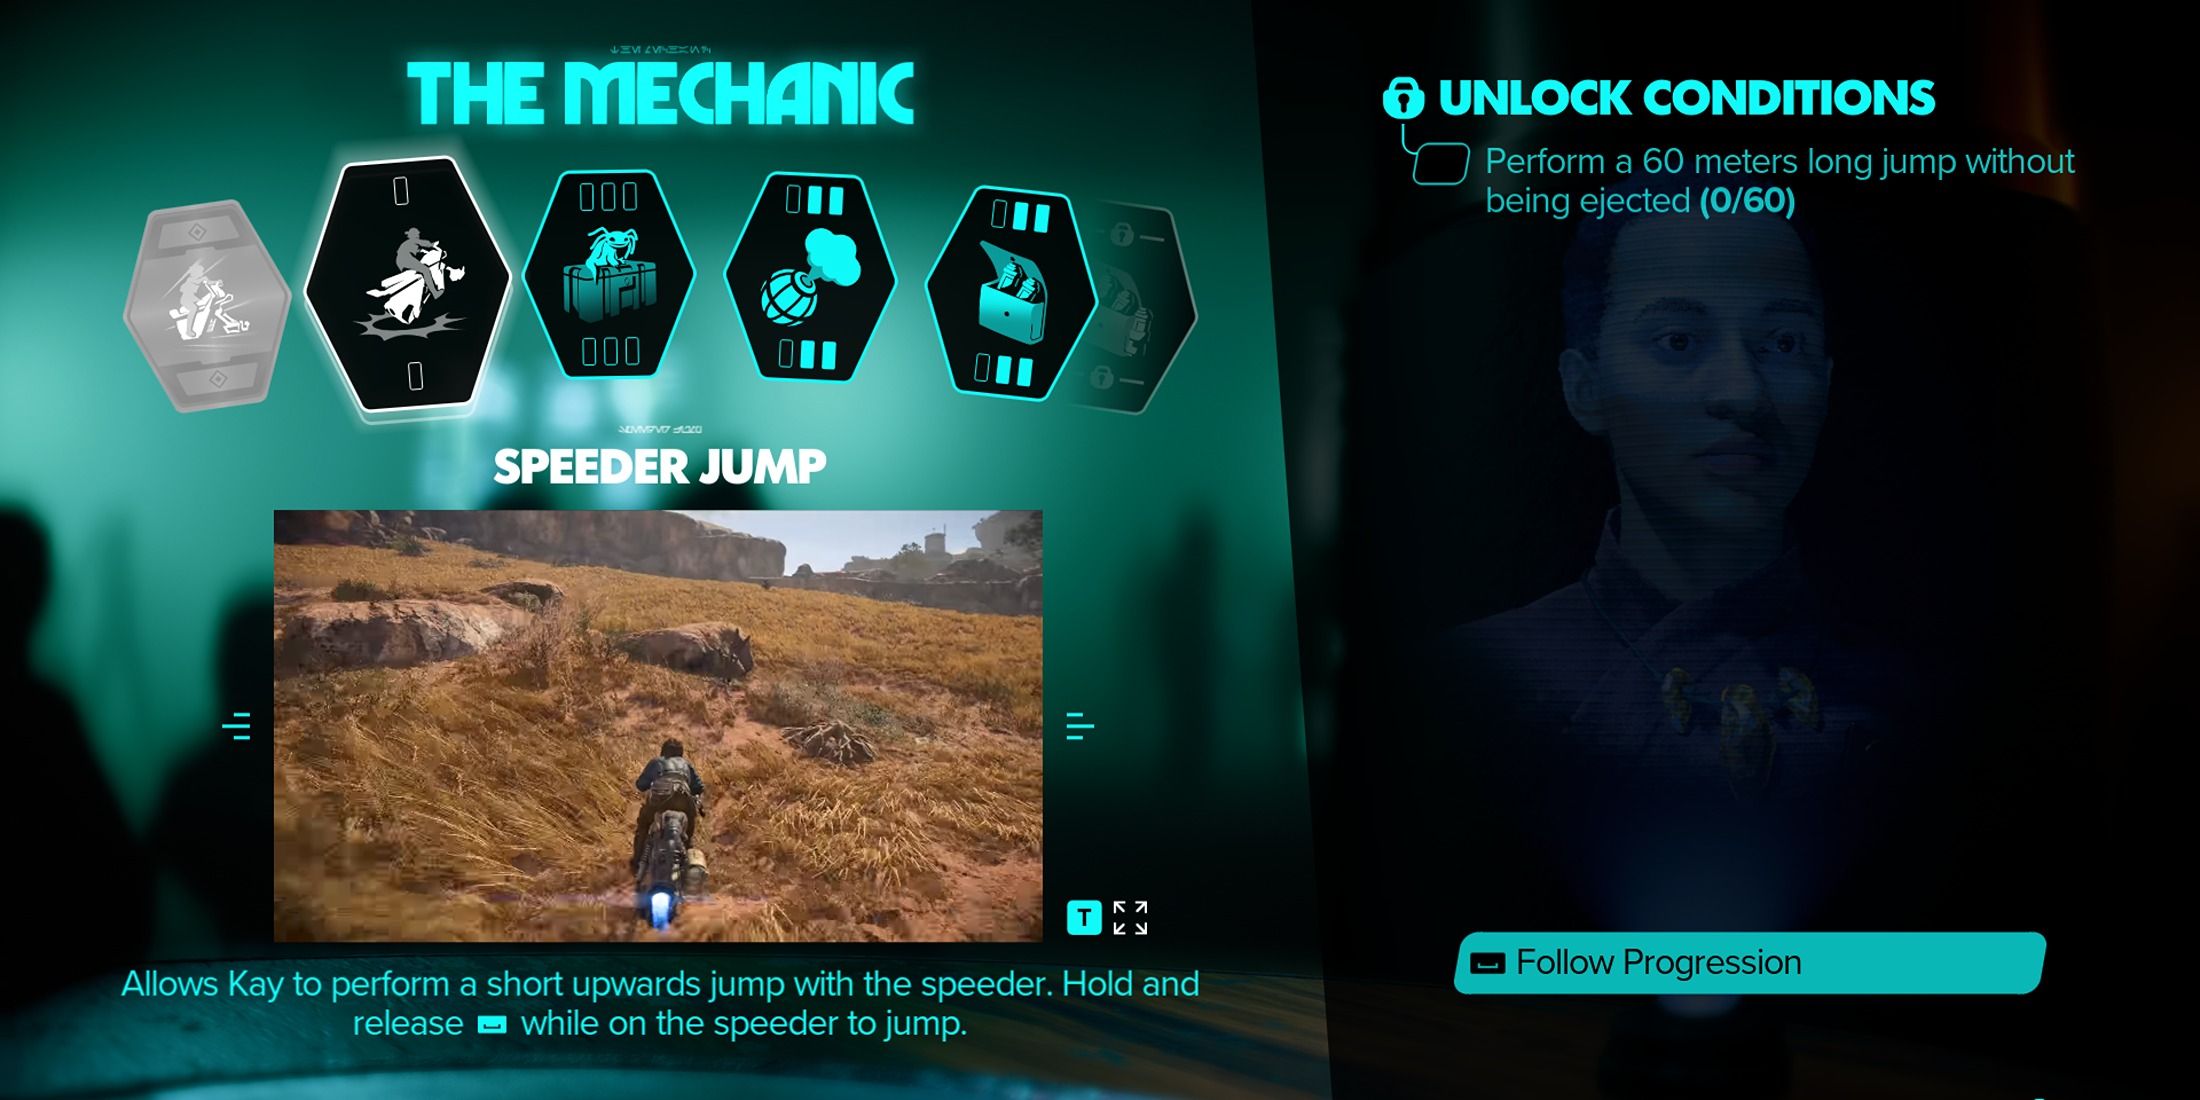
Upon your arrival, have a chat with Selo. Following the conversation, you’ll gain access to a new feature for your speeder: Speed Boost. This feature enables a short spurt of speed for your vehicle. With this, Selo’s specialized quest, The Mechanic, reaches its end.
The Speed Boost is incredibly handy when leaping over wide spaces; simply trigger it prior to the leap to get an additional push.
Further Mechanic Ability Upgrades
As an expert in my field, I’ve taken on additional tasks to enhance further skills and set requirements for those abilities. To put it simply, here’s what I mean by the original statement:
| Ability Name | Ability Function | Ability Unlock Requirement |
|---|---|---|
| Speeder Jumper | Adds a small jump ability to your speeder |
|
| Treasure Hunter | Nix emits a sound when a container is nearby. Additionally, containers are highlighted in blue when you press the designated button (B is the default key). |
|
| Smoke Bomb | Creates a smoke effect around Kay that obscures the enemy’s vision. |
|
| Scoundrel’s Pouch | Increases Bacta Vials and Grenades carry limit by 1. |
|
| Outlaw’s Pouch | Increases Bacta Vials and Grenades carry limit by 1. |
|
Read More
- LUNC PREDICTION. LUNC cryptocurrency
- BTC PREDICTION. BTC cryptocurrency
- BICO PREDICTION. BICO cryptocurrency
- SOL PREDICTION. SOL cryptocurrency
- USD COP PREDICTION
- VANRY PREDICTION. VANRY cryptocurrency
- USD PHP PREDICTION
- USD CLP PREDICTION
- USD ZAR PREDICTION
- FJO PREDICTION. FJO cryptocurrency
2024-09-04 12:39