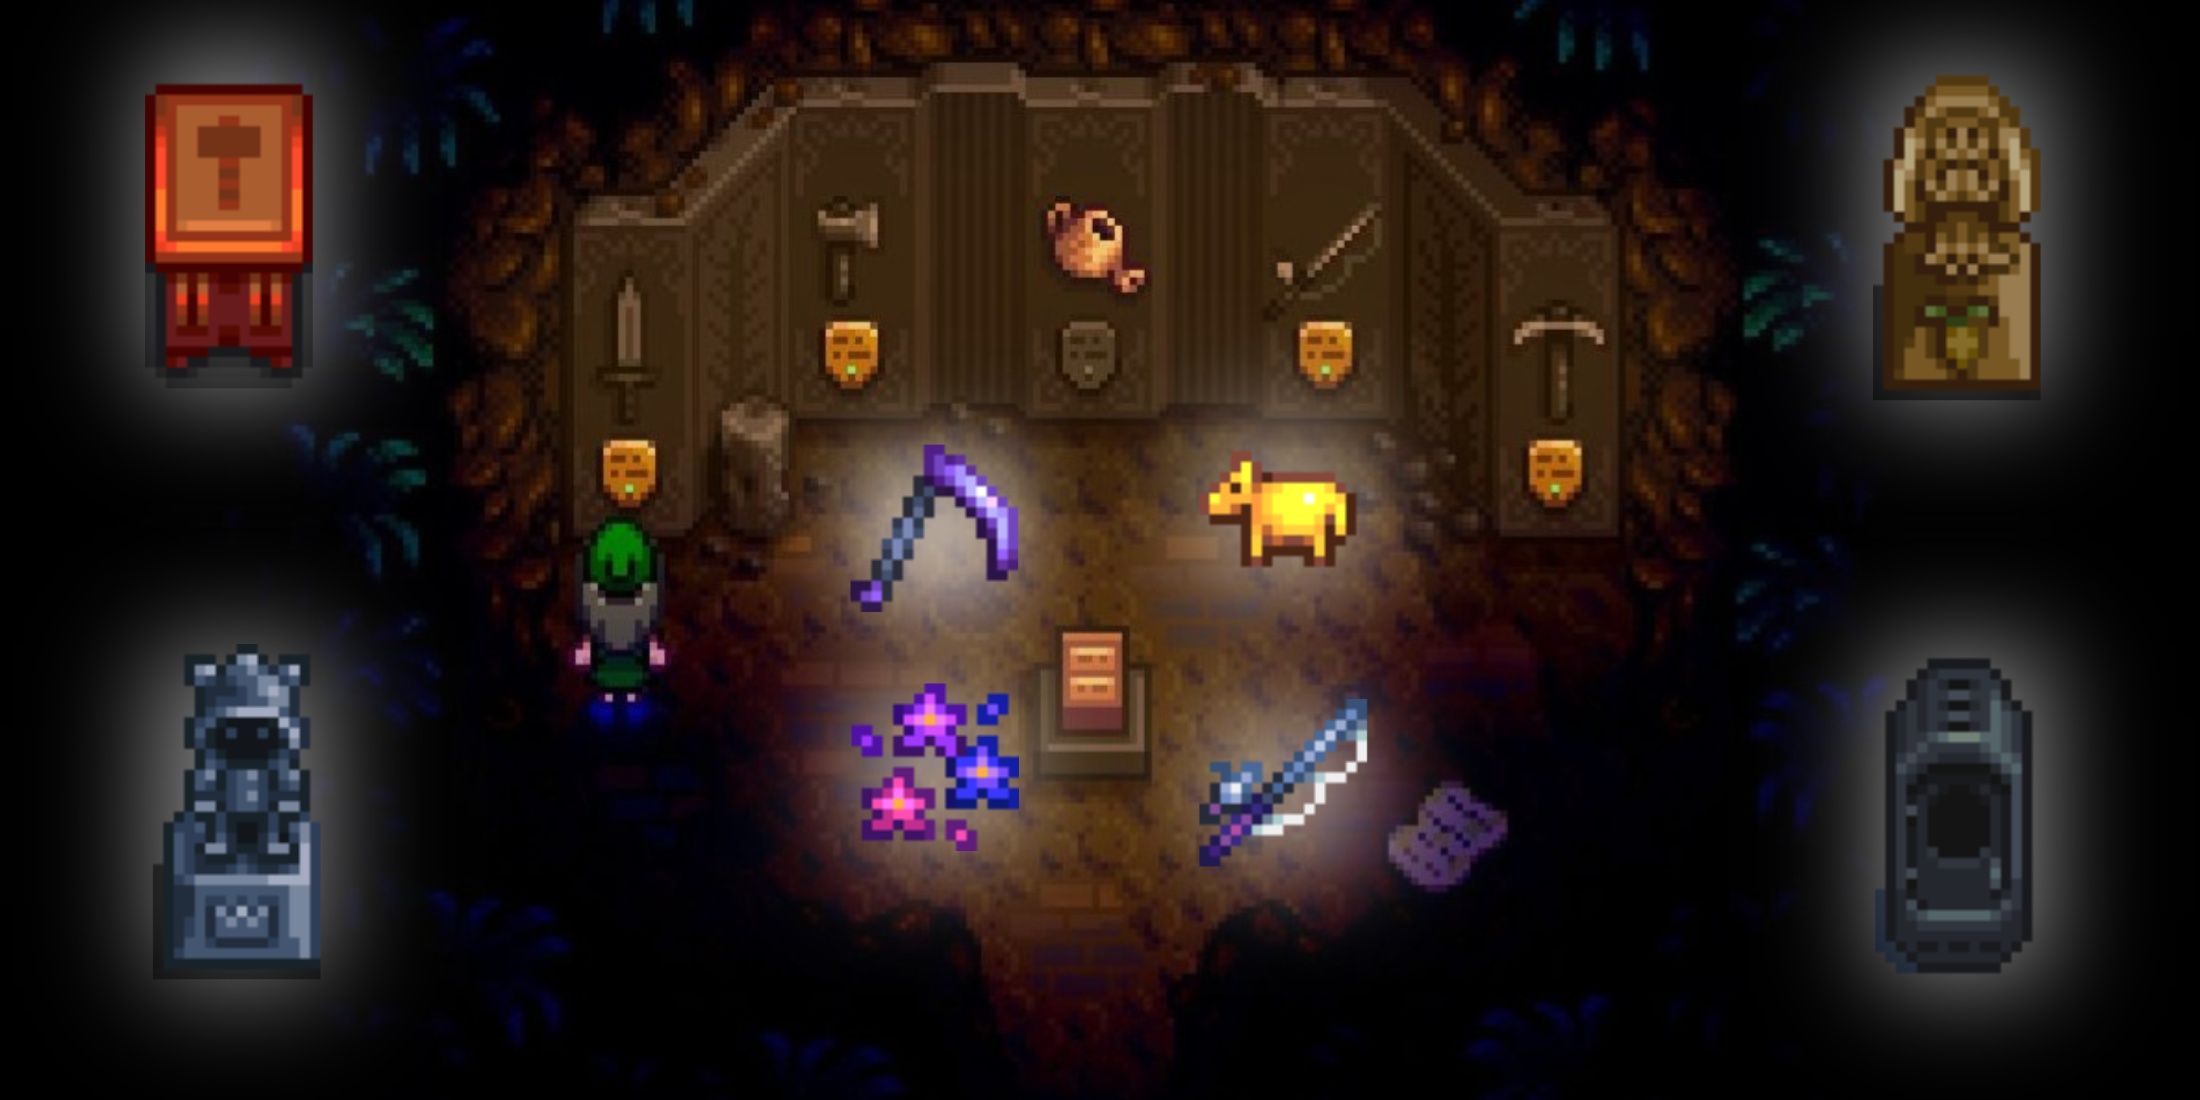
Summary
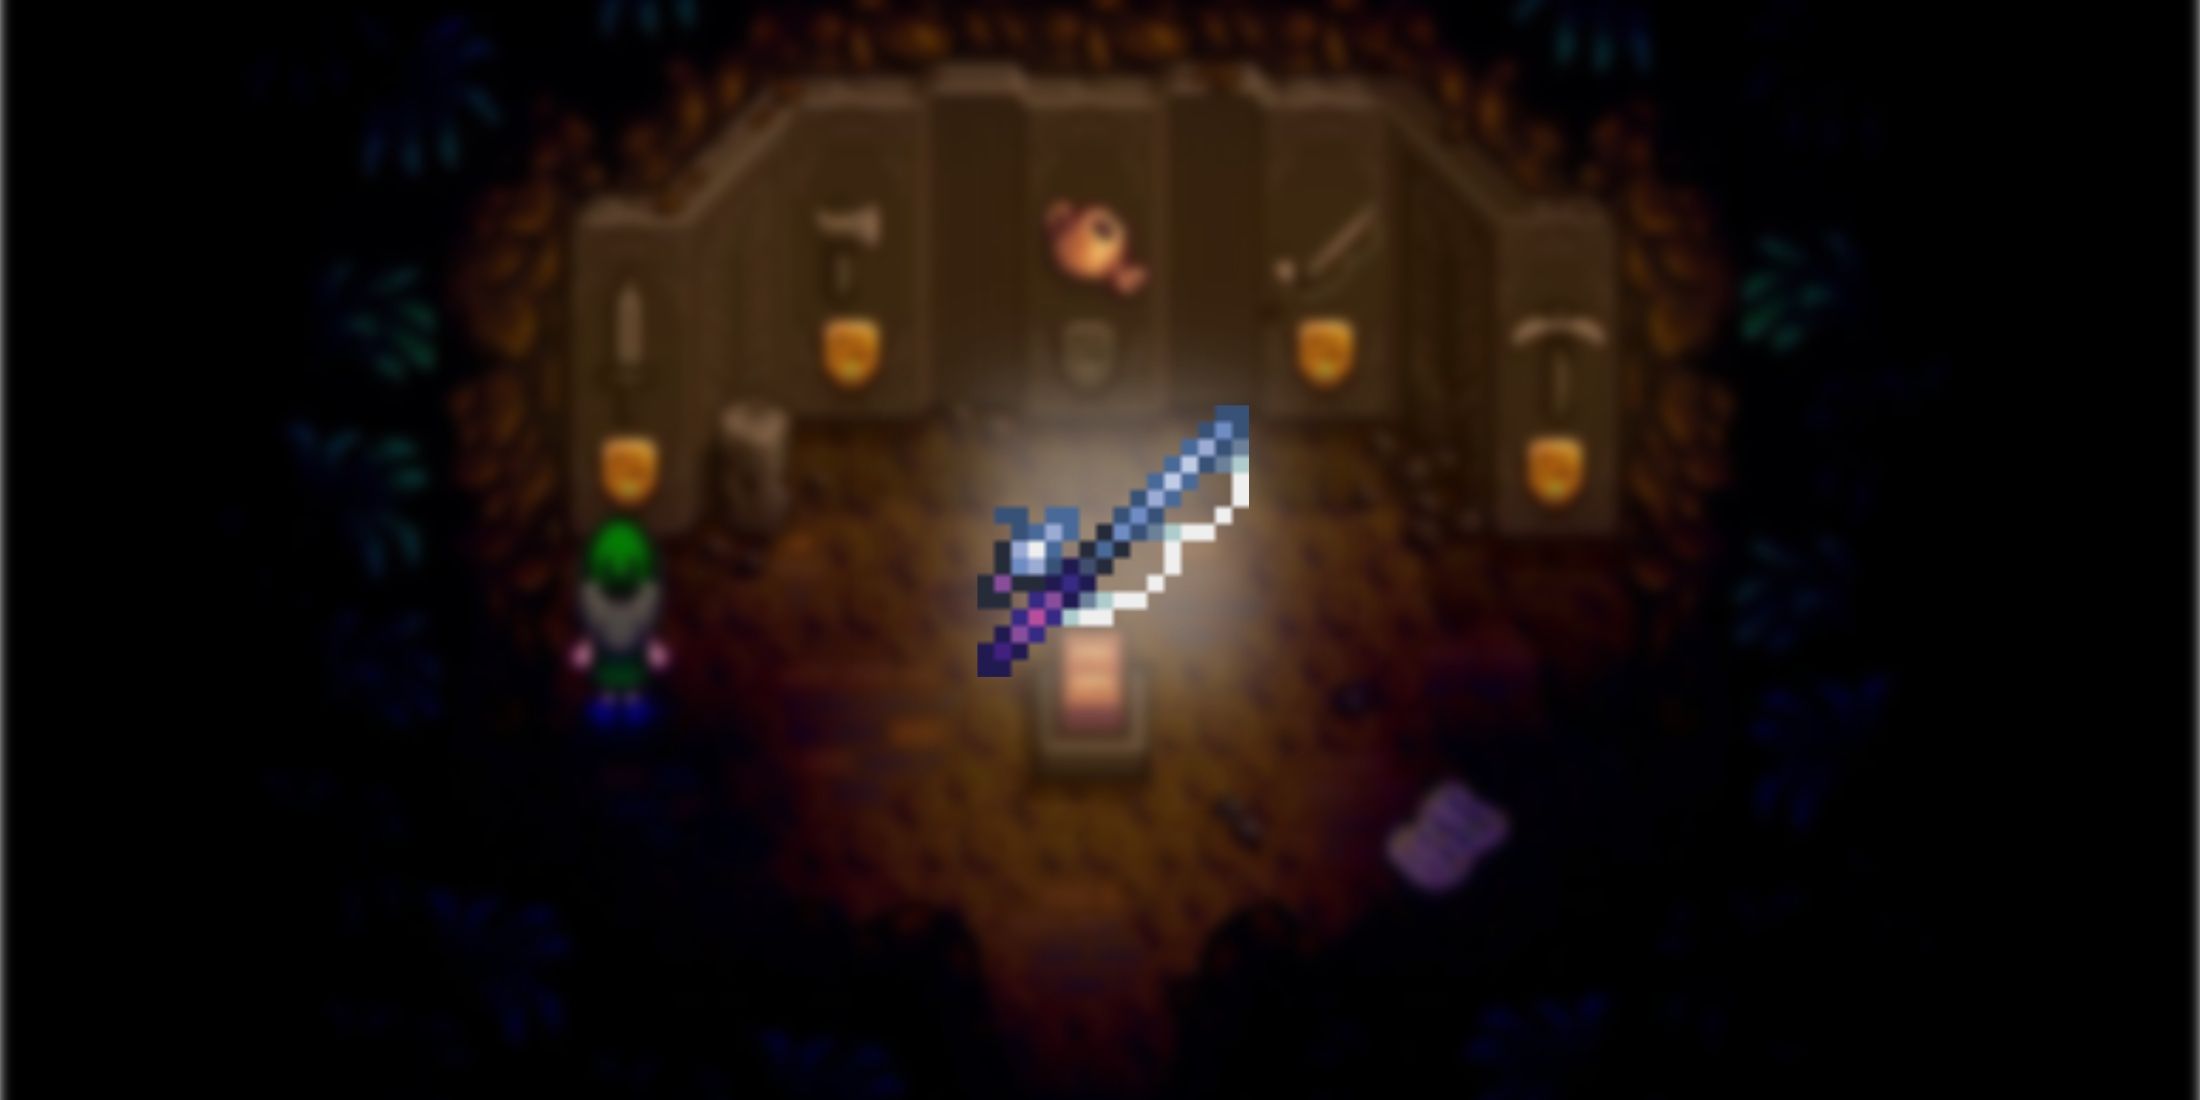
- Iridium Scythe has a 100% hay harvest chance and clears crops in one swipe, boosting farming efficiency.
- The Statue Of Blessings improves a stat daily and is crafted with common regenerative materials, granting various benefits.
- Trinkets like Basilisk Paw provide benefits in combat, excitingly improving mining gameplay.
In the 1.6 update of Stardew Valley, a new feature called Mastery was added. This system lets players gain perks by collecting Experience Points (XP) in the fundamental abilities such as Mining, Foraging, Farming, Fishing, and Combat. Once a player reaches Level 10 in these skills, they can unlock impressive rewards that greatly improve their gameplay experience.
Although the nature of these rewards can differ, they offer advantages like facilitating advancement and introducing novel methods. Yet, some necessitate significant resources for only insignificant returns. Completing all masteries doesn’t yield additional rewards, but it does result in a touching message from your late Grandpa.
1. Farming: Iridium Scythe
The Most Convenient Tool In The Game
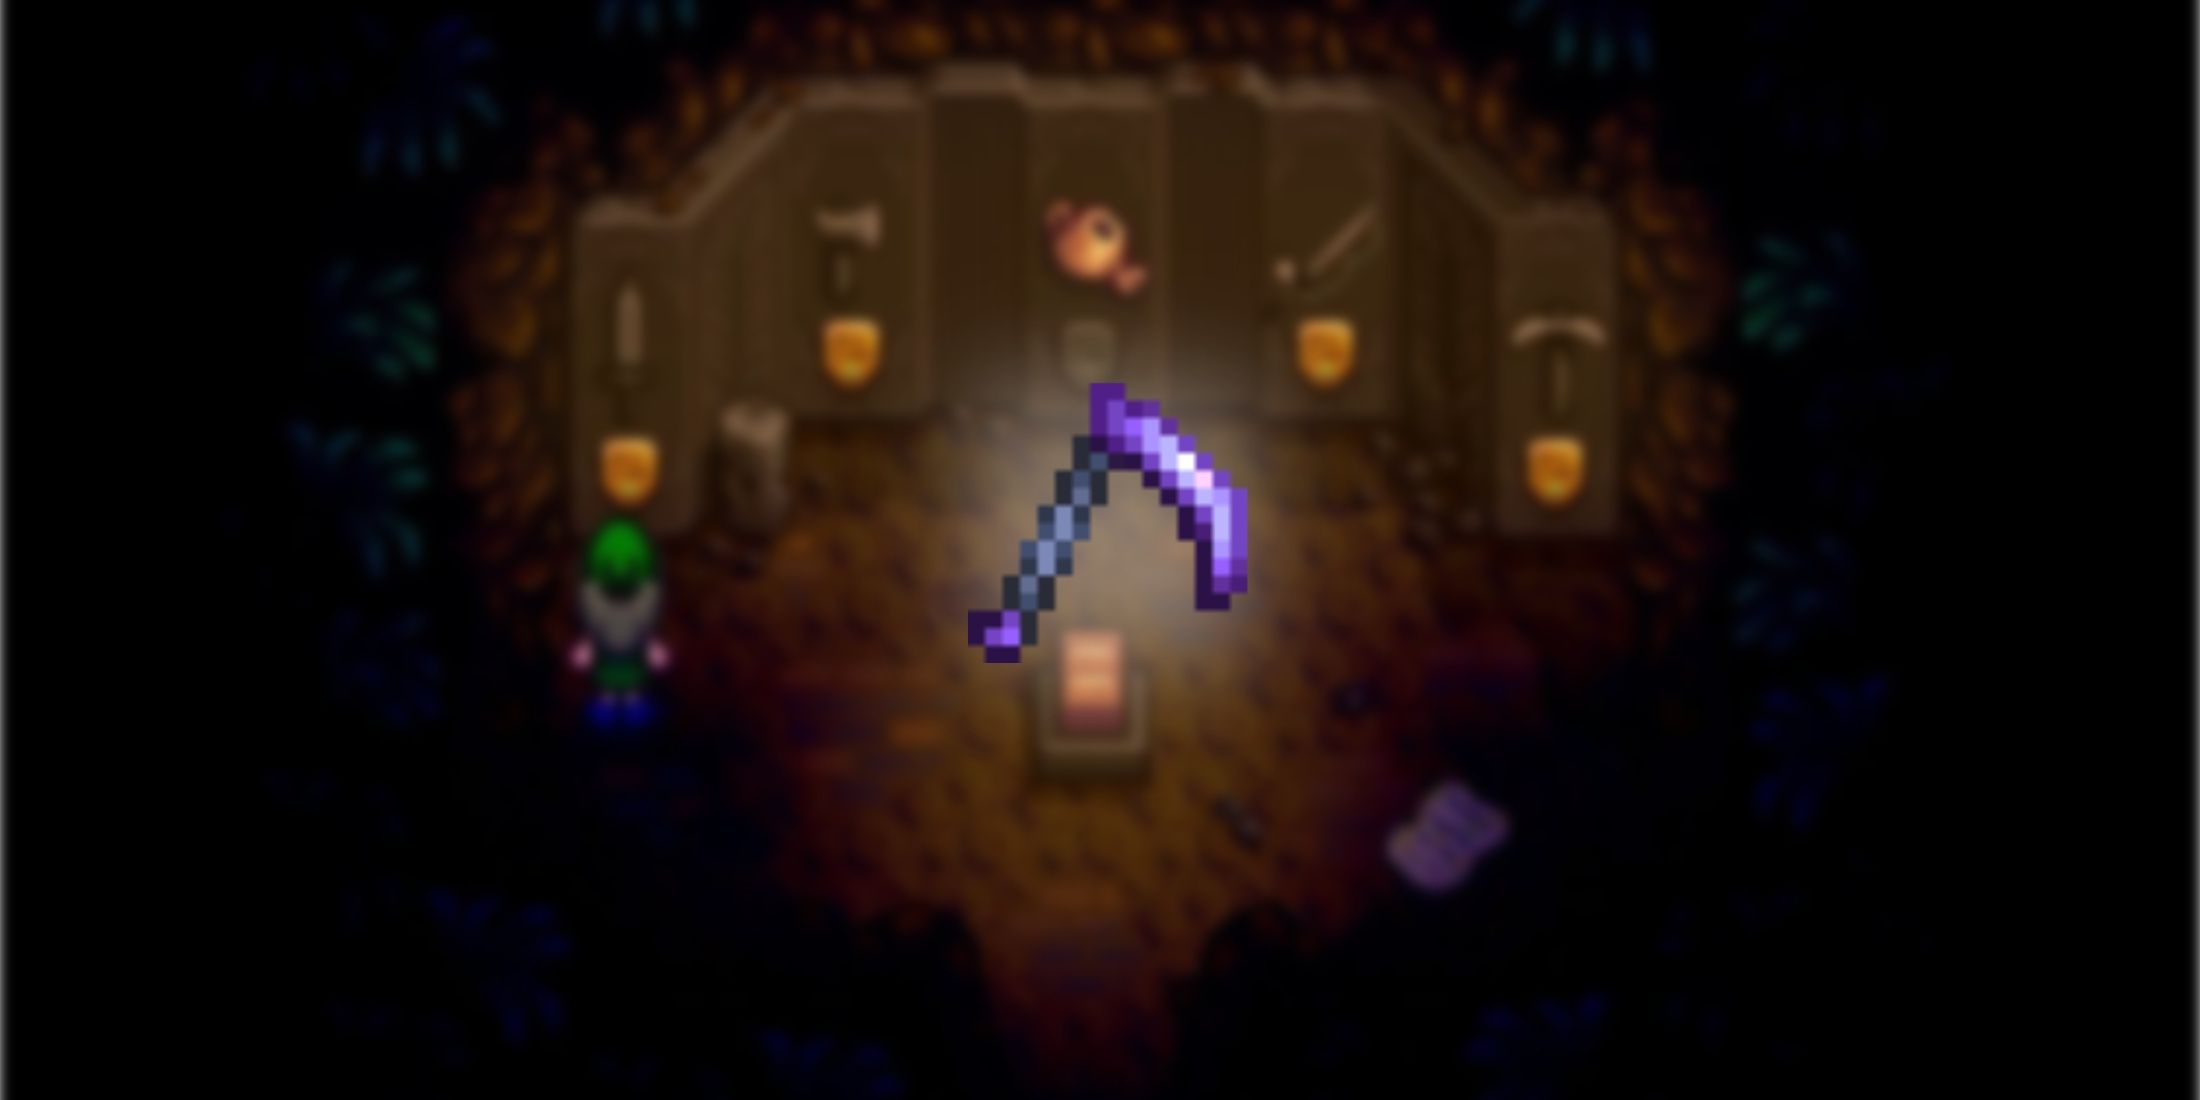
In my humble opinion as a movie-goer of farming simulators, let me tell you about the latest upgrade to the trusty Golden Scythe – the Iridium Scythe. This tool packs a punch, boasting a larger gathering radius and a guaranteed hay harvest from even the sparsest grass patches. The Iridium Scythe isn’t just stronger; it’s 20 units stronger, with a base damage of 20, that’s a significant leap from its predecessor.
But here’s what truly sets this tool apart – it can harvest fully grown crops in a single sweep. Whether you’re dealing with regular crops, spring onions, or wild seed crops, the Iridium Scythe streamlines your farming process, making it more efficient and less labor-intensive. So, if you’re looking to level up your farming game, the Iridium Scythe is definitely worth a second look.
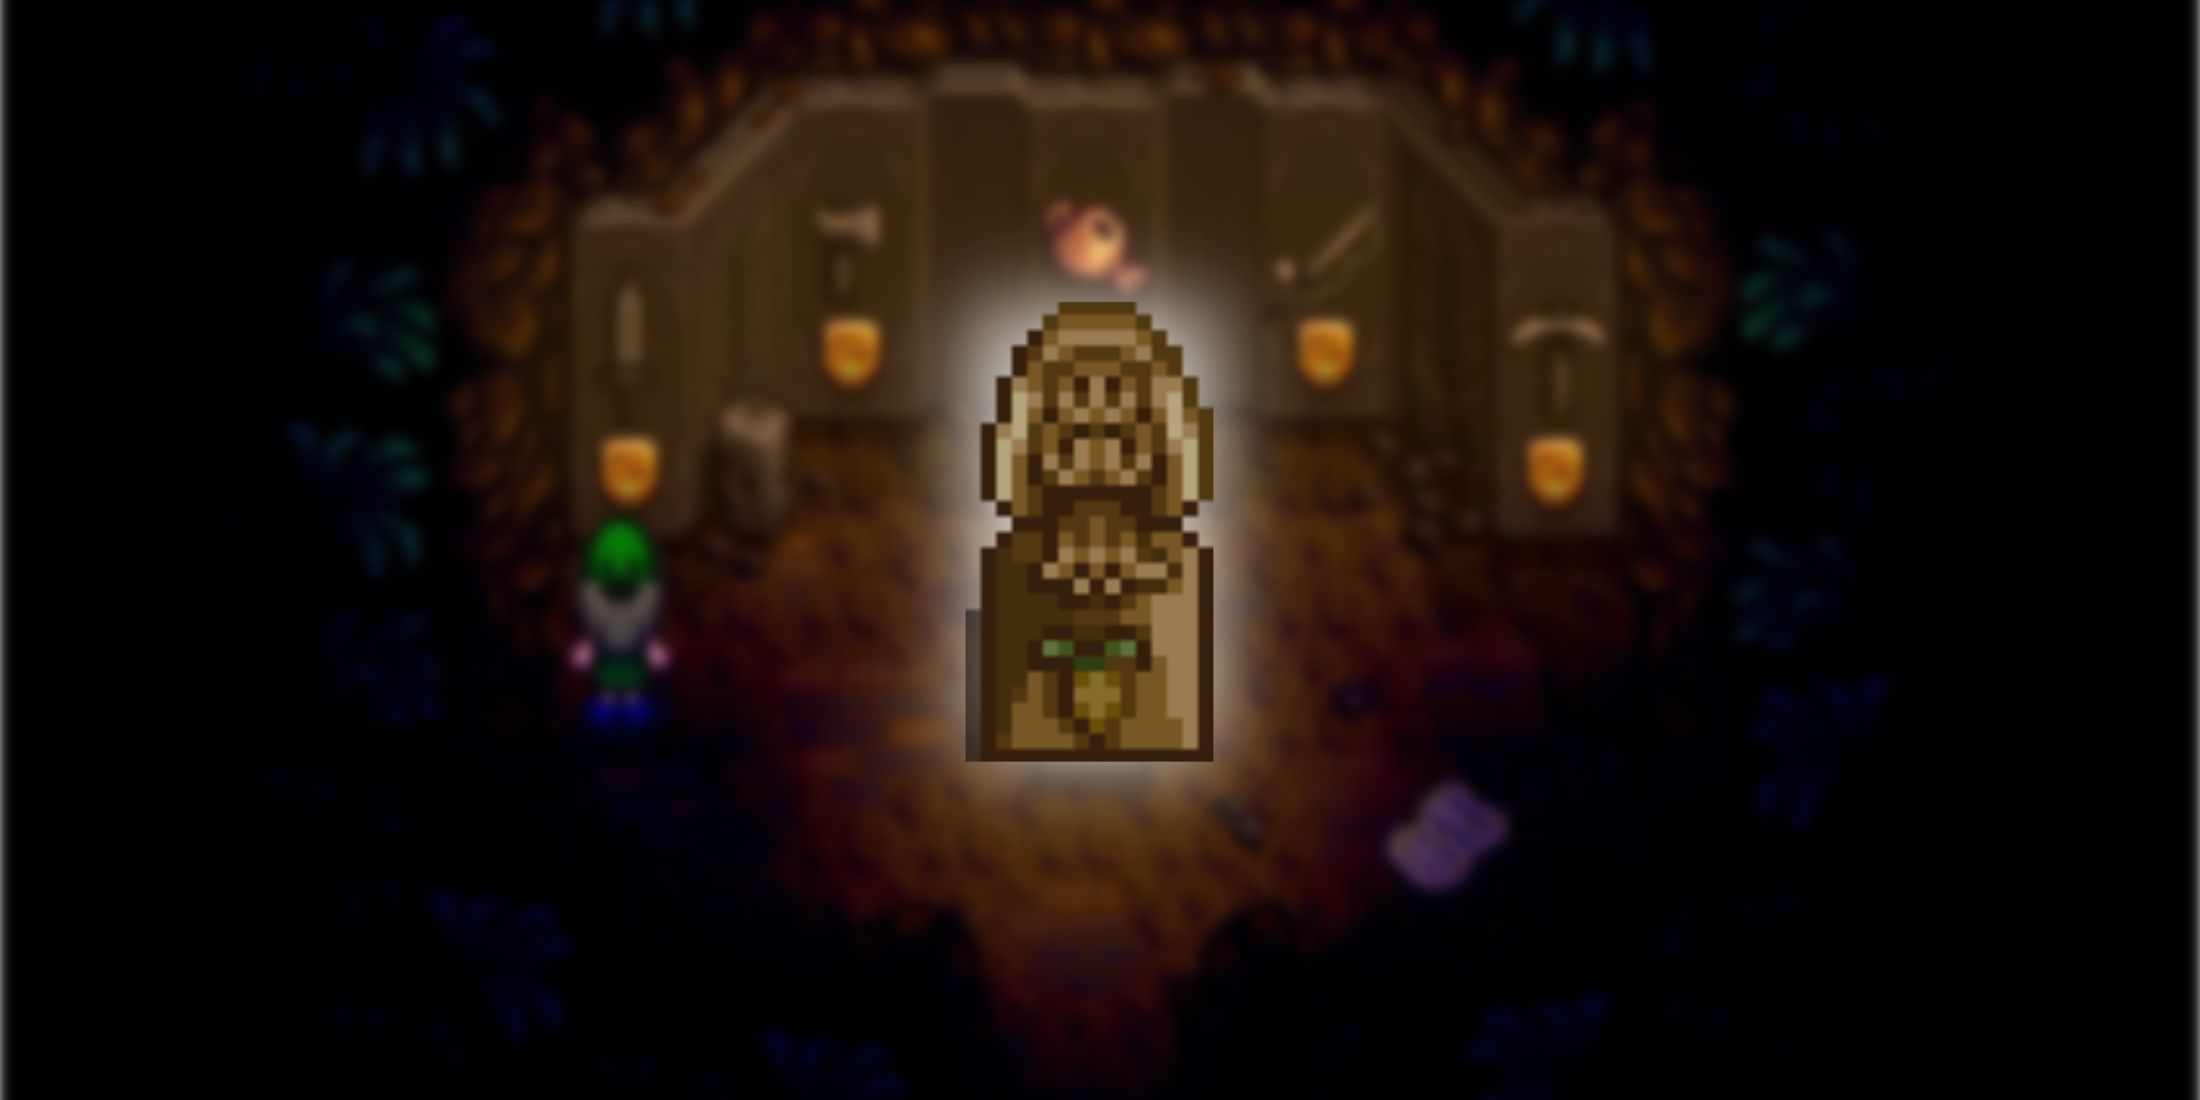
2. Farming: Statue Of Blessings Recipe
Improves One Stat Each Day
- Materials Needed: 999 , 999 , 999 , 333
This item is costly to create, yet the materials required are quite ordinary and can be replenished. After it has been built, players can interact with this statue only once per in-game day to receive a random benefit that lasts for the entire day. The advantage bestowed each day is predetermined, so constructing more statues or restarting the game to secure a different blessing won’t make a difference.
The blessings available are as follows:
- Blessing Of The Butterfly: Spawns a Prismatic Butterfly in one of the following locations: Cindersap Forest, Pelican Town, the Beach, the Mountain, the Secret Woods, the Bus Stop, or the Backwoods. When interacted with, the butterfly provides gold equal to 0.5% of the player’s total earnings throughout the game. There is also a small chance that the butterfly will drop a in addition to the gold.
- Blessing Of Energy: Grants infinite energy.
- Blessing Of Fangs: Critical Strike Chance is increased by 10%.
- Blessing Of Friendship: Increases the amount of friendship gained when speaking with townsfolk.
- Blessing Of Speed: Increases player speed by 0.5 for the entire day.
- Blessing Of Waters: Makes the first three fish hooked that day much easier to catch.
- Blessing Of Luck: +1 Luck for the day.
3. Combat: Trinket Equipment Slot
Grants Players Access To Trinkets
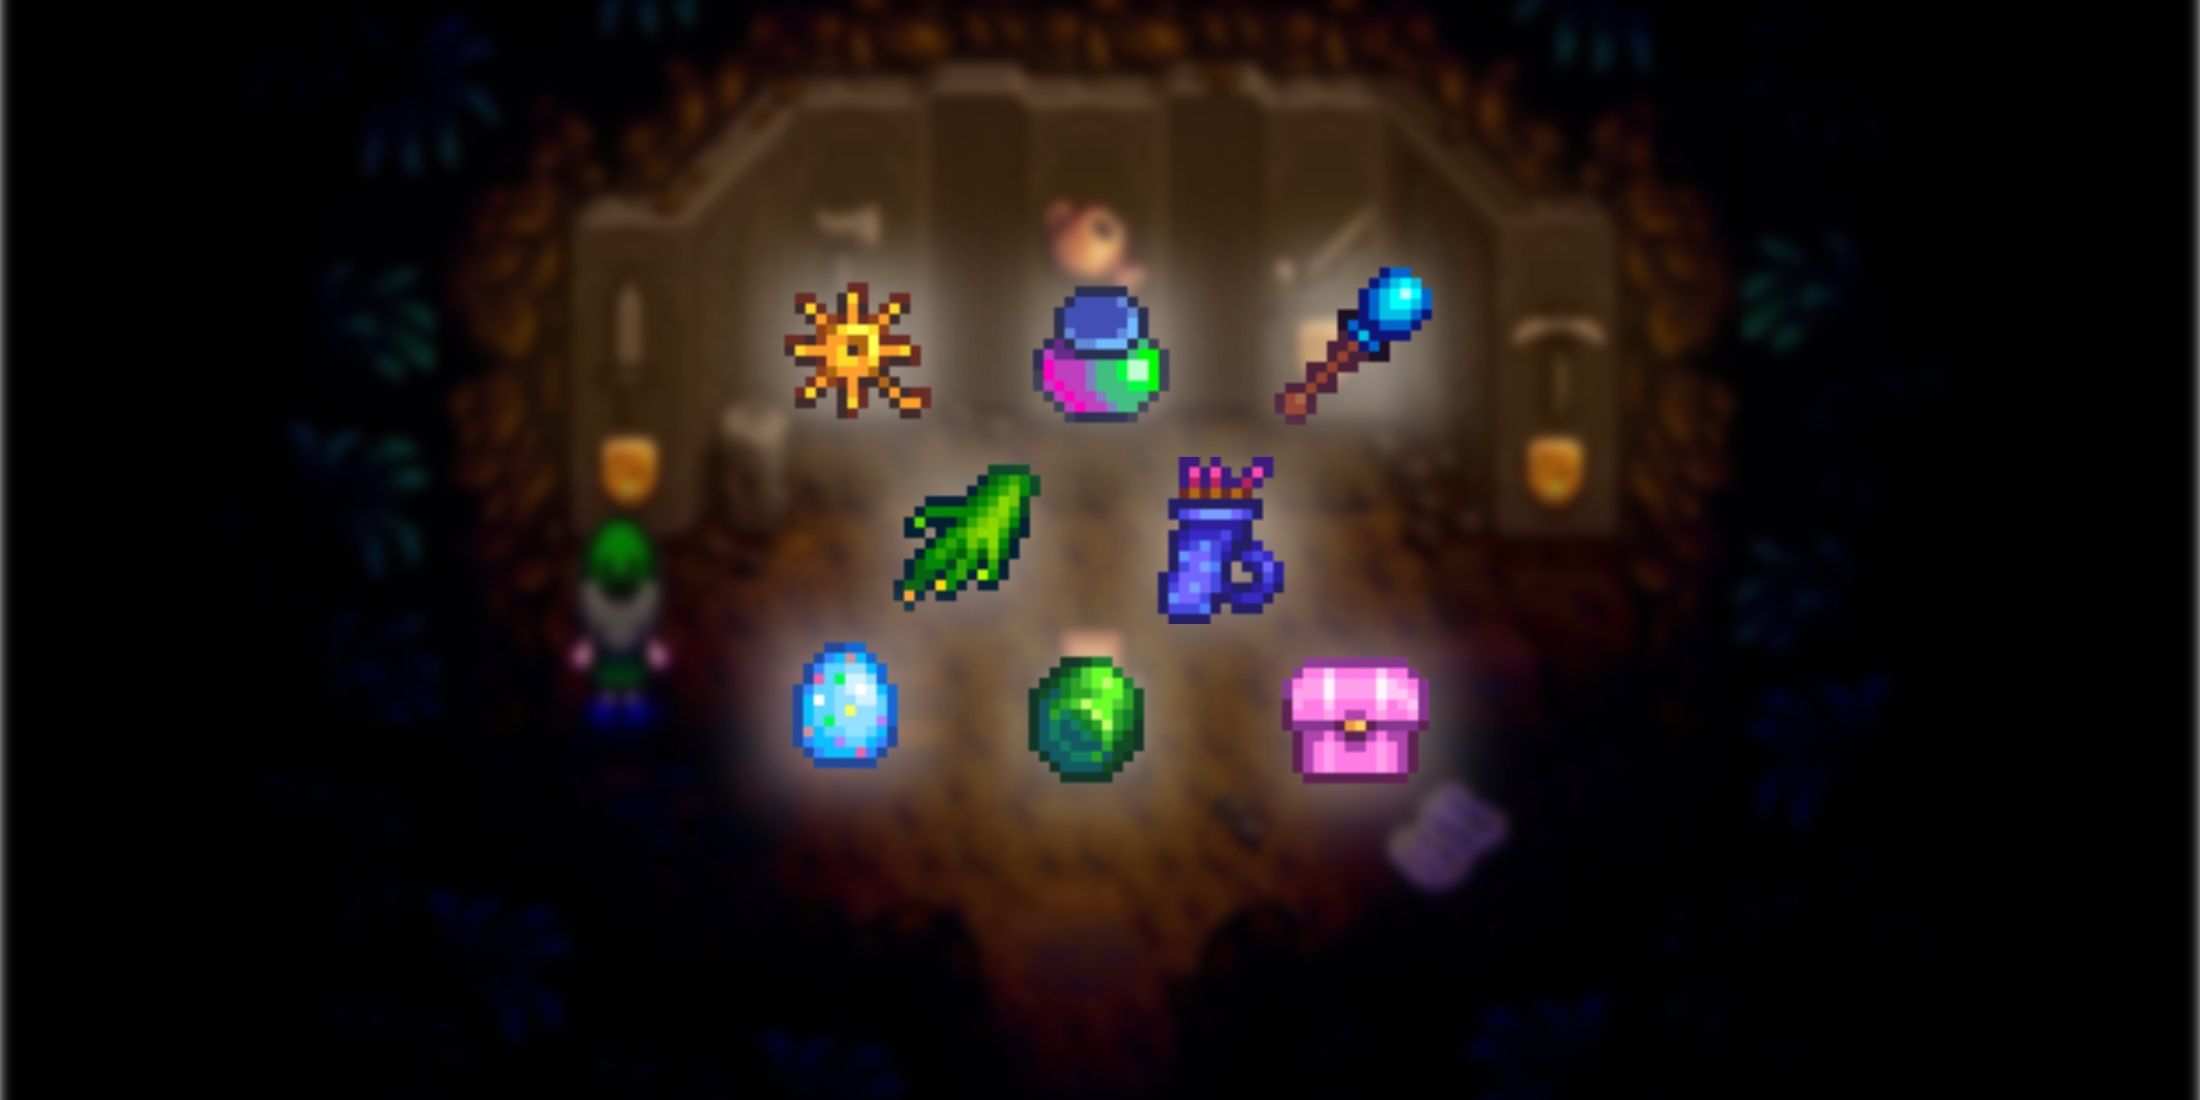
Nestled among the menu options, right beside where you customize your character’s wardrobe, you’ll find the Trinket Slot. This slot lets you equip one unique Trinket that offers a range of advantageous perks. There’s a plethora of these trinkets to gather, with most being found as loot from defeated monsters in the Mines and Skull Cavern.
- : Makes players immune to debuffs, particularly useful in the Shrine of Challenge mines.
- : Summons a fairy that heals the player in combat.
- : Can eat monsters within a 4-5 tile radius of the player.
- : Grants players a speed boost after a Critical Strike.
- : Shoots ice at monsters, freezing them in place for several seconds.
- : Shoots arrows at enemies, dealing damage.
- : Slain monsters have the chance to drop gold.
- : Makes the player’s hair change color. Oavailable through Alex’s shop at the Desert Festival.
Souvenirs have shown to significantly enhance the gameplay of “Stardew Valley“, notably elevating the mining activity and providing an extra level of personalization for your character.
4. Foragint: Golden Mystery Boxes
Contain Useful Materials And Profitable Items
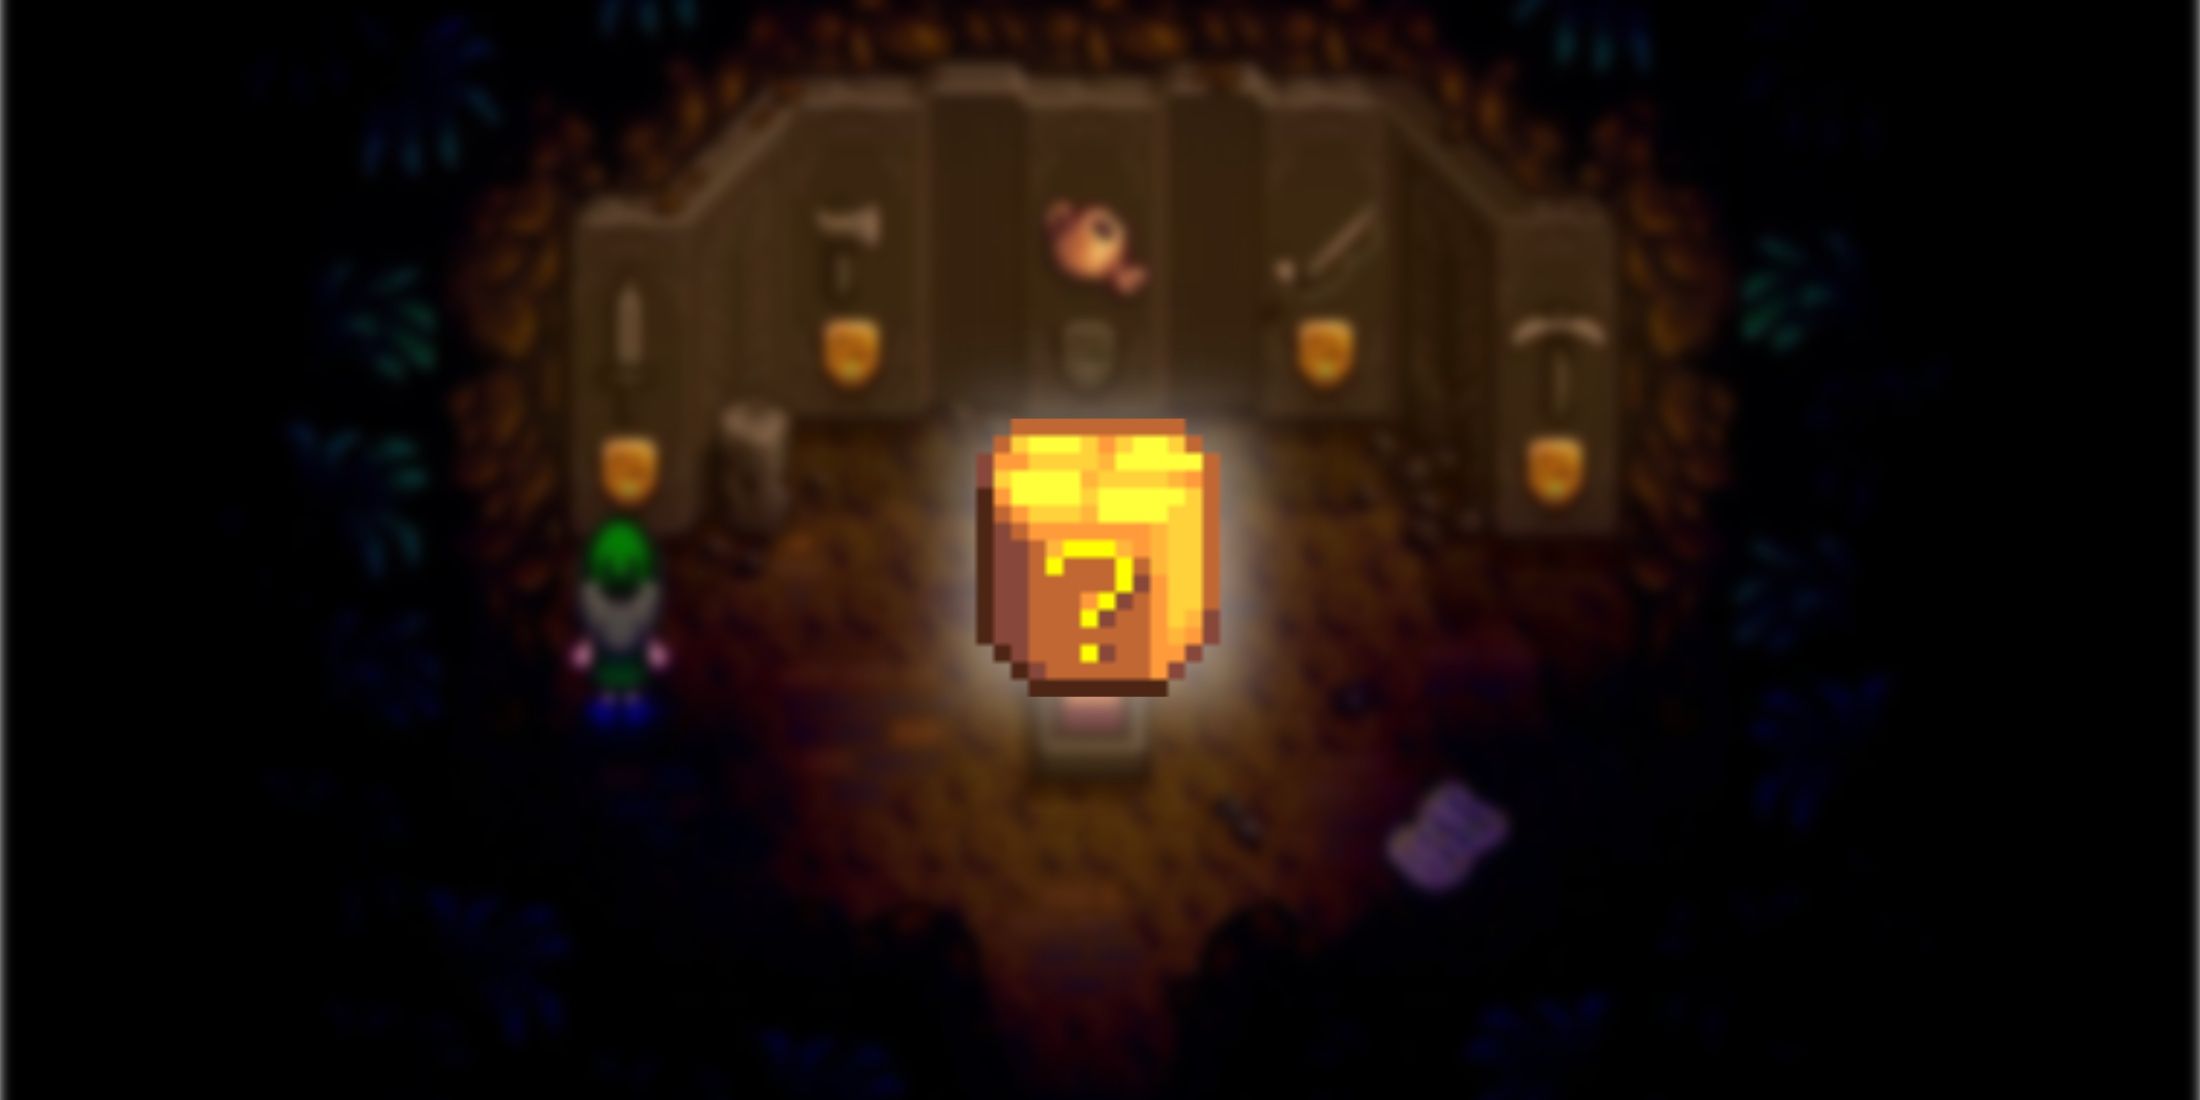
As a cinema devotee, I’d like to share my excitement about the upgraded version of the usual movie reels we’re accustomed to. These special editions might hold a surprise or two if you dare to peek inside once unsealed. Just like with Geodes and ordinary Mystery Boxes, enthusiasts need to make their way to the Blacksmith shop and part with 25g to unlock the secrets within these boxes.
In simpler terms, opening a Golden Mystery Box significantly boosts your chances of discovering rare and valuable items like Magic Rock Candy or Prismatic Shards compared to regular boxes. For instance, the chance of finding Magic Rock Candy in a Golden Mystery Box is twice as high as in a normal box (0.4% vs 0.2%). Similarly, your odds of getting a Prismatic Shard increase nearly twofold (0.79% vs 0.4%).
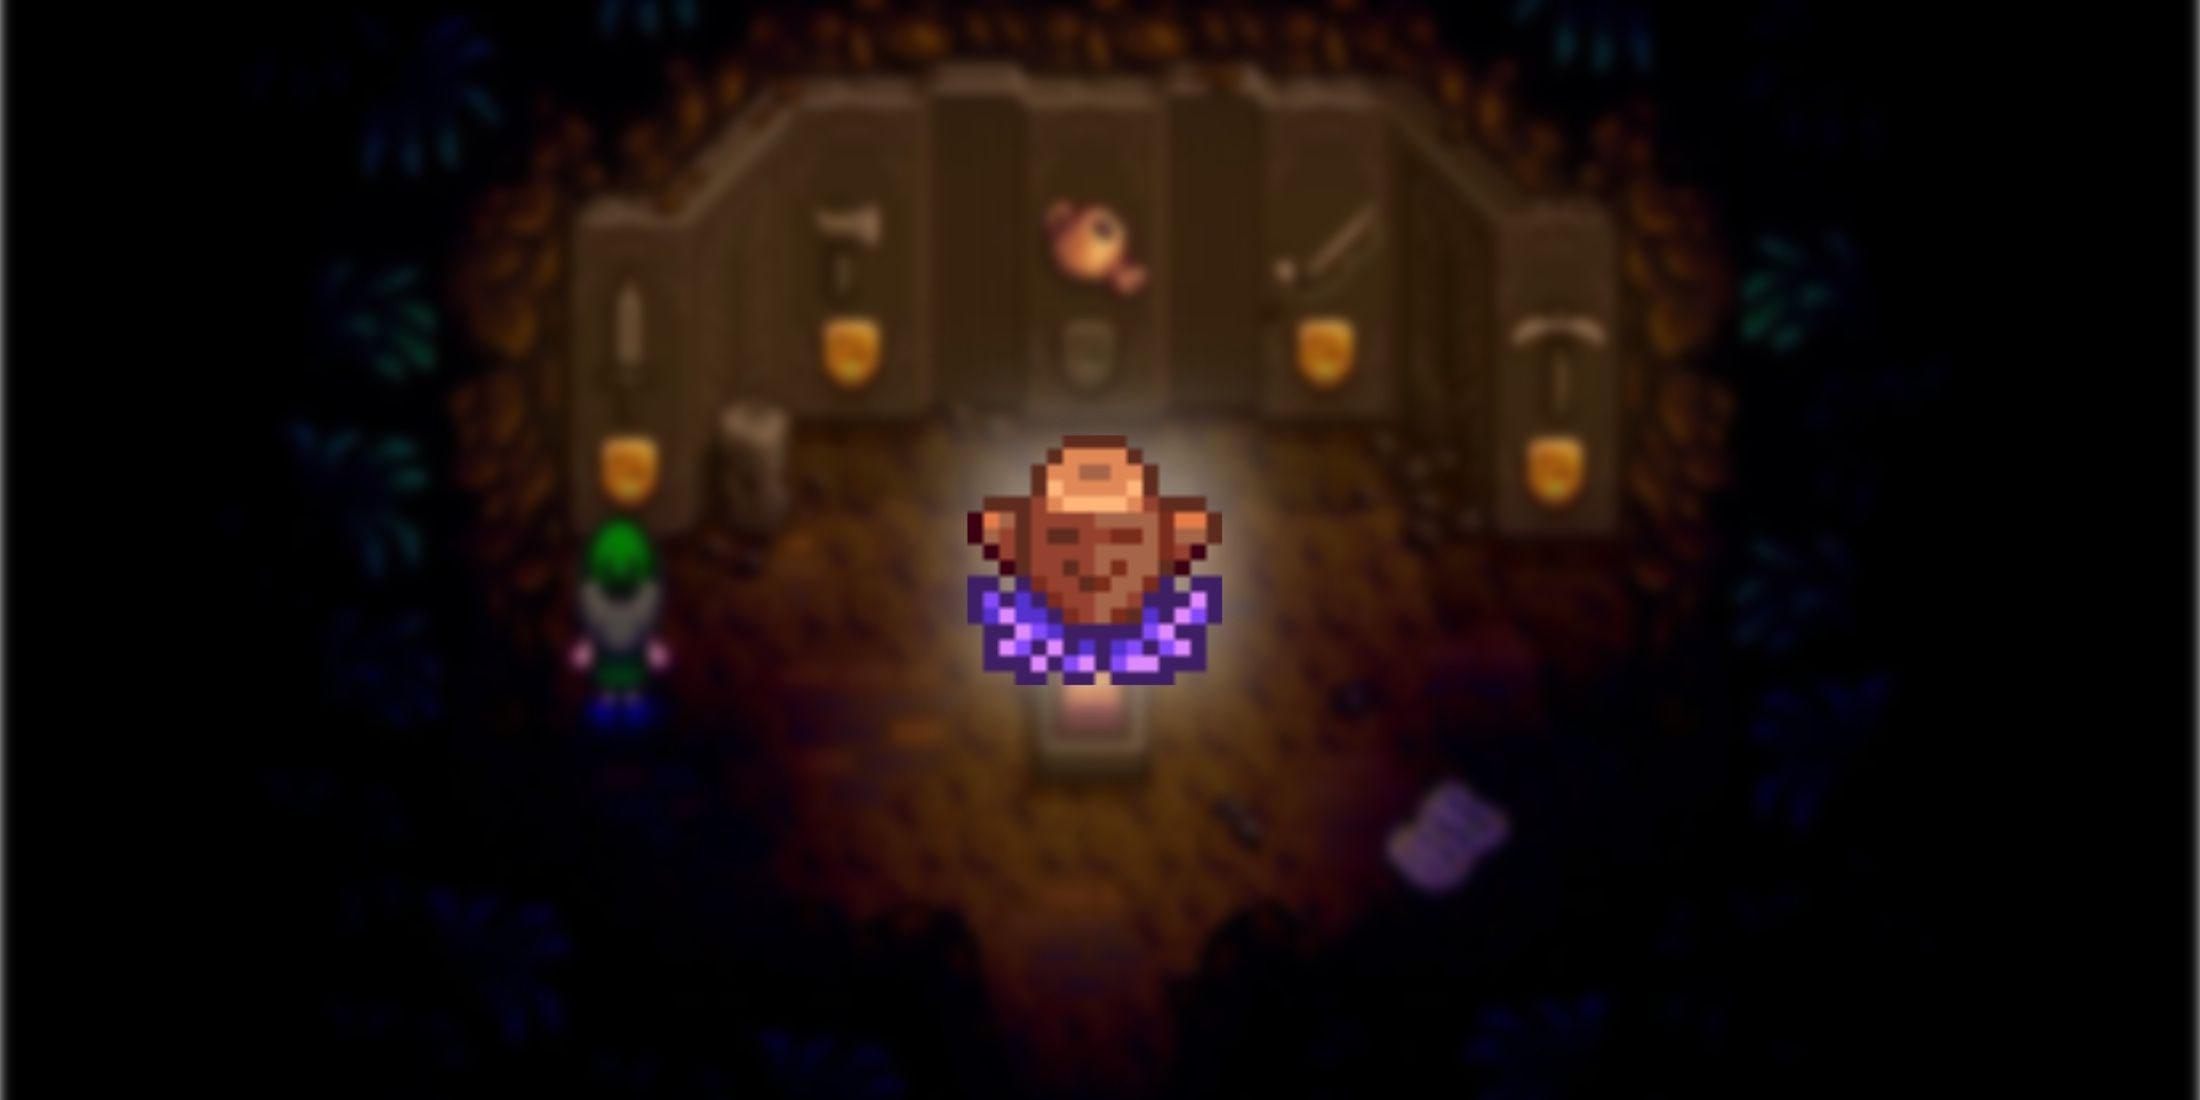
5. Mining: Statue Of The Dwarf King Recipe
Improves Two Mining Stats Daily
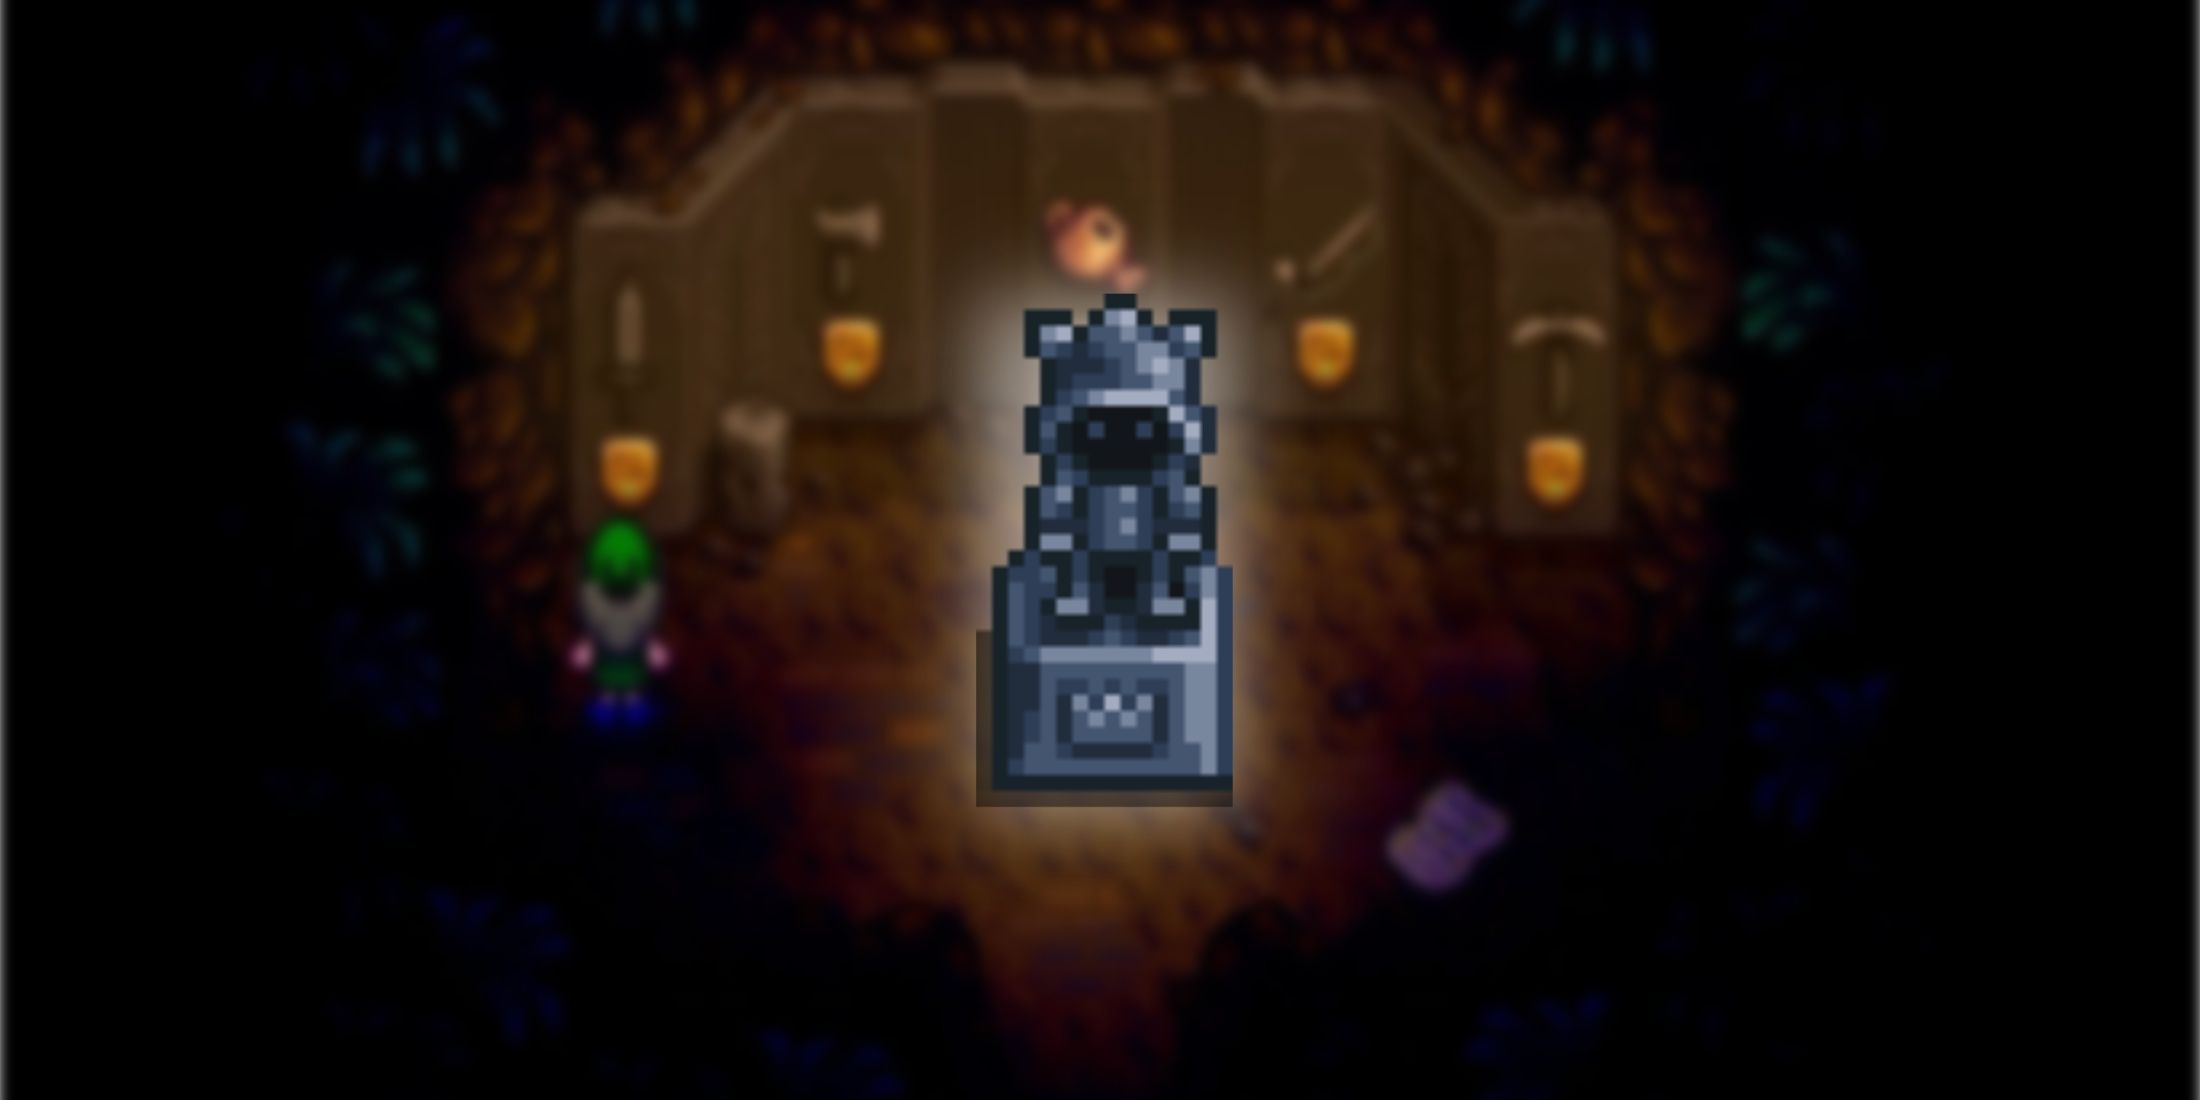
- Materials Needed: 20
Much like the Statue of Blessings, this statue offers players a special daily ability. This statue presents players with two randomly chosen options daily from the following powers list, making their trips to the Mines or Skull Cavern more advantageous. In total, there are five distinct powers available:
1. Increased luck in finding valuable ores in the mines.
2. A boosted chance of discovering precious gems while mining.
3. An increased chance of uncovering rare fossils in the mines.
4. Improved chances of catching fish more efficiently in the Skull Cavern.
5. Enhanced odds of encountering valuable geodes in the Skull Cavern.
- +1 ore when mining nodes.
- Greater chance to find Geodes.
- Greater chance to find Coal.
- Greater chance to find ladders and shafts.
- Bombs cannot damage the player.
These skills prove quite beneficial in accomplishing Monster Extermination Objectives, notably against Mummies that require explosives for defeat. They also facilitate advancement within the Skull Cavern and resource collection.
6. Farming: Golden Animal Crackers
Generates Even More Profit From Animals
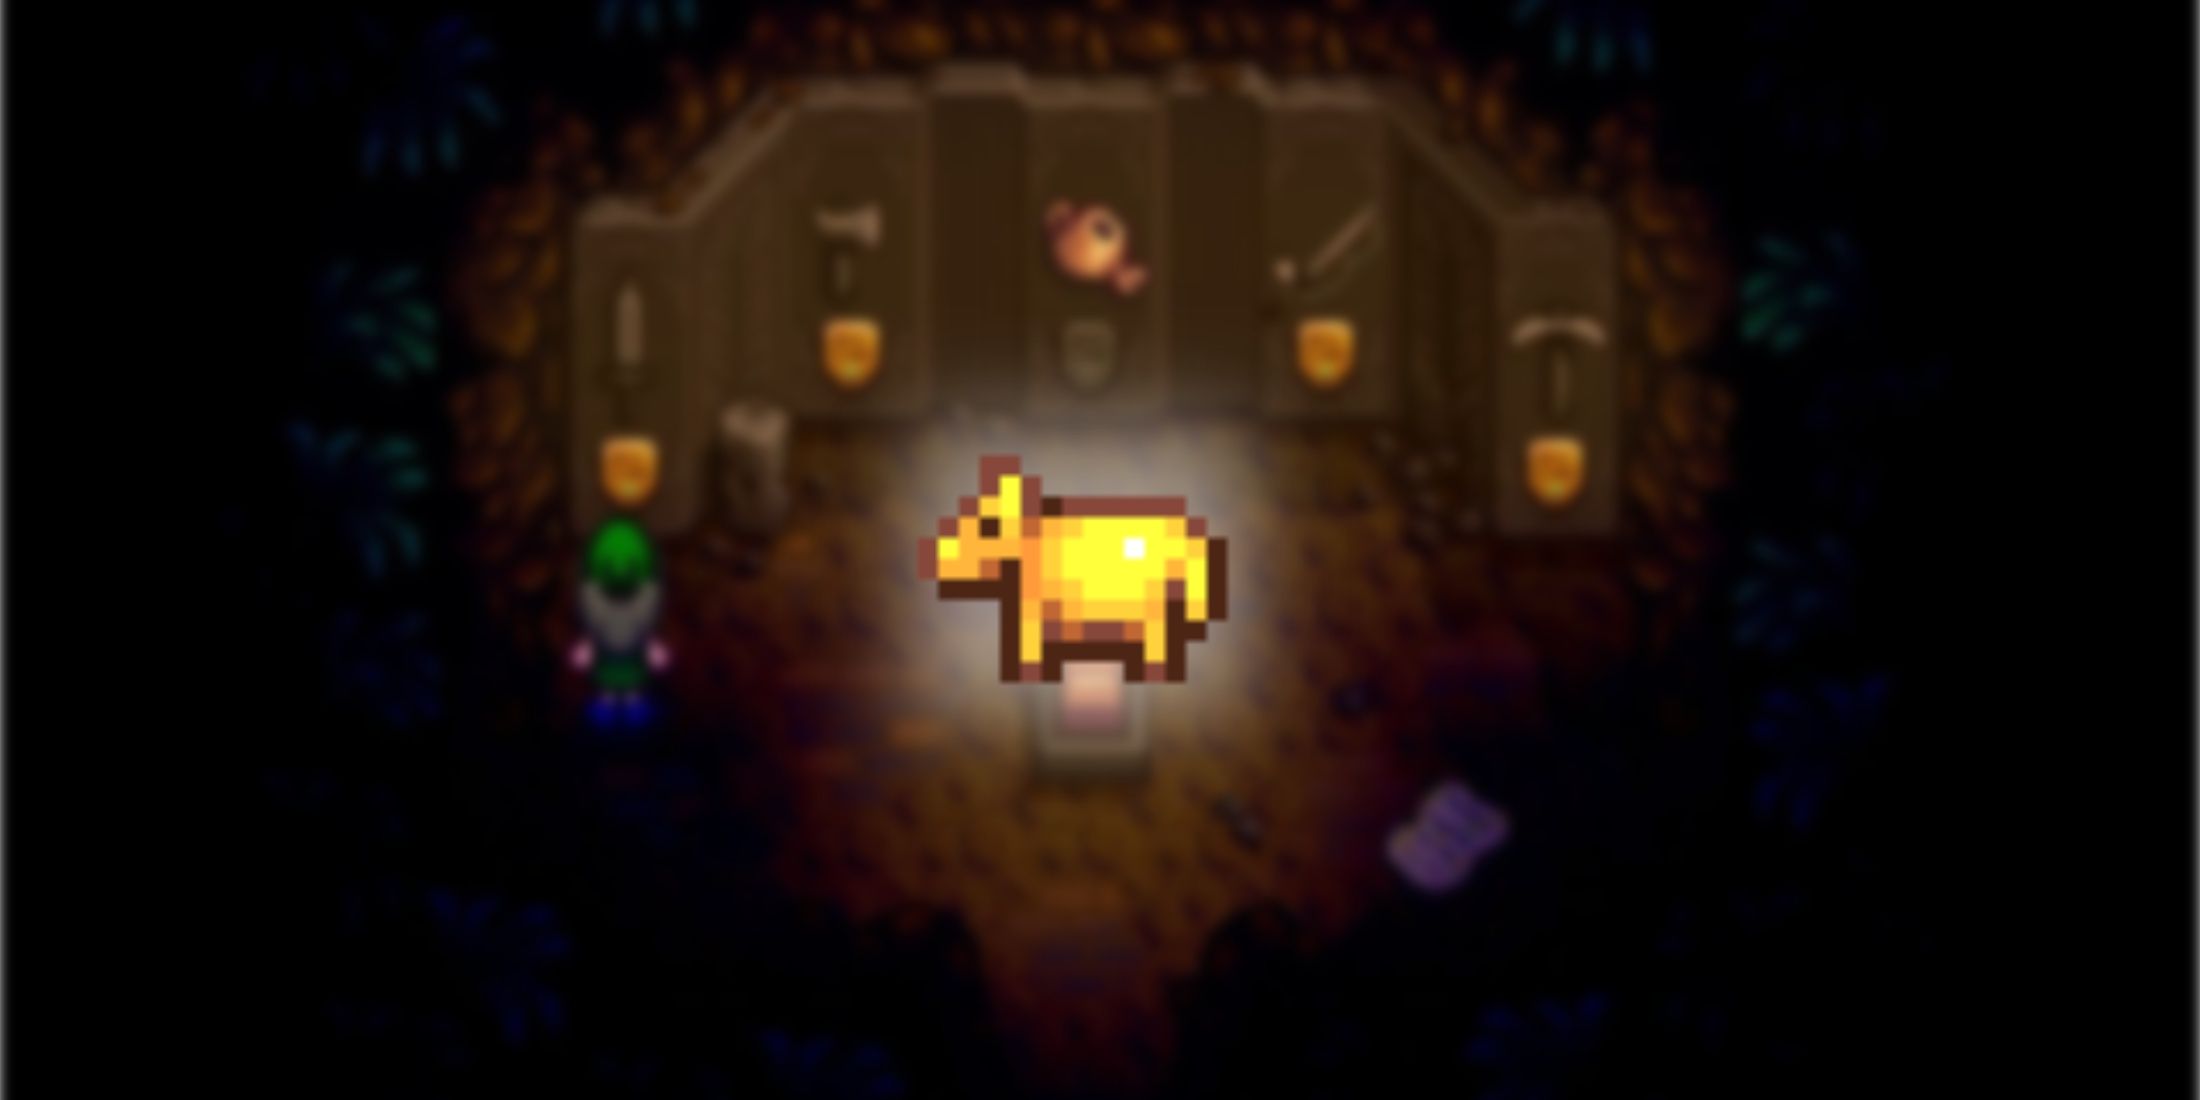
Farmers in Stardew Valley can grasp that generating income efficiently often involves rearing animals. Specifically, giving a product known as a “Quality Fertilizer” to any livestock (excluding pigs) will double their yield, significantly boosting profits from artisan goods.
For example, a goat will yield twice as much cheese when it matures to iridium quality, which can fetch up to 1,120 grams each. Therefore, over a two-day period, one goat can bring in 2,240 grams of cheese. Similarly, if you add a golden animal cracker to a fish pond, the quantity of roe and other special items will double.
In this revised version, I’ve tried to make the language more conversational and easier to read while preserving the original meaning.
7. Fishing: Advanced Iridium Rod
A Great Upgrade From The Iridium Rod
With an Advanced Iridium Rod, players can outfit it with two different Tackles at once, combining their benefits. Unlike regular rods that only have one space each for Bait and a Tackle, the advanced version offers one Bait slot and two Tackle slots.
One effective method to maximize this feature is by employing a pair of specific items. This duo boosts your fishing progress bar by 48 units instead of the standard 24, thereby making angling slightly more straightforward. The diverse options for Tackle combinations infuse a thrilling aspect into angling, a subject that has been a contentious issue among players for quite some time.
)
One smart approach to make the most of this is by teaming up two specific items. This combination raises your fishing meter by 48 points as opposed to the regular 24, thus simplifying the angling process a bit. The wide range of Tackle combinations adds an element of excitement to angling, a topic that has been hotly contested among players for years.)
8. Foraging: Treasure Totem Recipe
Helps With Completing The Museum
- Materials Needed: 5 , 1 , 10
This tool is incredibly useful for players who lack artifacts needed for their museum, and luckily, it’s made from relatively easy-to-find materials. When activated, it creates 16 Artifact Spots near the player, as long as the surrounding area is appropriate for cultivation. These spots have the potential to produce any possible loot relevant to the location where the totem is activated.
Players struggling to locate region-specific items, like those that can exclusively appear at Town Artifact Locations or Caches, may benefit from using a Treasure Totem. This tool offers 16 chances to uncover the item, bypassing the need to wait for Artifact Locations to regenerate naturally.
9. Mining: Double Gems From Gem Rocks
A Useful And Profitable Ability

In Stardew Valley, gems serve as a versatile asset. They’re useful for crafting projects, gift-giving, trading, and earning income. Finding double gems from gem rocks can be particularly beneficial for players facing challenges in the treacherous Skull Cavern. For instance, Jade can be traded with the Desert Trader for Staircases, while Ruby can be swapped for Spicy Eel – a food item that boosts Luck and Speed by 1 each, making it a preferred choice for expeditions in the Skull Cavern.
In the enchanting world of Stardew Valley, I’ve found diamonds to be quite a treasure trove! Placing them in Crystalariums causes them to multiply every five days, and each diamond fetches a tidy 750g on the market. With two Crystalariums brimming with these precious stones, players can pocket an impressive 1,500g every five days simply by breaking open just one rock!
10. Mining: Heavy Furnace Recipe
More Convenient Than A Regular Furnace
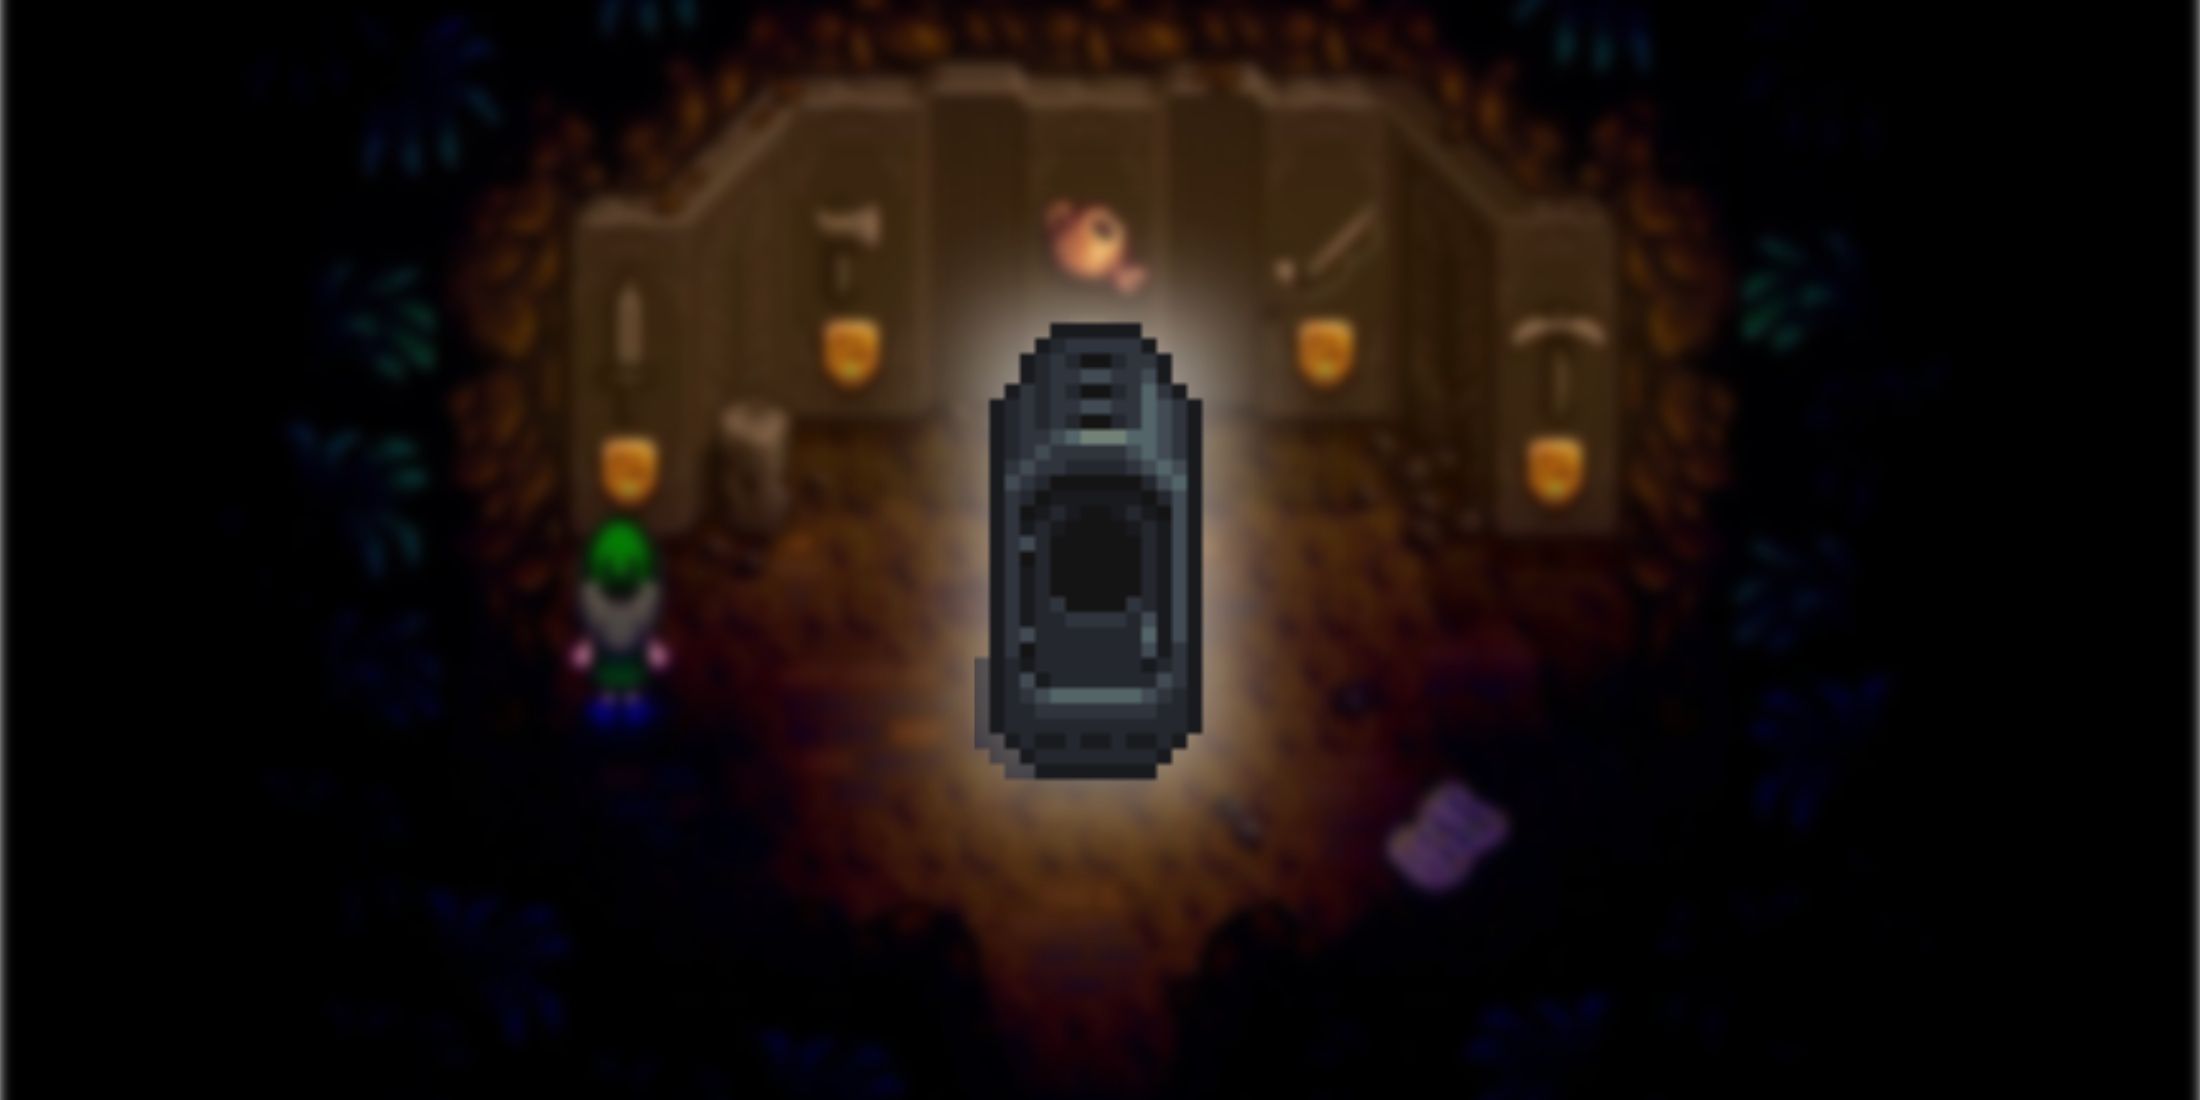
- Materials Needed: 2 , 3 , 50
There’s an improved model available, not the standard one. To make it, you’ll need 25 Ores and 3 of another resource. It yields between 5 to 6 bars. This device is exceptionally handy for swiftly manufacturing bars for various crafting purposes or increasing profits.
Should players find themselves with an excess, they can add 25 units of Iridium Ore to the Heavy Furnace together with 3 pieces of coal every 8 hours in-game. This process yields 5 to 6 items over that time frame. Each Iridium Bar fetches a price of 1,000g, making it an excellent reward for attaining Mining expertise due to its usefulness and productivity.
Read More
- All Skyblazer Armor Locations in Crimson Desert
- All Shadow Armor Locations in Crimson Desert
- How to Get the Sunset Reed Armor Set and Hollow Visage Sword in Crimson Desert
- Marni Laser Helm Location & Upgrade in Crimson Desert
- Best Bows in Crimson Desert
- All Helfryn Armor Locations in Crimson Desert
- All Golden Greed Armor Locations in Crimson Desert
- How to Craft the Elegant Carmine Armor in Crimson Desert
- Keeping Large AI Models Connected Through Network Chaos
- One Piece Chapter 1179 Preview: The Real Imu Arrives in Elbaf
2025-05-02 09:05