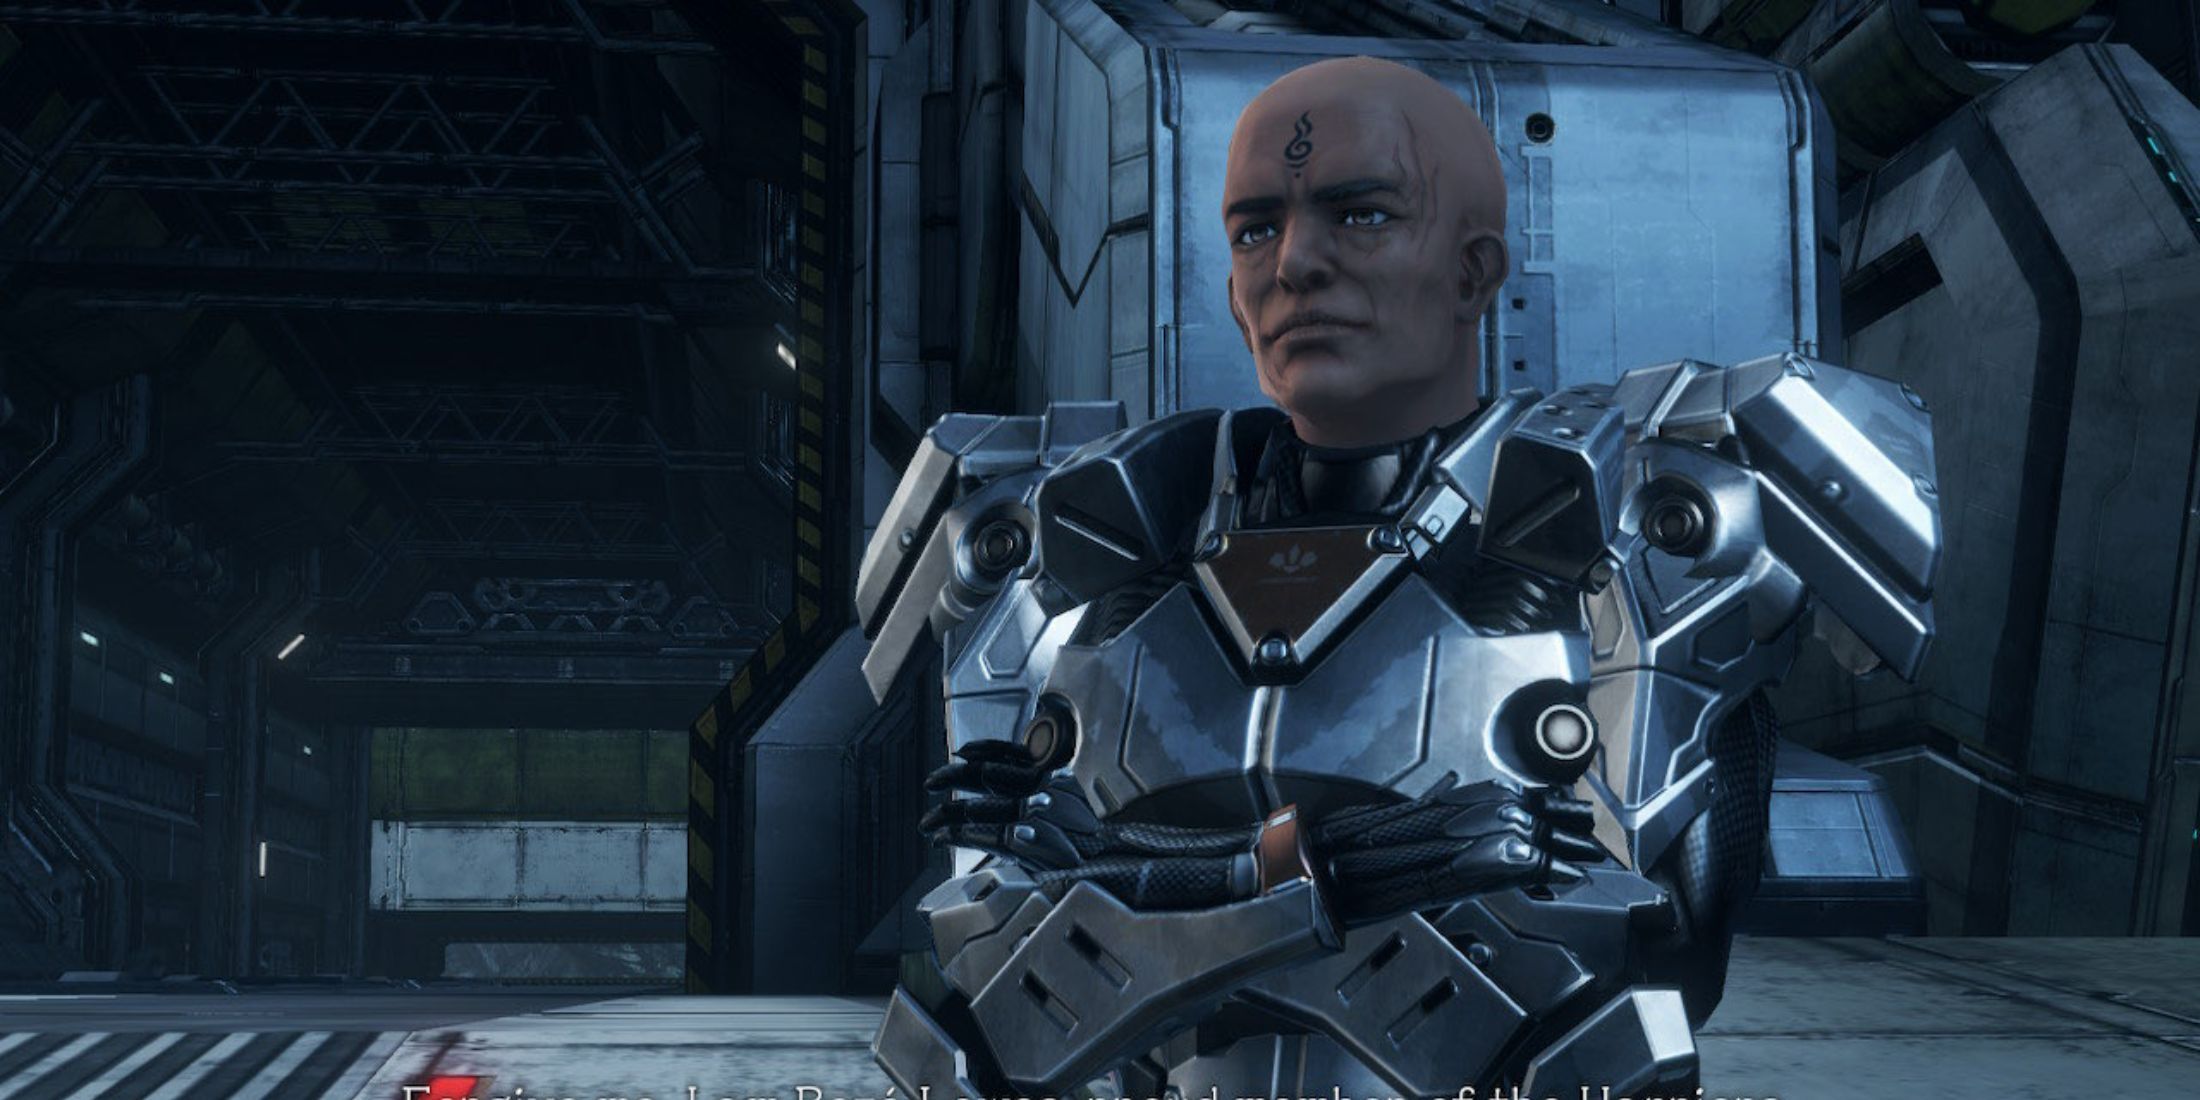
In the world of Xenoblade Chronicles X: Definitive Edition, I find myself taking on missions where my decisions matter. Some side quests from Xenoblade X carry weight, and selecting the wrong path could lead to an NPC’s untimely demise. However, it’s not always a life-or-death situation like with “The Mad Monk.” The choices I make in this quest will shape the outcome of a subsequent Affinity Mission. Given that “The Mad Monk” leads my party into treacherous terrain, it’s best to be well above the suggested level before meeting up with my client, Boze Lowes.
How to Complete The Mad Monk Affinity Mission
The Mad Monk Guide

To proceed with “The Mad Monk” Affinity Mission, make sure you first finish Chapter 5. Afterward, head to your taskboard where a mission titled “Backup Request” (Boze) should appear. Take on this mission, and then travel to the East Gate in New Los Angeles to initiate its corresponding Affinity Mission.
For the game character “The Mad Monk”, the minimum level is set at 20, and it’s also suggested that this level is ideal. However, considering the locations you’ll be traversing, it’s strongly advised that you’re around level 30 to 35 for a more comfortable experience. Although you’ll still encounter risky terrain, being closer to enemy levels will increase your odds of surviving.
Regardless of the decisions you make initially when interacting with Boze Lowes, you’ll later invite him to your group and embark on a journey to the hazardous Vitrioal Cesspool in Noctilum. The objective is to navigate through the treacherous cavern and save one of Boze’s pupils named Reggie.
Once you finish the task at hand, you’ll gain the ability to include Boze in your team, and as a bonus, you’ll get the following rewards.
- 220 XP
- 13000 Credits
Vitriol Cesspool Location

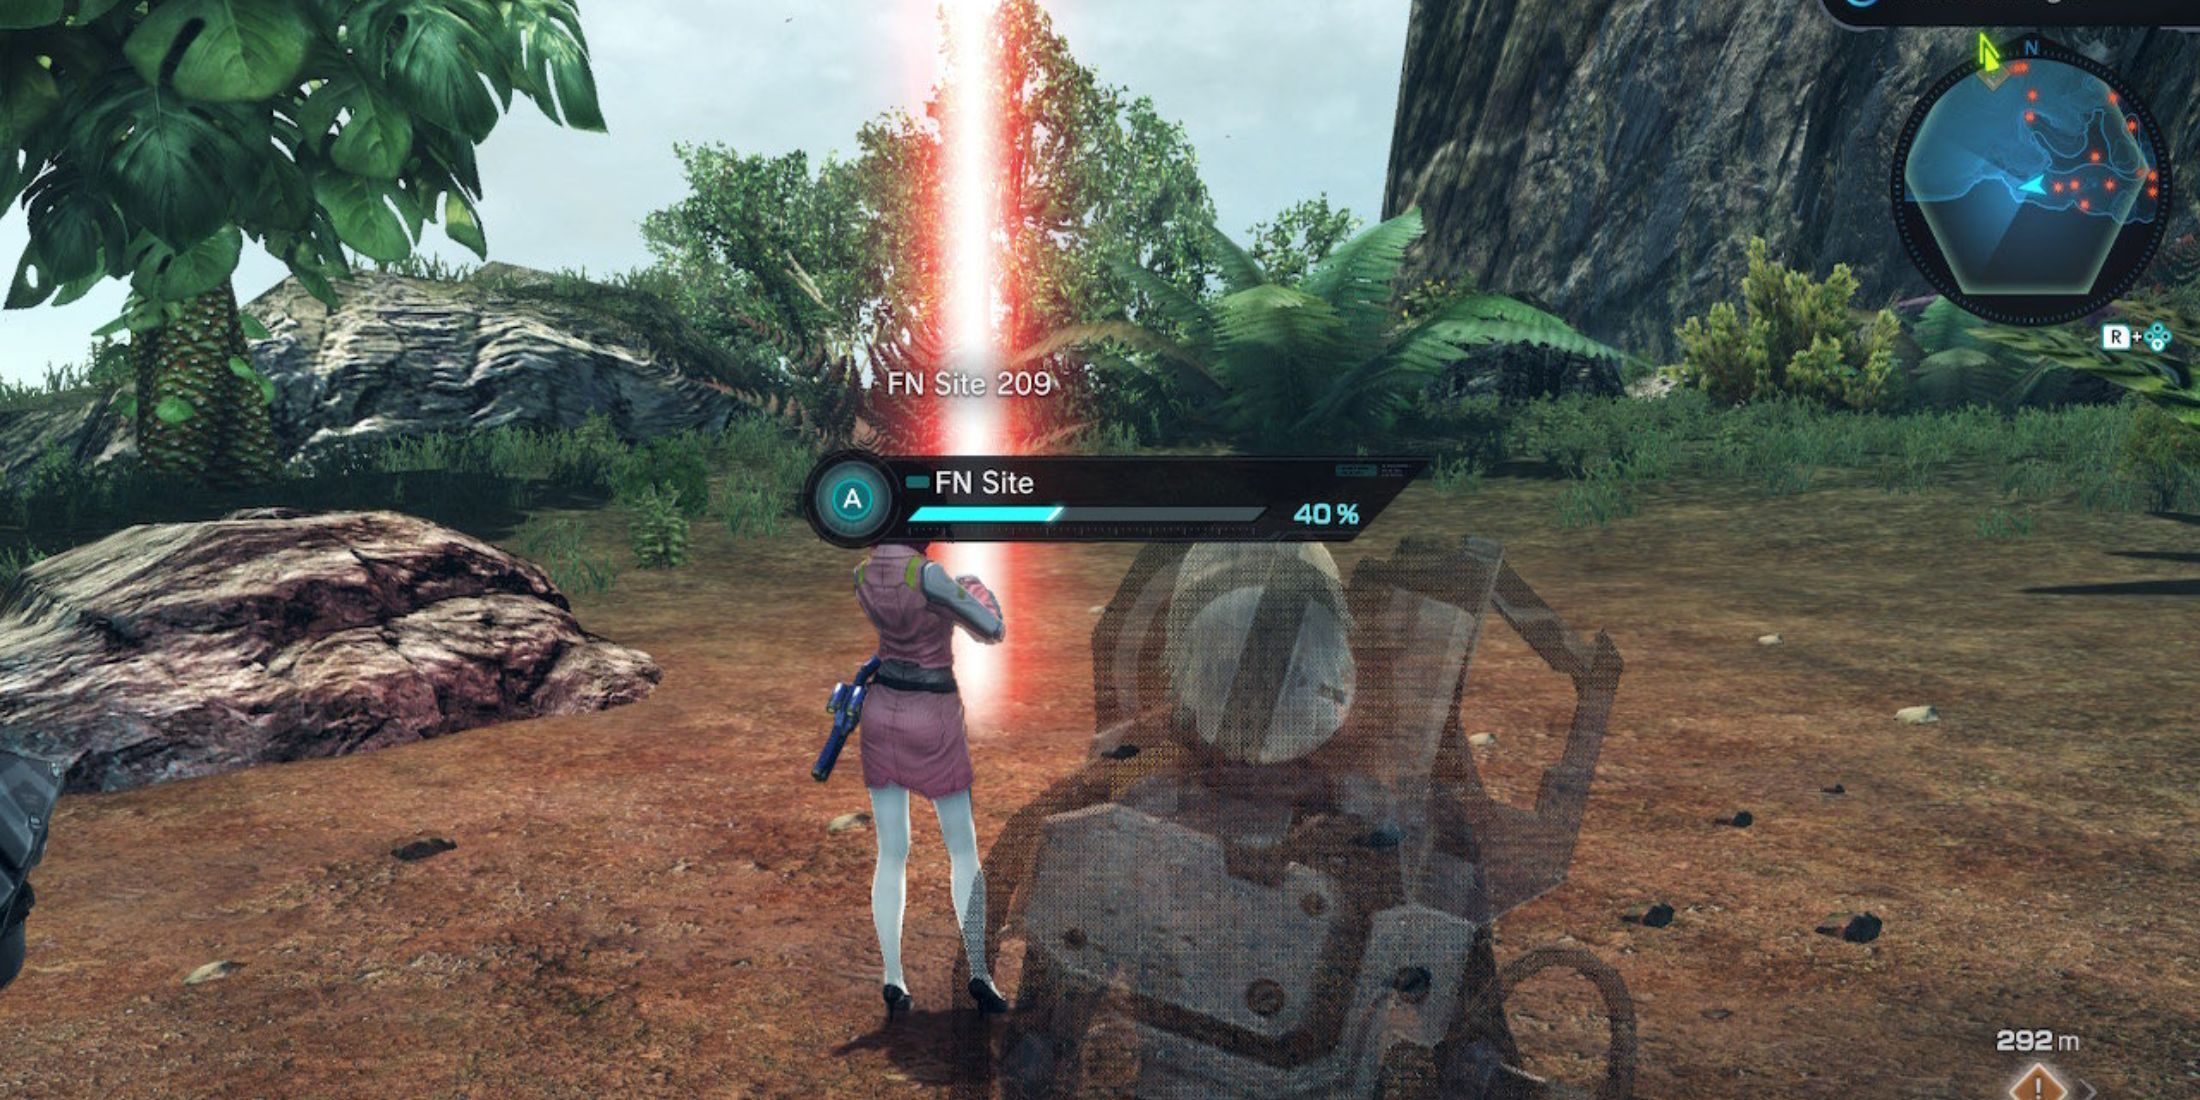
If you’ve been working with FN Sites in Noctilum, it’s possible that you might have engaged FN Site 209, which lies just beyond the Vitriol Cesspool’s boundary. On the other hand, FN Site 205 can be found to the north of the Vitriol Cesspool, but it’s a bit more distant.
Here are some steps if FN Site 1 isn’t active:
a. Move to either FN Site 216 or Skybound Coil Tree Landmark.
b. From that location, proceed southwest towards the map’s corner.
c. If you have “The Mad Monk” marked, use Tatsu’s Follow Ball (R + X-button) to reach Vitriol Cesspool.
If FN Site 1 is inactive, go either to FN Site 216 or Skybound Coil Tree Landmark. From there, travel southwest to the map’s corner. If you have “The Mad Monk” marked, use Tatsu’s Follow Ball (R + X-button) to find Vitriol Cesspool.
Please look at the red indicators on the provided picture. They show the path you should follow to get to the Vitriol Cesspool from FN Site 216.
When you step into the Vitriol Sewer, you’ll encounter a wounded Ma-non named Jejebba. You’ll have two choices: either Follow or Demand. Selecting Follow will lead you on the A path of “The Mad Monk”; opting for Demand will guide you on the B path. If you decide to aid (Demand) the Ma-non, an additional step will be included in your journey with “The Mad Monk.” You’ll then have to find and deliver five Muneria Blossoms to Jejebba.
To discover more information on the location of Muneria Flowers, please check out the “Should You Help the Ma-non?” section.
Where to Find Reggie

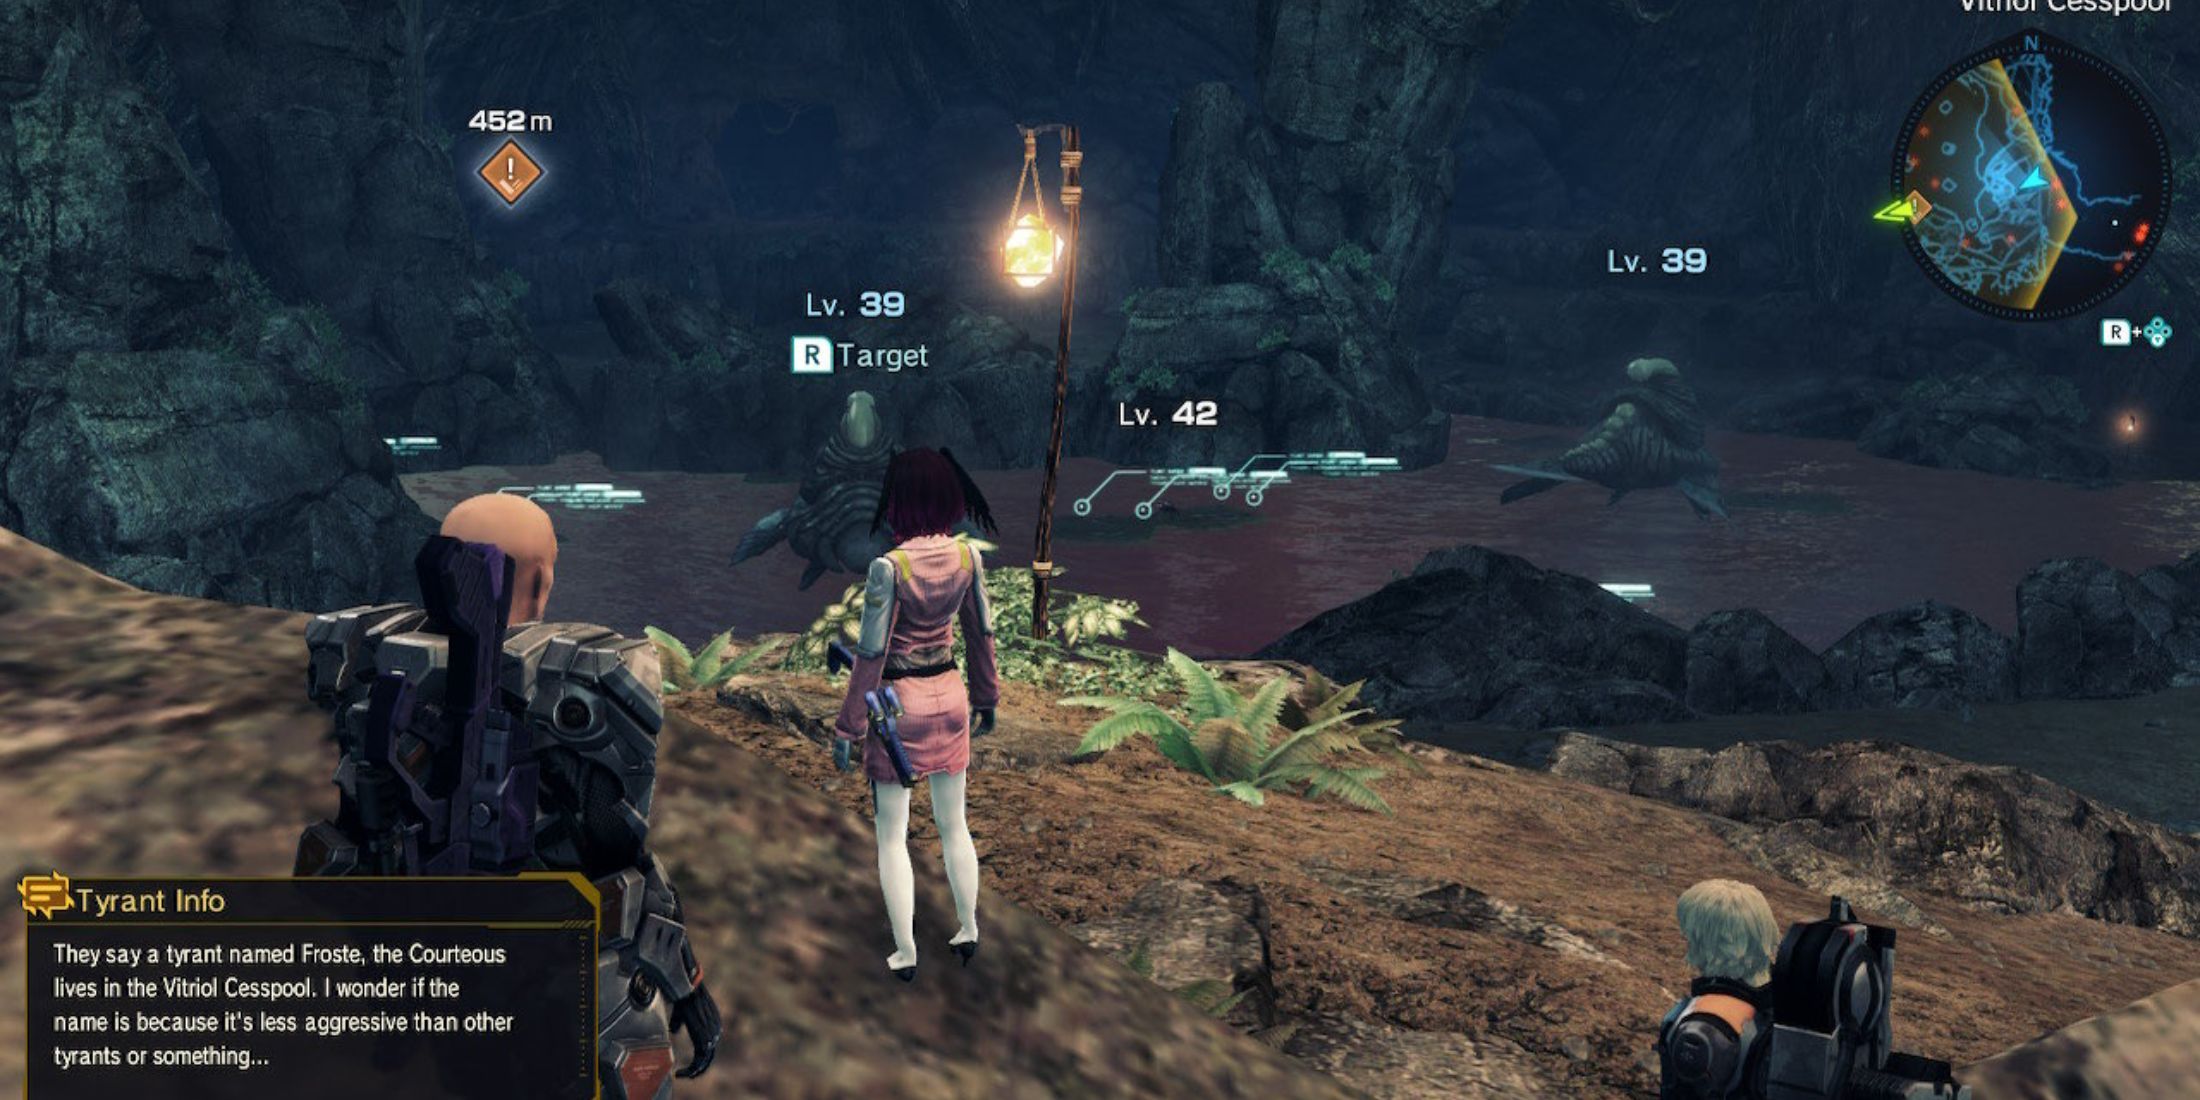
Reggie remains stuck within the cave, irrespective of your decision. Venture further in, and you’ll encounter an expansive chamber filled with toxic water and formidable adversaries. Be wary, as the large white blobs near the Skell debris (indicated by golden squares on your map) are level 40 enemies that may suddenly emerge to attack you.
To steer clear of them, keep close to the farthest wall and move around the room until you find the tunnel at the rear. Since you’ll need to leap over rocks without alerting enemies, be sure to give yourself a speed boost with the ZR-button (sprinting).
If you locate Reggie, it’s important to engage him in conversation, after which you’ll be required to battle a horde of vicious level 14 blattas for a duration of 2 minutes. Once that time elapses, you’ll confront another wave for an additional 2 minutes, this time against heinous forfexes (level 18).
As a gamer, I always ensure I’ve got the right team ready before tackling Reggie. It’s crucial to have a solid “tank” character like L or Lin to attract the enemy’s attention, and a healer or buffer, such as Irina, to keep my team in fighting shape by healing and boosting our abilities. This way, I can face those two waves back-to-back without any worries!
If your skill level significantly surpasses the suggested norm, you can relax a bit, yet it’s crucial to ensure you’ve got competent companions with you to prevent any potential losses.
Next, watch a scene featuring Reggie, followed by rejoining Eleanora in New Los Angeles to wrap up your mission.
Should You Help the Ma-non?
Where to Find Muneria Flowers
Regardless of whether you decide to stay or assist Jejebba, the outcome of the Affinity Mission won’t alter who survives in the end. However, your decision will influence the sequences and dialogues in Boze’s third Affinity Mission titled “Boze’s Ignorance.” If you prefer fewer additional scenes, then pick the option that appeals to you most.
A Route
If you opt not to heed the instruction given by Ma-non (Follow), Jejebba will depart and won’t reappear for the remainder of the mission. Consequently, you’ll encounter an ambush during “Boze’s Ignorance” from a Definian named ST816: Stalio, as you won’t have Jejebba’s technology to detect her disguise. Moreover, Boze will struggle with his xenophobia, asserting that all beings from other worlds cannot be trusted.
B Route
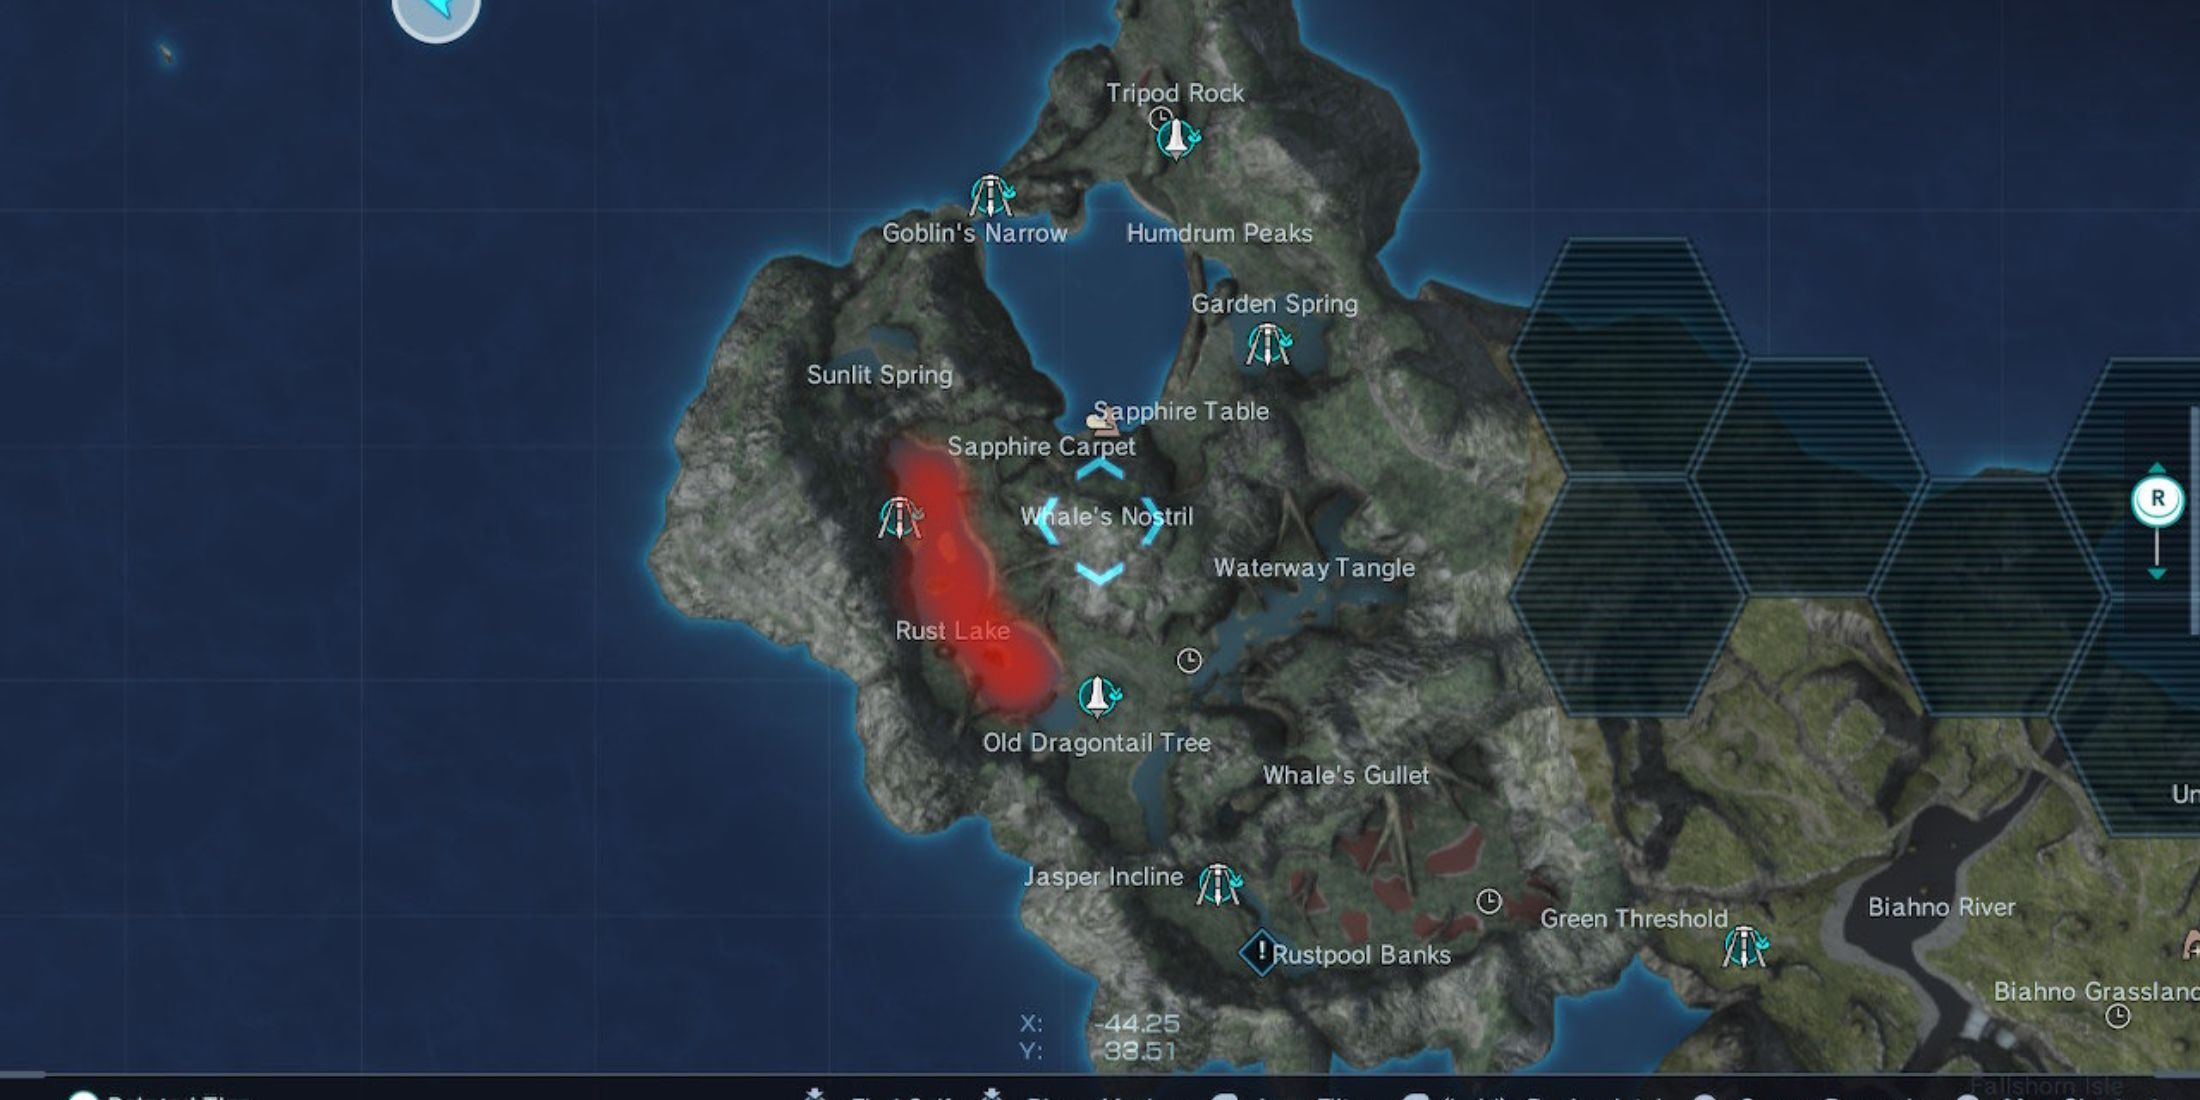
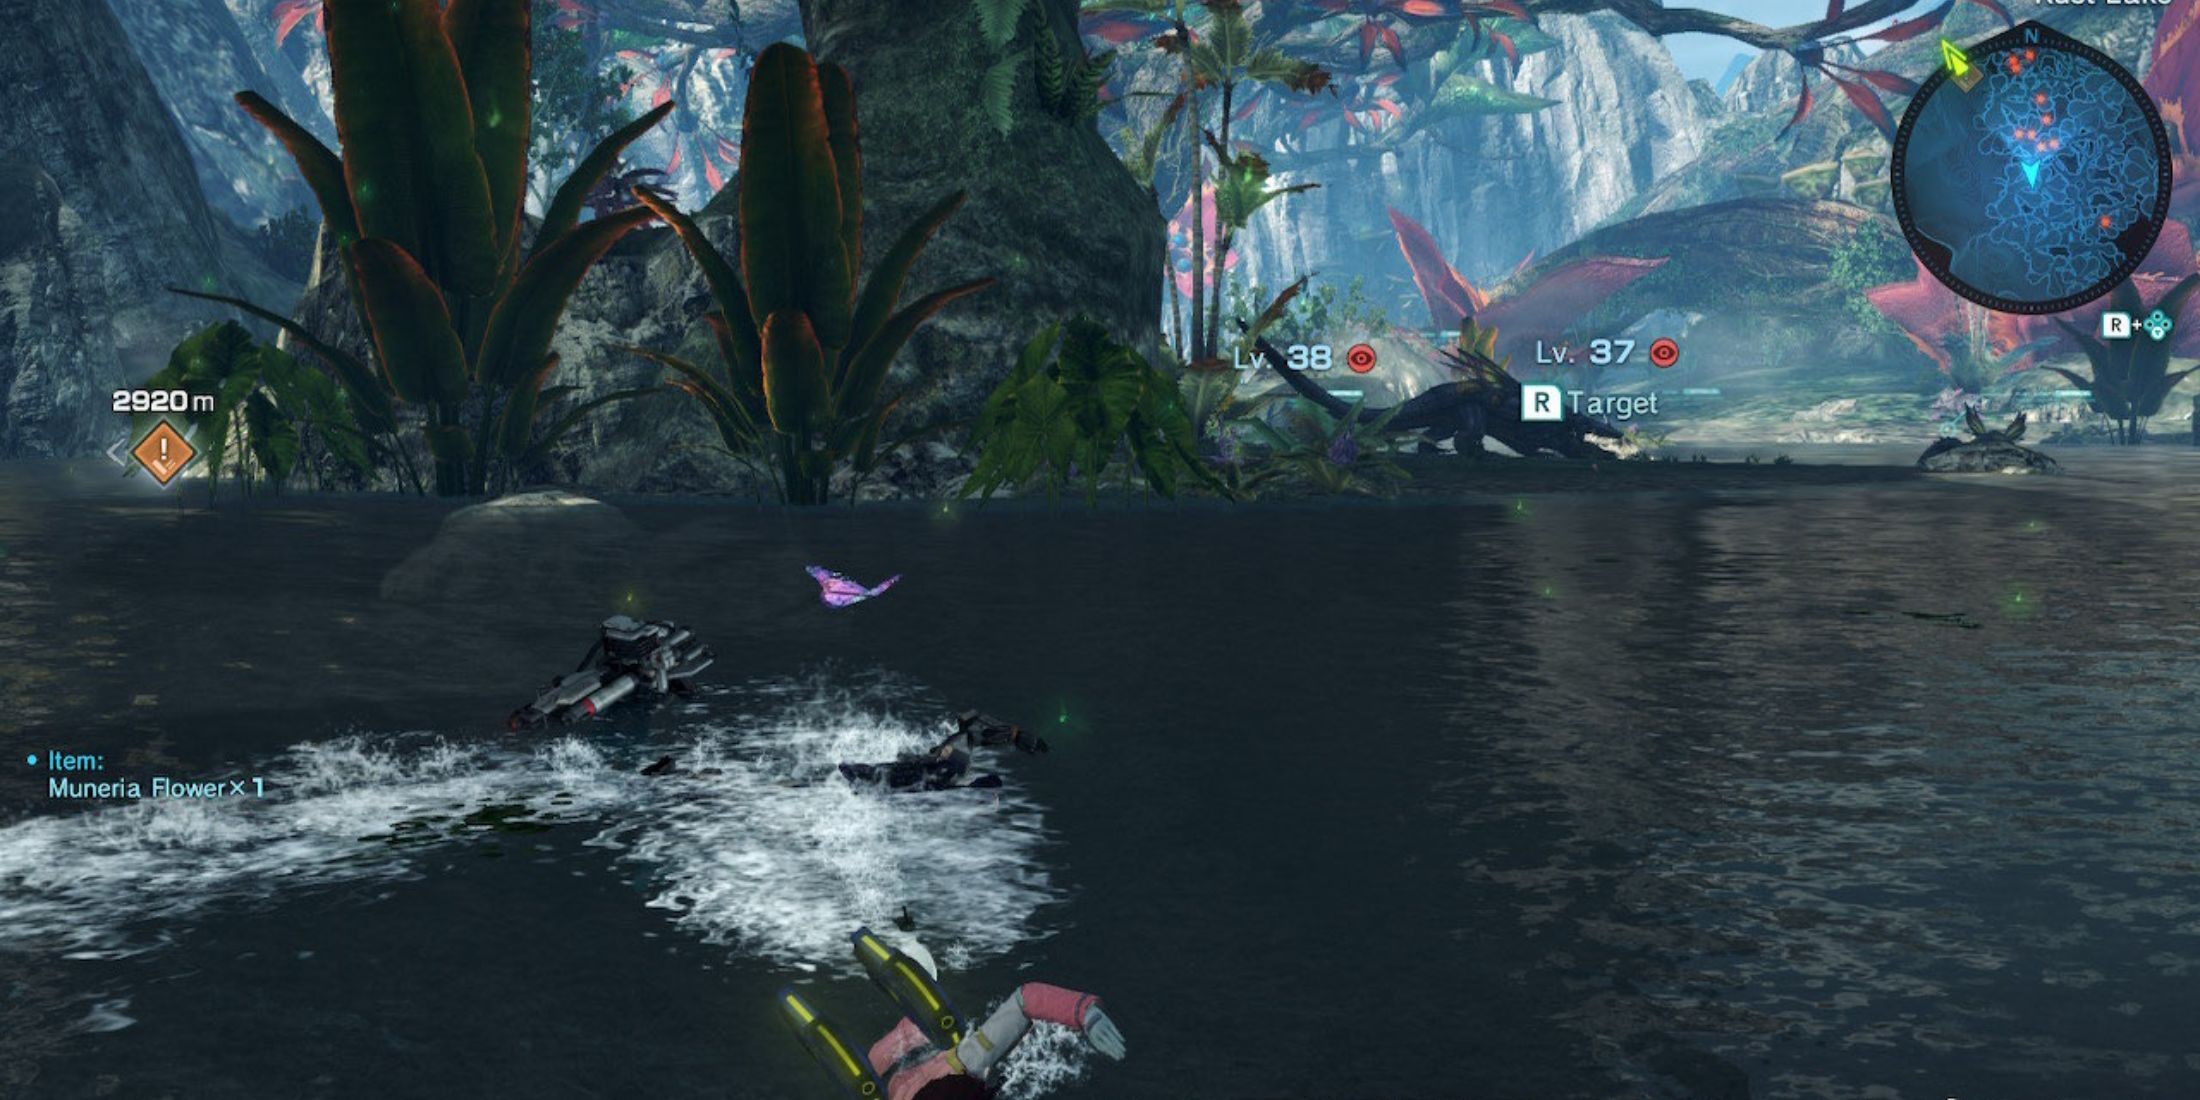
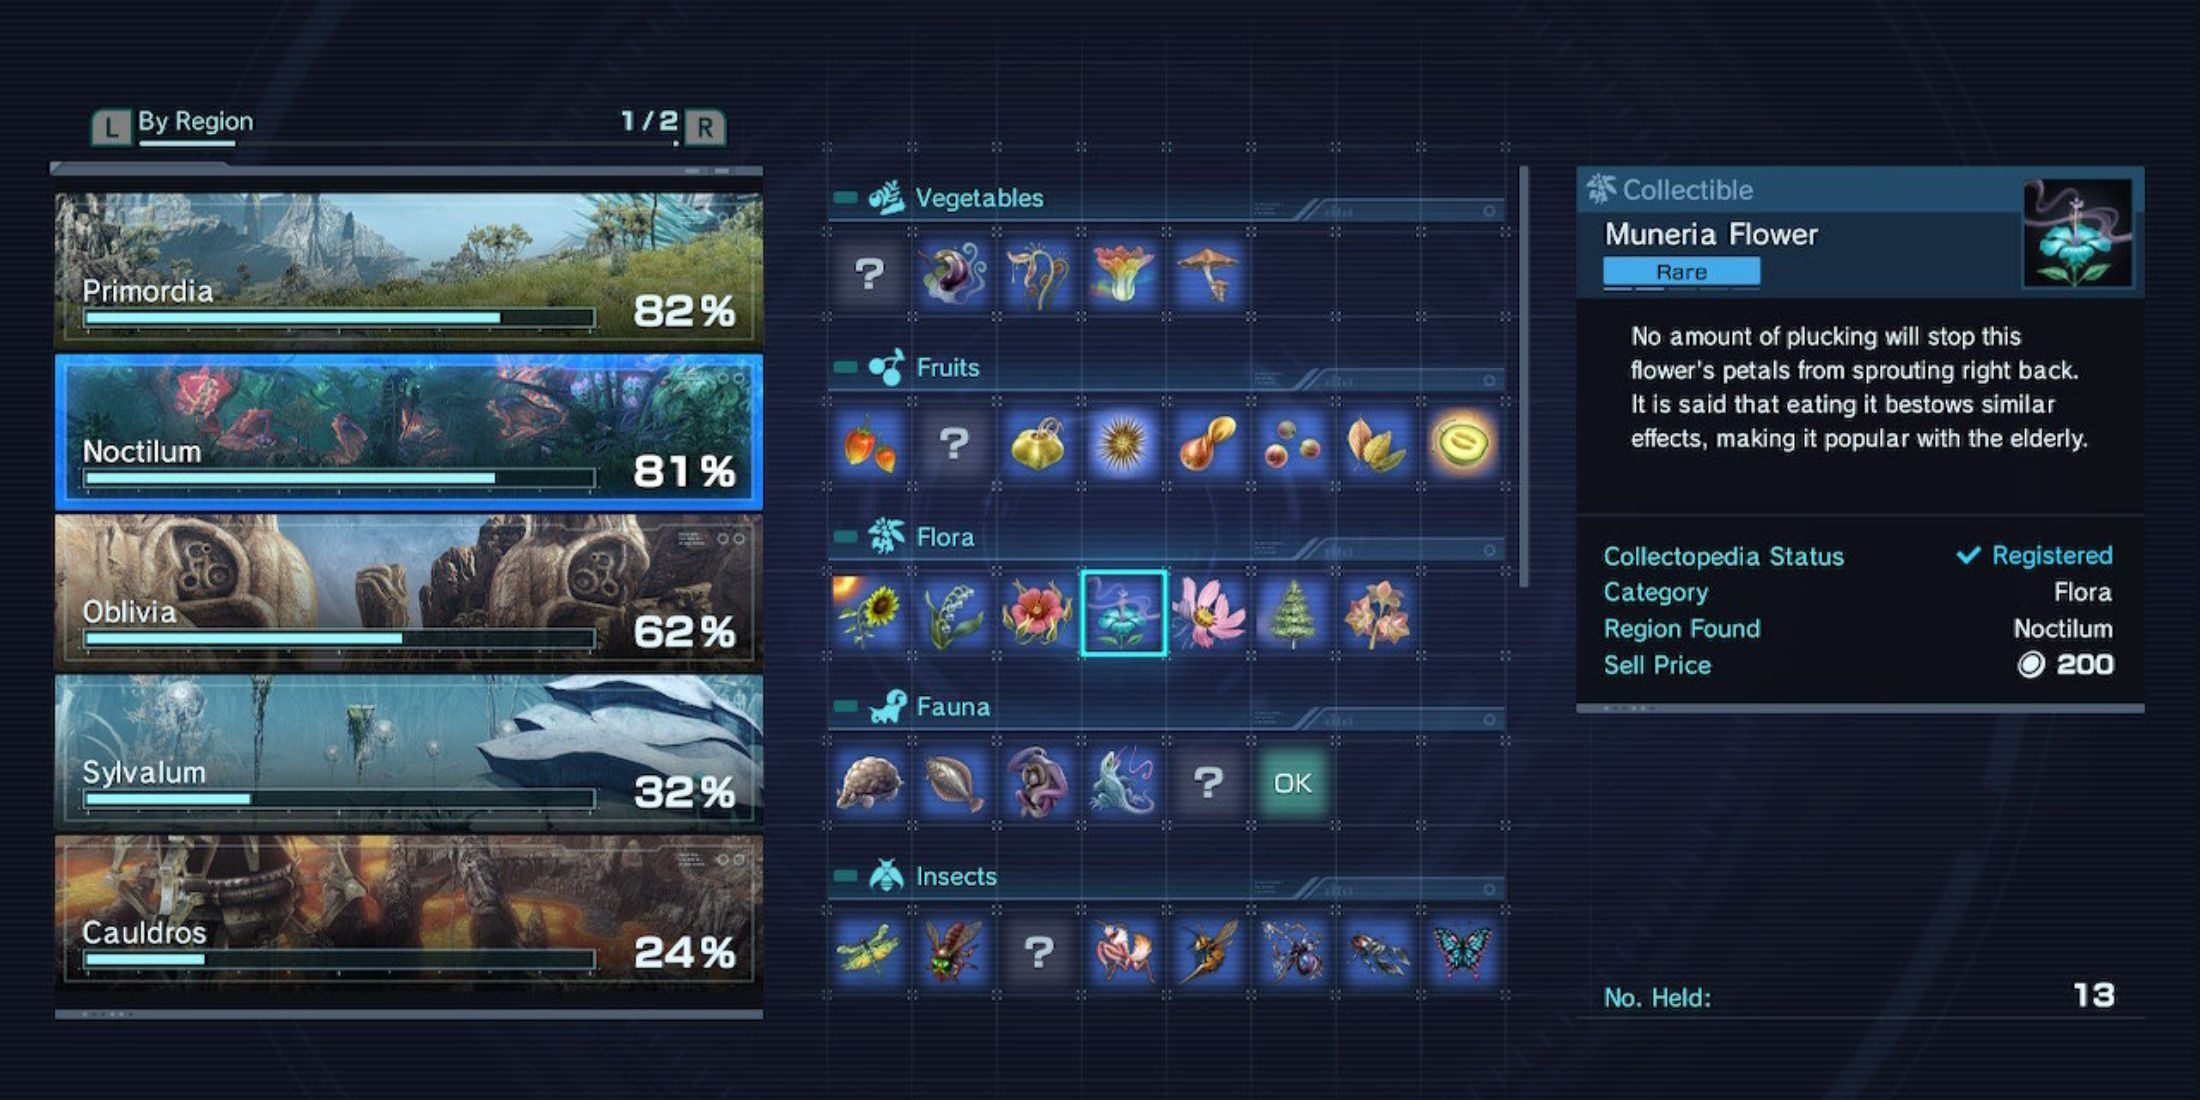
If you decide to aid the Ma-non (Assist), you’ll have to locate and gather five Muneria Flowers (Five Muneria Flowers) and hand them over to Jejebba for his healing purposes. By selecting this course, you will be led on “The Mad Monk’s Path” (Route B). The Muneria Flowers can be found at Rust Lake (Rust Lake), located in the southern region of Noctilum (the southern part of Noctilum) and situated close to FN Site 217.
Muneria Blossoms bloom atop Rust Lake’s surface, meaning a swim is usually necessary to reach them. Be cautious though, as the creatures in Rust Lake are level 35 or higher and may attack if spotted. If you fully explored Noctilum during Chapter 4, chances are you’ve already gathered Muneria Blossoms.
If you assist Jejebba, after rescuing Reggie, Jejebba will appear to give Boze a Ma-non device. This gadget, when used during “Boze’s Ignornace,” will unveil ST816 and prevent her ambush. Moreover, you’ll receive a scene at the end of the mission depicting Boze acknowledging his ignorance and conquering his fear towards aliens (xenophobia).
Read More
- Violence District Killer and Survivor Tier List
- All Data Pad Locations (Week 1) Destiny 2
- Top 8 UFC 5 Perks Every Fighter Should Use
- God of War Fans Aren’t Happy After Finding Out Which Part of Kratos’ Journey Is Being Adapted for TV Series
- A Collegial Mystery Safe Code – Indiana Jones The Order of Giants
- Deep Cuts – Official Steam Launch Trailer
- BNSOL PREDICTION. BNSOL cryptocurrency
- 10 Hardest Sections In The Last of Us Part 1+2, Ranked
- Tales of the Shire: All Fish & Where to Find Them
- Prestige Perks in Space Marine 2: A Grind That Could Backfire
2025-04-10 03:54