In The Outer Worlds 2, “The Last Voyage of the ACS Free Market” is a side quest where you investigate the events leading to the ship’s crash. You’ll explore the wreckage to gather clues and piece together what happened on its final journey. This guide will show you the locations of all five pieces of evidence needed to complete the quest and claim your reward from Archivist Stallworth in The Outer Worlds 2.
How to Start The Last Voyage of the ACS Free Market Quest in The Outer Worlds 2
Okay, so to kick off this quest, you need to find Archivist Stallworth. I found her pretty easily – she’s on the path heading into the main bazaar at Free Market Station. If you’re coming from your ship, she’s on the right side. Once you talk to her, she’ll ask you to collect some info from different spots all over the station.
Where to Find All Clues for The Last Voyage of the ACS Free Market Quest in The Outer Worlds 2
You can find five clues scattered around the station to help with this quest, though you might be able to finish it with fewer. Some clues are easy to find, while others require a bit of skill to unlock. Since you can start this quest early in the game, you might need to return later and improve your skills before you can gather everything you need.
Buried Audio Log
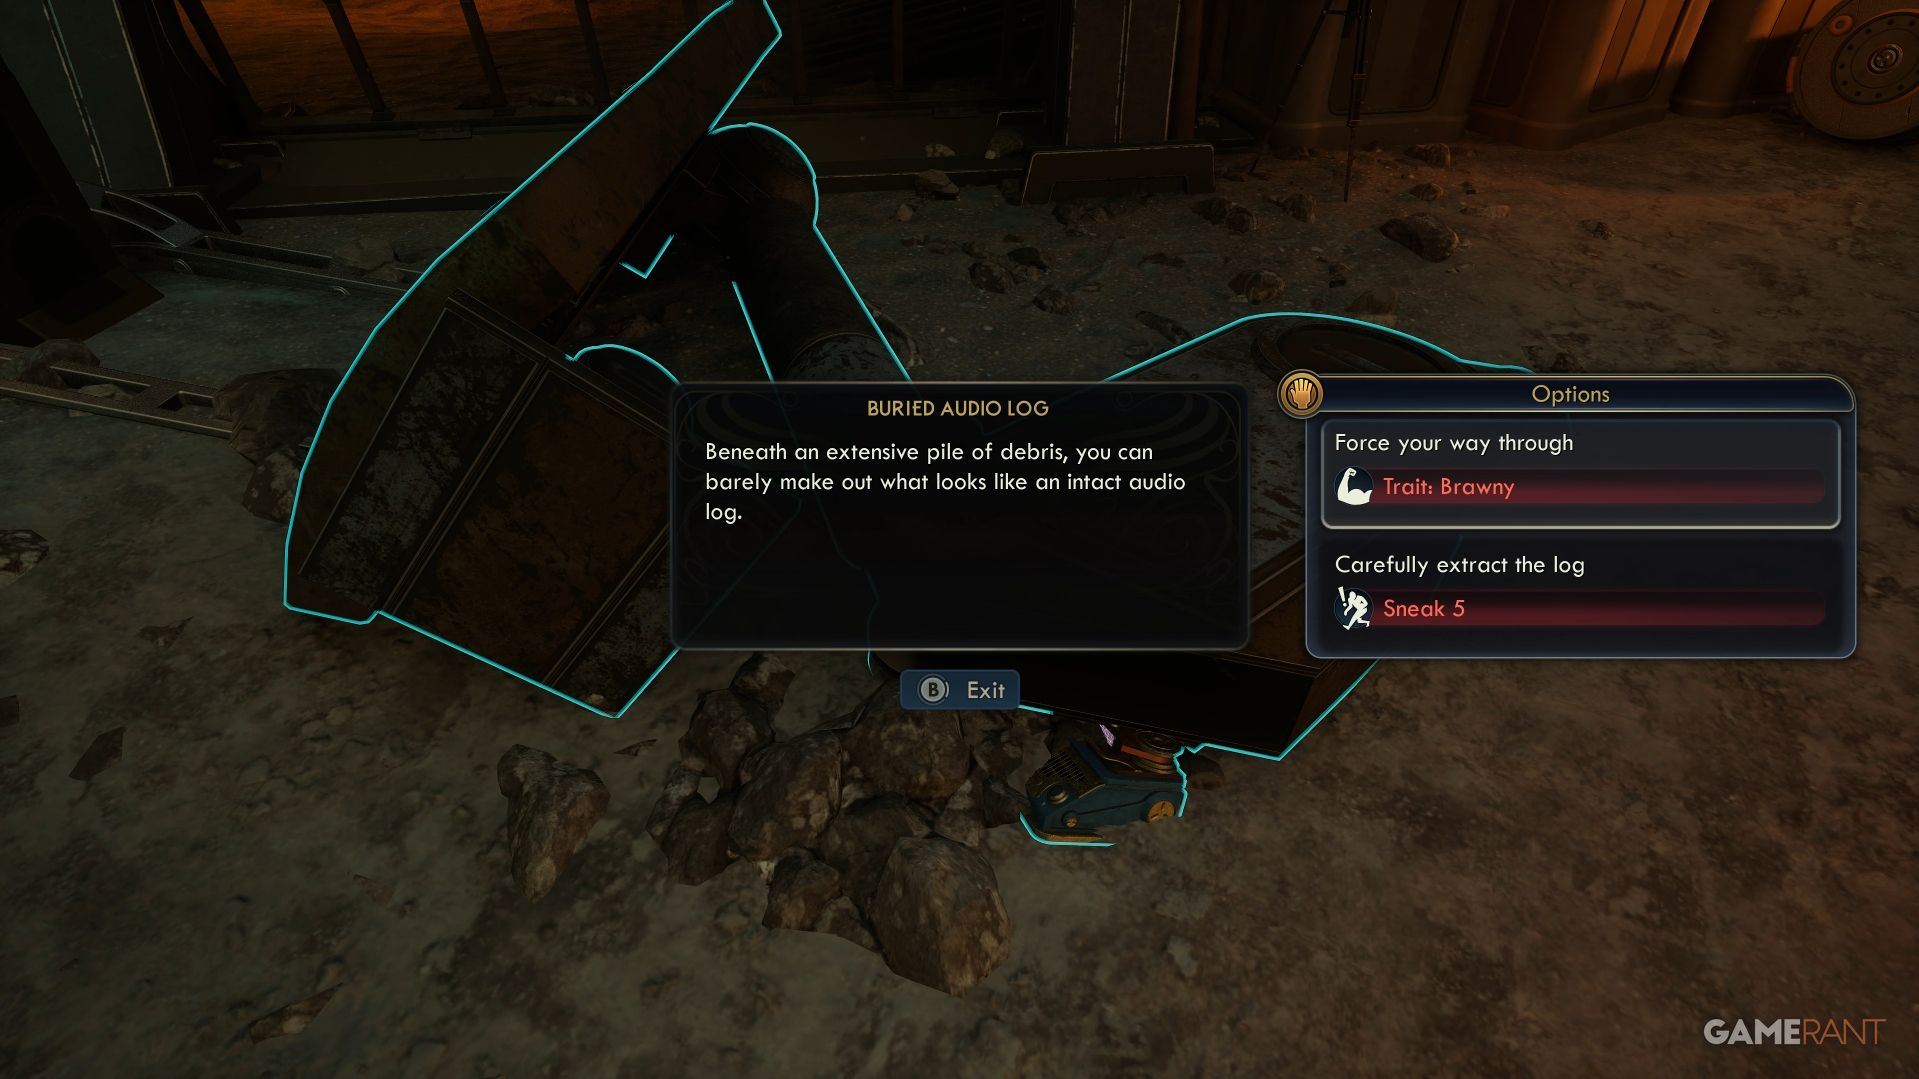
To find the first clue, head from Stallworth towards the bazaar and then take the second left. You’ll enter an area filled with wreckage. Look to your left, and you’ll find a pile of debris you can search.
As long as you have either the Brawny trait or Sneak level 5, you can get the log.
Engine Debris
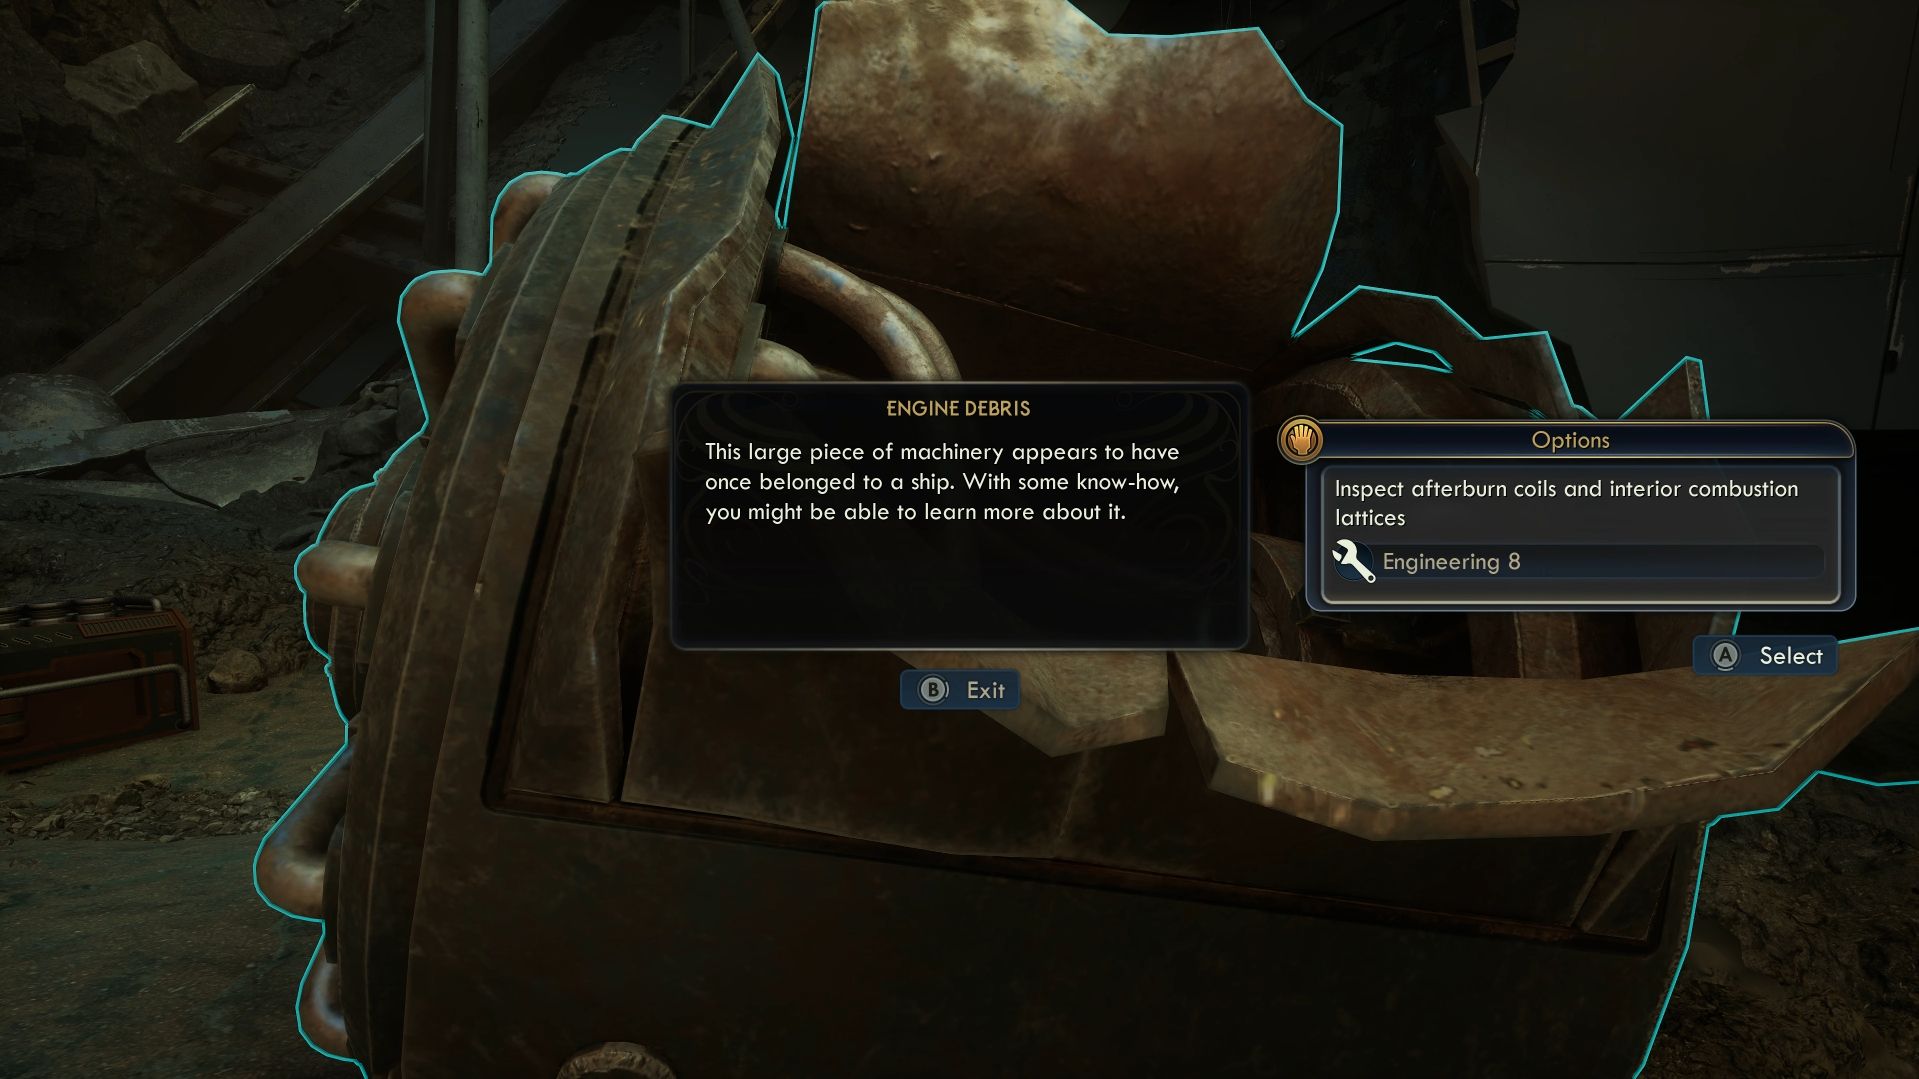
Near where you discovered the Buried Audio Log, you’ll find some Engine Debris. If you’re an engineer at level 8 or higher, you can examine the debris – specifically the afterburn coils and internal structures – and determine that poor engineering likely contributed to whatever happened.
Otto’s Intel
To find Otto’s Note, search for a small opening in the rubble close to where you discovered the Buried Audio Log. Go down to the lowest part of this area and look for a ladder leading back up. You’ll then need to solve a tricky puzzle to unlock the door. This involves flipping switches in the correct order – you can find a detailed solution in our Otto’s Lock Puzzle guide. Once the door is open, you’ll find a datapad on the floor with more information.
Once you’ve finished that, go to the Bazaar and find Otto, an old man with white hair, on the north side. Tell him you’ve looked at his datapad, and he’ll tell you what he knows. You can also get the information from him if you have Engineering skill level 5, or by spending 1,000 Bits in his shop, but reading the datapad is much simpler and costs nothing.
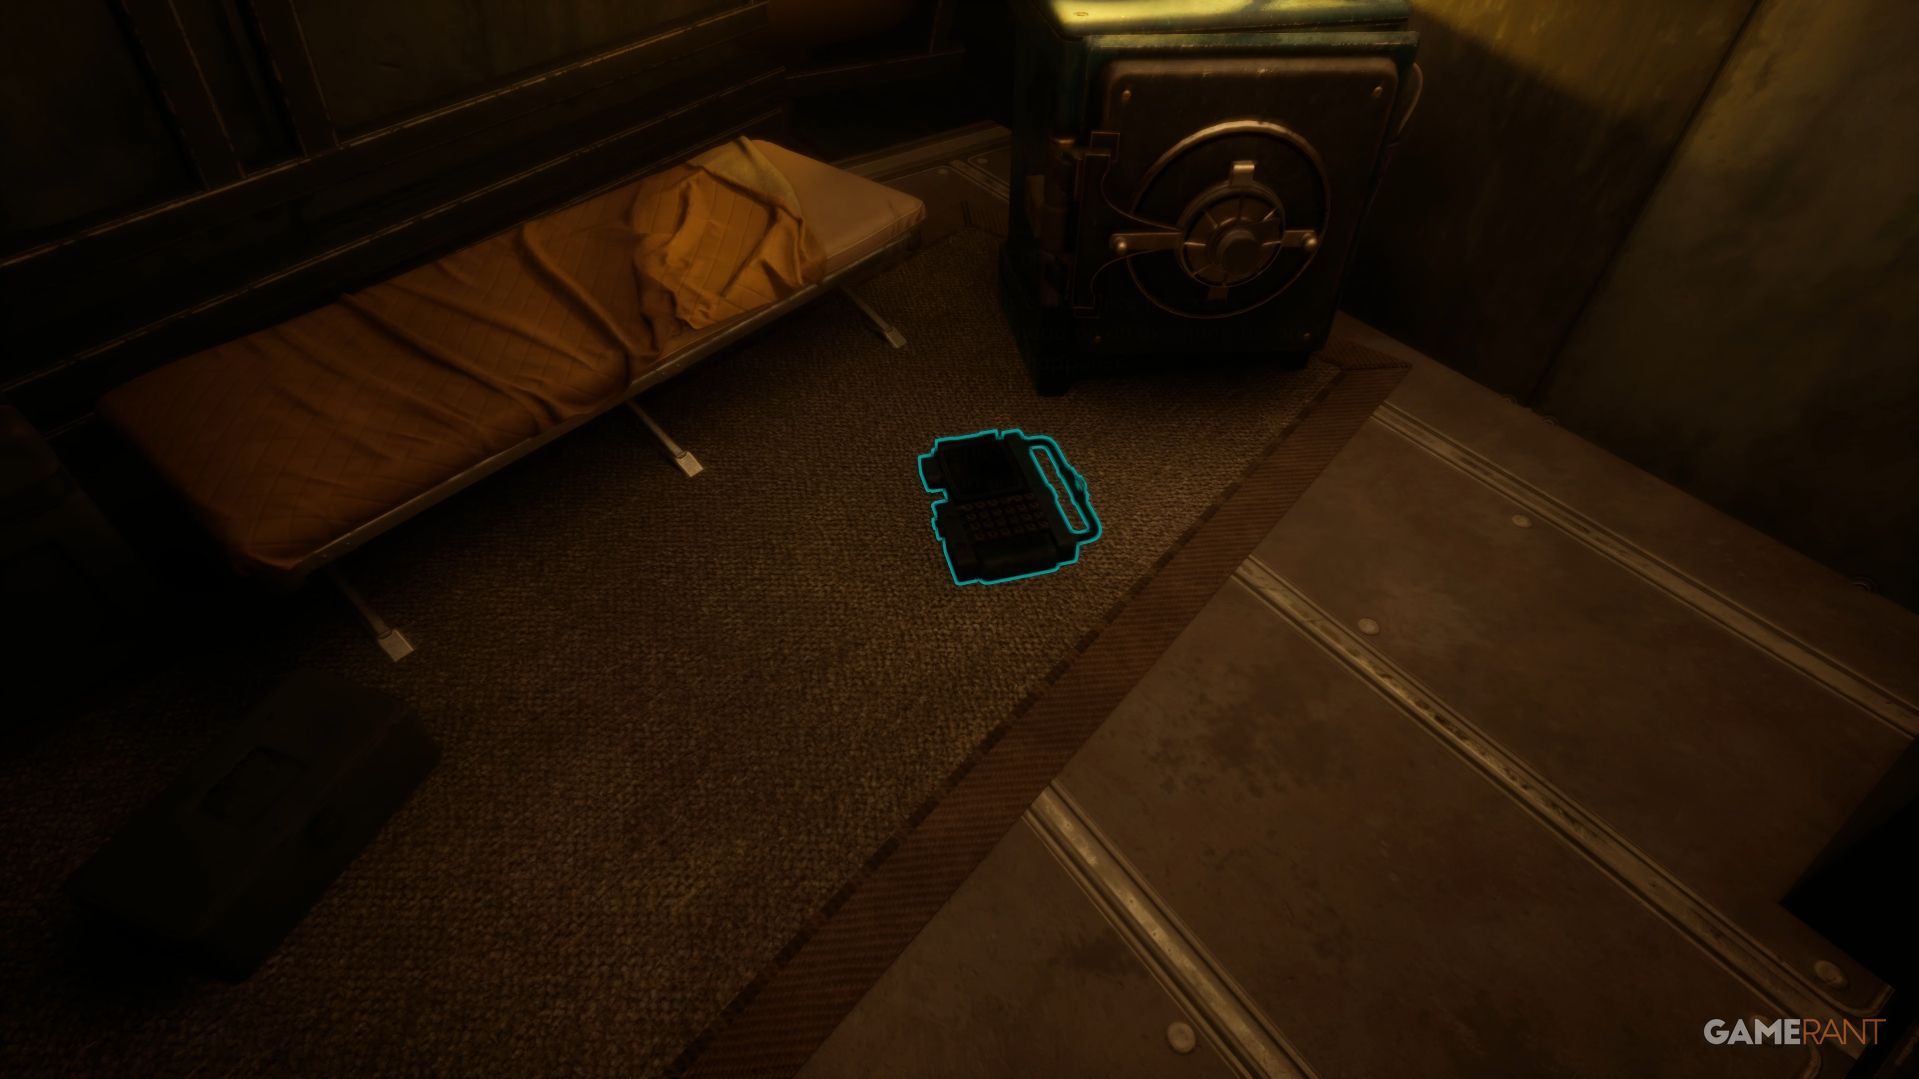
Sub-Rosa Terminal
Okay, so getting into the Sub-Rosa terminal is kinda tricky. You need to find the Second Choice saloon – it’s on the left when you walk into the bazaar. There is a way to get the key from the bartender, but honestly, it’s way easier to just go into the saloon’s bathroom, climb up and into the vent, and then drop down the stairs. Trust me, it saves a lot of hassle!
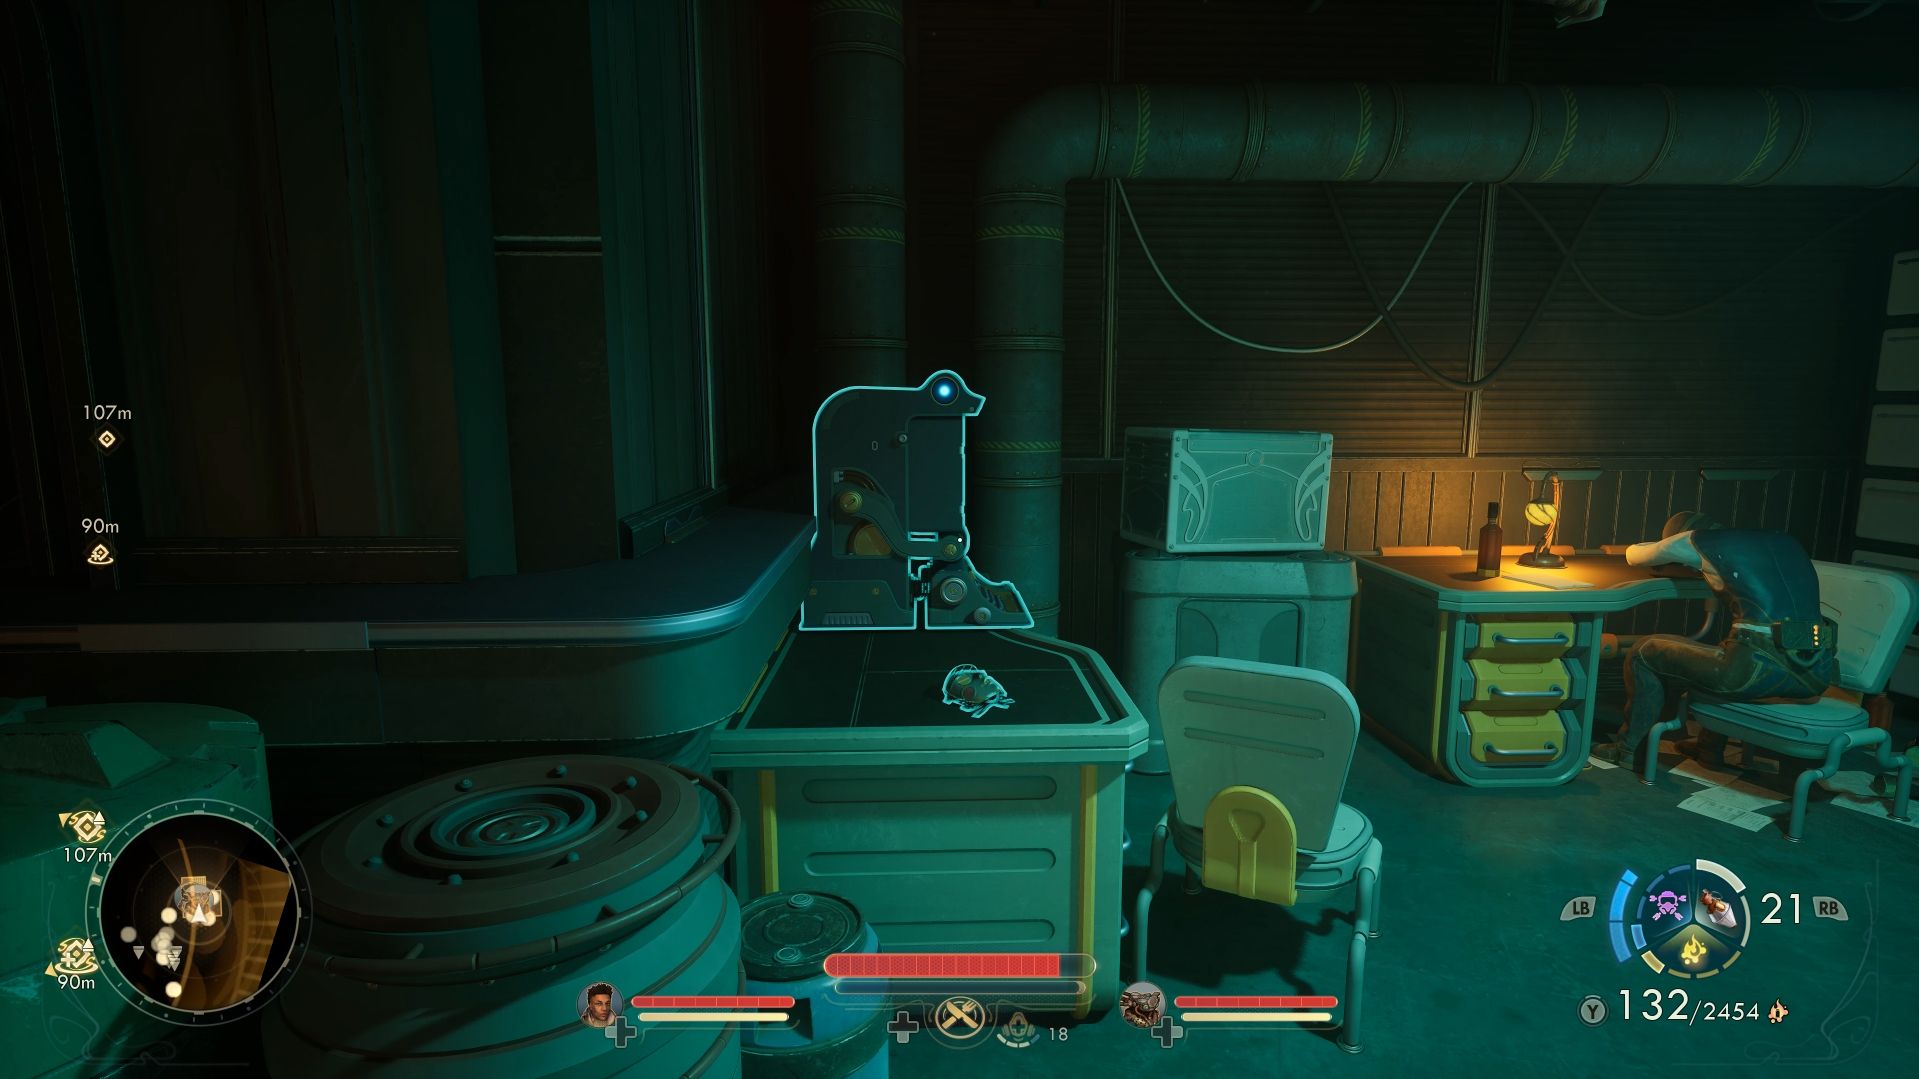
Go down the stairs. Before entering the main room, you’ll see a Sub-Rosa member sleeping at a desk with a computer nearby. Use the computer and, with a Bypass Shunt and a Hacking skill of 8, you can read all the messages.
If you haven’t reached Hack level 8, you can steal the password by pickpocketing the sleeping member of the Sub-Rosa. Alternatively, if you prefer a more direct approach, you can eliminate him and take the password from his corpse.
Prospero Paolo’s Information

Okay, so the last piece of the puzzle? You gotta chat with the white-haired guy in the Second Choice saloon. He’s holding out on info unless you bring him a bottle of Iceberg Aged Whiskey. Luckily, you can get that at the bar across from him – just talk to the robot bartender. He’ll say only Prospero Paolo can get it, but don’t worry! If you’ve got the Innovative trait, or you’re level 3 in Hacking, you can trick him by choosing the right dialogue option and grabbing the whiskey yourself.
If you have Lockpick 5, you could also open the safe behind the bar and take the item, though this is a more dangerous approach.
With the whiskey acquired, return to Prospero Paolo, and he’ll share his information with you.
Returning to Archivist Stallworth
Return to Stallworth and tell her you’ve collected all the necessary information. When she asks questions, answer them using the facts you discovered. The more accurate your answers, the more experience points you’ll receive for completing the quest.
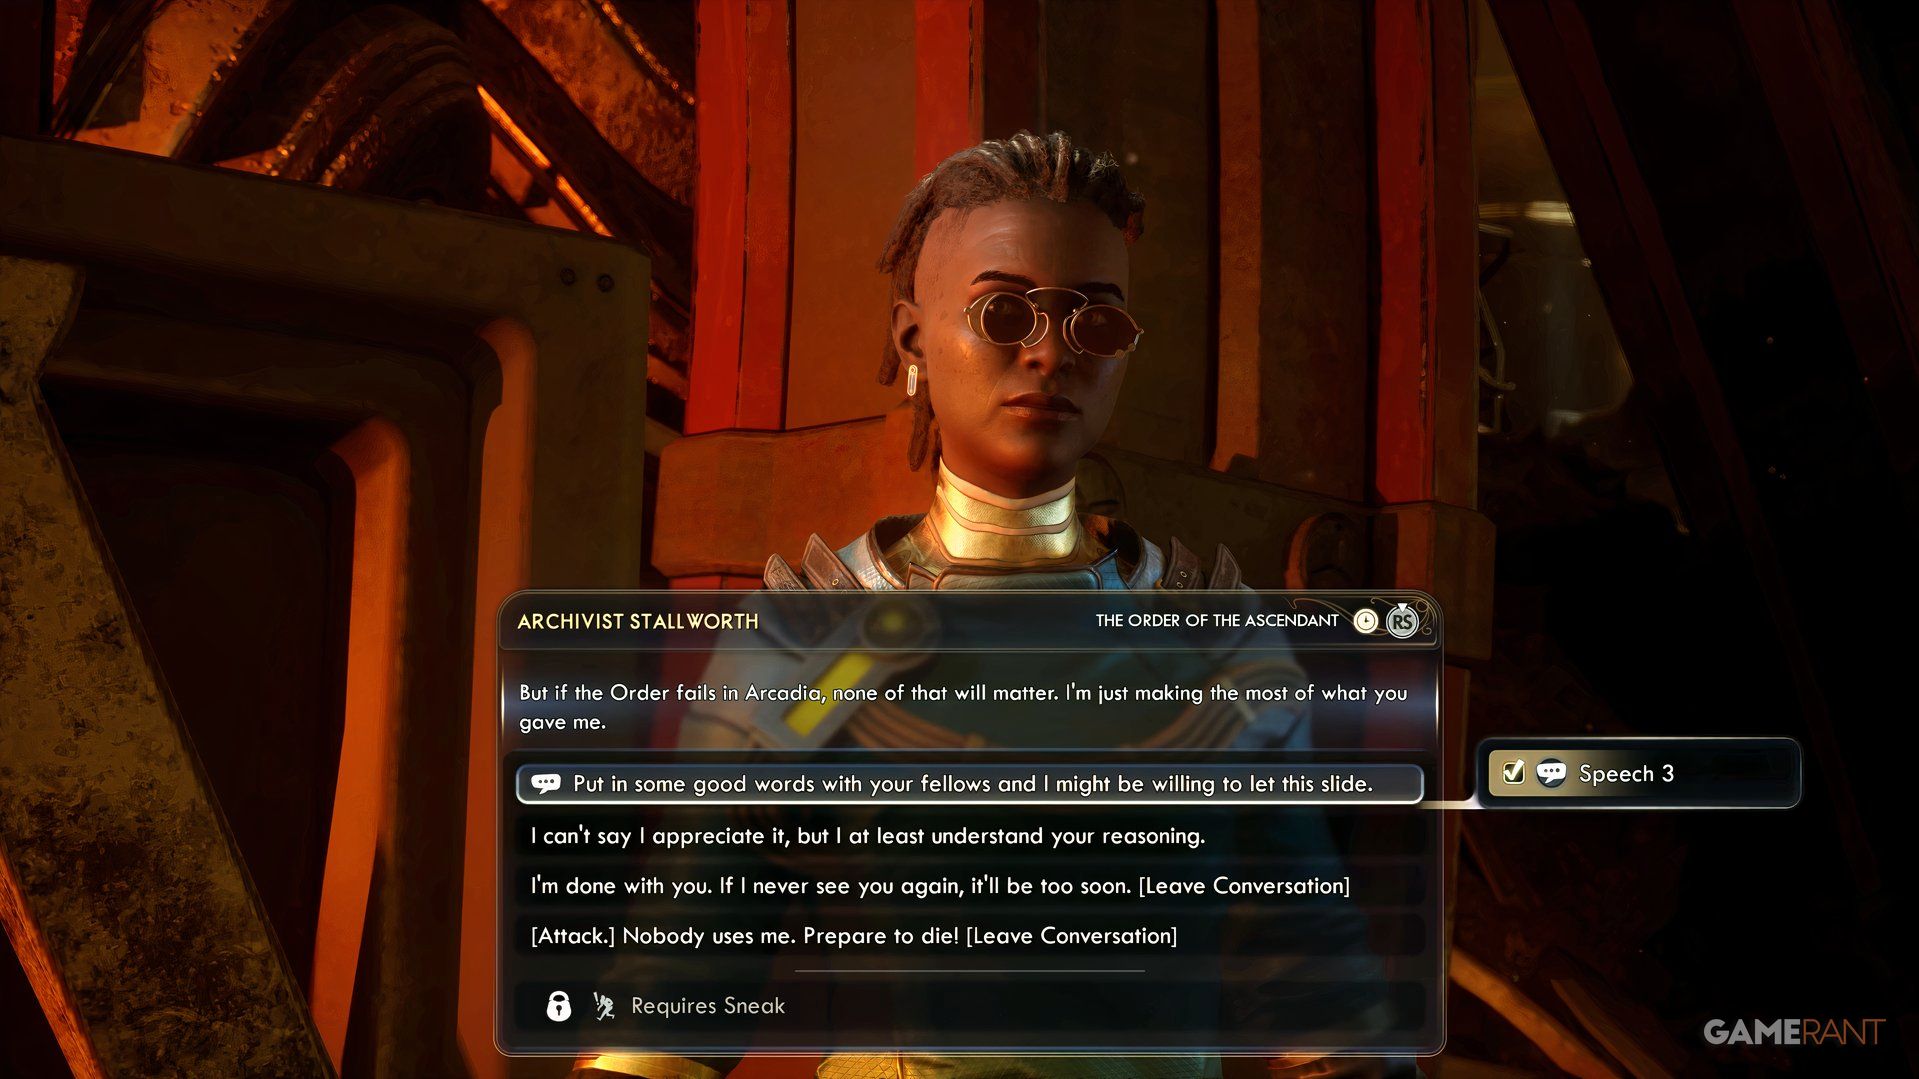
It seems Archivist Stallworth wasn’t being entirely truthful – her report wasn’t just about history, but to benefit The Order. You can confront her, which will make her and nearby Sub-Rosa guards attack, or you can simply disagree. If your Speech skill is level 3 or higher, you can also try to convince her to vouch for you with The Order, letting the matter drop. This will improve your standing with The Order, complete the quest, and earn you experience points.
Read More
- All Skyblazer Armor Locations in Crimson Desert
- How to Get the Sunset Reed Armor Set and Hollow Visage Sword in Crimson Desert
- All Shadow Armor Locations in Crimson Desert
- Marni Laser Helm Location & Upgrade in Crimson Desert
- Best Bows in Crimson Desert
- All Helfryn Armor Locations in Crimson Desert
- All Golden Greed Armor Locations in Crimson Desert
- How to Craft the Elegant Carmine Armor in Crimson Desert
- Keeping Large AI Models Connected Through Network Chaos
- One Piece Chapter 1179 Preview: The Real Imu Arrives in Elbaf
2025-11-07 17:05