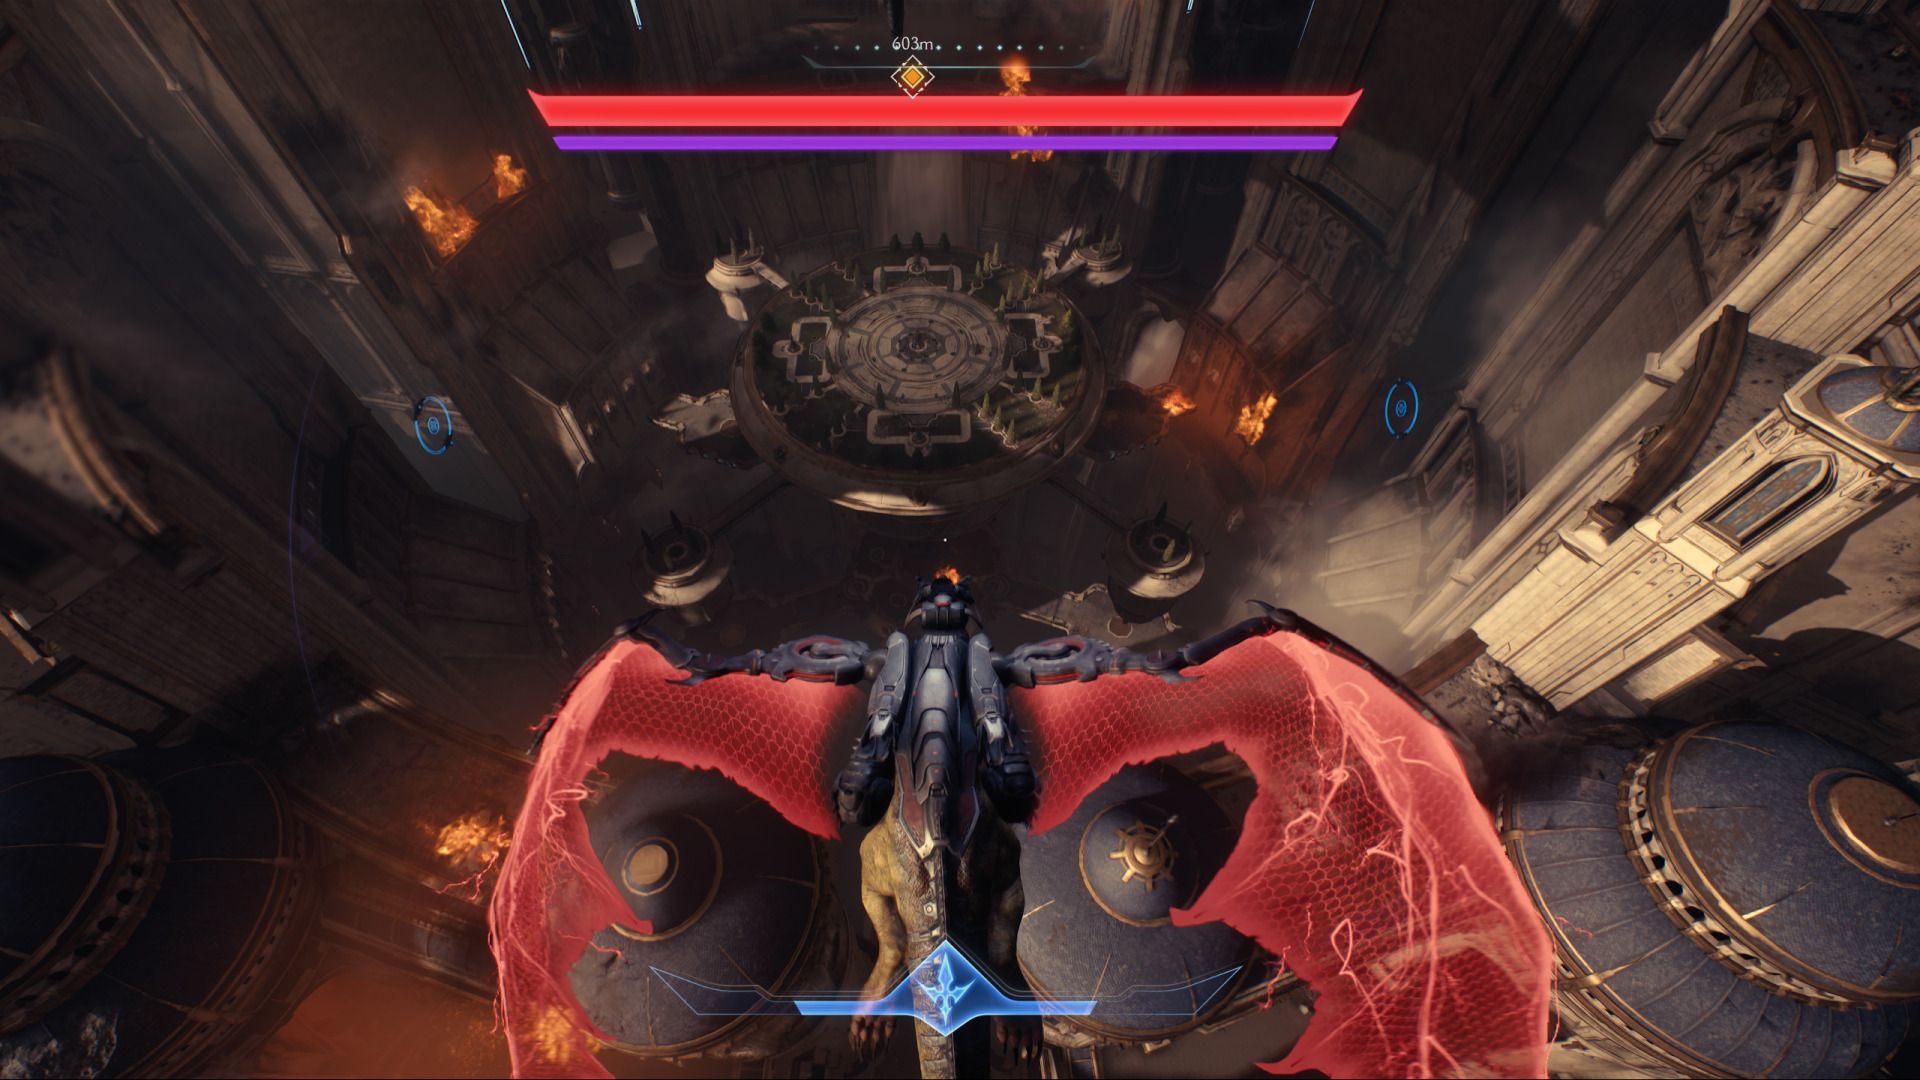
In Chapter 5 of “DOOM: The Dark Ages“, a dragon mount is introduced, offering expansive, intricately hidden levels teeming with secrets and collectibles. The Holy City of Aratum abounds with Gold, Rubies, and various enhancements for players of “DOOM: The Dark Ages“. However, some of these valuable items are concealed in areas within the level that seem unlikely at first glance.
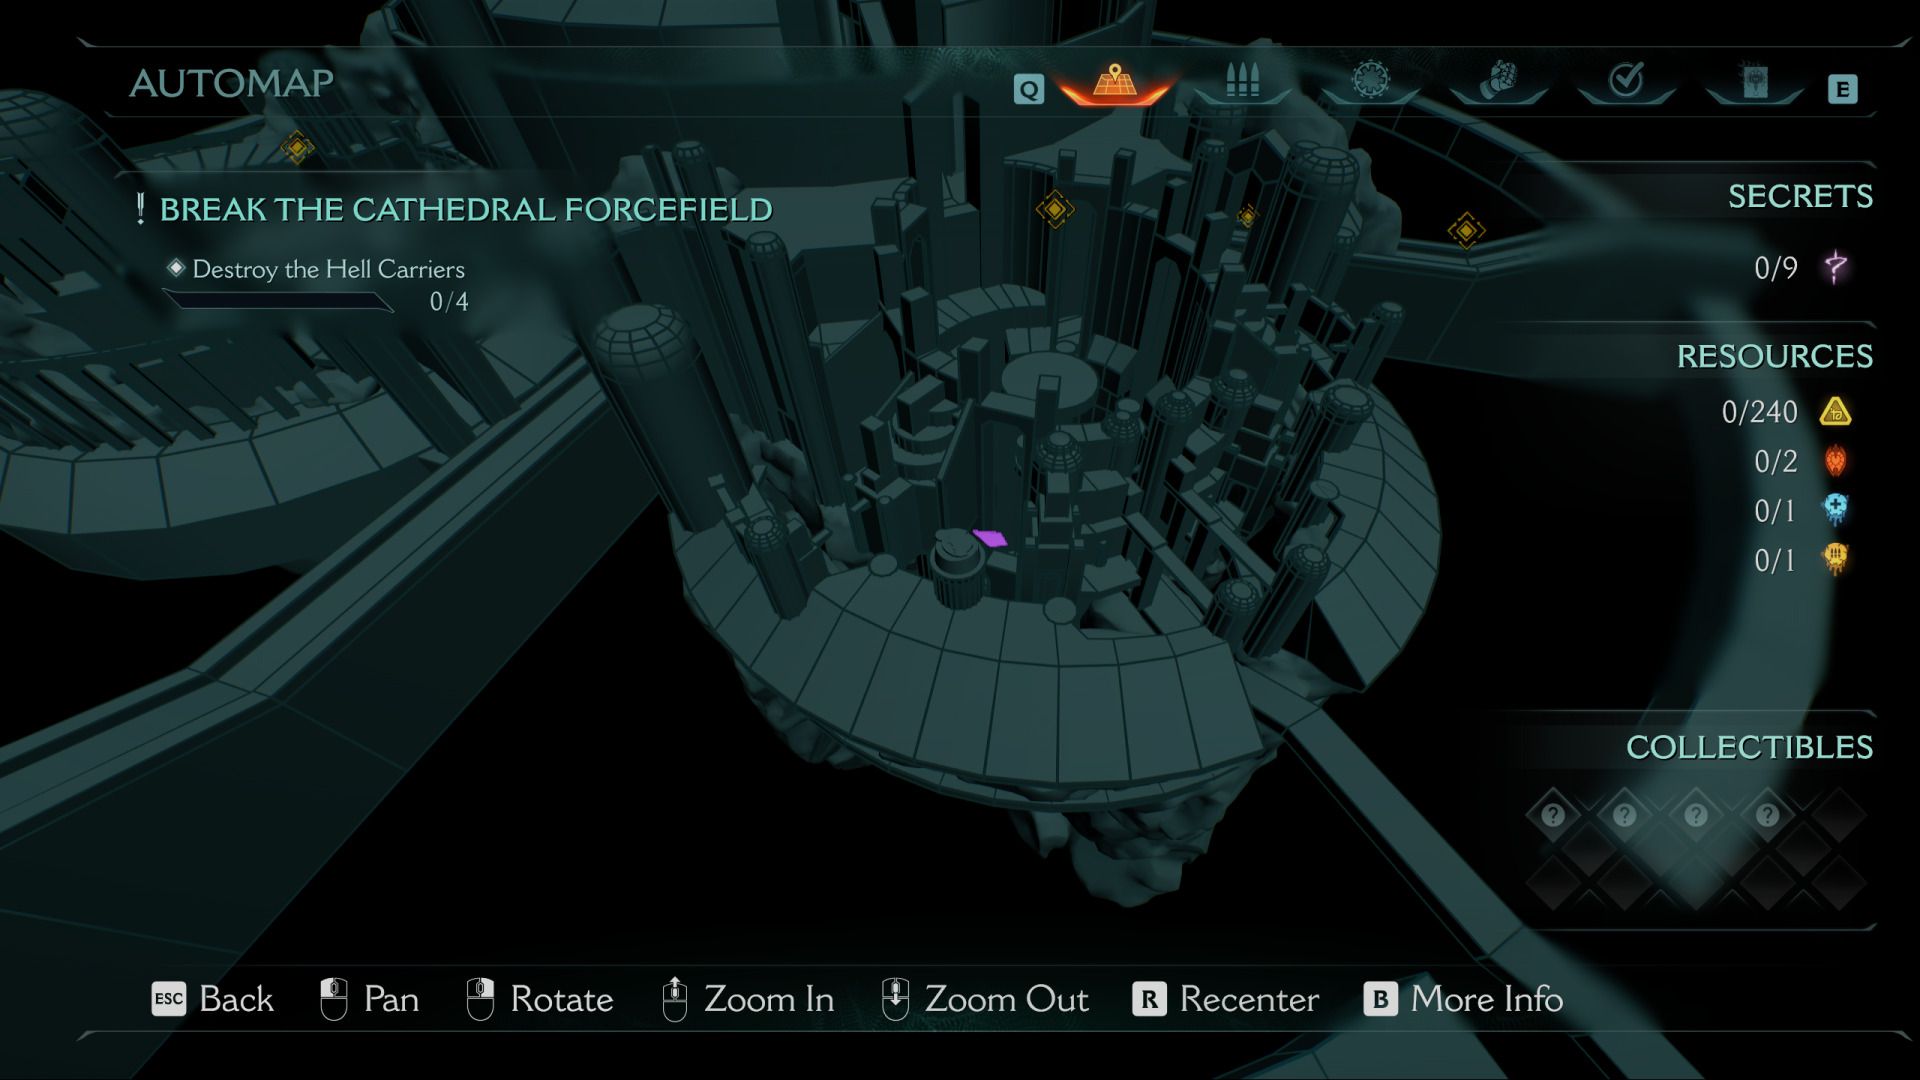
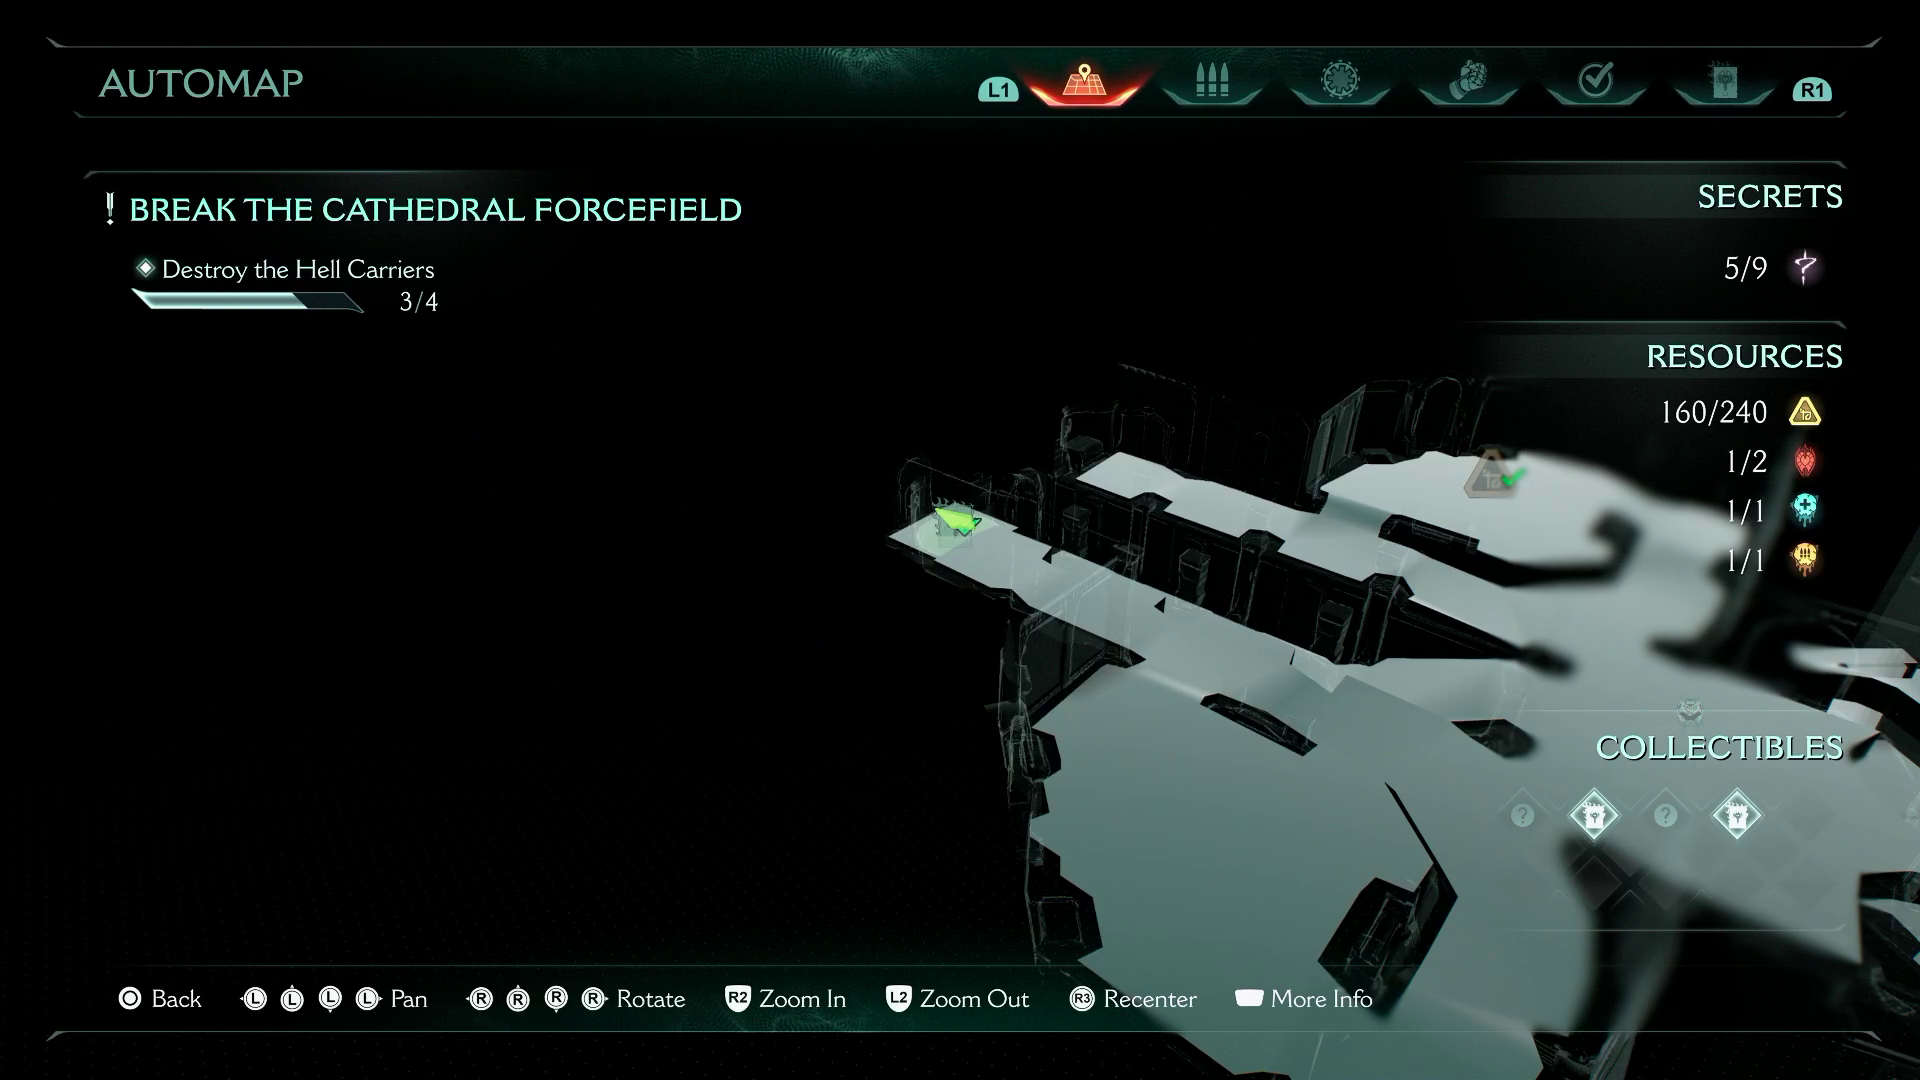
In the game, DOOM: The Dark Ages, The Holy City of Aratum contains more hidden treasures than many other chapters due to the fact that all three of its optional missions require discovering secret locations. This guide will show you how to find every secret area and collectible to achieve a 100% completion for The Holy City of Aratum in DOOM: The Dark Ages.
All Gold Locations in Chapter 5
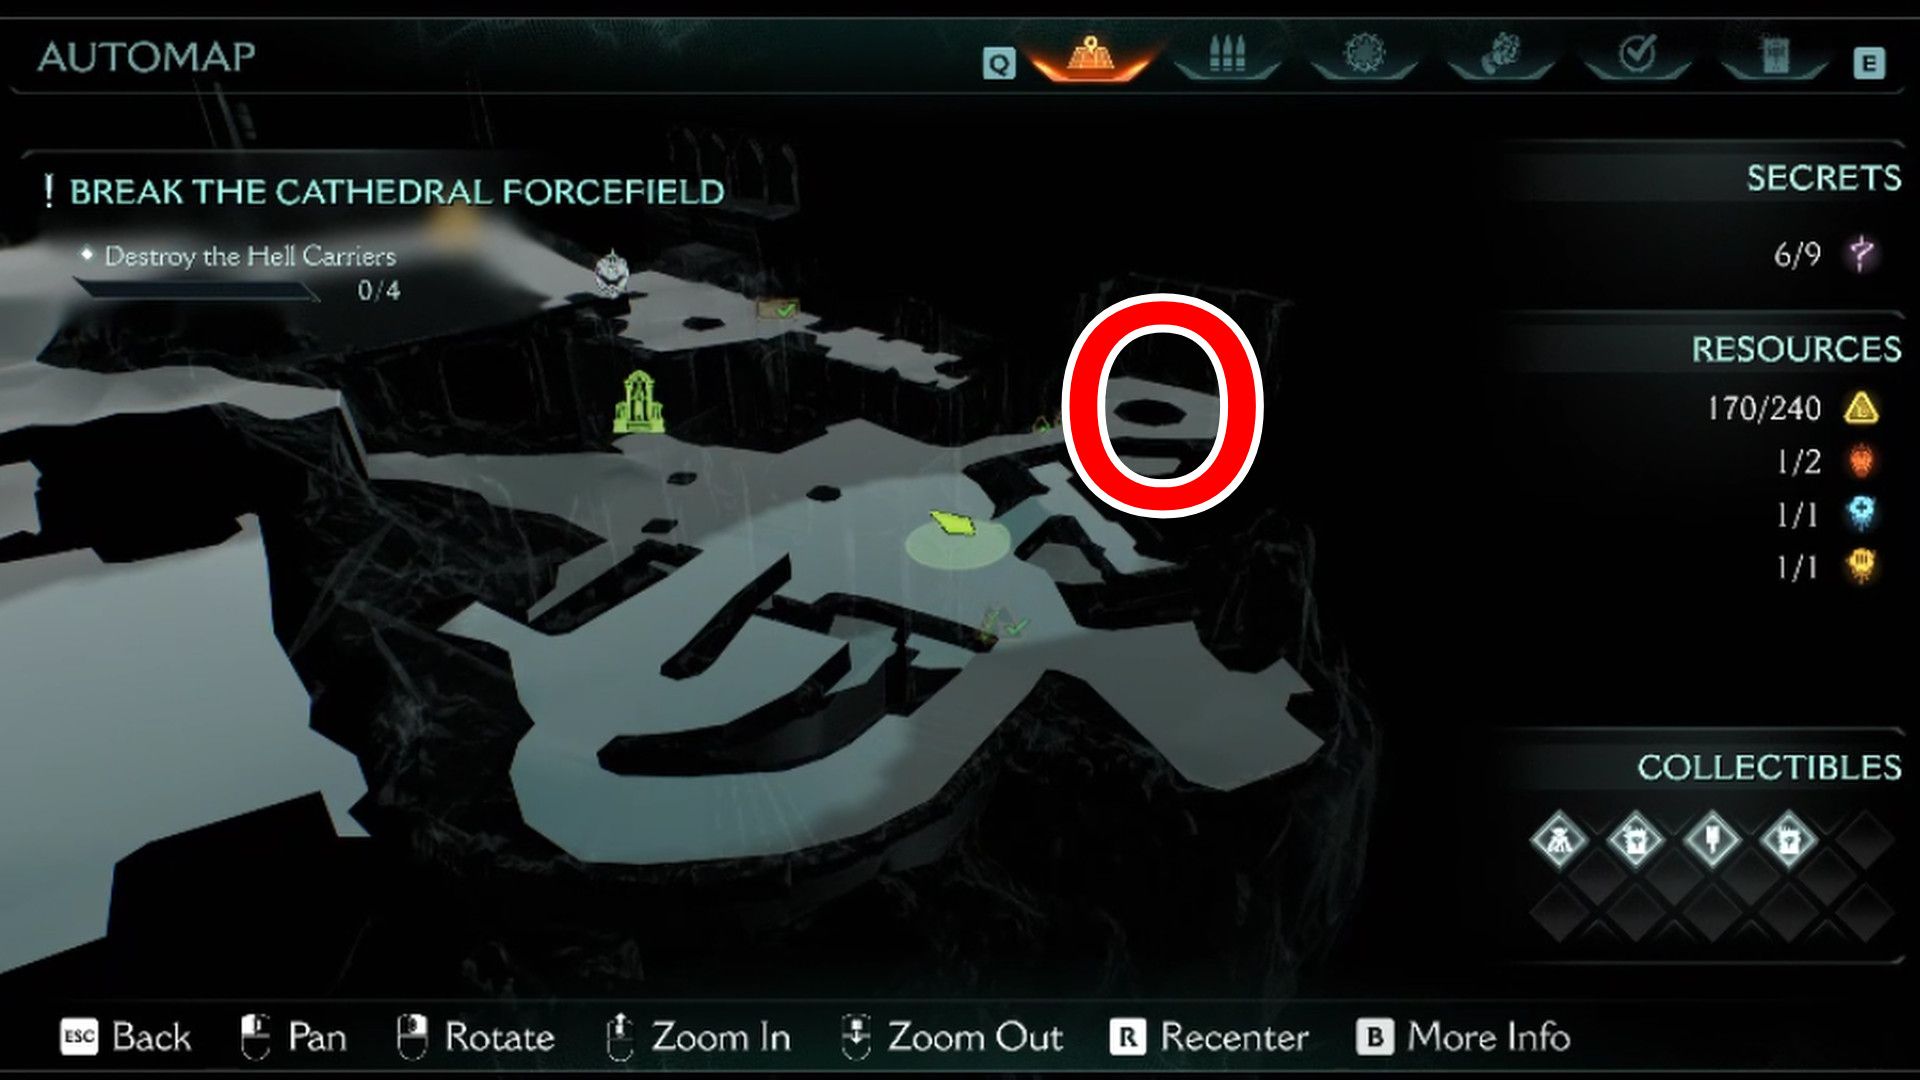
Gold Chest #1
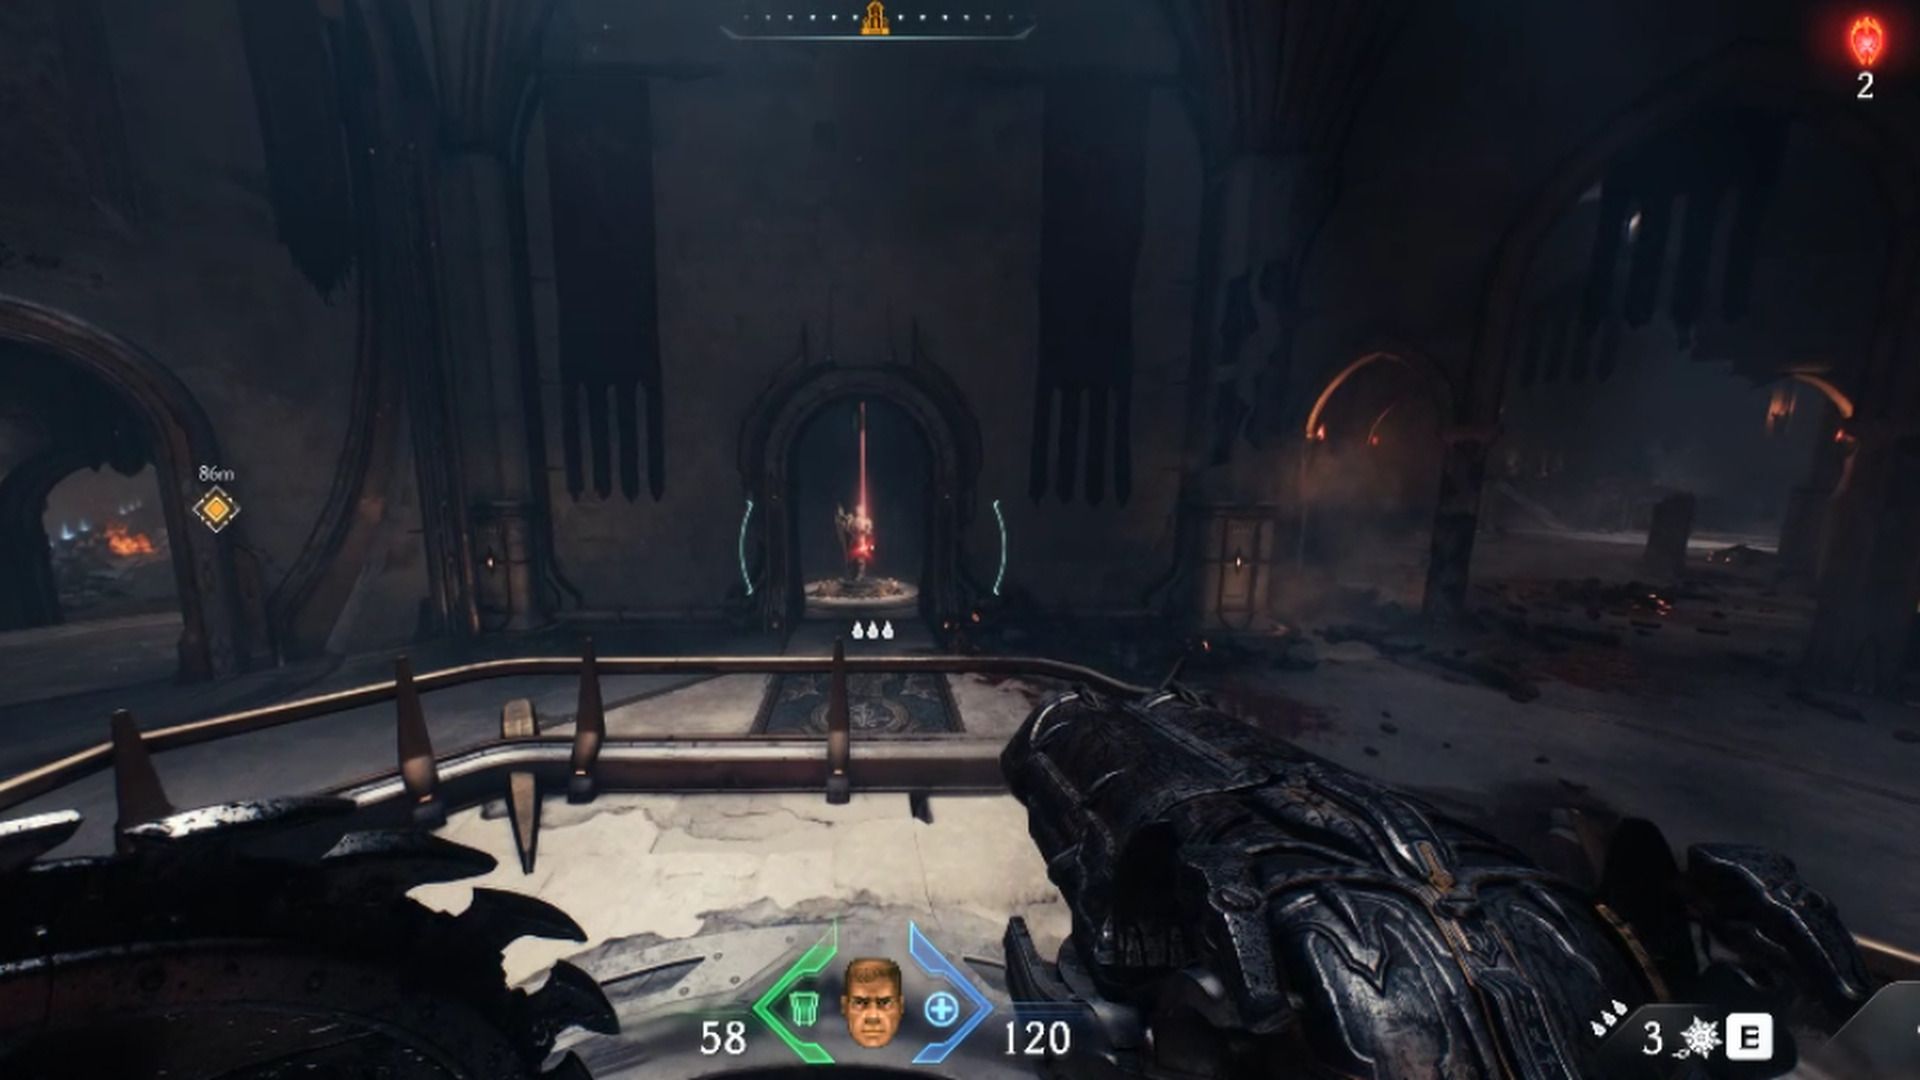
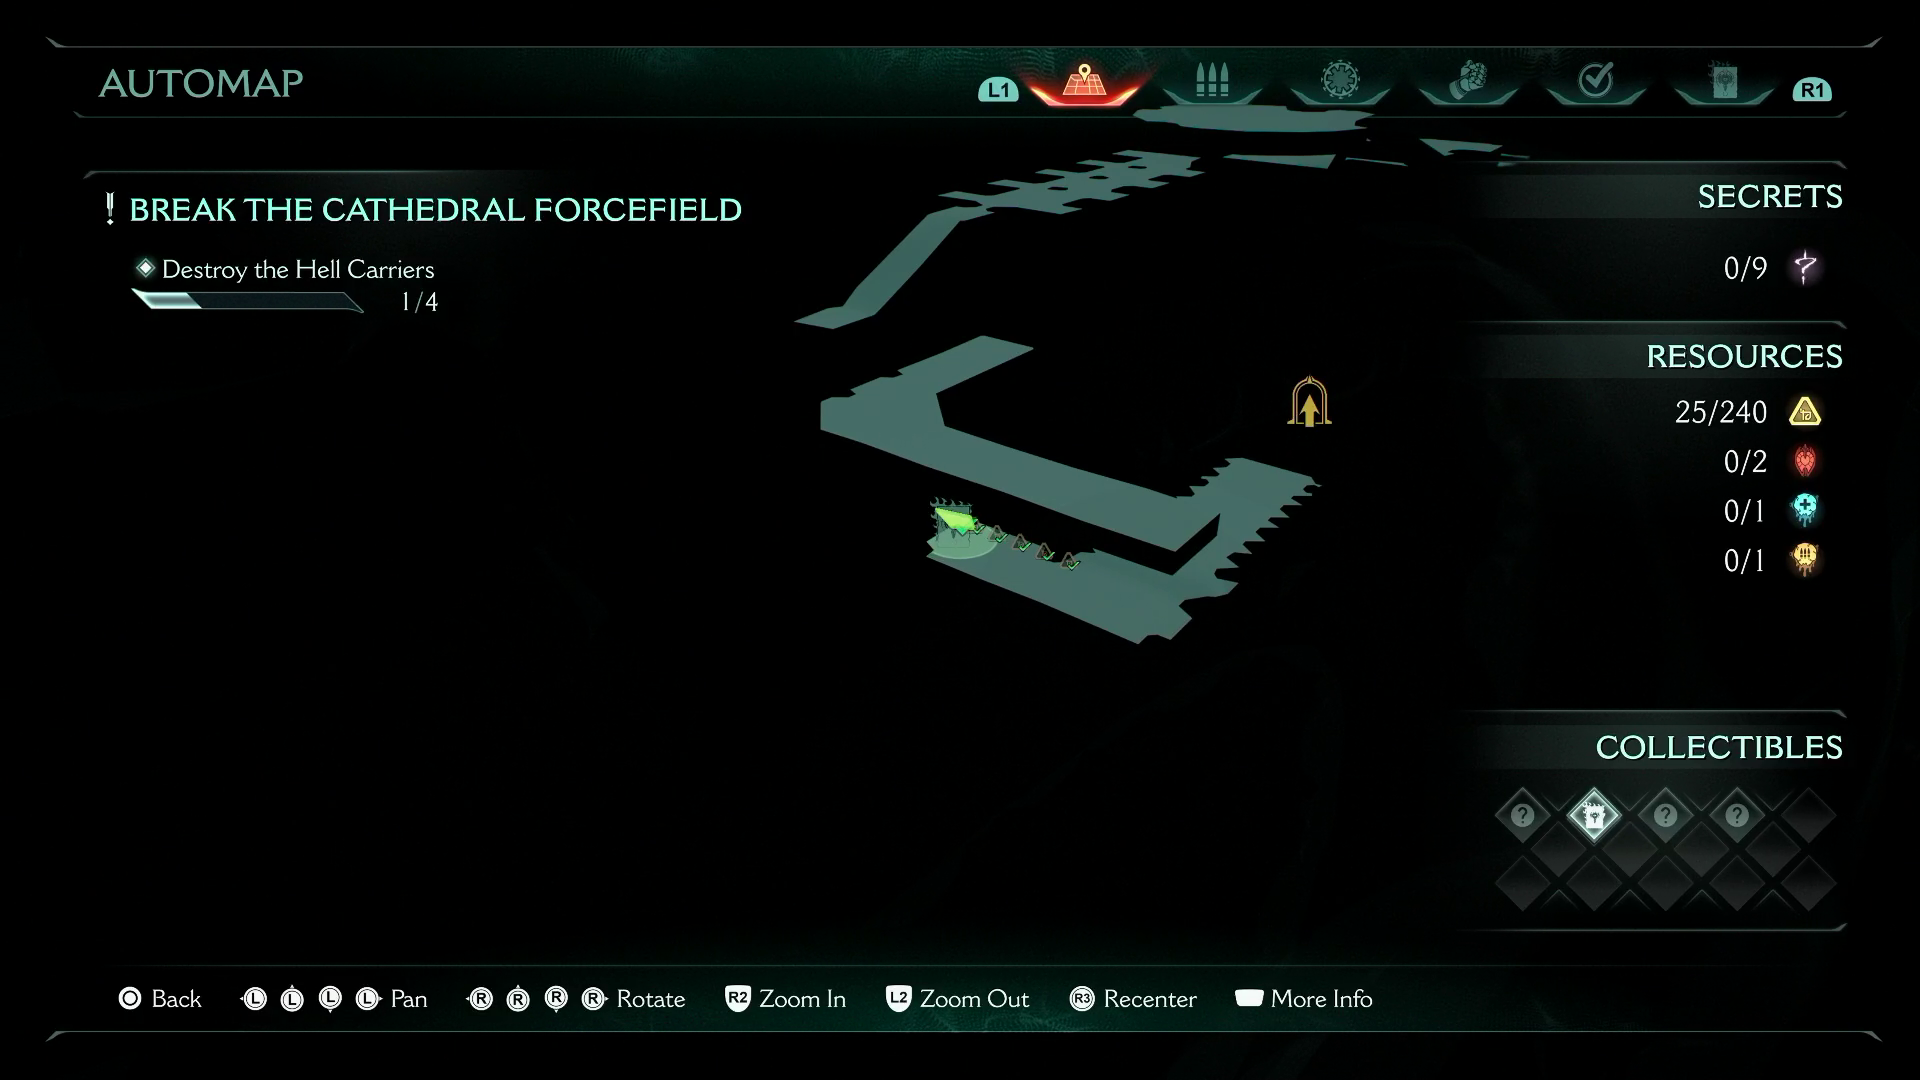
In this game, you can discover the initial Golden treasure near both the Gore Nest and the secret Layover challenge landing spot, right after the dragon tutorial concludes. When you arrive at the open section of the level and are instructed to destroy the four Hell Carriers, veer left and eliminate the titan with your dragon. After defeating the titan, fly to the tower where it once stood and continue along the edge of the tower to uncover the first Golden chest hiding beneath the Gore Nest.
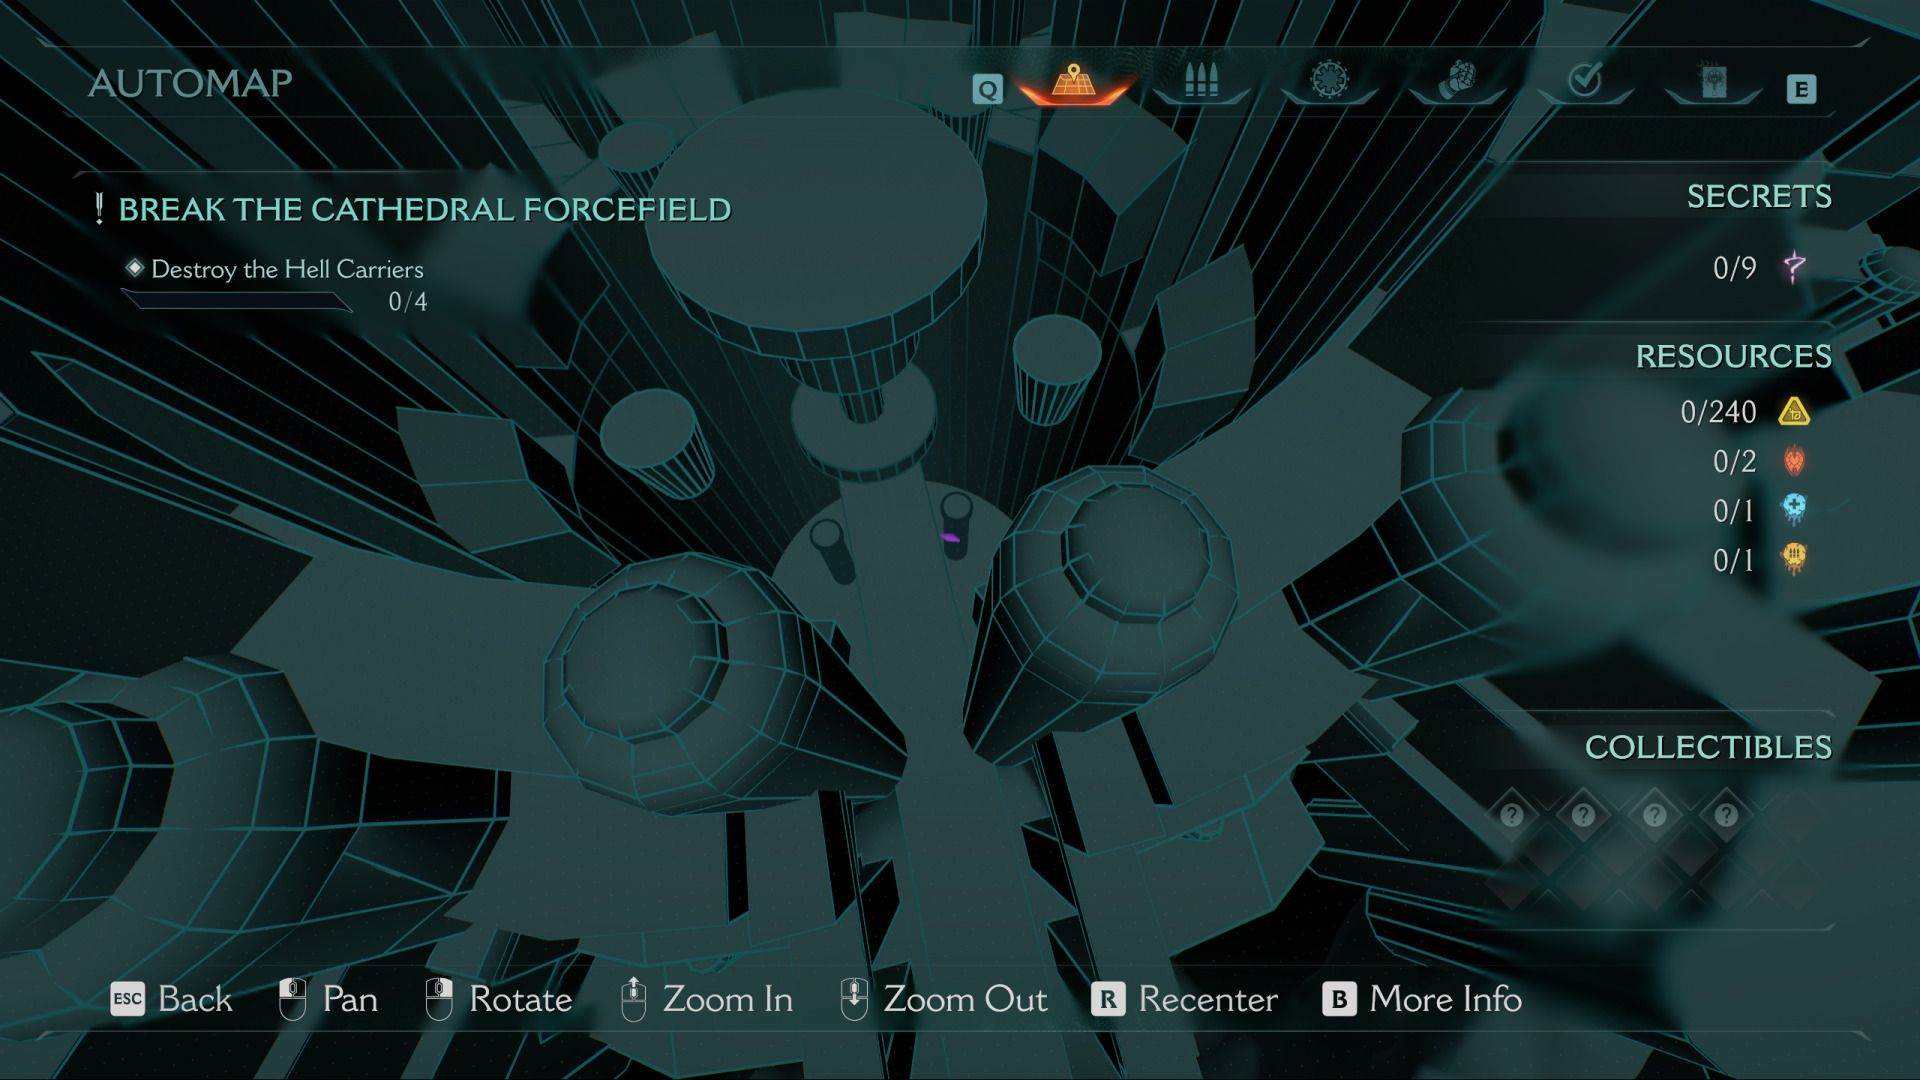
Gold Chest #2
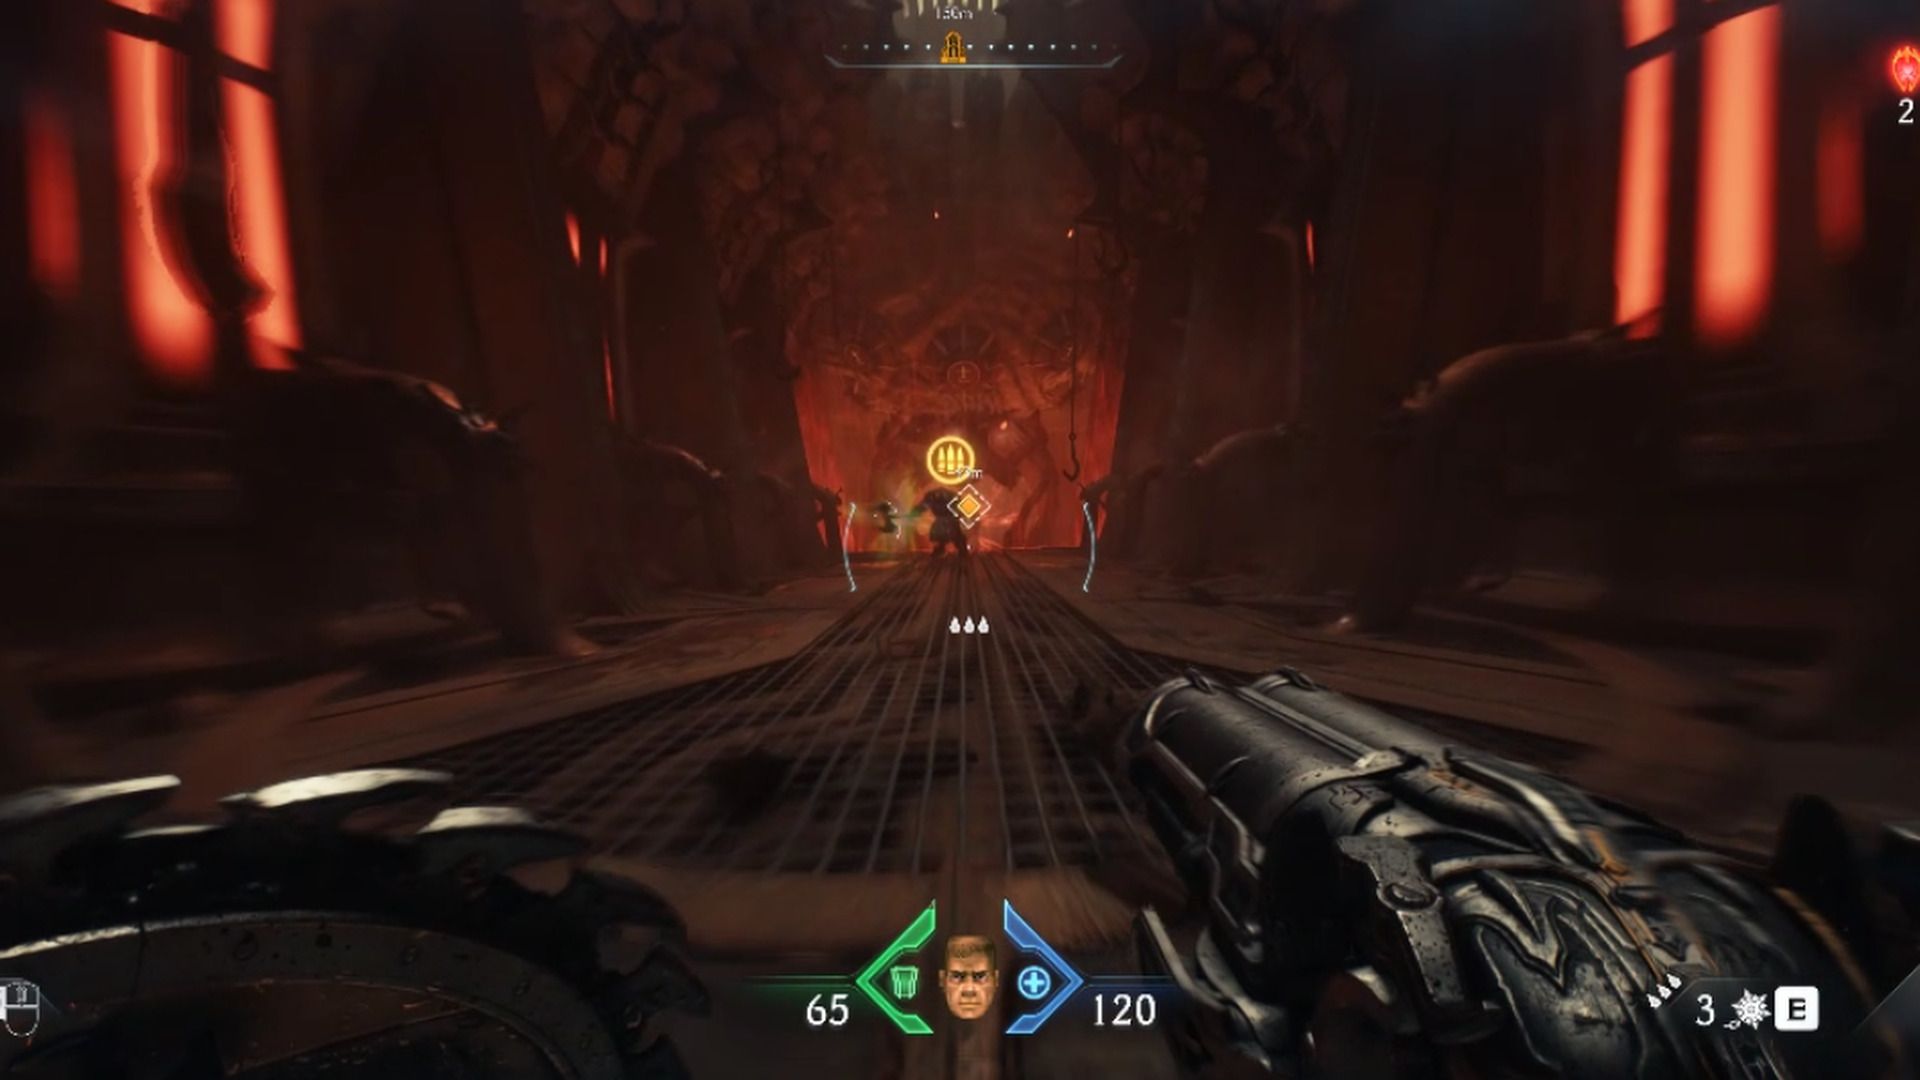
Additional Gold is concealed on the second Carrier of Hell (located to your right when you begin the level). Upon entering, it collides with a building. Head towards the Sentinel Shrine and follow the trail of Gold leading into a pit, which will take you to a massive hoard of even more Gold, as well as some cultists you can eliminate for one of this chapter’s challenges. Return to the surface to discover the second Gold chest.
Gold Chest #3

In Chapter 5 of “DOOM: The Dark Ages,” you’ll find the third golden chest hidden within a clandestine battlefield on the last Hell Carrier, where the Super Shotgun is also present. To get there, you must break through a protective barrier.
Hell Carrier #1 Gold
At the final stage of the initial Hell Carrier, a secret cache of Gold is tucked away. After vanquishing the imposing Cyberdemon safeguarding the heart of the vessel, promptly navigate beneath the catwalk you descended from to uncover this hidden treasure.
Hell Carrier #2 Gold
Besides the Gold treasure discovered close to the Sentinel Shrine in the area containing the second Hell Vehicle, additional Gold is concealed as well, this time near the Life Seal, hidden behind a secured door. Obtain the Blue Keycard slightly beyond the Sentinel Shrine to unlock it.
Hell Carrier #3 Gold
additional Gold can be discovered on the third Hellship (the one beyond the flesh-eating monster on the wall). After successfully completing the initial combat engagement aboard the vessel prior to acquiring the Cycler weapon, a small hoard of Gold will become accessible. The remaining Gold on this Hellship is situated at the end of the section preceding the destruction of the ship’s reactor. When you descend from the final platform, look behind and you’ll see some Gold concealed near a Codex artifact.
Hell Carrier #4 Gold
After acquiring the Cycler, you’ll ascend through an air vent back to the main city, which leads to the fourth and final Hell Carrier. Along a secret route to the sacred city of Aratum Codex, there are scattered pieces of Gold to gather. Additionally, a hidden combat arena with a Gold chest can be found near the shield wall, close to the point of no return within the Hell Carrier.
All Ruby Locations in Chapter 5
Ruby #1
The initial Ruby is concealed at the lowest point of a profound chasm beneath the first Airship of Hell. At the base of this chasm lies a covert landing site for dragons during the Layover challenge. Disembark from the dragon, position yourself on the radiant platform, and hurl your shield towards the luminescent metal item to secure entry into a fresh zone. Descend into the water and retrieve the Red Keycard, which will open the door leading to the Ruby.
Ruby #2
In Chapter 5, following the acquisition of the Super Shotgun, move ahead into the structure where you’ll encounter the second Ruby. This Ruby is enclosed within a gate and can be accessed by triggering a chandelier drop from above using your shield, over a green pressure pad.
All Demonic Essence Locations in Chapter 5
Health Demonic Essence
The Mystical Health Source can be found at the covert initial landing spot for dragons in the hidden layover, close to the beginning of the stage. Defeat the last boss of the Blood’s Nest to obtain it.
Ammo Demonic Essence
In the final part of the second Hell Carrier segment, you’ll find the Ammo Demonic Essence. Defeat the mini-boss, the Hell Knight Leader, to acquire it. Unlike the Health Demonic Essence, this one can’t be missed because it’s right on your main objective pathway.
All Codex Entries in Chapter 5
Deag Loric Codex
The Deag Loric Codex can be found at the conclusion of the third Hell Carrier, which is identified by its Cycler weapon. Upon arriving at the heart of the vessel, look behind you and you’ll notice a path paved with Gold guiding you to the Codex. Be sure to pick it up before departing from the ship.
Holy City of Aratum Codex
After obtaining the Super Shotgun, proceed to locate the Holy City of Aratum Codex. Once you’ve grabbed the weapon, enter the nearby building and move towards the right side. Ascend upward and deploy your shield to break a glowing red chain that supports a bridge. Use your shield again to push a large crate across to the opposite side, allowing you to scale it and gain access to a hidden area with the Codex. This location also houses the third and final Countercult symbol.
All Collectible Toys in Chapter 5
Serrat Toy

After obtaining the second Ruby and Super Shotgun, the Serrat Toy collectible can be discovered by veering right instead of crossing the bridge with an objective marker. Follow the hidden trail for a small amount of Gold until you reach the Serrat Toy location.
All Skins in Chapter 5
Nightmare Pulverizer Skin
At the hidden area below the second secret landing spot of the dragons near the first destroyed spaceship (Hell Carrier), you’ll find a skin for the Pulverizer weapon. To get there, guide your dragon to descend into the deep hole, reveal the landing zone, and then follow the gold pathway leading into a concealed corridor. The skin is tucked away in there.
Countercult Locations
Countercult Circle #1
As a devoted follower, I’ve uncovered an intriguing hideout – the initial cultist circle. It’s hidden away in the covert Layover landing zone, nested under the first Hell Carrier. On the periphery of this region, close to the passageway that leads to the Pulverizer skin, is where you’ll find these enigmatic individuals.
Countercult Circle #2
In the second part of the Hell Carrier, you’ll discover the second gathering place of cultists hidden close to the Sentinel Shrine. To locate it, trace the path of gold that leads into a narrow passageway, then descend into the pit. You’ll encounter the cultists there, as well as a treasure chest filled with gold.
Countercult Circle #3
The last cultist gathering place, which is the third one, can be found close to the hidden zone encompassing the Holy City of Aratum Codex (as previously detailed).
Layover Locations
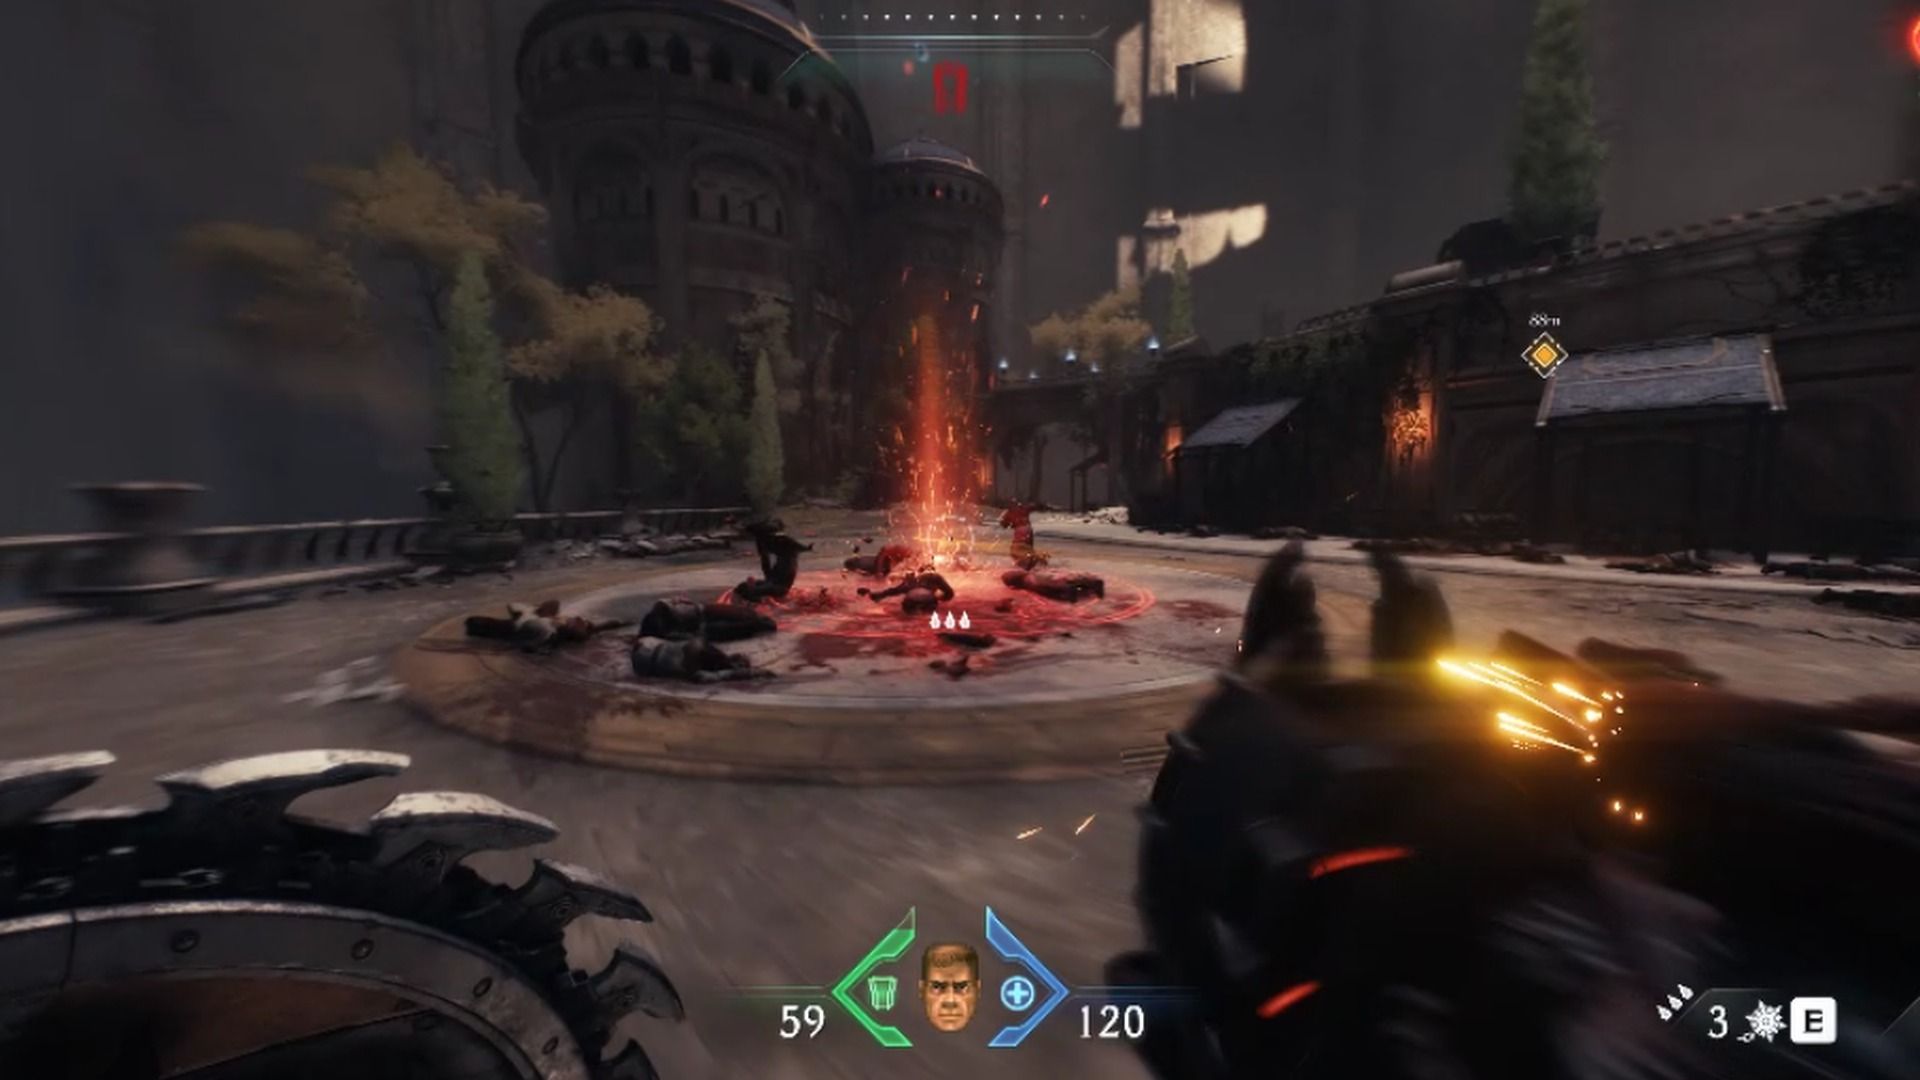
Secret Dragon Landing Zone #1

As you advance into the open section of the level, you’ll discover the initial hidden landing spot for Layover’s secret dragon, marked by a towering structure. Instead of engaging the Hell Carriers immediately, veer left and vanquish the titan perched atop the tower to reveal a fresh landing zone.
Secret Dragon Landing Zone #2
As a devoted admirer, I’d share that my next destination, nestled beneath the grandeur of the first Hell Carrier, rests in the depths of a profound chasm. Here, two mighty titans stand vigil, guarding over this solitary spot.
Cat and Mouse Locations
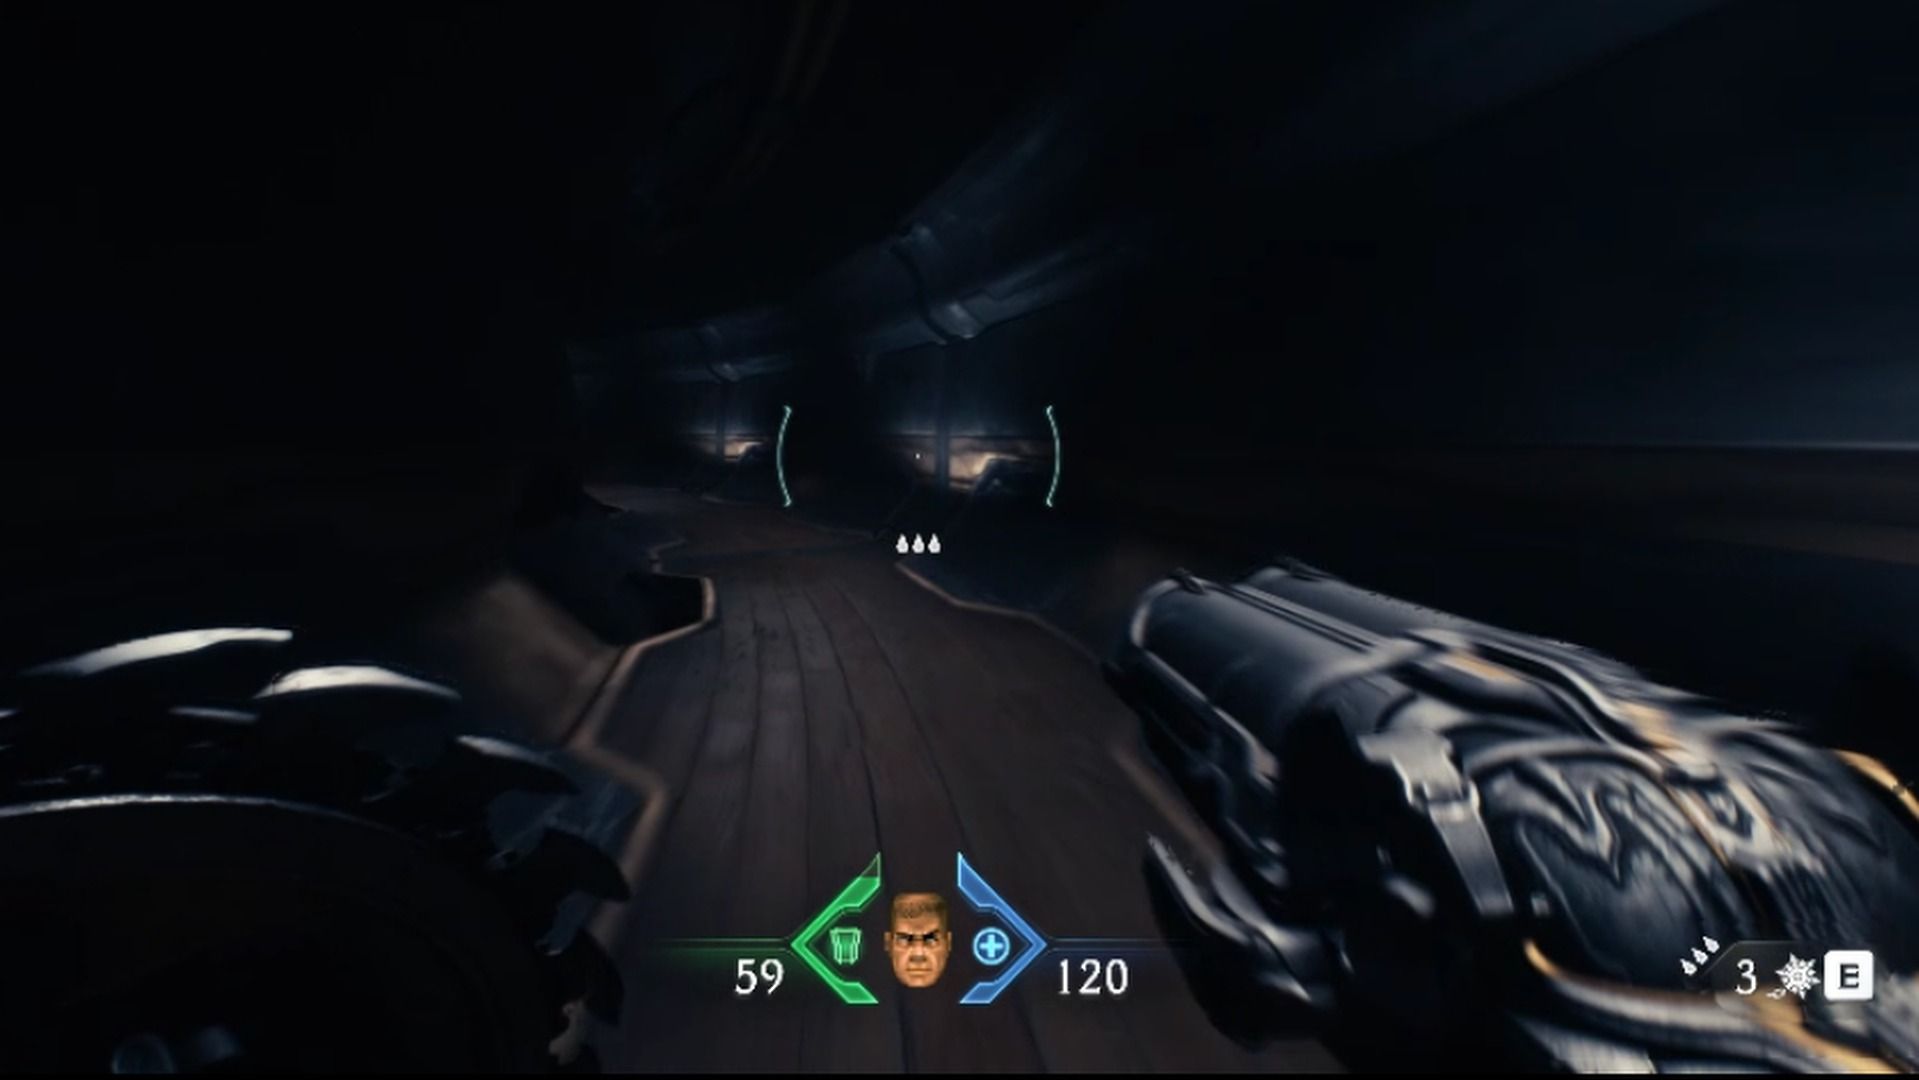
Hell Fighter #1
The first Hell Fighter is located in the tutorial tunnel, so it can’t be missed.
Hell Fighter #2
Following the demolition of the meaty obstruction barricading the path to the third Infernal Vessel, the second Fiendish Combatant emerges.
Hell Fighter #3
In the finale of DOOM: The Dark Ages Chapter 5, the final Hell Fighter emerges following the obliteration of another fleshy growth connected to a structure. This time, the path leads towards the fourth and concluding Hell Carrier. And so, the trials for this chapter conclude! However, there are still more collectibles waiting to be discovered in Chapter 6, ensuring that the adventure continues!
Read More
- All Skyblazer Armor Locations in Crimson Desert
- How to Get the Sunset Reed Armor Set and Hollow Visage Sword in Crimson Desert
- All Shadow Armor Locations in Crimson Desert
- Marni Laser Helm Location & Upgrade in Crimson Desert
- All Golden Greed Armor Locations in Crimson Desert
- All Helfryn Armor Locations in Crimson Desert
- Best Bows in Crimson Desert
- Keeping Large AI Models Connected Through Network Chaos
- All Icewing Armor Locations in Crimson Desert
- How to Craft the Elegant Carmine Armor in Crimson Desert
2025-05-19 00:25