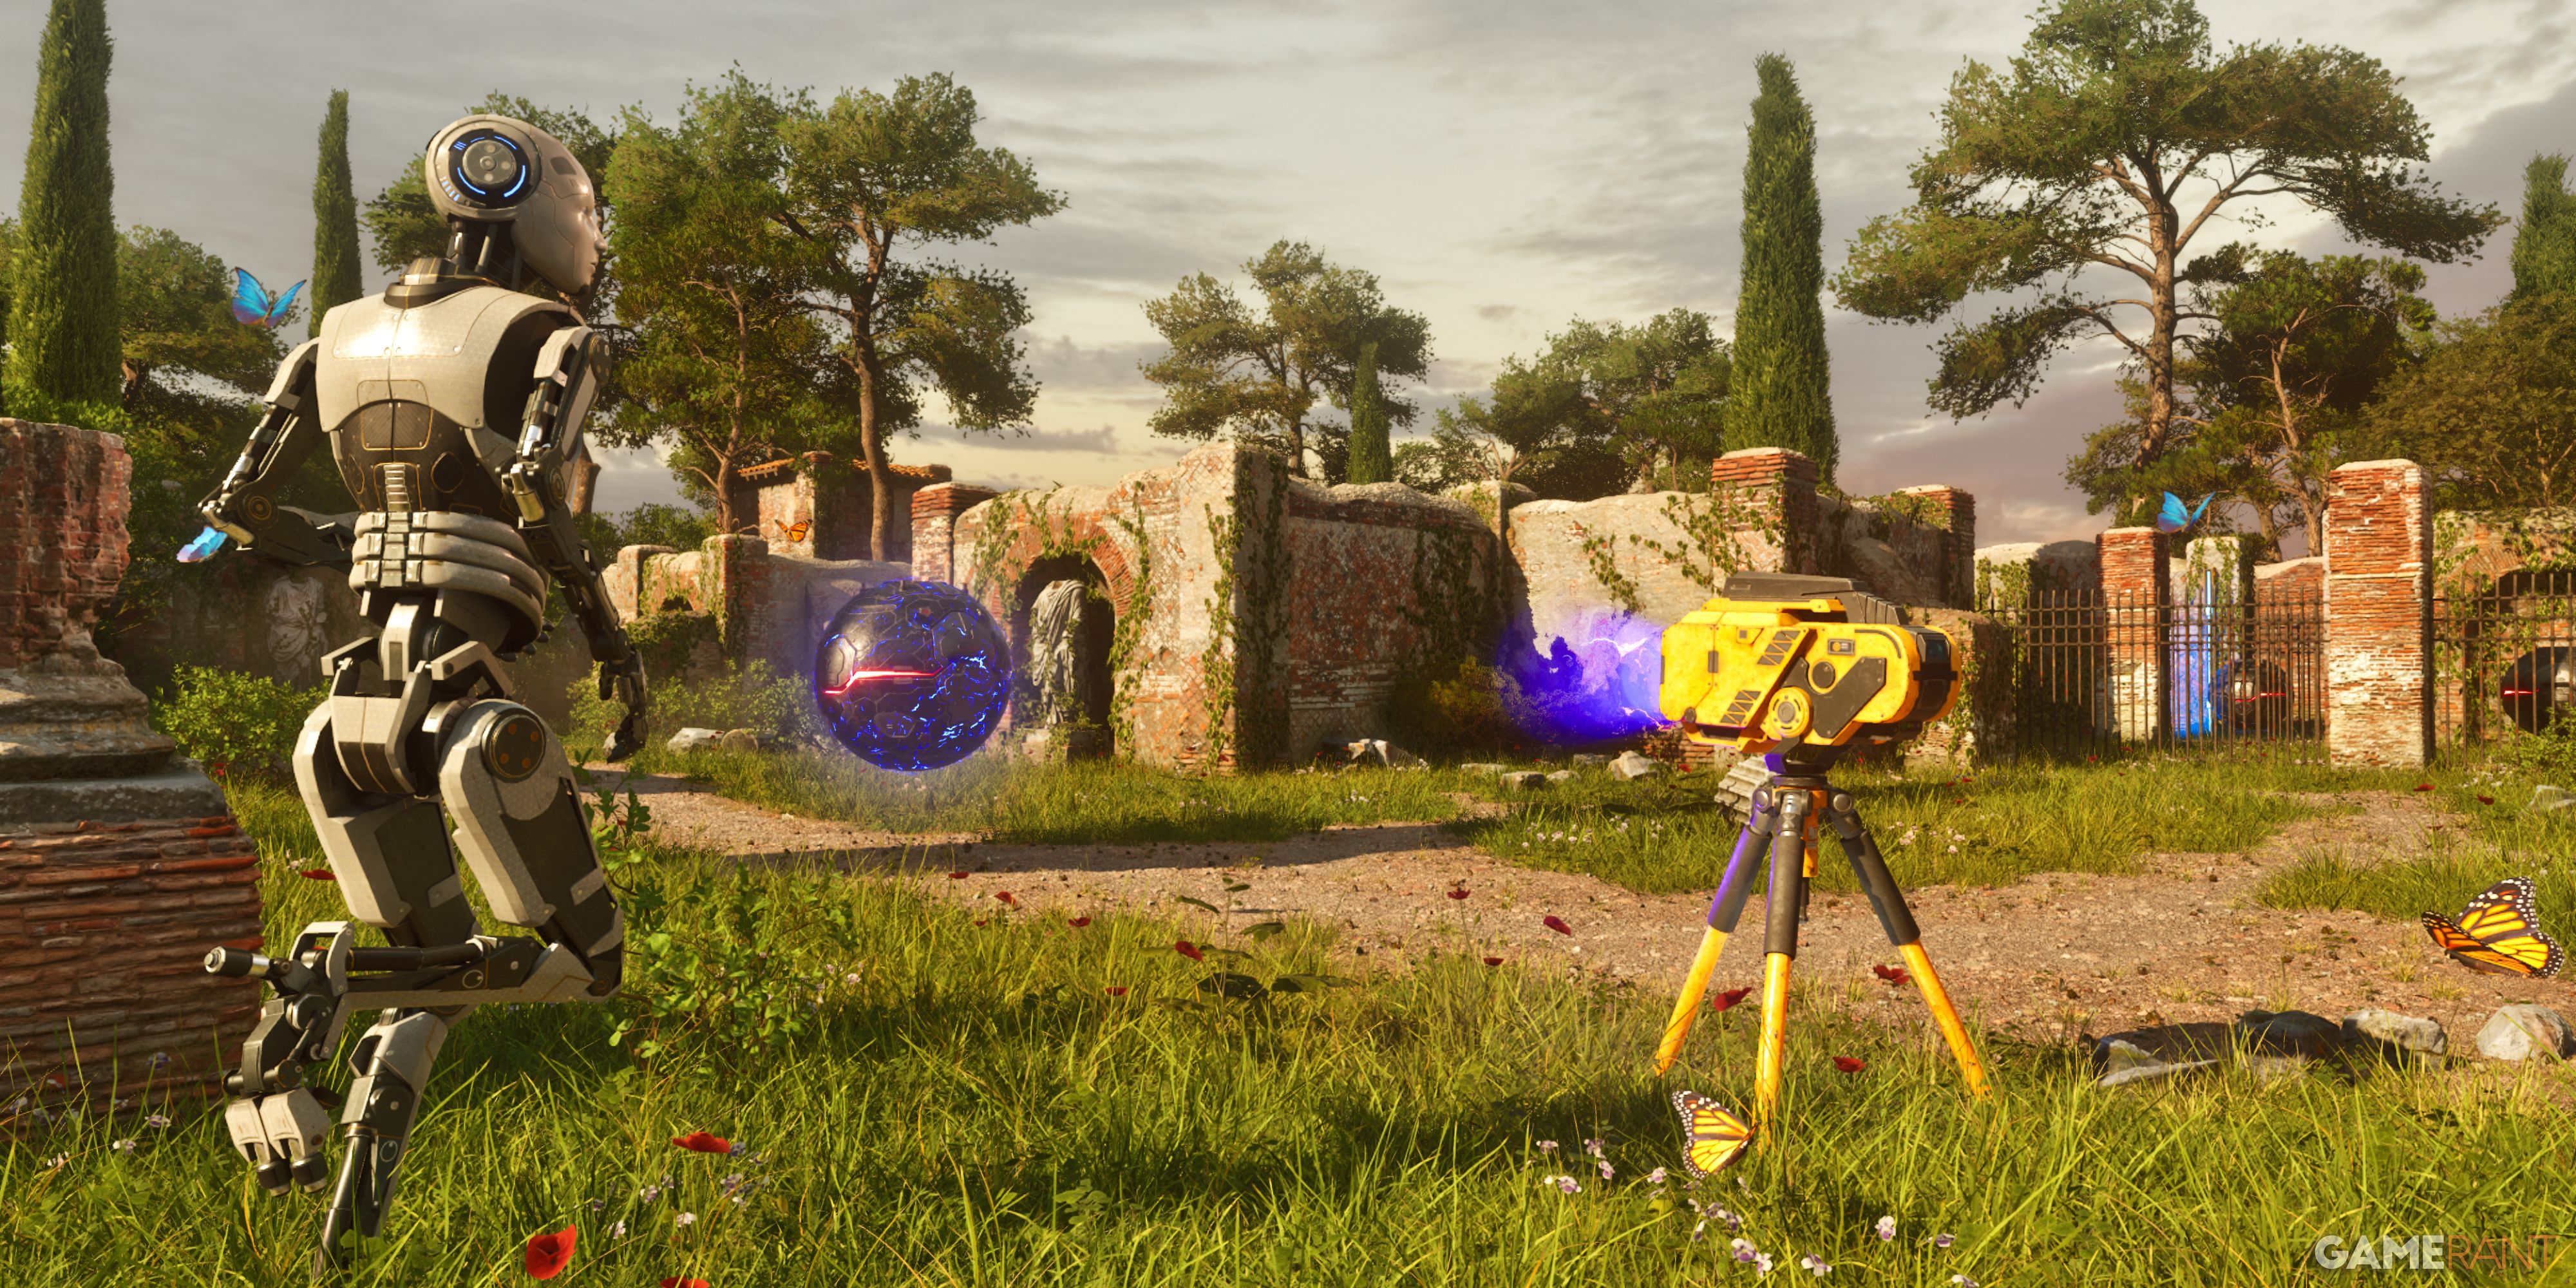
In The Talos Principle: Reawakened, players encounter numerous sigils essential for game advancement. Initially, green ones may seem familiar, but as the game unfolds, every color proves crucial in revealing its hidden treasures. Generally, it’s World A3 where most players will acquire their first red sigil.
On planet A3, you’ll find a single green symbol, two yellows, and another red one. Scattered around are also two stars that players might want to gather at their convenience, though some of these stars can be quite challenging to get hold of.
How to Solve Stashed for Later in The Talos Principle: Reawakened
In this game, numerous worlds are expansive, free-roaming environments brimming with challenging puzzles. Fortunately, at the onset of each world, a sign displays the number of puzzles present, along with additional signs guiding you towards them. Once a puzzle is solved, it will be marked with a black X to indicate completion.
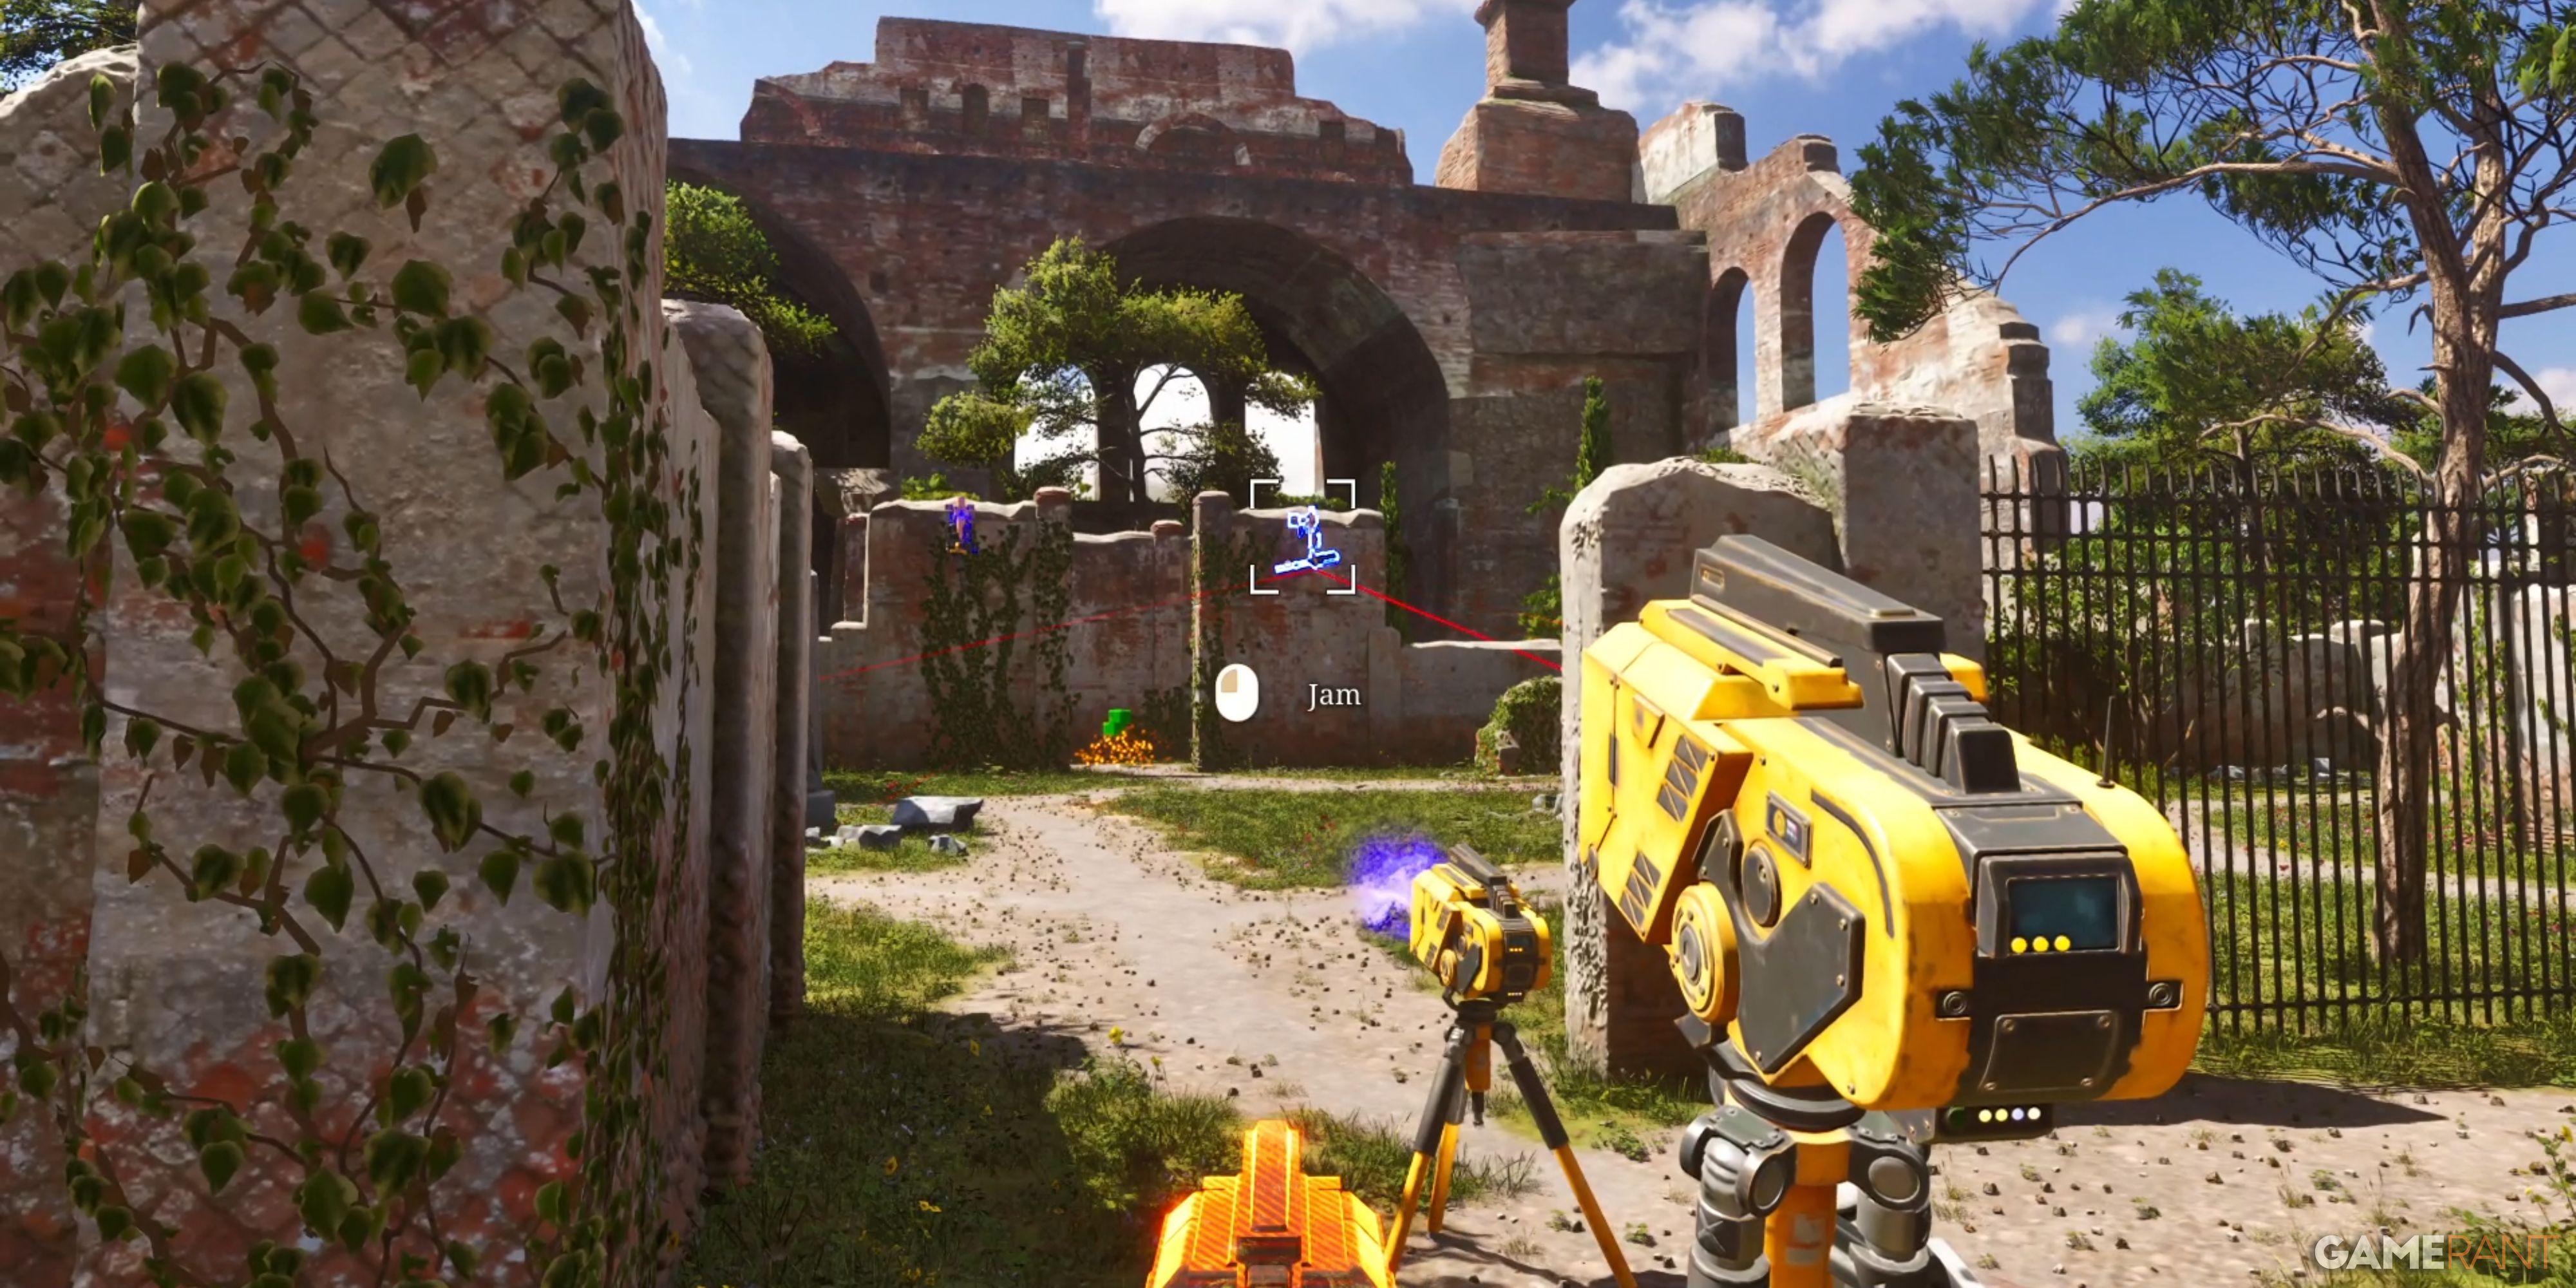
Once you step into the puzzle chamber, veer left along the corridor. Along your way, you’ll notice an explosive device being influenced by a Jammer. Continue moving forward until you encounter a crossroads. Take the road to the left and keep going to locate some keys. Return to the crossroads later, then follow the wall on the left side to discover the entrance for those keys, which should lead you back to where you started.
In this scenario, they’ll be led to a room containing Jammer 2. However, players should be cautious not to grab Jammer 2 near the bomb because it’s too close and doing so will detonate the bomb. Instead, use Jammer 2 from a safe distance first, then pick up Jammer 1.
Return to the crossroads once more, then choose the route to your left. From there, you’ll find an entryway in a wall. Use the two jammers located within this entrance to disarm the two cannons situated on the distant side. The green emblem is positioned between these cannons.
In The Talos Principle: Reawakened, although it’s not primarily a horror game, players could experience an unexpected jolt as a bomb suddenly explodes nearby.
How to Solve A Bit Tied Up in The Talos Principle: Reawakened
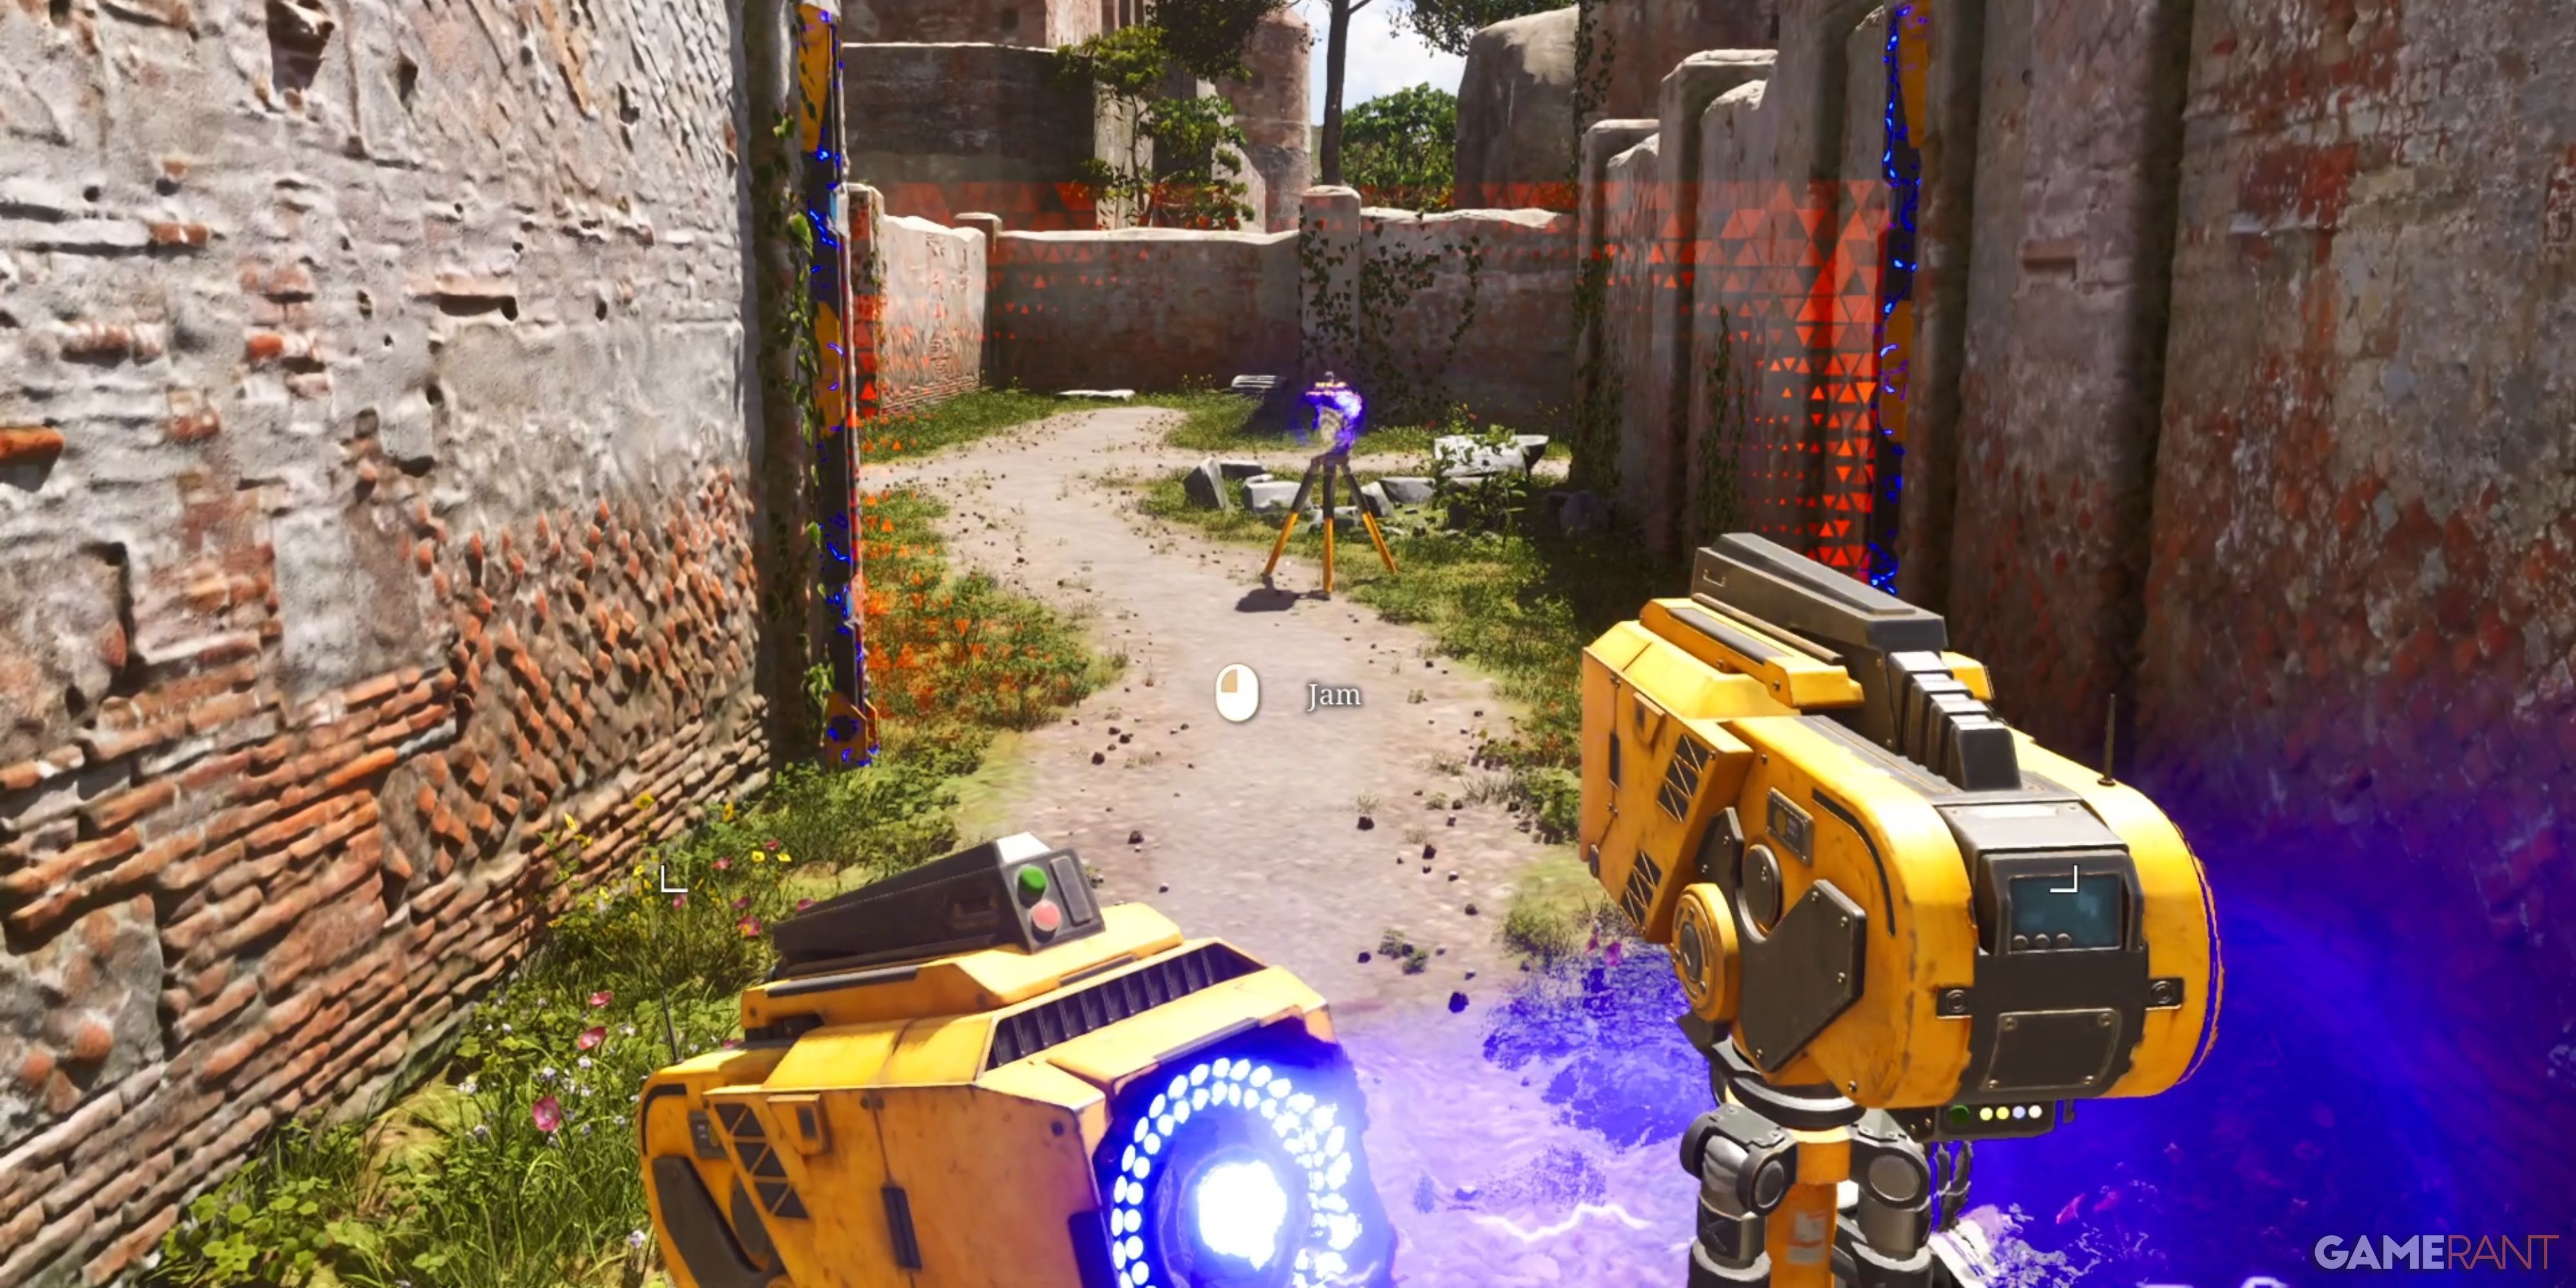
In some instances, working on this puzzle might seem similar to trying to escape an escape room. Once you’ve entered the puzzle area, scan the left side for a device called a Jammer. Grab the Jammer and then spin around. You’ll notice a blue barricade with a path running alongside it on its left. At the end of this path, there are two more Jammers and a non-functioning bomb. The second Jammer will be disarming a bomb, while the third one will be disabling a mounted gun.
As a fan, I’d say:
Activate Jammer 1 on the explosive device and bring Jammer 2 with me towards Jammer 1. Once there, I should utilize Jammer 2 on the turret up ahead. Next, I’ll transport Jammer 3 to Jammer 1 as well. After that, I need to apply one of the Jammers on the blue barricade and move the other two items beyond it. Then, I should use another Jammer on the left-side turret and the remaining one on the right-side turret. Lastly, I’ll grab the unused Jammer from this room and employ it on the turret located to the right.
Traverse along the designated route to gather the yellow symbol. Solving these types of riddles prepares gamers for the intricate brainteasers they may encounter in the game’s upcoming, tougher puzzles.
Players can use the Jammer disabling the barrier on another barrier in this room to collect a Star.
How to Solve Locked Me Up, Swallowed the Key in The Talos Principle: Reawakened

To reach your destination, continue straight on the road initially, then take the first right that comes up, followed by a left turn. Upon doing so, you’ll encounter a Jammer. Retrace your steps along the road by taking the same right turn again, and then look for a blue barricade. Pass through this barricade and take the first left turn you encounter. You will discover some keys in that location. Return to the open barricade, and to your left, you’ll find Barrier 2.
This text aims to provide clear instructions while maintaining an easy-to-understand flow of information.
Head towards the Jammer while keeping the wall to your right, and you’ll eventually come across a gate that holds the keys. Pass through this gate, and at the end of the path, you’ll find a mounted gun. Interact with the mounted gun using the Jammer you have, and then look in the direction the gun faces – there you will find the Jammer 2.
1. Activate Jammer 2 at Barrier 2. Proceed through Barrier 2 with Jammer 1, where you’ll discover another mounted gun. Deactivate Jammer 1 and use it on Barrier 2 instead. Then, move Jammer 2 to the mounted gun beyond Barrier 2. Continue along the path to reach a yellow symbol.
– Turn on Jammer 2 at Barrier 2. Go past Barrier 2 using Jammer 1; you’ll find a mounted gun there. Switch to Jammer 1 and use it on Barrier 2 instead. Now, transfer Jammer 2 to the gun beyond Barrier 2. Keep going to spot a yellow sigil.
– At Barrier 2, activate Jammer 2. Proceed with Jammer 1, where you’ll find another mounted gun. Deactivate Jammer 1 and use it on Barrier 2 instead. Switch over Jammer 2 to the gun beyond Barrier 2. Continue your journey to come across a yellow symbol.
– Engage Jammer 2 at Barrier 2. Proceed through Barrier 2 using Jammer 1; you’ll locate another mounted gun there. Deactivate Jammer 1 and employ it on Barrier 2 instead. Transfer Jammer 2 to the gun beyond Barrier 2. Carry on to find a yellow sigil.
– With Jammer 2, activate Barrier 2. Proceed through Barrier 2 utilizing Jammer 1; you’ll see another mounted gun there. Deactivate Jammer 1 and apply it on Barrier 2 instead. Move Jammer 2 to the gun beyond Barrier 2. Keep moving to find a yellow symbol.
– Switch on Jammer 2 at Barrier 2. Proceed through Barrier 2 using Jammer 1, where you’ll locate another mounted gun. Deactivate Jammer 1 and use it on Barrier 2 instead. Transfer Jammer 2 to the gun beyond Barrier 2. Keep going to discover a yellow sigil.
How to Solve An Escalating Problem in The Talos Principle: Reawakened
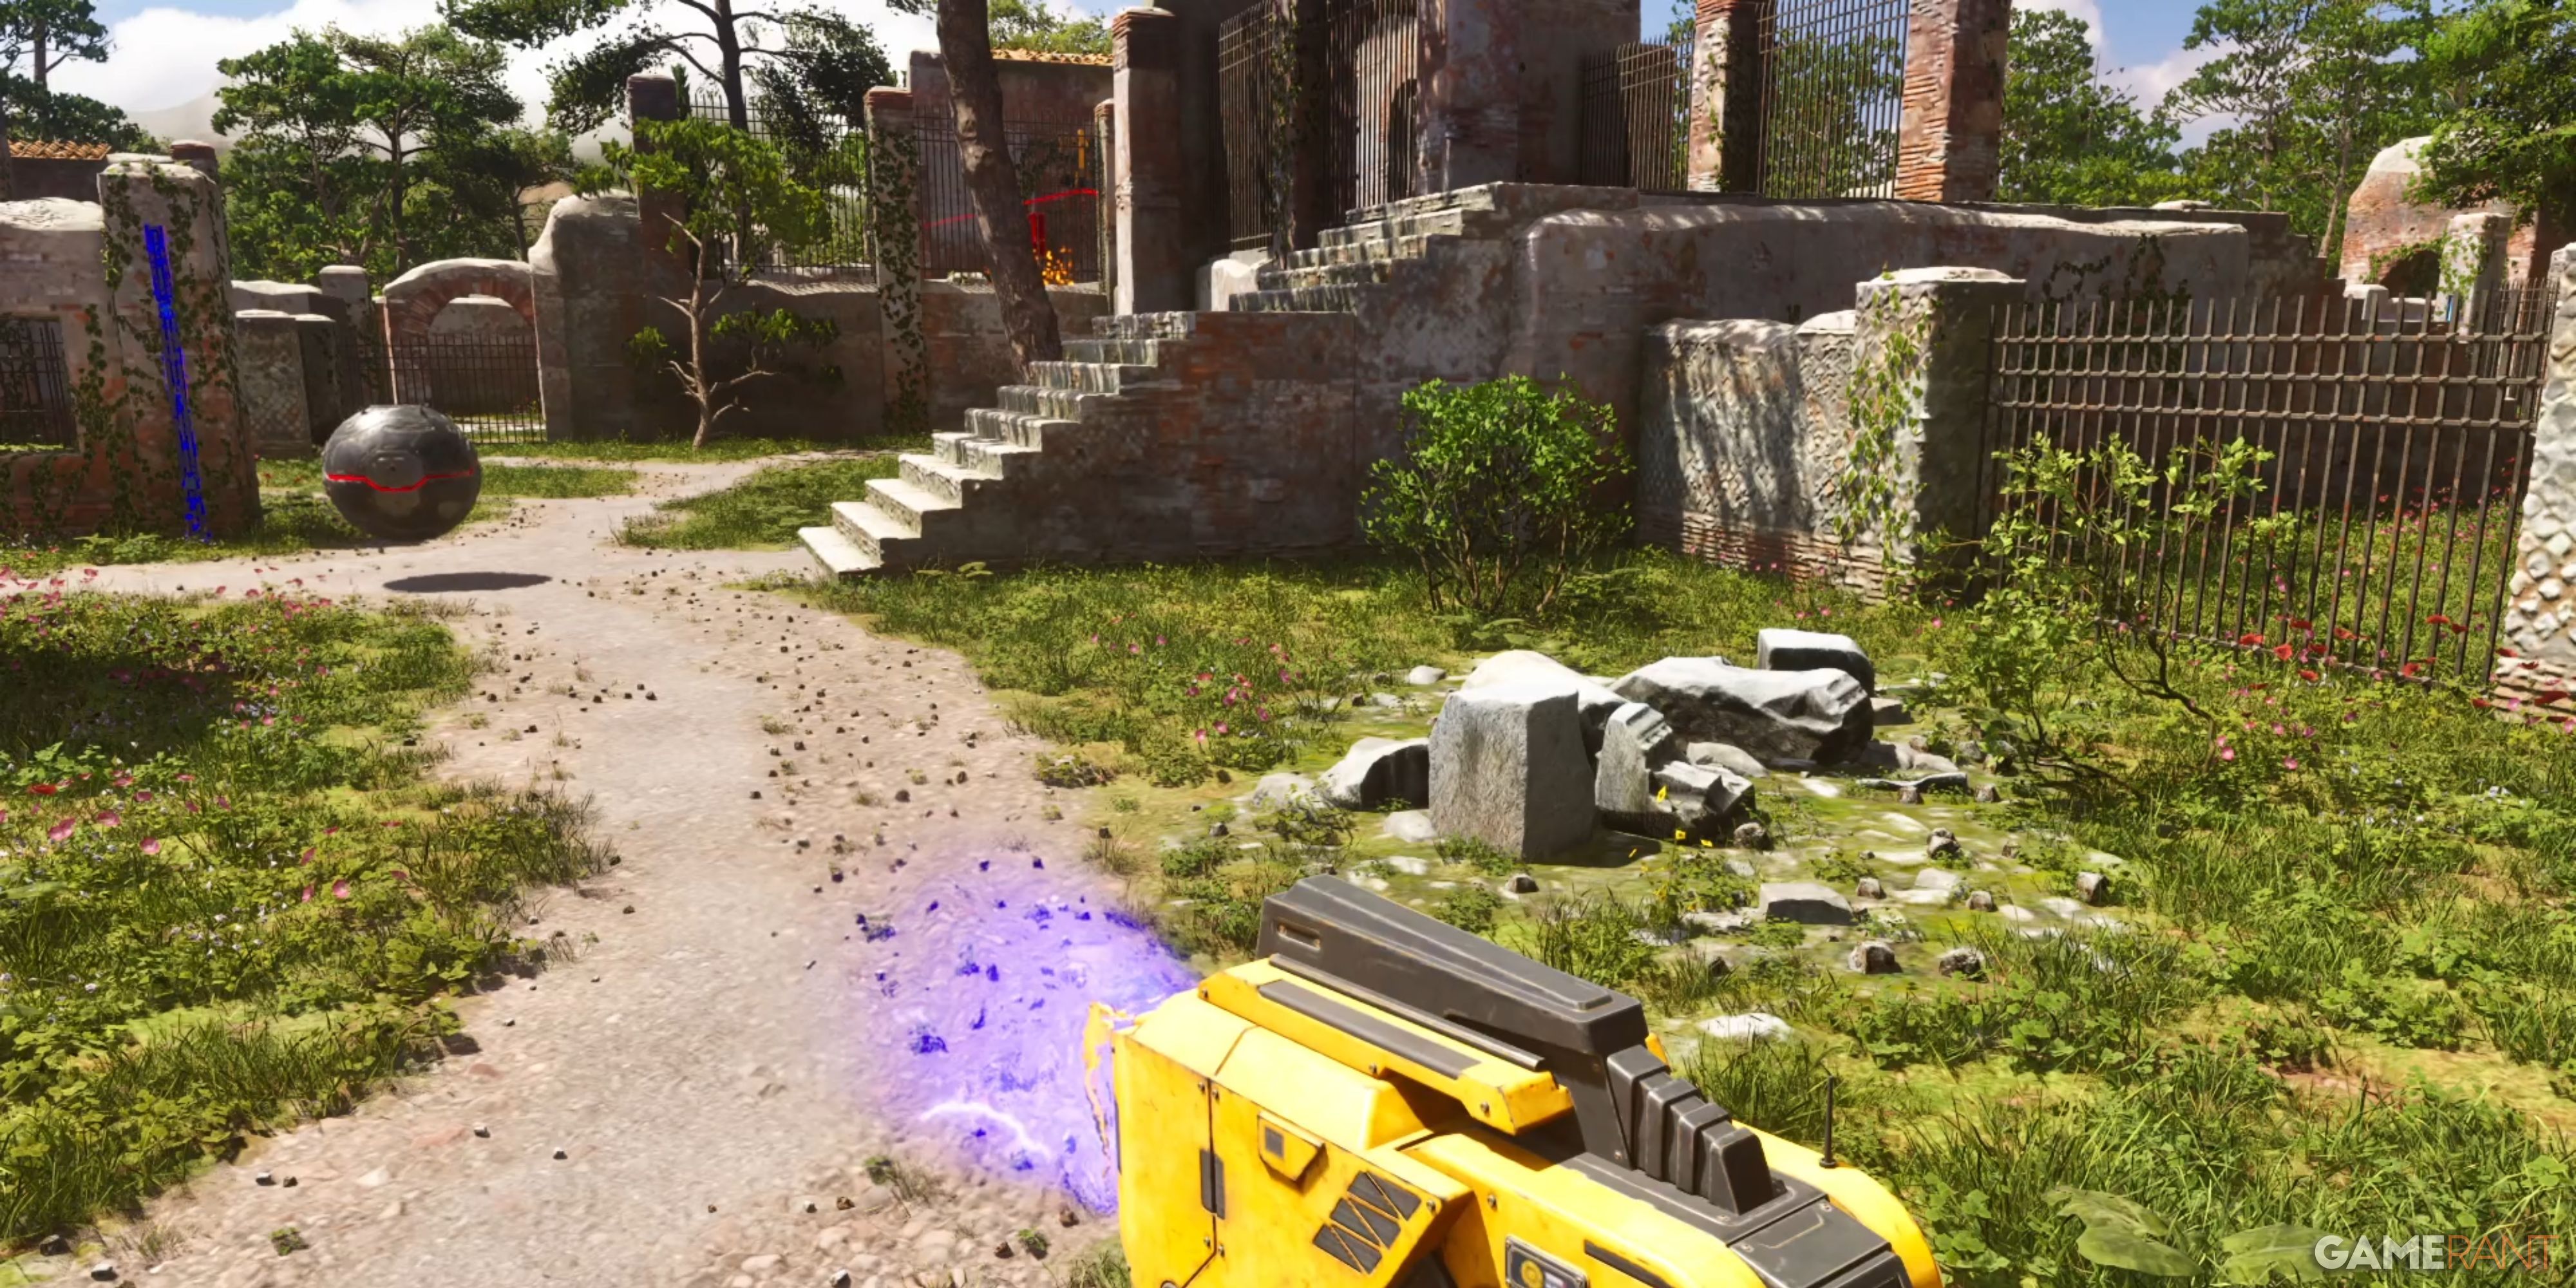
Engaging in first-person puzzle solving can sometimes be tricky, but fortunately, this particular puzzle offers multiple levels for strategic planning. This will be the initial red sigil players acquire, and it’s known to be one of the most difficult puzzles in World A3. Upon entering the puzzle room, follow the left wall to locate a blue obstacle. Across from this barrier, you’ll spot a Jammer perched on a ledge. A bomb moves back and forth between these two points, making a turn along the way. Thankfully, if it catches you off guard, you can simply use a quick rewind maneuver to avoid it.
1. Retrieve the Jammer from its current location (the ledge).
2. After retrieving, turn left to spot Barrier 2 and some stairs further ahead.
3. Use the Jammer on Barrier 2 to disable it.
4. Proceed through the now-disabled barrier and make a right turn.
5. Continue along this path until you reach the ledge where the Jammer originally was.
6. Look down at the ledge and pick up the Jammer again.
Move upstairs beyond Barrier 2, then follow the trail to encounter Barrier 3. Use the Jammer on Barrier 3. This pathway will guide you to a spot with two floating bombs and some keys in the center. Players should take a moment to appreciate the scenery beforehand, as they won’t have a teammate to assist with solving puzzles. Gather the keys and retrace your steps to Barrier 3. You’ll discover the gate for these keys up the stairs beyond Barrier 2.
As a gamer, here’s how I’d rephrase it:
First, aim and fire the Jammer at Barrier 2 to let the bomb sail past. Keep tracking the bomb until it goes through the gate ahead. After that, take aim again with the Jammer on the barrier beyond the gate for the bomb to continue drifting. This will ultimately destroy the gun positioned at the end of the path. Finally, you’ll spot the red sigil along the left ledge as you reach the end of the path.
Read More
- All Skyblazer Armor Locations in Crimson Desert
- How to Get the Sunset Reed Armor Set and Hollow Visage Sword in Crimson Desert
- All Shadow Armor Locations in Crimson Desert
- One Piece Chapter 1180 Release Date And Where To Read
- Marni Laser Helm Location & Upgrade in Crimson Desert
- All Helfryn Armor Locations in Crimson Desert
- All Golden Greed Armor Locations in Crimson Desert
- All Icewing Armor Locations in Crimson Desert
- How to Beat Stonewalker Antiquum at the Gate of Truth in Crimson Desert
- Legendary White Lion Necklace Location in Crimson Desert
2025-04-10 18:37