
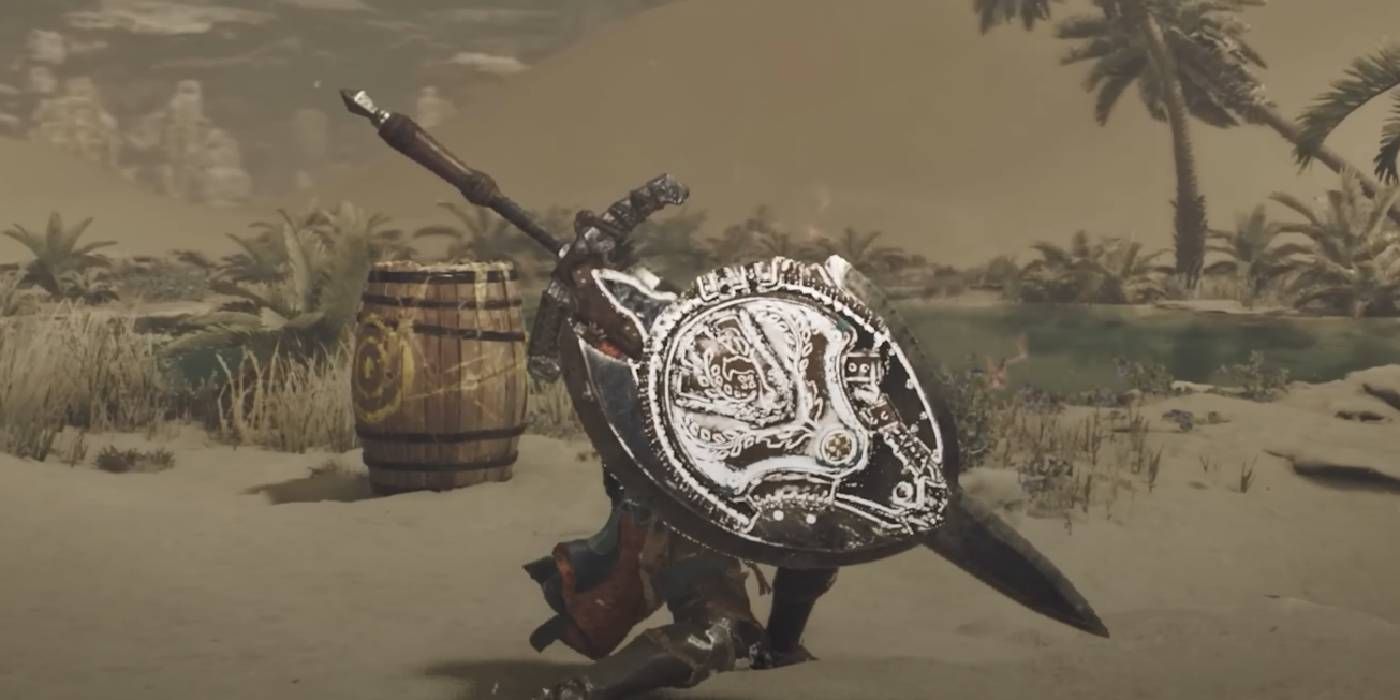
In the game Monster Hunter Wilds, one of the more intricate weapons is the Charge Blade. This versatile tool offers potent combo attacks for subduing monsters. The Charge Blade can transform into two distinct forms: a sword and shield or a huge double-edged axe. By attacking with the Charge Blade, you can fill it with elemental energy known as phials. Once filled, you can release this stored energy in powerful bursts that cause massive damage to your foes.
Using the Charge Blade in Monster Hunter Wilds can be quite challenging due to its complex set of combos and transformations. Inexperienced players might find it beneficial to start with simpler weapons initially, but if you’re up for a challenge, the Charge Blade is certainly an impressive choice among all the weapons in Monster Hunter. It’s not everyone’s cup of tea, though; it takes dedication and skill to master this weapon effectively.
How To Charge & Use Phials
Build Up Phial Energy From Basic Attacks
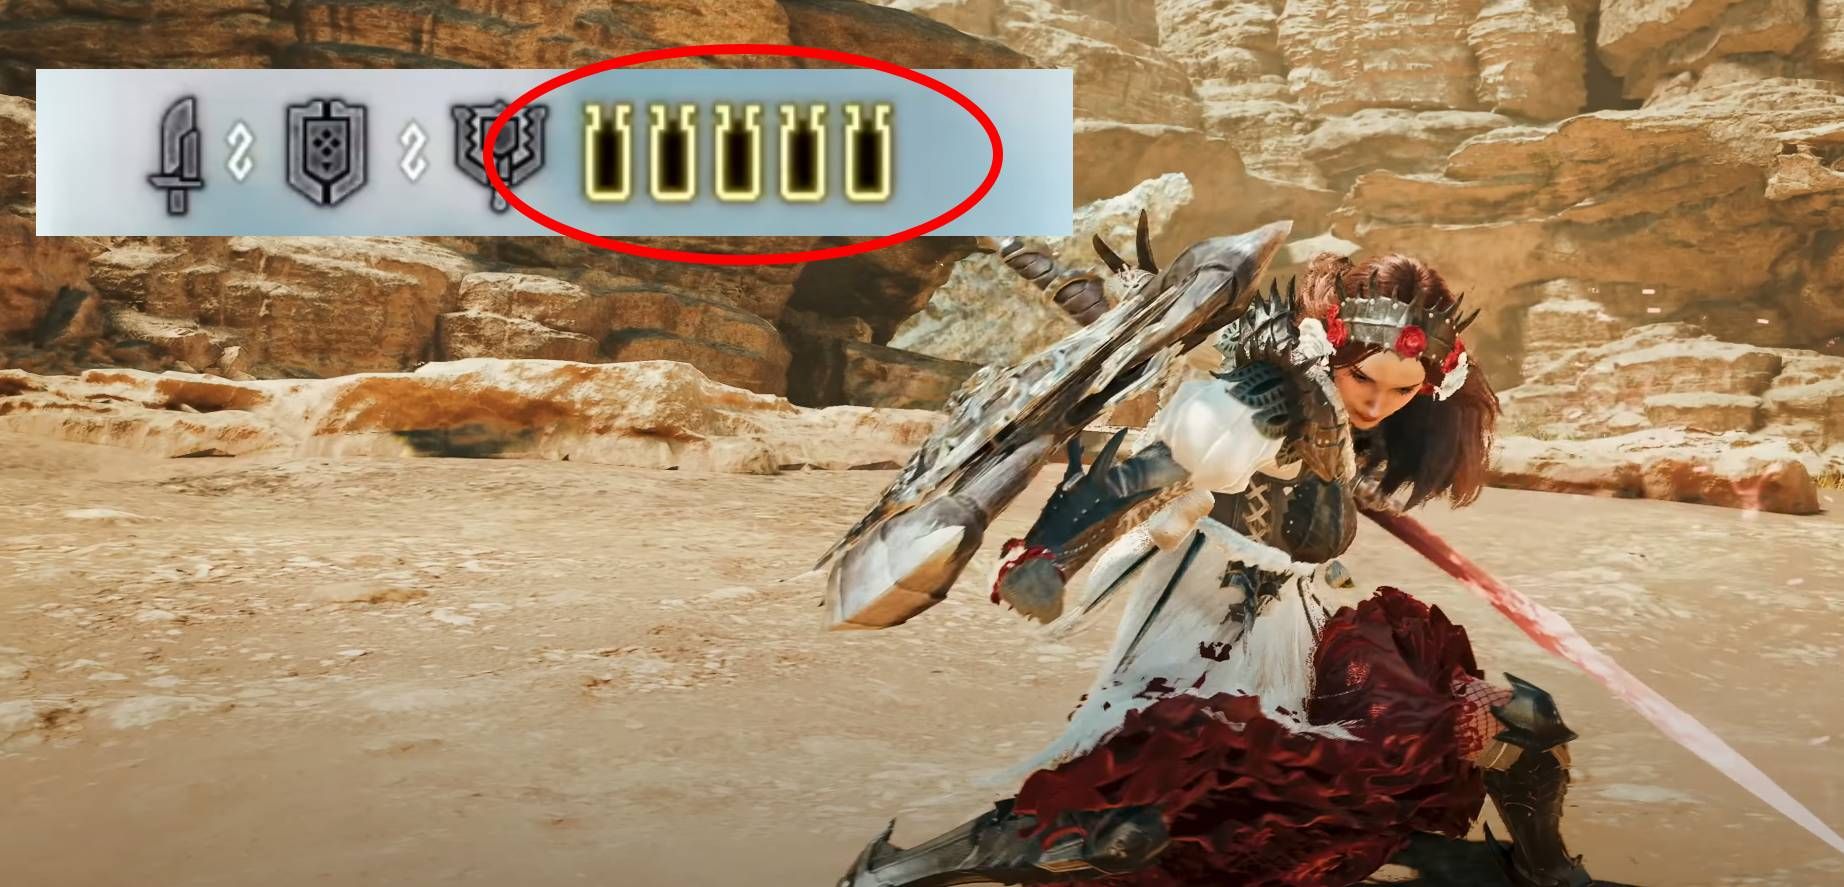
When you draw the Charge Blade, you initially wield a sword and shield. By striking with your sword and defending with your shield, you accumulate energy, which is evident by the glow emanating from the phials beneath your health meter. As you successfully dodge a monster’s attack or strike a target, the energy level in your phials intensifies, transitioning from yellow to red.
By pressing the buttons R2 + Circle when the sword/shield form indicates built-up phial energy, you fill the phials with energy up to the amount you’ve accumulated. For instance, filling phials with a yellow glow will fully charge three out of your five total phials. When the phials have a red aura, filling them will max out each slot, providing you with the highest possible charge level.
In the updated version of Monster Hunter Wilds, there’s a new feature for the phials – they can now be boosted after they’ve been filled. When your phials are already at maximum capacity, you can continue to build up energy using your sword or shield, and then reload the phials again. This additional loading process will overcharge the phials, making the energy released during attacks significantly stronger across all available weapon moves.
As a gamer, when my phials start glowing red after taking too many hits without reloading, it means my sword attacks are about to overheat and bounce off monsters, dealing barely any damage. Since phial management is the key aspect of the Charge Blade, I always need to make sure to load up the phials frequently to prevent them from overheating.
Every Charge Blade Mode Explained
Master Every Technique From Each Stance

There are essentially two fundamental styles for the Charge Blade, changeable through specific maneuvers. The default modes for this weapon are the Sword and Shield combo, and the Axe form. You can toggle between these modes by simultaneously pressing R2 and Triangle whenever you want, triggering an action that alters your character’s stance into one of the weapon’s primary forms.
How To Use Sword & Shield Mode
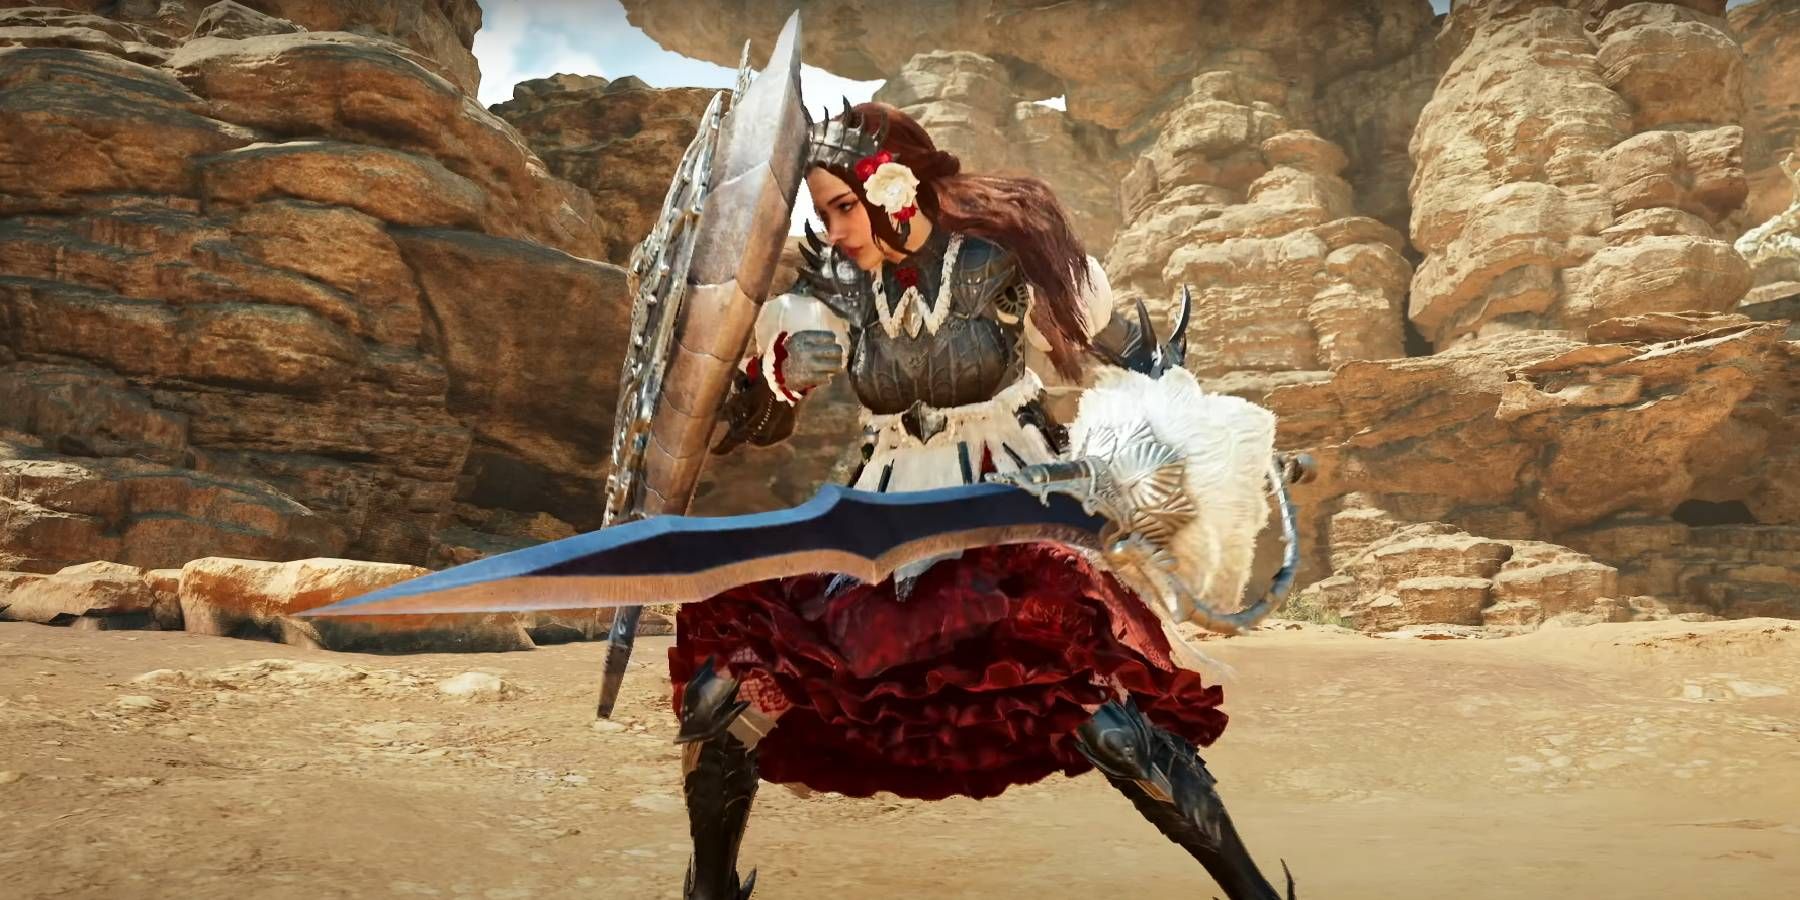
The standard Charge Blade form offers a series of slashing combos for attacking monsters. The Circle attack, performed with an upward slice, boosts the charge in your phials more than the regular Triangle strikes, but performing it while moving will make you glide across the ground prior to the strike. Essentially, by charging your standing Circle attack, you can infuse it with more energy for your phials than most other moves.
When you elevate your shield using R2, a side-step evasion can be executed with Circle to dodge enemy assaults. By repeatedly blocking attacks or landing hits, you can build up energy in your phials. To do this, simply press the combination of R2 and Circle when your shield is active.
How To Use Axe Mode
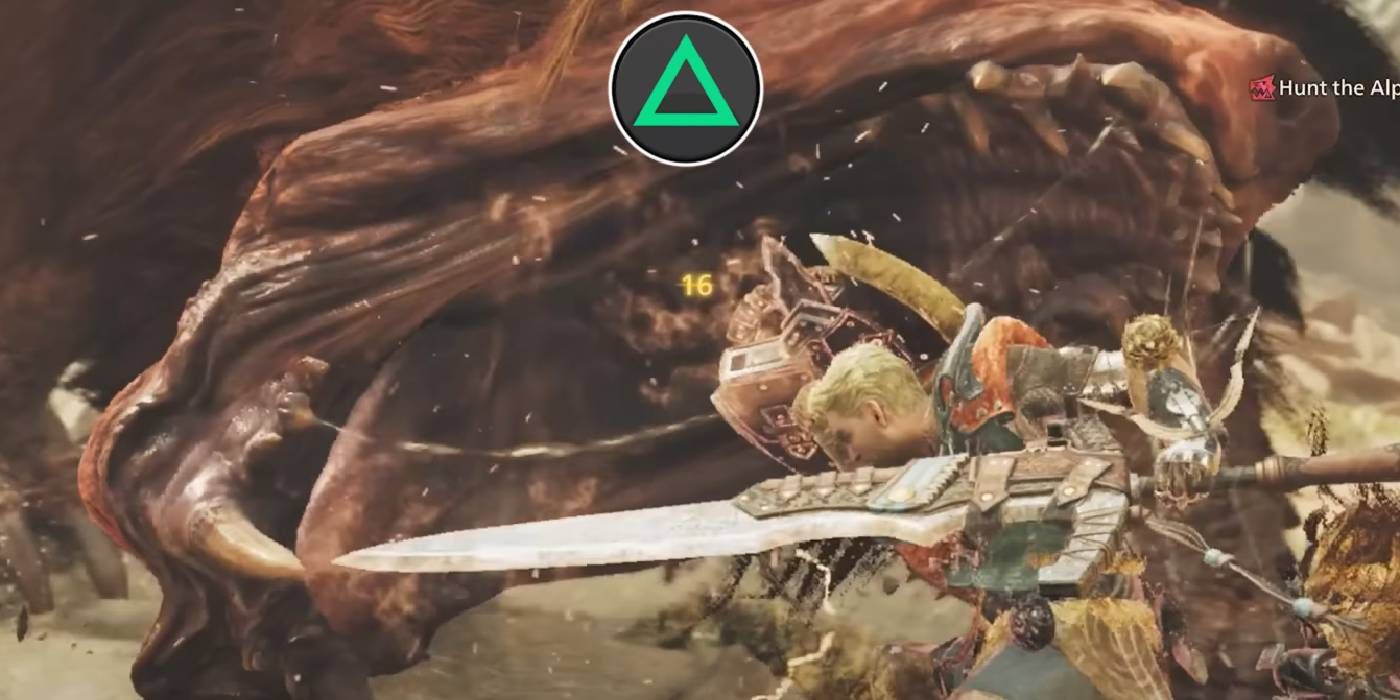
Activating R2 and Triangle simultaneously in Sword & Shield form will trigger an attack, transforming you into Axe form. In this Axe mode, your regular Triangle attacks become wide-reaching sweeping slashes that vary depending on the direction of your input. Notably, these axe slashes cover a greater distance, enabling you to strike monsters in Monster Hunter Wilds who tend to fly or have vulnerable spots above where your sword can reach.
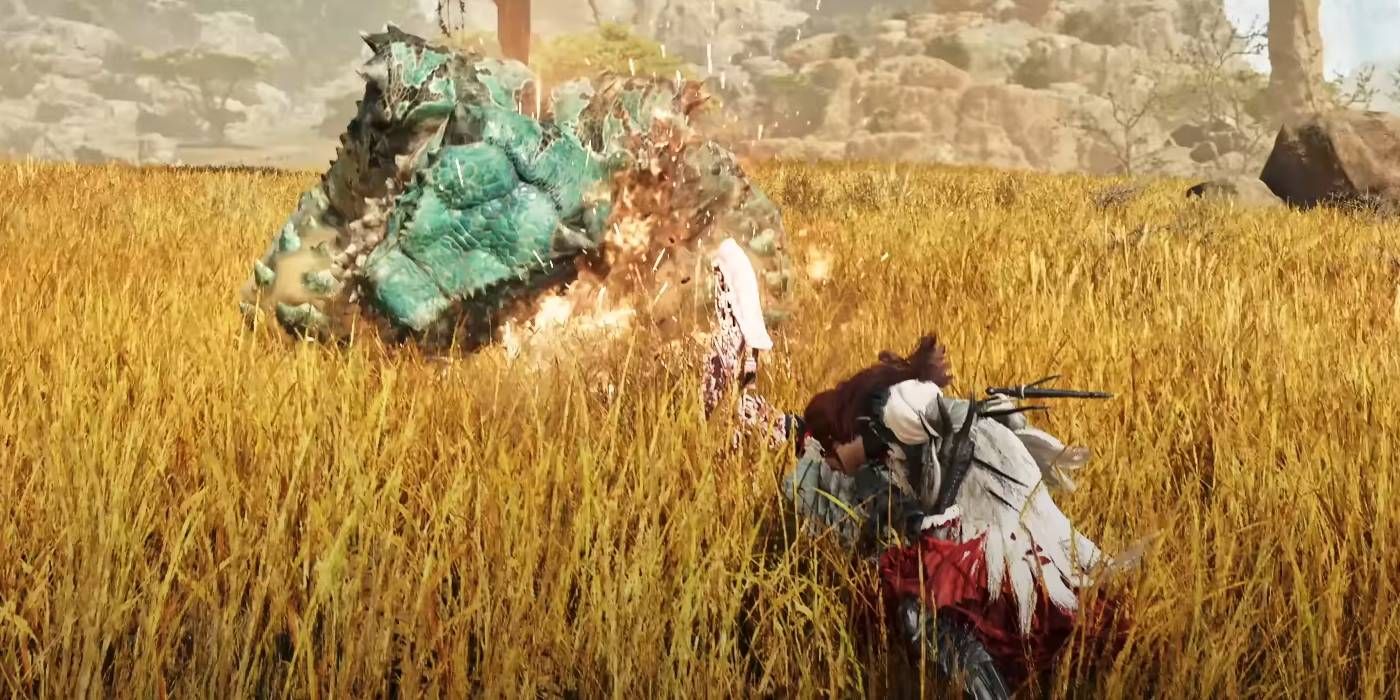
Pressing the Circle button in Axe mode initiates a swift, broad slicing movement with the Charge Blade, striking anything directly in your path. By performing this Circle attack in Axe mode, you expend a phial’s energy, resulting in a small explosion of damage that detonates after a brief delay when it hits a monster.
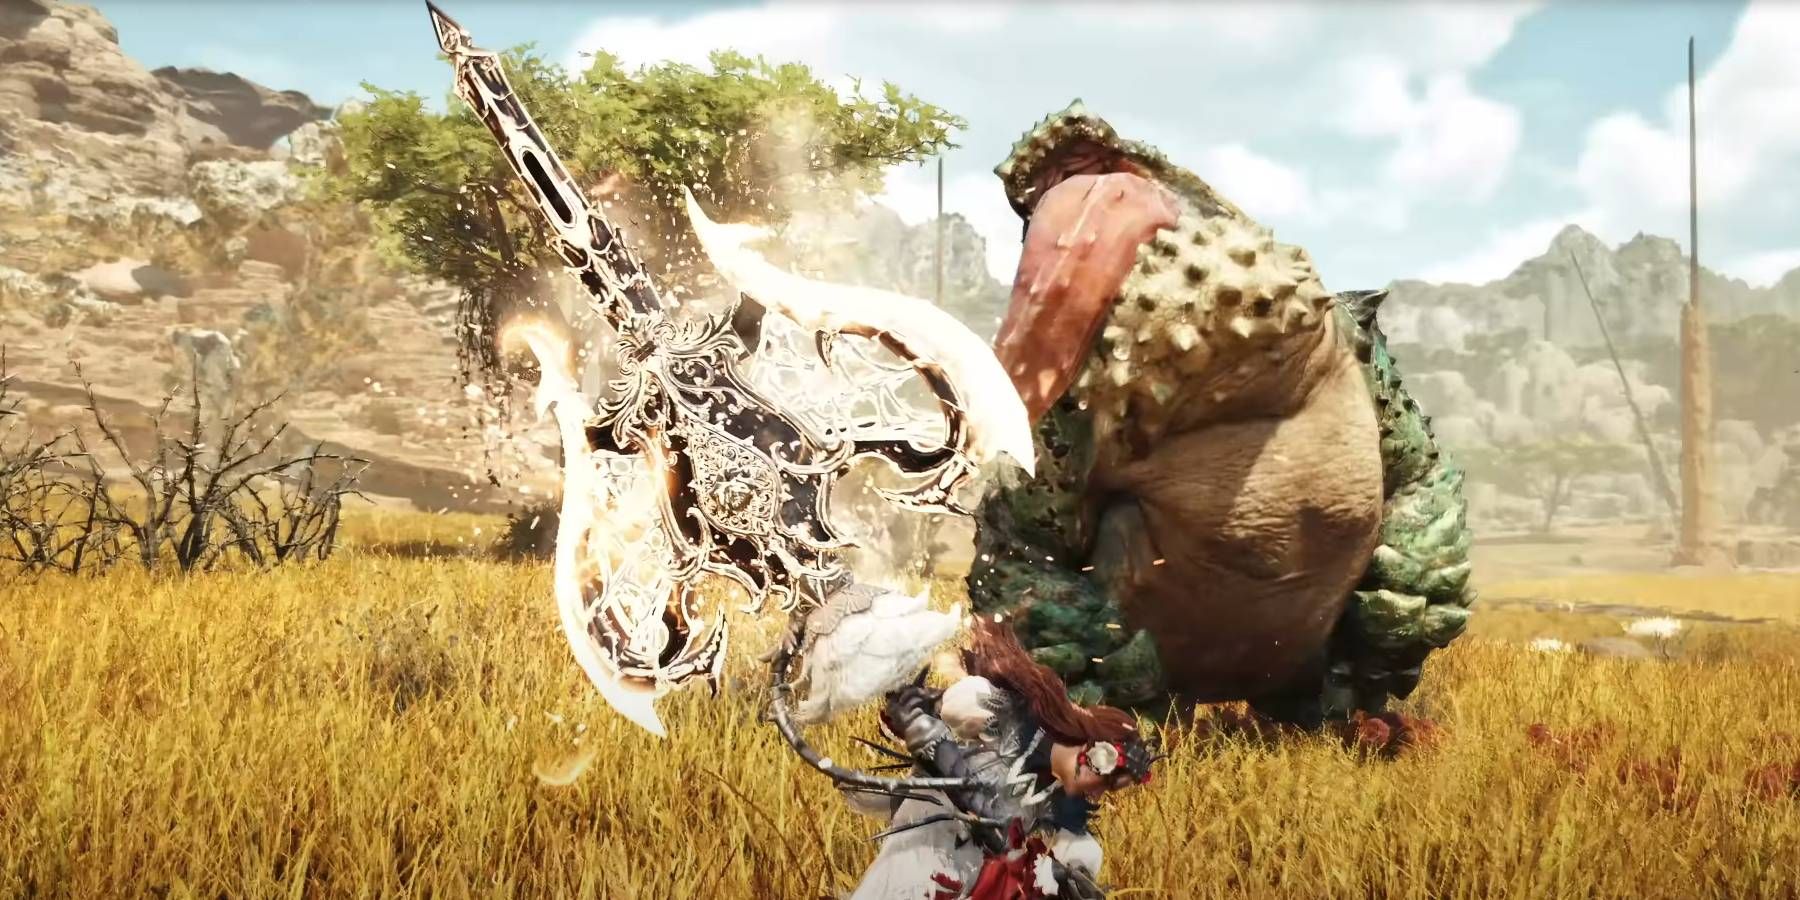
By simultaneously pressing Triangle and Circle while in Axe mode, you trigger the Elemental Burst, a powerful attack that temporarily breaks the Charge Blade’s constraints, allowing your character to make a destructive slash. This action expends a phial, resulting in an energy explosion that can severely wound or even stun the monster. Players looking to return to Sword + Shield form for charging new phials may press R2 during this move to swiftly transition back to the weapon’s fundamental form.
How To Use Powered-Up Modes

In the transition from Monster Hunter World to Wilds, the fundamental mechanics of the Charge Blade remain consistent, albeit with some adjustments in how certain forms operate. You’ll discover three symbols beside your phials, which signify the distinct modes you can engage using the Charge Blade. These symbols denote enhanced versions of the weapon, offering:
- Shield Elemental Boost
- Elemental Sword
- Savage Axe Mode
This table illustrates the steps to engage different operational modes of the Charge Blade, along with the advantages that each transformation offers for the weapon.
The table below demonstrates how to turn on each function of the Charge Blade and explains the benefits that each shape brings to the tool.
| Charge Blade Form | How To Activate | Description |
|---|---|---|
| Shield Elemental Boost | When charging up for the Elemental Discharge attack, press R2 to cancel the move and place all available phials into your shield. Alternatively, you can hold Circle when loading phials with R2 + Circle to activate this power-up mode afterward. | This mode temporarily powers up your Shield, allowing it to block stronger attacks from monsters and cost less Stamina to do so. The amount of time this mode lasts depends on the number and quality of phials you consumed to activate it. |
| Elemental Sword | Hold Triangle when loading phials with R2 + Circle to extend the animation, causing you to charge your sword and power it up before swinging it in a downward slash. | This mode temporarily powers up your Sword, giving it extra elemental damage on every hit. Swings in this mode do not consume phials, but you must have phials loaded to activate this form. |
| Savage Axe Mode |
|
This mode temporarily powers up your Axe, giving it extra hits on every strike with a buzz-saw blade. You have to manually input extra hits, but in this mode, elemental strikes cost half the amount of phials to perform. |
Each unique power-up option for the Charge Blade serves a specific function: one enhances your defense to near indestructibility, while another boosts your attack strength significantly. For instance, the Savage Axe mode enables you to remain in Axe form much longer before needing to switch to Sword and Shield for phial recharge. My strategy has always been to activate each mode concurrently, maximizing the Charge Blade’s potential during combat.
How To Do Super Amped Elemental Discharge & Guard Points
Unleash The Charge Blade’s Strongest Attack
The Charge Blade boasts not only an impressive range of skills but also concealed tactics – Super Amplified Elemental Release (SAER) and Guard Positions. Once you become proficient with the Sword/Shield, Axe, and Boost functions of the weapon, these are the techniques you’ll need to fully master the Charge Blade.
How To Use Super Amped Elemental Discharge (SAED)
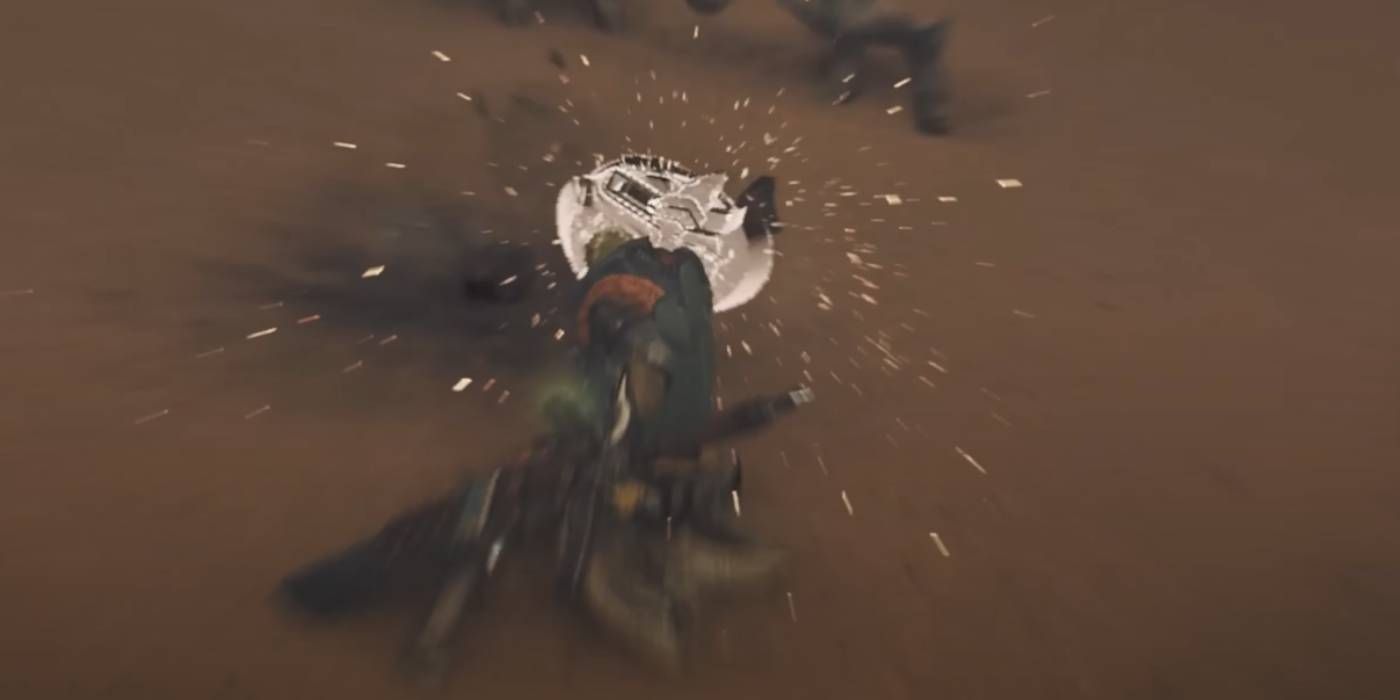
The SAED (Super Amped Elemental Discharge) represents the most potent strike within a Charge Blade user’s arsenal, functioning as an enhanced variant of the standard Elemental Discharge. In Axe mode, your character will build up energy for a brief moment before executing a powerful downward slash. The primary hit inflicts significant damage, but the true force lies in the subsequent delayed detonations that form a series of explosions along a line, emanating from the attack’s impact point.
Executing all strikes from a Super Aerial Extreme Demonblade (SAED) on a staggered monster can dish out some of the greatest damage to legendary beasts in Monster Hunter Wilds. Yet, this move is challenging to execute because it doesn’t seamlessly follow attacks during the Charge Blade’s forms. Here are various strategies for activating an SAED to inflict massive damage in your upcoming quest:
1. Perform a jump attack (Jumping A or Jumping X) and then input the SAED button sequence.
2. While using the Adept/Guerilla Arts system, perform a successful dodge followed by the SAED button sequence.
3. Use a skill that allows you to activate an SAED more easily, such as Focus or Max Might.
4. Practice and timing are key! Try to time your SAED during moments when the monster is most likely to be staggered.
- Press Circle after a normal Elemental Discharge to do an extra slash, then input Triangle + Circle
- Press Triangle + Circle after a normal Elemental Discharge
- Press Triangle + Circle after performing a Perfect Guard
How To Use Guard Points
The last ability of the Charge Blade is called Guard Points, which gets activated when you block a monster’s attack while shifting the weapon into another form. This can occur during transitions such as moving into the reinforced Shield, initiating an Elemental Discharge, or simply switching from Sword + Shield mode to Axe mode. If your shield moves to ward off a monster’s attack during the transformation animation, a Guard Point will be activated.
One effective method for regularly triggering guard points involves utilizing the Shield Elemental Boost transformation, as it keeps your shield extended for a more prolonged duration, making it easier to anticipate and react to enemy attacks during the Charge Blade form transformation.
In Monster Hunter Wilds, the Charge Blade stands out as an incredibly gratifying weapon to wield and master during any hunt. When you fortify your Guard Point with a charged-up Shield, monsters will be momentarily stunned, and this counts as a Perfect Guard. This advantageous position allows for a swift transition into a SAED, inflicting massive damage on the monster and giving your allies the opportunity to finish off a formidable foe. In simpler terms, you can instantly guard, counterattack, and set up your teammates for the final blow with this versatile weapon.
Read More
- Devil May Cry Netflix: Season 1 Episodes Ranked
- Mr. Ring-a-Ding: Doctor Who’s Most Memorable Villain in Years
- You’re Going to Lose It When You See the Next Love and Deepspace Banner!
- Top 8 UFC 5 Perks Every Fighter Should Use
- Nine Sols: 6 Best Jin Farming Methods
- How to Get the Cataclysm Armor & Weapons in Oblivion Remastered Deluxe Edition
- Prestige Perks in Space Marine 2: A Grind That Could Backfire
- Get Ready for ‘Displacement’: The Brutal New Horror Game That Will Haunt Your Dreams!
- Choose Your Fate in Avowed: Lödwyn’s Ruins or Ryngrim’s Adra?
- Unlock Roslit Bay’s Bestiary: Fisch Fishing Guide
2025-02-28 07:18