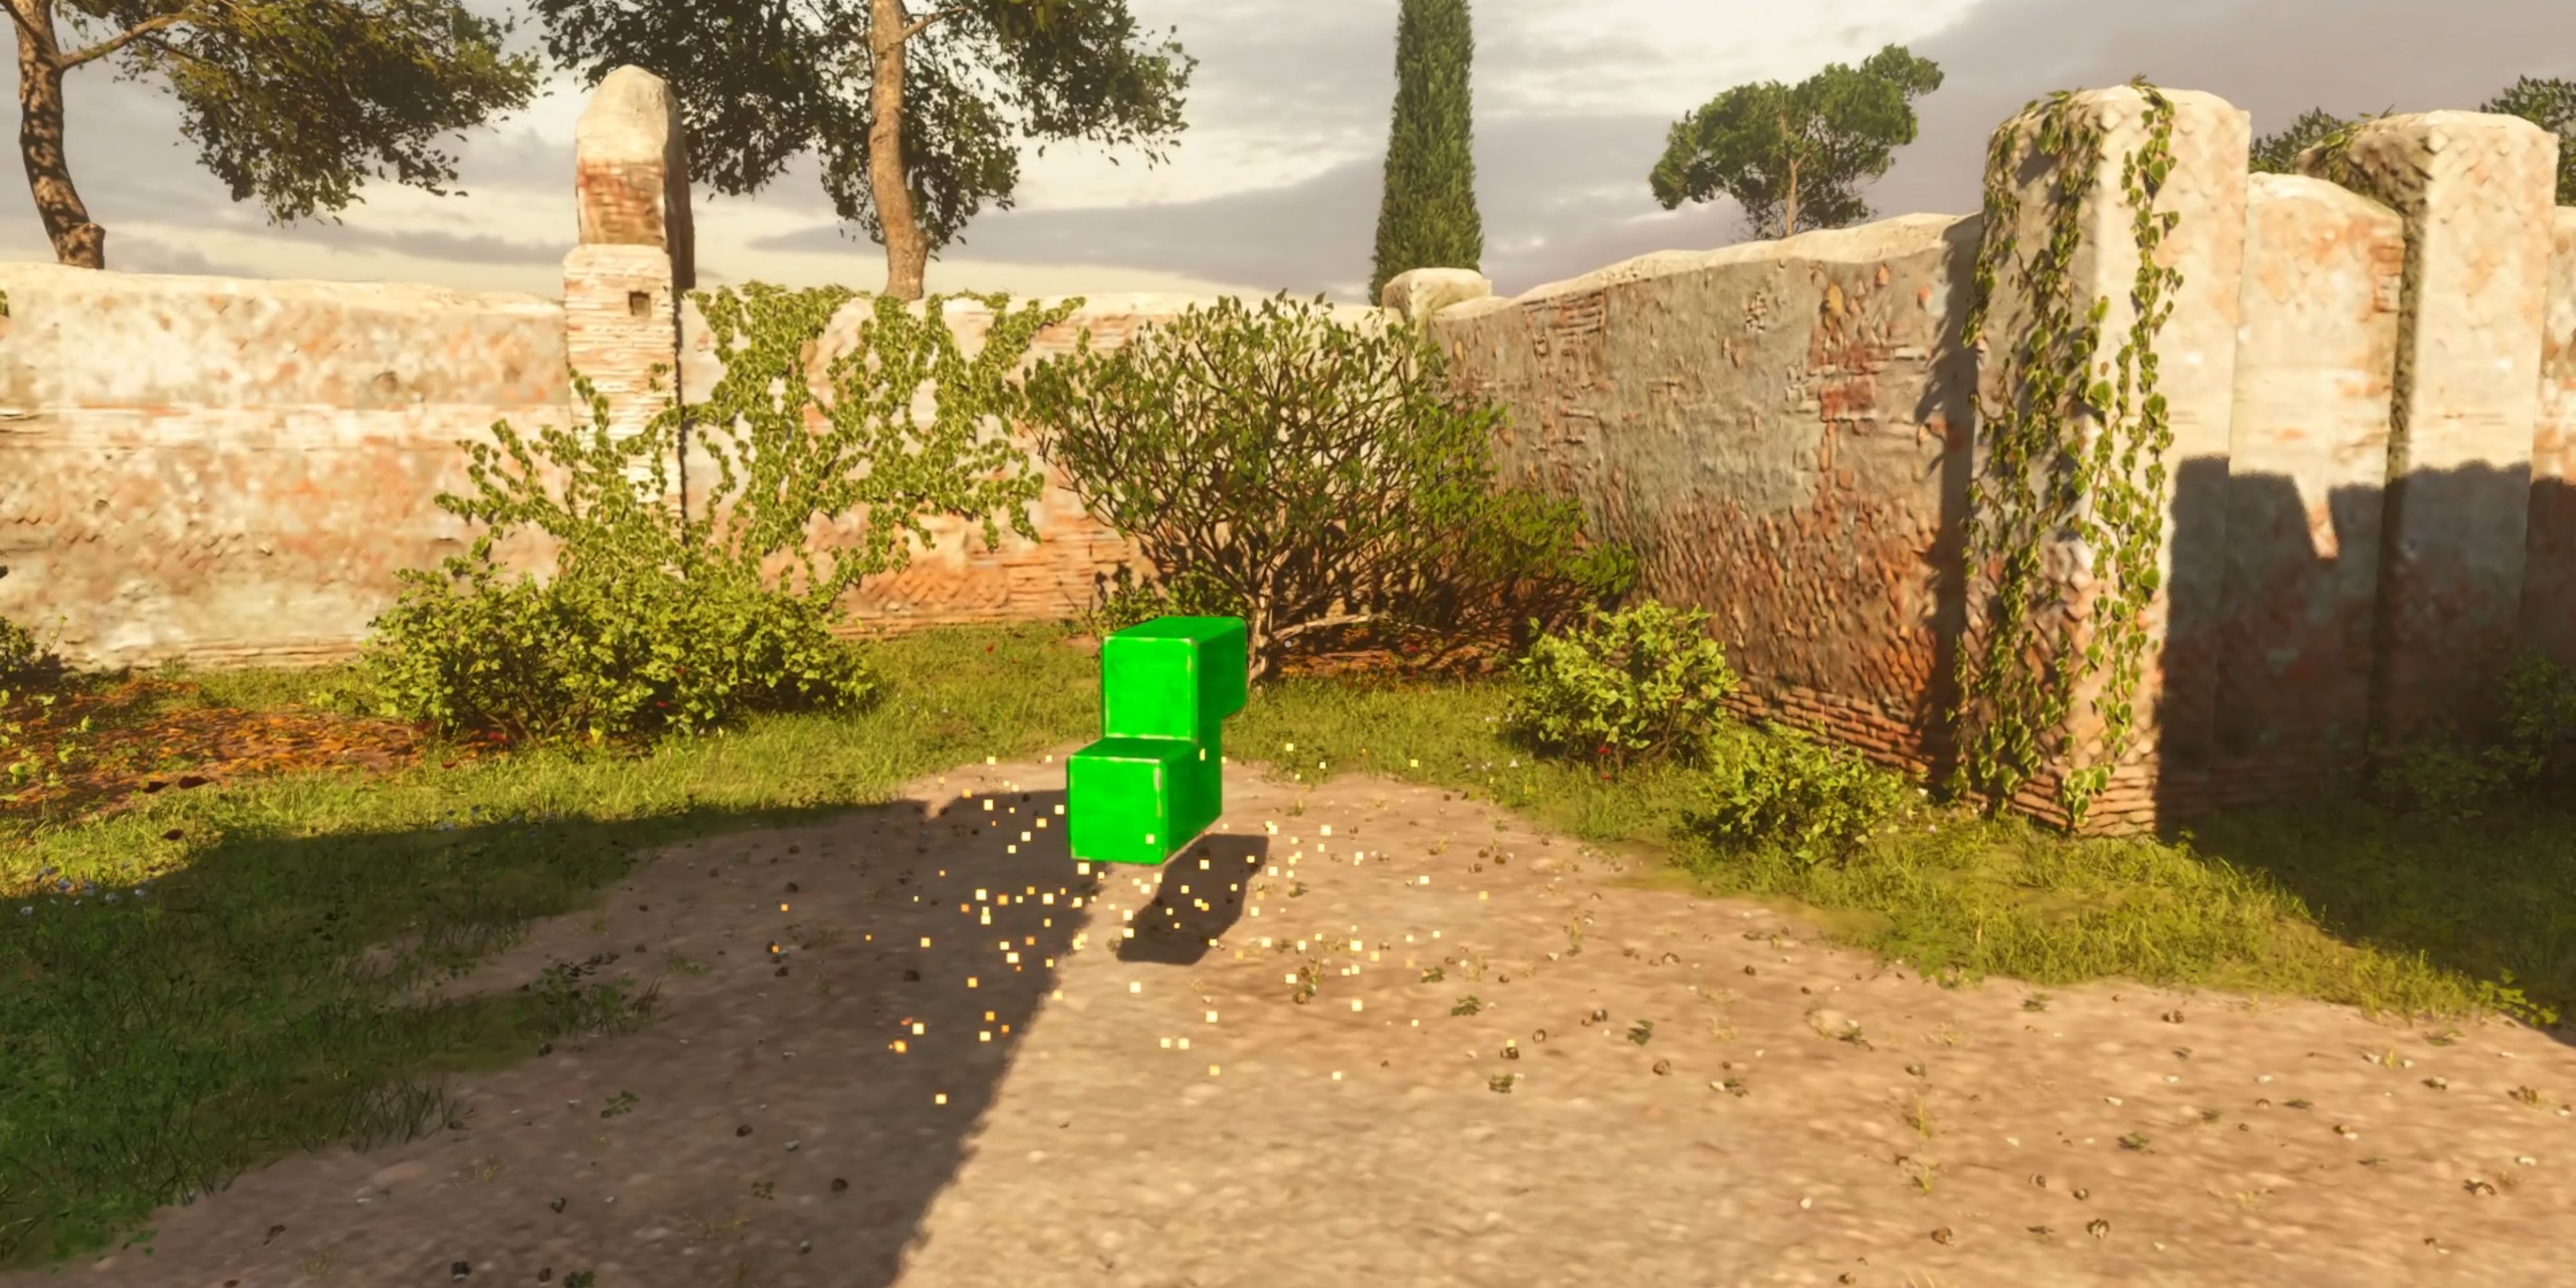
By completing door 2 in World A, players should understand the fundamental first-person puzzle mechanics of The Talos Principle: Reawakened. The green sigils found behind door 2 in this world are deceptively tricky, surpassing the difficulty level of any puzzles encountered at door 1.
Players continue to work with familiar tools such as Jammers, bombs, barriers, and mounted guns, but they’ll use these items in more strategic ways. Additionally, there’s a yellow symbol on the ground for players to collect during their time here. This symbol serves as a key for unlocking the Connector object in future challenges, which will result in intricate and complex puzzle room designs.
How to Solve Hall of Windows in The Talos Principle: Reawakened
Once you’ve stepped into the puzzle chamber, proceed along the path and make your first left turn. Continue on this path, and you’ll encounter a Jammer. Avoid picking it up. Instead, go through the purple obstacle to its side. This will lead you to a space with another Jammer and some windows. Use the second Jammer to deactivate the blue barrier by peeking out the right-side window.
Pass Jammer 1 beyond the stationary blue barricade, then utilize it to deactivate the previously immobilized barricade. Return to Jammer 2 and transport it to the window located on the left side of the purple barricade. There, you’ll notice another distant blue barricade. Deploy Jammer 2 to disable this one as well.
1. Go back to location Jammer 2, retrieve it. Then, move to the right side of the obstacle that Jammer 2 was blocking. Disable the blue barrier there with Jammer 2. Proceed through this new opening. Take the first turn you encounter (which will be a left) to locate the green symbol or marking.
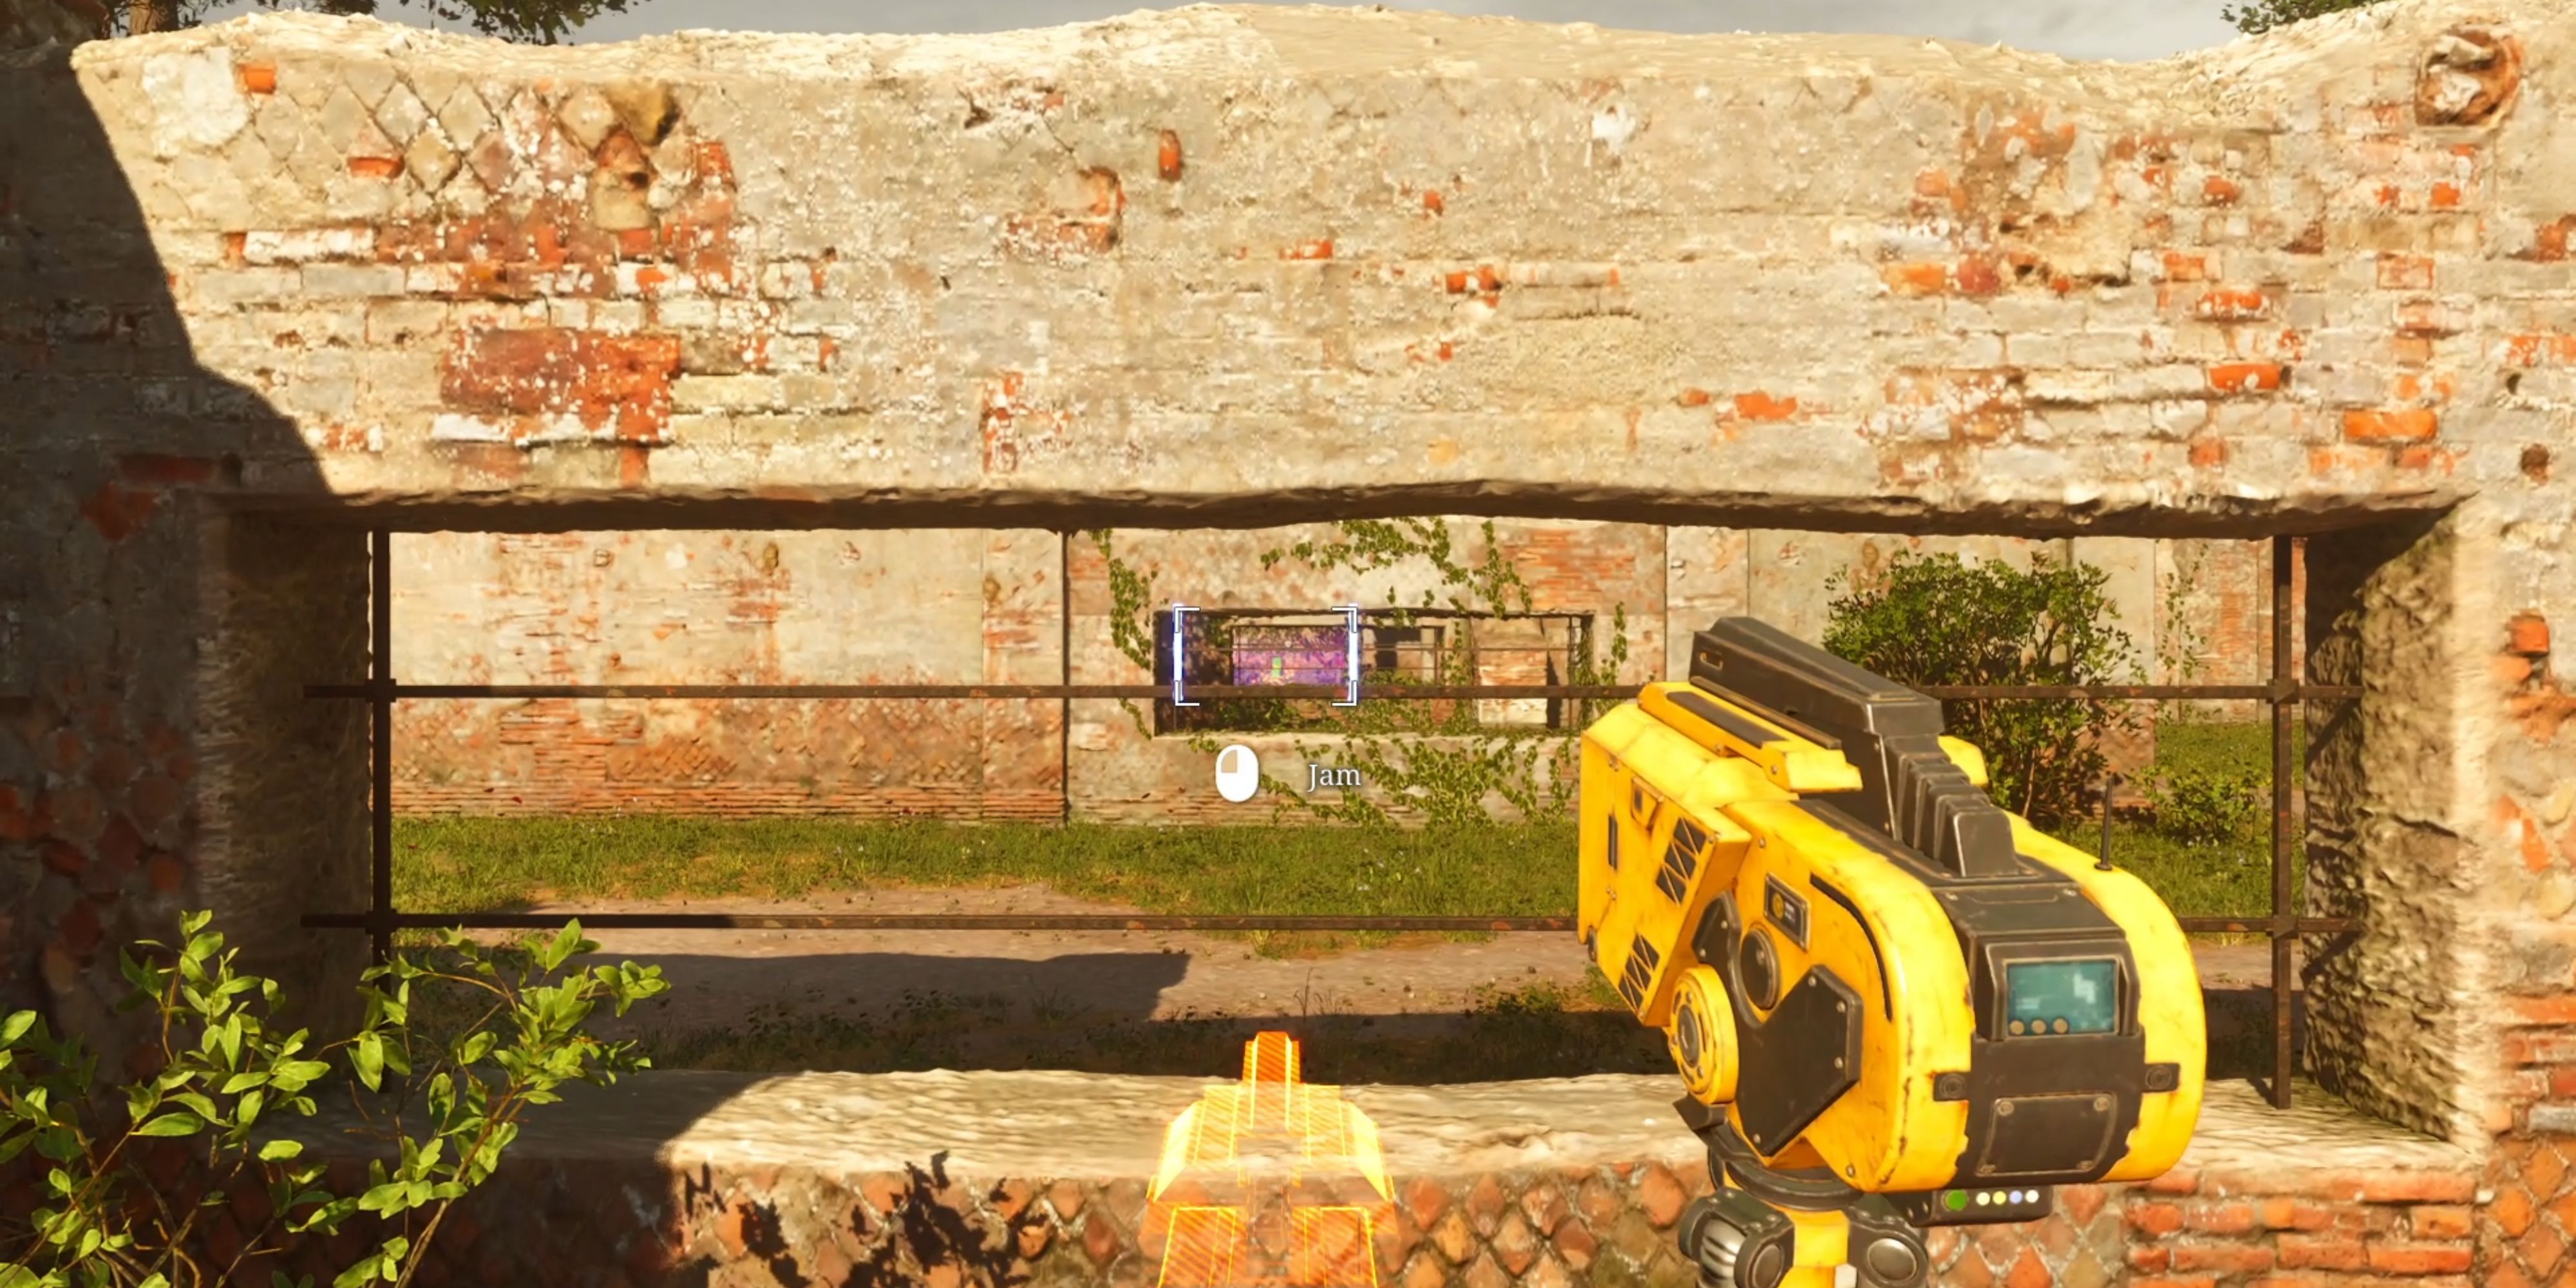
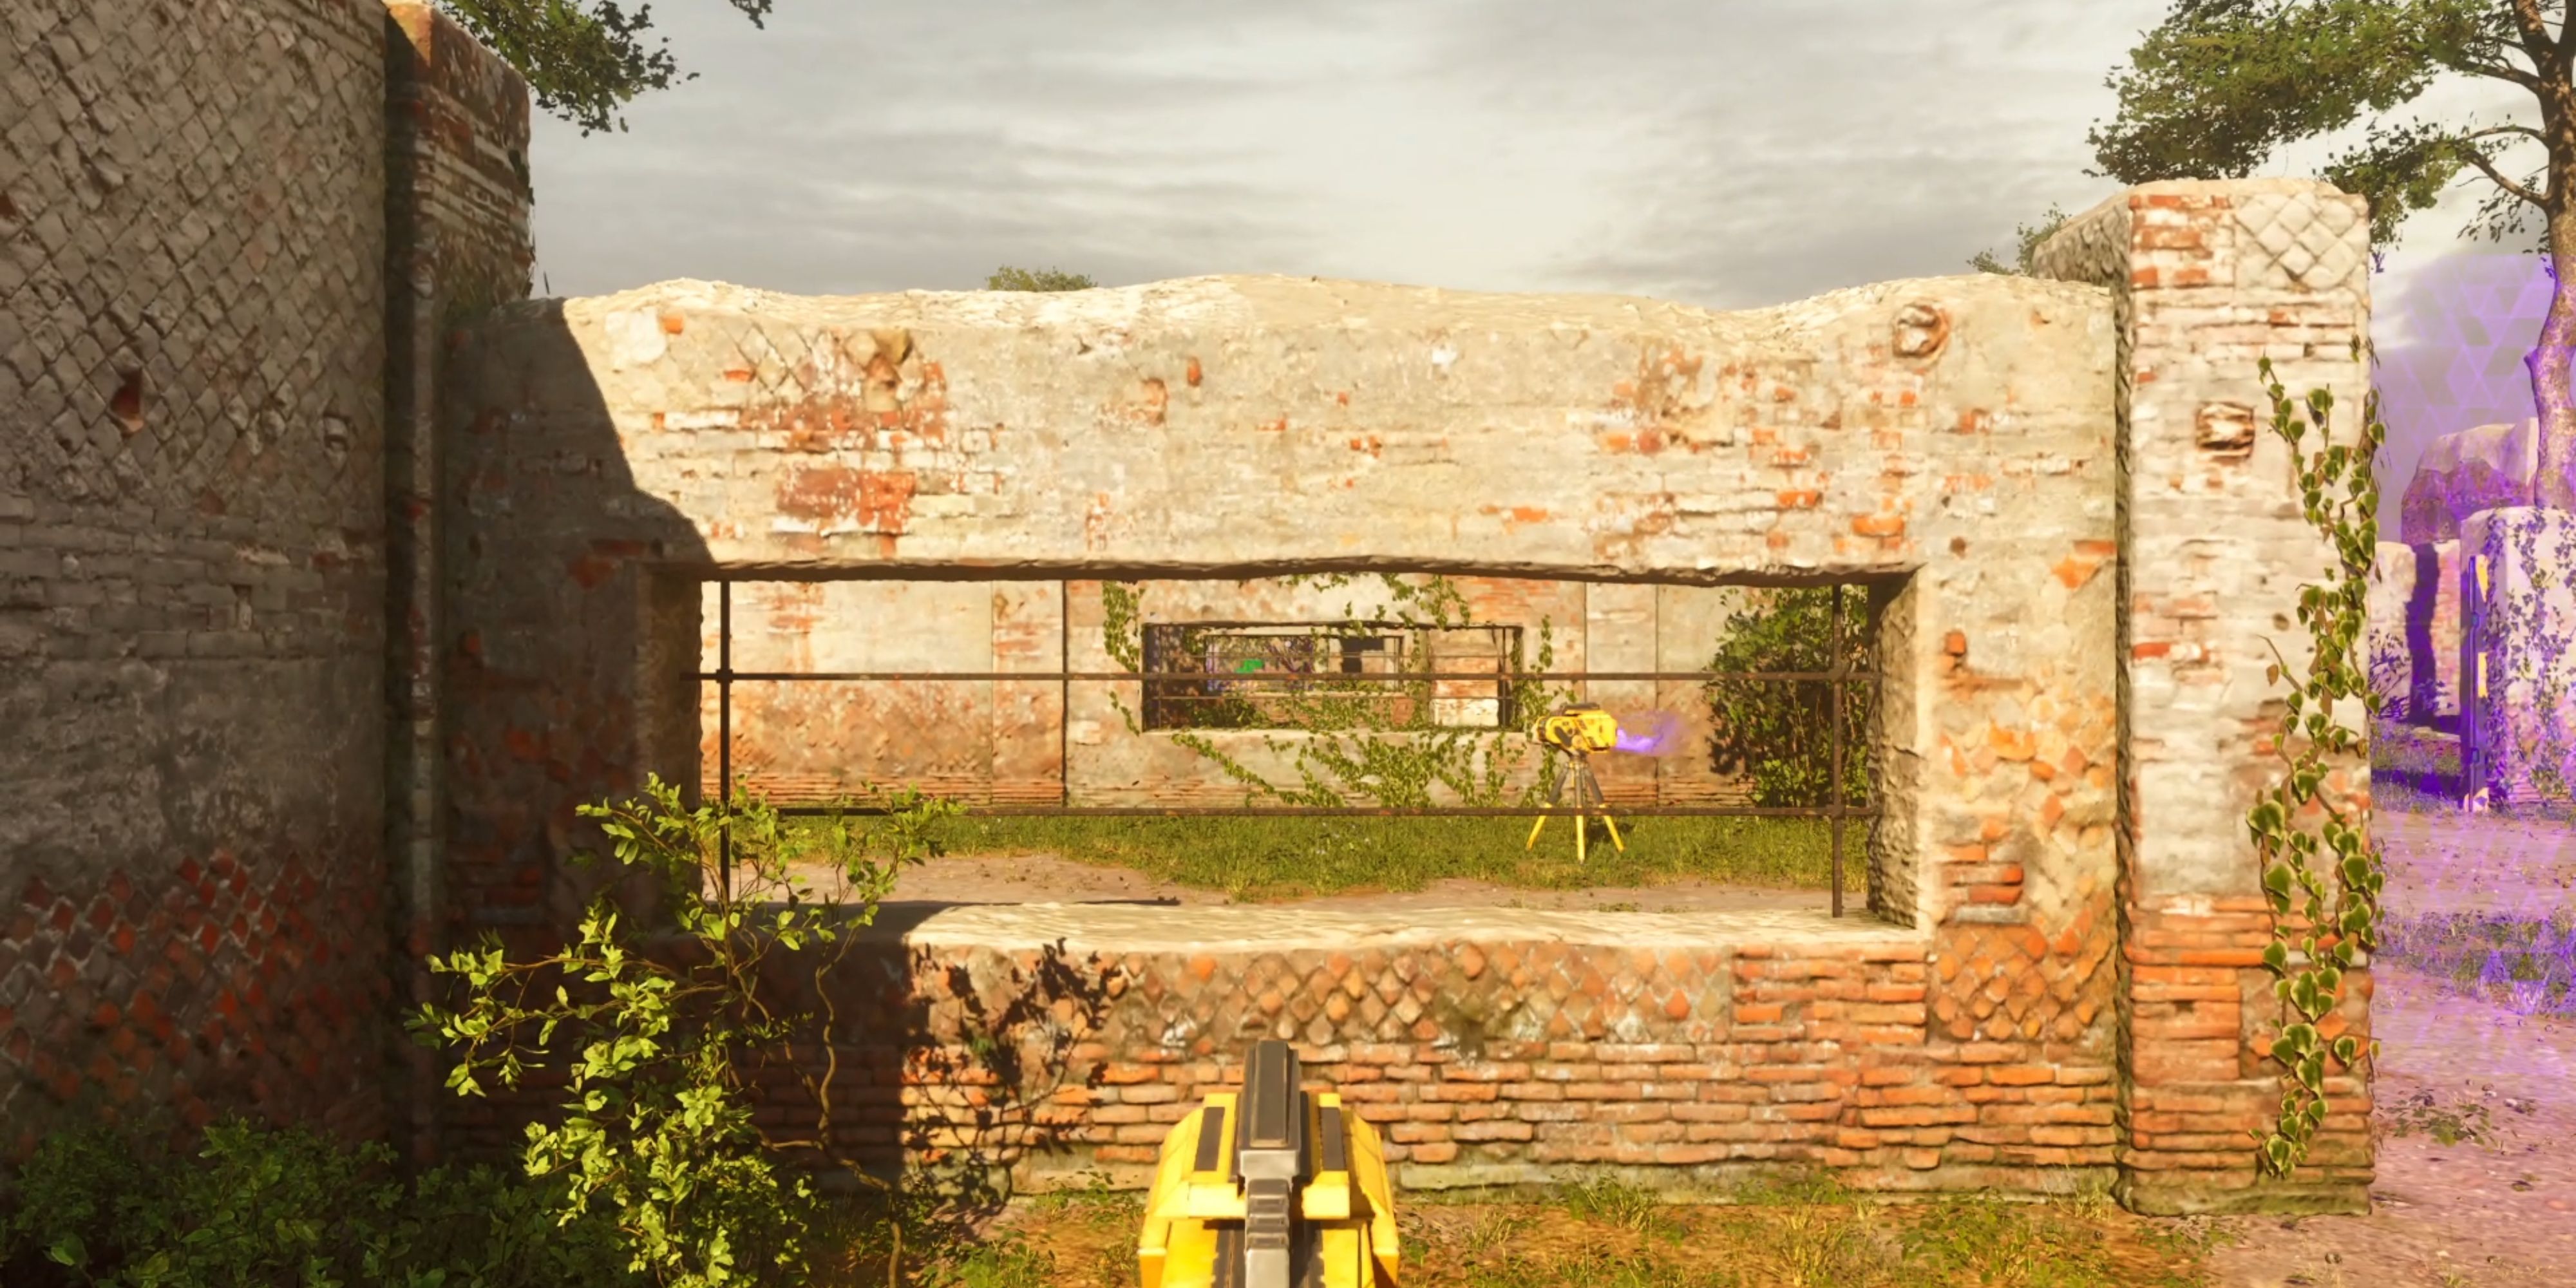
How to Solve The Guards Must Be Crazy in The Talos Principle: Reawakened
After entering the puzzle, turn left at the first junction, but watch out for a moving bomb. This bomb is oscillating between the wall and a device called a Jammer. Grab the Jammer and exit this room. Proceed along the path further into the puzzle, and you’ll encounter another bomb. Use the Jammer to deactivate this bomb, then continue onward. You’ll come across Jammer 2 along the way.
1. Place Jammer 2 near the bomb, ensuring a safe distance is maintained.
2. Carry Jammer 1 and move towards Jammer 2.
3. Upon reaching Jammer 2, use it to create a barrier around the bomb.
4. With Jammer 1 in hand, proceed to disable the barrier created by Jammer 2.
5. Wait for the bomb to pass through the disabled barrier.
6. After the bomb has passed, take Jammer 2 and use it to deactivate the barrier on the side opposite where the bomb originated from.
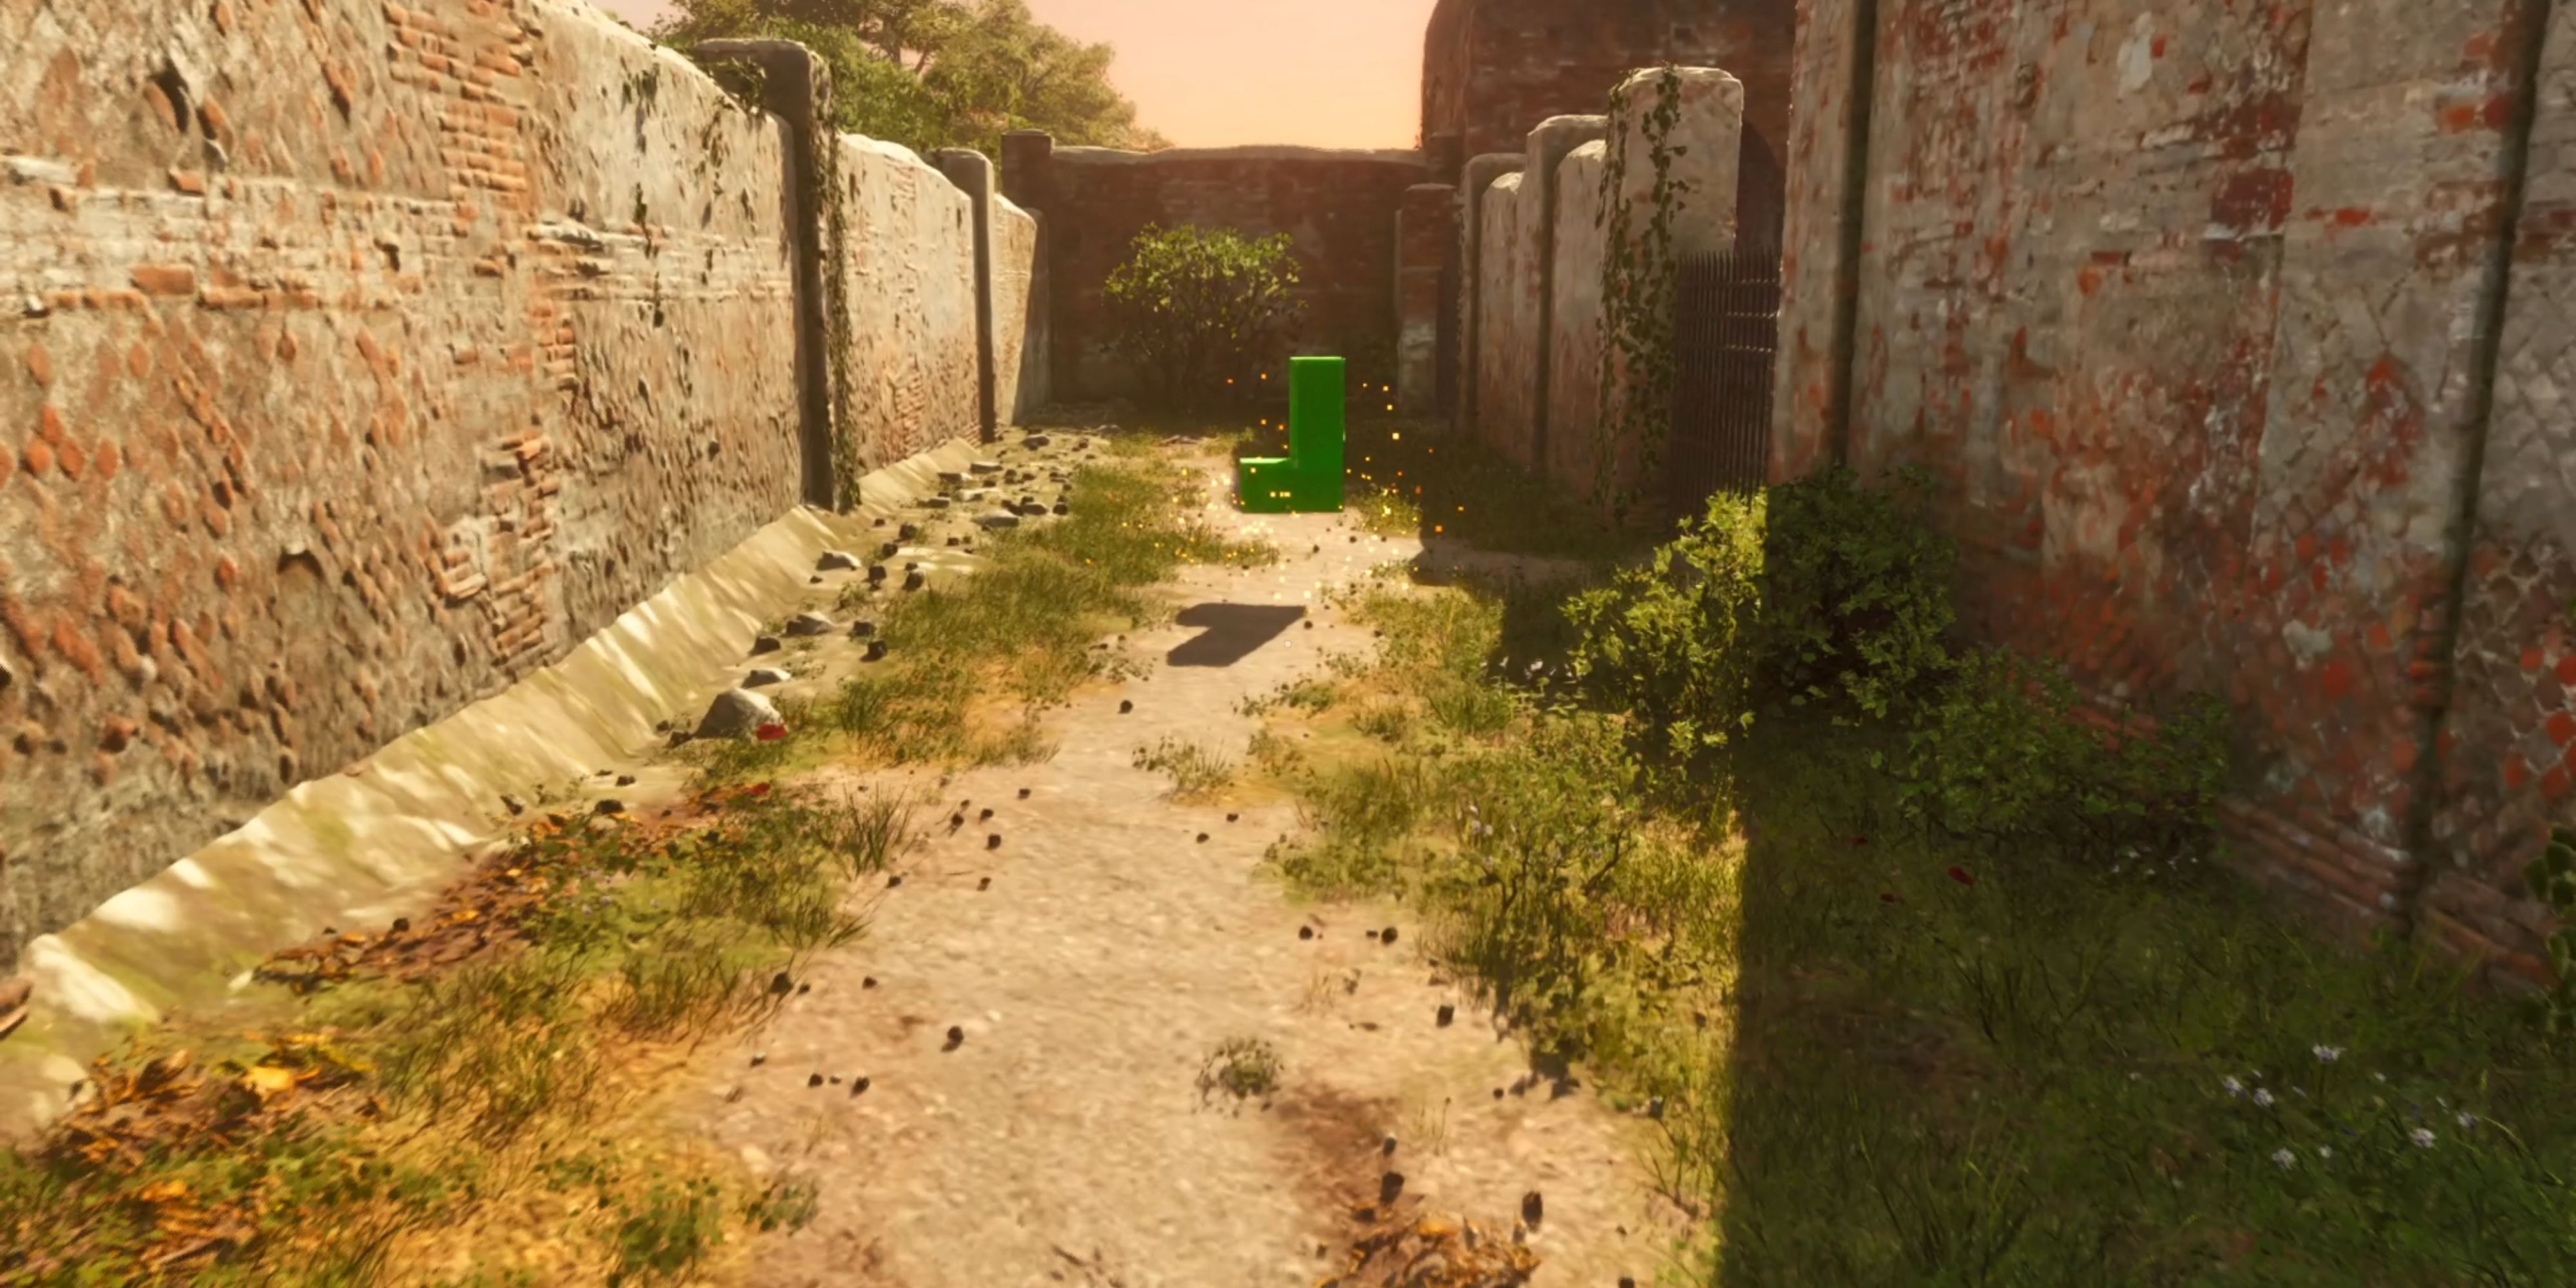
7. This sequence of actions will lead you to the room with the green sigil.
Players aren’t under pressure to act quickly or rely on others for protection; there’s enough time and space between explosives to study the puzzle and arrive at a solution independently.
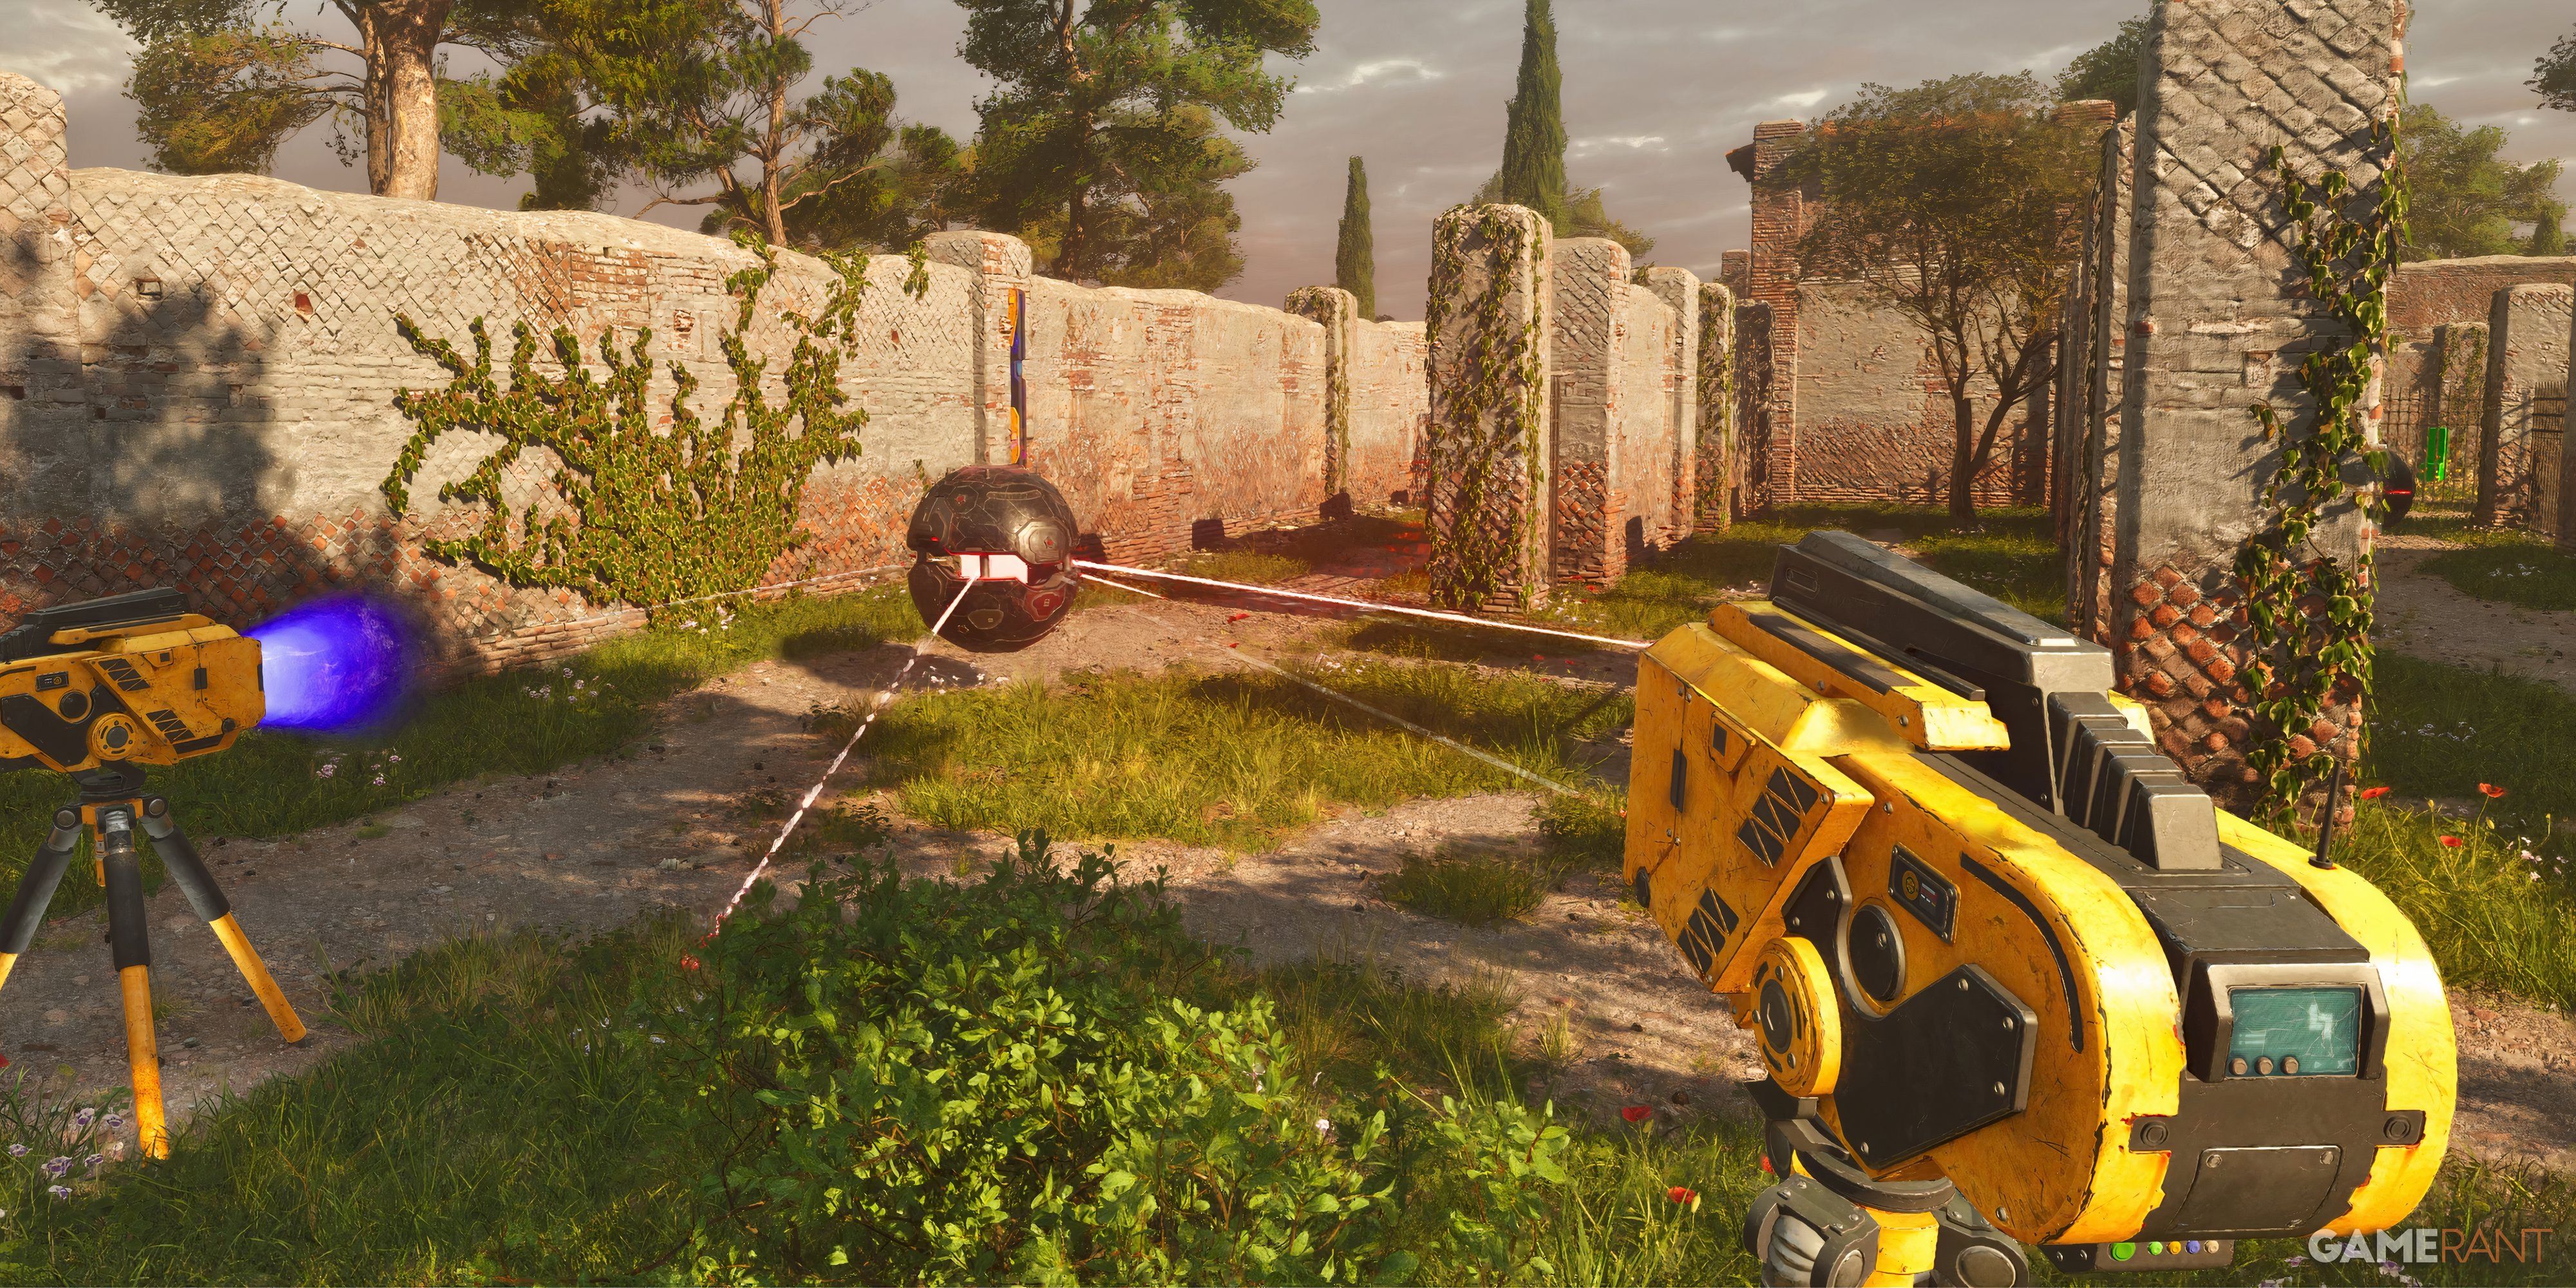
How to Solve Suicide Mission in The Talos Principle: Reawakened

Upon entering the puzzle chamber, follow the left wall until you locate the Jammer. Utilize the Jammer on the gun mounted along that wall, which is pointing at the blue barricade. You’ll see a switch near this barricade. Activate the switch, then pick up the Jammer again and apply it to the blue barricade.
In the course of playing, you’ll discover that there are many aspects of the game that aren’t immediately obvious. As you delve deeper, you’ll gradually pick up on strategies like using bombs to take out mounted guns.
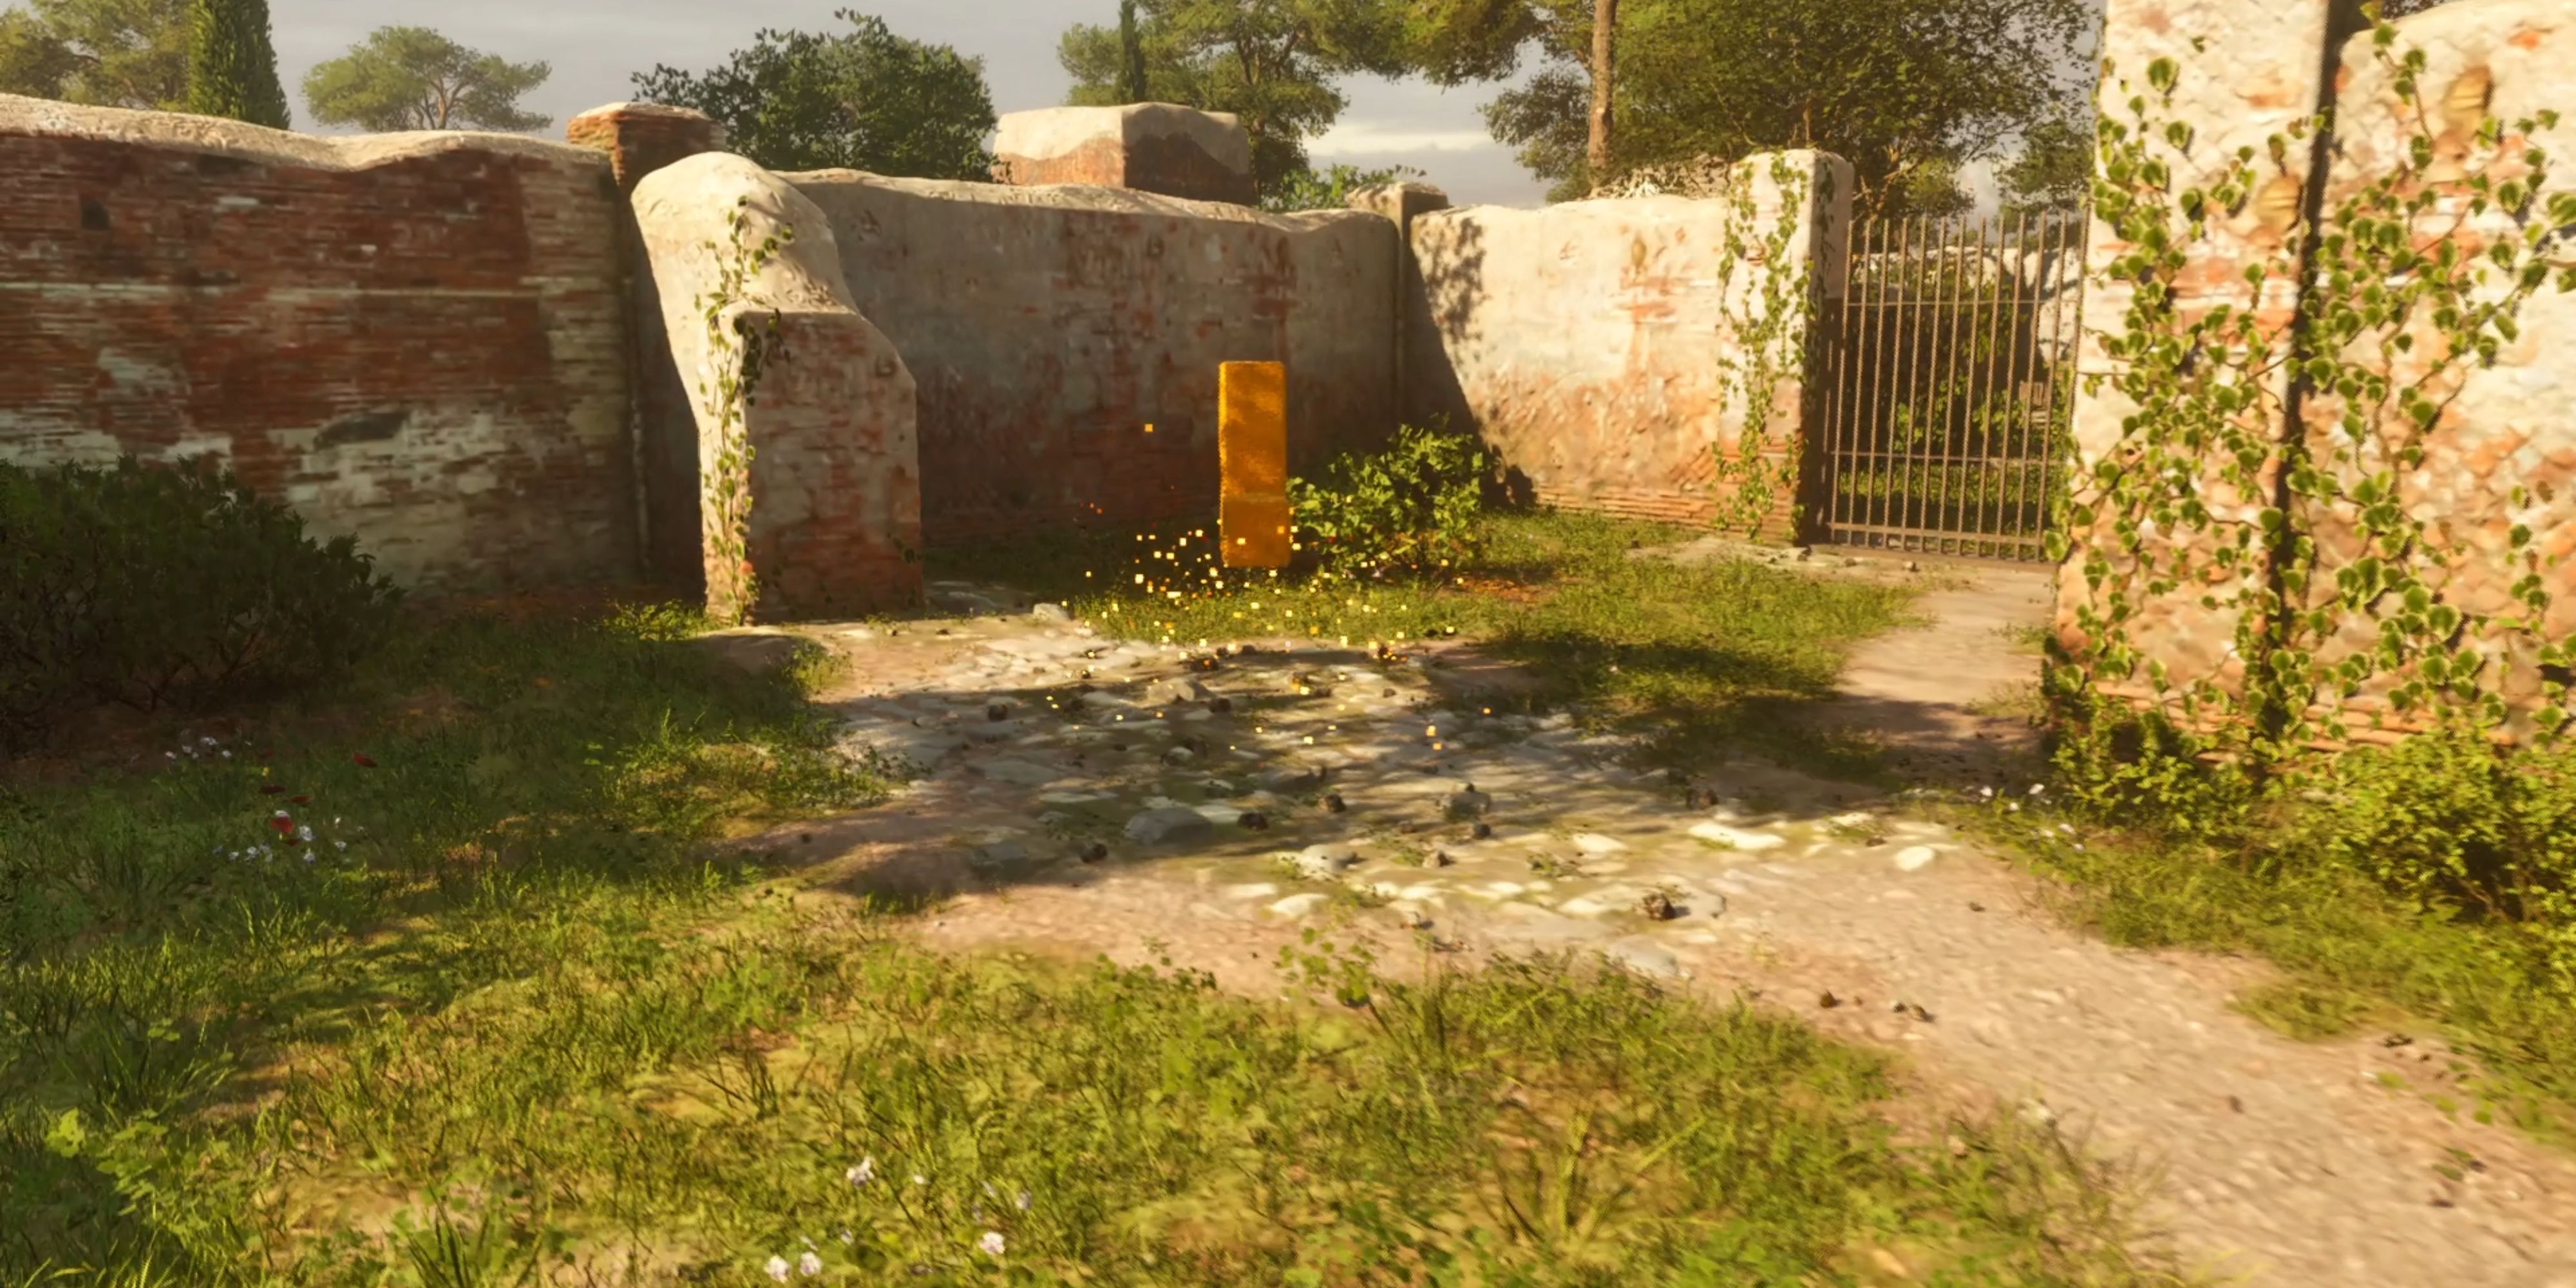
1. The explosive is heading toward the positioned cannon and will likely demolish it. If you follow the path past the barricade, you’ll come across the yellow emblem.
2. An explosive device is making its way towards the stationary artillery piece, where it may cause destruction. Beyond the blockade, if you keep going along the road, you will stumble upon a yellow symbol.
3. The bomb is moving in the direction of the gun that’s been mounted, and it’s expected to blow it up. If you follow the trail beyond the obstruction, you’ll discover the yellow sign.
4. The explosive is approaching the gun that’s been set up, with a high probability of detonating it. By proceeding past the blockade on the road ahead, you will encounter the yellow insignia.
5. The bomb is in transit towards the mounted cannon, and it seems destined to obliterate it. As you continue down the path beyond the barricade, you’ll find the yellow mark.
Read More
- All Skyblazer Armor Locations in Crimson Desert
- How to Get the Sunset Reed Armor Set and Hollow Visage Sword in Crimson Desert
- All Shadow Armor Locations in Crimson Desert
- One Piece Chapter 1180 Release Date And Where To Read
- Marni Laser Helm Location & Upgrade in Crimson Desert
- All Helfryn Armor Locations in Crimson Desert
- All Golden Greed Armor Locations in Crimson Desert
- All Icewing Armor Locations in Crimson Desert
- How to Beat Stonewalker Antiquum at the Gate of Truth in Crimson Desert
- Legendary White Lion Necklace Location in Crimson Desert
2025-04-10 18:39