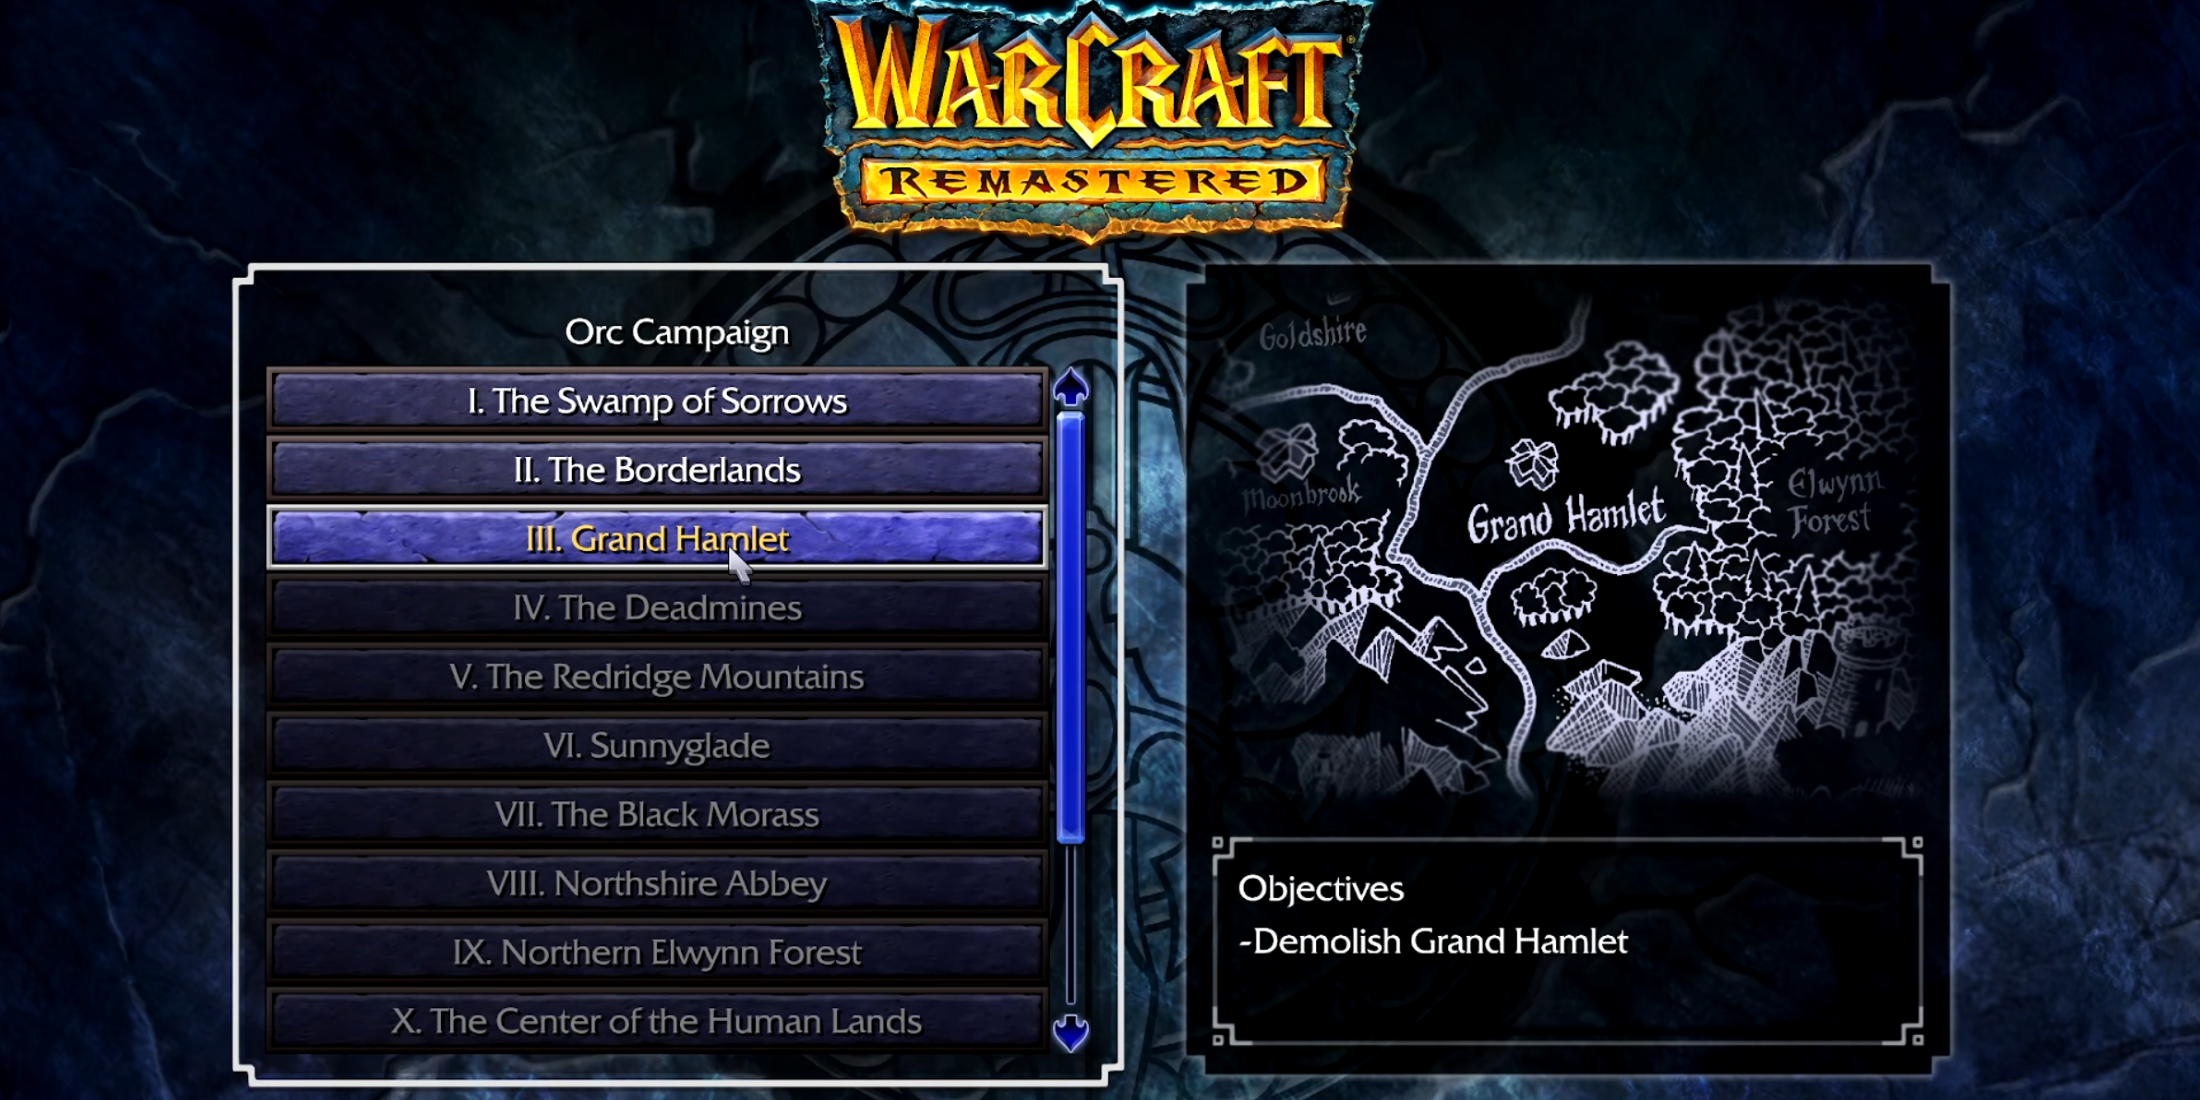
As a seasoned Warcraft veteran with countless hours spent navigating the treacherous landscapes of Azeroth, I can confidently guide you through the challenging Grand Hamlet scenario in Orc 3.
Following my conquest of the initial two Orc campaigns in Warcraft: Orcs & Humans and its remastered version, I’ve now encountered the first significant hurdle of the Orc campaign – “Grand Hamlet”. This sprawling Human settlement, perched on the riverbank, presents a formidable challenge that can only be overcome by strategically plotting my moves and amassing a sizable army.
The key to conquering this stage lies in the power of Spearmen. In the Scenario 3 of the Orc campaign in Warcraft 1, you can effortlessly triumph with nothing more than enhanced Spearmen, backed by a Necrolyte who shields them using Skeletons. However, to amass an army sufficient to tackle Grand Hamlet, players of Warcraft 1 need to build a robust economy swiftly, erect numerous advanced structures, and skillfully fend off Human attacks while preparing for their ultimate victory.
Warcraft 1 Orc Campaign – Scenario 3 Walkthrough
“Grand Hamlet”
The Humans are growing strong in Grand Hamlet.
An outpost will be placed under your dictatorship to use as you see fit.
You must then prepare and lead a force to destroy Grand Hamlet and all that dwell there.
Blackhand has no tolerance for any survivors among humans – it’s time they learn a harsh lesson about humility the hard way.
In the third scenario of the Warcraft 1 Orc campaign, your task as an Orc commander is to destroy Grand Hamlet. To achieve this objective, you need to vanquish every Human enemy on the map and bring down all structures in Grand Hamlet, reducing them to rubble.
As customary, start by constructing a Peon when you initiate Scenario 3 in Warcraft 1 as an Orc. Then, dispatch your initial two Peons towards the mine located southeastward. Deploy a Spearman and a Grunt to patrol your southern border, while the remaining three units should be stationed near the eastern bridge for defense.
Advance your soldiers beyond the area where they’ll be stationed to increase the visibility beyond the immediate battlefield. This will lift the veil of uncertainty, enabling you to spot approaching enemies well ahead of their attack range. This extra time can be used to rearrange your troops, and if needed, request reinforcements.
Once your worker has completed their tasks, direct them towards the forest located to the southeast to gather wood. When you’ve amassed sufficient Gold and Wood, construct a Barracks (requiring 500 Gold and 600 Wood) on the southeastern corner of your settlement for optimal placement of spawning units.
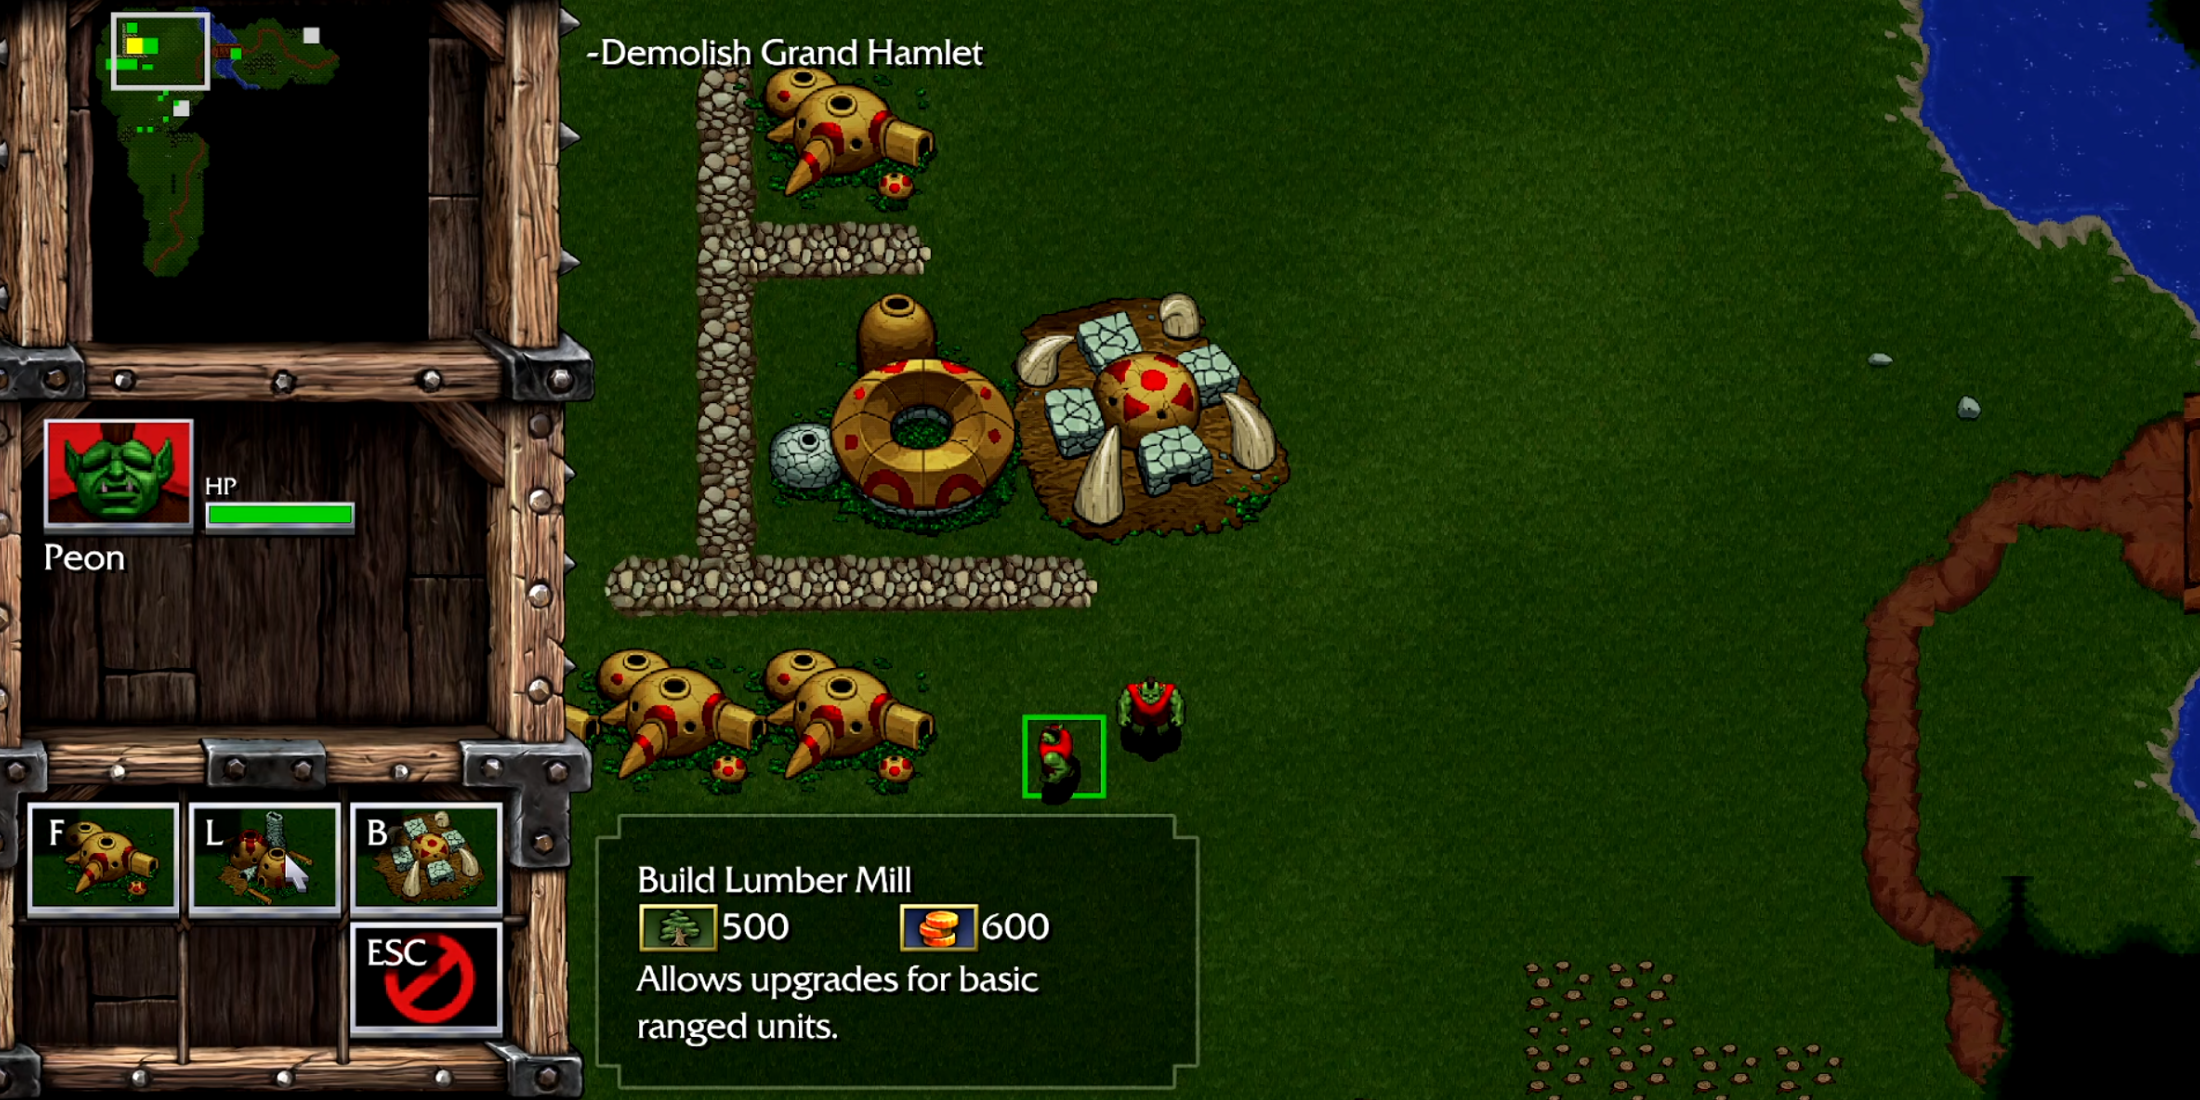
Once you’ve constructed a Barracks, prioritize constructing a Lumber Mill next. This structure will enable you to buy and enhance Spearmen units, which are particularly beneficial for this situation. Additionally, if you manage to acquire a Necrolyte with the Raise Dead ability later on, these units will be further strengthened as they can help protect them.
Before constructing a Temple, let’s focus first on increasing our Spearmen force. You’ll need 50 Lumber and 450 Gold for each unit. Station approximately three to four of these soldiers on your southern border at the forest gap to deter Human invasions from that side. Keep building your army exclusively with Spearmen until you have around 11 to 12 of them stationed on the eastern bridge.
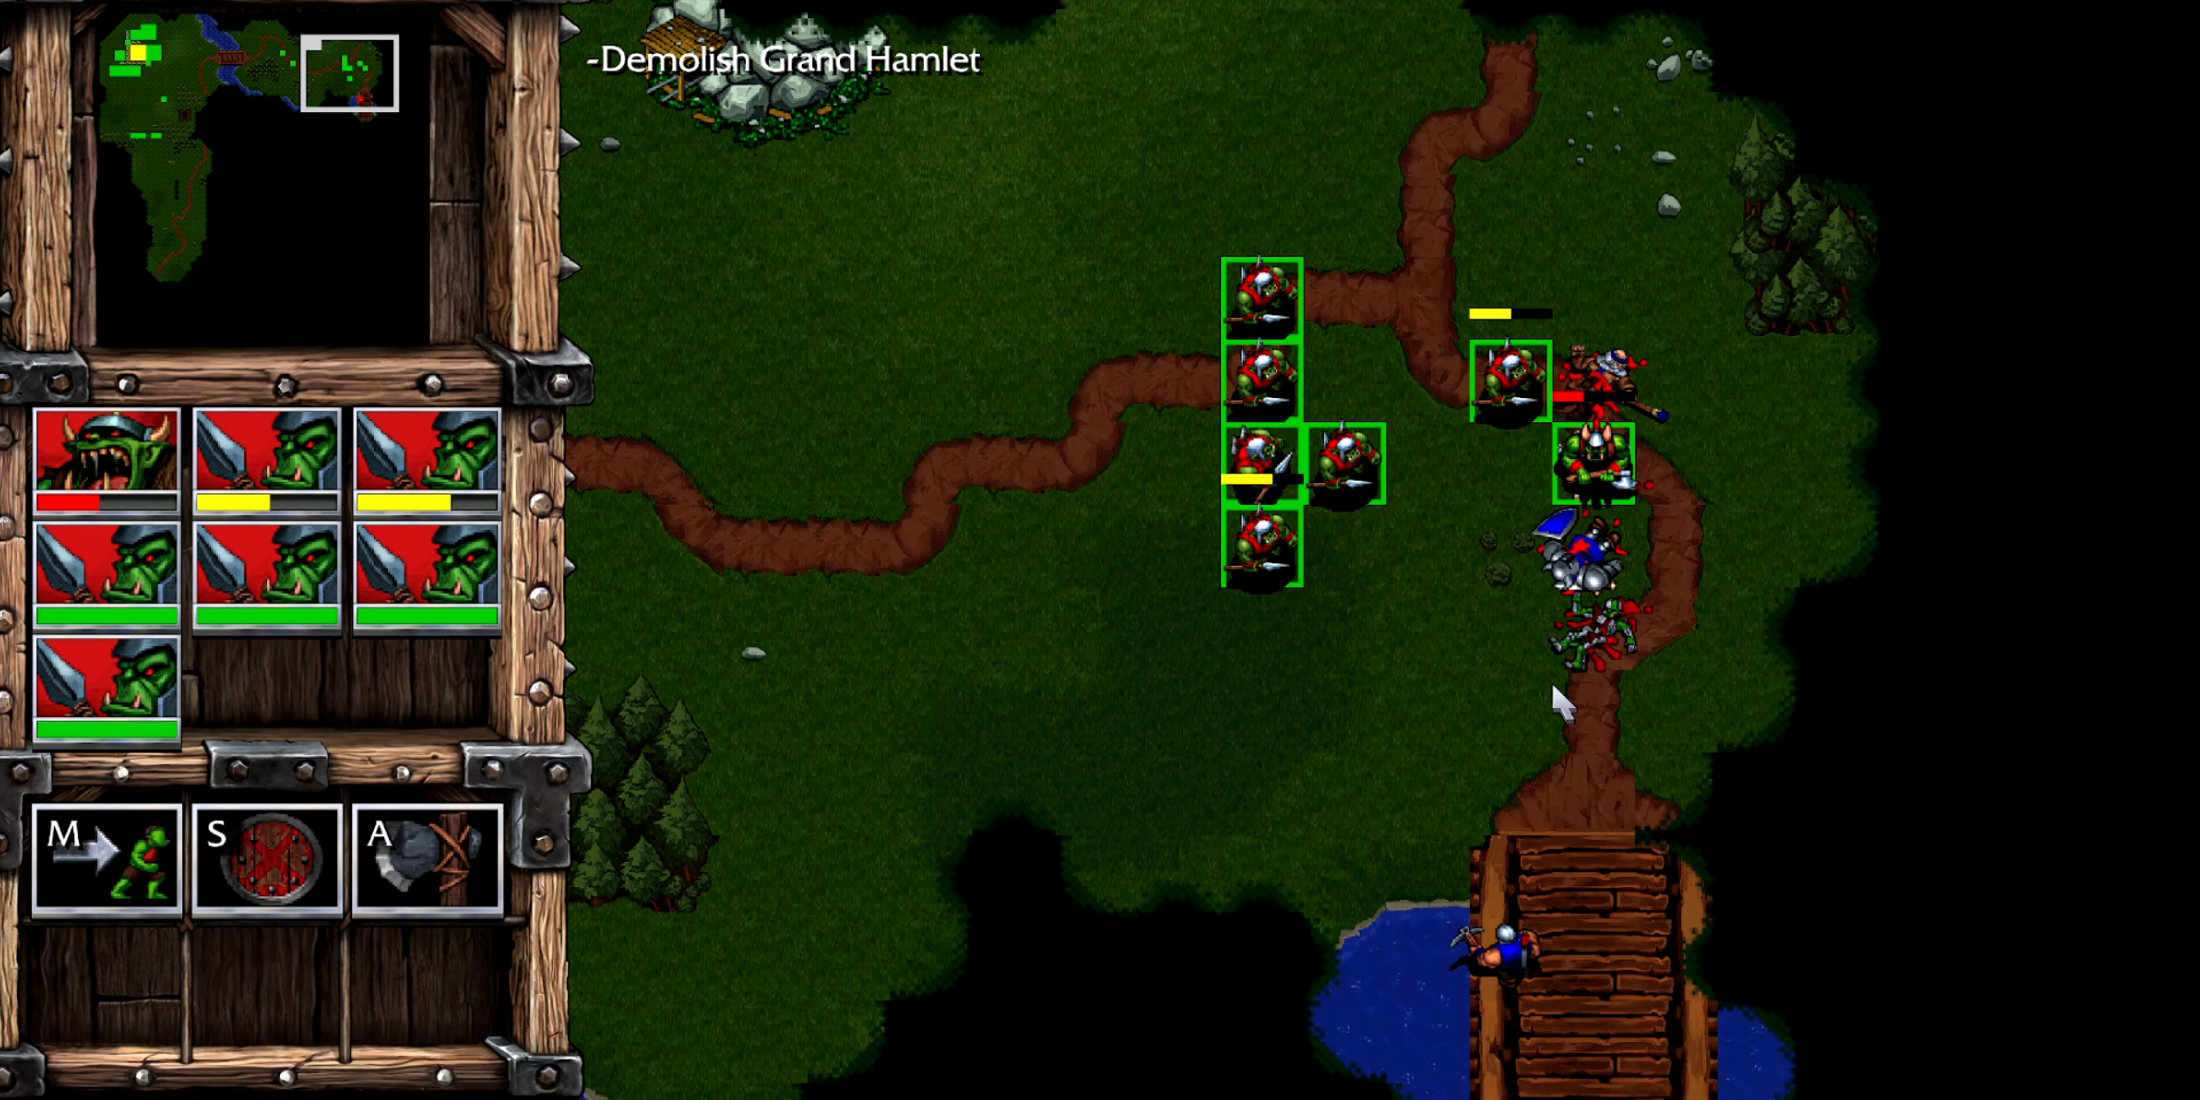
As the gold supply in the southeastern mine will deplete eventually, it’s wise to dispatch your Spearmen troops towards the eastern direction to locate a new Gold Mine before we exhaust our current one. Maintain your units nearby this potential Gold Mine to safeguard Peons as they return with their heavy load back to the Town Hall.
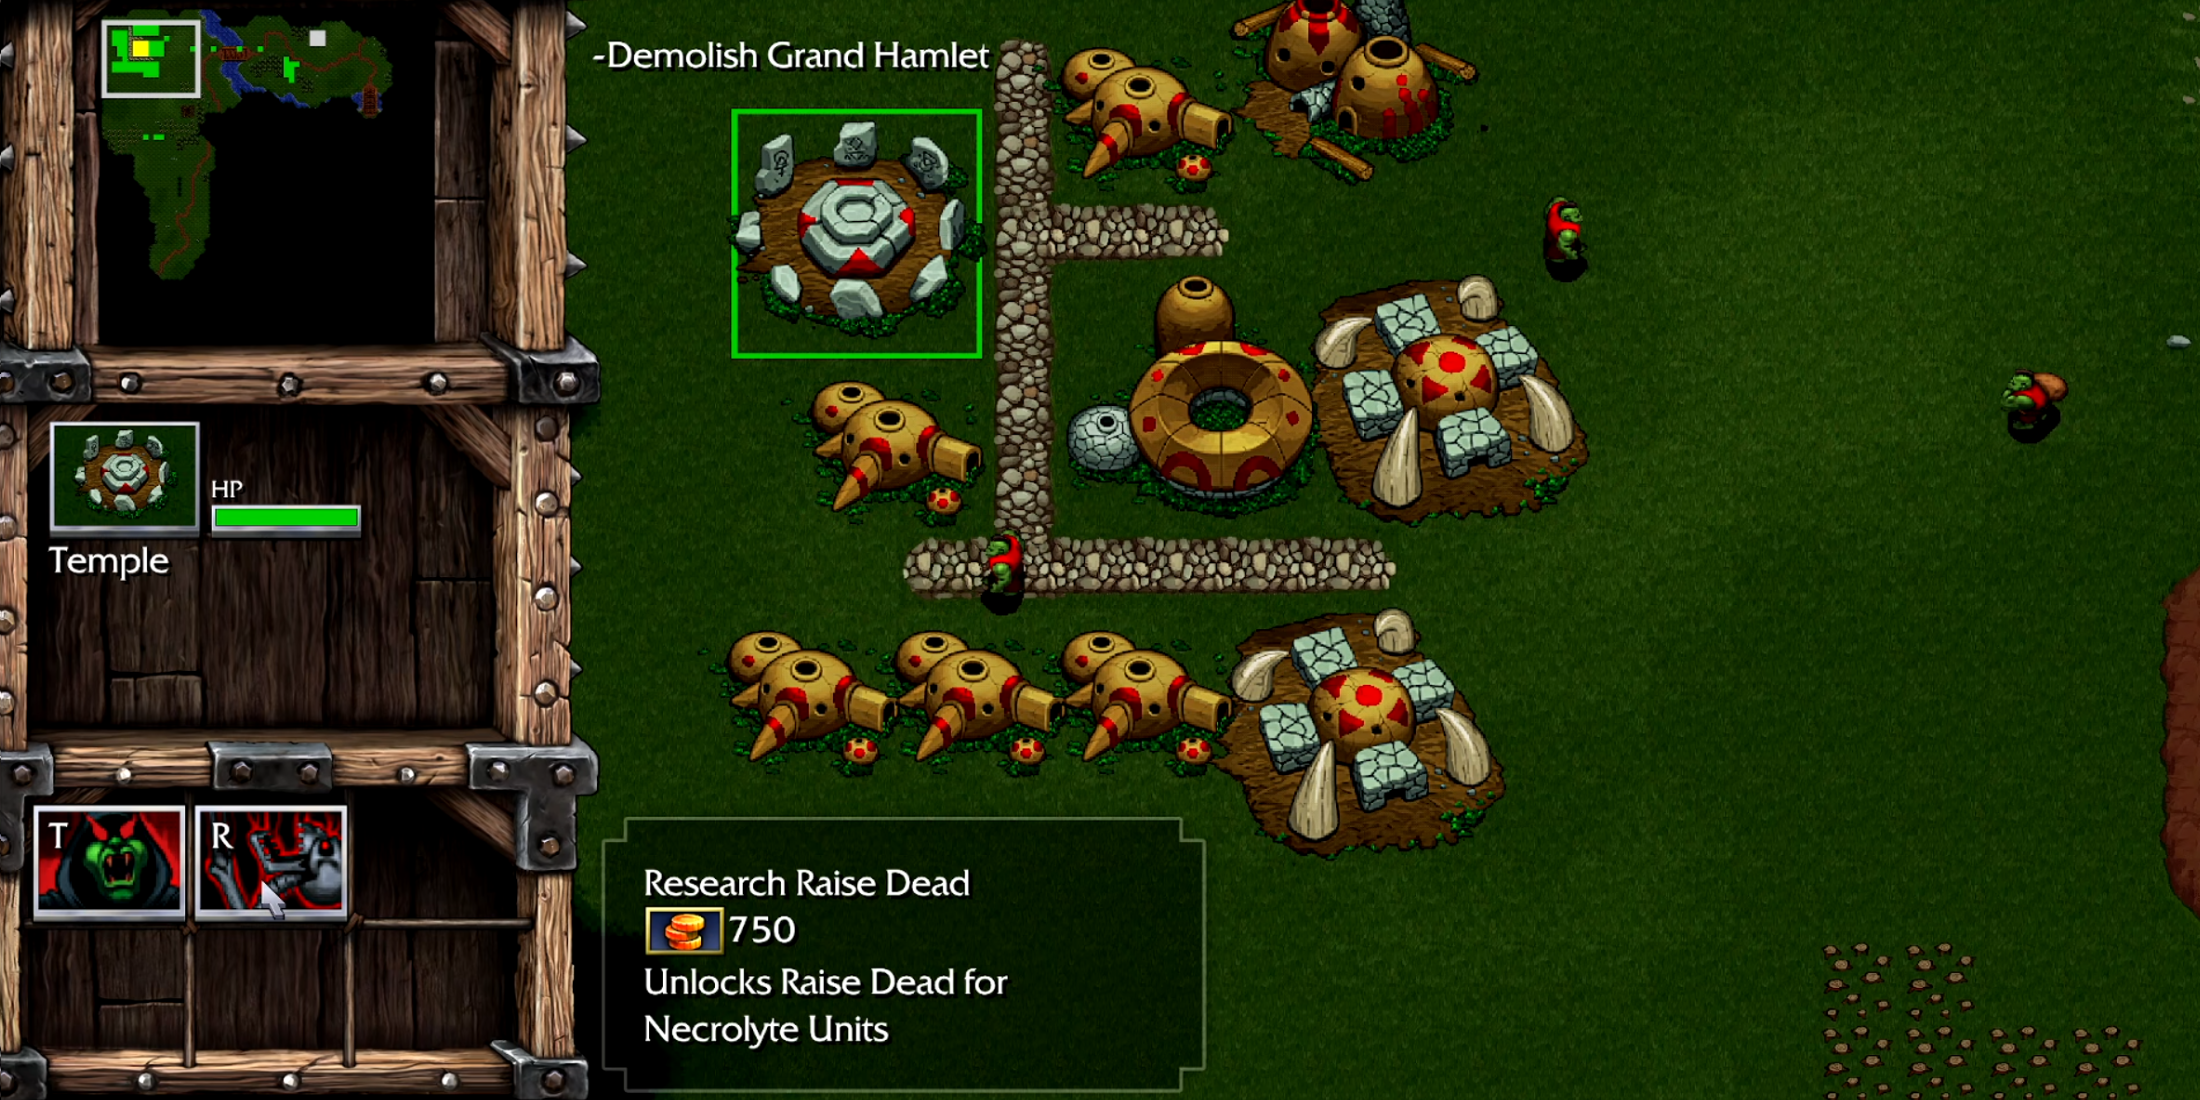
Once you’ve gathered sufficient Lumber and Gold, choose a worker and navigate to the “Advanced Buildings” menu. Position your Temple on the western edge of your village. As soon as you accumulate 750 Gold, investigate “Raise Dead”. Then, spend 700 Gold on a Necrolyte – you only need one for this Scenario’s victory.
Focus on the southern bridge located east of the Gold Mine, which is where your Spearman troops are positioned. A majority of enemies will appear and attack from this bridge, so it’s crucial to act swiftly and eliminate them promptly to minimize casualties among your forces.
Maintain producing Spearmen and Farms to strengthen your military force. Once you’ve amassed about a dozen Spearmen, boost their damage by visiting the Lumber Mill twice. This enhancement will set you back 2250 Gold (750 Gold for the first upgrade plus an additional 1500 Gold for the second).
Position your Necrolytic unit in your army’s rear ranks and ensure they remain there. Once all units are fully upgraded and prepared for action, deploy your Spearmen troops southward across the bridge, with the Necrolyte following closely behind. You will soon meet Human forces beyond the bridge, and Grand Hamlet lies approximately two screens to the south from that point.
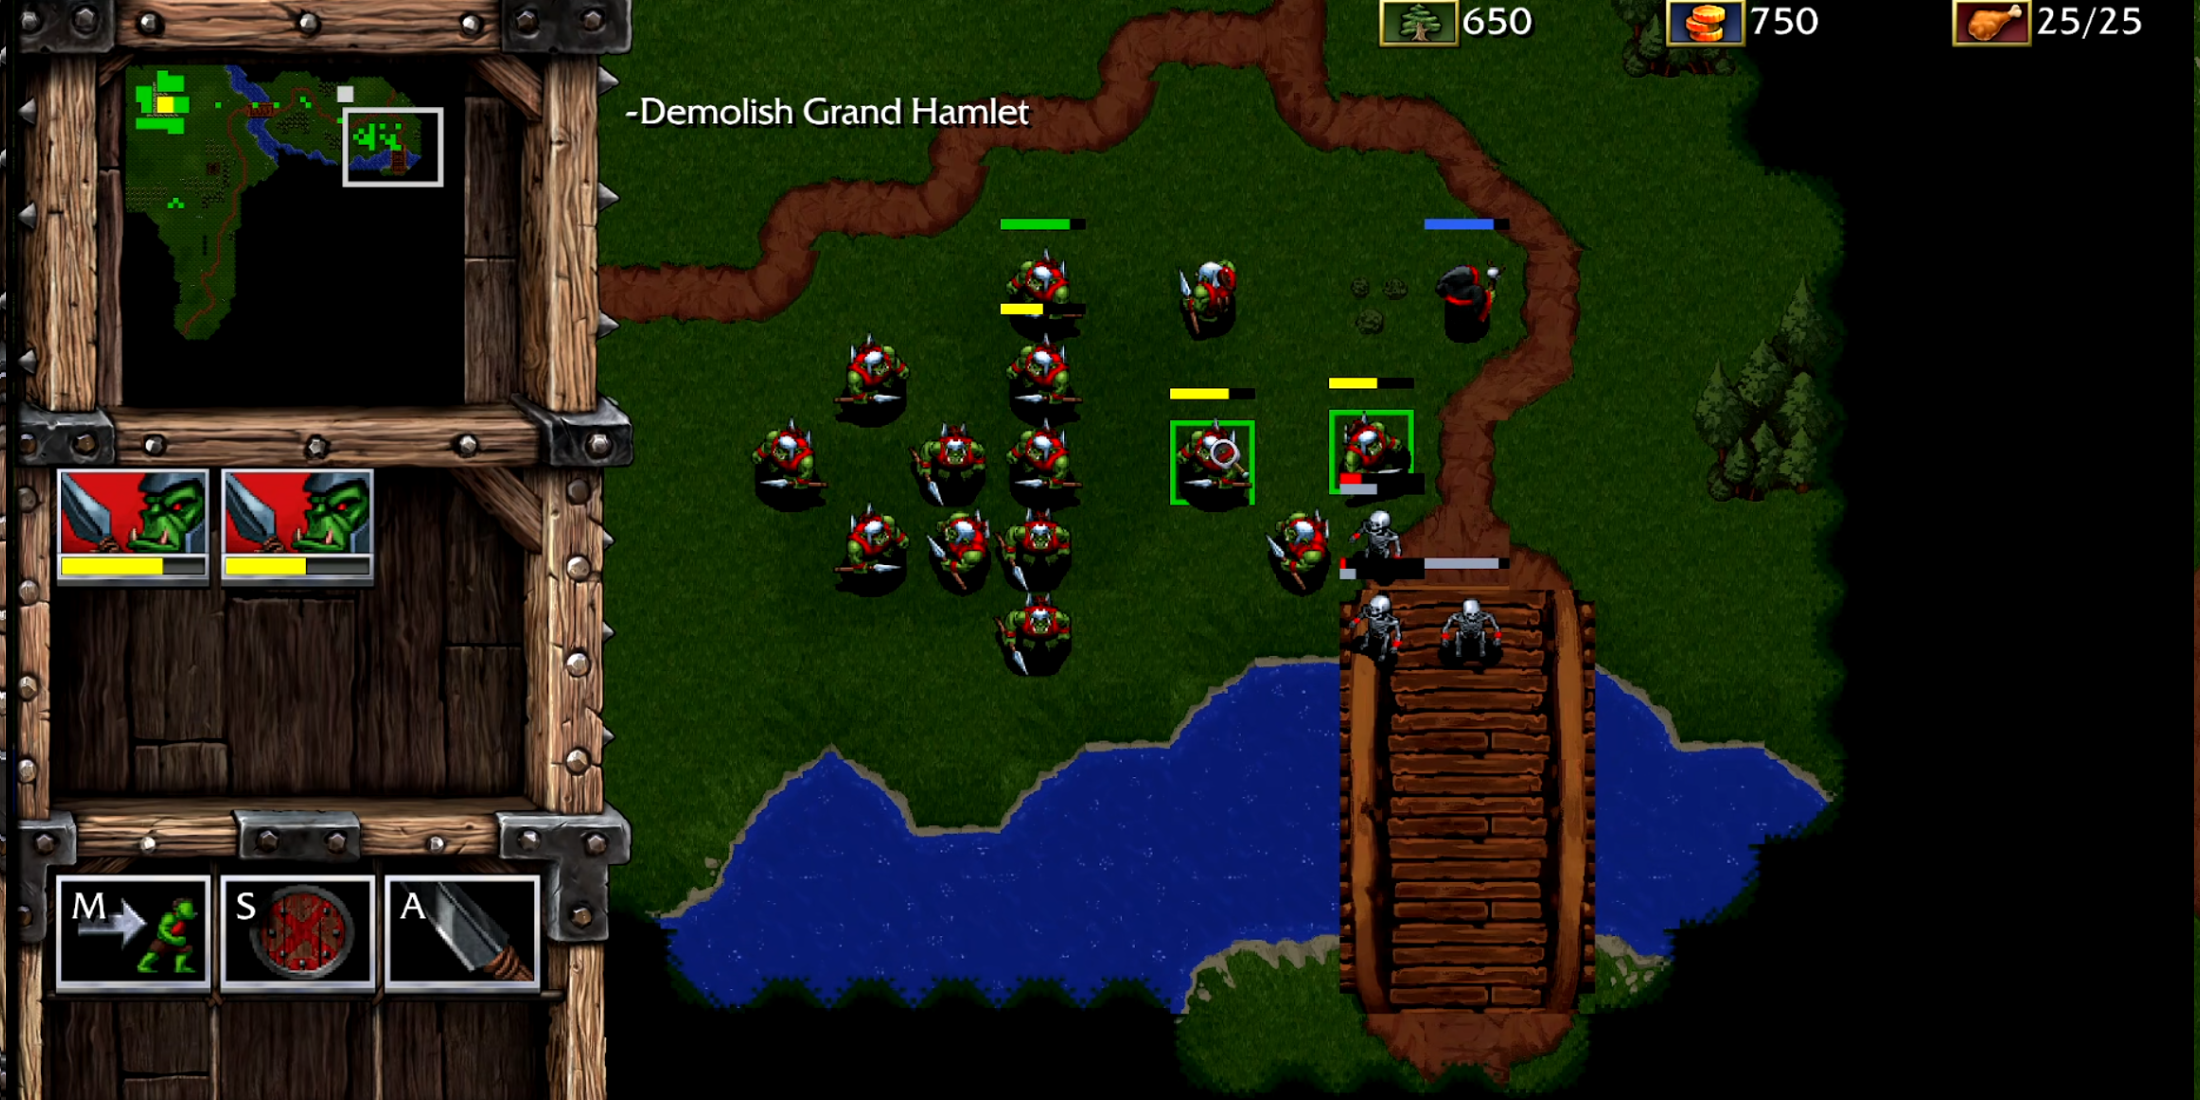
Overpower the Archers and halt your troops’ advance. Utilize your Necrolyte to resurrect any fallen enemy or friendly soldiers, deploying these skeletal reinforcements to the front line. These short-lived units will act as a buffer between adversaries and your Spearmen, enabling them to launch spears at high speed without sustaining damage themselves.
You could employ Skeletons as a tactic to provoke enemies from Grand Hamlet. Move one Skeleton towards the south until it reaches Grand Hammertown, attracting the Knights and Archers. Then, withdraw the skeleton back to your assembled troops to deplete their ranks before launching your attack.
With such a large force at your disposal and a Necrolyte conjuring Skeletons to absorb damage, you could equally decide to charge into Grand Hamlet and eliminate everything within the city. It might be wiser to lure enemies out, but if you’re determined to wrap up this scenario swiftly and trust that your army has the strength for it, then by all means, advance straight in and concentrate on annihilating the Units before demolishing buildings.
If you demolish Grand Hamlet and its human inhabitants, the situation might not conclude entirely. It’s possible that there are a handful of humans lurking in undisclosed areas as per your map – for example, a modest group could be en route to the southwestern boundary of your outpost.
Deploy your troops into the uncertainties of battle to track down the final human and accomplish the Warcraft 1 Orc 3 Scenario in Grand Hamlet. Upon vanquishing the contemptible humans, follow my next instructions to the Deadmines where you will pursue an Orc who has turned traitor by allying with the Ogres.
Read More
- FIS PREDICTION. FIS cryptocurrency
- Tips For Running A Gothic Horror Campaign In D&D
- Luma Island: All Mountain Offering Crystal Locations
- EUR CAD PREDICTION
- DCU: Who is Jason Momoa’s Lobo?
- Fidelity’s Timmer: Bitcoin ‘Stole the Show’ in 2024
- How to Claim Entitlements In Freedom Wars Remastered
- 13 Best Cozy Open-World Games
- LUNC PREDICTION. LUNC cryptocurrency
- Space Marine 2 Teases 2025 Plans
2024-11-15 00:35