As a passionate admirer of the game, I must say, the initial stages of “Silksong” are quite linear, guiding us newcomers to grasp its mechanics and acquire skills in a straightforward manner, leading us on a clear path during the early game. However, once we’ve mastered the Silkspear ability and vanquished the Bell Beast, the world opens up with several intriguing paths for exploration, offering a more dynamic gaming experience.
Following your victory over the Bell Beast, veer right to uncover paths leading to multiple fresh realms. This tutorial outlines seven distinct activities for players after acquiring Silkspear and liberating the Bell Beast within the game ‘Silksong’. Among these are instructions for a captive yearning for freedom, maps of various newly discovered territories, two adversaries hindering Hornet’s advancement, and additional hints about navigating in ‘Silksong’.
Free Grindle, An Imprisoned Thief
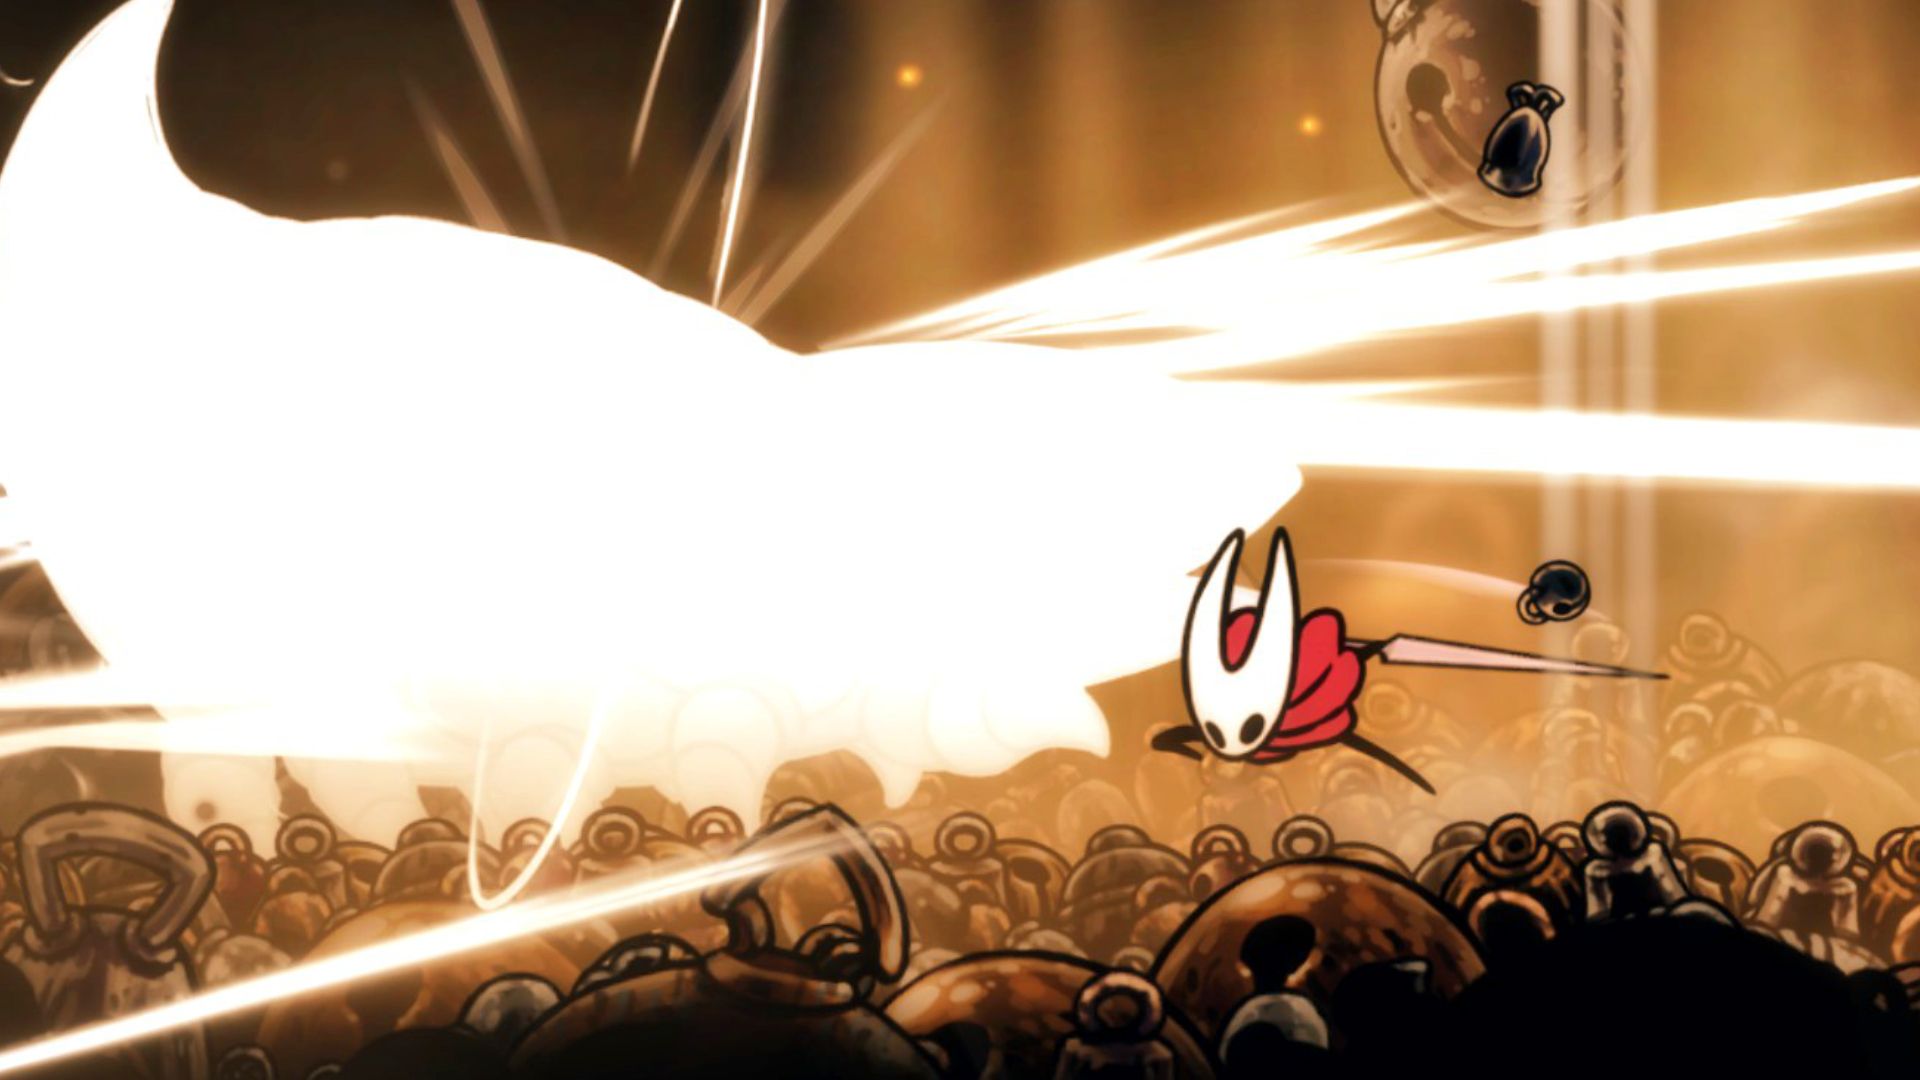
Once you’ve defeated the Bell Beast, head to its right side, ring the giant bell located there, and carry on moving right. Proceed through the subsequent room, keeping a course to your right until you reach a vast room filled with multiple large, red, spherical growths. Should you strike these downward, Hornet will leap in the direction she is currently facing.
Move towards the lower-right corner of this sprawling, curved room, then activate the lever there to cause a set of platforms to descend into a deep crevasse. Descend the chasm, bypassing the first doorway to your right (which leads to an opponent), and search for a structure marked with a symbol resembling a circle intersected by lines.
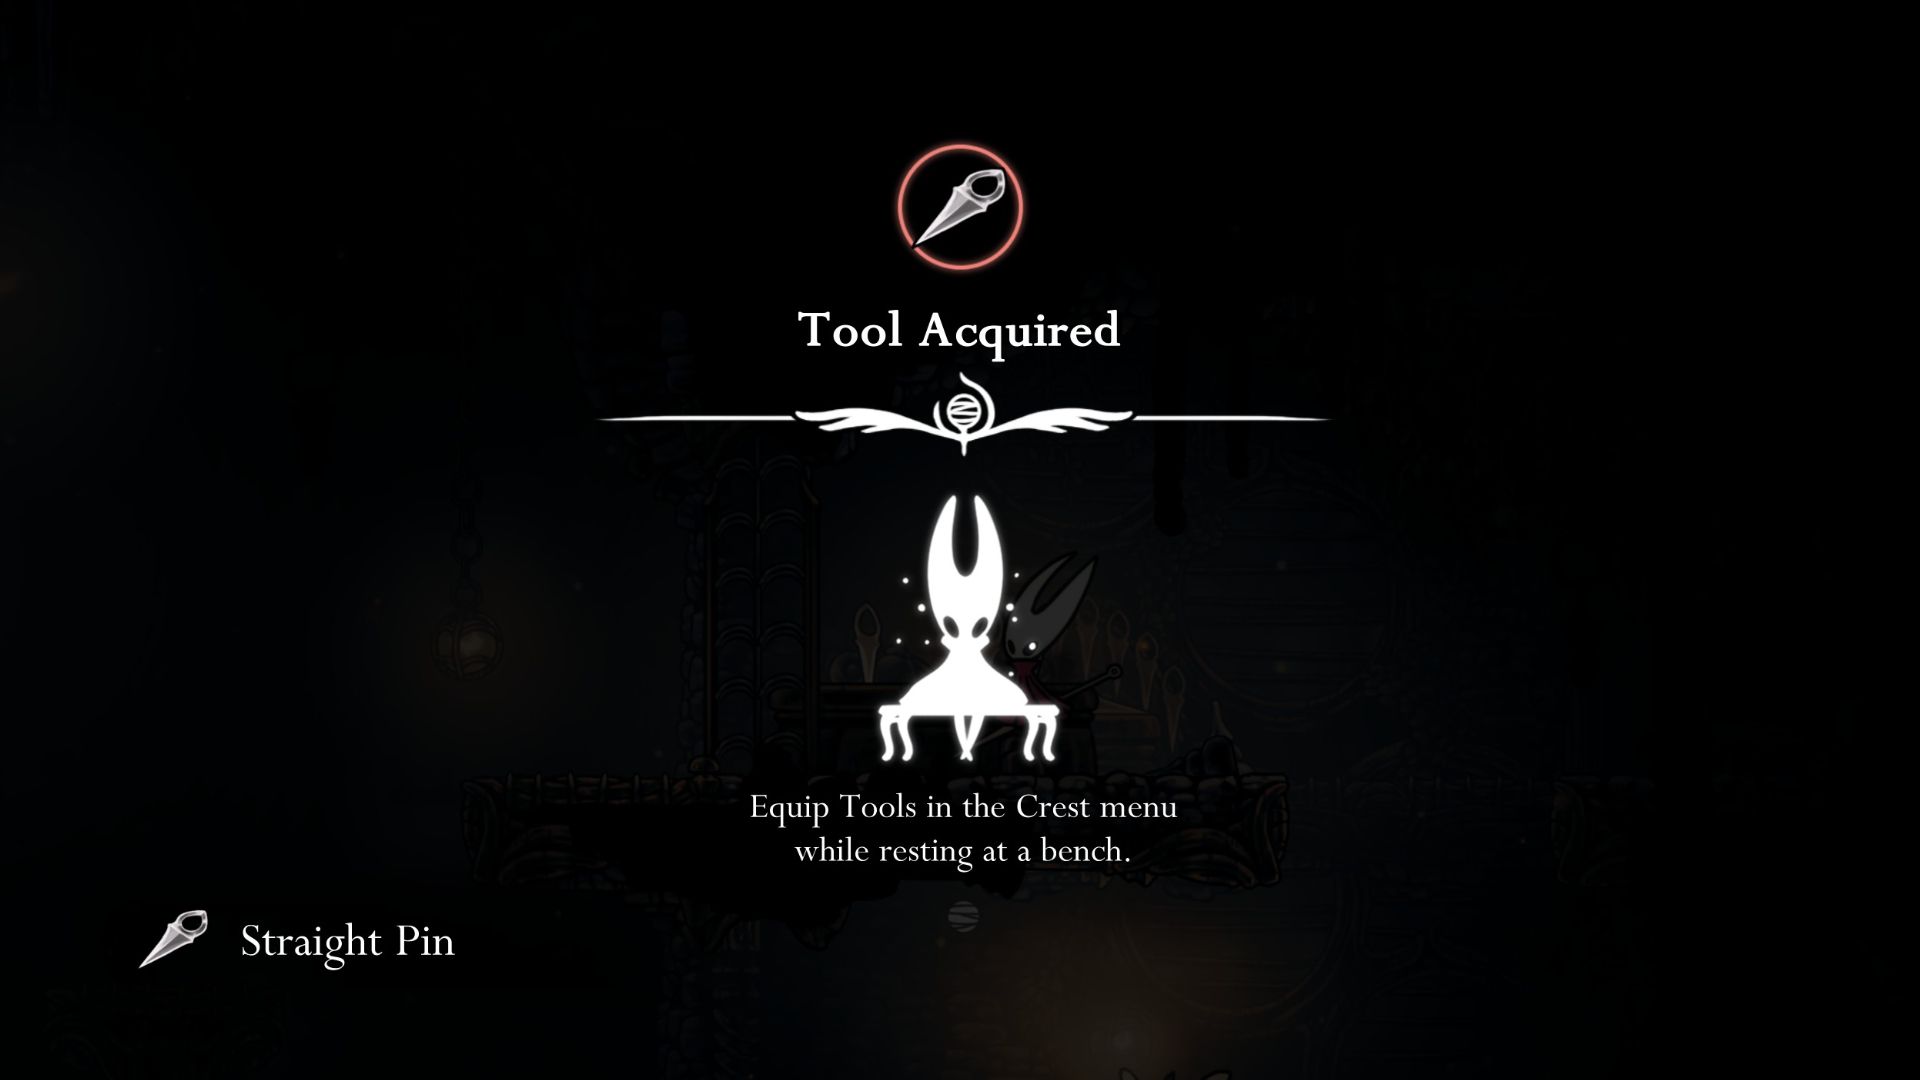
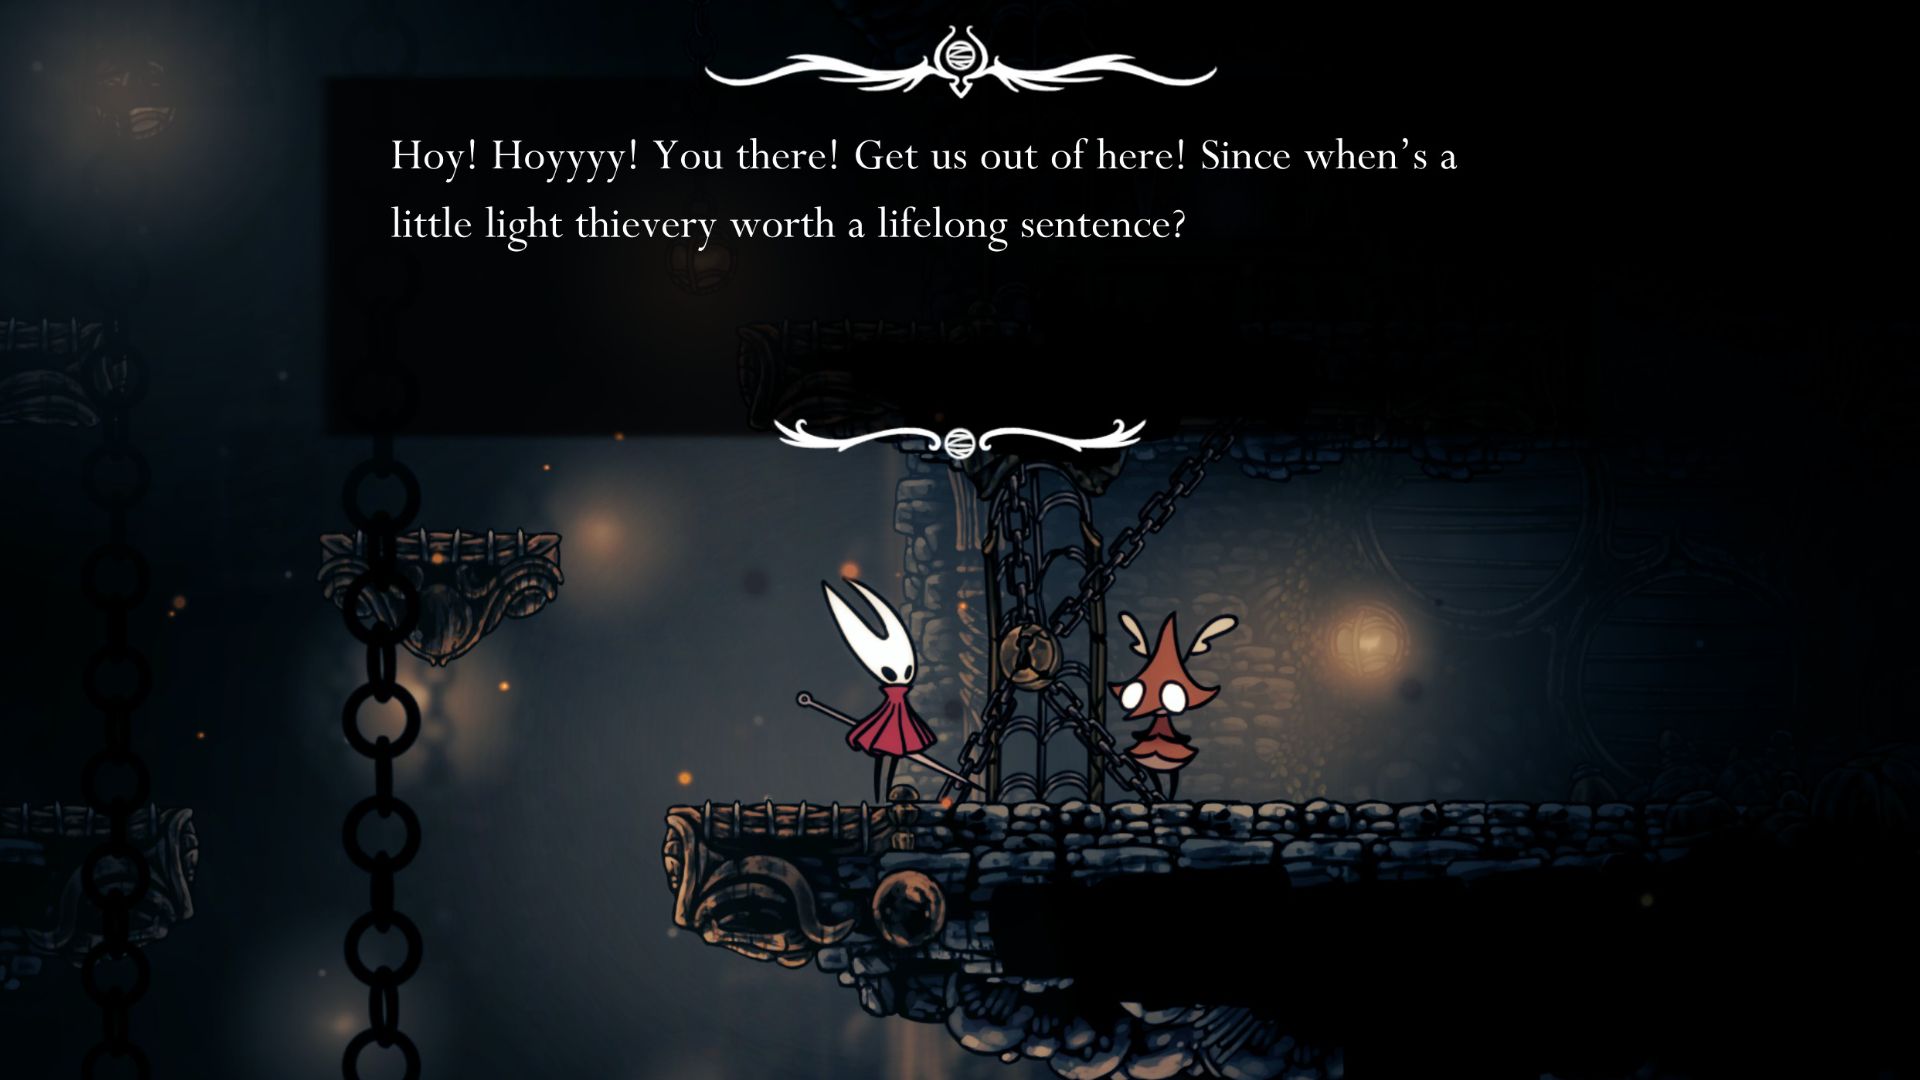
In this scenario, you’ll encounter a prison. Once you’re inside, climb up to the second level where a prisoner is confined. He’ll plead with you to grant his freedom. To do so, simply hit the cell door to break it open. Afterward, save Grindle and jump up to a platform above him to obtain the Straight Pin tool.
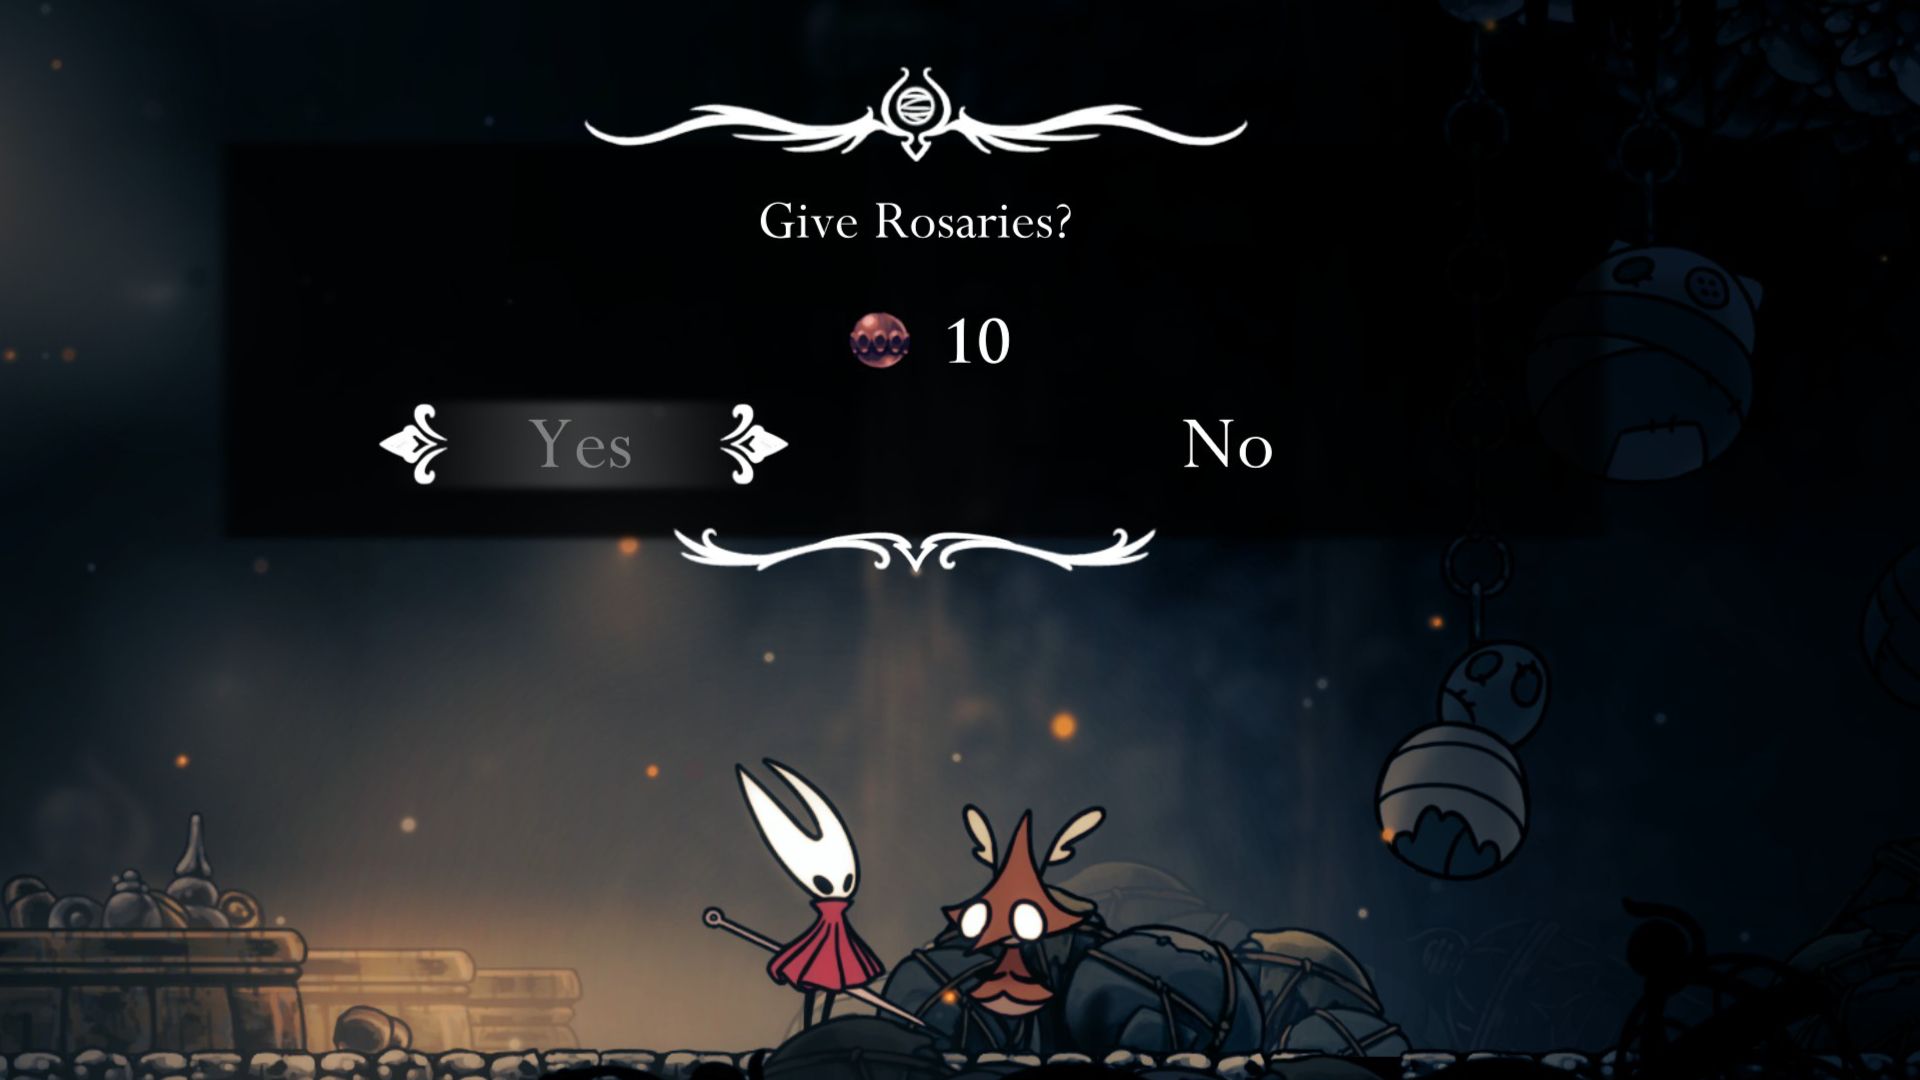
In the future, if you find yourself back at the prison, you might be able to barter Rosaries with Grindle for confidential details. Grindle has insights on various locations and adversaries ahead, but every snippet of information comes at a higher price in Rosaries.
Buy The Deep Docks Map From Shakra
As a captive finding newfound freedom, I’d advise you to step out of the prison and cautiously navigate down the abyss. Further along, you’ll eventually plummet into a room nestled between The Marrow and the Deep Docks, a searing zone of lava. In this room, aim for the far right side (be sure to avoid the scorching lava which inflicts two masks of damage). Then, continue through the pipes in the subsequent room.
At the far end of this extended corridor that resembles a pipe room, you’ll discover an elevator. This elevator ride will lead you to a spot where you can take a break on a resting bench, helping you recover your Health Points (HP). However, to access this bench, you need to spend 30 Rosaries first.
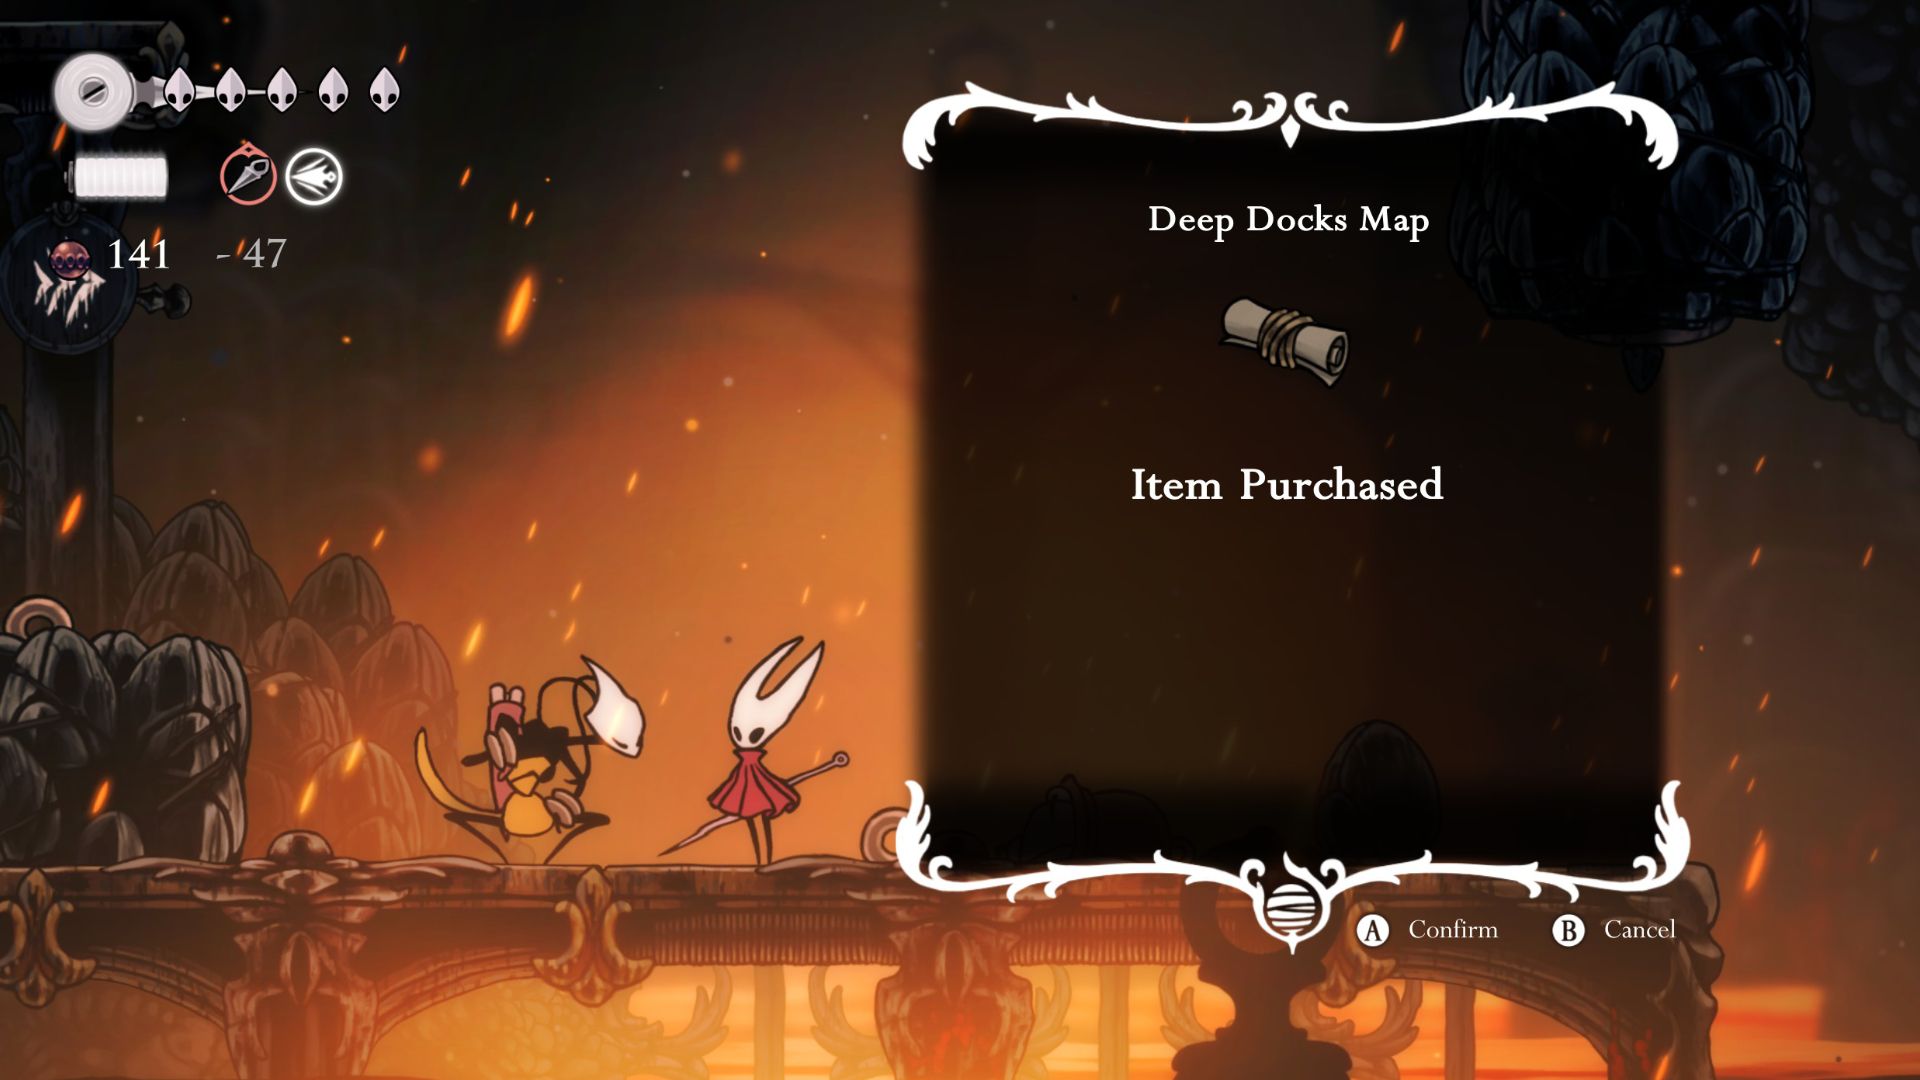
Head into the room on your right, and there you’ll encounter Shakra once more. Since her relocation, she’s set up shop at the Deep Docks, replacing her old location in The Marrow. Now, she provides maps of the Deep Docks area along with new map markers for easier navigation.
Here at the market, a Deep Docks map will set you back by 50 Rosaries, while the Vendor Pins come at a price of 80 Rosaries. Lastly, the Ring Marker costs 40 Rosaries.
Return to Bone Bottom’s Wishwall
After buying a map, head left from Shakra to reach Deep Docks’ Pharloom Bellway station. This station is connected to the other fast travel spots you’ve found, including Bone Bottom and The Marrow.
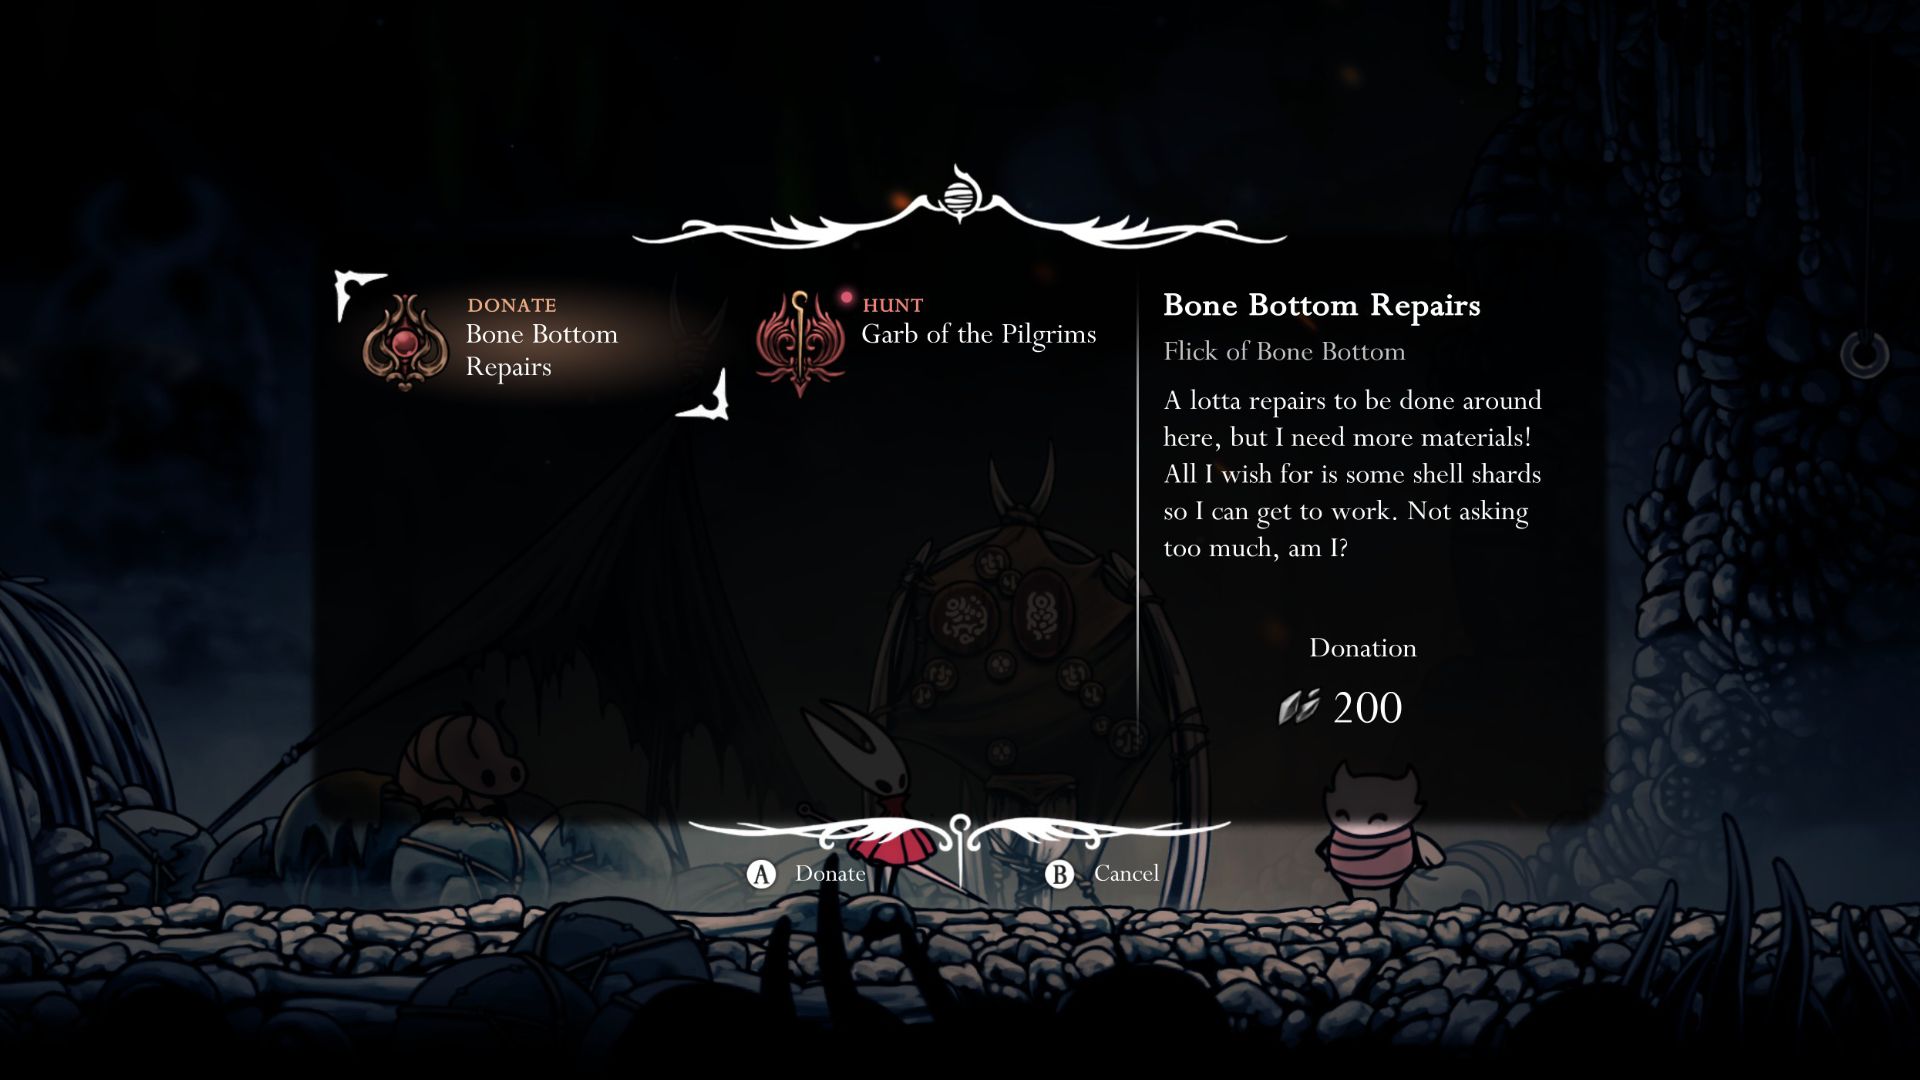
Return the Belltroll to Skeleton Shore, and you’ll find out that Flint has fulfilled his mural. Engage with the mural to uncover two fresh tasks that Hornet may accept: Reconstruction of Bone Bottom and Pilgrim Robes.
- To complete Bone Bottom Repairs, you must donate 200x Shell Shards to the wishwall.
- After completing this wish, return to Bone Bottom later on to discover some major changes to the settlement.
- To complete Garb of the Pilgrims, you must collect 12x Pilgrim Shawls, which drop from Pilgrim enemies throughout Pharloom.
- You will get a Rosary String for completing this wish.
Meet the Forge Daughter
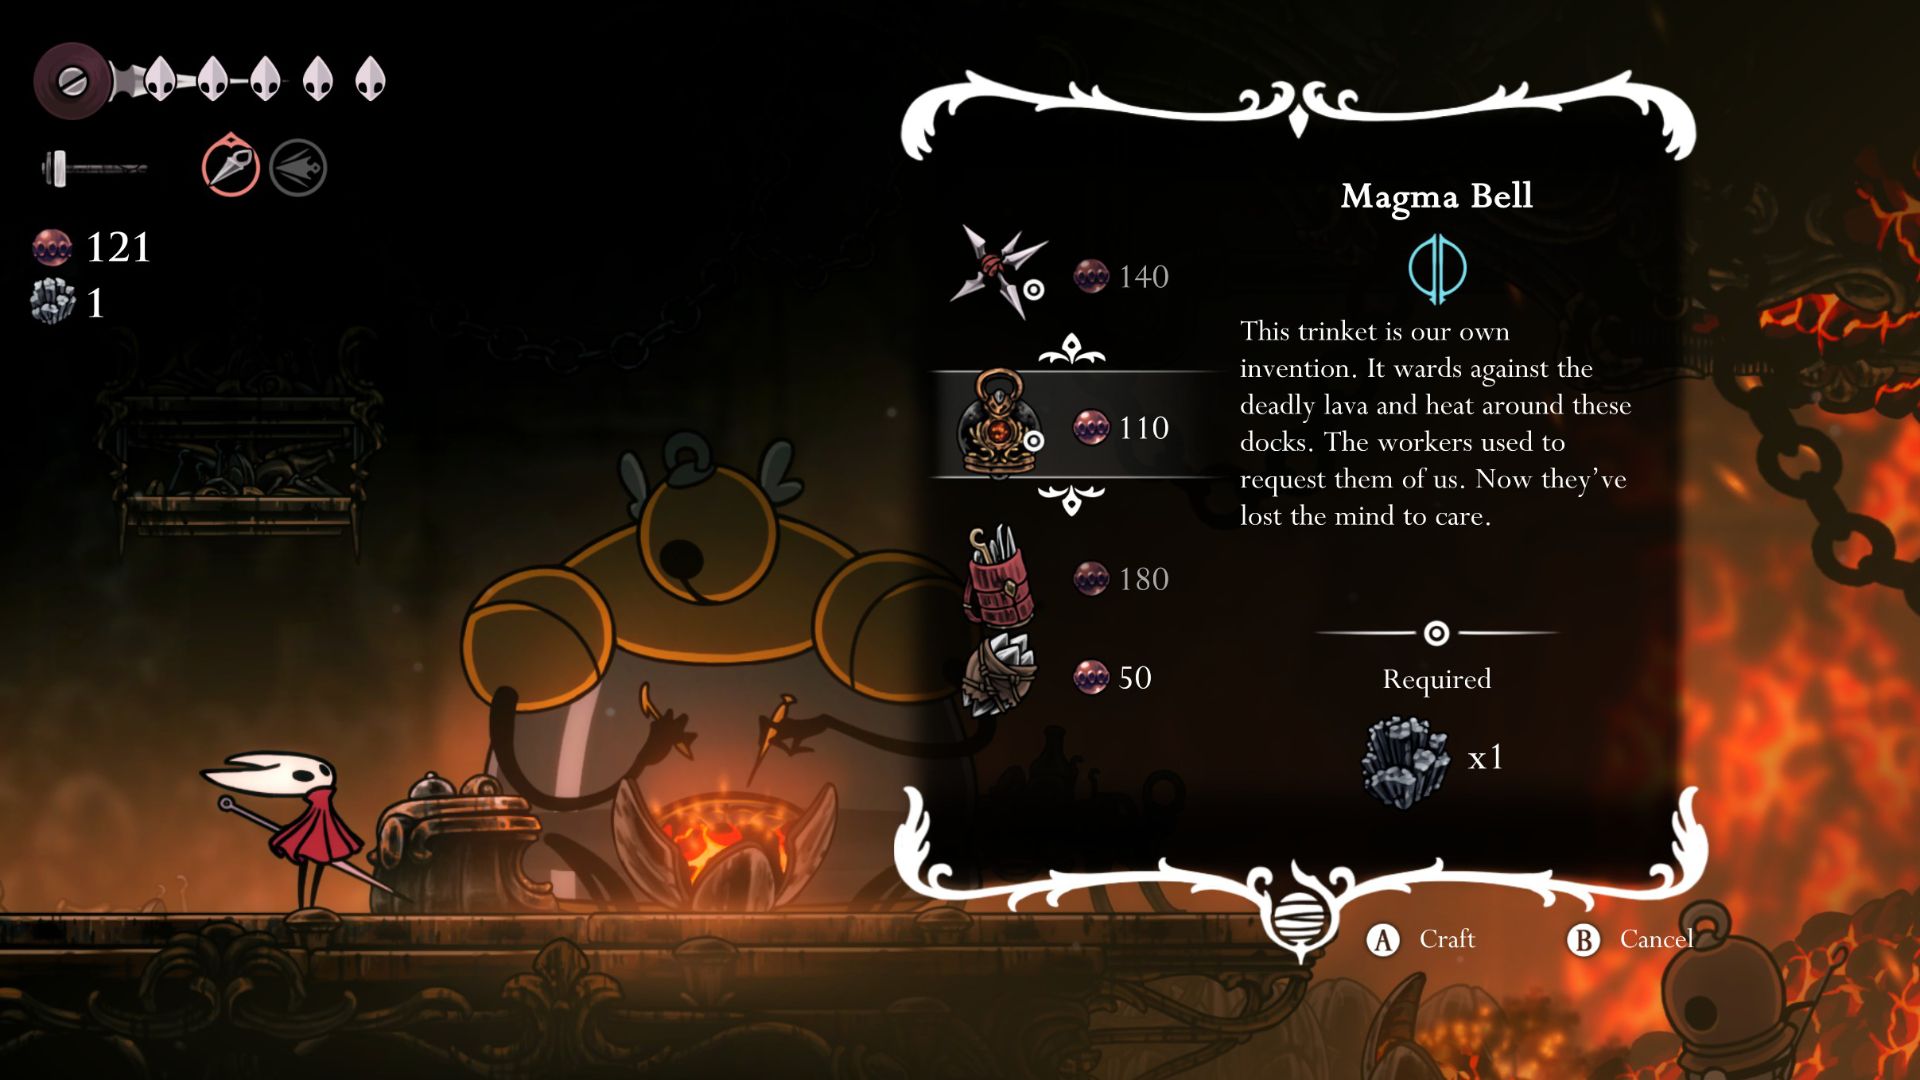
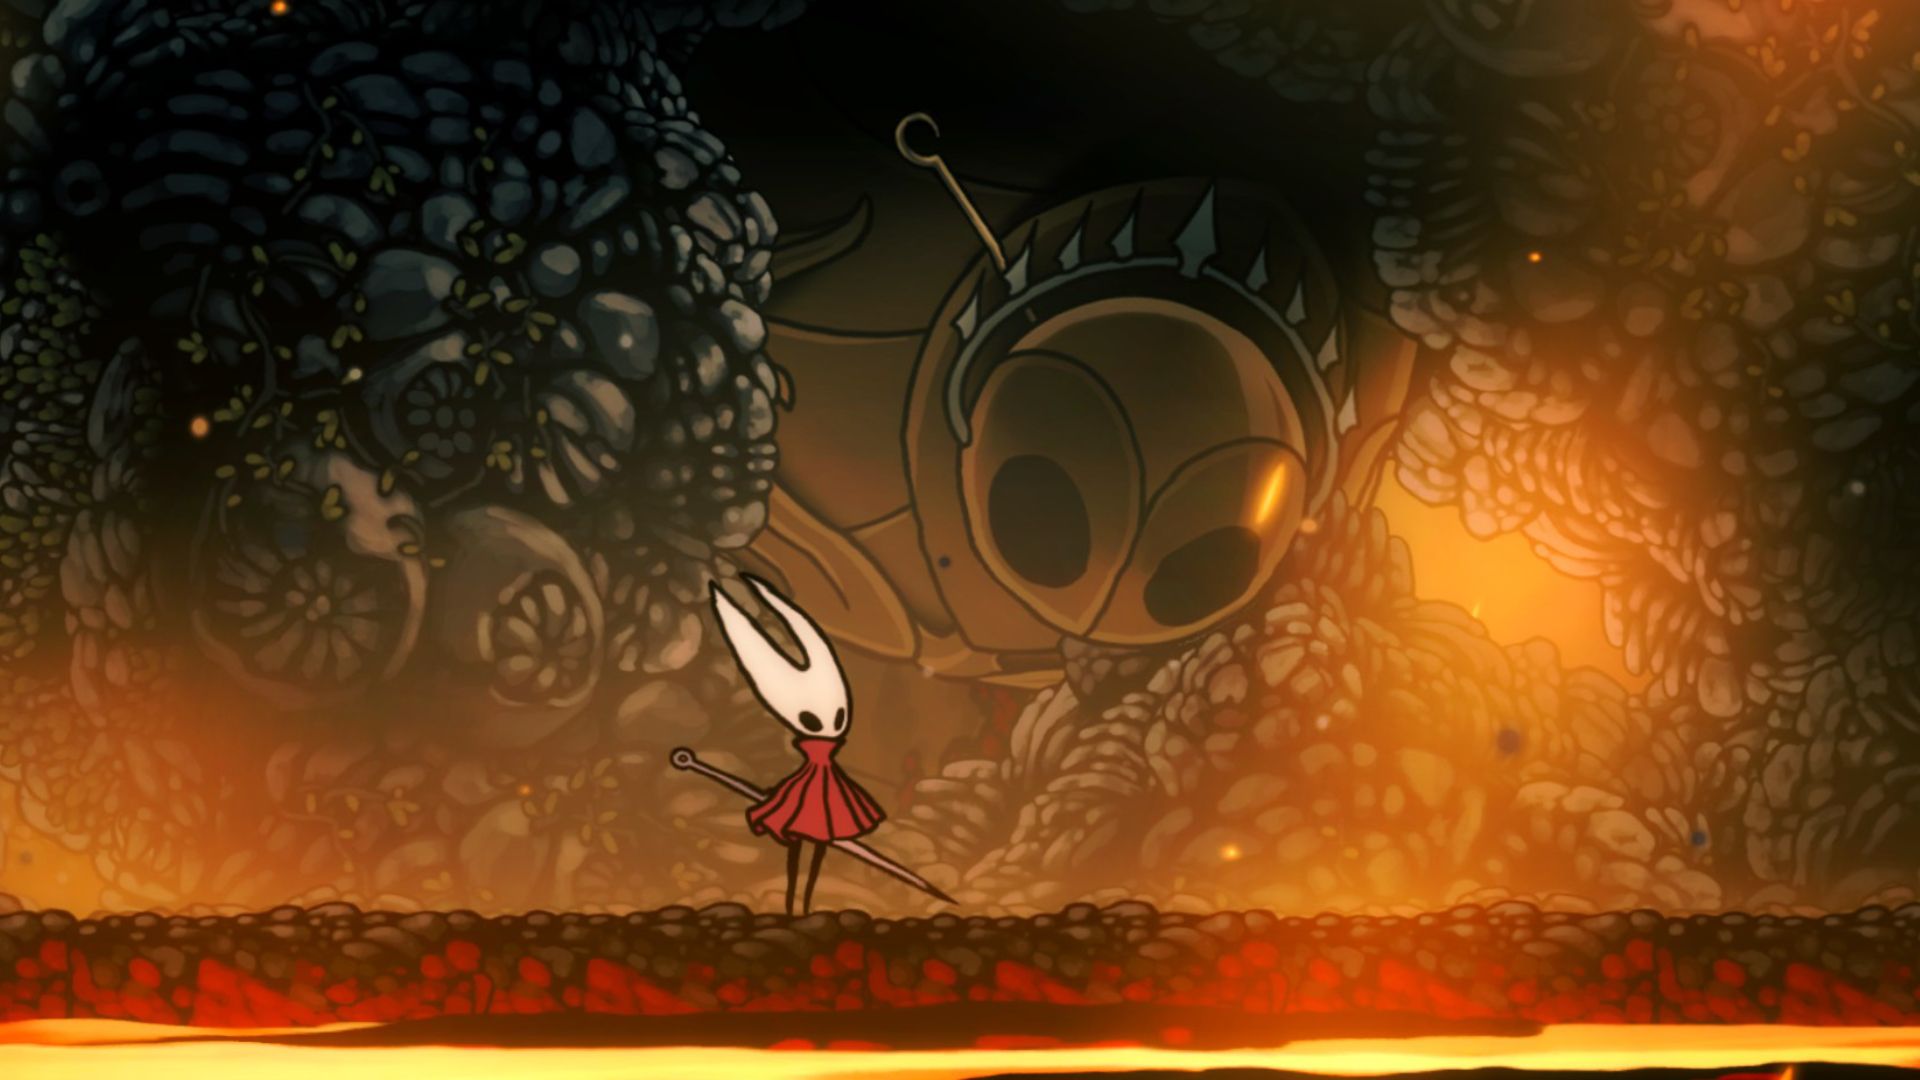
Escort the Bell Beast towards the Deep Docks first, then veer off to the right after leaving Shakra. In the subsequent room, locate and take the exit positioned close to the entrance and descend multiple elevators until you’re at the bottom-right corner. Defeat the waves of approaching adversaries along the way, and proceed to the right where you will encounter the Forge Daughter, a colossal insect resembling a blacksmith.
The Daughter of the Forge can transform your Rosaries and Craftmetal into a variety of tools, traps, and items. If you happen to have some Craftmetal here, don’t forget to grab the Magma Bell. This handy item, when equipped, will lessen the damage taken from falling into lava by one mask, and also decrease the harm caused by other fiery surfaces across the zone.
Find the Swift Step Skill
Starting from Shakra’s position near the Deep Docks entrance, ascend upward. Navigate towards the upper-right corner of this current room, and then keep moving to your right through the following room. You may safely walk over the fiery areas without incurring damage, however, avoid staying in one spot for an extended period.
Go up at the end of this room, then continue heading up as you deal with flying red ant enemies.
Stop by a room on the right to find a bench Hornet can rest on, which costs 30 Rosaries to spawn.
To leave this room, leap up towards another area. If you go to your left, you’ll enter a room filled with challenge levels and hordes of red ant enemies. Vanquish all these enemies, then keep moving left and make a descent. Be cautious not to land on the enemies as you go down, and continue descending until you encounter an exit leading you to the left.
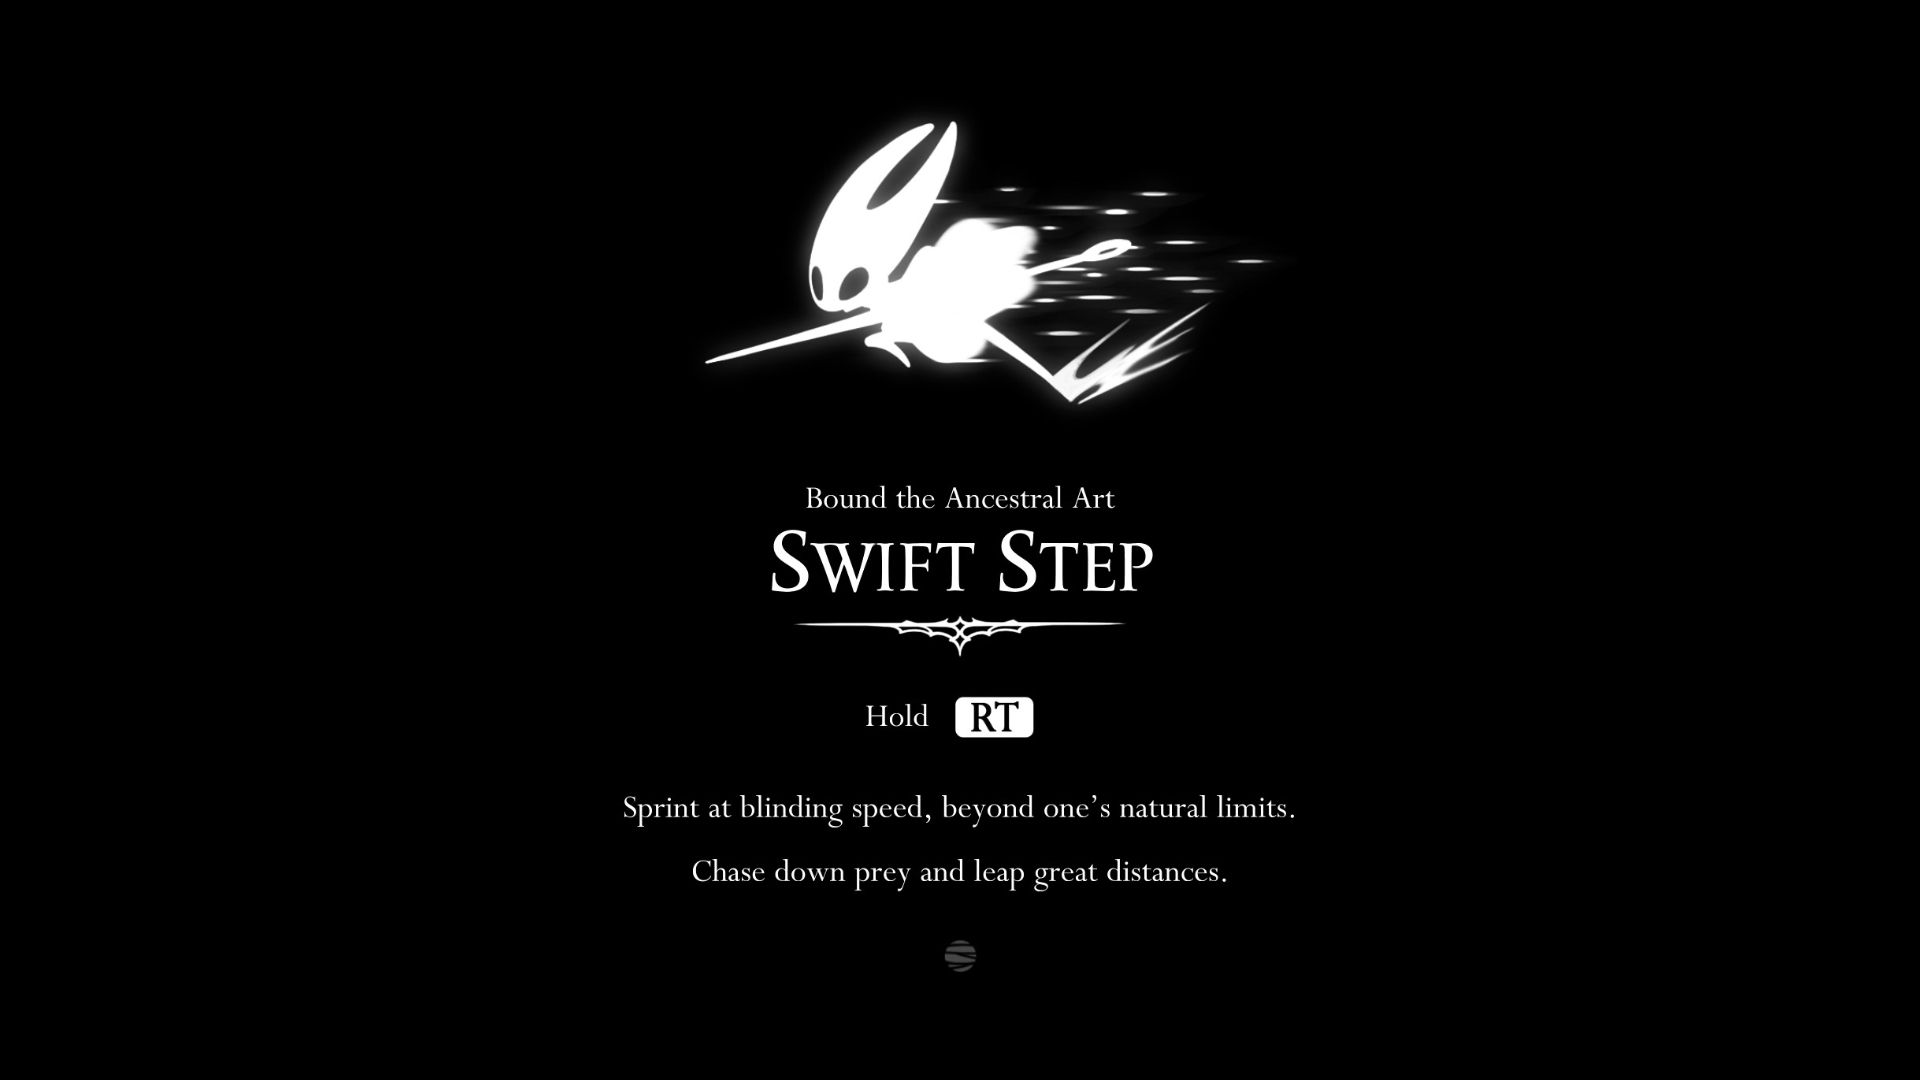
As a gamer, I saunter into this chamber, veer leftward to discover another Weaver figurine nestled in the corner. Upon approaching it, I activate it, which grants Hornet the Swift Step skill. With a gentle press on the right trigger, I can now dodge into a speedy dash. This nifty trick can be executed even in mid-air, and if I time it right by leaping at the end of my sprint, Hornet soars significantly farther than usual!
Beat the Ant Guardian or Lace To Unlock New Zones


In Pharloom, Hornet’s advancement is hindered by two key obstacles: the Hunter Guardian (also known as Skull Ant) and Lace. You’ll encounter the Hunter Guardian in a room above Grindle’s prison, located within The Marrow, while Lace can be found on the right side of the Deep Docks.
- To get to the Ant Guardian, fast travel back to The Marrow, then go back to Grindle’s prison in the top right of the zone. Sit on the bench in here to set your spawn point, then go upward in the room to the left to find the entrance to the Ant Guardian’s boss room.
- To get to Lace, make your way back to Shakra’s location in the Deep Docks (just next to the Pharloom Bellway station), then simply go directly to the right. Use the Swift Step ability to jump up to the lever on the second level, then continue past the unlocked barrier to face Lace.
Beating the Ant Guardian grants entry to Hunter’s March, whereas conquering Lace allows access to the Far Fields.
Find The Seamstress In The Far Fields
In the region known as The Far Fields, you’ll find numerous ants posing as enemies. However, with your newly acquired Swift Step skill, navigating past most of them becomes quite manageable. To proceed further, first head to the far right corner of the initial room in The Far Fields, and then move into the room adjacent to it. Use Swift Step, carefully making your way towards the lower-right corner of this new room, ensuring you steer clear of the lava pit along the way.
Head towards the room on your right, and once there, proceed in a direction that takes you downwards. After passing some ventilators that are releasing air, you’ll likely encounter Shakra around there. He has maps of the Far Fields available for purchase at 50 Rosaries each.
Step into a cozy nook around mid-depth of the cave (beneath Shakra’s chamber), then carefully descend and move towards the right side of the long, lava-filled room. While you’re there, don’t forget to take a look at the inactive golem positioned in the background.
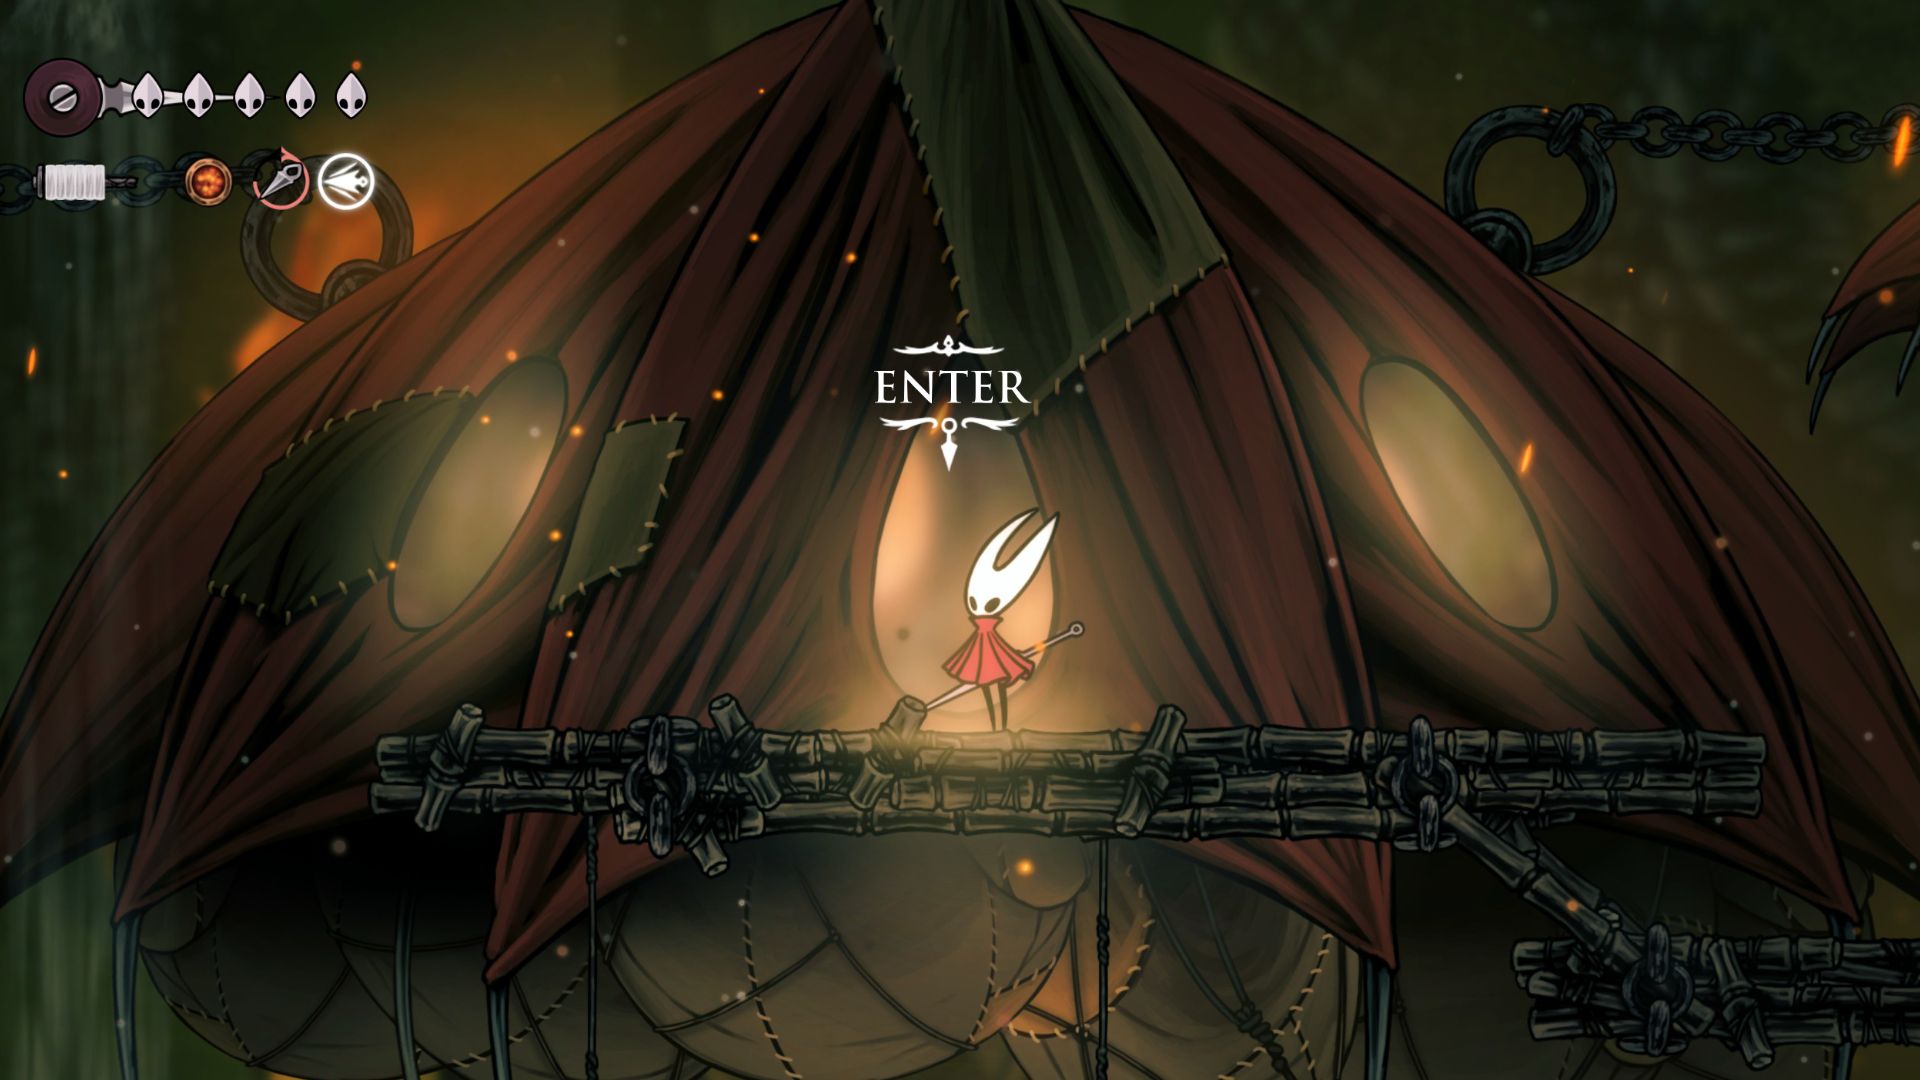
Upon entering, you’ll find yourself in an expansive outdoor space filled with numerous vent openings and a suspended platform made from clusters of colorful balloons overhead. Carefully descend, navigate the area, fight off adversaries as you progress towards the right, and eventually circle back to gain entry into the floating dwelling above.
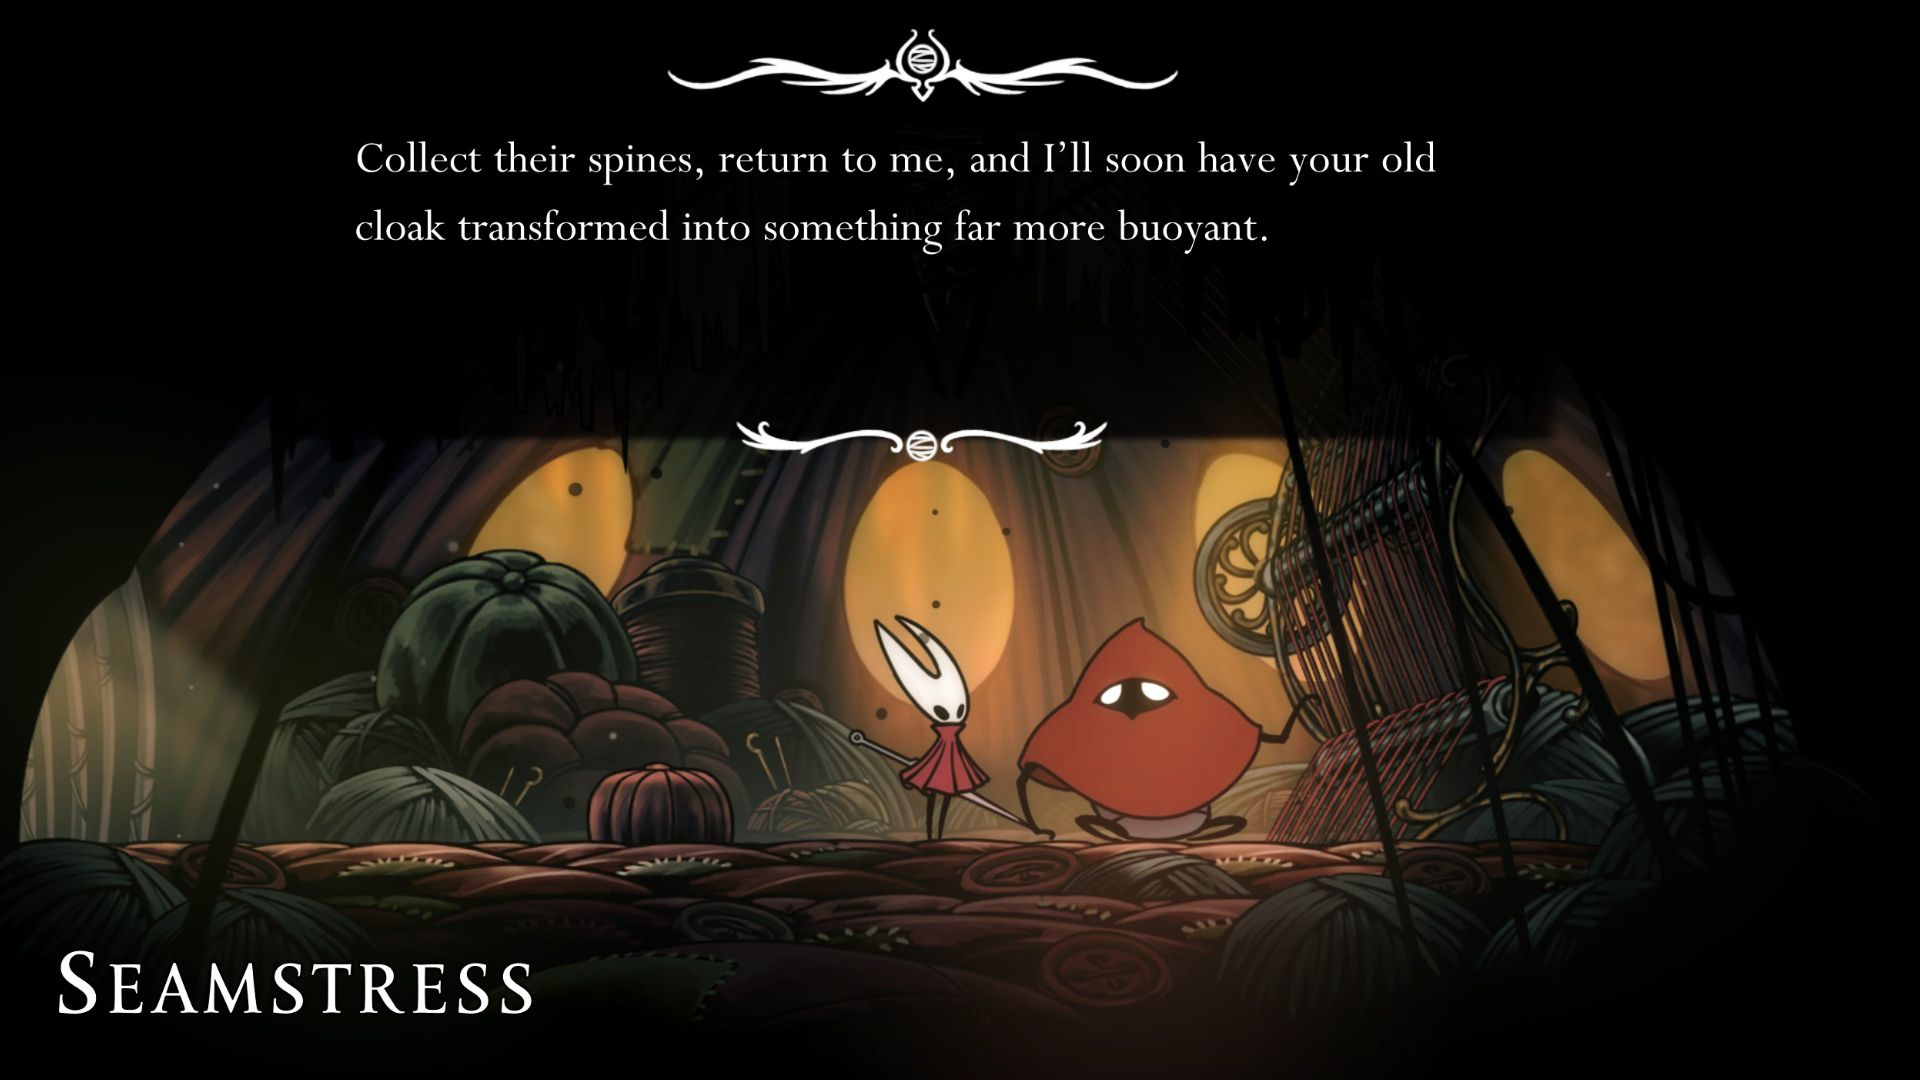
In this location, you’ll encounter a Tailor who is willing to enhance your coat, turning it into a much lighter version. Accept her offer of the “Flexile Spines” quest from her, and venture into the Distant Fields to collect some Spines for the Tailor!
Read More
- All Shadow Armor Locations in Crimson Desert
- Dark Marksman Armor Locations in Crimson Desert
- Jujutsu Kaisen Season 3 Episode 12 Release Date
- How to Get the Sunset Reed Armor Set and Hollow Visage Sword in Crimson Desert
- Best Bows in Crimson Desert
- Wings of Iron Walkthrough in Crimson Desert
- All Golden Greed Armor Locations in Crimson Desert
- How To Beat Ator Archon of Antumbra In Crimson Desert
- Keeping AI Agents on Track: A New Approach to Reliable Action
- Top 5 Militaristic Civs in Civilization 7
2025-09-05 04:05