
As a gamer, I’ve been immersed in the captivating world of “Wuchang: Fallen Feathers,” where exploration is rich and rewarding. The game offers intricate, multi-layered areas that gradually unfold as you collect essential items acting as keys to hidden pathways. Some of these extra zones are elective, while others serve as the primary route to encounter the next formidable boss. To advance the main narrative, I must track down specific key items strategically placed throughout the game.
As you delve deeper into Cloudspire, you’ll encounter more rebels and their encampment. Within this Rebel Camp, one of your initial adversaries will drop the key to the Rebel Camp. Here is where you can find the gate that this key unlocks, as well as what awaits you beyond it.
Where to Use the Rebel Camp Key in Wuchang: Fallen Feathers
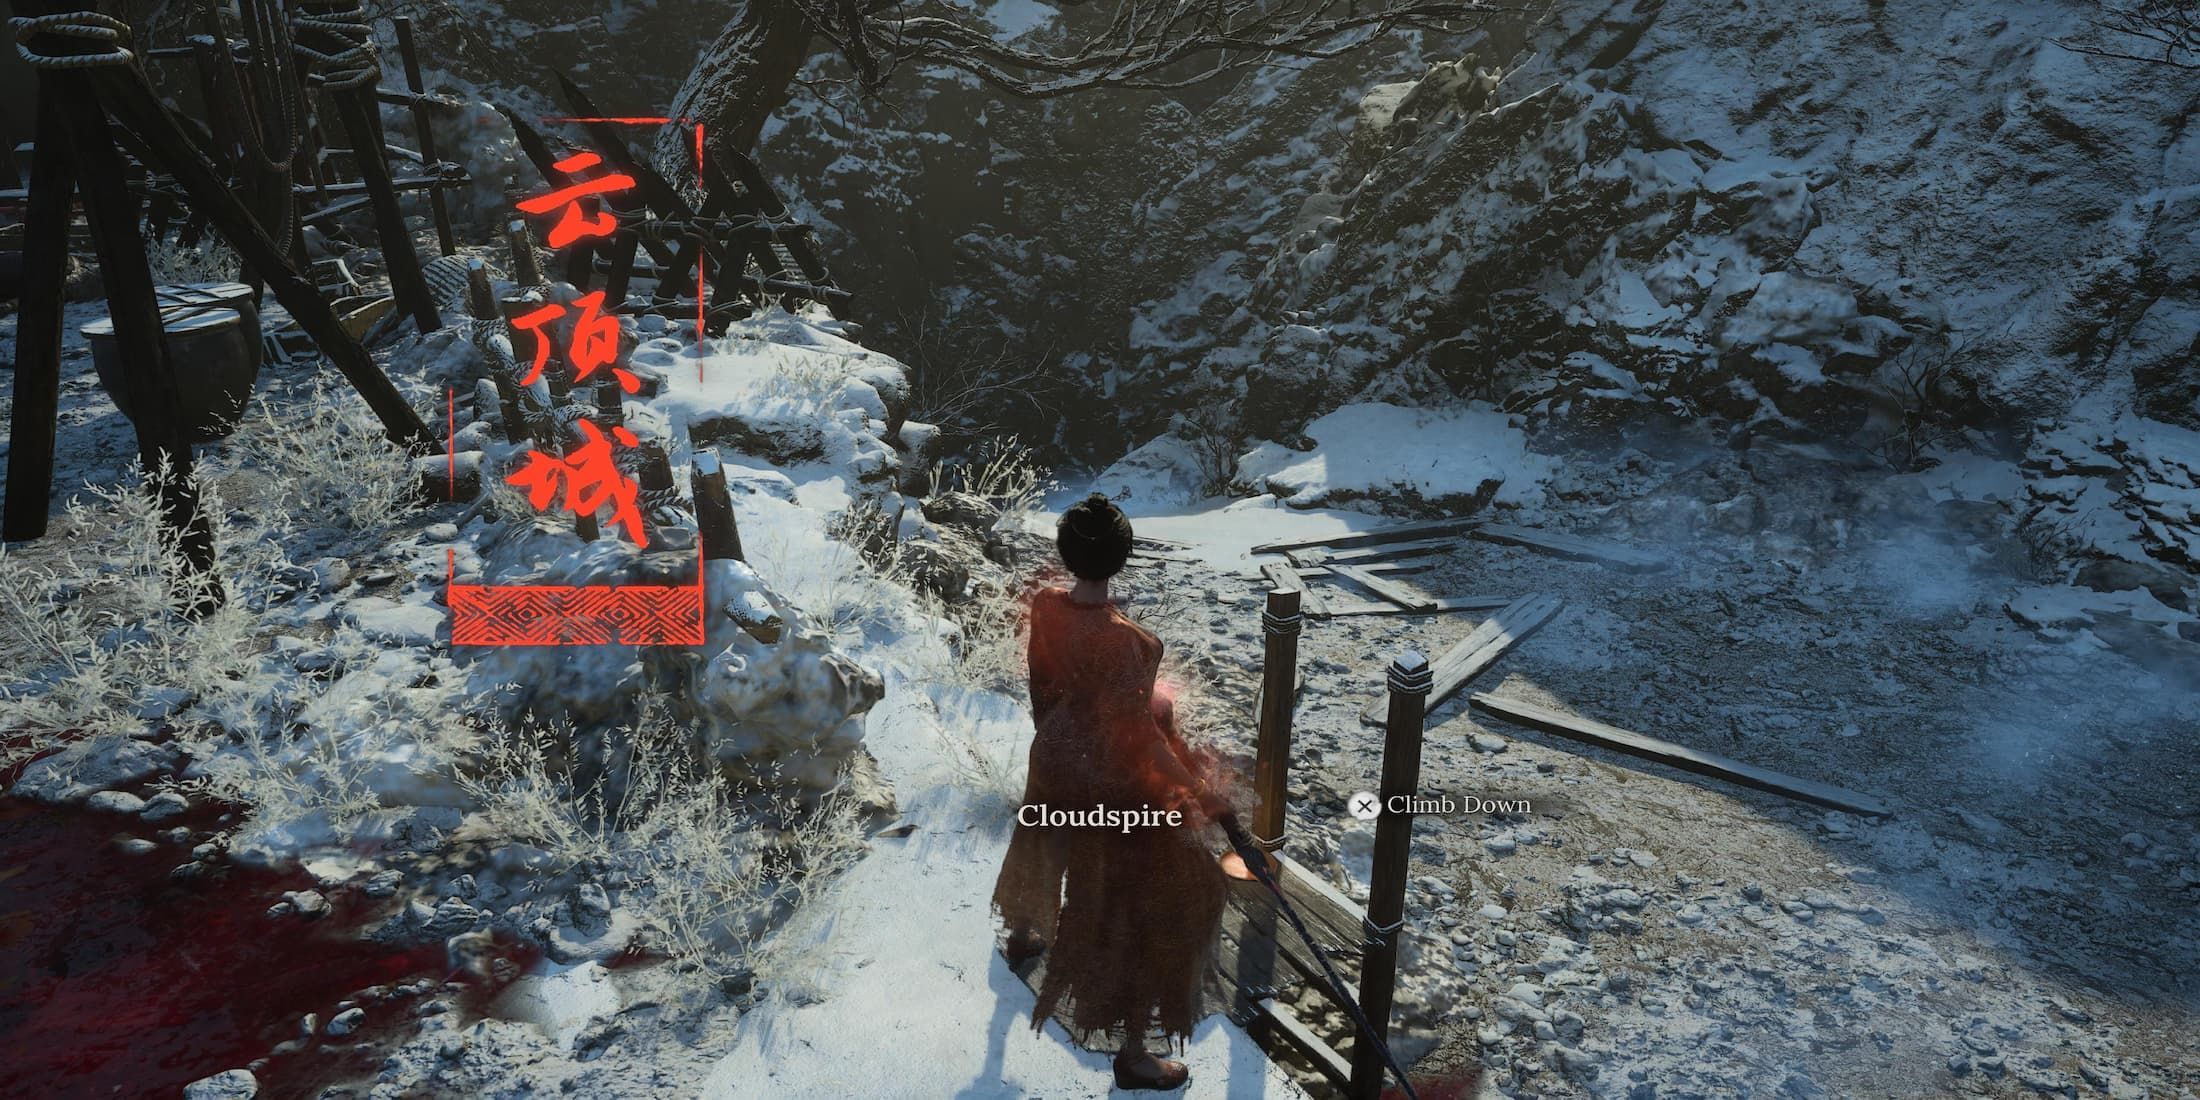
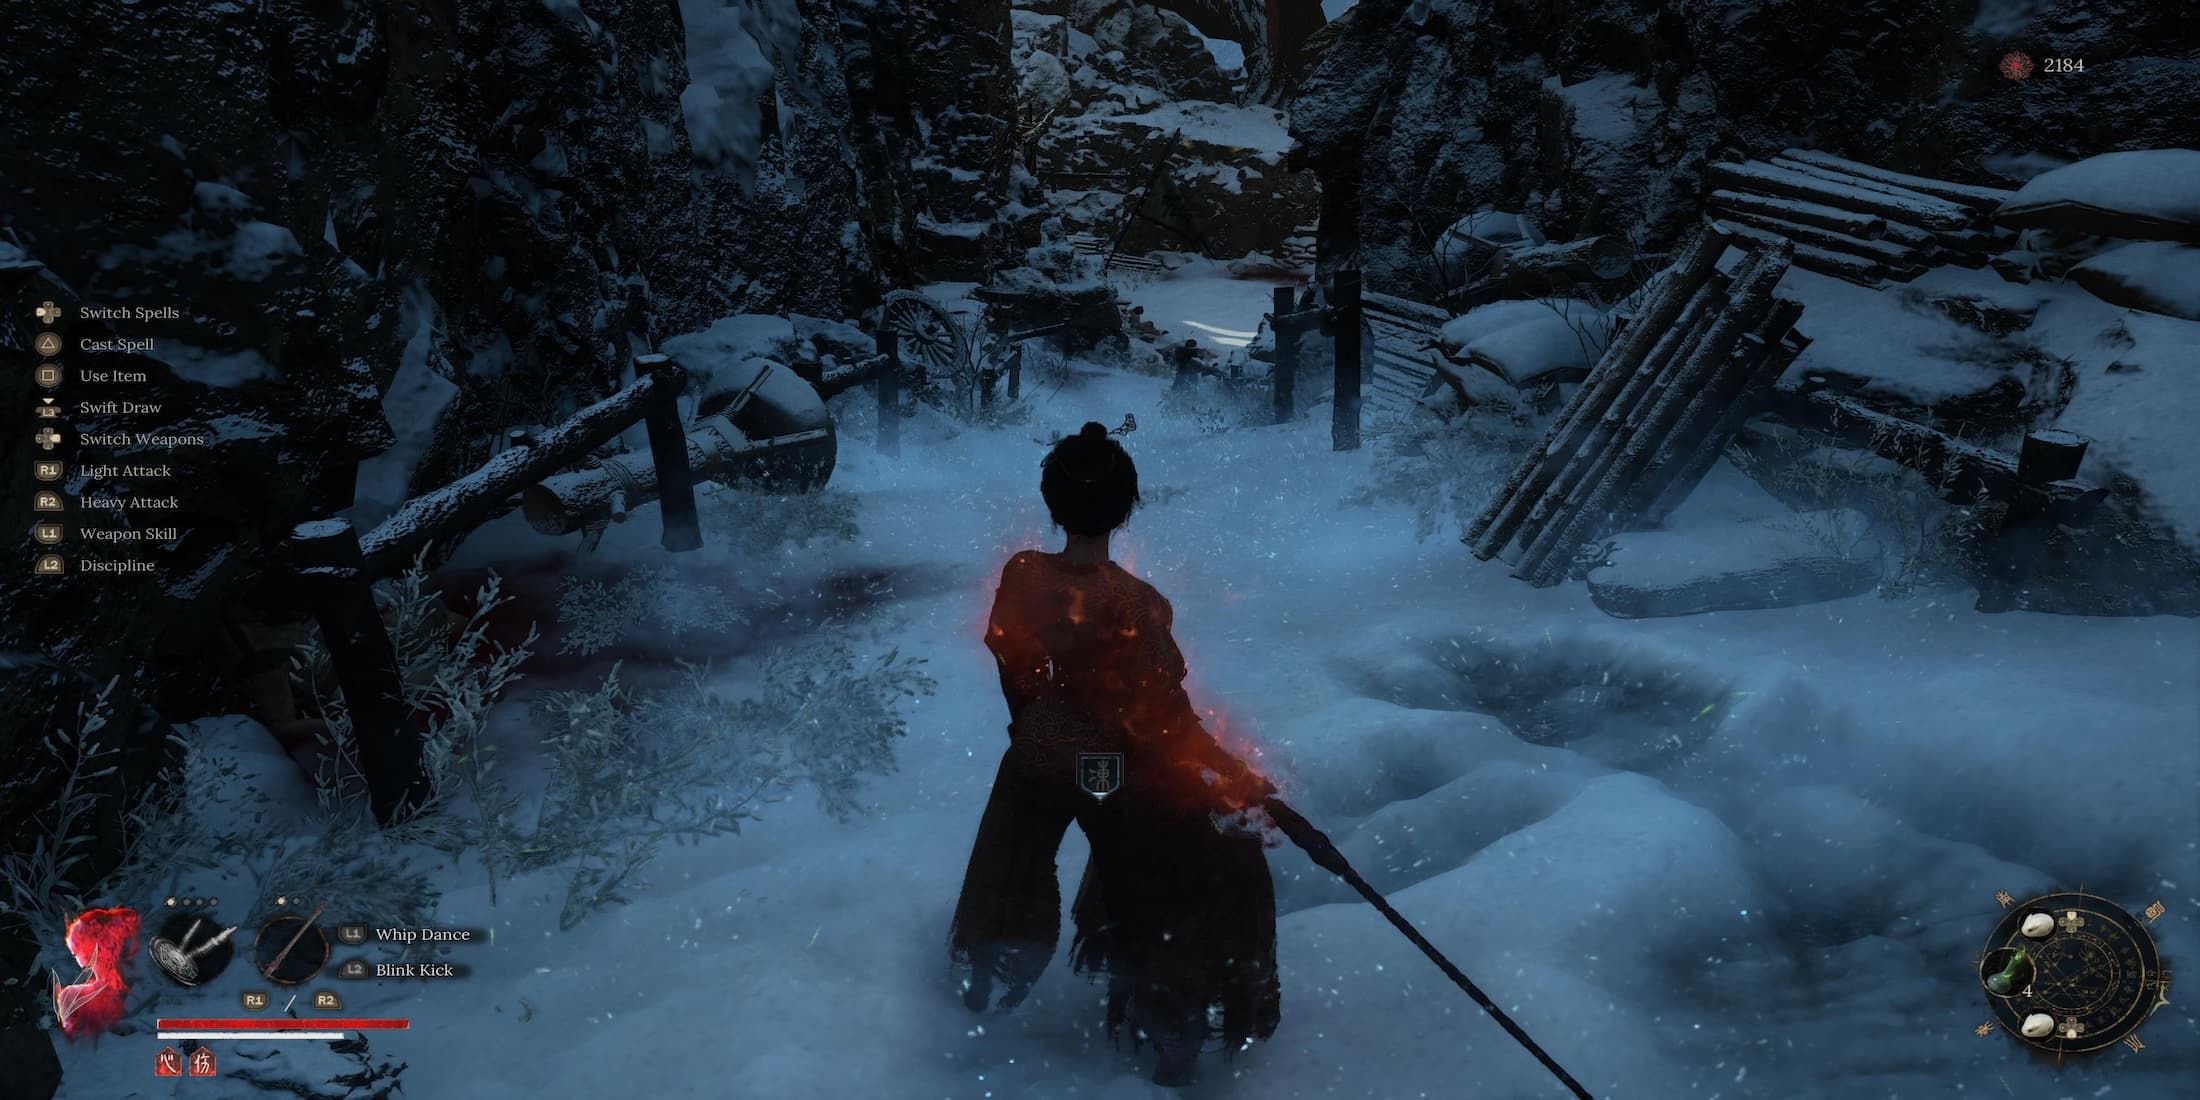
As a devoted player, I found the Rebel Camp Key just steps away from the Rebel Camp Shrine. To make the best use of it, head back to the Shrine first, then step into the dream while ensuring you’re in top shape with full healing and all charges ready. From the Shrine, wheel around and descend the ladder; due to its height, you can safely drop down without incurring any damage. Proceed along the path veering to the left, but tread cautiously as there are numerous mines scattered throughout.
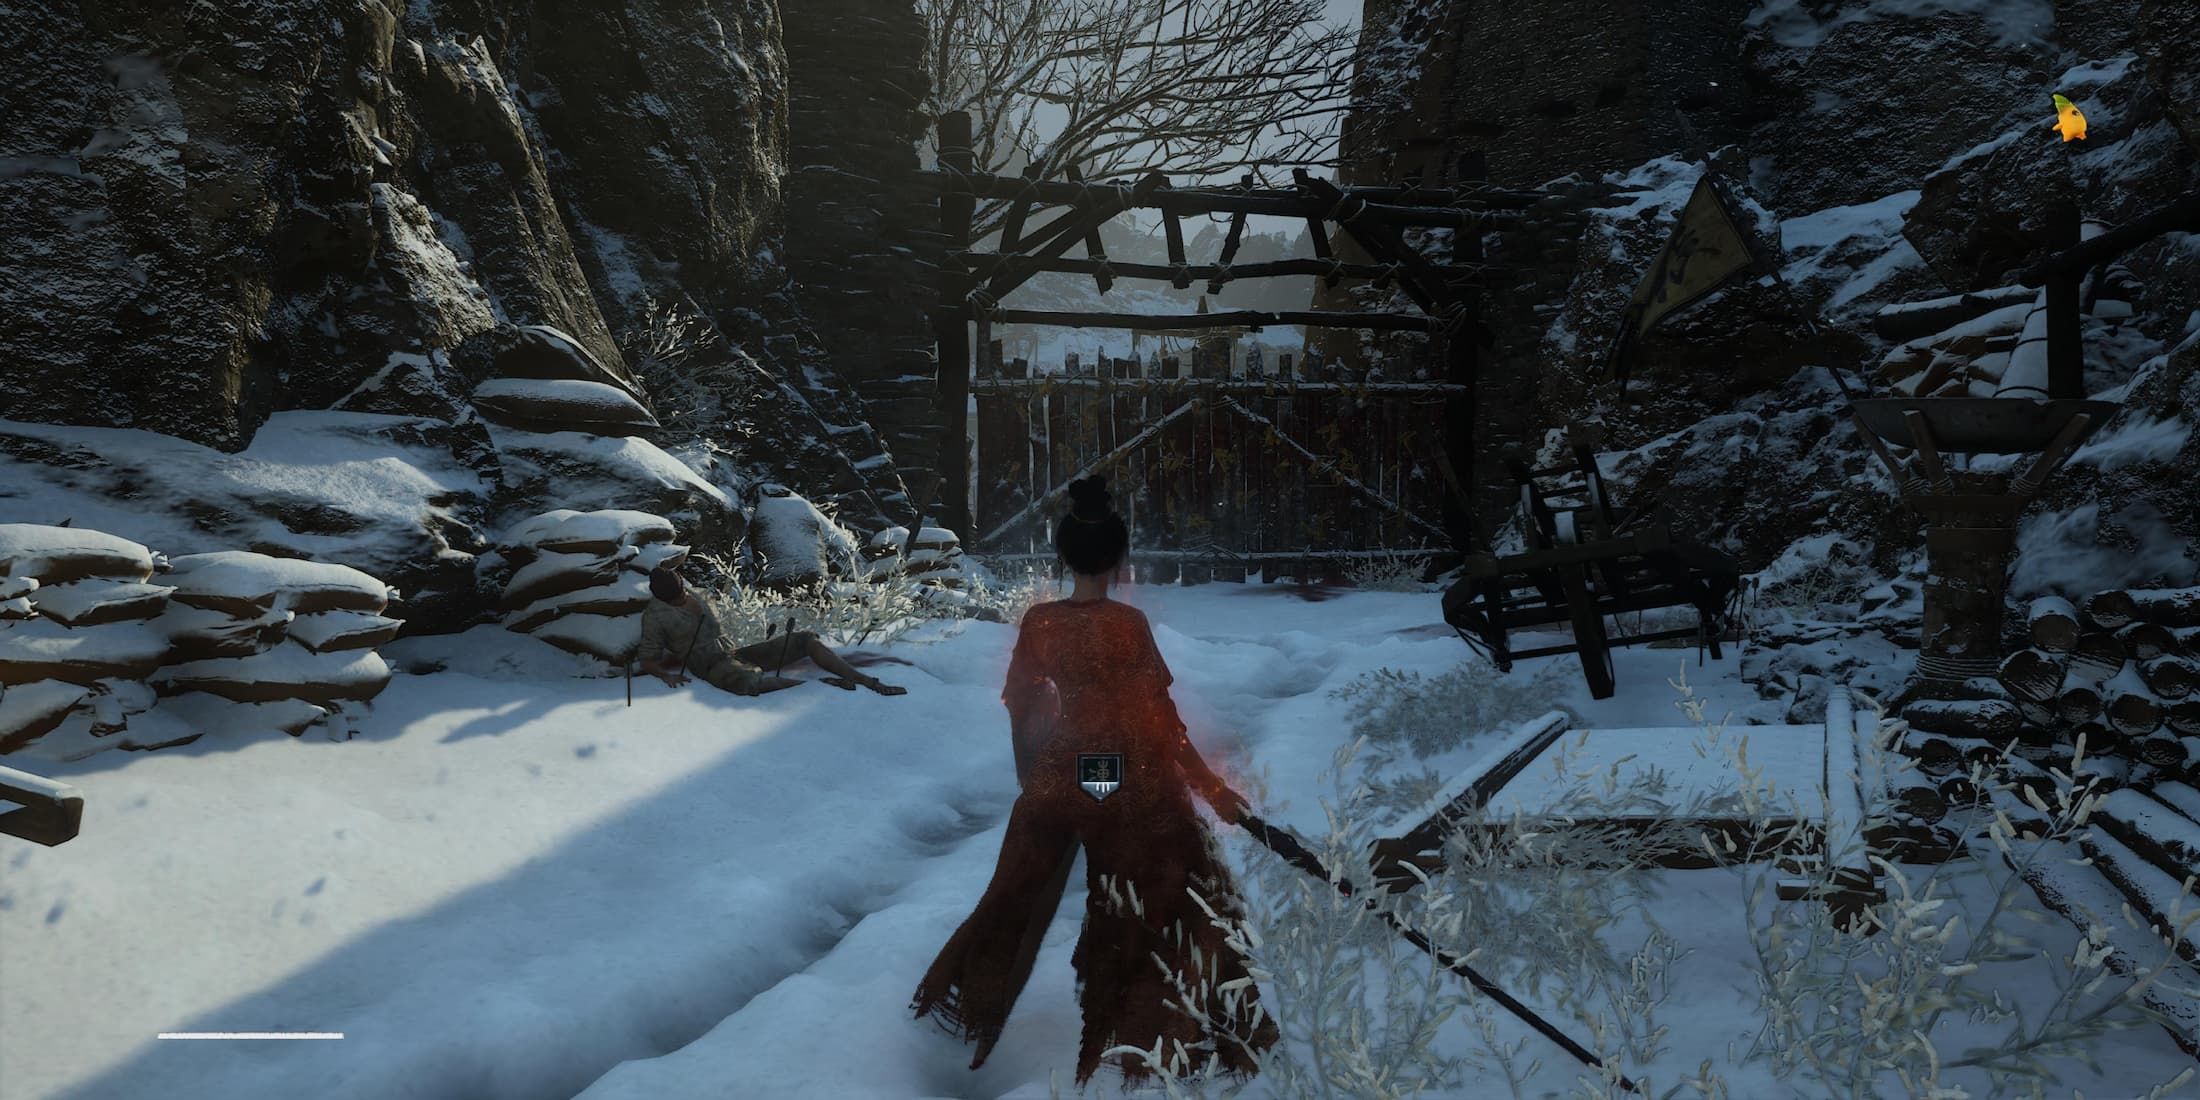
At the upcoming open space, veer to your left. There’s a bird directly in front of you; take it out to acquire the Aurum Feather. Going to the right leads to mines, an area that can help you level up before the approaching boss. However, this route is optional. To the left, you’ll find a large wooden gate that requires the Rebel Camp Key for opening. But be warned, immediately after using the key, a cutscene commences, triggering the next boss battle.
What’s Inside the Rebel Camp Gate in Wuchang: Fallen Feathers?
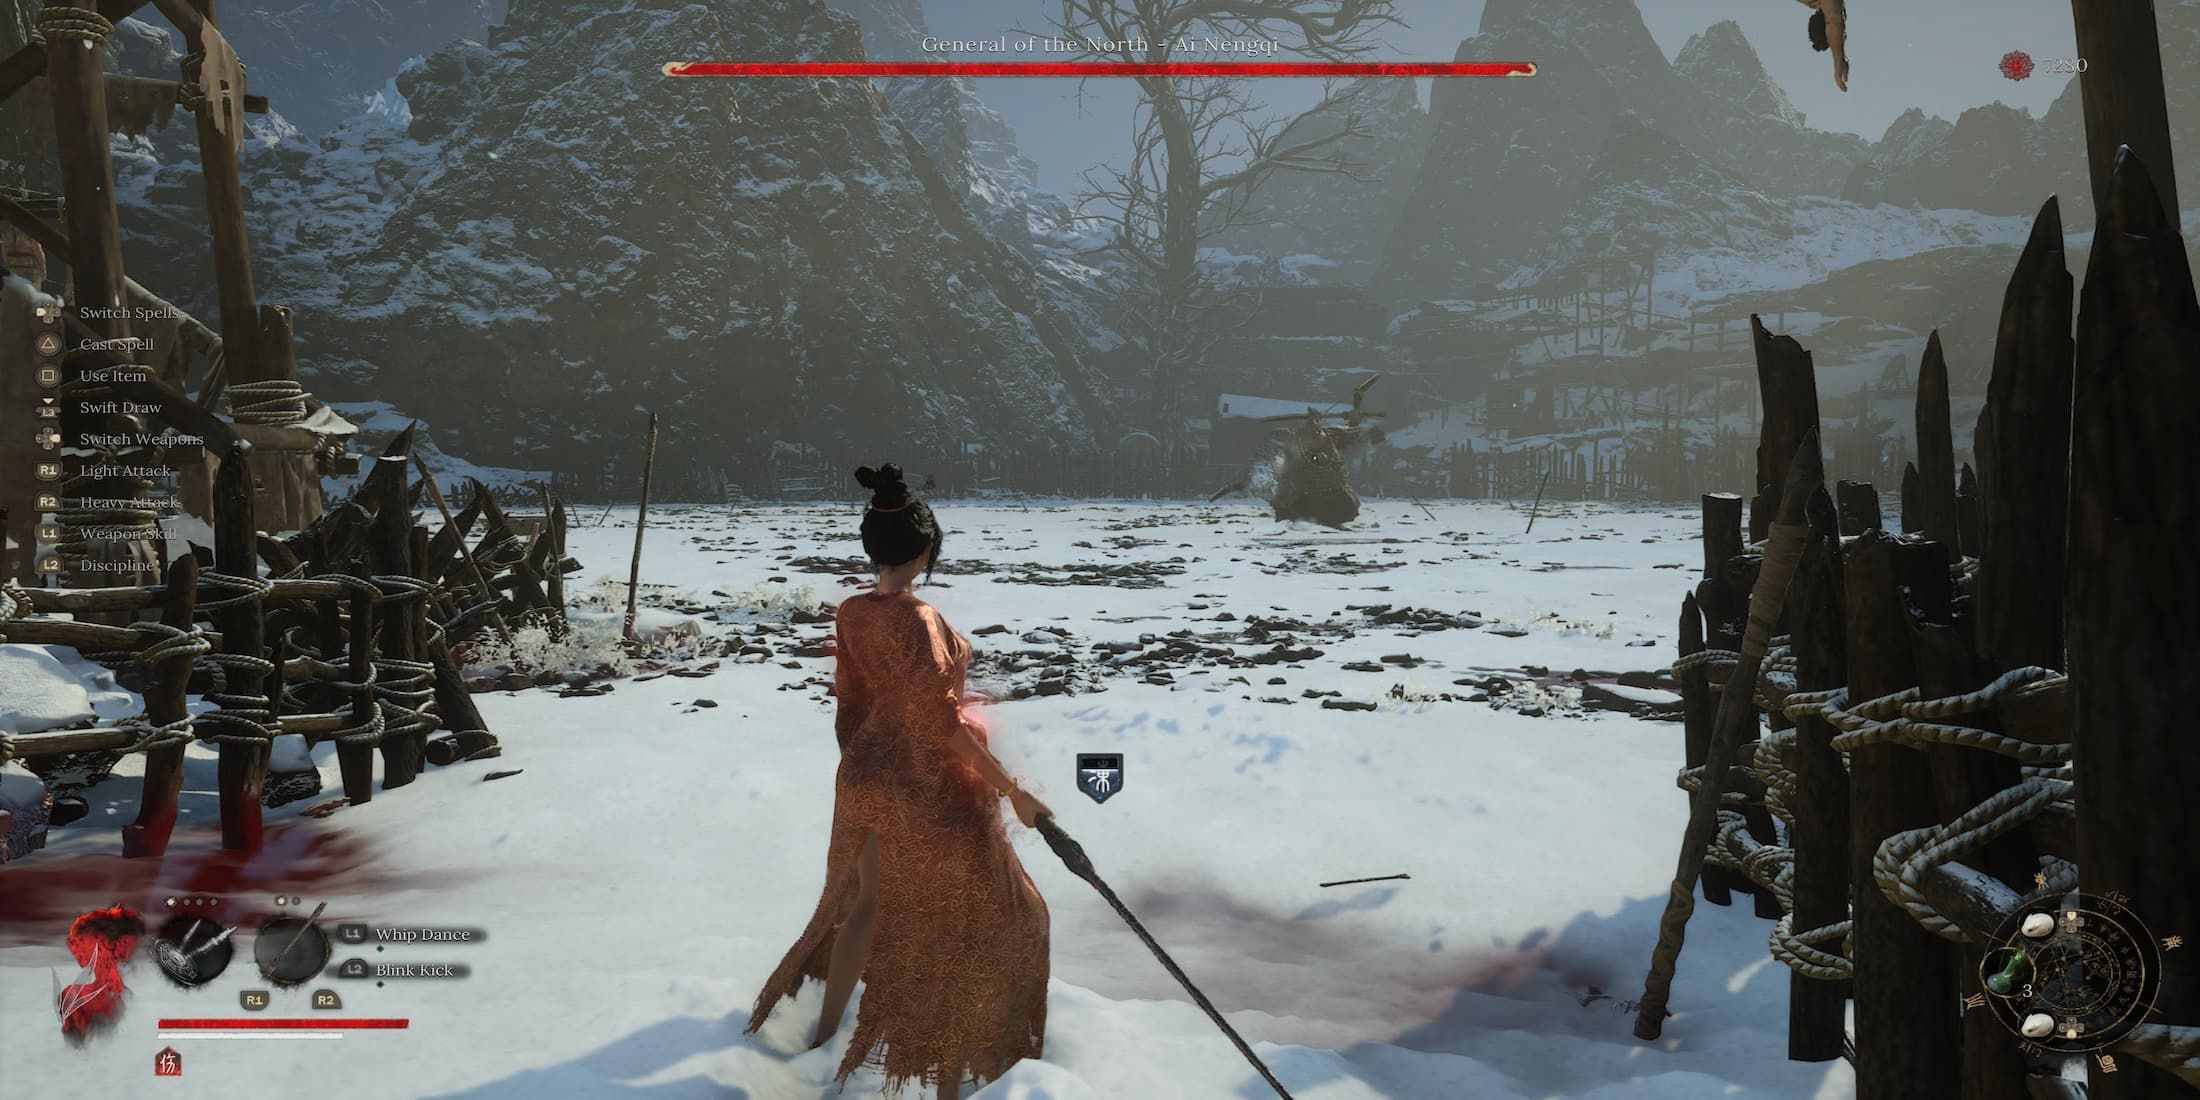
Within the fortified entrance lies the upcoming significant storyline antagonist, General Ai Nengqi from the North. Although he might appear larger and move more sluggishly compared to the previous bosses encountered thus far in the game, do not underestimate his potential danger.
- Bring fire resistance armor as his second phase lights his sword on fire.
- Stay close to him while fighting, as his bow attacks don’t have many openings.
- Dodge towards his back as he doesn’t turn fast.
Following your victory against the boss, you’ll find no further content within the battle arena, but overcoming this foe was crucial for unlocking the next region. Triumphing will trigger a cutscene showing the drawbridge lowering to the main castle, which can be accessed by retrace your steps back to the Cloudspire Outskirts Shrine.
Read More
- All Shadow Armor Locations in Crimson Desert
- Jujutsu Kaisen Season 3 Episode 12 Release Date
- Dark Marksman Armor Locations in Crimson Desert
- How to Get the Sunset Reed Armor Set and Hollow Visage Sword in Crimson Desert
- Keeping AI Agents on Track: A New Approach to Reliable Action
- How to Beat Antumbra’s Sword (Sanctum of Absolution) in Crimson Desert
- Top 5 Militaristic Civs in Civilization 7
- Sakuga: The Hidden Art Driving Anime’s Stunning Visual Revolution!
- Best Bows in Crimson Desert
- Sega Reveals Official Sonic Timeline: From Prehistoric to Modern Era
2025-07-25 09:06