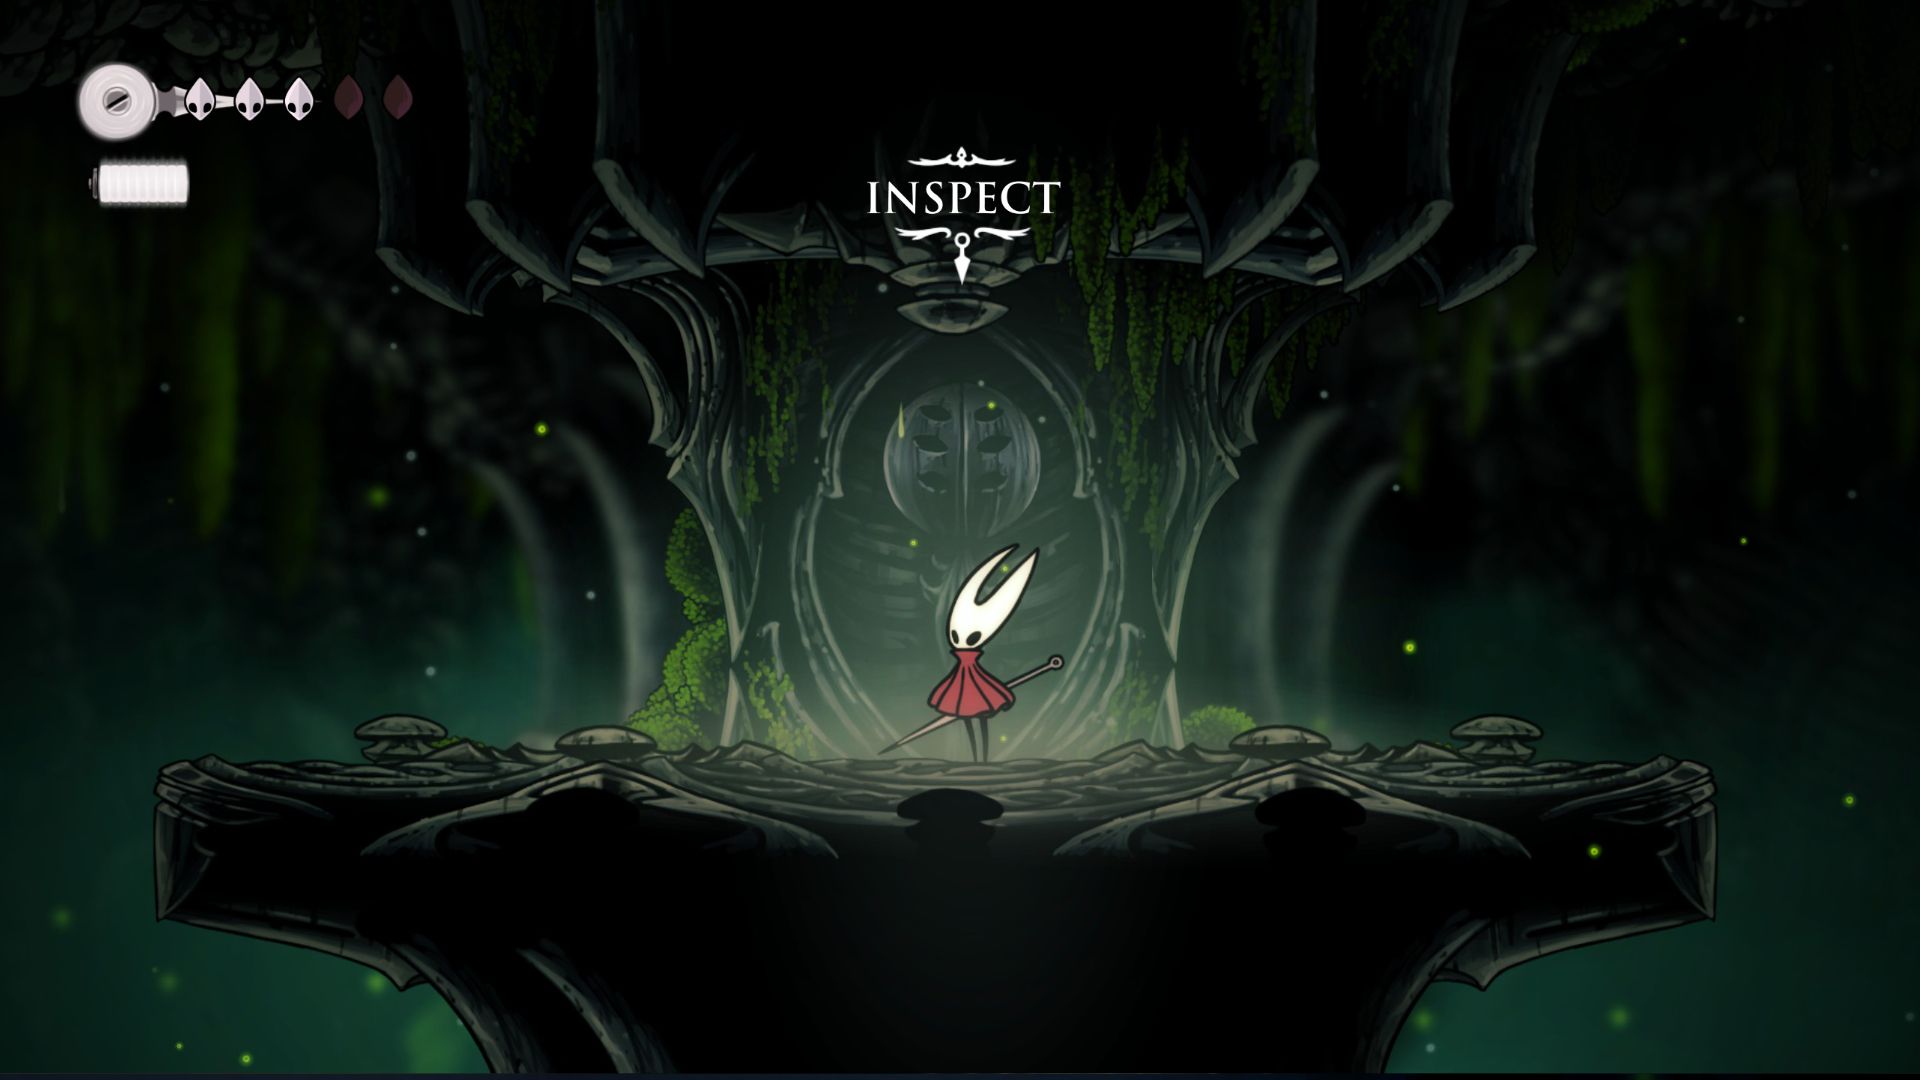
The following sequel to “Hollow Knight,” titled “Silksong,” initiates with a captivating cutscene where Hornet gets captured and confined in a cage en route to the kingdom of Pharloom. A binding seal is imposed upon her, but unexpectedly, the seal shatters as silky tendrils assault the cart. This results in the bridge’s collapse, causing Hornet to plummet into the abyss below the Citadel.
To begin with, gameplay in “Silksong” initially progresses in a straightforward manner, but once additional paths become available, players might feel uncertain about which direction to take first. This guide provides eight suggestions for the initial steps you should take in “Silksong”, leading players from the opening tutorial area and Moss Mother boss battle, all the way to acquiring the first Silk Skill and setting up the Bell Beast fast travel system.
Complete the Tutorial & Beat Moss Mother
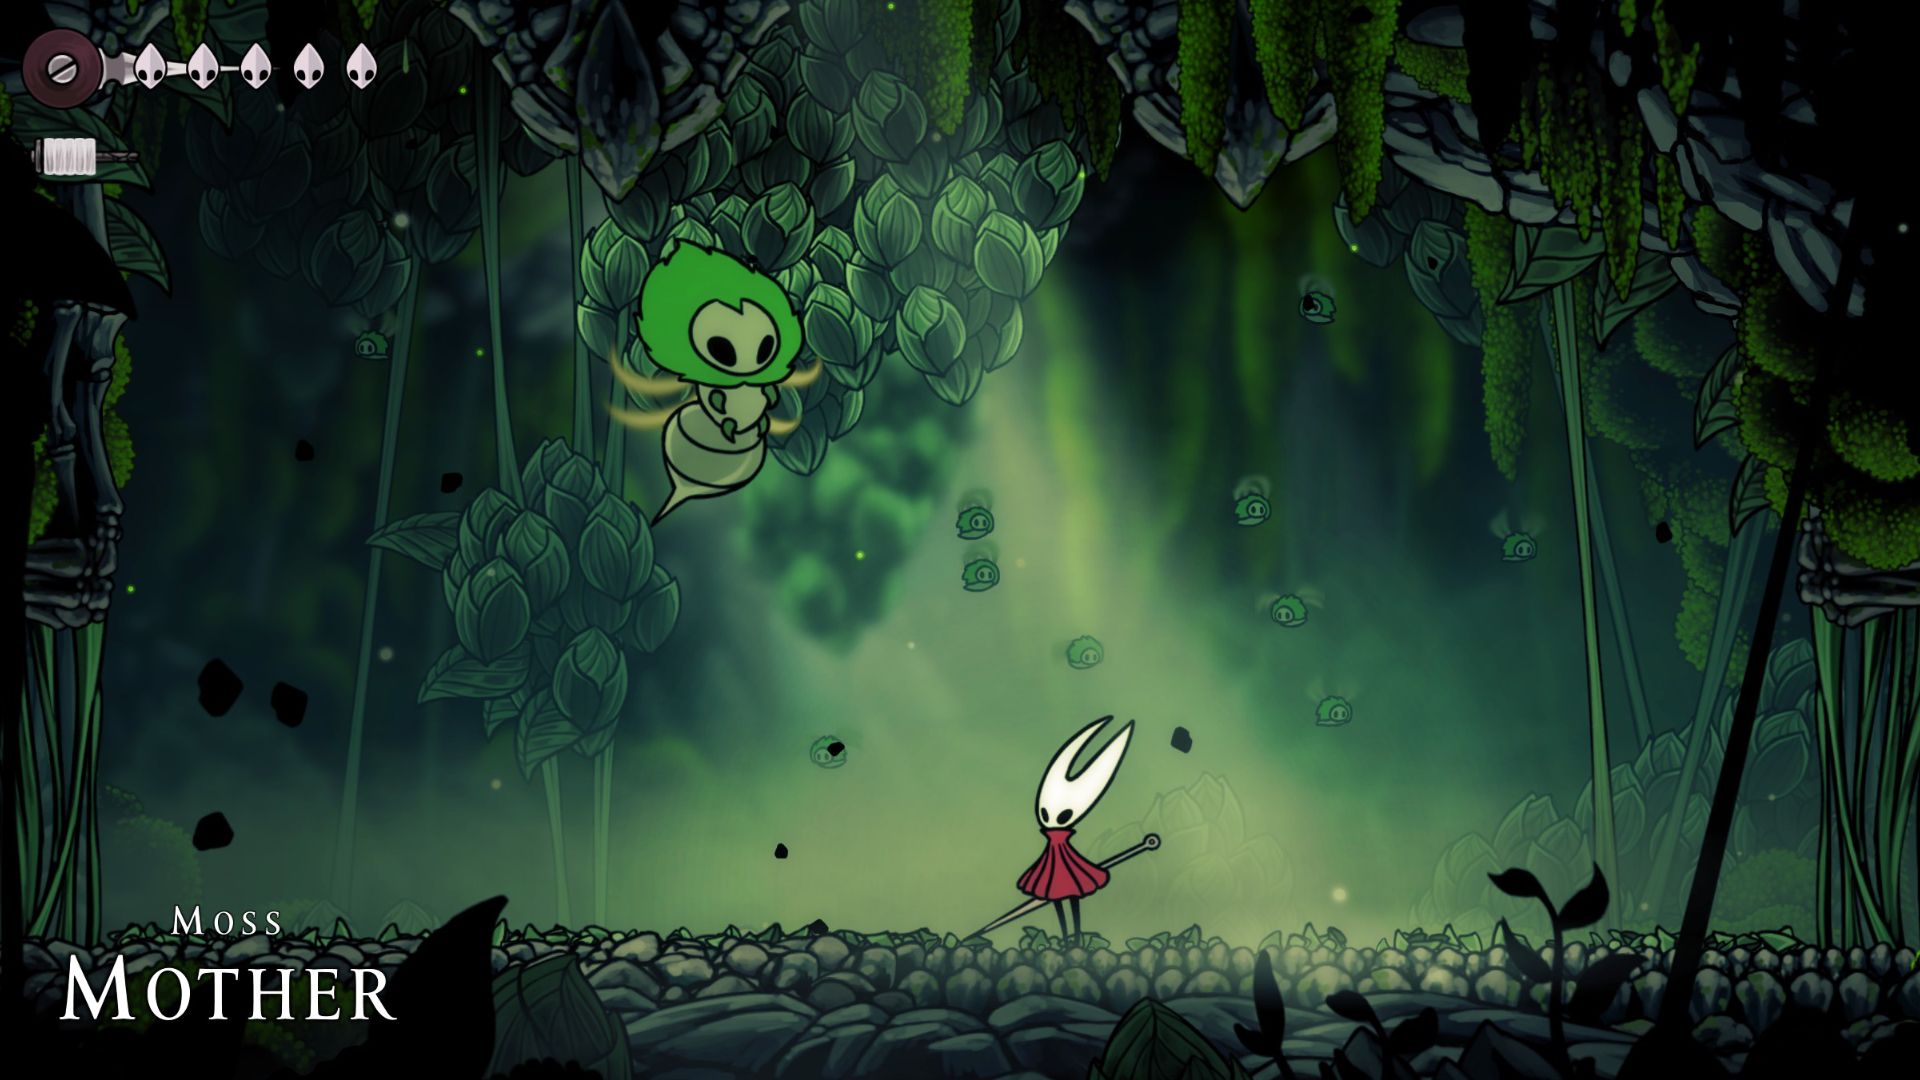
Defeat Moss Mother to Meet The Chapel Maid
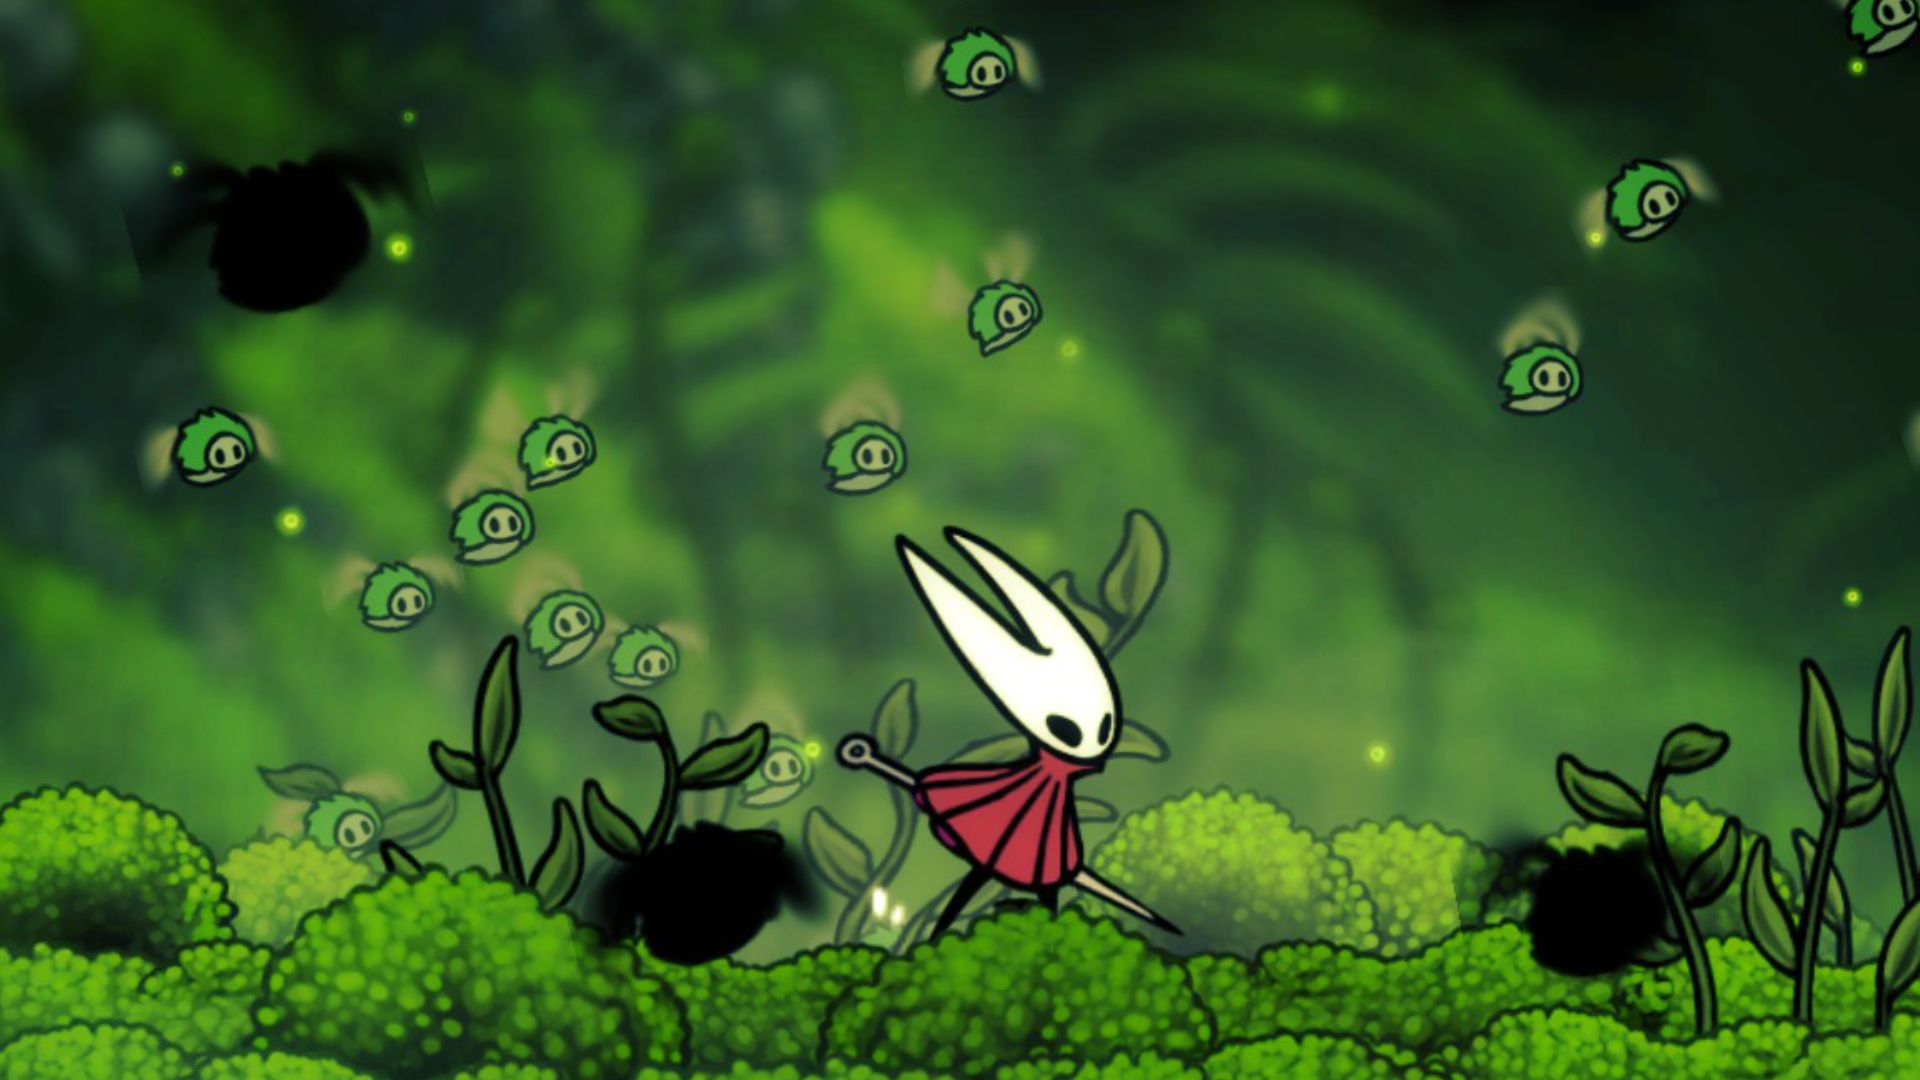
Following Hornet’s escape from her enclosure when it shatters, plunging into the bowels of Moss Grotto, the adventure commences. With Hornet gathering her nail and players learning to Bind for HP recovery using their Silk Spool meter, they venture forth into the land of Pharloom.
Familiarize yourself with the controls and battle mechanics as you make your way through the Moss Grotto region.
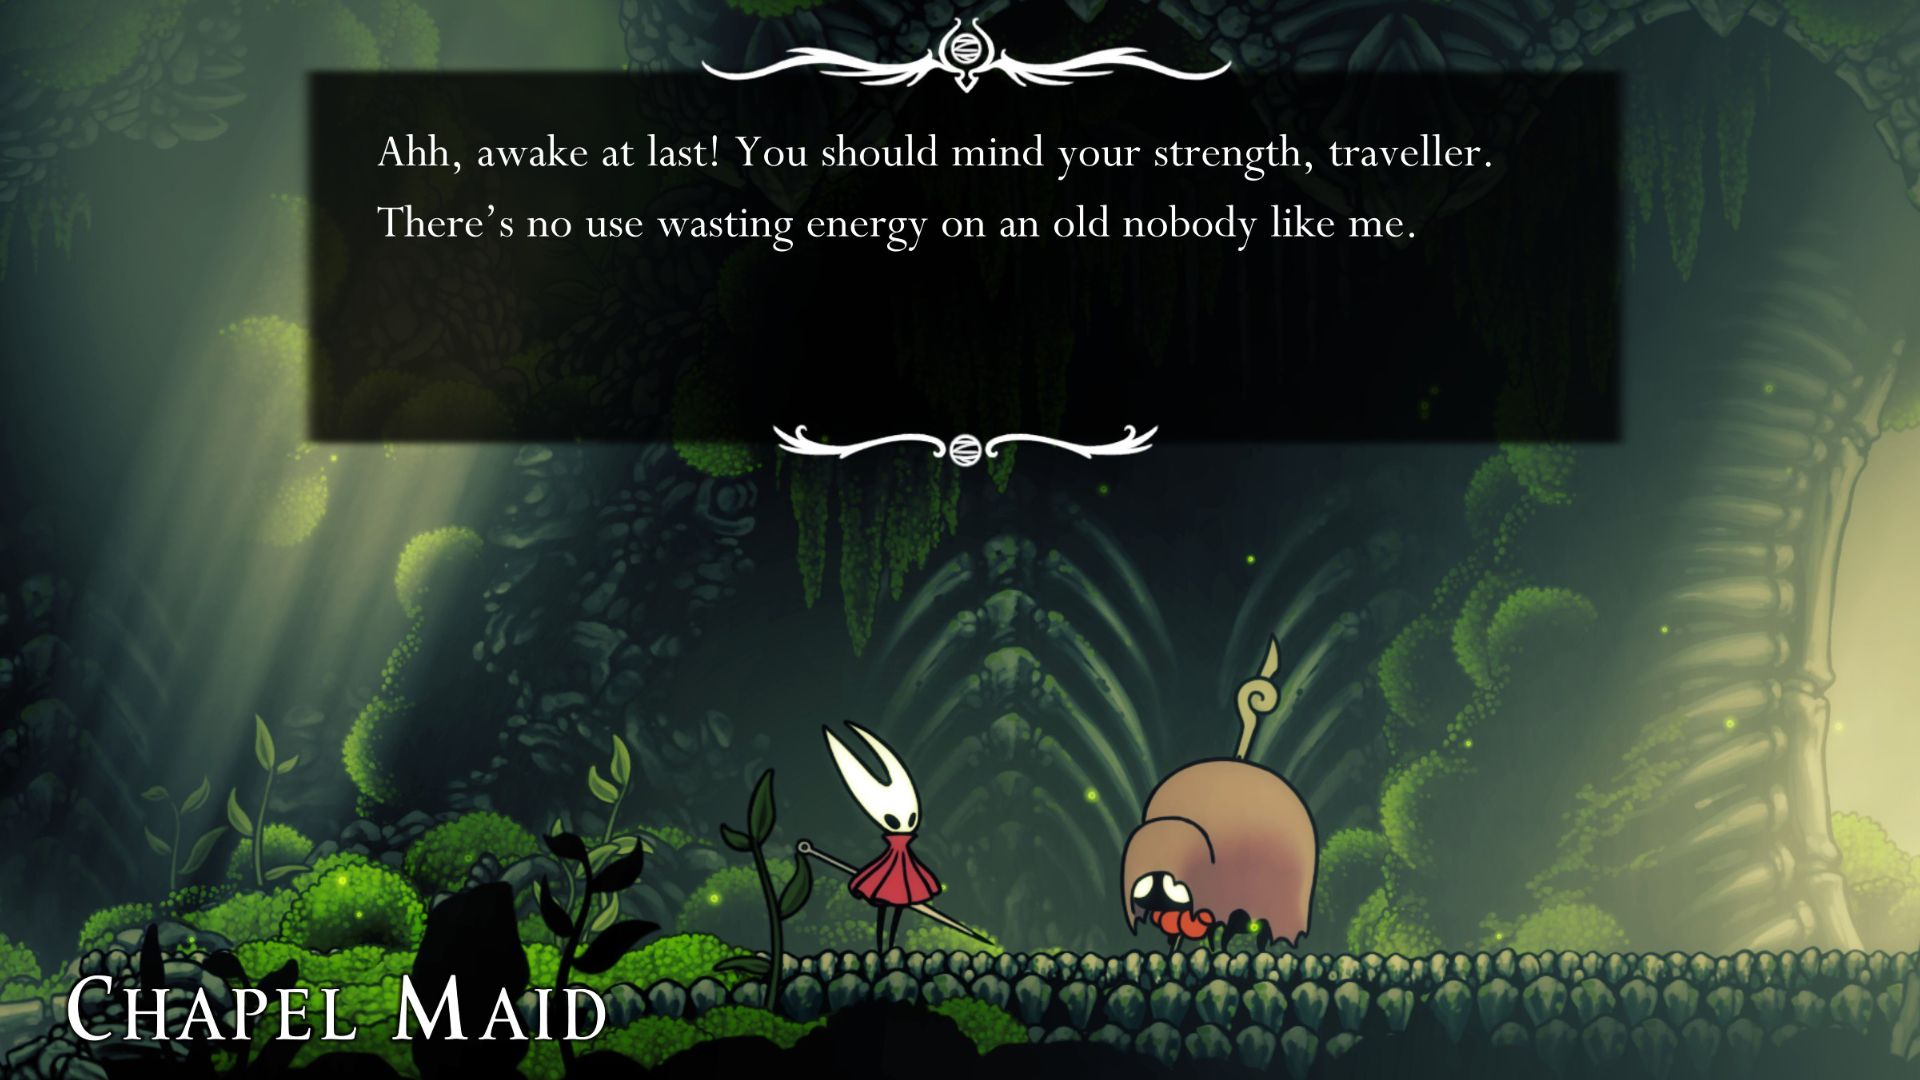
To reach the end of the tutorial section in Silksong, follow the mostly straight path throughout the zone until you encounter the Moss Mother, who is the initial boss. Defeating her will allow you to leave Moss Grotto, meet the Chapel Maid, and eventually reach Bone Bottom – the first significant town center.
Explore Bone Bottom
Sit at the Bench, Talk to NPCs, & Peruse Pebb’s Shop
In the first town hub, Bone Bottom, there are a few things Silksong players should do first:
- After entering the town, sit on the bench to save your progress, then talk to the Little Pilgrim just to the right of the bench to learn a little bit about Bone Bottom and why these bugs are here.
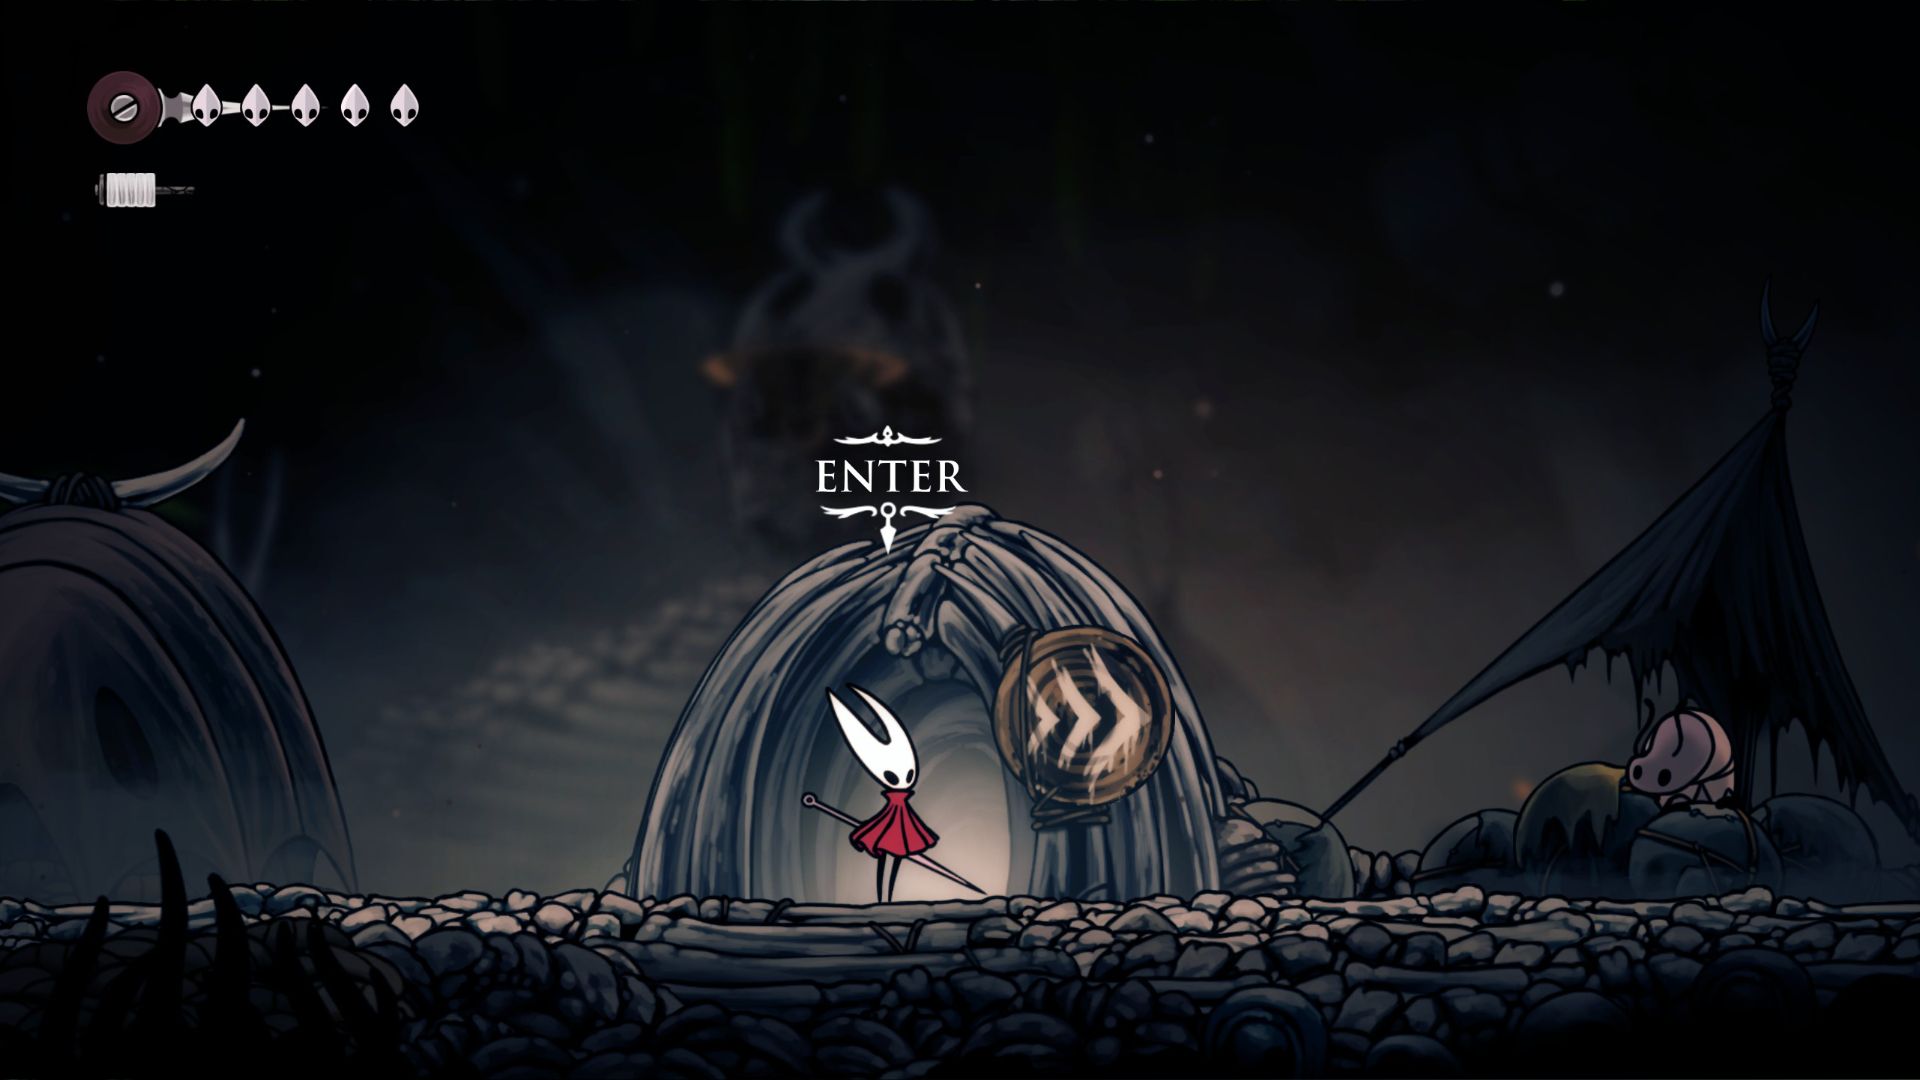
- Then, go into the building to his right. Take note of the signpost outside – three rightward chevrons.
- Though you can’t use it right now, this is a Bell Beast travel location, and once you unlock this fast travel system, you can travel back to Bone Bottom after discovering this point.
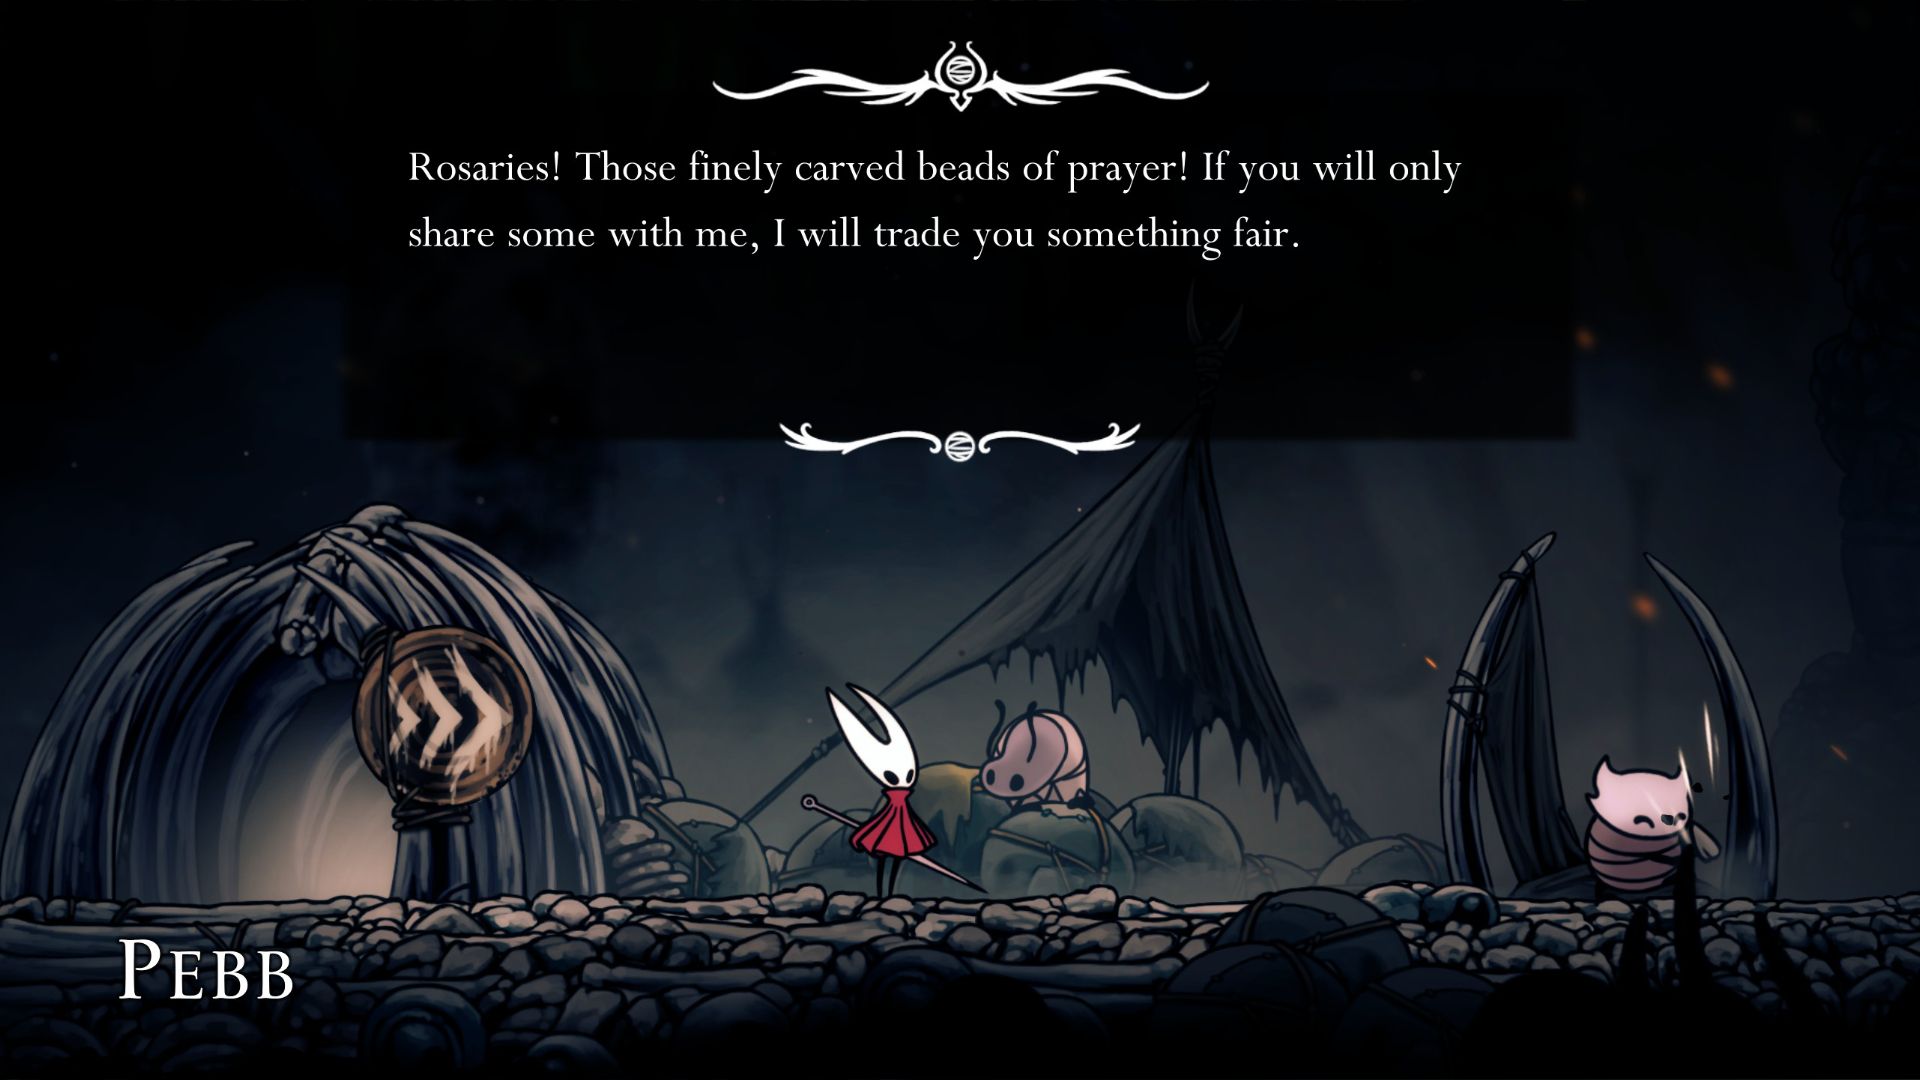
- There are two other NPCs you should interact with here – Pebb and Flick the Fixer.
- Pebb is the town merchant and will offer a variety of general goods, like a Simple Key, Mask Shard, and the ability to string up your Rosaries. Though you likely don’t have any Rosaries when you first meet him, you’ll collect and spend this currency with merchants like Pebb.
- Flick the Fixer is working on a Wish board. Wish boards serve as your primary quest boards in Silksong. Once it’s complete, you can refer to this board for quests in the local area.
After sufficiently exploring, head to the right to discover Sherma, another traveler attempting to open a door.
Open the Door for Sherma
Music Won’t Open This Door, Unfortunately
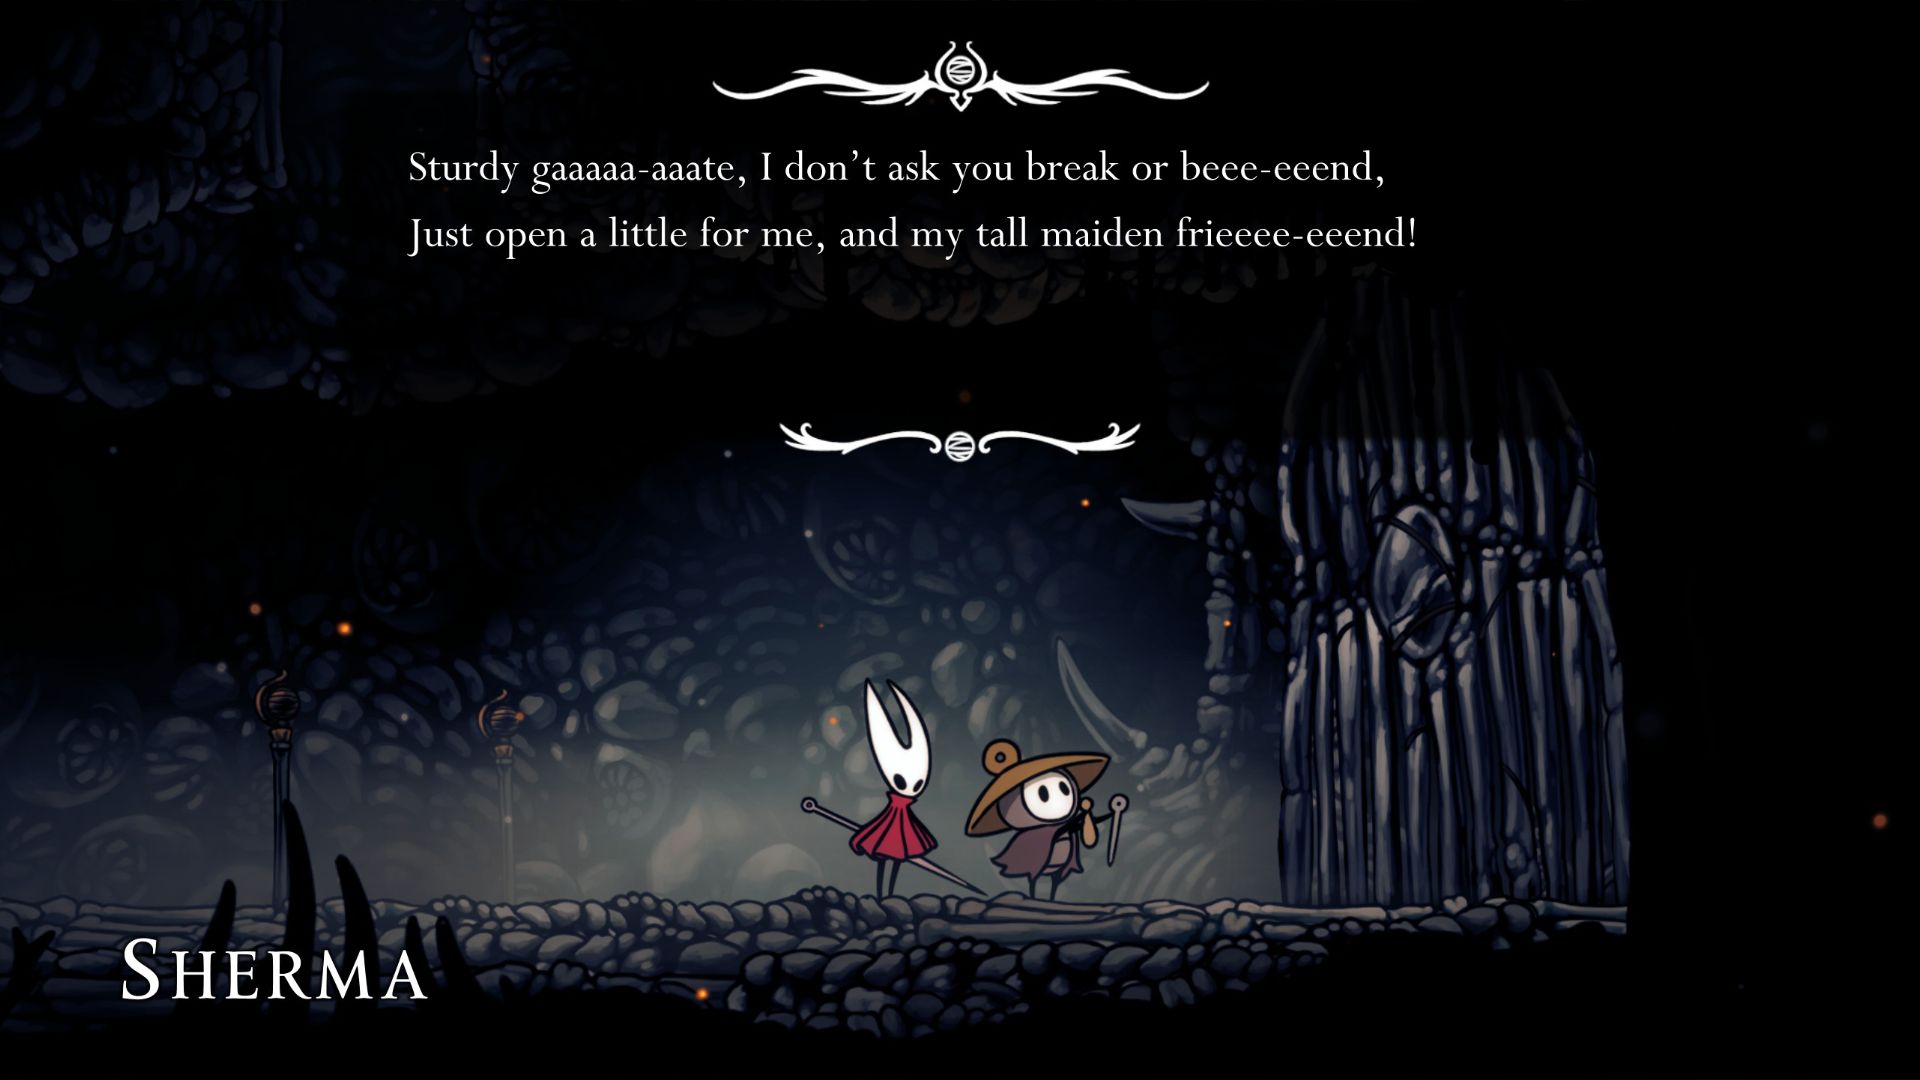
In the course of your journey through Pharloom, you’ll frequently encounter Sherma, a pilgrim adorned with a broad-brimmed hat. She uses music and song as a means to navigate challenges, including a formidable Bone Gate.
Upon encountering Sherma, you should head back to the left, ascend slightly, and then turn right. This path will lead you to the rear side of the Bone Gate. However, be prepared as you’ll need to navigate through a room filled with waves of enemies. Among these adversaries, there’s a big crawler that can inflict two masks worth of damage with each attack.
After finishing this room and finding two possible exits, proceed to enter the room on your left to activate the gate from its opposite side.
Meet Fleamaster Mooshka
Send Fleas Back to the Caravan, Like Grubs
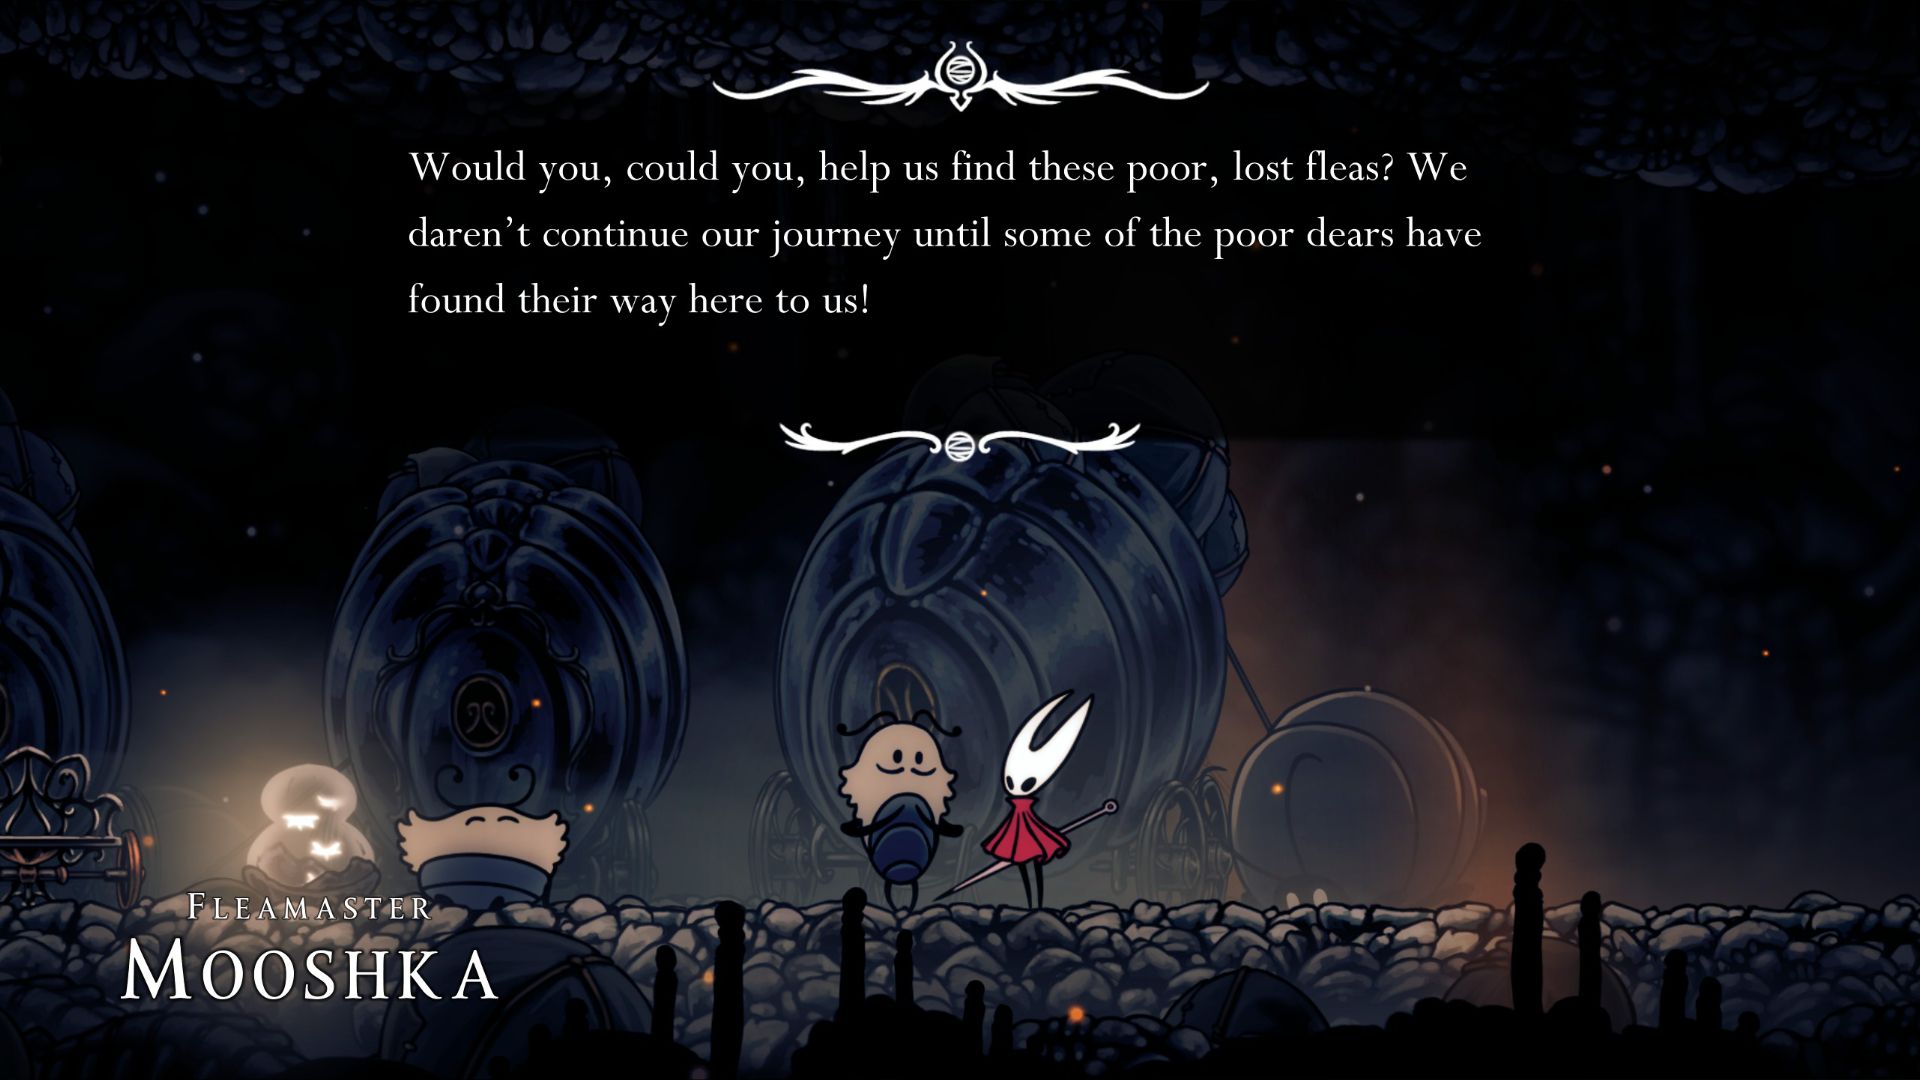
Following assistance given to Sherma, proceed along a generally straight course within the caves until you reach The Marrow, which serves as the second significant region in the game ‘Silksong‘. Players must be vigilant, as there are several crucial elements worth noting within The Marrow.
As you traverse the locale, watch for a marker bearing an image of a plush insect – it’s a Flea Caravan sign. This will guide you to Fleamaster Mooshka and his remnants of the Flea caravan. Fulfilling his desire to reassemble the scattered fleas across Pharloom, initiates your journey to locate fleas in the concealed corners of the world – an experience akin to hunting for Grubs in Hollow Knight.
Over the line of fleas’ wagons, there’s a fragile barrier. Keep striking it multiple times to uncover a hidden passageway with 24 rosaries inside.
Find the Shard Pendant Tool
The First Tool In Silksong
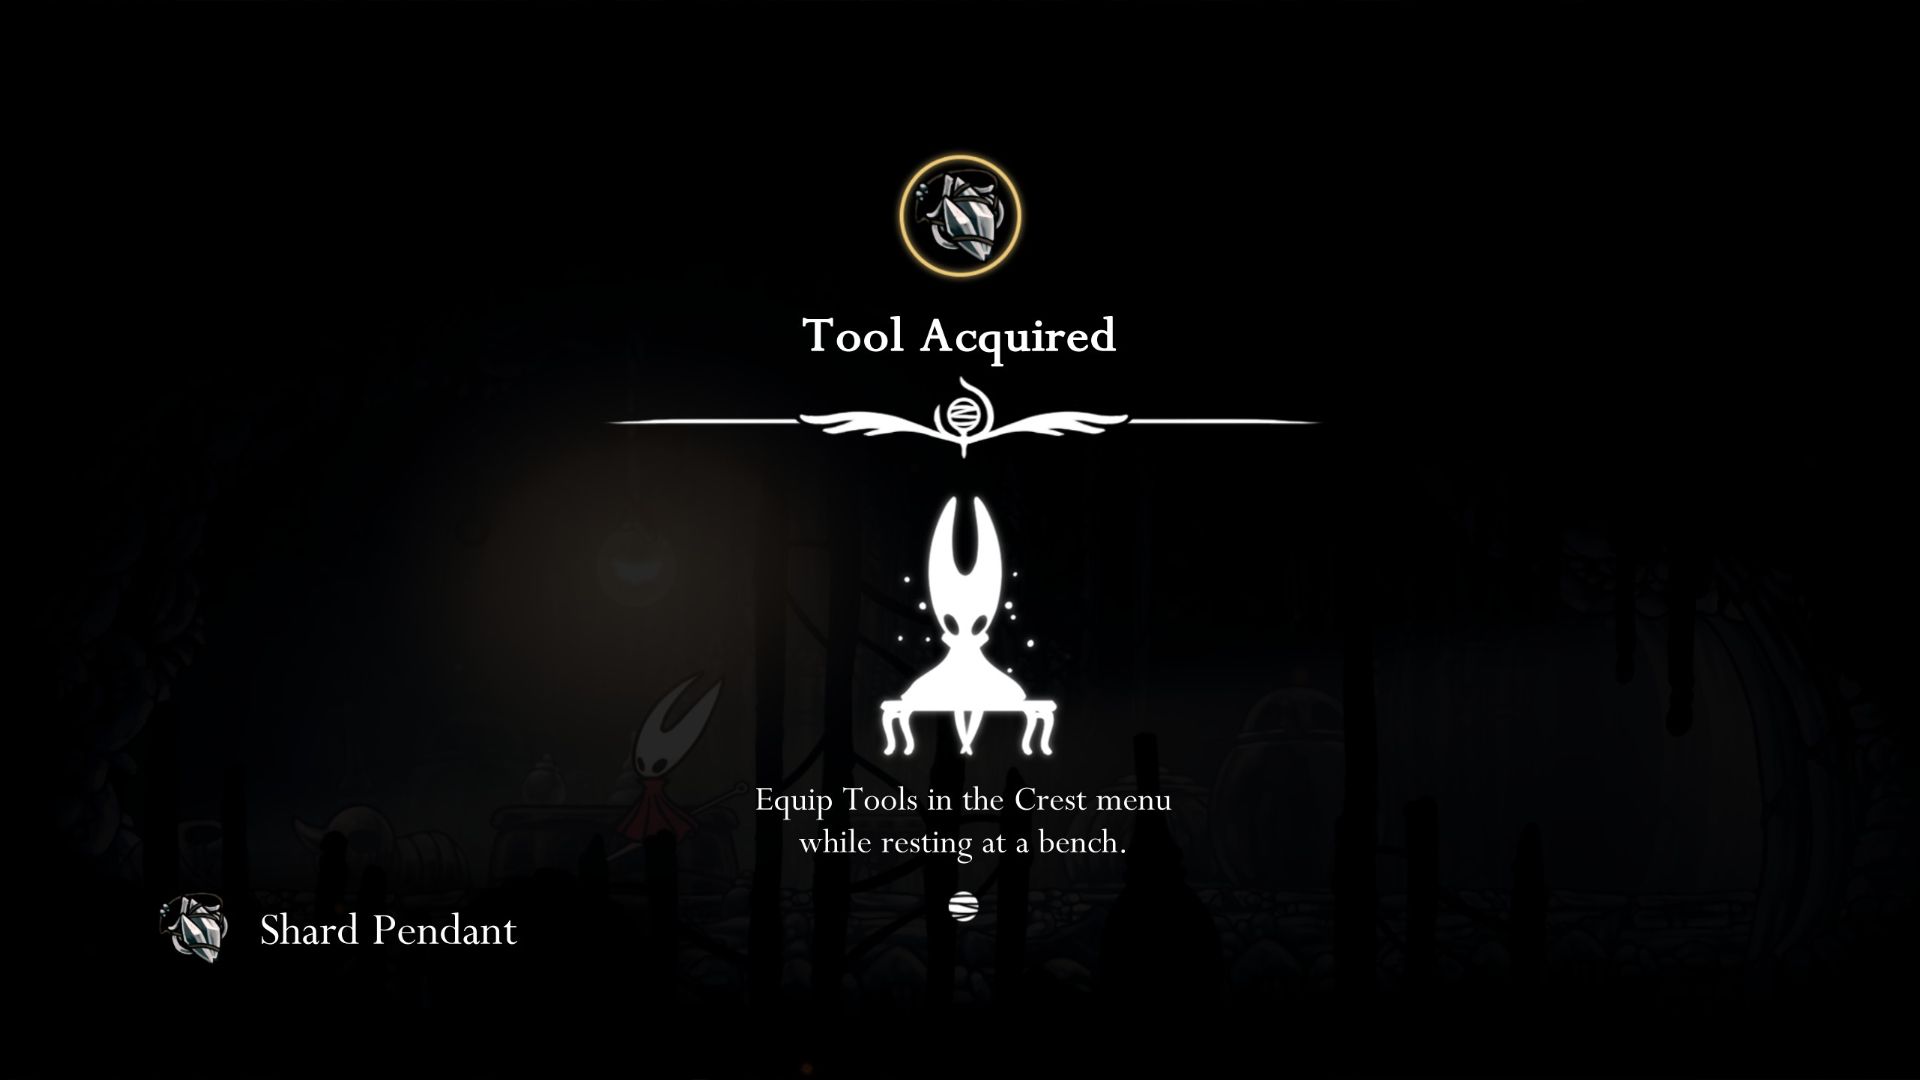
As I stepped out after meeting Fleamaster Mooshka, I began my journey by looking up and then veering off to my left. My destination? A deep, yawning chasm hidden among the ruins. To advance through this level, I knew I needed to climb upward into the chasm, but not before exploring a detour. This detour would lead me downward, where I’d discover a hidden room off to my left. Inside that room, I found the very first treasure of the game – a mysterious Shard Pendant.
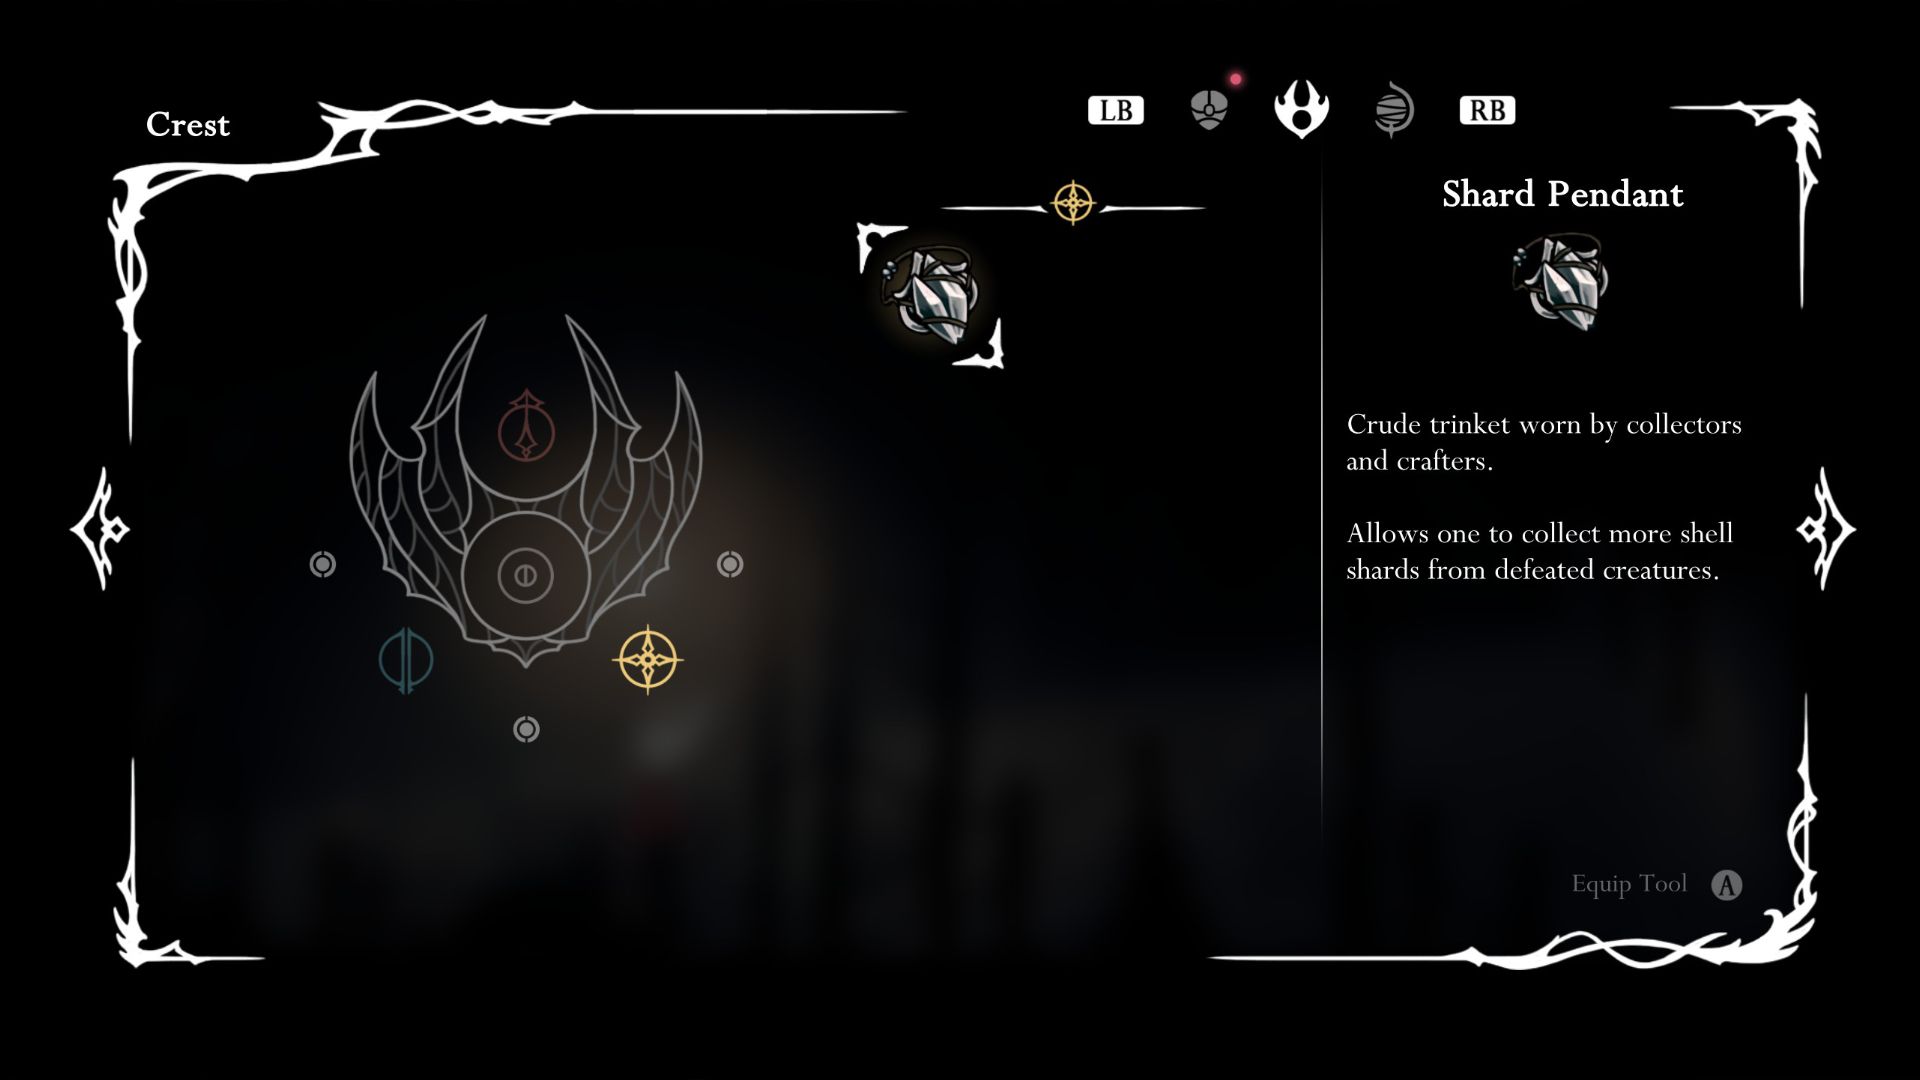
This tool with a yellow color can exclusively be mounted on a workbench. Once installed, you’ll acquire a slight increase in Fragments upon defeating foes. These Fragments serve the purpose of creating Tools and equipment, albeit only at a later stage of the game.
Meet Shakra to Get a Map, Quill, & Compass
Silksong’s Map-Maker: Shakra, Wielding Rings
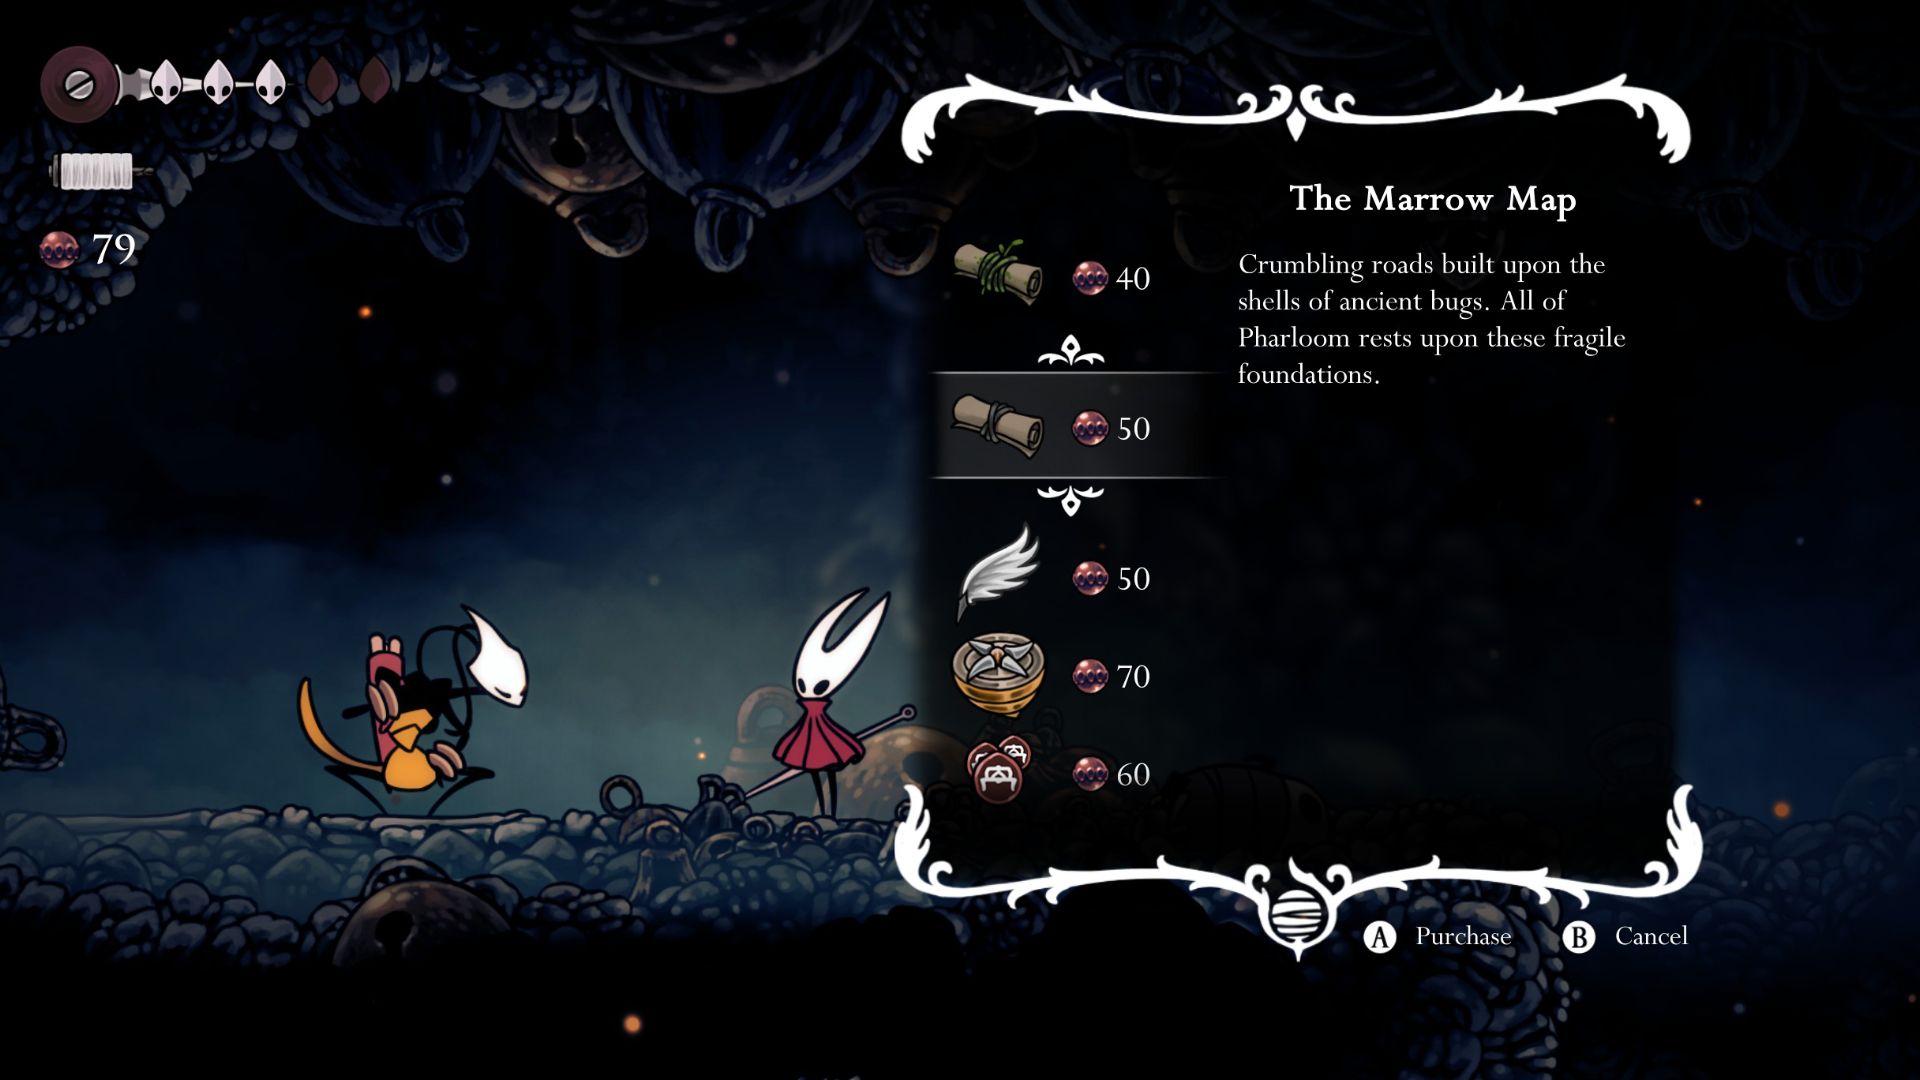
At the start of the game, players of Silksong won’t find a map available to them. You’ll only be able to acquire one after advancing considerably through The Marrow zone. Once you reach the chasm containing the Shard Pendant, head upwards. Exit the tall room located on the farthest left side from there, and continue to move towards the left. Eventually, you will encounter Shakra.
Upon starting Silksong, players initially won’t be given a map. You can only obtain one after making significant progress in The Marrow zone. Upon reaching the chasm adorned with the Shard Pendant, head upward and exit the tall room on the left side. Continue to proceed to your left, and you will eventually meet Shakra.
Shakra offers an assortment of cartography gear, such as maps detailing local sites like Moss Grotto and The Marrow, a Compass that pinpoints your position on the map, and a Quill tool to update the map with newly explored territories after taking a break.
As a cinephile venturing into this digital realm of game reviews, let me guide you through an intriguing treasure hunt! First off, you’ll need two essential items: Maps and Quill – the Maps will set you back 90 Rosaries, while the Quill costs another 50. Next up is the Compass, which will cost you 70 more Rosaries.
If you find yourself running low on funds during your quest, don’t fret! Explore the nearby area for a few hidden stashes of Rosaries to help fill up your coffers. Happy treasure hunting, adventurers!
Unlock the Bone Bottom Shortcut
Find the Elevator Above Bone Bottom
In Shakra’s room, head left, then leap up and carry on going left to reach the sub-area known as Mosshome. Jump onto the platforms above to dodge the enemies below, and hop across the ledges until you get to a lever. Once you pull the lever, proceed downwards until you find an elevator.
In Shakra’s room, go left, jump up and follow the way left to enter the sub-area named Mosshome. Jump onto the platforms above to evade enemies beneath, then hop across the ledges leading to a lever. After pulling the lever, continue downwards until you find an elevator.
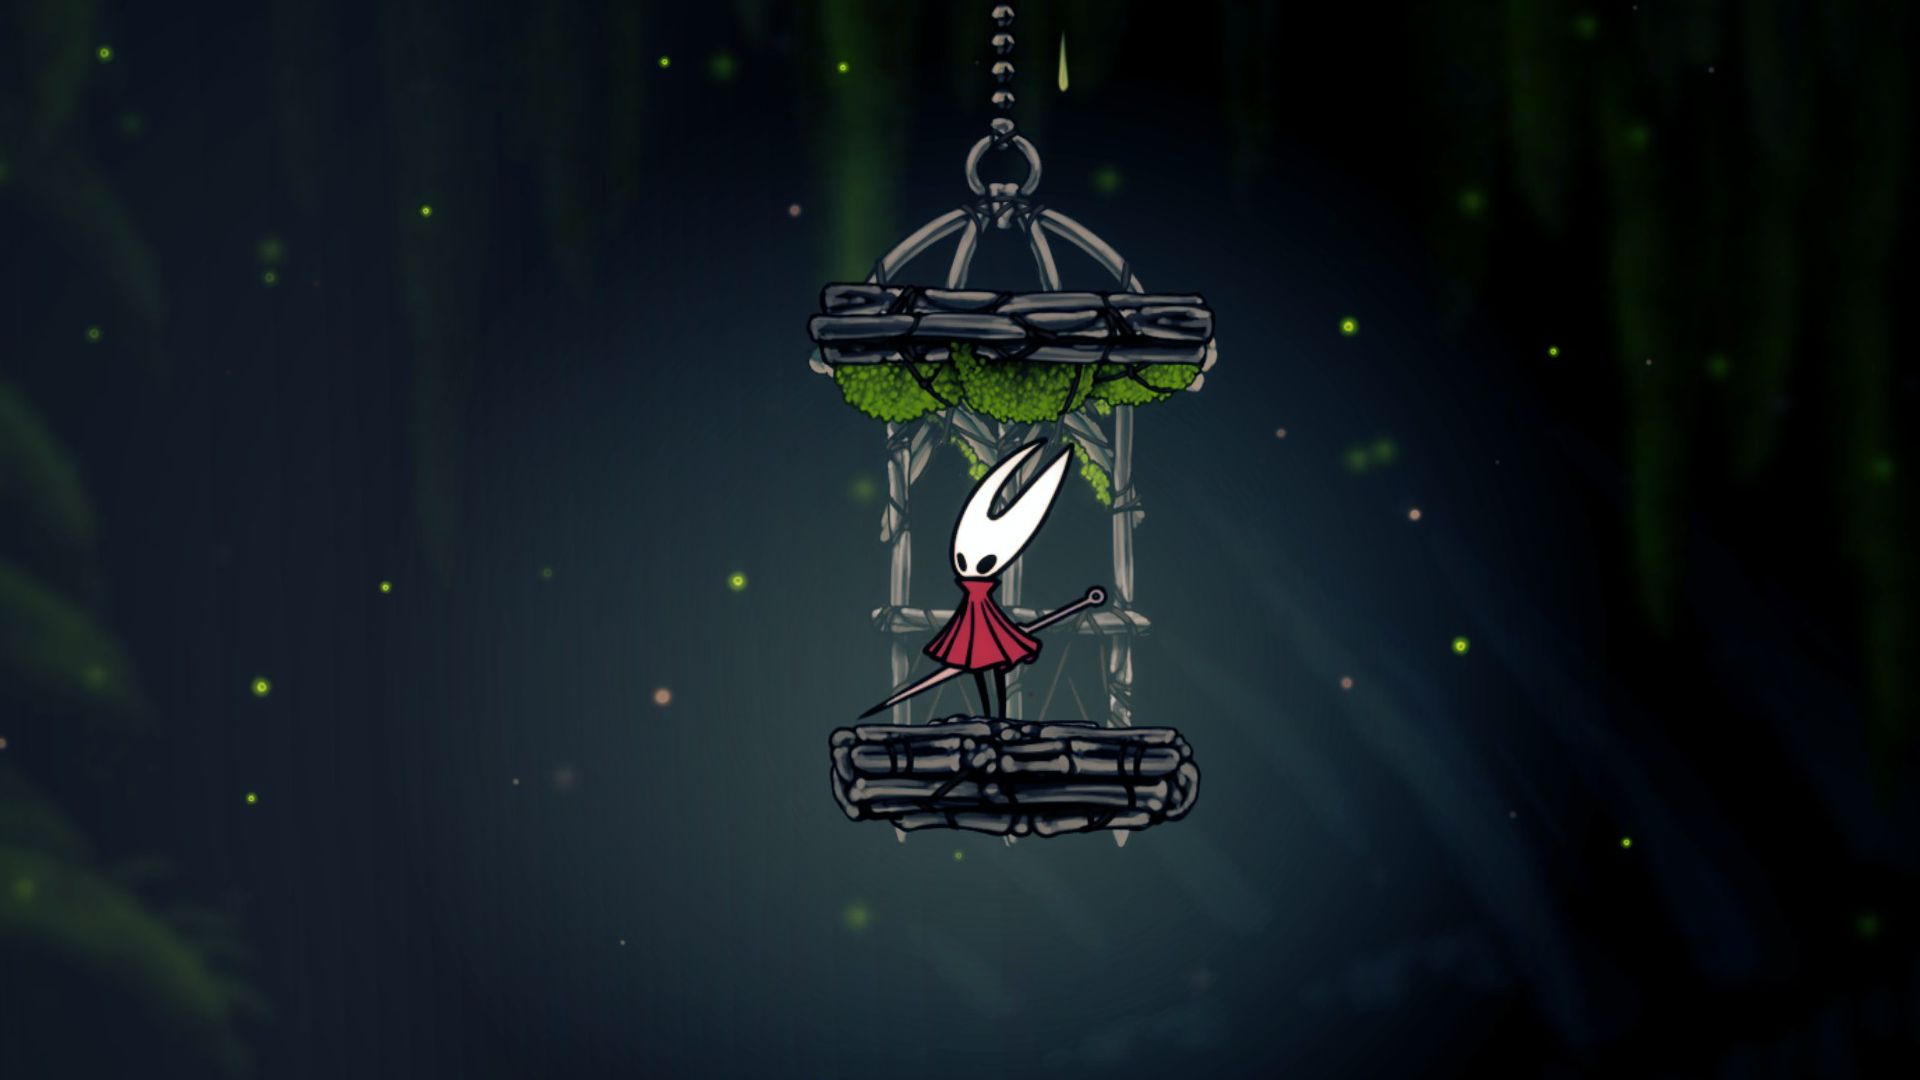
This elevator hovers above Bone Bottom, and once you step in and trigger the pressure plate, it gradually descends to the town below. After taking this shortcut once, it becomes permanently accessible. Relax on the bench to refresh your map, then reboard the elevator for a return trip to Mosshome.
Get & Use Silkspear To Free The Bell Beast
Break The Bell Beast Free, Then Prepare For a Fight
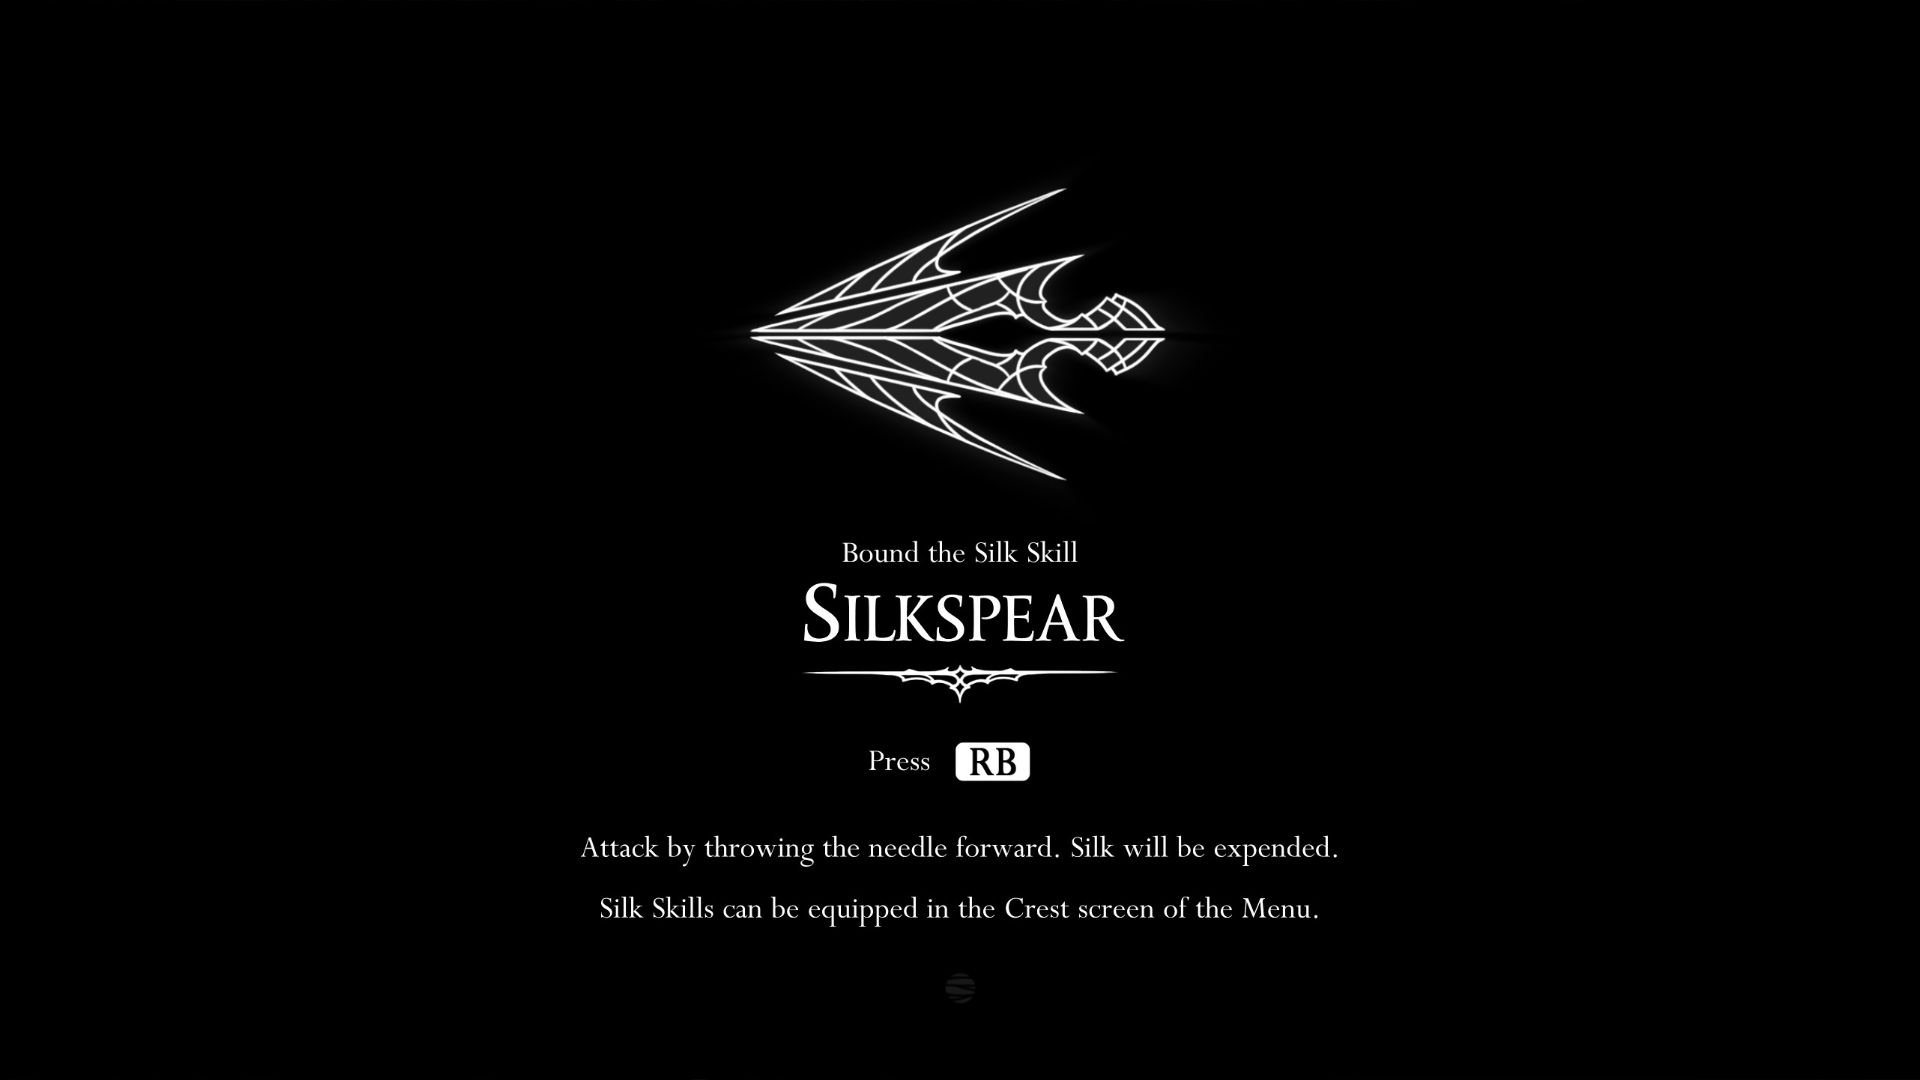
After using the shortcut elevator to return upwards, re-enter the previous room with the lever, then proceed to ascend further. Next, move back into another room located above, where you’ll navigate through avoiding traps and stepping onto platforms. Your destination is a symbol of a Weaver in this new space.
Engage with it to acquire the Silkspear capability, which is a long-range penetrating attack that employs a little silk for casting. Once you’ve obtained your initial Silk skill, retrace your steps and return to the room containing the lever, then proceed in the direction of your right.
As a movie enthusiast, you’d find it helpful if there was a sign pointing out the Fast Travel spot for the Bell Beast in the room to your right. After proceeding in that direction, don’t forget to utilize the Silkspear to swiftly sever all the silk strands simultaneously, thereby liberating the Bell Beast.
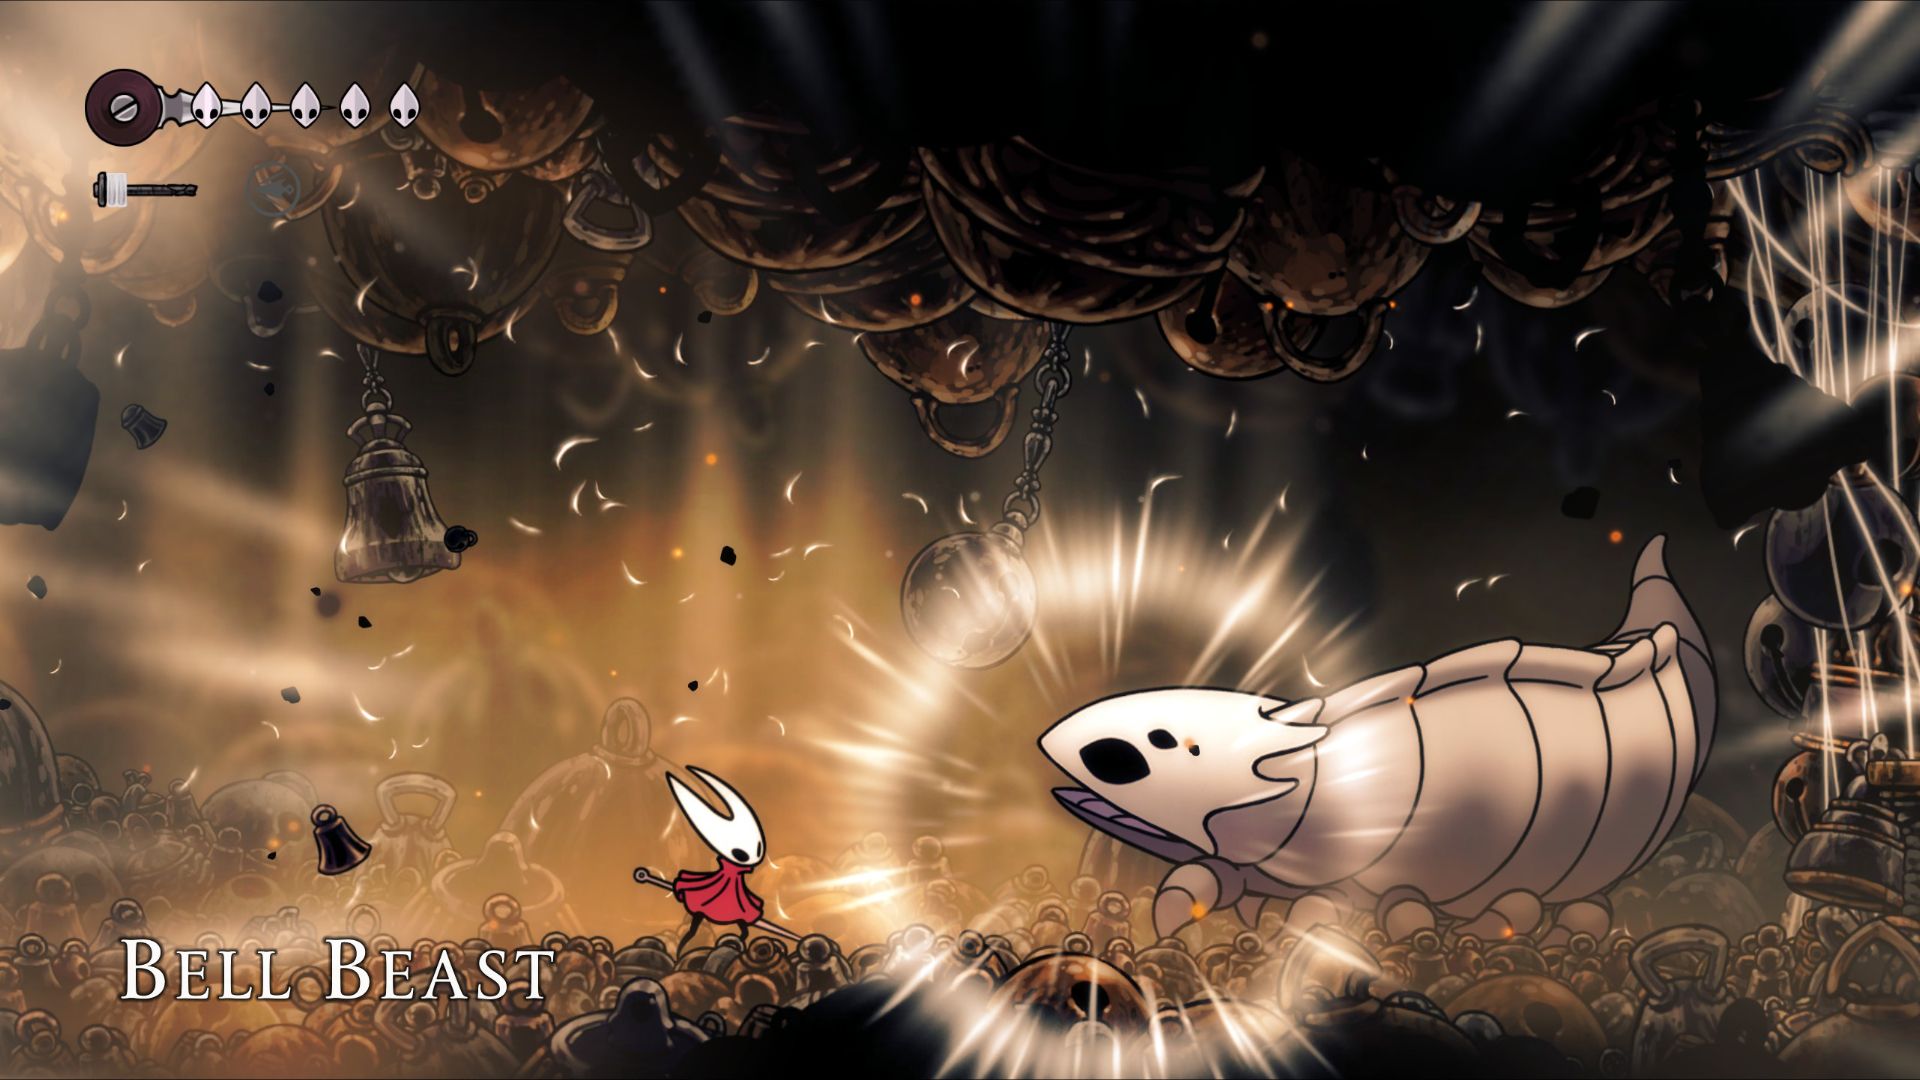
Once freed, Hornet must subdue the Bell Beast to earn its cooperation.
Defeat the boss, and you’ll find a silky-looking orb. Navigate through this dream world to grab a Silk Heart. Upon doing so, Hornet will regain consciousness back in the boss room, and a fast travel option will become available.
Read More
- All Shadow Armor Locations in Crimson Desert
- Jujutsu Kaisen Season 3 Episode 12 Release Date
- Dark Marksman Armor Locations in Crimson Desert
- How to Beat Antumbra’s Sword (Sanctum of Absolution) in Crimson Desert
- Top 5 Militaristic Civs in Civilization 7
- Sega Reveals Official Sonic Timeline: From Prehistoric to Modern Era
- Sakuga: The Hidden Art Driving Anime’s Stunning Visual Revolution!
- Keeping AI Agents on Track: A New Approach to Reliable Action
- How to Get the Sunset Reed Armor Set and Hollow Visage Sword in Crimson Desert
- Best Weapons, Armor, and Accessories to Get Early in Crimson Desert
2025-09-04 22:08