Title Transformation: Unveiling a New Ally: A Comprehensive Guide for the Affinity Mission “A New Rival” in Xenoblade Chronicles: Definitive Edition
This Affinity Mission, named “A New Rival,” is not just any ordinary mission. It will eventually grant you the opportunity to make a new comrade, whom you can then call upon for battle assistance. Given that this quest can take quite some time (depending on your situation and level), this guide aims to lead you through its various steps and objectives to ensure completion.
Starting ‘A New Rival’ Quest in Xenoblade Chronicles X: Definitive Edition
Unlocking HB
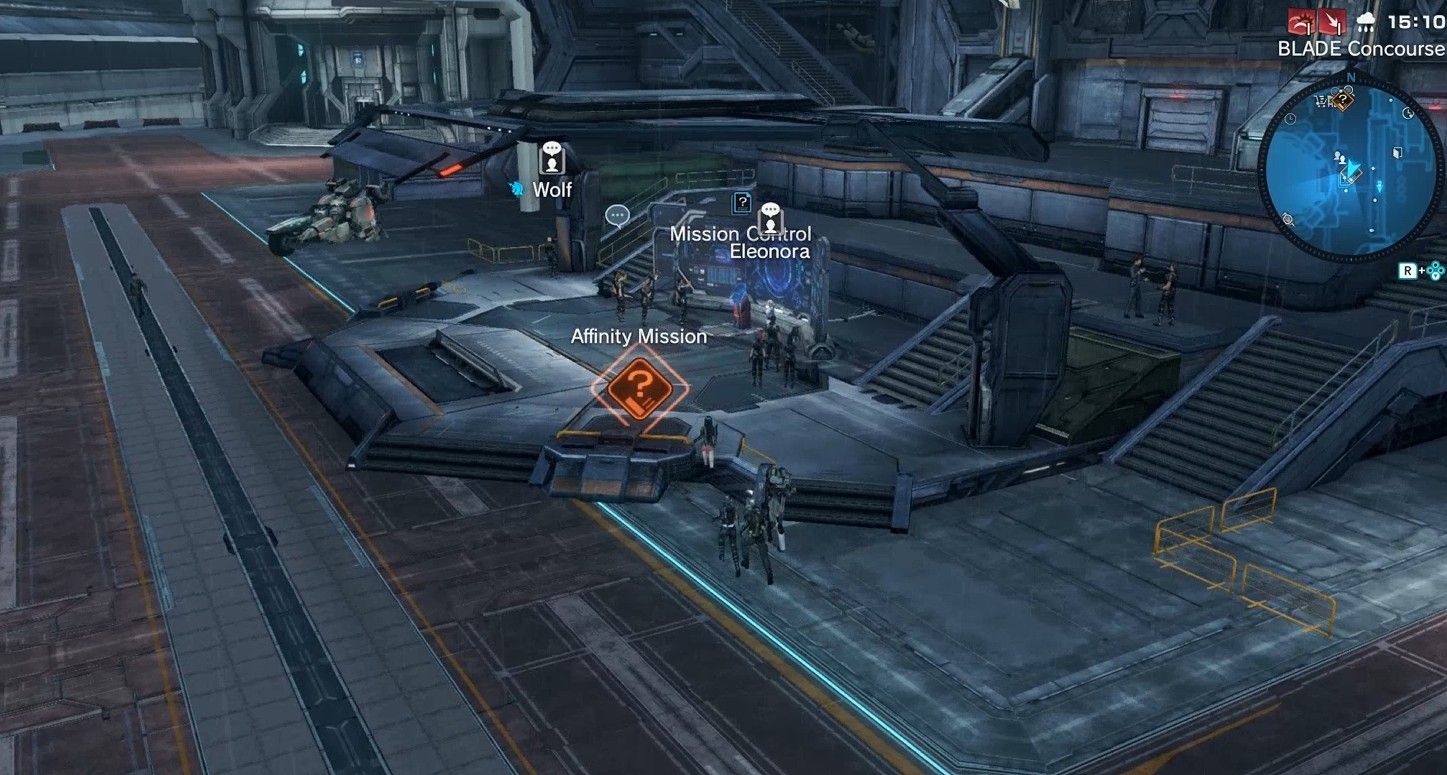
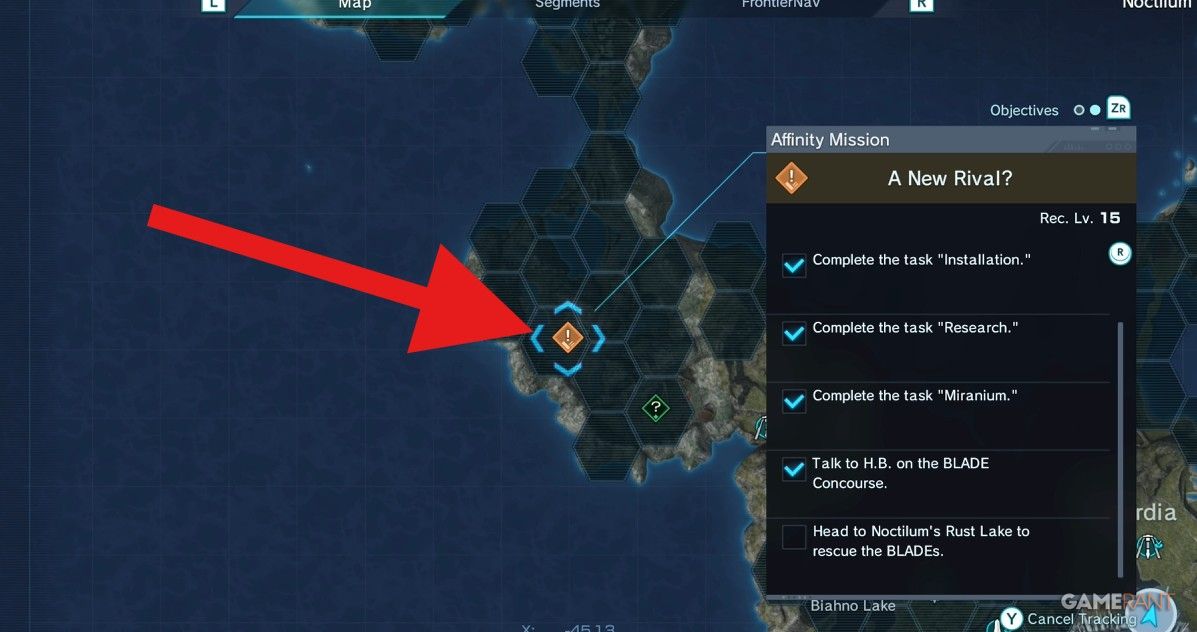
The Affinity Mission symbol for the “A New Rival” quest is located near Mission Control, specifically at the BLADE Concourse.
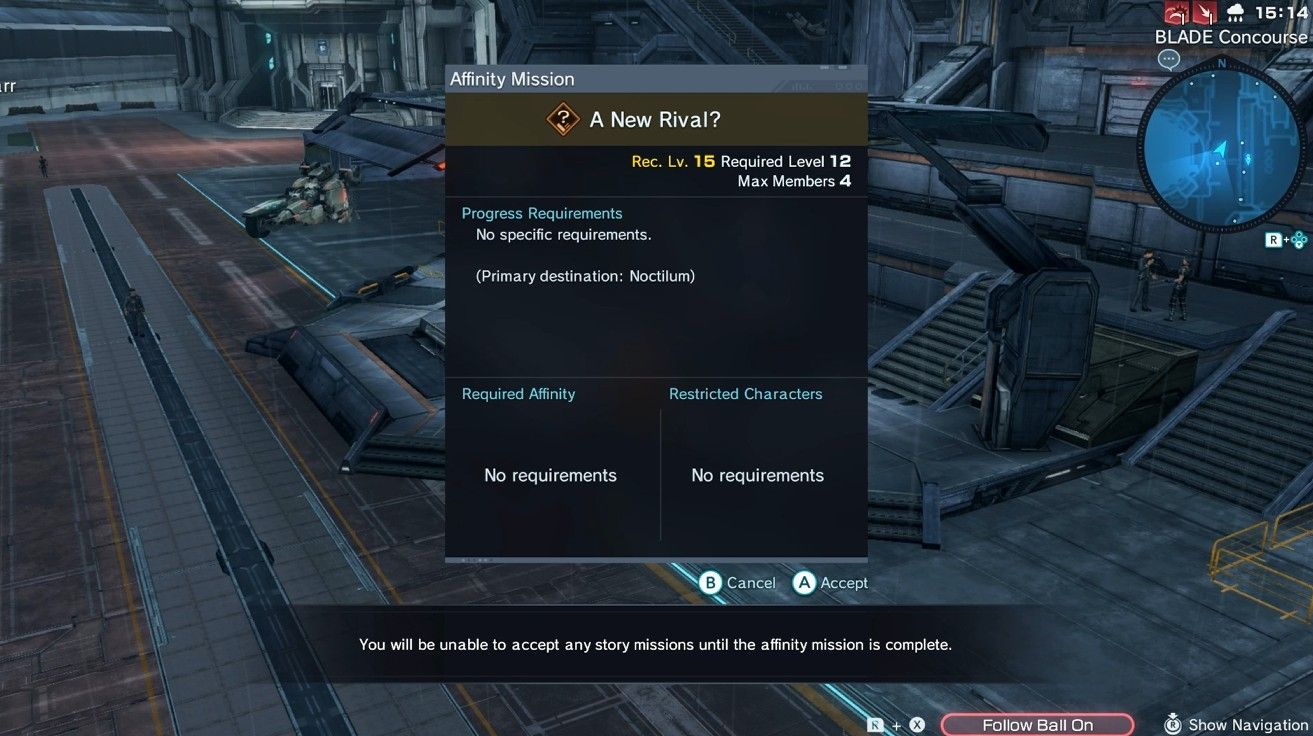
- Recommended Level is 15
- Required Level is 12
- Primary Destination: Noctilum
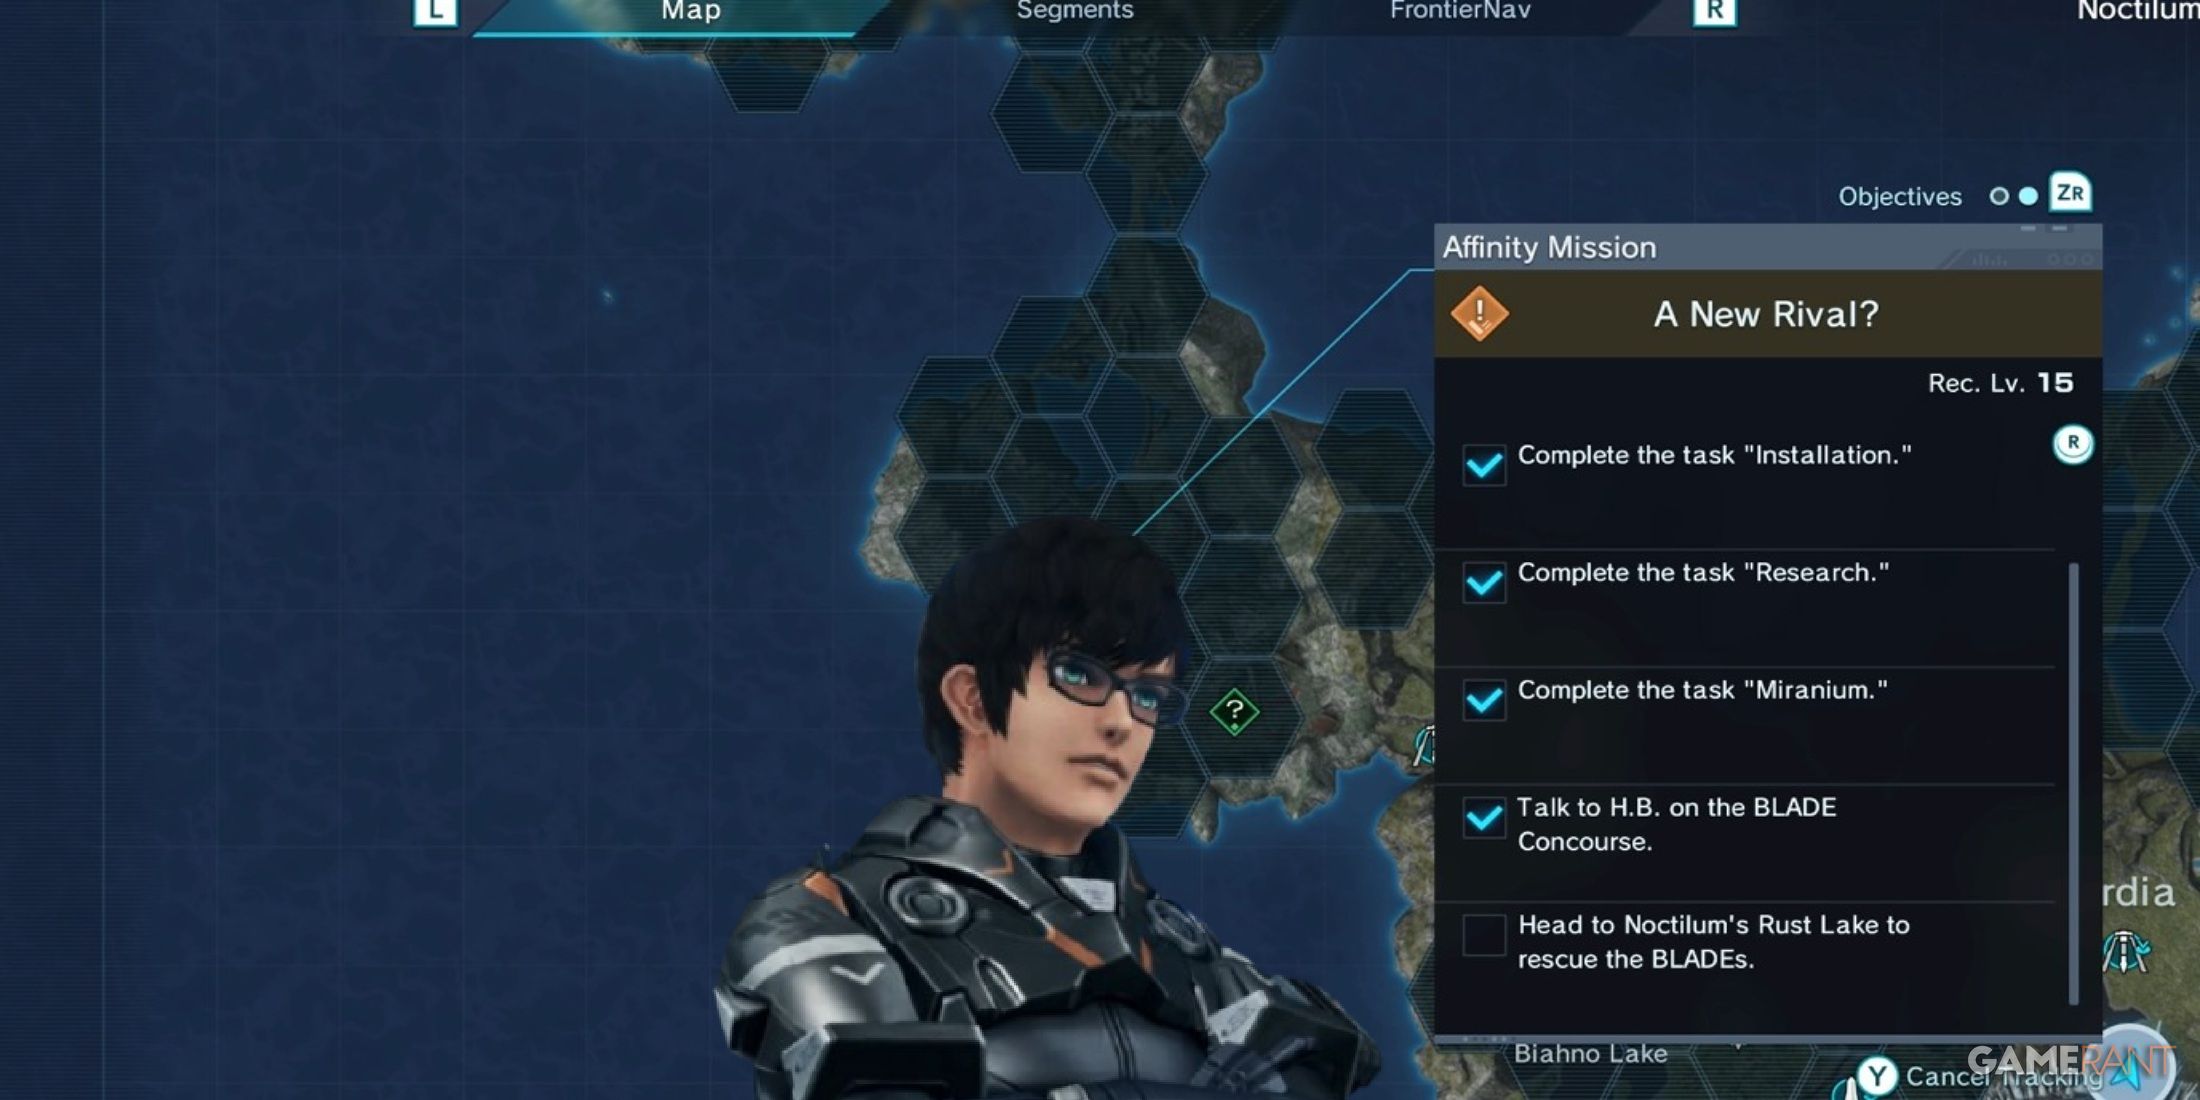
Following your conversation with H.B., you will receive three distinct missions. Instead of a race being about completing tasks as quickly as possible, H.B. is interested in seeing who can complete the tasks first, although there’s no strict time constraint for this. Keep in mind that during this Affinity mission, you won’t be able to accept any new story quests until it is completed.
How to Install Data Probe on Plains Northeast of Sayram Lake
Installation Mission
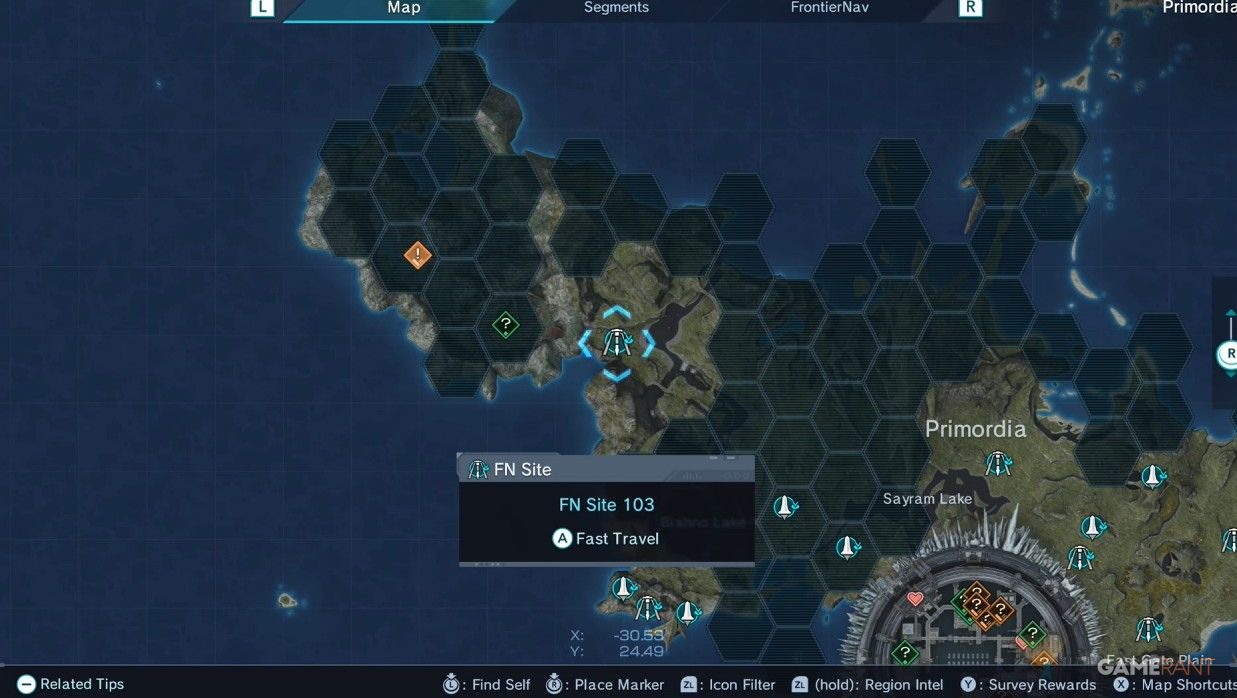
To accomplish the Installation task, you should set up a data monitor in the grasslands to the northeast of Primordia’s Sayram Lake. However, this mission was marked as complete for me because I discovered the FN Site prior to accepting it.
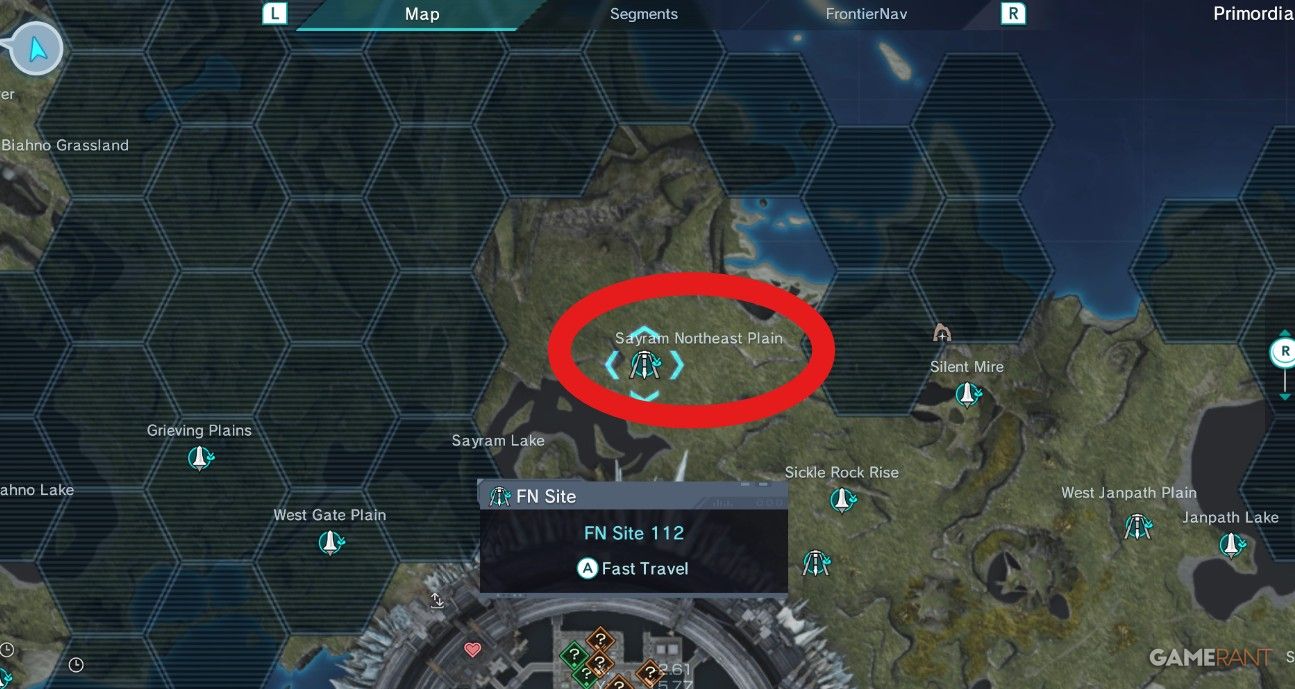
For the exact location of FN Site 112 in Sayram Northeast Plain, refer to the image above.
How to Earn 3,000 Credits from FrontierNav in a Single Return
How to Complete Research Mission
Click on the pause menu, navigate to the “FrontierNav” segment. In this area, you will find all the probes and FN locations that you have already unlocked.
Clicking on one of your spots followed by pressing A will cause the current Probe to be replaced with a Research Probe.
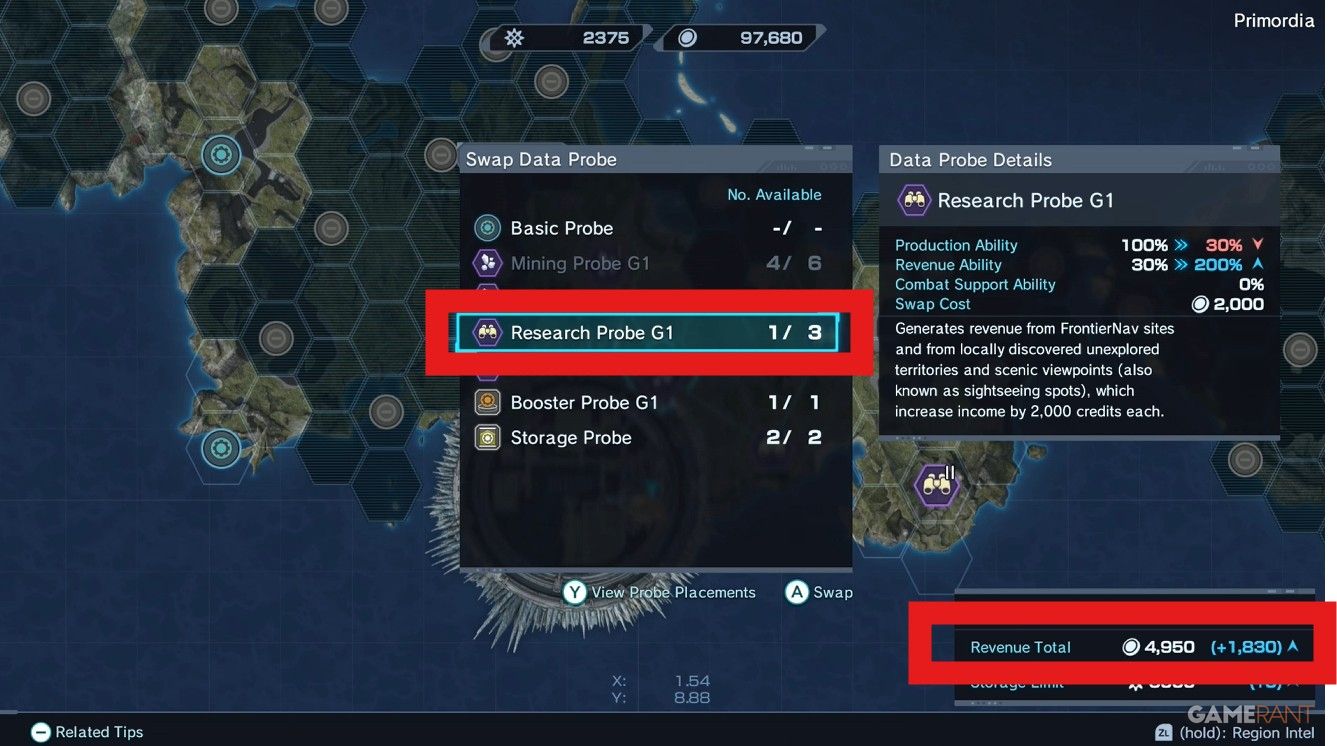
Check the total income rise at the lower right corner of the screen. Adjust the probes on the Functional Sites using your Research Probes until the income level satisfies you. Once achieved, just be patient for a while, and the credits will accumulate, automatically finishing the quest upon reaching the required amount.
How to Give Miranium to Tauler
How to Complete Miranium Mission
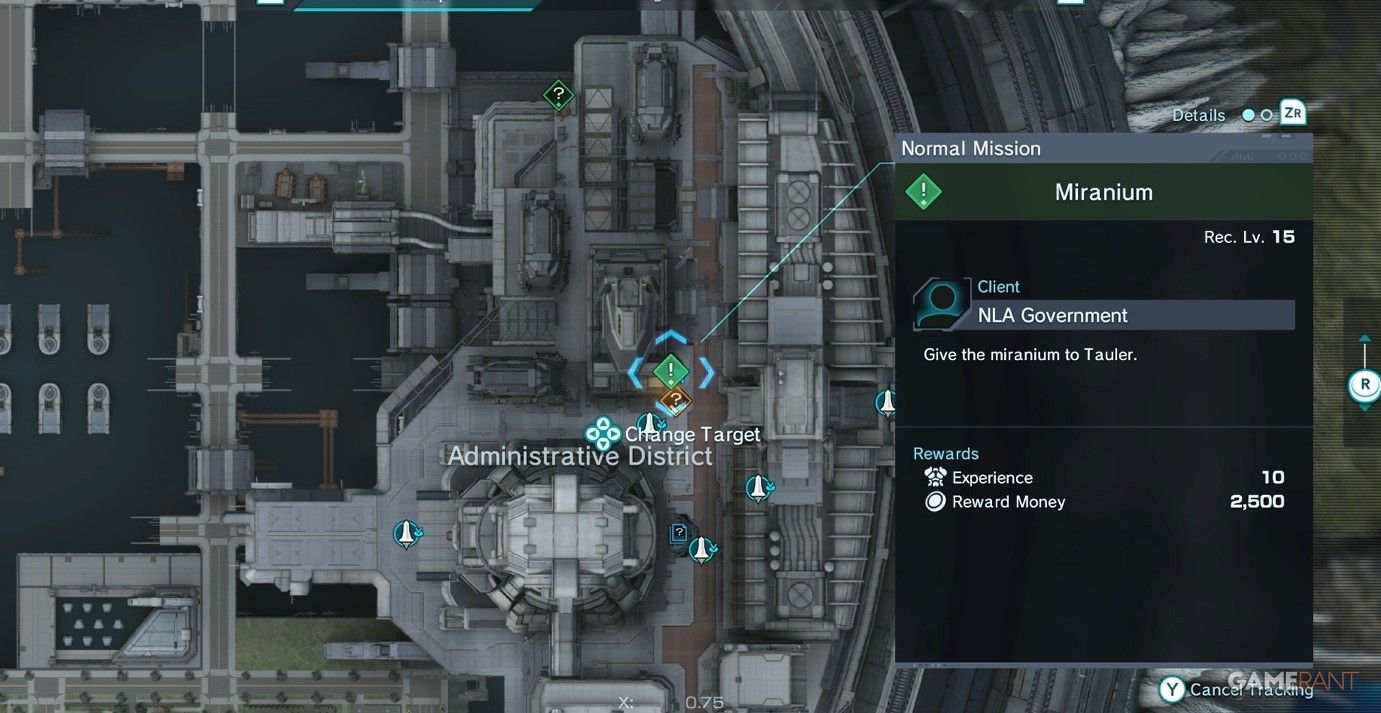
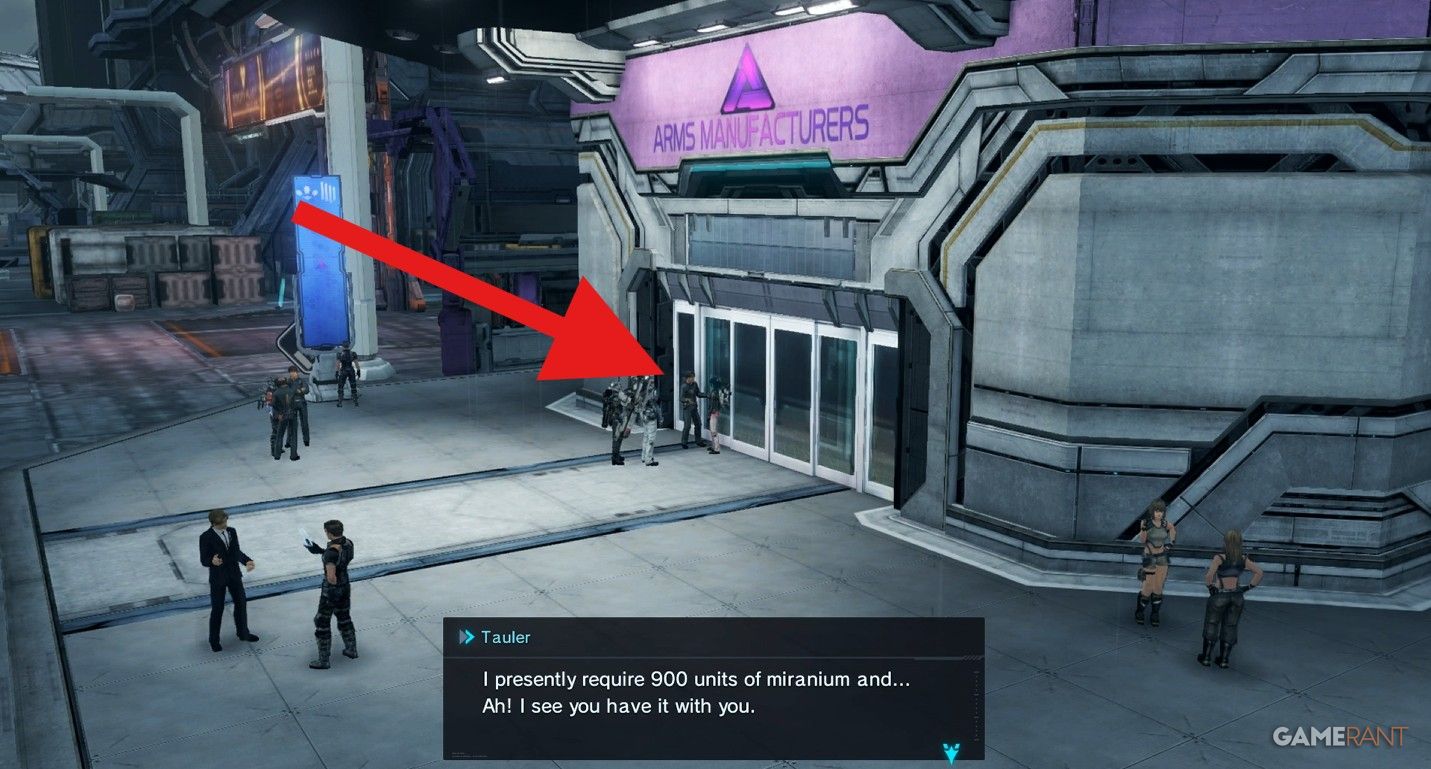
As a fan, I’d say: “To locate Tauler, simply take a short walk north from where our adventure begins. Once there, check out the front area of ARMS MANUFACTURERS building. After exchanging what’s needed, return to H.B. to carry on with the questline. He’ll be joining my party prior to our next assignment.
If you’re running low, here’s a guide on how to obtain additional Miranium, as you should ideally have 900 units by now, but if you don’t have that quantity yet.
Head to Noctilum’s Rust Lake
Next up, you’ll be venturing towards the northwest region called Noctilum. More specifically, your destination is Rust Lake. You can either consult your map and place a marker there or follow the mission objective using the guidance ball. However, if you prefer not to walk the whole way, you can quickly teleport to the closest Fast Travel Site first.
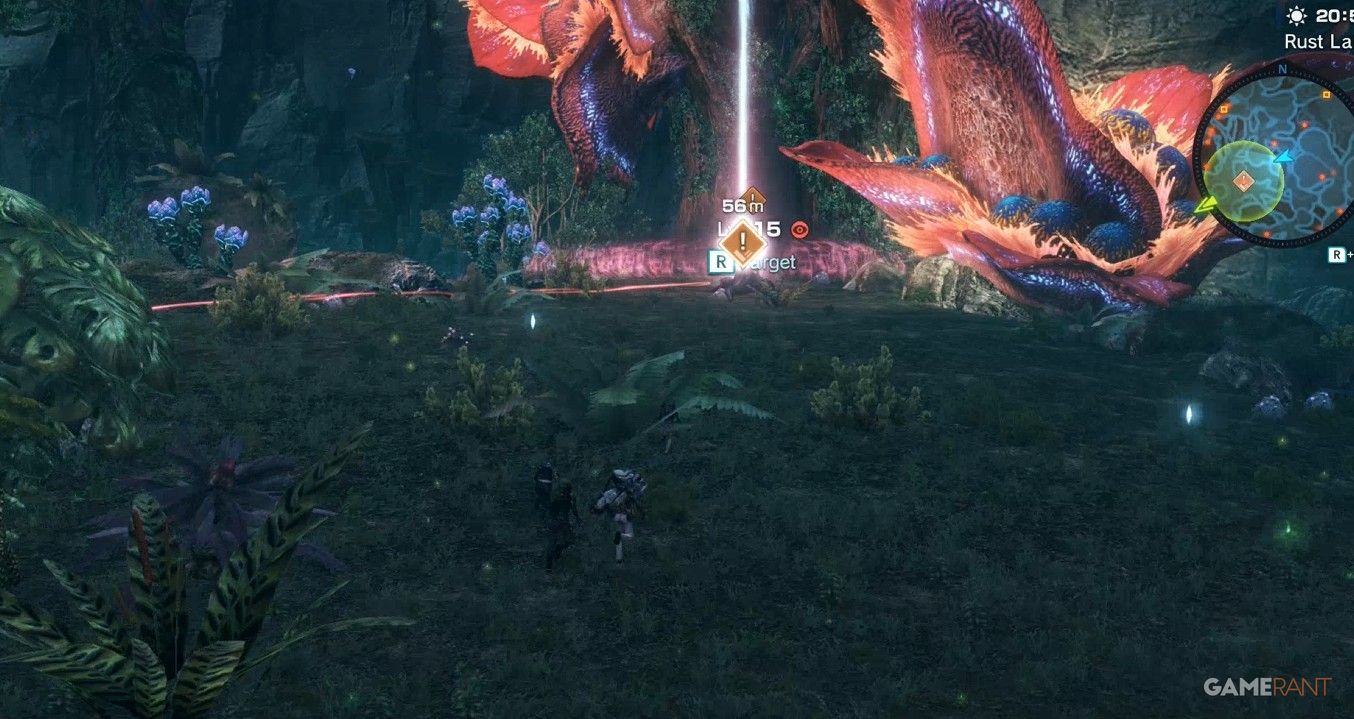
Upon arriving at my destination, I stumbled upon an injured comrade, BLADE. But before tending to him, there’s a scientist in distress ahead who requires immediate assistance. Continuing along the path will eventually lead me to a formidable level 15 foe known as the Thieving Dilus.
Previously, I was at level 13, accompanied by teammates named Doug, Elma, and H.B. This encounter shouldn’t be overly challenging, but a potential hassle could arise due to additional monsters potentially appearing to join the fray as well.
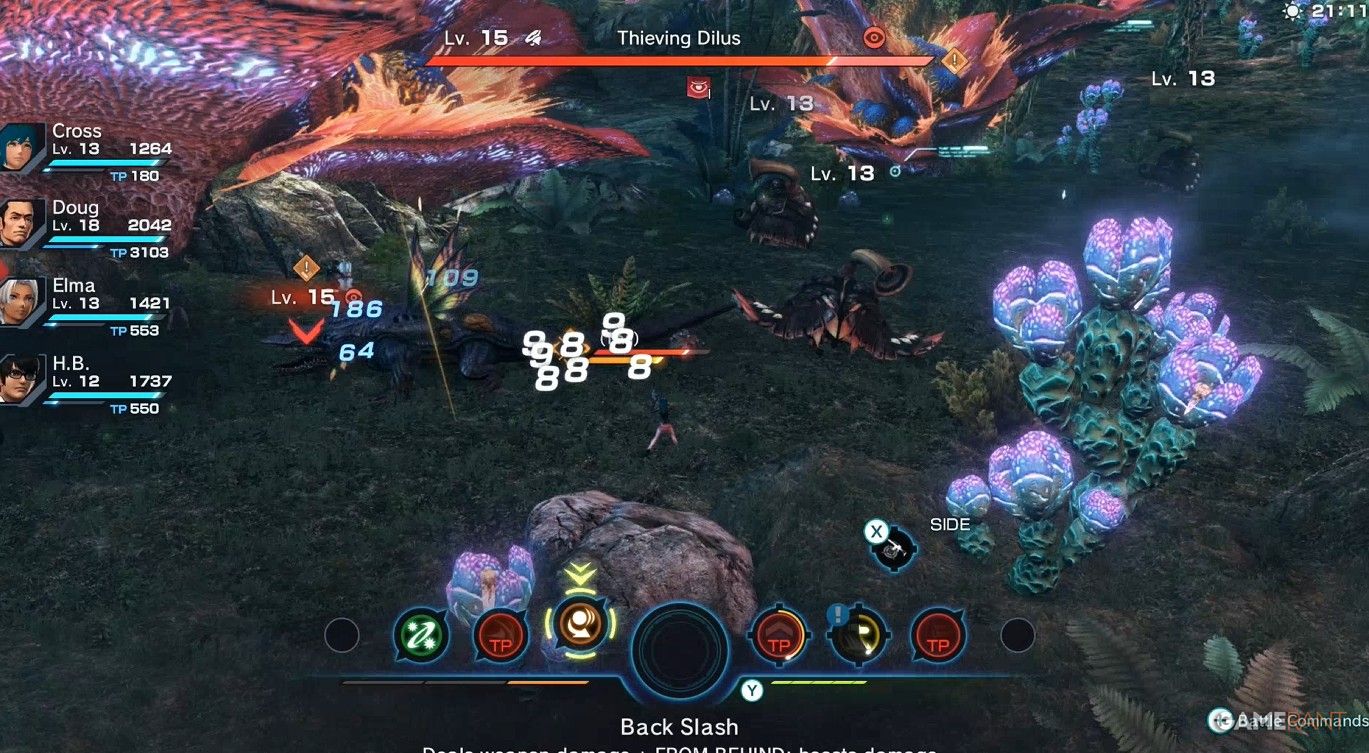
To simplify things a bit, we charged directly towards the main boss monster, ensuring not to attract other monsters along the way. If additional monsters decide to join the fray, prioritize taking down Dilus. Once it’s defeated, other monsters should cease their attacks on you. A different approach could be attempting to eliminate nearby wild monsters before engaging with Dilus, as this might help manage the ensuing chaos.
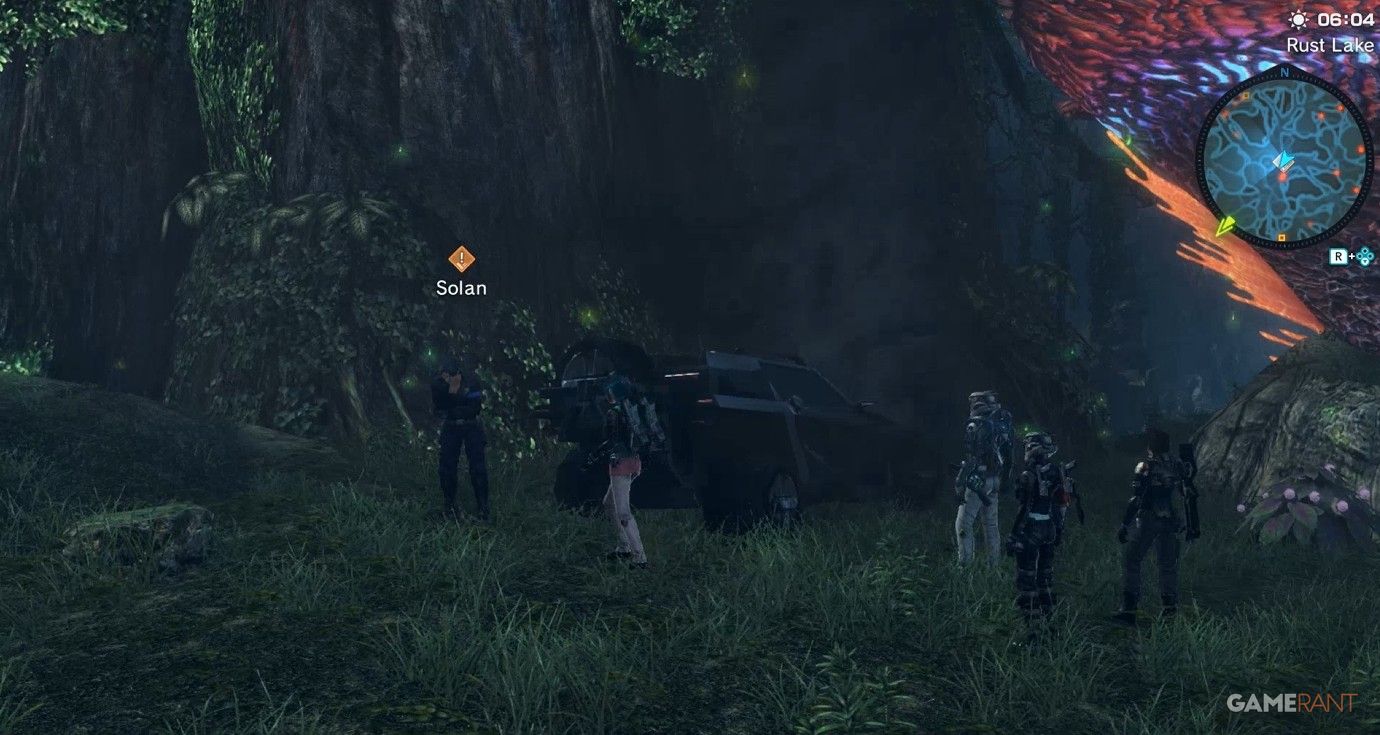
Speak with Solan once the creature has been slain. Following this brief interaction, your Affinity Mission will be concluded. As a reward, you’ll receive 160 XP and 9000 coins. Additionally, you’ll have the option to include H.B. in your party whenever desired.
Read More
- The Limits of Thought: Can We Compress Reasoning in AI?
- Genshin Impact Dev Teases New Open-World MMO With Realistic Graphics
- ARC Raiders Boss Defends Controversial AI Usage
- Console Gamers Can’t Escape Their Love For Sports Games
- Where to Pack and Sell Trade Goods in Crimson Desert
- Top 8 UFC 5 Perks Every Fighter Should Use
- Top 10 Scream-Inducing Forest Horror Games
- Top 10 Must-Watch Isekai Anime on Crunchyroll Revealed!
- Sega Reveals Official Sonic Timeline: From Prehistoric to Modern Era
- How to Unlock the Mines in Cookie Run: Kingdom
2025-03-25 21:34