In Xenoblade Chronicles: Definitive Edition, side missions are divided into multiple levels of difficulty, with easier ones labeled green. As a beginner, it’s advisable to concentrate on these green sidequests. However, as you advance in the main storyline, you can gradually tackle the more challenging tasks.
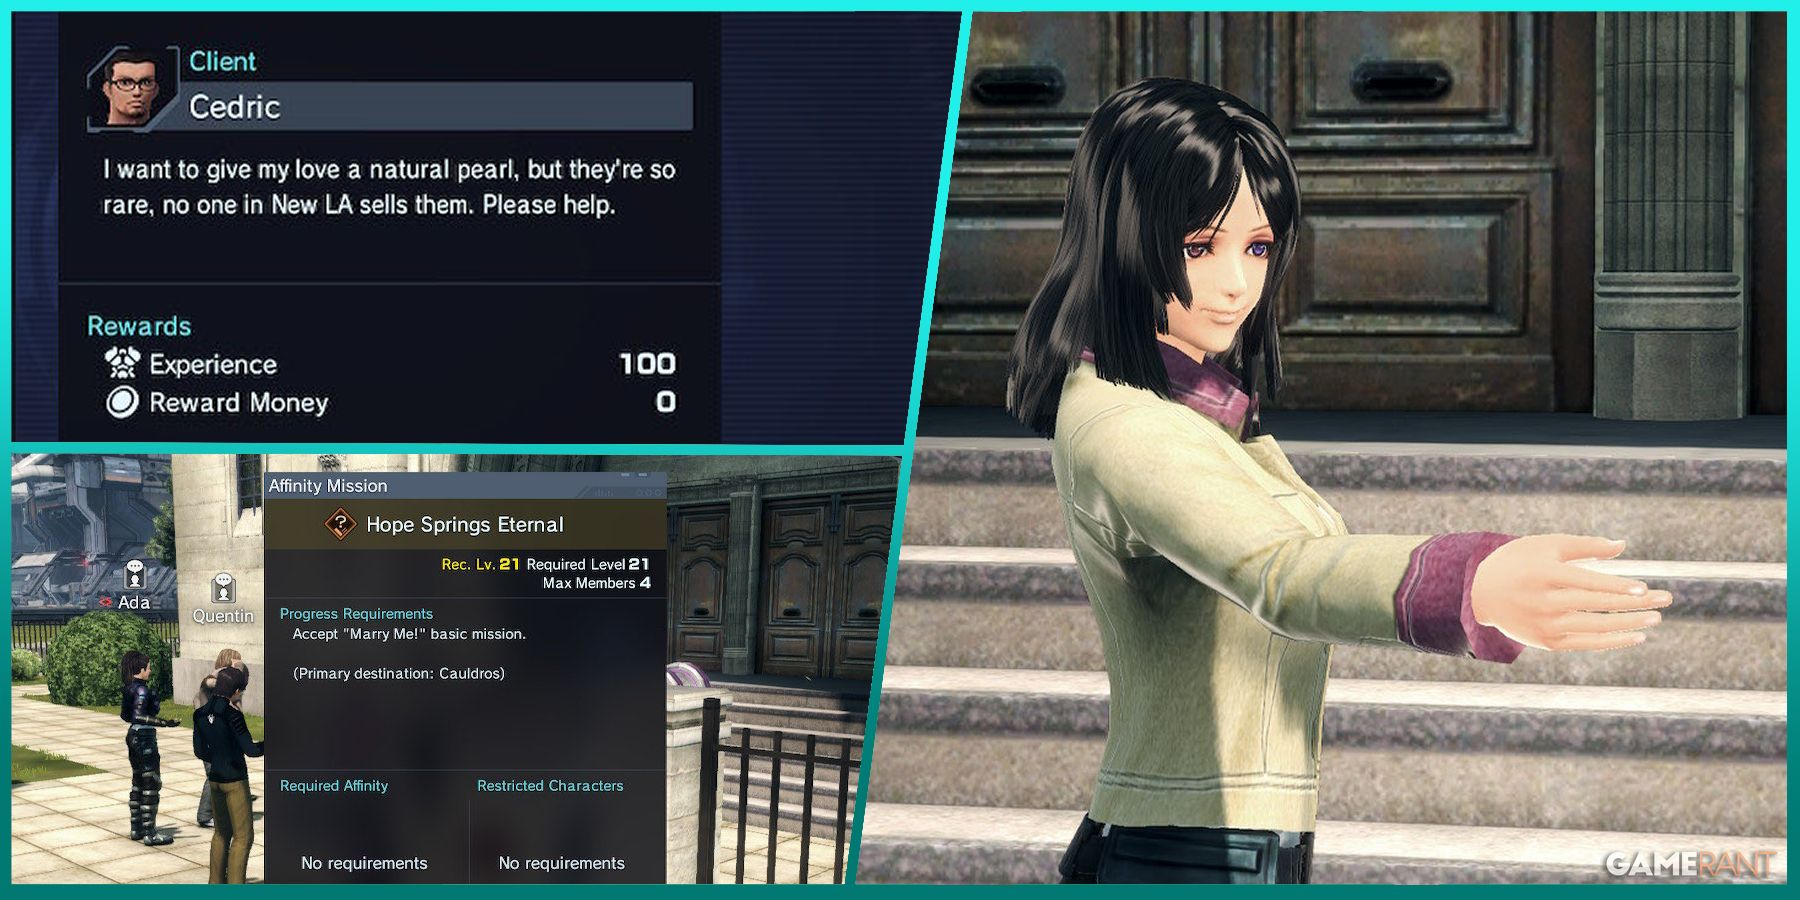
In Xenoblade Chronicles X: Definitive Edition, the mission dubbed as “Marry Me!” is considered challenging. To complete this task, you’ll need to collect ten Natural Pearls, but these items won’t show up on your map. However, getting them isn’t as hard as it seems.
Marry Me! Quest
How to Unlock

After finishing Chapter 3, a proposal titled “Marry Me!” becomes available. You can find it on the job board. Its details are as follows:
– Description: A life-changing decision awaits!
– Objective: Accept this proposal to start your new journey with someone special.
I’m trying to find a natural pearl to gift my dear one, but they’re quite scarce, it seems none of the jewelry stores in New LA carry them. Could you provide some assistance?
- Gather 10 natural pearls.
You might find that the challenge of the “Marry Me!” quest is greater than other tasks at this early stage in the game. Therefore, it’s advisable you postpone the “Marry Me!” quest until after you’ve finished Chapter 5. Additionally, you should ensure your character has reached level 21 before attempting this quest.
As a gamer, I found out that wrapping up “Marry Me!” isn’t just a casual chat; it leads you straight into an Affinity Mission. It’s crucial to know that once you take on an Affinity Mission, you can’t grab any other Affinity Missions or the Main Story Mission until you’ve seen it through.
If “Marry Me!” isn’t displayed on the task board for some reason, close and reopen the task acceptance menu, then repeat this step until you find the task.
Where to Find Natural Pearls
Hope Springs Eternal
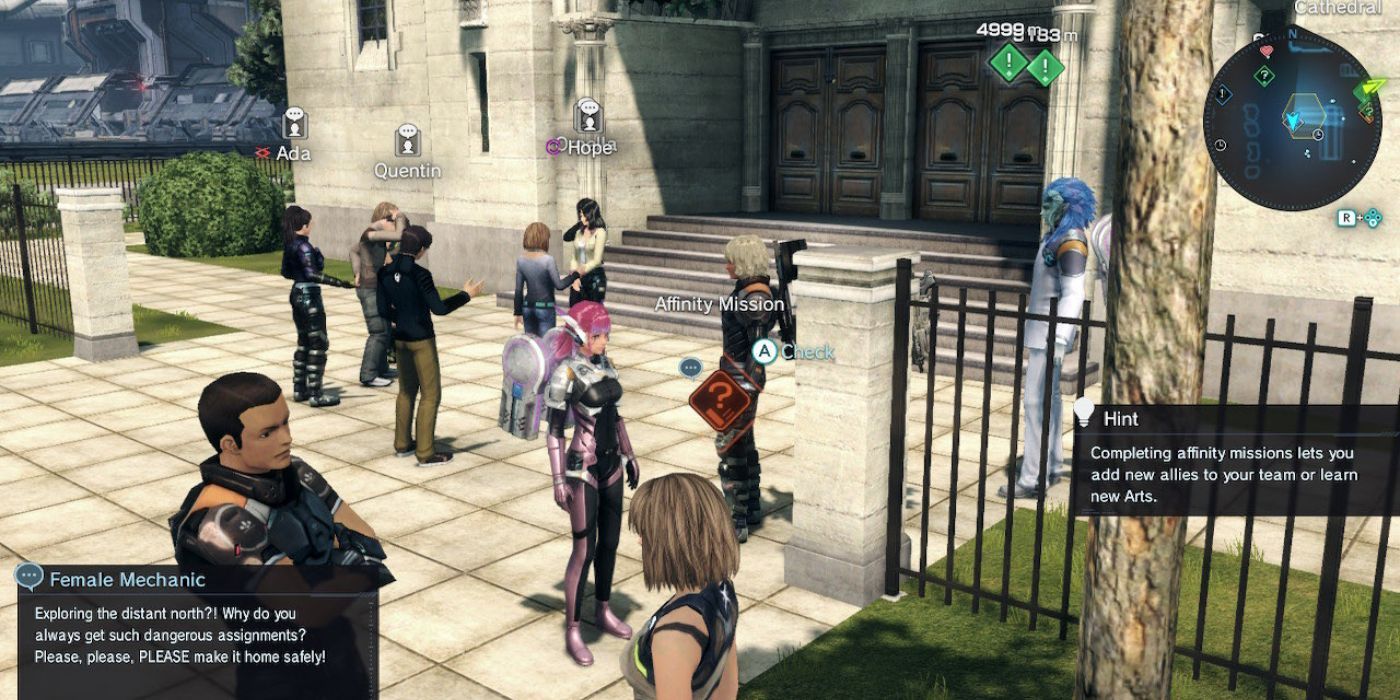
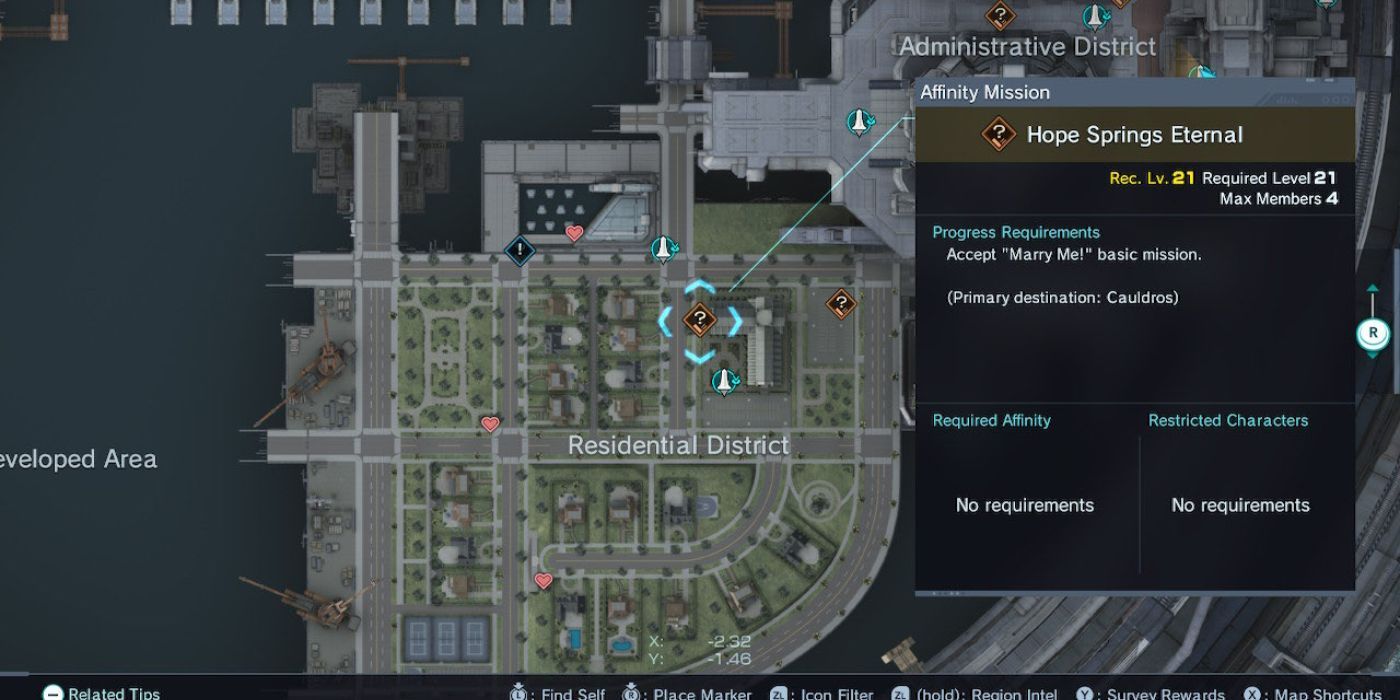
If you’re planning to look for natural pearls anywhere outside the NLA, it won’t be successful. Instead, I recommend teleporting to the church in the residential area. At the front of this church, there will be a group gathered around a woman known as Hope. This is one of your companions in Xenoblade Chronicles: X, similar to Irina. Her class within the game is Psycorruptor+.
- Approach and interact with the Affinity Mission marker nearby, and accept “Hope Springs Eternal.” Then, you’ll be thrown into a cutscene.
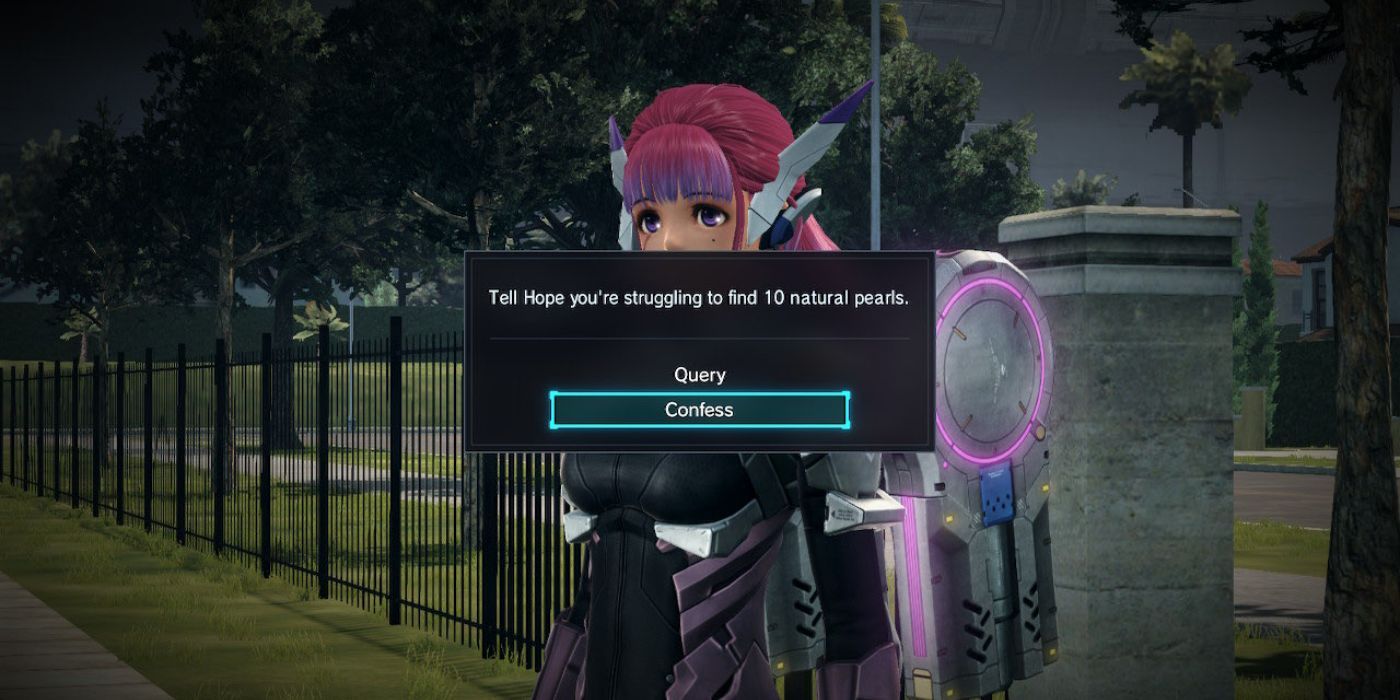
- When Hope speaks to you, choose “Confess” (Tell Hope you’re struggling to find 10 natural pearls). She will then give you a pearl necklace, which is used in place of the 10 natural pearls for the quest.
- Offer to help Hope when the Nopon Lularita asks for help with the Drongo Caravan in Cauldros.
Starting “Hope Springs Eternal” will automatically complete the “Marry Me!” quest.
To participate in this Affinity Mission, you must be at least level 21 and have declined the “Marry Me!” quest.
To finish “Hope Springs Eternal”, your journey should lead you northward. This route will carry you from Primordia to Sylvalum, and then onwards to Cauldros. However, it is advisable that you reach level 21 to accomplish “Hope Springs Eternal”. Keep in mind though, if you wish to battle the monsters along the way from Primordia to Cauldros, your character should be at least 10 levels above the Affinity Mission’s minimum requirement.
Getting to Cauldros can be very dangerous, so here are some pointers:
- The stretch of land (between Primordia and Sylvalum is filled with level mid-30 enemies that will attack on sight, so you should swim around them to Seabird’s Beak (the southwestern shore of Sylvalum).
- In Sylvalvum, you can use the Nopon Follow Ball to guide you. Check your map and try to activate FN Sites along the way. While most enemies won’t attack on sight, you’ll find more aggressive beasts in the northern half of Sylvalum (ex: South Silent Sandsea, Anvil Sandplain).
- In Cauldros, activate any nearby FN Sites and follow the Follow Ball to the Drongo Caravan. From there, it’s a matter of defeating five mold caro at the Scholes Battlegrounds.
In “Hope Springs Eternal,” it’s possible that you may encounter a formidable adversary as you journey towards Cauldros. Should this happen, make sure to quickly move away by rapidly pressing the left analog stick down, effectively dodging their attack.
Read More
- All Shadow Armor Locations in Crimson Desert
- Sega Reveals Official Sonic Timeline: From Prehistoric to Modern Era
- Dark Marksman Armor Locations in Crimson Desert
- Genshin Impact Dev Teases New Open-World MMO With Realistic Graphics
- The Limits of Thought: Can We Compress Reasoning in AI?
- Where to Pack and Sell Trade Goods in Crimson Desert
- How to Beat Antumbra’s Sword (Sanctum of Absolution) in Crimson Desert
- Enshrouded: Giant Critter Scales Location
- Who Can You Romance In GreedFall 2: The Dying World?
- Keeping AI Agents on Track: A New Approach to Reliable Action
2025-03-30 19:27