As a seasoned adventurer who has traversed countless lands and faced formidable foes, I must say that the Southern Gerudo Desert Rift walkthrough in Echoes of Wisdom is an exhilarating journey. It’s not just about finding your way through the desert, but also about savoring the sweet taste of a Cactus smoothie, courtesy of Dohna at the Oasis Smoothie Shop.
Following your successful conquest of the initial significant stronghold within “Zelda: Echoes of Wisdom”, you’ll encounter a decision point: Should you venture towards the Gerudo Desert to the west or journey to Jabul Waters in the northeast? Opting for the desert path, inhabited by the formidable Gerudo women, will initiate one of the primary quests in “Echoes of Wisdom”: “A Rift in the Gerudo Desert“. Delve deeper into this guide to learn strategies for completing the entire mission, including the “Gerudo Sanctum” dungeon.
Zelda: Echoes of Wisdom – A Rift in the Gerudo Desert Walkthrough
Upon your initial visit to the Gerudo Desert, keep close to the ground along the path and you’ll encounter a group of three Gerudo women gathered by some trees. For a more precise location, refer to the images provided above. They’ll inform you that the Gerudo Sanctum has been drawn into one of the rifts, making it unreachable.
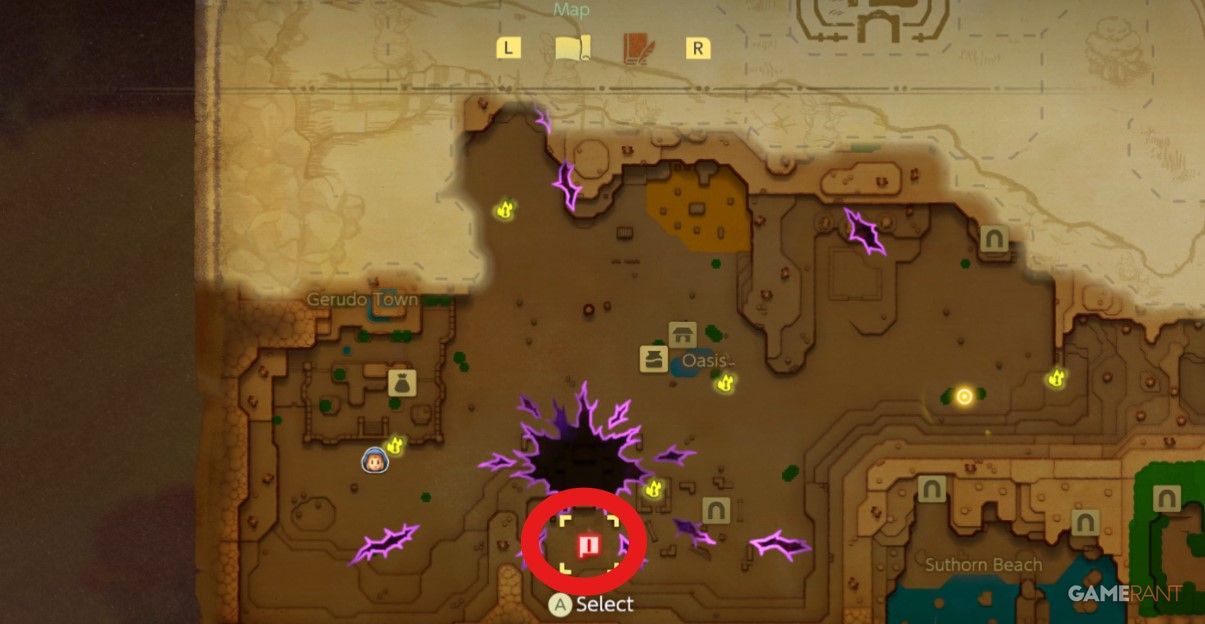
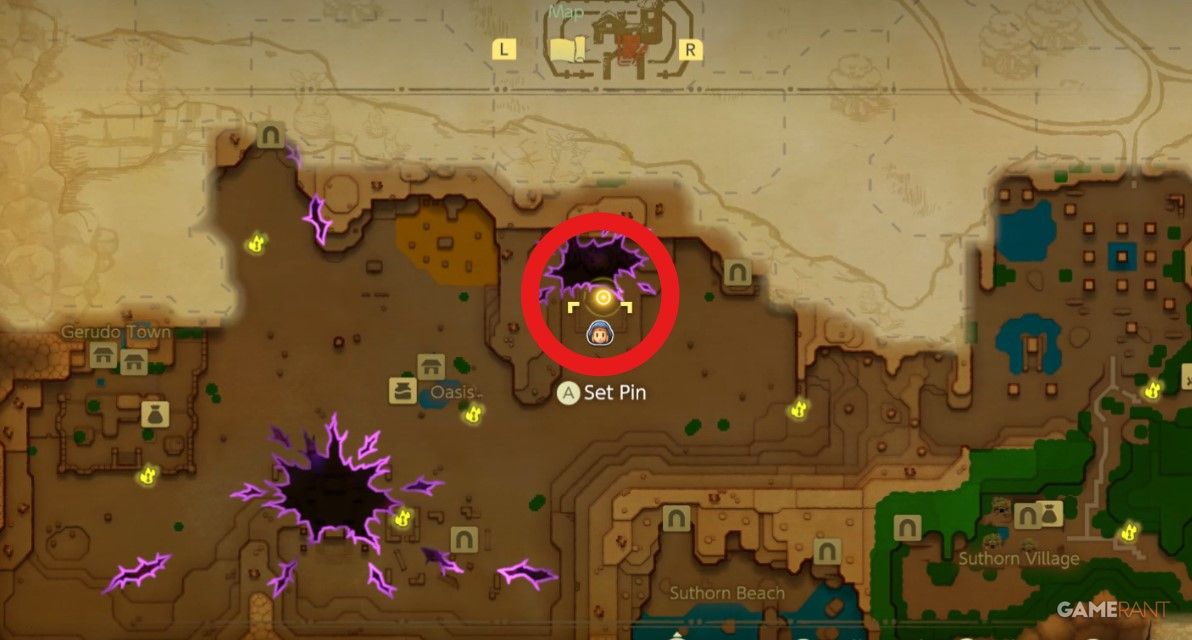
If you look at the map of the desert, you can see the big rift on the west side. But if you have yet to explore the entire area, check out the map below to see where the rift is. To trigger the next part of the quest, you must go to the area to the south of the rift to commence dialogue with Tri. That red pin on our screenshot is where you need to get to.
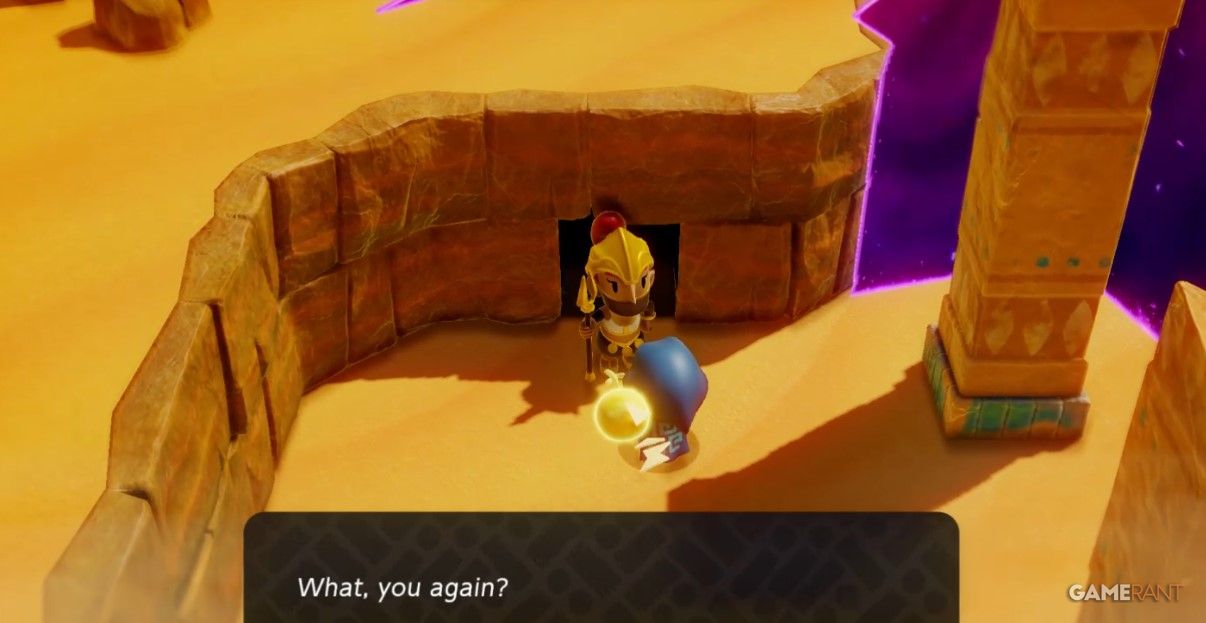
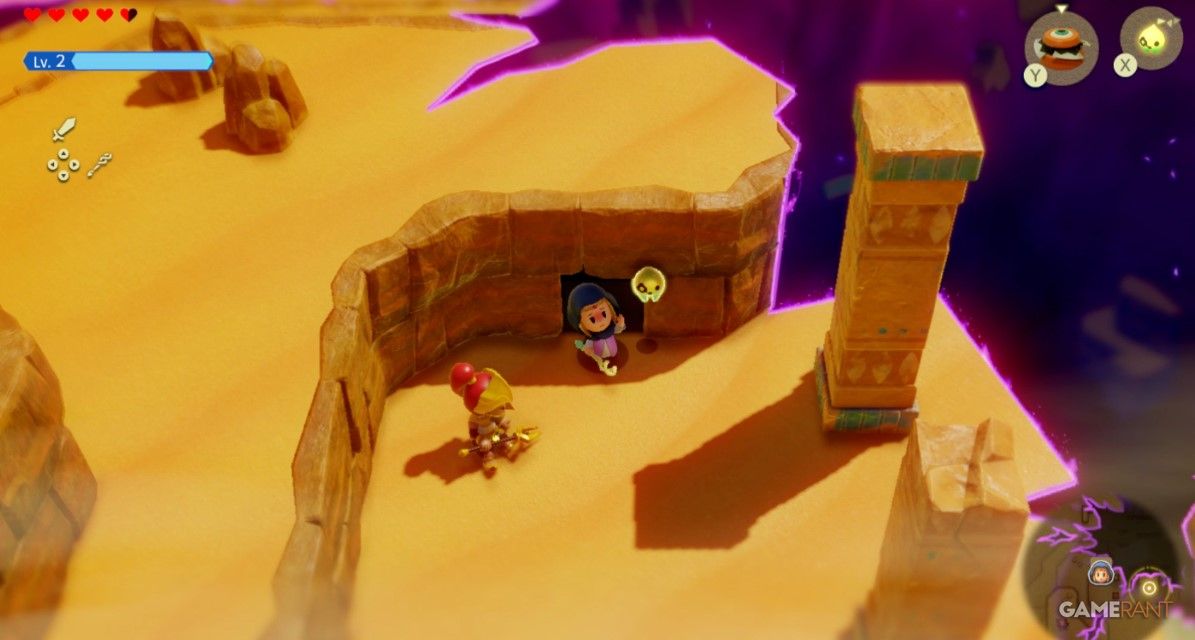
Once Tri falls silent, I’ll step up and chat with the guard to my left, the one barricading the cave entrance. Our exchange won’t last long, for a distressed young woman will seek Zelda’s aid.
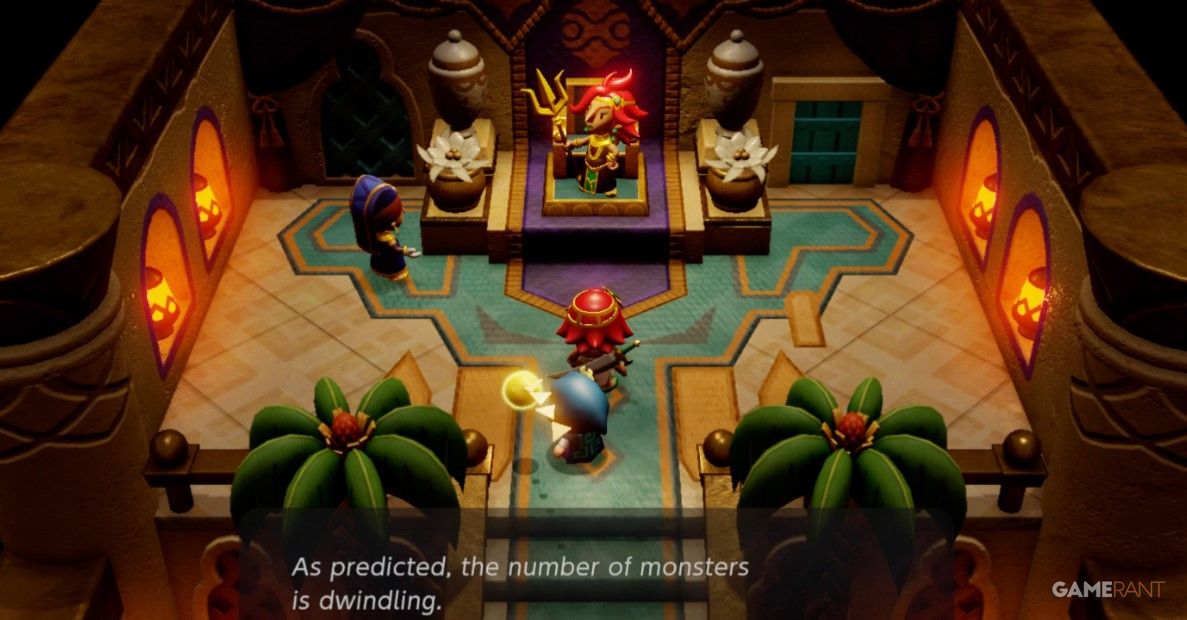
Hey there, gamer! Call upon your strongest allies to take down those pesky monsters. Once you’ve done that, head back to Gerudo Town’s magnificent palace, located to the north. There, you’ll cross paths with Chief Seera and Facette. They’re keen on seeing if Zelda has the skills to mend the rips in reality. Dohna will certainly be grateful for your efforts!
After the meeting ends, the guard stationed outside will instruct you to go east towards the Oasis. You can quickly reach your destination by using one of the teleportation points if you have already been there. If not, just follow the eastward direction and it should be a noticeable area once you arrive.
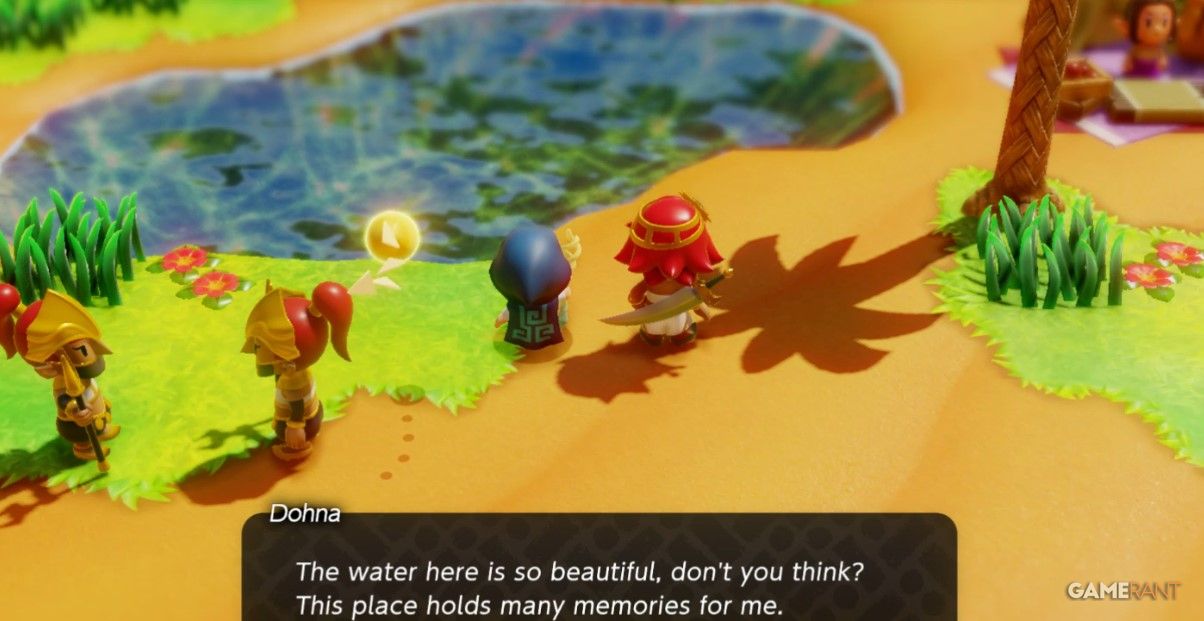
Dohna will position herself by the lake along with two companions. She shares with Zelda that there are three minor fissures requiring repair, which can be found in various locations within the desert. These locations include the Southern Oasis Ruins, the Ancestor’s Cave of Rest, and the Southern Gerudo Desert.
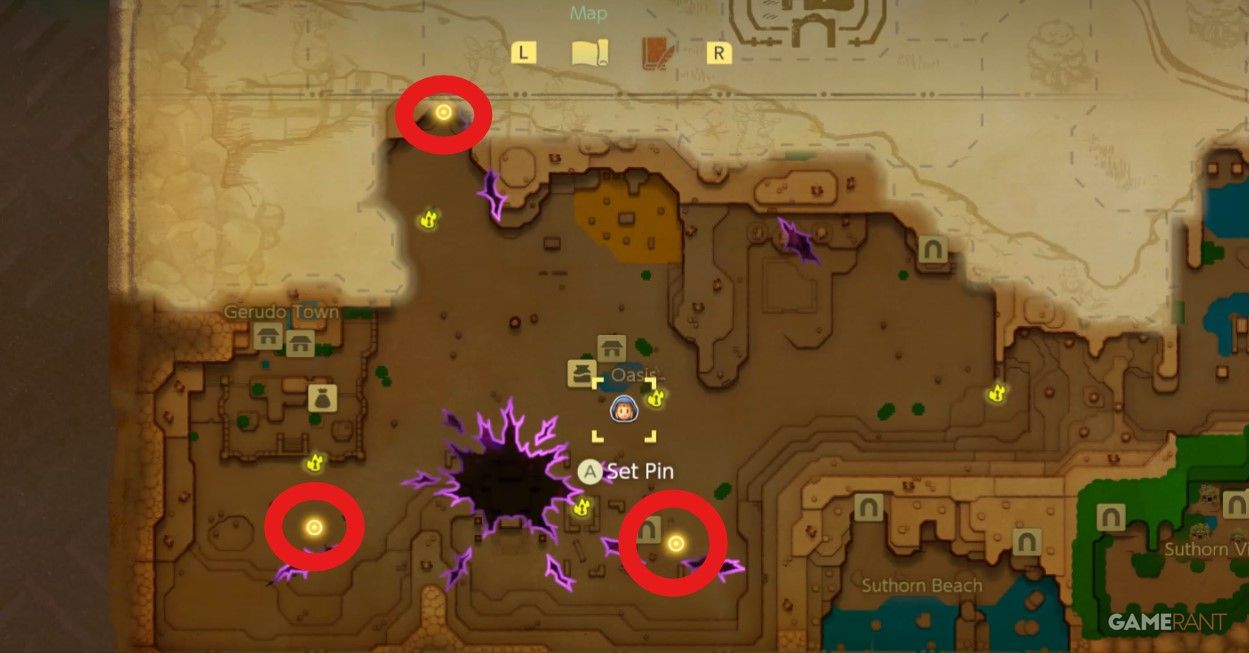
Here are three spots marked on your map for you: one lies a bit south of Gerudo Town, another south of the Oasis, and the third is northeast of the Town. For convenience, let’s travel south of the Oasis to locate two soldiers who seem to be resting near a chasm.
Southern Oasis Ruins Rift Walkthrough – Echoes of Wisdom
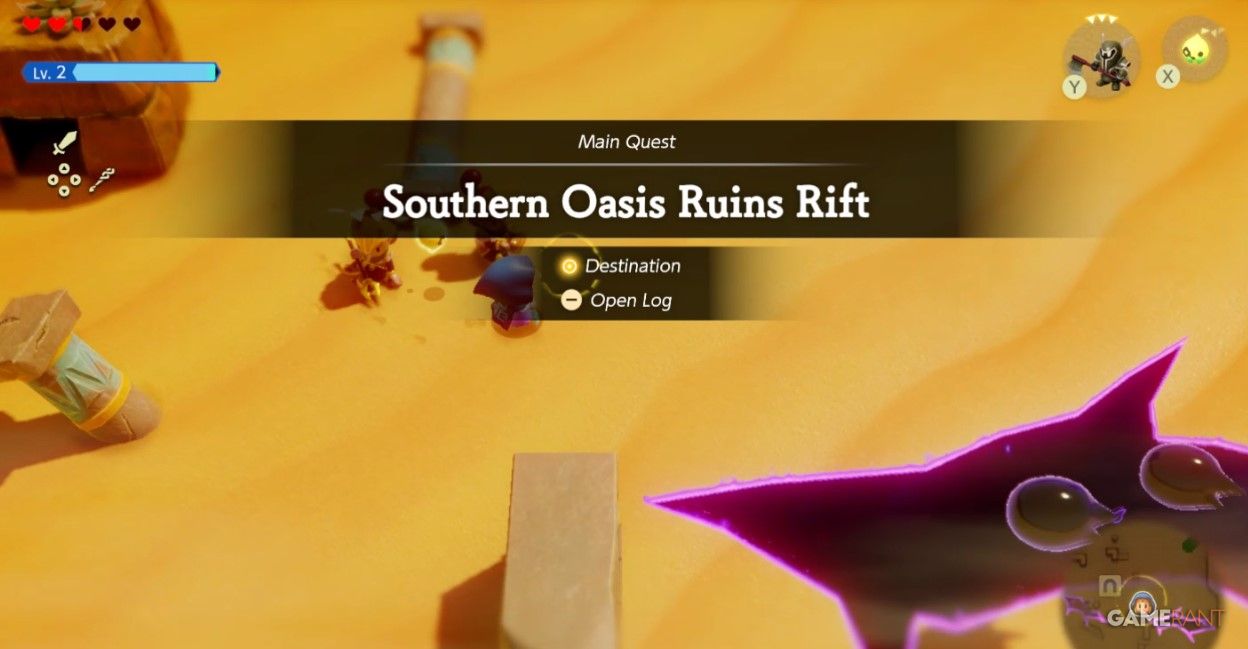
It appears that the Gerudo pair have reached their breaking point, struggling to hold off the waves of monsters emerging from the giant fissure. Utilize your strongest echo abilities and sword combat techniques to outmatch the adversaries.
The guards will express gratitude when the troublemakers are handled. Regrettably, Triforce can’t create an entryway here for a Rift, but fortunately, Zelda was present to resolve the situation.
Ancestor’s Cave of Rest Rift Walkthrough – Echoes of Wisdom
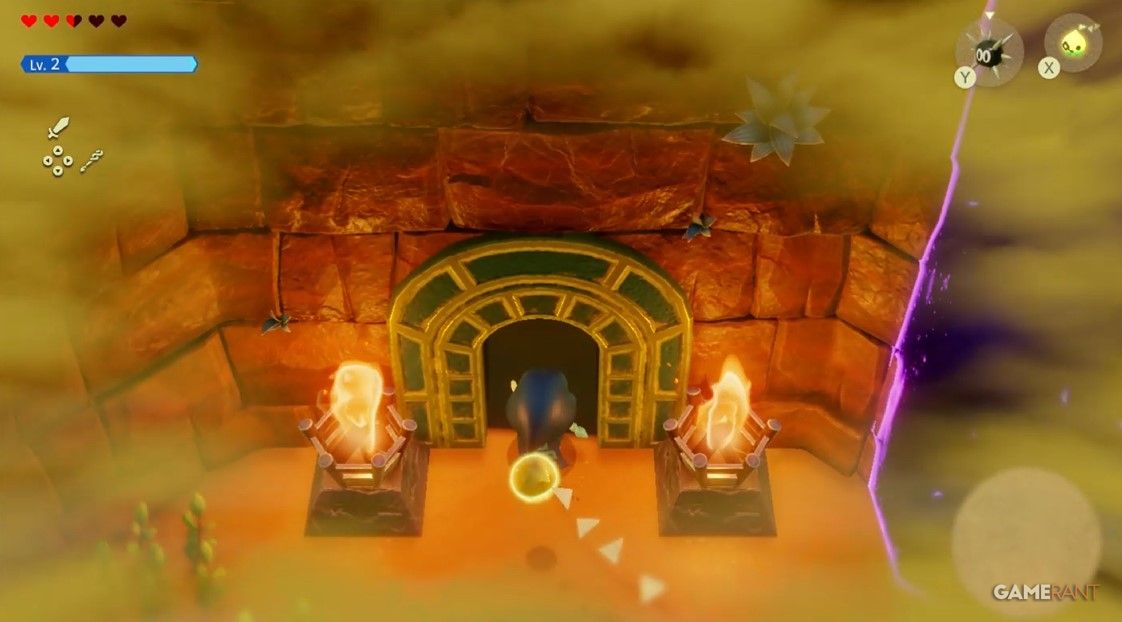
Next, make your way towards the spot indicated on your map, it’s located north-east of Gerudo Town. There, you will find an attractive cave entrance illuminated by two flickering torches on either side.
As soon as you enter, turn to your left and utilize your Bind ability to shift the block, thus uncovering a hidden chamber.
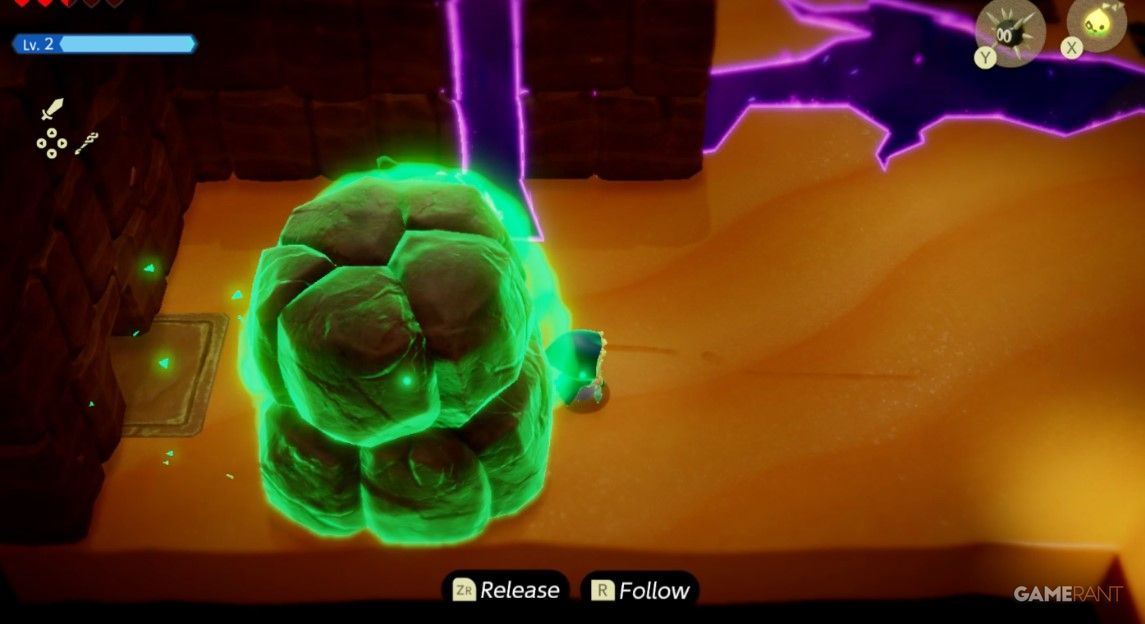
In the adjoining chamber, vanquish your foes, uncover the secrets of Holmill Echo, and after that, shift the stone block to expose a concealed set of stairs. Descend these steps to access a 2D area.
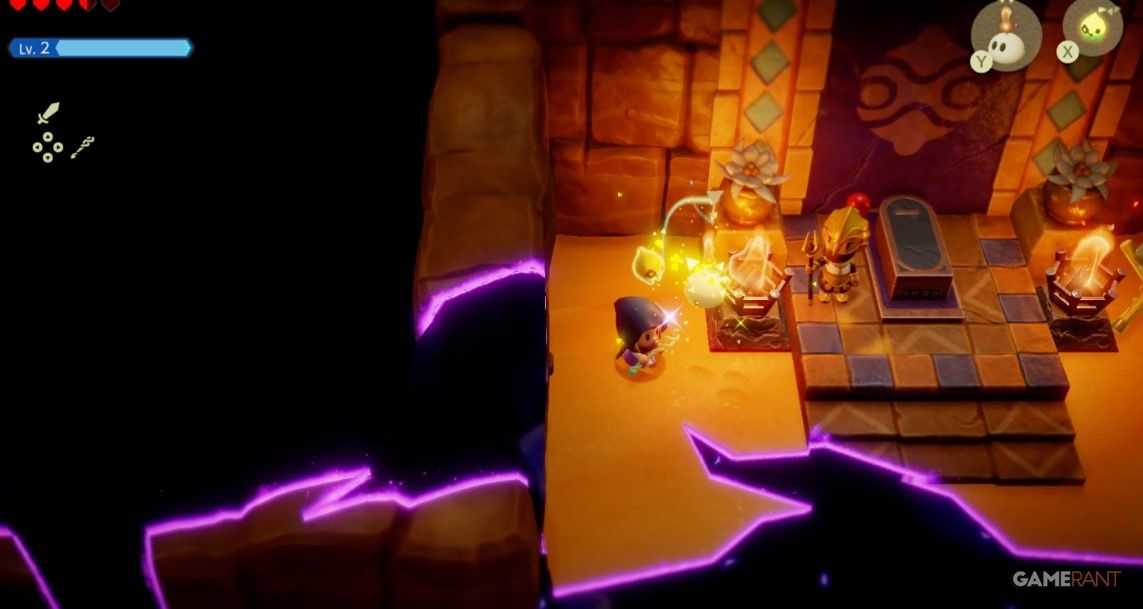
Immediately upon setting foot on the sand, dig a hole using the Molhill Echo, which is hidden in the initial spot. This will guide you towards a treasure box nearby containing a Golden Egg.
Head over to the area on your right where multiple ladders are situated, guiding you back to the central room. Set ablaze two torches either by a Brazier or an Ignizol Echo. This act of respect towards their ancestors will earn you gratitude from the Gerudo.
Southern Gerudo Desert Rift Walkthrough – Echoes of Wisdom
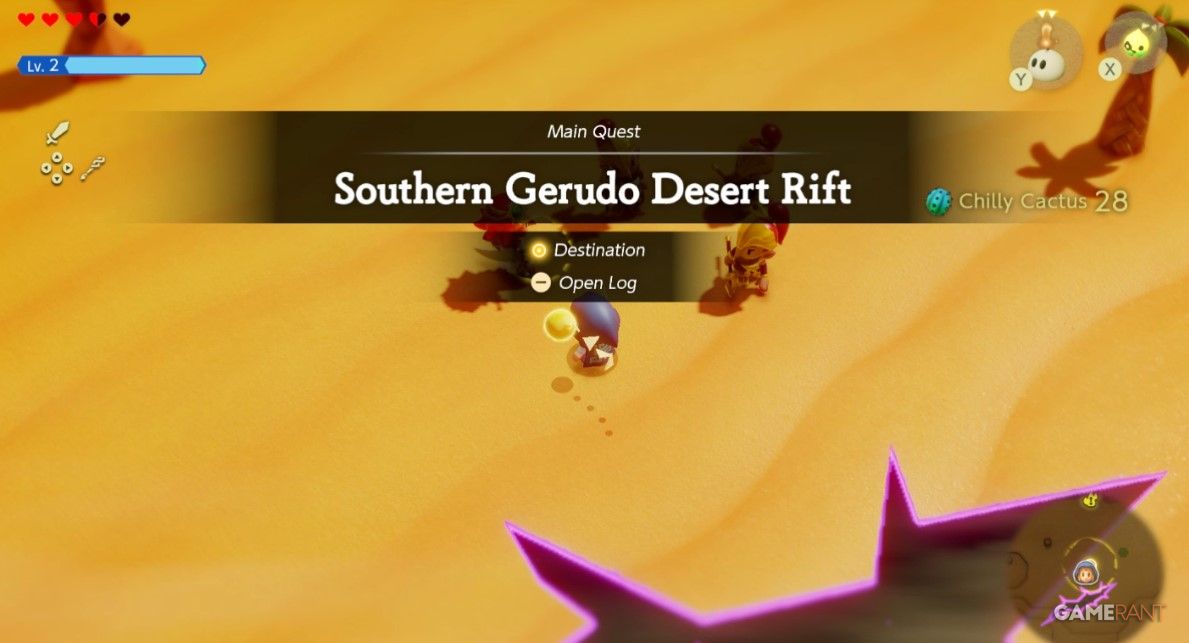
Currently, move towards the south from the Gerudo Town marker to locate a band of warriors close to another rift. Zelda is instructing you to make your way to the Oasis Smoothie Stand to obtain a Cactus drink. She’ll also reward you with two pieces of Chilly Cactus as a bonus.
Return the smoothie to the guards, and your sub-quest will be finished. Next, head back to the Gerudo Palace to report back to the Chief.
A Rift in the Gerudo Desert Cont.
Afterward, make your way towards the rift situated to the northeast of the Oasis. You will discover a group of individuals there, among them are the Chief, Facette, and Dohna.
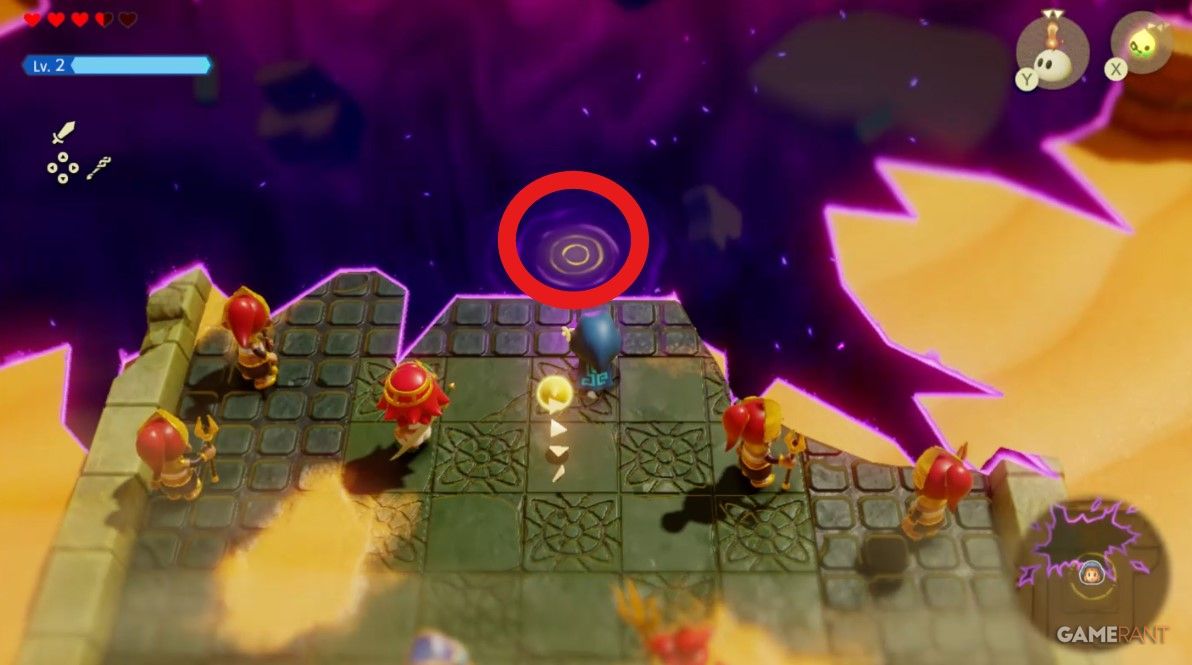
After the chat wraps up, take a short stroll northwards towards the Rift’s edge, then pause and click the A button at the strange location marked by several rings.
Stilled Desert Temple Ruins Walkthrough – Echoes of Wisdom
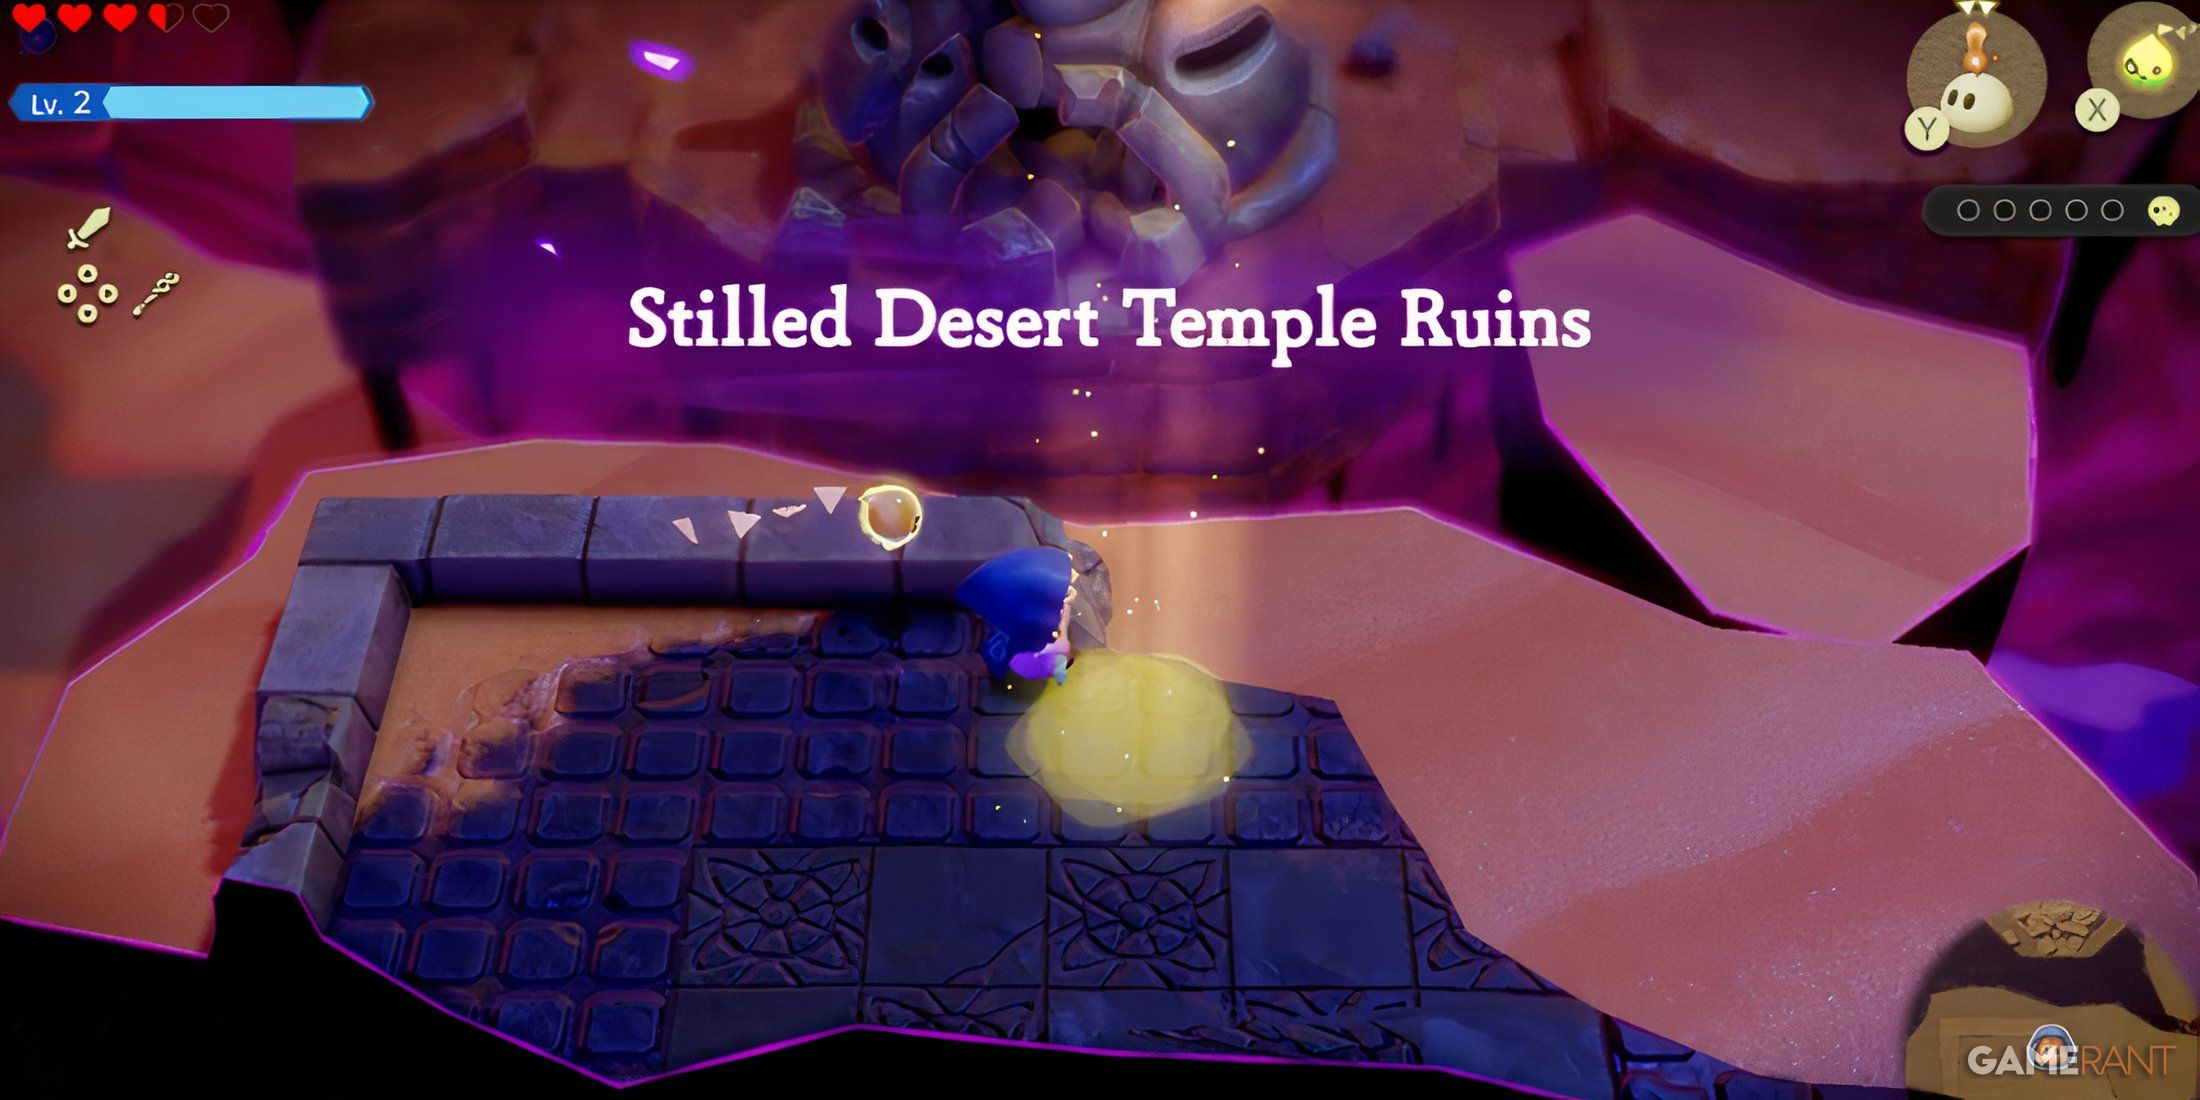
Stepping into The Rift leads Zelda to the Silent, Sand-Swept Temple Remains. Fortunately, we’ve got a comprehensive guide on exploring these ruins and locating all of Tri’s companions. Feel free to click here for a direct link to that walkthrough.
Cryptic Cavern and Gerudo Sanctum Walkthrough – Echoes of Wisdom
After your friends have been successfully rescued from the Rift, head southward from Gerudo Town and discover the cave that the guard previously barred your way to. This hidden entrance lies to the left of the Gerudo Sanctum’s main gate, waiting for you to explore its secrets.
Here’s your handy guide for navigating the enigmatic Cryptic Cavern! Upon completing the mini-dungeon, you’ll be granted access to the elusive Gerudo Sanctum, for which we’ve also prepared an informative guide.
To conquer the dungeon’s final foe, Zelda will earn the ability to transform into the Swordfighter form of her Bow, receive an additional heart container, enhance her Tri Rod summoning abilities, and collect Might Crystals.
This will conclude the ‘A Rift in the Gerudo Desert‘ main quest in Zelda: Echoes of Wisdom.
Read More
- BTC PREDICTION. BTC cryptocurrency
- SOL PREDICTION. SOL cryptocurrency
- LUNC PREDICTION. LUNC cryptocurrency
- USD ZAR PREDICTION
- USD CLP PREDICTION
- CKB PREDICTION. CKB cryptocurrency
- VANRY PREDICTION. VANRY cryptocurrency
- SEILOR PREDICTION. SEILOR cryptocurrency
- NAKA PREDICTION. NAKA cryptocurrency
- ASTO PREDICTION. ASTO cryptocurrency
2024-10-01 23:35