As a seasoned adventurer who’s traversed countless temples in the realm of Hyrule, I can confidently guide you through the Faron Temple in Echoes of Wisdom. First off, let’s tackle that pesky section with those moving platforms and the Strandtula monsters. Place two boulders on the first platform, then hop off to the right side like a nimble Hylian, and use your trusty Strandtula buddy to climb up and grab that lock block. After descending the ladder, activate the Waypoint and prepare for another miniboss battle – it’ll drop the coveted Big Key when defeated.
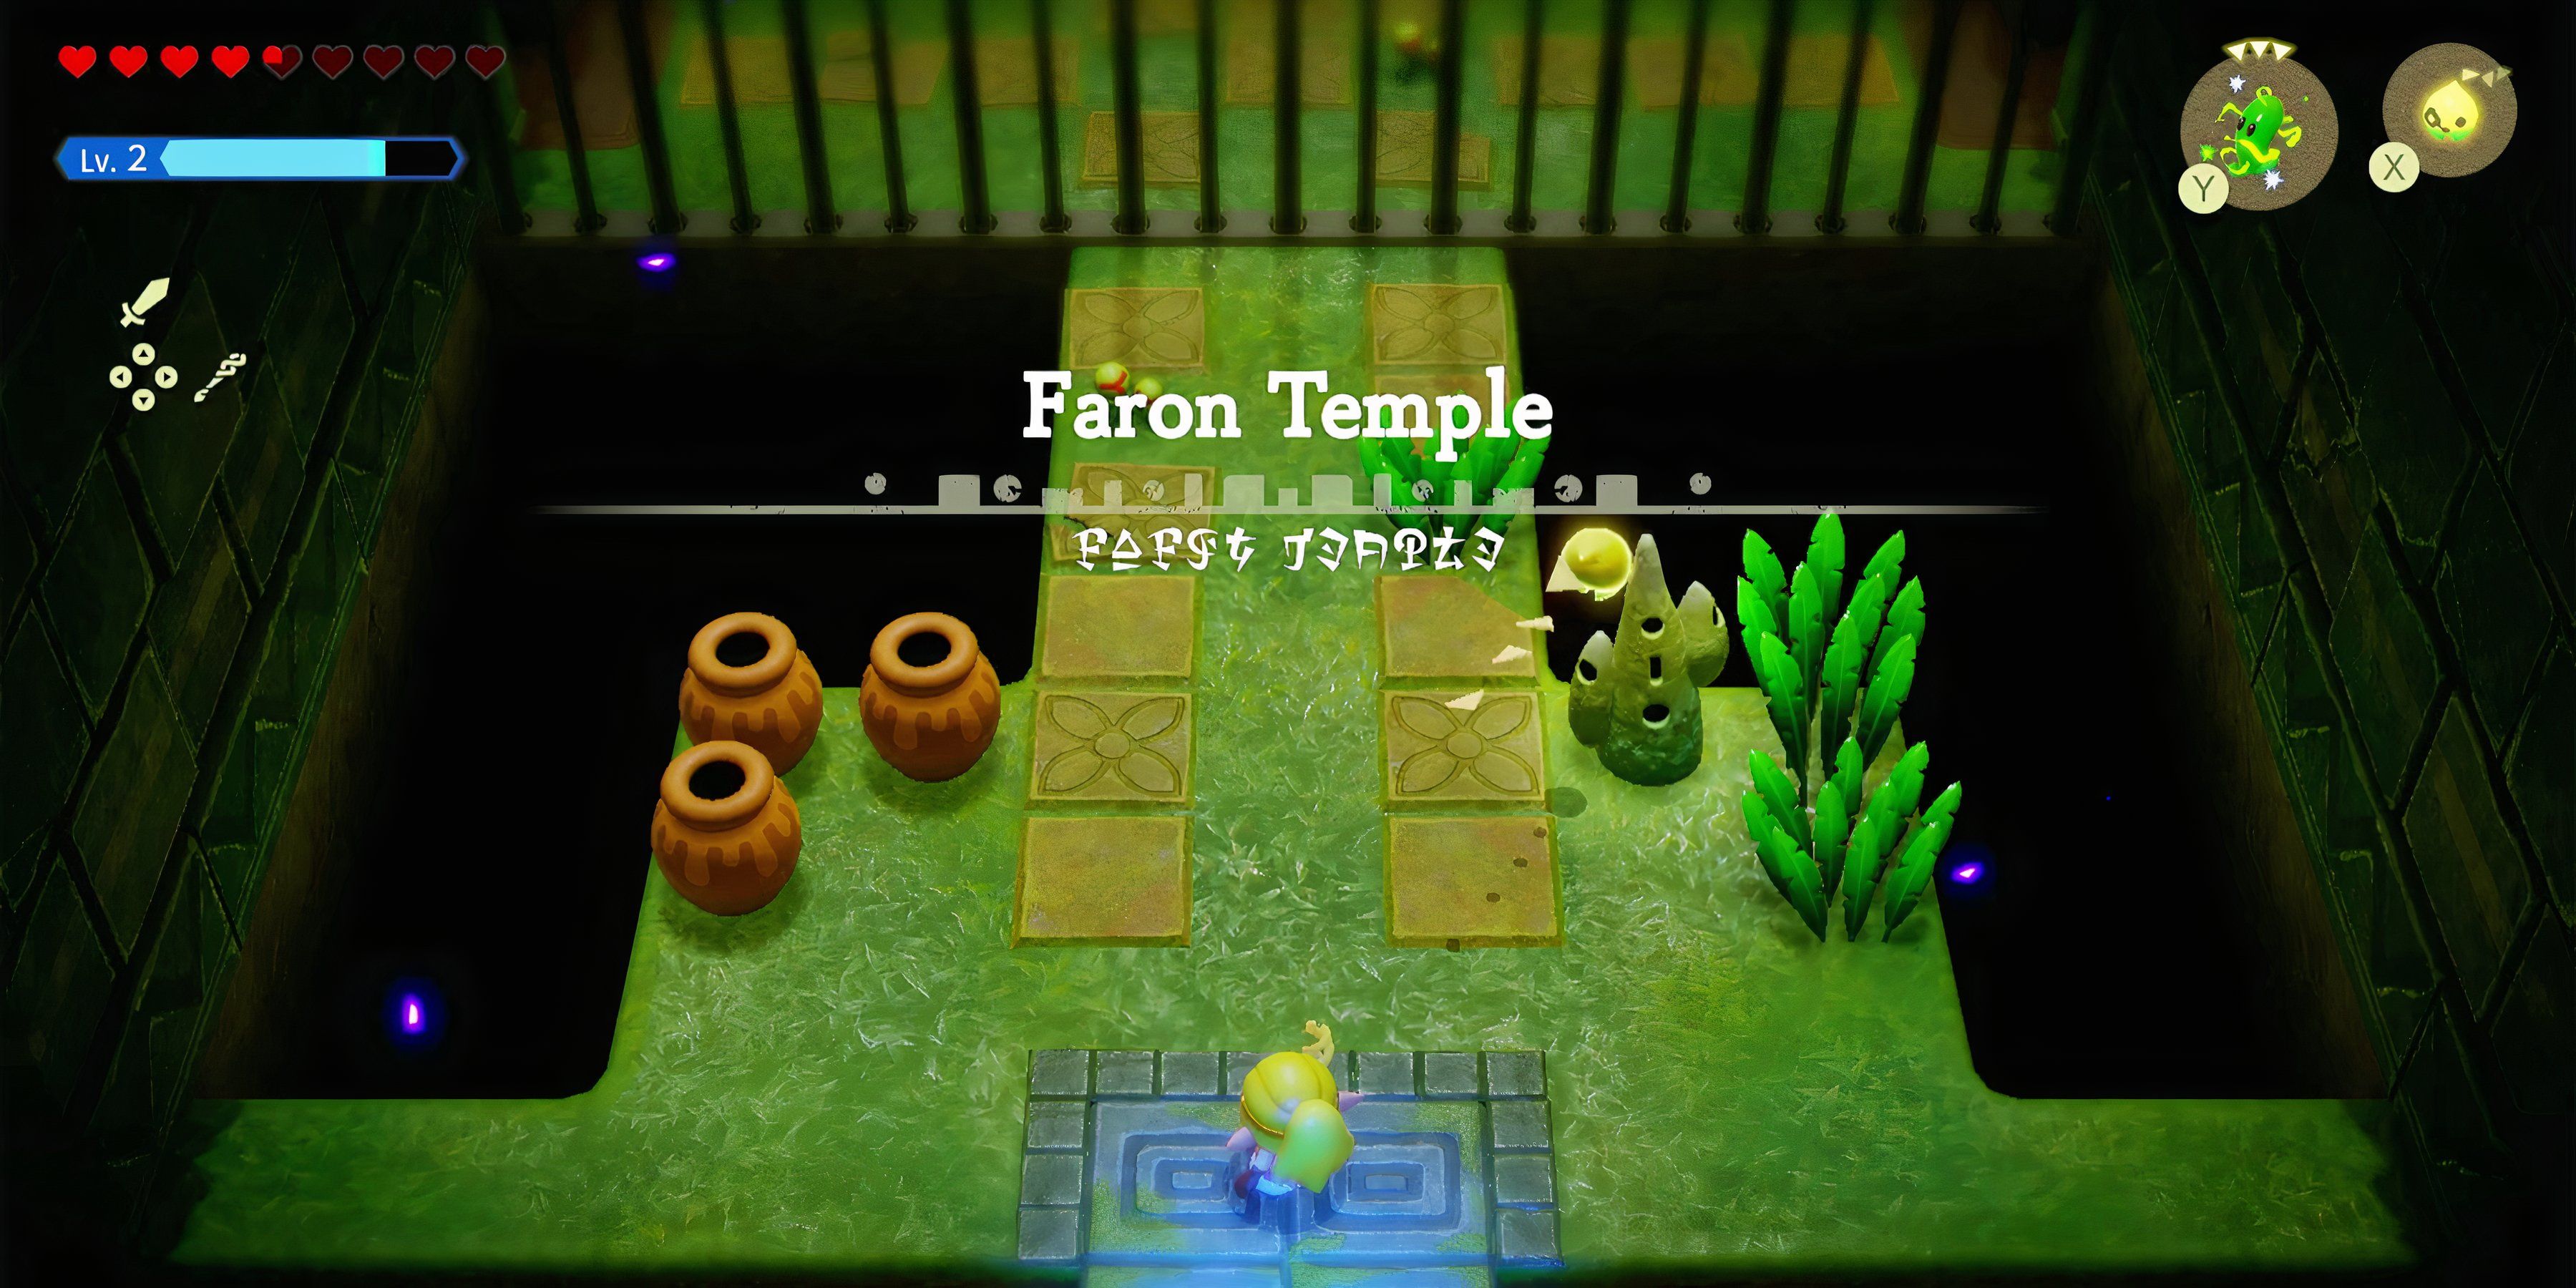
In the game titled “The Legend of Zelda: Echoes of Wisdom”, you’ll encounter a challenging dungeon named Faron Temple. Overcoming it is crucial if you aim to win the game. However, navigating through its labyrinthine layout can be tricky and may leave even experienced players at a loss. This walkthrough aims to help those stuck in Faron Temple while playing “The Legend of Zelda: Echoes of Wisdom”.
In The Legend of Zelda: Echoes of Wisdom, there’s usually more than one solution to overcome challenges, and the methods explained in this manual are by no means the sole ways to conquer Faron Temple.
Zelda: Echoes of Wisdom – Faron Temple 100% Walkthrough
Get Past the Metal Bars
As you make your way into Faron Temple via its primary entrance, players will encounter a barricade made of metal. To proceed further, Zelda enthusiasts can lower those barriers by pressing a button located on the opposite side of the room. After activating the Waypoint at the entrance, they should follow these instructions to reach that button:
- Exit the Faron Temple, and place a Platboom near the front entrance.
- Use the Platboom to get on the roof above the front entrance, and pass through the door that is forward and to the left.
- Pass through the door on the right side of the room, taking care to avoid the gaze of the spinning blue statues.
- Descend the staircases to reach the button that lowers the metal bars.
Get the Map
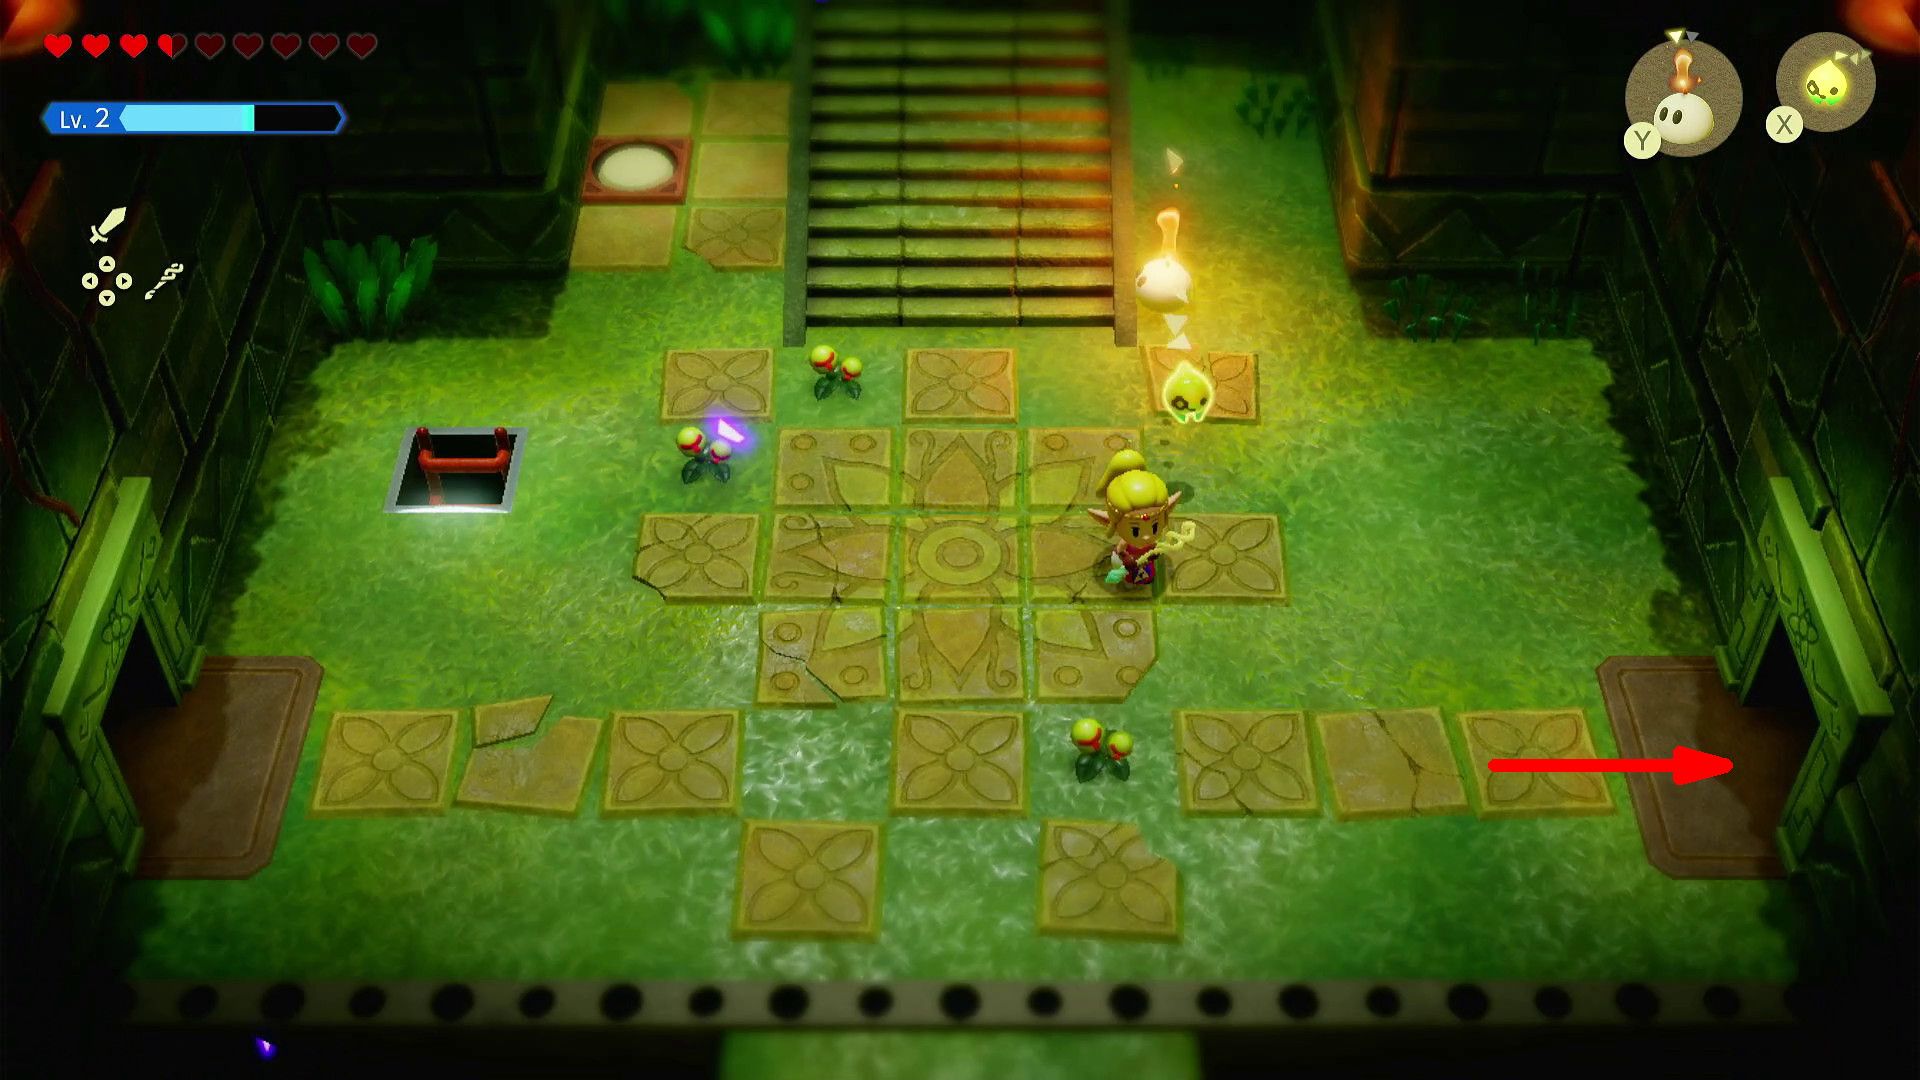
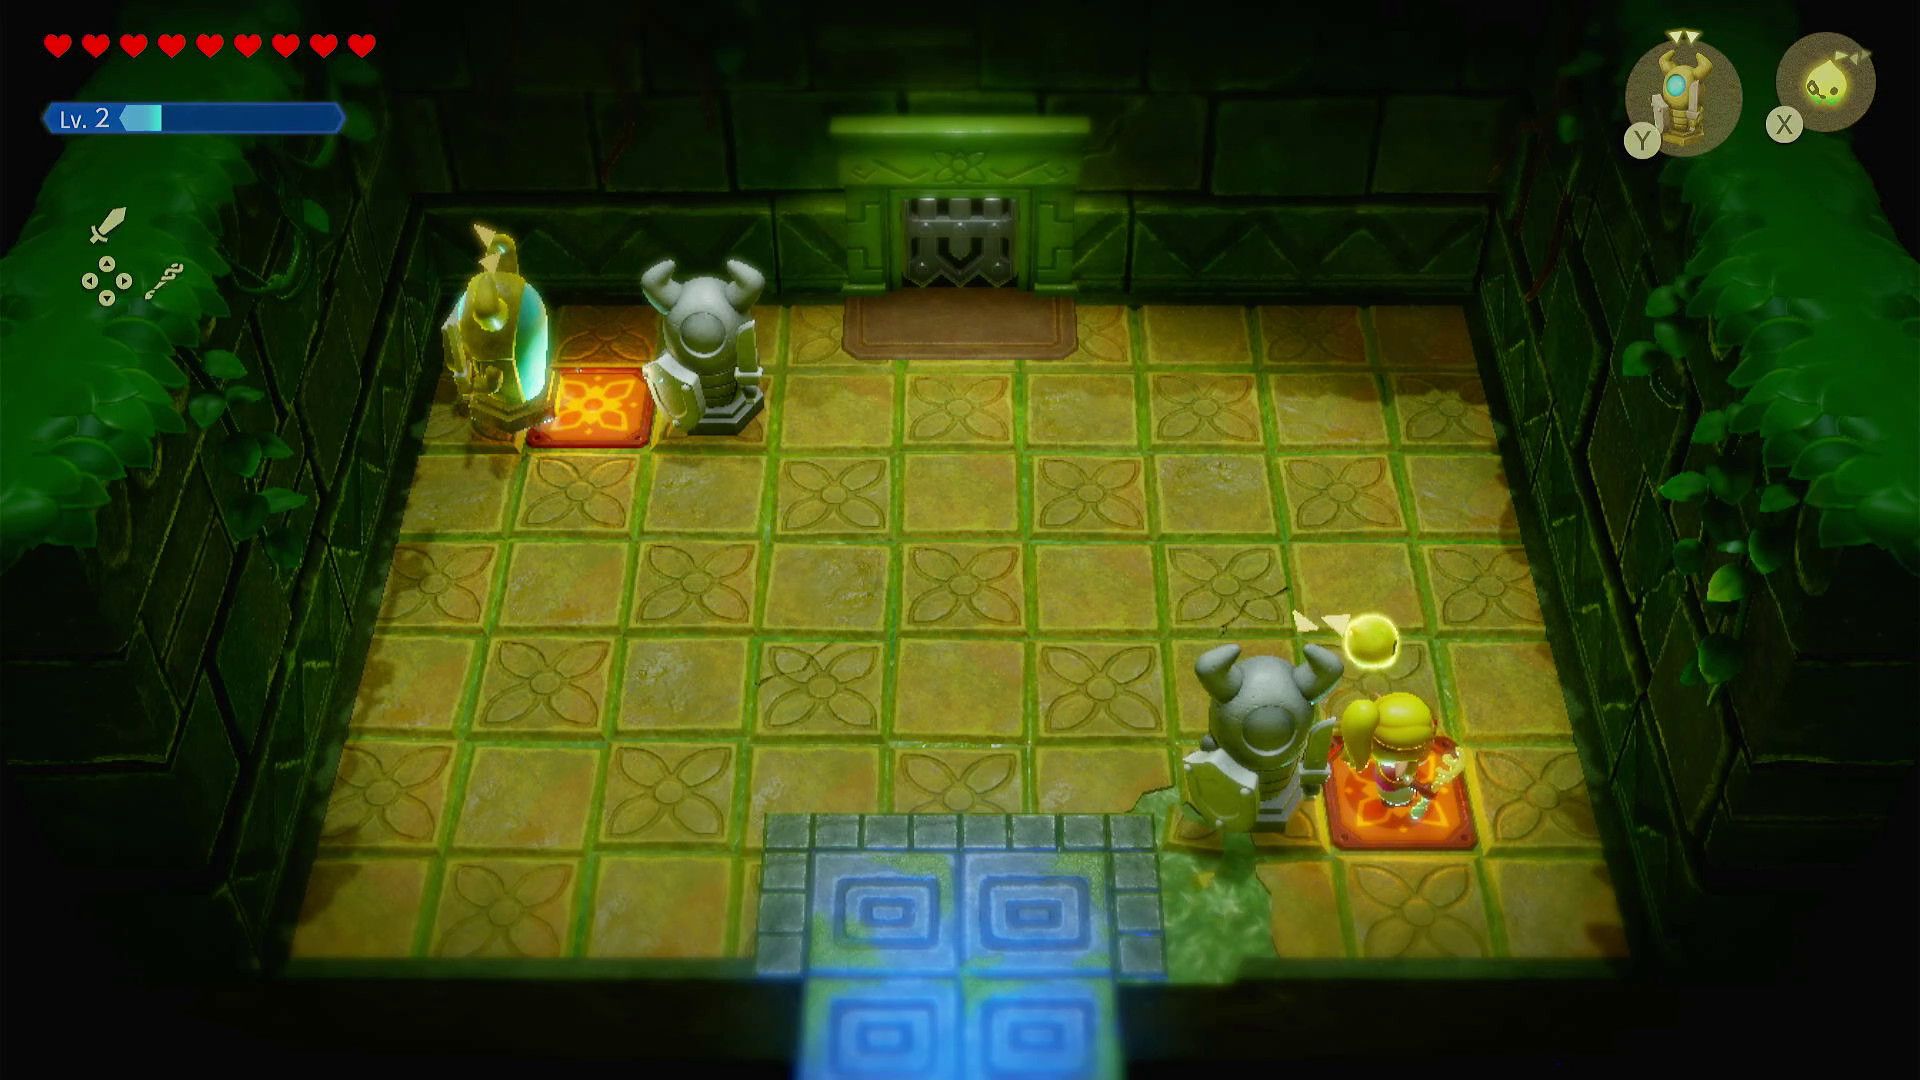
Once the metal bars have been lowered, Echoes of Wisdom players should move towards the door situated at the bottom-right corner of the room. Now, fans will discover themselves in a room with two Armoses obstructing their way. Here’s a simple method to circumvent those statues:
- Stand on the left side of the short left wall, and grab the left statue with Tri.
- Jump and hold left to move the statue onto the short wall, and release it there.
- Approach the right statue to activate it.
- Go down and to the left, and wait for that statue to get close.
- Grab the statue with Echoes of Wisdom‘s Tri.
- Jump and hold right to move the statue onto the short right wall. Release it there.
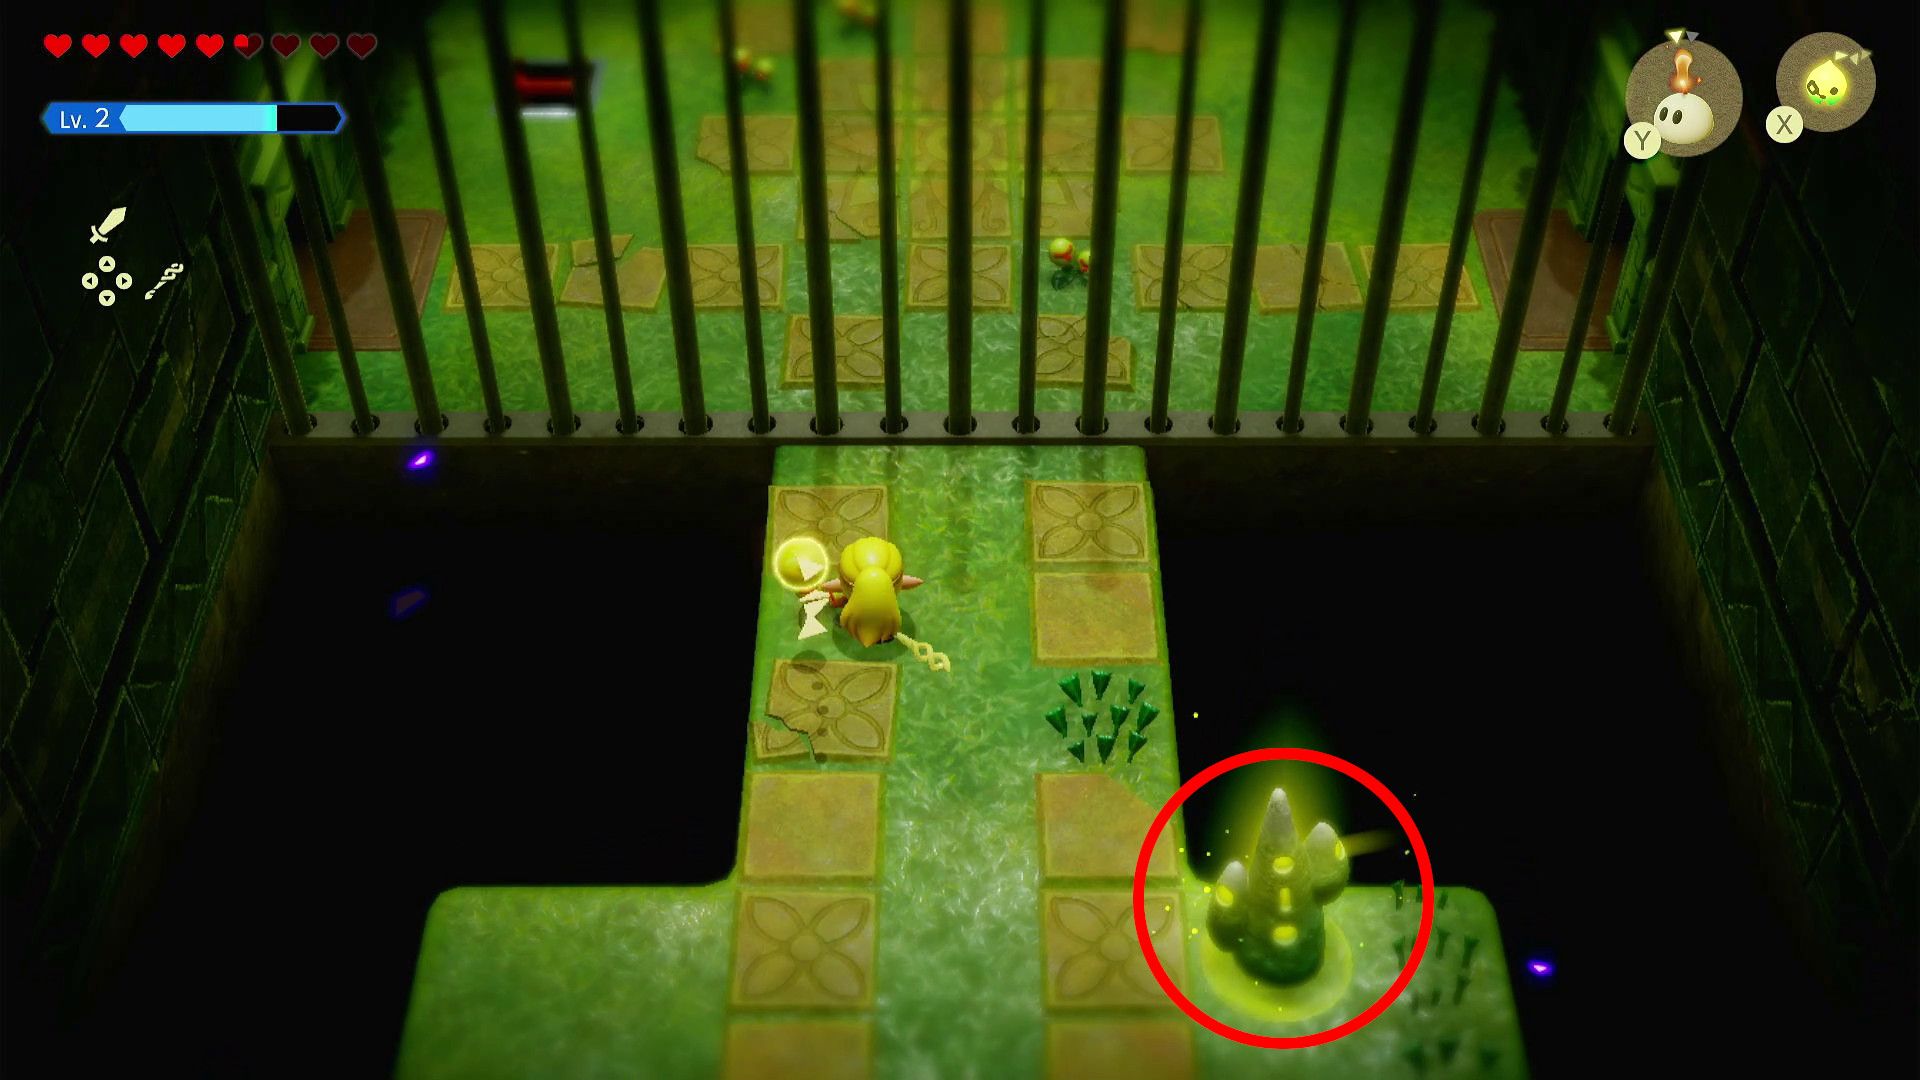
As you progress past the statue chamber, you’ll encounter a room with multiple moving platforms and three glowing green crystals. Your objective is to energize these crystals by placing charged Echoes or Buzz Blobs (or Electric Keeses) near them. Once all three crystals are active, look for a platform that ascends vertically to gain access to a door leading to the room containing the Faron Temple Map.
In the lower right corner of the emerald crystal chamber, you’ll find a ladder ascending to a two-dimensional space. There is a treasure chest filled with fifty Rupees submerged in this watery expanse. Players can access this loot by moving towards the statue and then swimming over it as it comes closer to the bubbles on the left side.
Get a Small Key
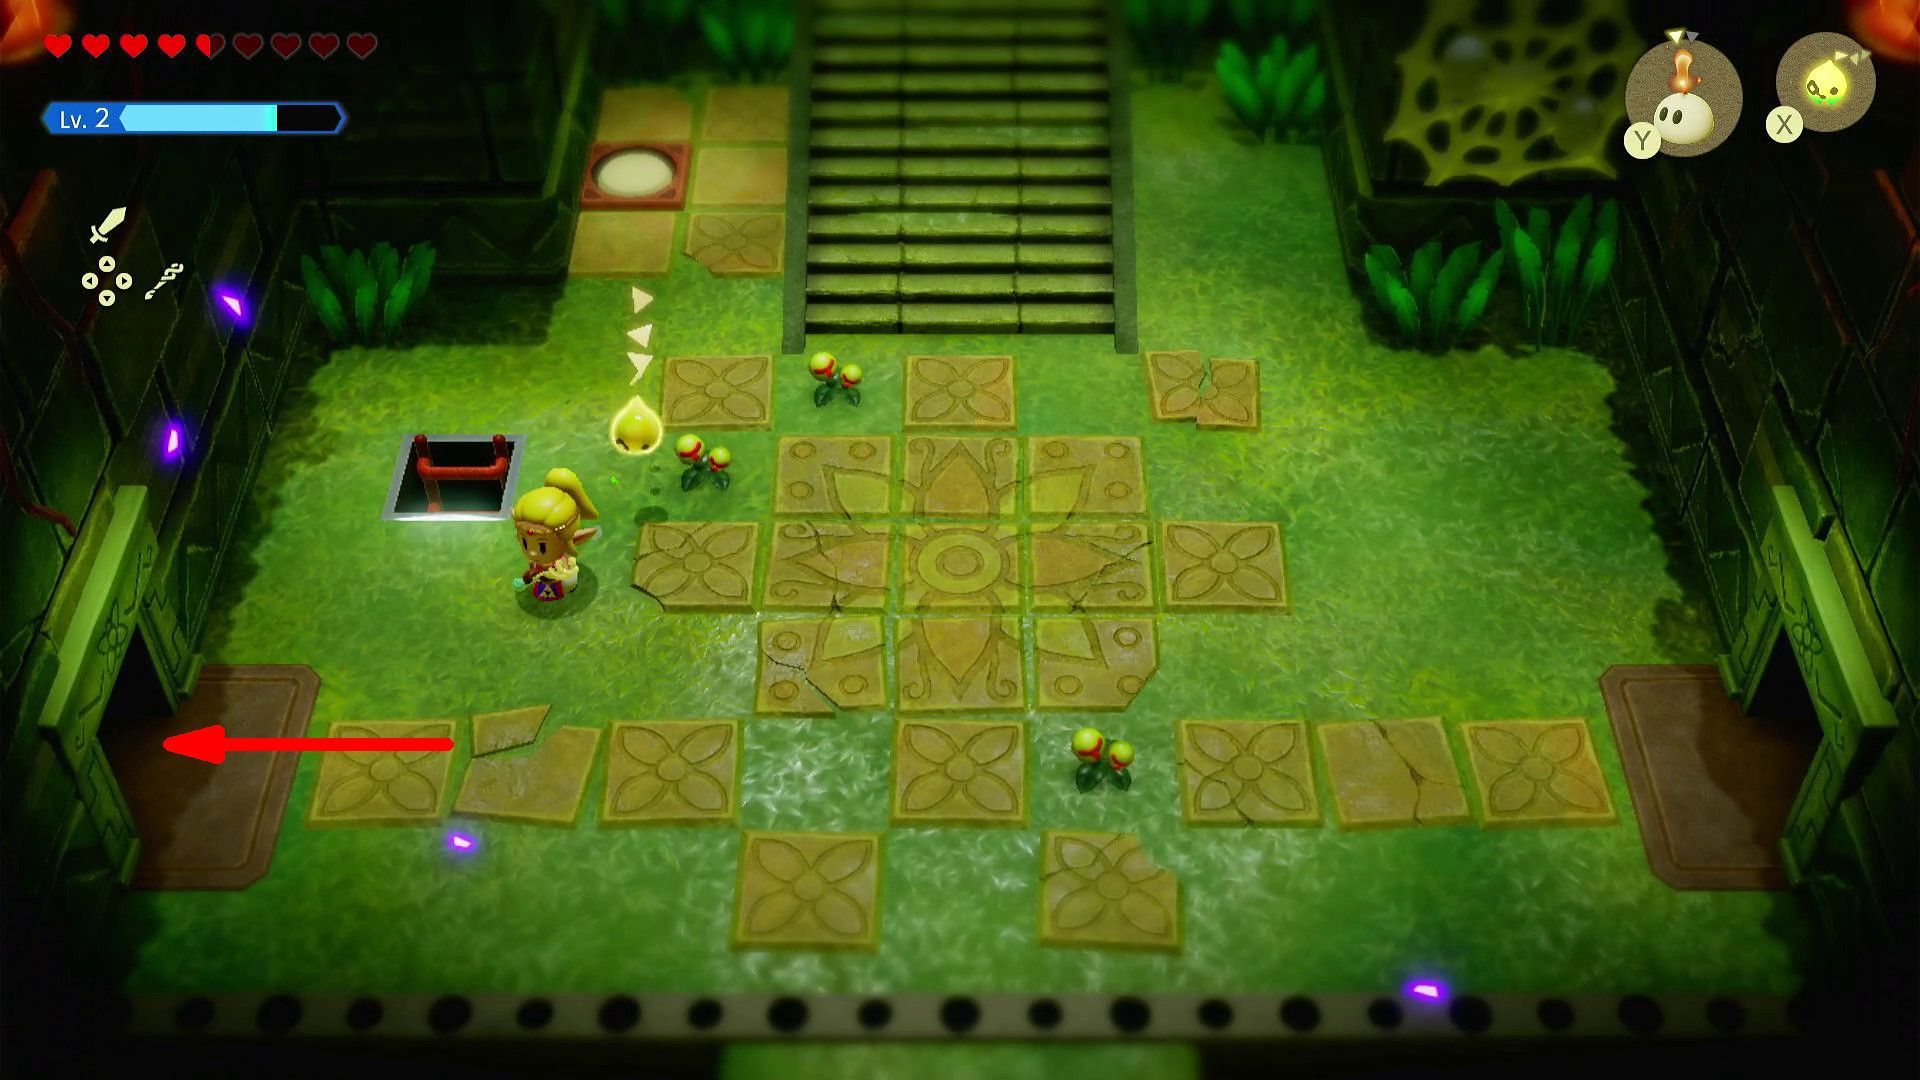
Holding your map, approach the close-by switch and proceed through the door to your left. You’ll notice that you’re now back in the room that was earlier obstructed by iron bars. Exit this space via the lower part, which is the exit point.
Players will re-enter the Echoes of Wisdom dungeon once more, and they need to proceed straight ahead to encounter a sequence of spider webs that can be scaled like ramps. At the summit of the second spider web, enthusiasts will come across four Armos statues, and they should seize the second one using Tri and shift it to unblock another entrance into the dungeon.
Now, players need to focus on a new objective – igniting three emerald-colored crystals. As before, sparky Echoes or Buzz Blobs will be useful in completing this mission. Here’s a breakdown of the process for fans looking to activate these crystals:
- Move the crate on the right side of the room, and create a bed in the crate’s former position. The bed should extend over the gap to the right.
- Stand on the right side of the bed, angle Zelda toward the crystal in the top-right corner, and hold “Y” to create the electrified Echo near the crystal’s position.
- Stand across from the crystals on the left side of the room, and hold “Y” to create the electrified Echo near the crystals.
A chest will appear as soon as all three crystals are active, and there is a Small Key inside it.
Beat Miniboss
Players should now make their way to the three-storey entrance (the room initially fortified with metal bars) and employ their Small Key to unlock the door at the highest level of this room. A mini-boss lurks beyond that door, and enthusiasts can overcome it by positioning a Bombfish in front of its heads, waiting for it to consume the Bombfish, then striking the red orbs on its necks with an attacking Echo or Zelda’s blade.
Get a Small Key
Players are instructed to head towards the three-F entrance, proceed through the door located on the left side of the current room, and then move through the door situated in the upper-left corner of the subsequent room. Fans will now be in a dimly lit area, and these are the steps they should follow to navigate it:
- Go down, and enter the shallow pool.
- Go down through the pool, avoid the spikes, and continue downward.
- At the bottom, pass through the exit to the right.
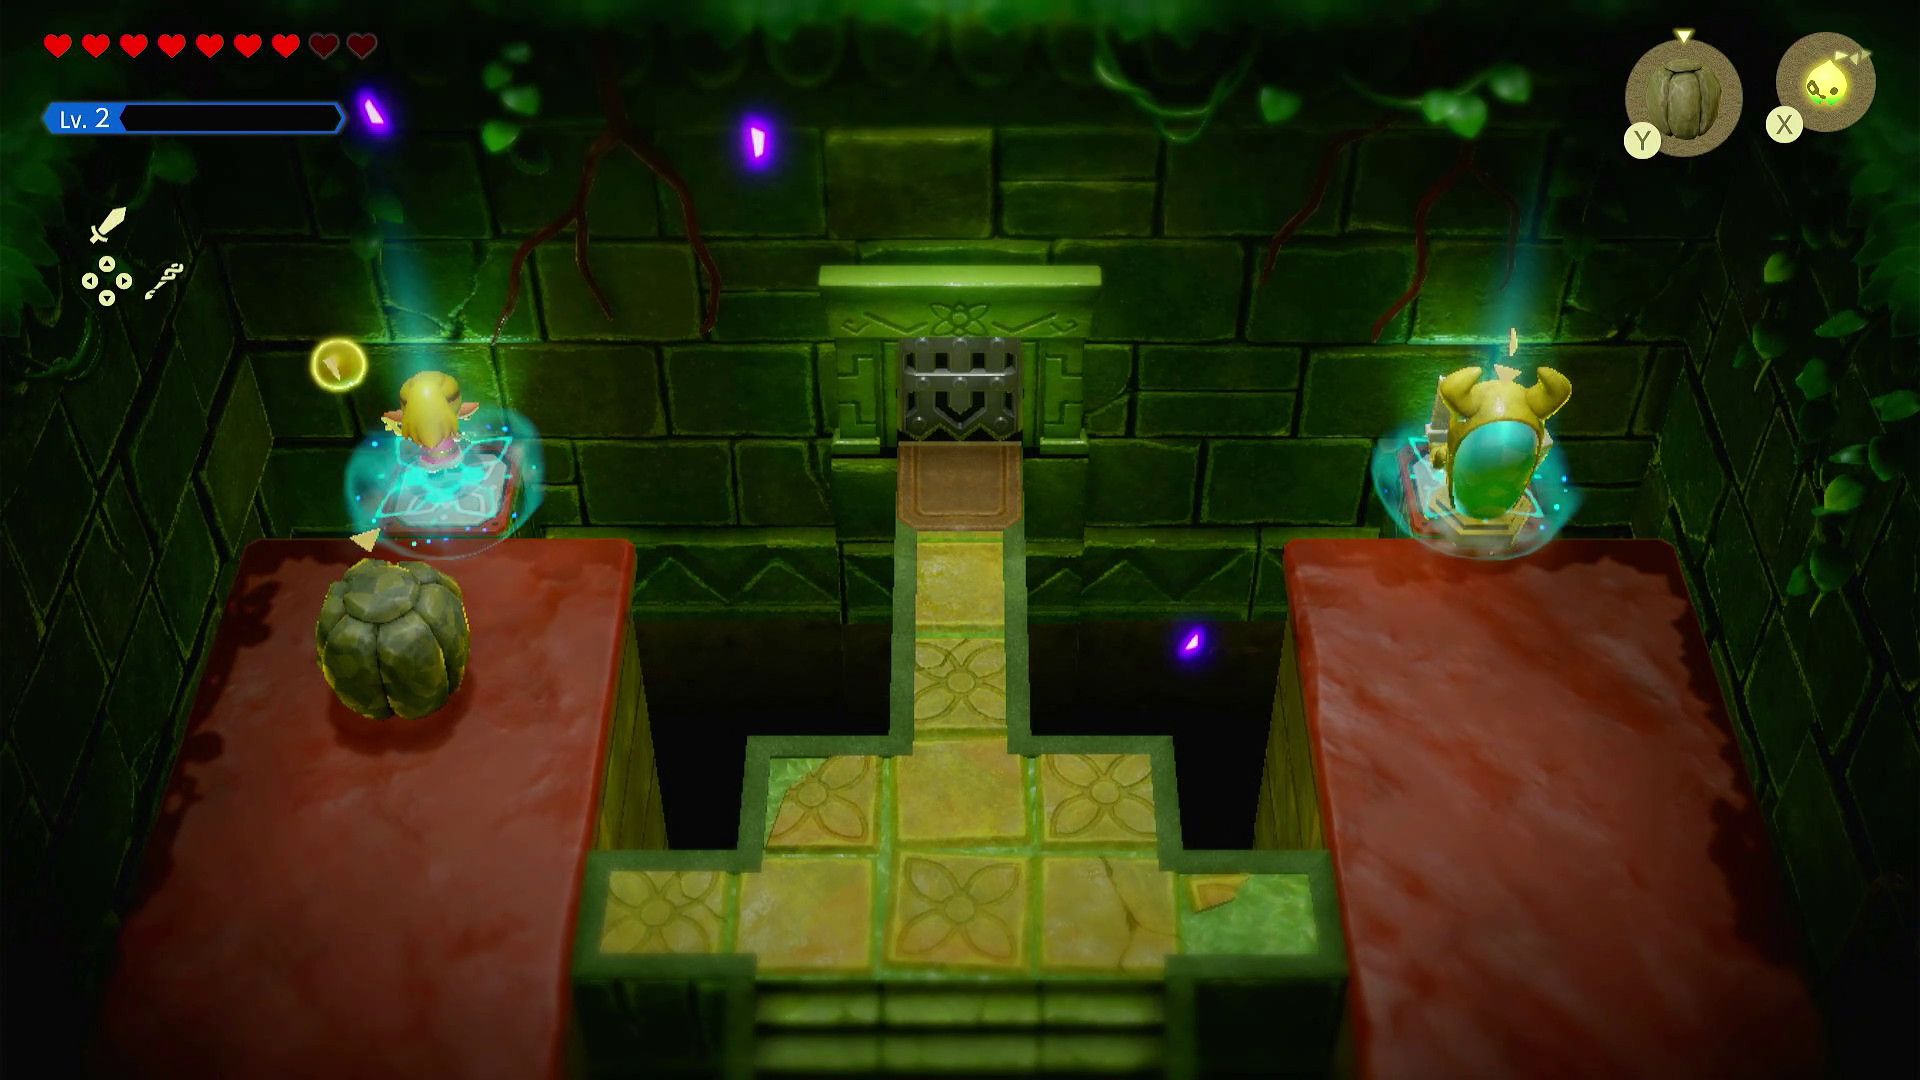
In this situation, players will encounter a room containing multiple Armoses and two buttons. The objective is to press both buttons simultaneously. To achieve this, action game enthusiasts should first interact with the statue positioned above the right button (which activates it), then immediately jump onto the left button as soon as contact between the two buttons occurs. Following that, players can proceed through the door in the lower-right corner of the room and swim downwards into the next pool to reach the exterior of Faron Temple.
Upon exiting, players should move towards the right side of the pool and employ a flaming Echo (similar to an Ignizol) to clear away the cobwebs on the adjacent wall using fire. This action enables entry into a new section within the Faron Temple, where fans will instantly encounter another two-button puzzle.
To conquer this riddle, participants need to craft an Armos figure and strategically place it so that it moves onto one of the switches. Following this, enthusiasts must promptly hop onto the remaining switch once the sculpture has passed over the initial one.
In the adjoining chamber, players are tasked with confronting an Electric Wizzrobe. To defeat it, they can employ flying Echoes and Zelda’s bow. Following its defeat, fans should venture into the dimly lit room that lies beyond, where they will find a spider web in the bottom-left corner. Use an Ignizol to burn this web, then search for a ladder concealed beneath it. After descending the ladder, follow these instructions to navigate a 2D water section:
- Dive to the bottom and go left, using Tri to move the boulders that block the path.
- Use fast water to continue left, and swim up after reaching the left wall.
- Use Water Blocks to create a vertical path to the chest, which holds 50 Rupees.
- Return to the water, and get underneath the Armos.
- Grab the Armos with Tri, and swim left and upward to move the statue into the fast water.
- Swim through the path that was cleared by moving the Armos to reach a ladder.
In a dimly lit chamber atop a runged ladder, you’ll find three radiant emerald gems adorning the ceiling. To illuminate the braziers and make these crystals glow, players should employ Ignizols. Once the area is illuminated, fans can utilize electric Echoes, similar to Buzz Blobs, to trigger the crystals and unveil a door on the left side of the room.
Players will now face another two-button puzzle, and here is how to solve it:
- Remove the stones from both of the moving platforms.
- Create an Armos on one of the platforms so that it walks onto the nearby button.
- Place a Boulder on the second moving platform.
- Stand on the second button, and jump just before the Armos comes into contact with the first button.
Once you’ve pressed both buttons, head towards the door located at the bottom-left part of the room and proceed to open the chest there to obtain a Small Key. With this Small Key in your possession, navigate back to the room with two doors on the right, go through the door up top, and trigger the Waypoint situated near the Big Key door.
Get the Big Key
Adventure seekers need to focus on finding the Big Key next, and they can start by revisiting the room that was dark when they defeated the Electric Wizzrobe (and before entering the underwater area in 2D). This time, players should climb the ladder situated at the top of the dark room to access a section with moving platforms.
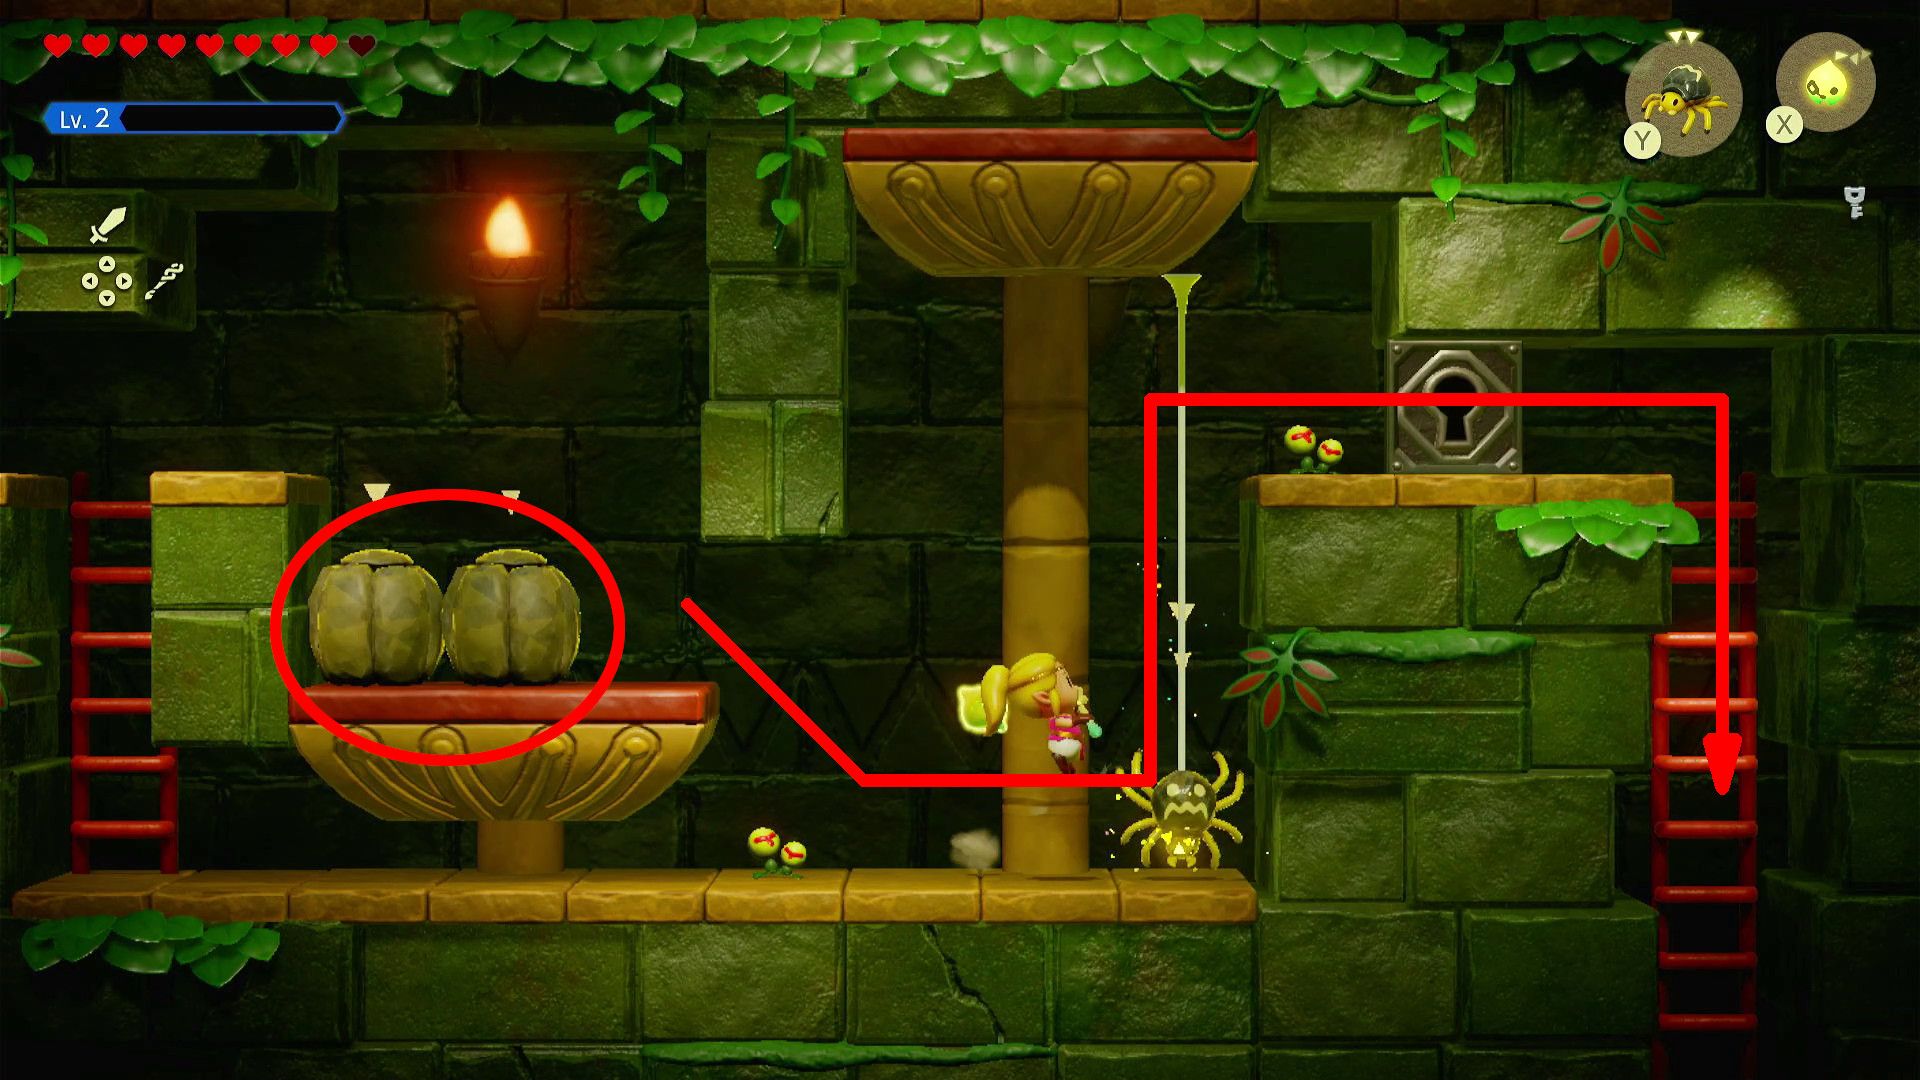
In this part of the game, players need to strategically position two large stones (or boulders) onto the initial moving platform. Then, fans should carefully step off from the left platform’s right edge and find a ropey creature (Strandtula) beneath the right platform. This creature allows climbing up towards the lock block on the room’s right side. After that challenge, there’s a ladder available to help players overcome the obstacle beyond it.
After descending the ladder and triggering the Waypoint at the bottom, players should move through the open door found within the room. Combat enthusiasts will then engage in another skirmish with a miniboss they previously encountered, which will yield the Big Key upon being vanquished. It’s worth mentioning that the tactic for overcoming this ‘Echoes of Wisdom’ boss remains the same as during the initial encounter; however, players must confront four heads during this battle.
Get Small Key & Golden Egg (Optional)
In the game Echoes of Wisdom, players now have the opportunity to acquire a Small Key as an extra objective, which can then be used to obtain a Golden Egg. Here’s how fans can get their hands on this Smoothie item:
- Return to the 3F entrance, and pass through the door on the left.
- Pass through the door in the next room to enter the dark room.
- Navigate to the top-left corner of the dark room, and climb the ladder.
- Approach the metal bars on the right.
- Hold “Y” to create two Boulders on the platform to the right of the metal bars.
- Use an Echo to strike the blue device under the left platform.
- Climb the walls to reach a chest that holds a Small Key.
- Return to the dark room, and use the Small Key to open the door on its right side.
- Open the chest to obtain a Golden Egg.
Get Warm Peppers (Optional)
There is one more optional chest in the Faron Temple, and it holds 10 Warm Peppers. Here is how to reach it:
- Return to the 3F entrance, and climb down the ladder.
- Create two Boulders on the moving platform to descend, and continue left.
- Use flying Echoes (or Echoes with projectiles) to defeat the plant on the left.
- Use Beds to create a staircase, and then send a Strandtula through the overhead gap.
- Defeat the plant that blocks the chest, and open the container to claim the Warm Peppers in Echoes of Wisdom.
Beat Gohma
Players are instructed to teleport to the “Echoes of Wisdom” checkpoint which is near the large key entrance, proceed through this door, engage in combat with Gohma. To vanquish this boss and finish the Faron Temple, players should aim an Electric Keese at the three glowing crystals on its limbs. As soon as all three crystals are energized, Gohma will collapse to the ground. At this point, take advantage of the situation by attacking its eye with a charged Echo and Link’s sword.
Read More
- SOL PREDICTION. SOL cryptocurrency
- USD ZAR PREDICTION
- BTC PREDICTION. BTC cryptocurrency
- USD COP PREDICTION
- LUNC PREDICTION. LUNC cryptocurrency
- EUR ILS PREDICTION
- CKB PREDICTION. CKB cryptocurrency
- IQ PREDICTION. IQ cryptocurrency
- SHI PREDICTION. SHI cryptocurrency
- BICO PREDICTION. BICO cryptocurrency
2024-10-10 19:05