As a seasoned adventurer who has traversed through countless realms and faced down myriad foes, I can confidently say that the fight against the false Ganon in Echoes of Wisdom is no walk in the park. The King’s Rift version of the villainous demon king is a formidable adversary, with an arsenal of attacks that can deal massive damage and keep you on your toes.
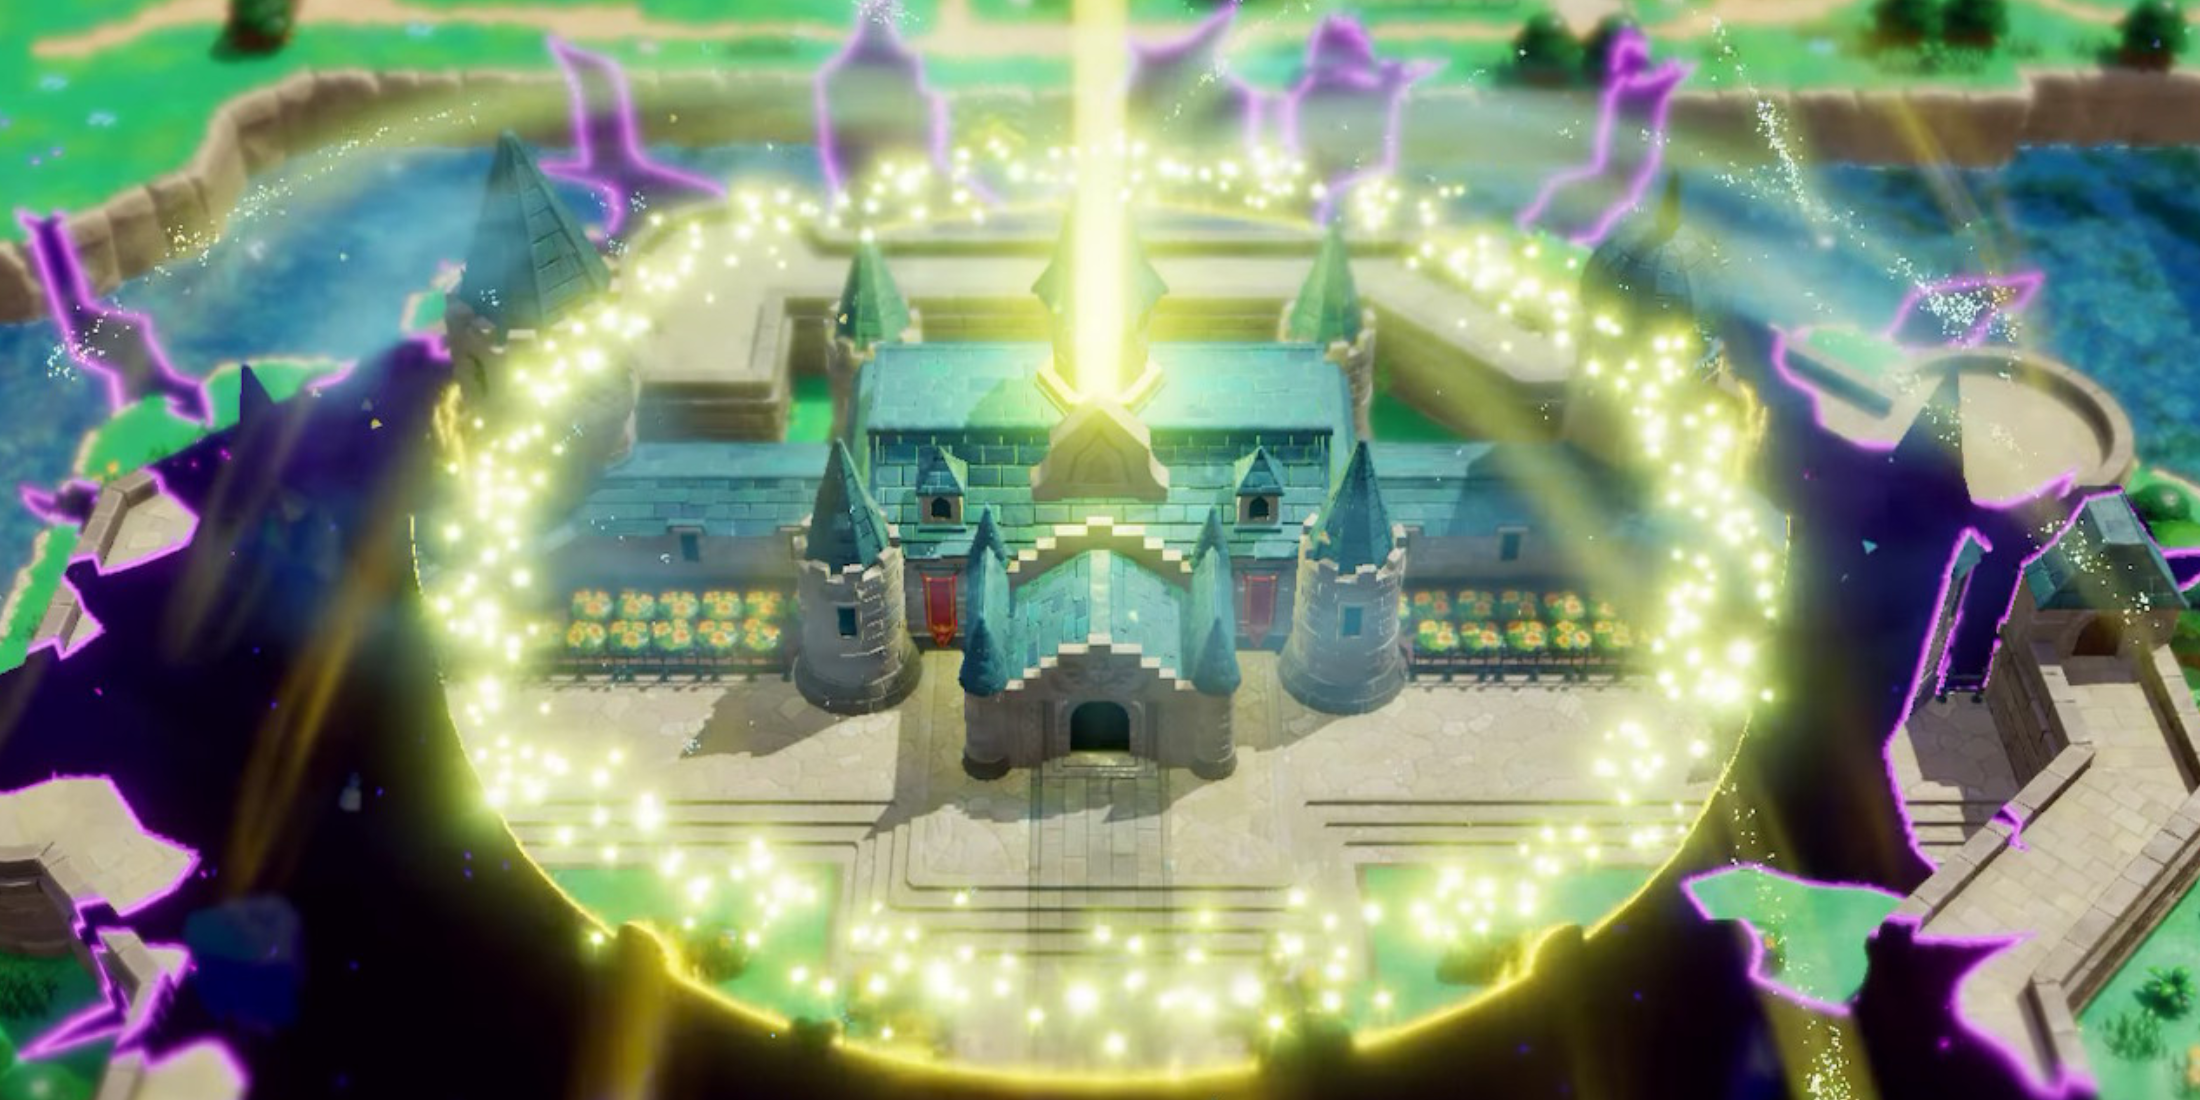
In the game titled “The Legend of Zelda: Echoes of Wisdom“, players will encounter Hyrule Castle as their fourth significant dungeon. This well-known setting is a staple in most main series Zelda games, and the dungeon within Hyrule Castle in “Echoes of Wisdom” leans more towards stealth and combat rather than the typical puzzle-solving found in Zelda games.
After finishing either Gerudo Sanctum or Jabul Ruins (you can do them in any order), a guide will lead you to Hyrule Castle. Note that Hyrule Castle presents some challenges, particularly if you’re not comfortable with stealth sections, but with the right Echoes, those sections become less demanding.
In this walkthrough, you’ll find a detailed itinerary leading through the Hyrule Castle labyrinth within the game “Echoes of Wisdom”. Additionally, you’ll discover tactics to conquer the ultimate foe in the Hyrule Castle dungeon, namely, Ganon.
Hyrule Castle Echoes of Wisdom Walkthrough
Entrance Area & First Hyrule Castle Stealth Section
Advance past the Still Hyrule Town district and enter Hyrule Castle. Continue onward until you spot a set of stairs that descend.
Feel free to explore the rooms to your right, should you wish, however, I must inform you that there isn’t anything particularly significant here. The room located towards the far right of this section, though, is partially divided by the Rift, and it happens to be Zelda’s room.
Enter the stairs to get to the first Stealth section of Hyrule Castle. There are several guards posted in spots around the room, some of which will patrol and walk from one spot to another. These Rift Guards cannot be killed, and any Echoes that you summon to fight them will be instantly destroyed by their attacks. If you are caught by a guard, you will be sent to a sub-zone that you cannot escape until all enemies are defeated.
Guards have three states: no detection, detection, and hunting.
- If there is nothing above a guard’s head, they do not currently see Zelda.
- If there is a question mark, they know something is up. Spawning Echoes in their field of view, or walking into their view for a moment, can trigger this. If they continue to be triggered they may become alerted.
- If there are lines above their head signaling they’ve been alerted, the Guards will hunt Zelda down in her current location. Guards can move faster and jump higher than you think, and will re-route their normal paths to chase Zelda.
You could either utilize the scattered crates in the area as obstacles or employ echoes you’ve summoned to create a barrier and impede the movement of these guards by manipulating objects with your Bind ability, making them obstruct their line of sight and path.
- The first guard can simply be blocked with one crate placed directly in front
- The second guard patrols but can be blocked off with two crates placed next to each other on the bottom half of the screen
- Block off the guard on the far right on the top of the screen by pushing a crate right in front of it
- Carefully move crates into the enclosed room with the patrolling guard below, and either block it in or quickly dash around the corner on the bottom of the screen
- Block the guard on the top of the screen from the bottom with one last crate and dash to the second part of this Hyrule Castle stealth section
Following the successful passage of the initial four guards, things start to become more challenging. You’ll encounter some guards positioned overhead, who have a better view and can spot Zelda from greater distances (prompting them to descend and pursue her). Additionally, there’s an area where two guards are on constant patrol in a circular pattern.
- Lock On to the crates on the higher level to the right, then Bind them and move them to the Guard above you. Try to block it in on the bottom and right sides to pass later.
- Climb up onto the right wall with a Trampoline (or other Echo), and look to the right for the patrolling duo Guards.
- The patrolling Guards walk in a counter-clockwise direction. If timed well, you can get right in between them and follow their pace to reach the exit. But it’s much easier to use a Flying Tile Echo to reach the center of the room, then use another to get to the far right side.
After leaving the Guard patrol room, make a detour and take the stairs on your right-hand side to enter a scrolling segment of the game. Eliminate the Darknuts and enemies that emerge from the Rift Blobs as they approach Zelda, then descend the stairs located at the lower left corner of the area to proceed to another section of the Echoes of Wisdom dungeon in Hyrule Castle.
Torches, Gustmasters, & The Hyrule Castle Dungeon Map

After taking the stairs, you will find yourself in a room with some enemies and four torches.
Among these torches, one is enclosed within bars that are typically out of reach. However, since you should have advanced Tri enough to acquire Long Distance Echoes, press and hold down the Y button until your beam extends past the bars, then release to summon a Fire Slime (Ignozol) near the Brazier and ignite it.
Move towards the room’s right side, call forth the Ignizol that lies behind the bars once more, establish a connection with it, and guide it toward the Brazier positioned in the upper right corner of the room.
Finally, light the Torch at the top of the stairs, then long distance summon one final Ignizol on the Brazier on the top left of the room.
To access a room teeming with Gustmasters, an adversary that occasionally unleashes a strong burst of wind, climb the stairs and enter through the doorway. Defeating these foes requires timing: they can only be harmed when emitting gusts. Aim your Bombfish precisely to explode them or utilize the Swordfighter Form’s Bow of Might from a distance. Alternatively, you can bind them and push them off the edge, but remember that you’ll need to reload the room to collect the Gustmaster Echo.
Traverse through the hall, vanquishing Rift monsters as you go. Approximately three-quarters of the way, you’ll come across a room on your right. Clear away the sand piles to uncover a chest hidden beneath. Once you pull it out, you’ll be rewarded with the Hyrule Castle Dungeon Map.
Leave this room and proceed upwards until you reach the outdoor space beyond the Throne Room at Hyrule Castle, then keep going to advance in the dungeon.
Small Key In The Second Stealth Section
As a fan, here’s my take: From this spot, don’t forget to tap the Waypoint. Then, veer left into the adjacent room. You’ll find a set of stairs on a platform right smack in the middle of the water. Climb those to access an underwater area. The Zora Slippers might prove quite useful down there!
Here, you could break open this spot by skillfully hurling a Bombfish or detonating one already bound, revealing a hidden chest containing 50 Rupees inside.
Navigate towards the left portion of this underwater region, employing Swordfighter Form to slice through any obstructing spider webs. Utilize a strong underwater Sonar to handle majority of the fish enemies such as Tangler Lvl 2s. You can obtain a chest in this area for 20 Rupees by removing spider webs and making your way to the center. Remember to illuminate any crystals you come across, as they will enhance visibility.
As a gamer, I can make my way out of this underwater hideout by scaling the ladder situated on the top-left corner. That’ll lead me to the second stealth section within Hyrule Castle, which seems to be a tad more lenient with its guards, even though there are more of them compared to before.
- Quickly walk in front of the raised platform on the bottom of the screen to avoid being seen by the guard at the top.
- Use the Water Block Echo to create a tower leading up to the top of the platform. Repeatedly cast the Echo on itself to build it upward. You may attract Guards’ attention when you do this, but they can’t get to you inside of the water.
- Once on top of the platform, wait until the guards aren’t interested in you anymore (or create a distraction), then use either the Flying Tile Echo or more Water Blocks to reach the middle of the room to an area closed in by short walls.
- Get behind the short wall at the top of the room to avoid being seen by guards.
- Build another Water Block tower on the platform to the top-right of the central area, then climb on top. Jump over to the platform directly bottom-right to activate a Pressure Plate.
Setting off the Pressure Plate triggers the appearance of a chest right in the heart of the main zone. You can either carefully navigate back, steer clear of Guards, and then leap over the wall to reach the chest, or employ a Flying Tile to instantly land on the chest itself.
First, retrieve the Little Key, and then make your exit through any available door on the right side. Rest assured that Guards won’t seize your Little Key, so feel free to move about freely once you’ve obtained it. Also, remember that you can quickly teleport back to the Checkpoint situated outside the Throne Room using your fast travel ability.
Back in the Throng of the realm outside the Throne Room, I’d suggest venturing to the right. There, you’ll spot an impenetrable door standing guard on the right flank, a Scorpion adversary lurking in the sands, and a Lock-fastened Door nestled at the base of your screen view.
To reach the last section of the Hyrule Castle dungeon and find its large key, use the small key located near the bottom of the ladder and the locked door.
Hyrule Castle Big Key Location
Upon unlocking this door with the Small Key, you’ll move into a new side-scrolling zone. Initially, you’ll encounter a Gustmaster that can be easily dodged. The latter part of this section features a Strandtula puzzle. You can bypass this puzzle in two ways:
Exit from the opposite side to get to the last room before you find the Grand Key. In this room, Link will encounter not just one but two Darknut adversaries, as well as a Ball-and-Chain Trooper.
Alternatively, you can engage the Swordfighter Form or summon your superior Echoes to handle the minor Darknuts. Subsequently, focus on the Ball-and-Chain Tropper. If Zelda is close to a wall when it swings its ball, it will get stuck and the Trooper will need some moments to free it. During this period, attack relentlessly with your Swordfighter Form or summoned Echoes.
Once you’ve conquered these foes, locate the ‘Ball-and-Chain Tropper Echo’, then proceed to the treasure chamber. Inside, you’ll discover the spot for the ‘Hyrule Castle Big Key’, along with two additional prizes: the ‘Frog Ring’ and a ‘Golden Egg’.
As a seasoned gamer, I can tell you that the Frog Ring is an invaluable asset in my adventure through Hyrule. This magical artifact grants me the ability to leap twice as high as Zelda normally could. That means I can explore higher regions without having to rely on Echoes for assistance. It’s a game-changer, indeed!
Following the acquisition of your prizes, depart from the chamber where the skirmish with the Darknuts took place, moving to the left. Proceed onwards until you reach the throne room again. Access the Boss Arena by employing your Big Key, and brace yourself for a confrontation with an adversary you recognize.
Ganon Boss Guide (Hyrule Castle Version)
Once you’ve stepped into the sanctum located beyond the Throne Room, you’ll find Lefte and Wright already there, eagerly anticipating your arrival. Following a quick conversation, these two team up to invoke a Rift-born manifestation of Ganon.
This battle may seem simple at first glance, but don’t be fooled – it’s incredibly challenging due to the heavy damage false Ganon can inflict. The fight essentially consists of three distinct phases:
- In Phase One, Ganon will spin his axe around, preventing any Ranged damage from coming through, then teleport around the room. After re-appearing, he charges for a second, then stabs forward. He will linger in this pose for a moment, during which you can summon an Echo to help.
- The Ball-and-Chain Tropper you learned before picking up the Boss Key deals a lot of damage if you spawn it right next to Ganon in a vulnerable state.
- In Phase Two, Ganon will keep his previous moves, and also begin to throw his axe across the room, where it will spin in place after damaging anything in its way. Consider using your Summons as a distraction. After reappearing somewhere else in the room, he will linger for a moment before pulling his axe back. If you have an Echo out, though, Ganon might target it instead of you with this move.
- Attack Ganon with your Swordfighter Form attacks (and a Ball-and-Chain Trooper) when he is waiting to pull his axe back. He will teleport away after a few hits, so it may take a few rounds to move on to the next phase
- In Phase Three, Ganon will launch bolts of fire across the room which hone in on Zelda’s location. When these collide with a wall they will explode and leave behind one Energy. Pick these up quickly before Ganon begins the Rally move.
- Ganon will charge up a ball of magic and fire it towards Zelda. It hones in on her location, so you can’t outrun it. Instead, turn on Swordfighter Form and slash at the ball to send it back toward Ganon. He will hit it again, launching it back towards Zelda even faster. Time your slash just right to hit it again, launching it back again and again until you stun Ganon for a few seconds.
In the thrilling battle against Ganon in “Echoes of Wisdom”, there’s no need to fret about running out of Energy. Here’s a clever strategy: when Ganon unleashes his fire bolt, don’t panic! Instead, keep an eye out for the Energy it spawns, as Zelda can collect these to fill her Swordfighter Form meter. To turn the tide in your favor, make sure to use this Form to counter his ball attack effectively and emerge victorious!
Each time you return Ganon’s ball after stunning him, if you inflict enough damage, he will grow stronger, allowing for an additional strike during the next Rally. Initially, to stun Ganon, you must return his ball three times. In the second instance, you need to engage in a Rally with Ganon four times. For the final time, you must return his ball five times. The pace increases with each hit in the sequence, becoming faster and faster.
When Ganon is momentarily stunned, it provides an excellent opportunity to deal numerous blows, especially if you simultaneously summon a Ball-and-Chain Trooper and attack in Swordfighter Form. Keep attacking Ganon persistently until you manage to defeat the fake demon king, close the Rift, save Hyrule Castle and its town – and collect a Heart Container as a reward, of course.
Read More
- SOL PREDICTION. SOL cryptocurrency
- USD PHP PREDICTION
- USD COP PREDICTION
- BTC PREDICTION. BTC cryptocurrency
- TON PREDICTION. TON cryptocurrency
- Strongest Magic Types In Fairy Tail
- ENA PREDICTION. ENA cryptocurrency
- AAVE PREDICTION. AAVE cryptocurrency
- LUNC PREDICTION. LUNC cryptocurrency
- EUR INR PREDICTION
2024-10-01 01:15