
7 Days To Die boasts a vast and active modding community that has produced hundreds of modifications over the years. These range from enhancing the user experience with minor improvements to drastically altering the gameplay itself.
If you’re new to the gaming mods scene, it could initially appear daunting to learn how to install and operate these add-ons. You’ll find numerous modding sites online, each with its unique method for downloading mods. However, a few websites simplify this process significantly. This tutorial will walk you through everything you need to know about acquiring mods for the game ‘7 Days To Die‘.
How To Download Mods For 7 Days To Die
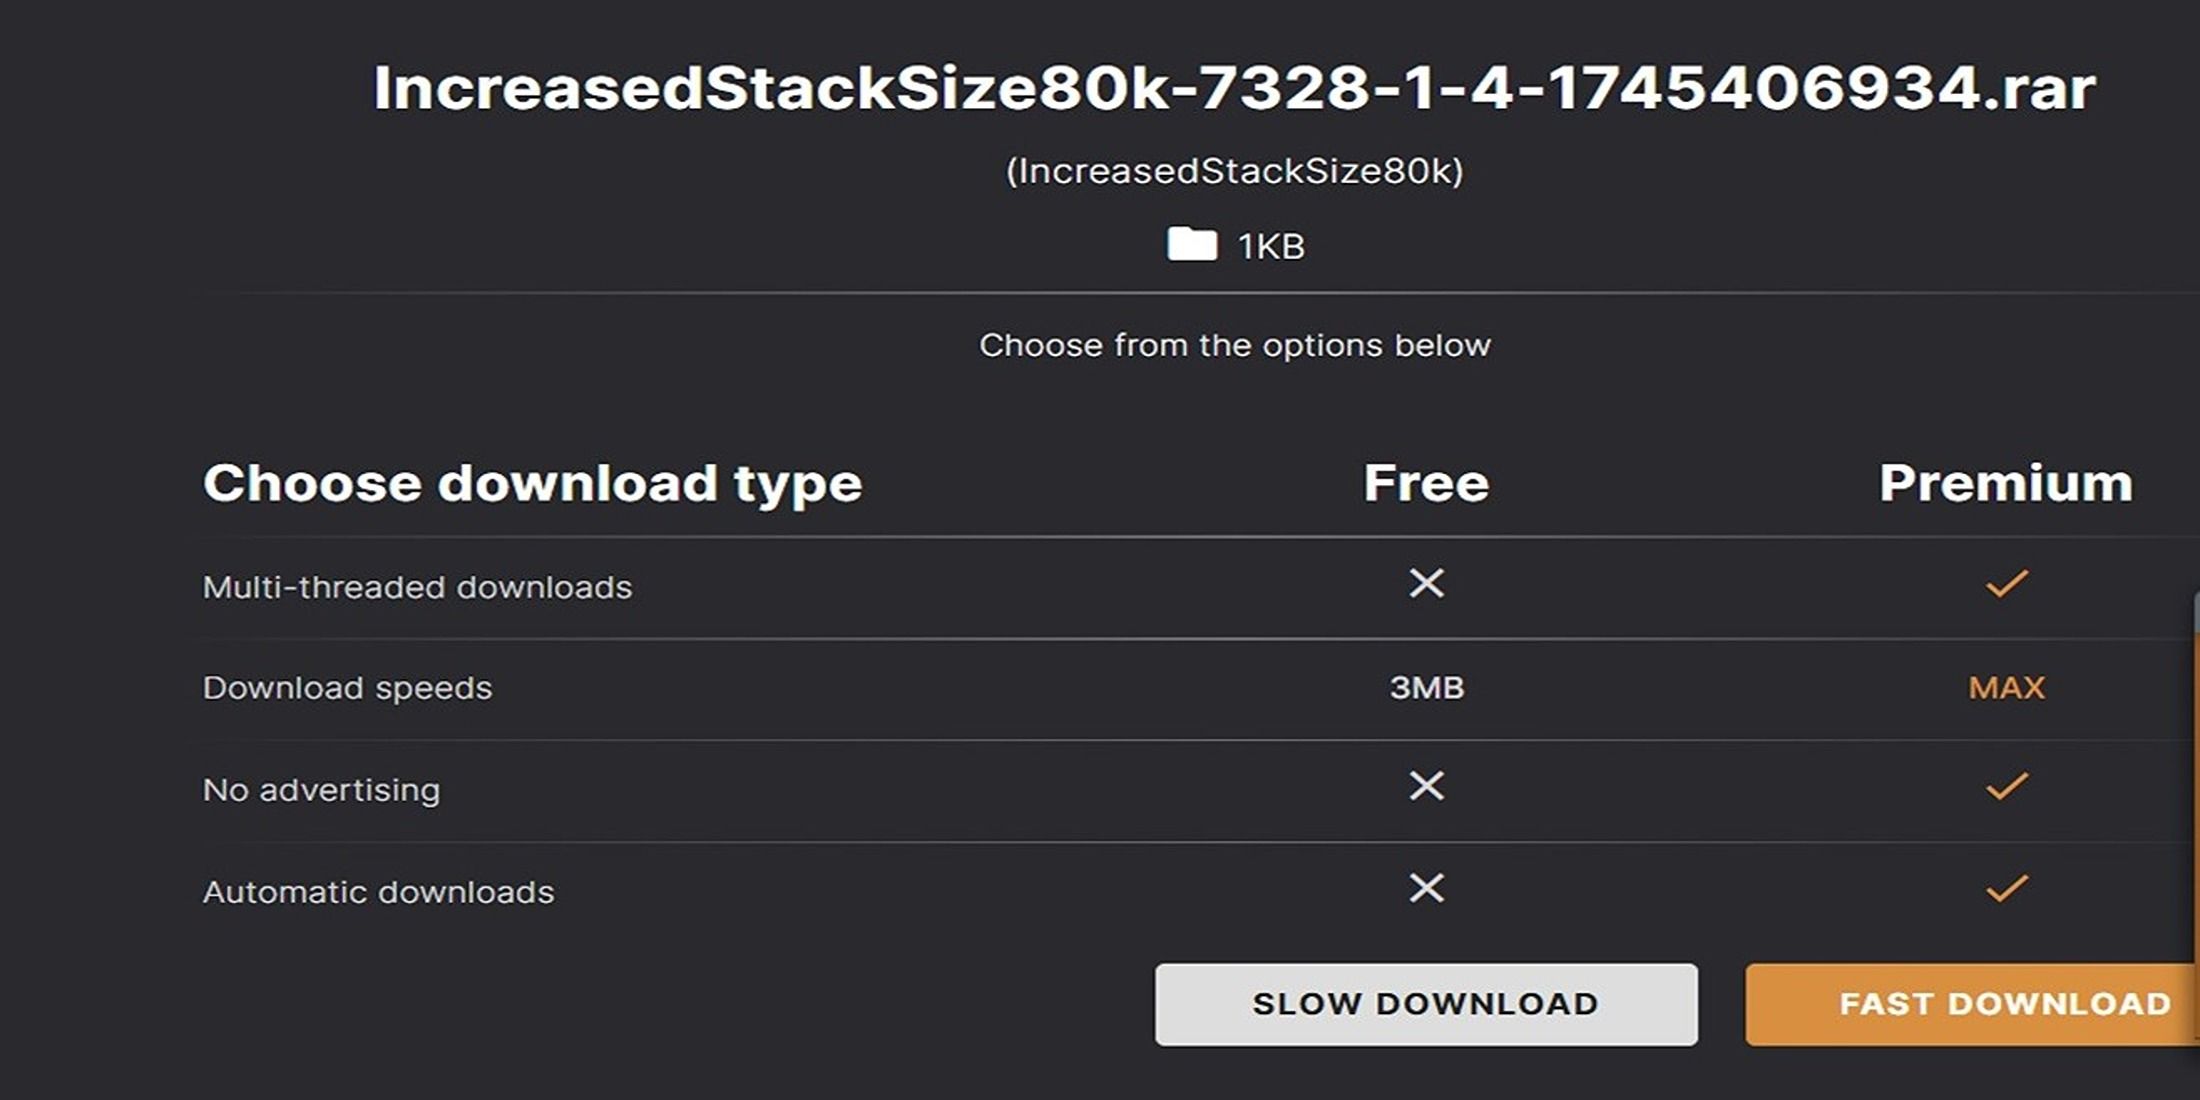
You’ll find several options for downloading mods across various websites, but Nexus Mods stands out as one of the top choices due to its user-friendly interface. Installing mods on this platform is a breeze. Here’s a simple guide to help you install a mod through Nexus:
1. Navigate to the specific mod you want to download on the Nexus Mods website.
2. Click the ‘Download’ button associated with the mod. This will typically initiate the download process for the mod file.
3. Once the download is complete, locate the downloaded file on your computer and extract it if necessary.
4. Open the extracted folder to find the mod files.
5. Identify the installation instructions provided in the folder. These instructions may vary depending on the specific mod, but they will guide you through the process of properly installing the mod into your game.
6. Follow the provided instructions to complete the installation process.
- Create a Nexus account and sign in.
- Select a mod that you’d like to install and click on it to see its details.
- On the right side of the screen, there’s a download button with the word manual inside. Click that button. If a mod has multiple mods within it, then you may need to scroll down and select mods individually.
- Once you’ve downloaded a mod, go to your downloads folder to find it.
- Then, open up Steam and right-click on 7 Days To Die. Doing this will open up a menu.
- Hover over Manage and select Browse Local Files.
- Clicking this will open up all the folders and files for 7 Days To Die.
- Inside the file, there’s a folder called mods. Open this folder.
- Head back over to your downloads folder and drag or copy the contents of the mod over into the Mods folder in your 7 Days To Die tab.
- Once that’s done, you can run the game, and the mod should work automatically.
Consider Downloading A Mod Launcher
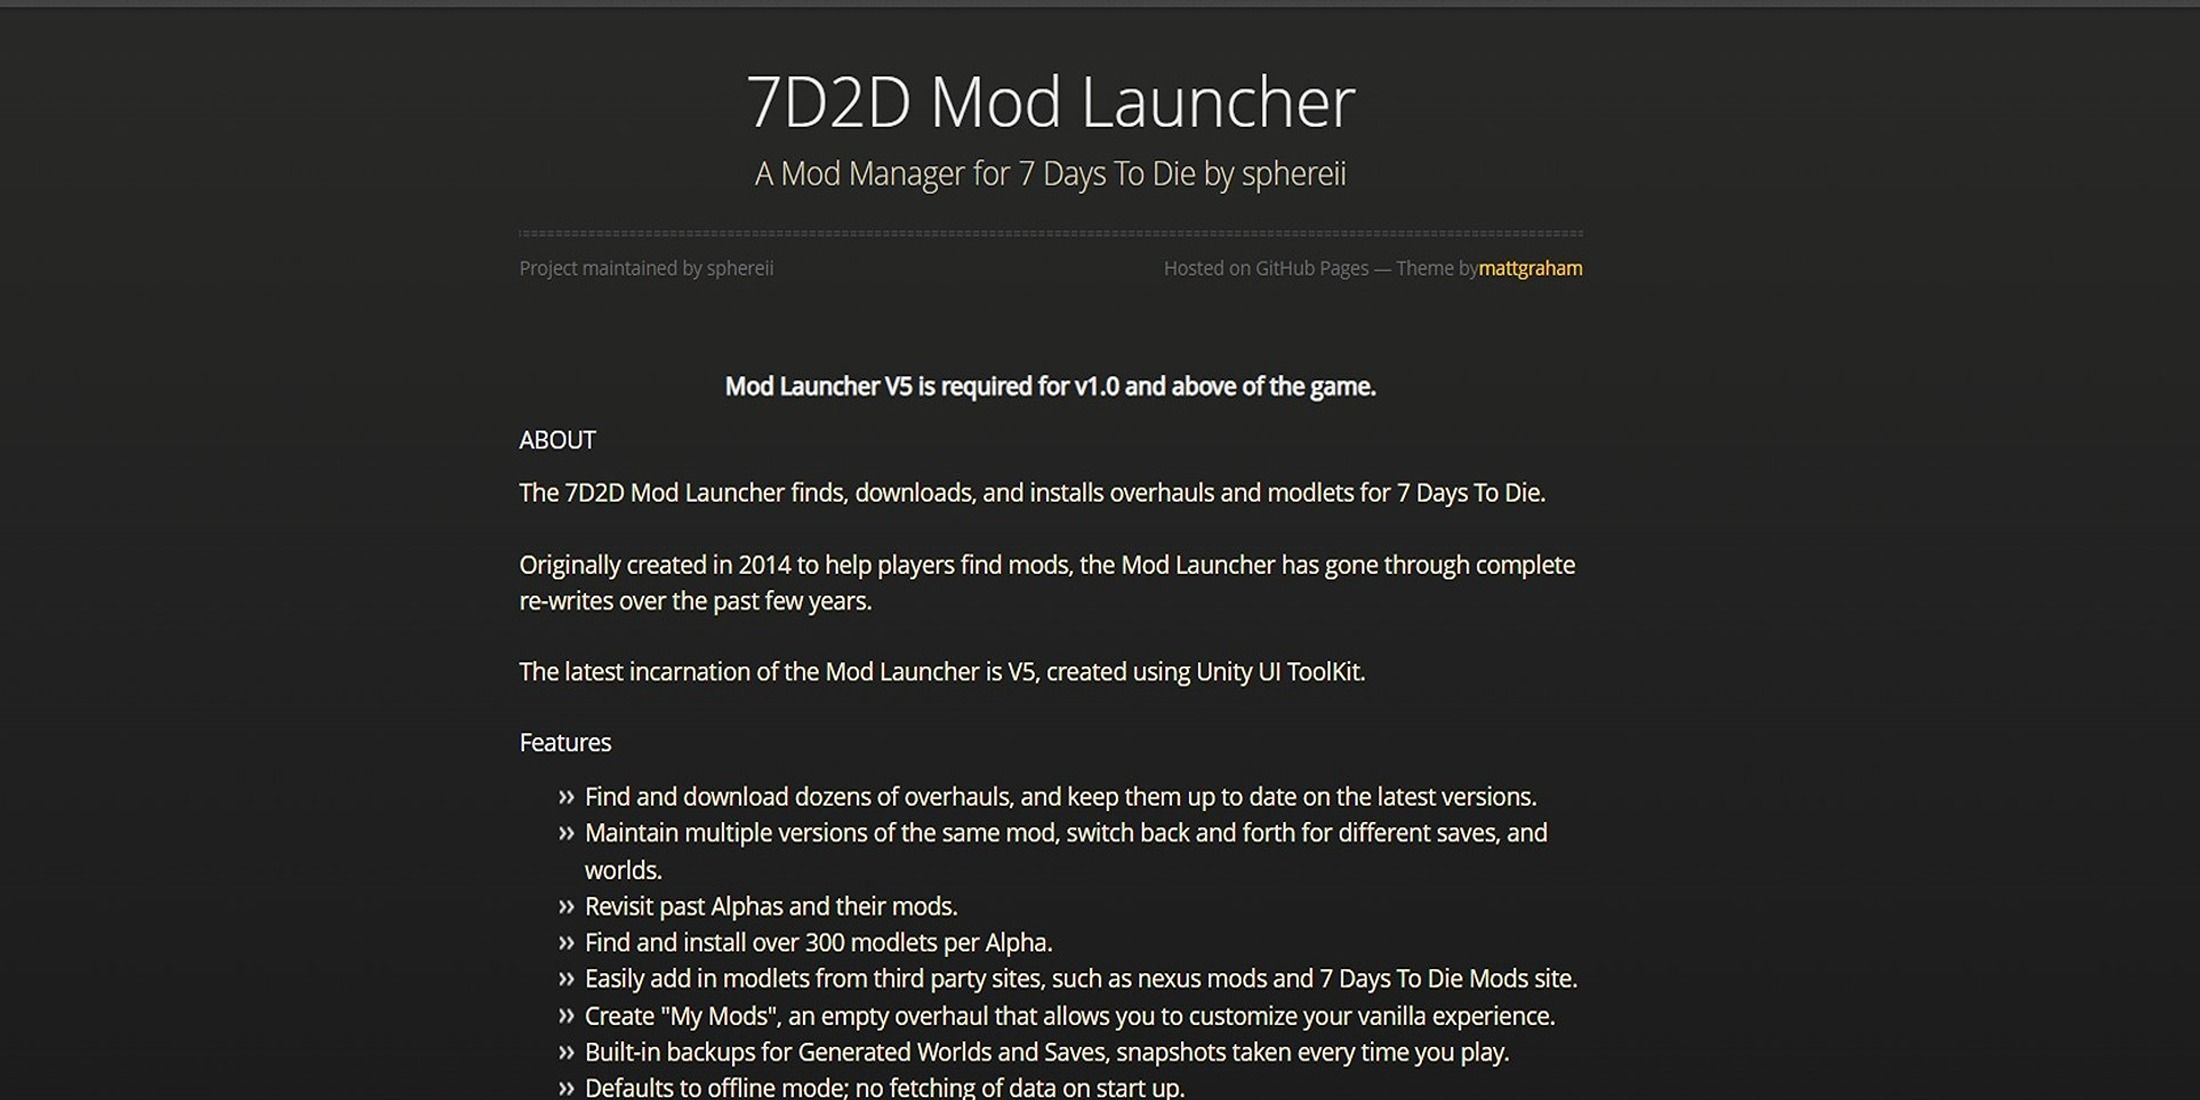
When it comes to downloading mods, there’s one potential issue: if something goes awry, your save files could be compromised. To avoid such mishaps, consider using a mod launcher. The 7D2D Mod Launcher is a handy, free tool designed for this purpose. It lets you install mods while keeping them in a separate folder, thus safeguarding your precious save files.
Upon installation, there will be a dedicated launcher specifically for the game “7 Days to Die”, separate from your Steam version. This standalone launcher is packed with numerous useful features, such as an intuitive mod download option boasting over 300 modlets. These modlets encompass game enhancements, vehicle modifications, and weapon upgrades, among others. By utilizing this mod launcher for all your mods, you can rest assured that your save files in your “7 Days to Die” game on Steam will remain untouched.
Read More
- All Shadow Armor Locations in Crimson Desert
- How to Get the Sunset Reed Armor Set and Hollow Visage Sword in Crimson Desert
- Best Bows in Crimson Desert
- All Skyblazer Armor Locations in Crimson Desert
- All Golden Greed Armor Locations in Crimson Desert
- Wings of Iron Walkthrough in Crimson Desert
- All Helfryn Armor Locations in Crimson Desert
- Marni Laser Helm Location & Upgrade in Crimson Desert
- How to Craft the Elegant Carmine Armor in Crimson Desert
- Keeping Large AI Models Connected Through Network Chaos
2025-04-26 20:05