The Residence is the last part of the Secrets of The Maw downloadable content for Little Nightmares. To reach the Lady at the end, the Kid has to solve a series of puzzles and collect all the statues. While Six successfully escaped, the Runaway Kid wasn’t so lucky.
The Residence Walkthrough In Little Nightmares
Start the Residence chapter with the Kid still on top of the elevator.
Scale the bars on the left, then grab the hook and swing. Use the momentum to jump to the right and pass through the window.
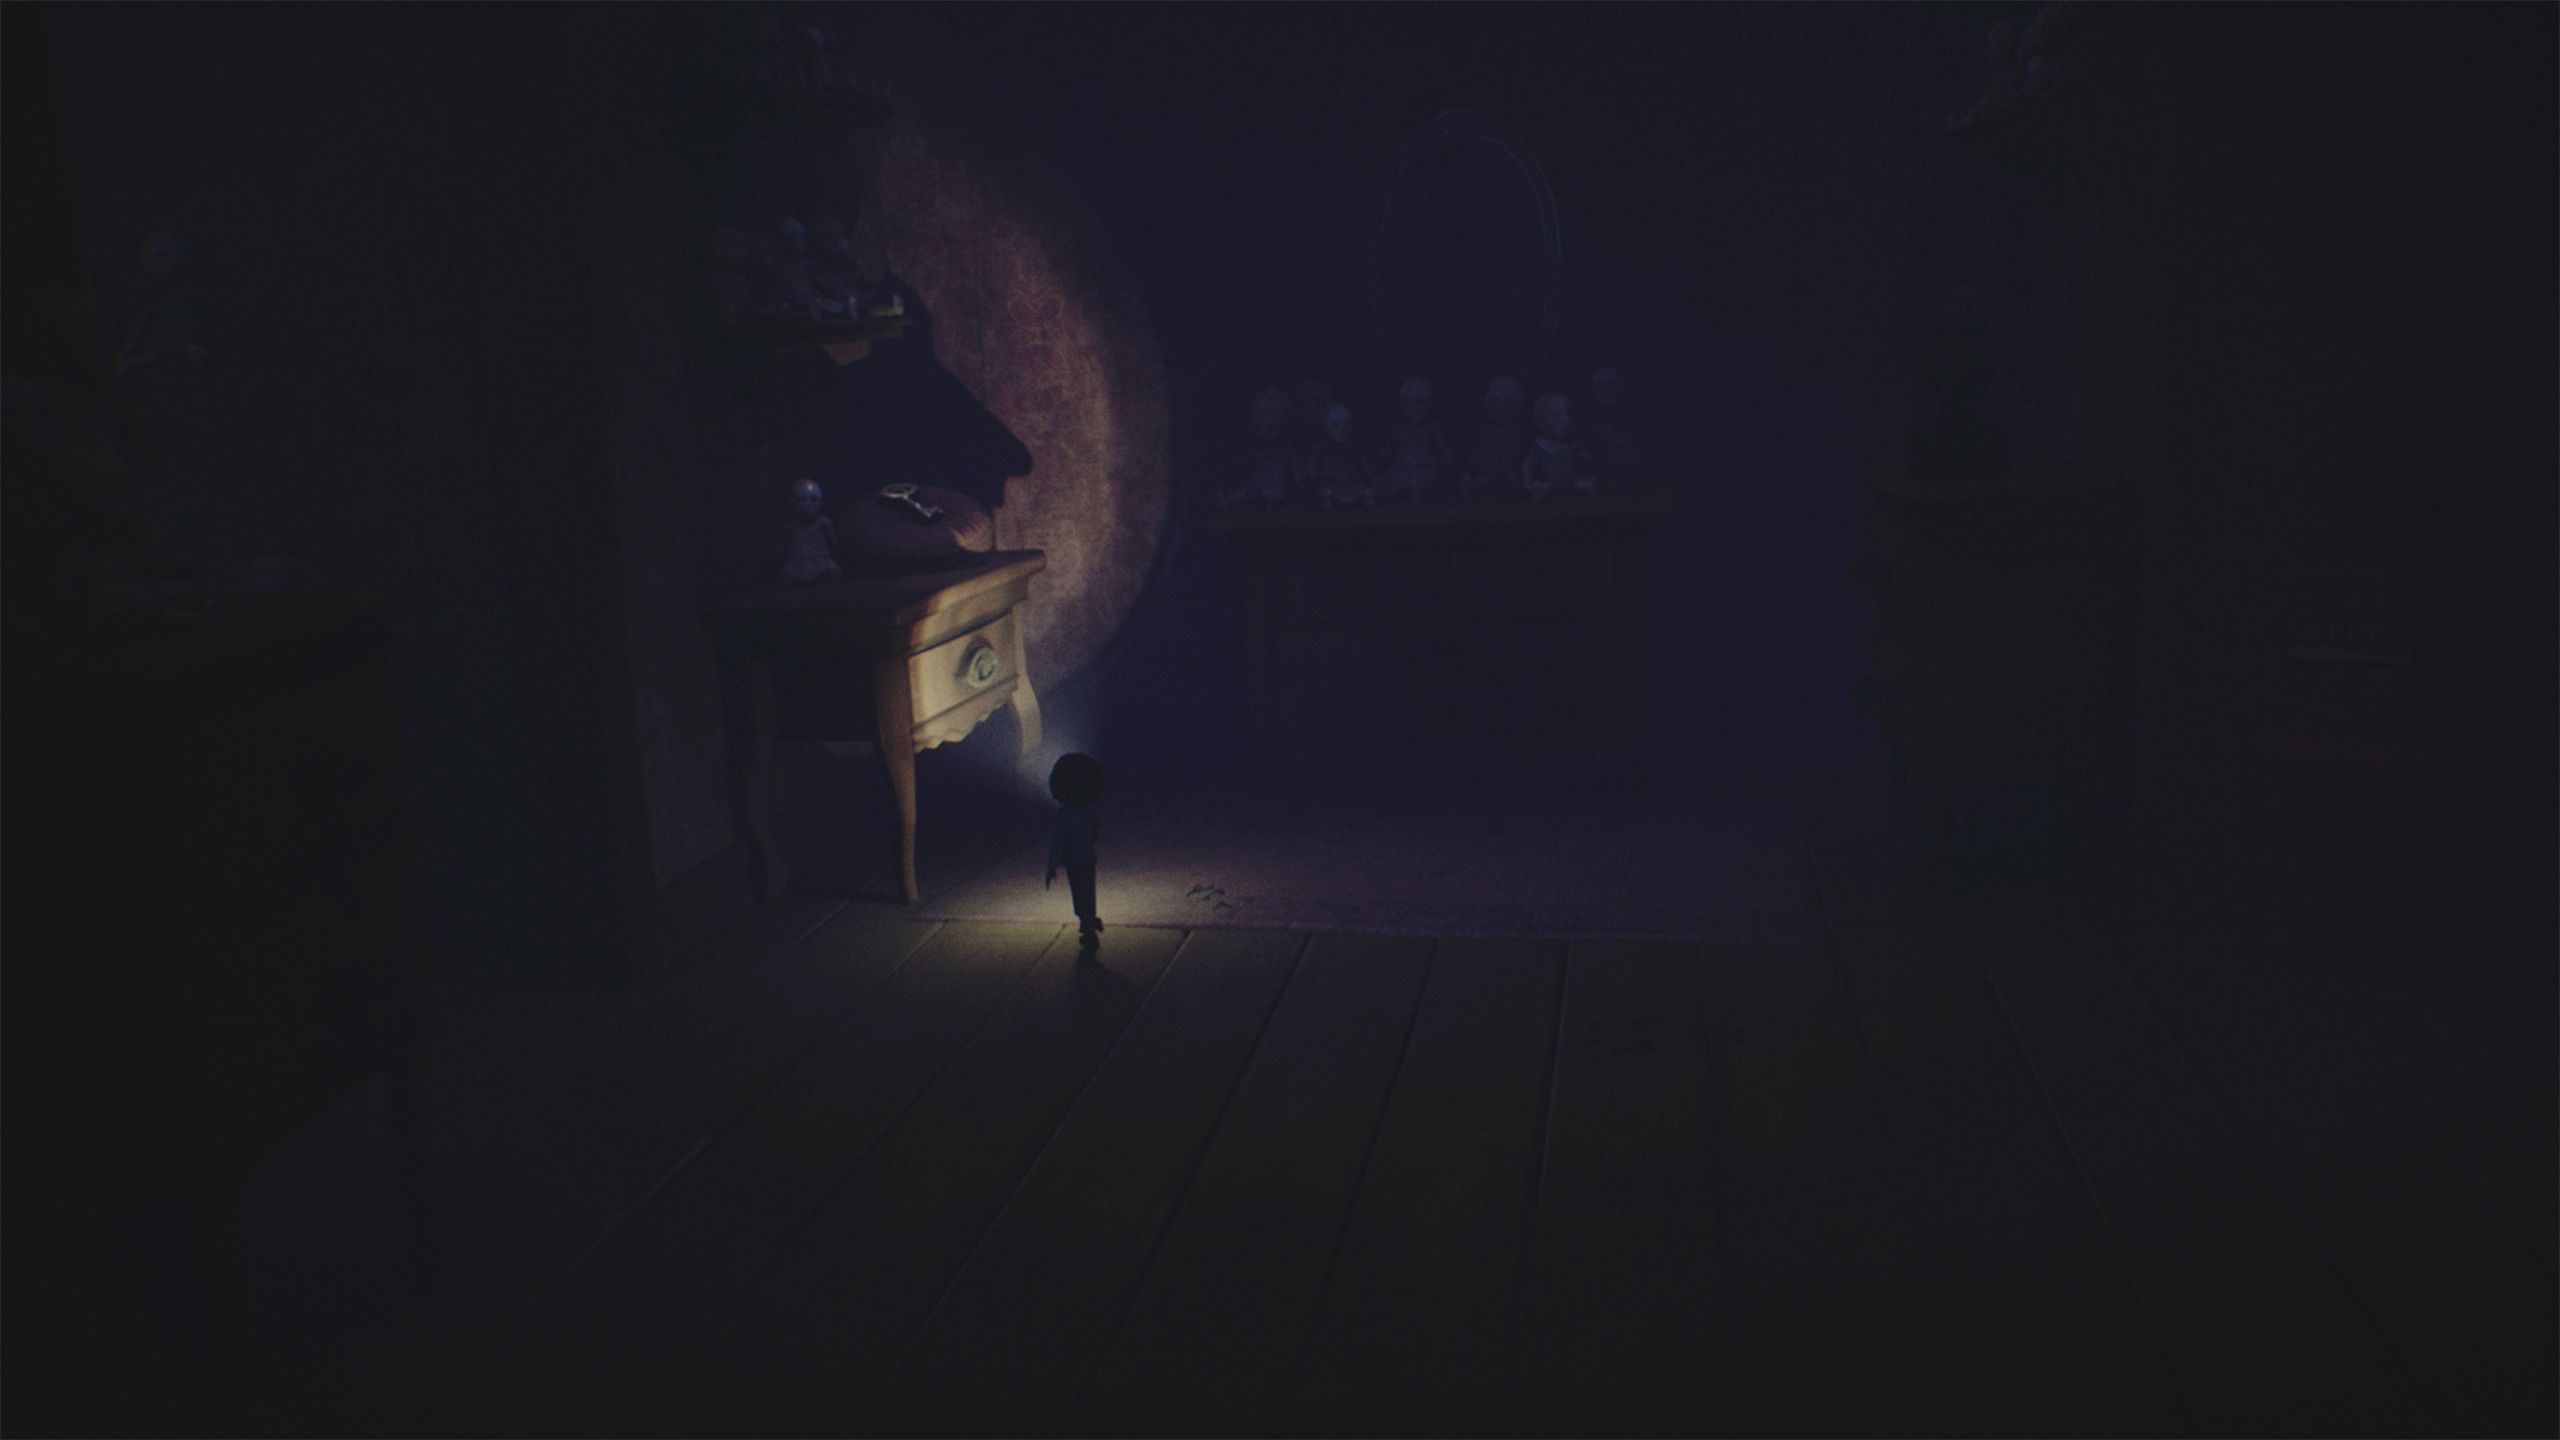
Crawl through the hole, and the Kid will end up in the Lady’s Quarters.
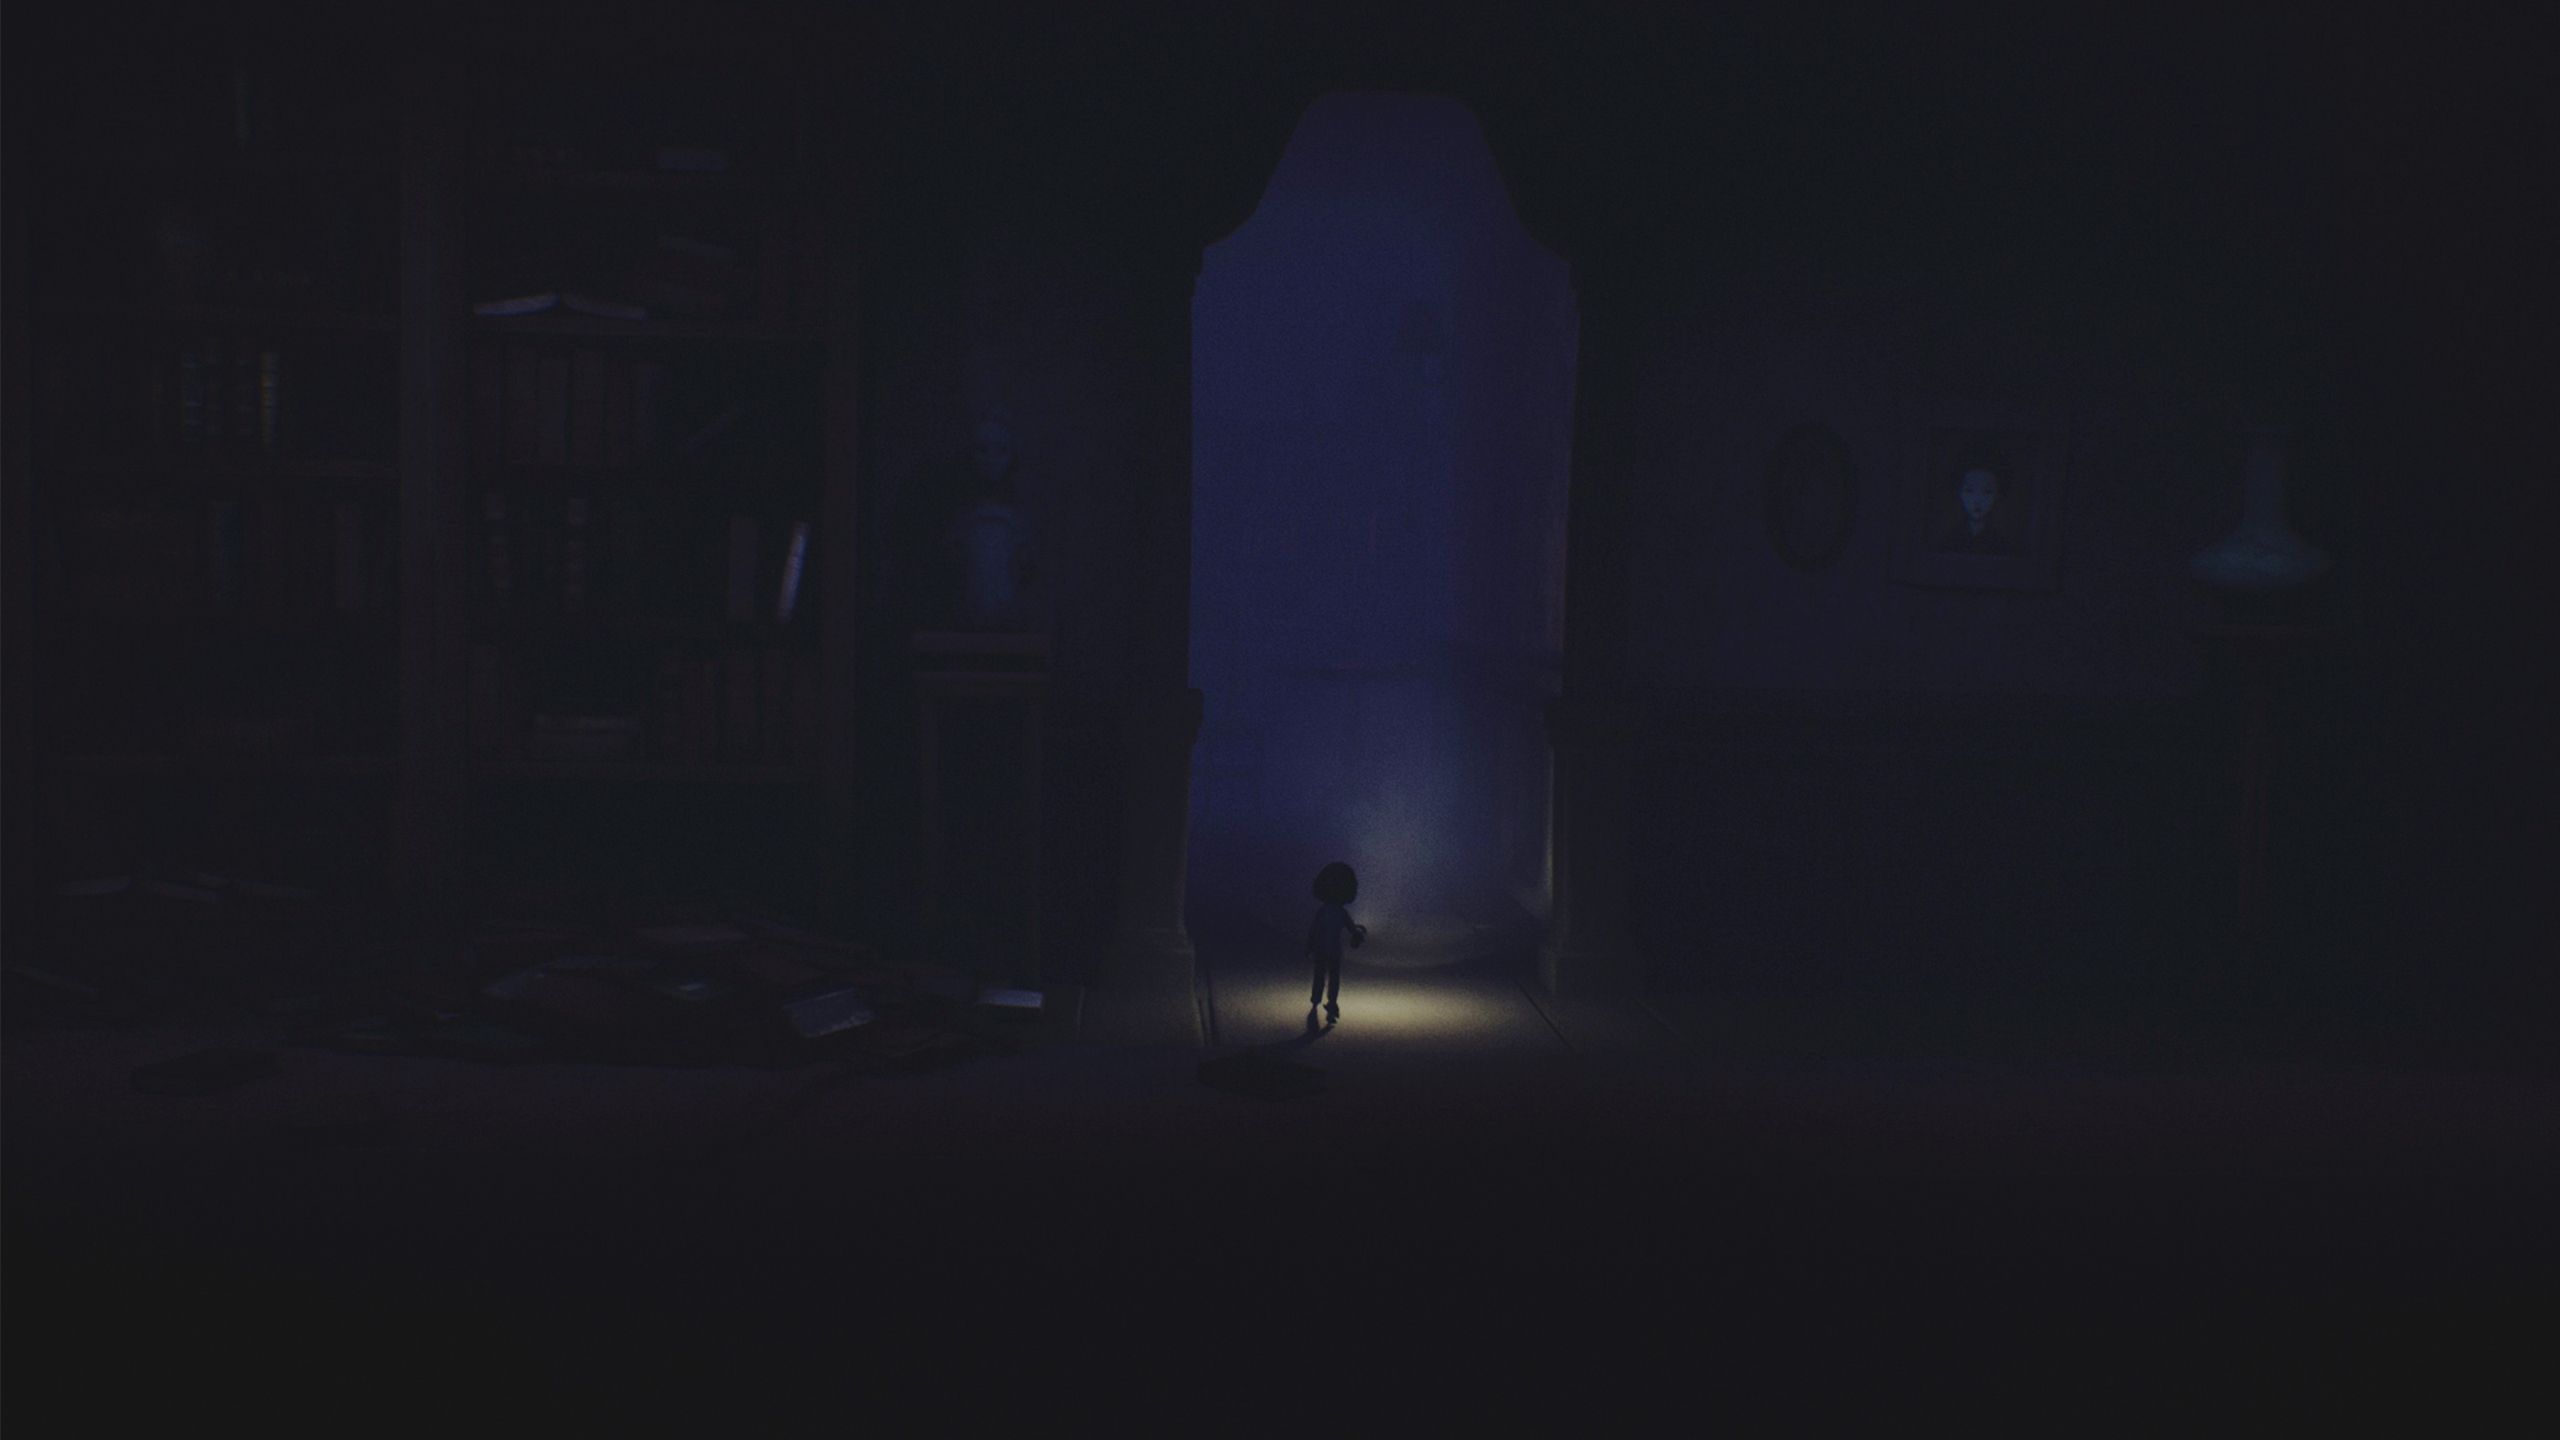
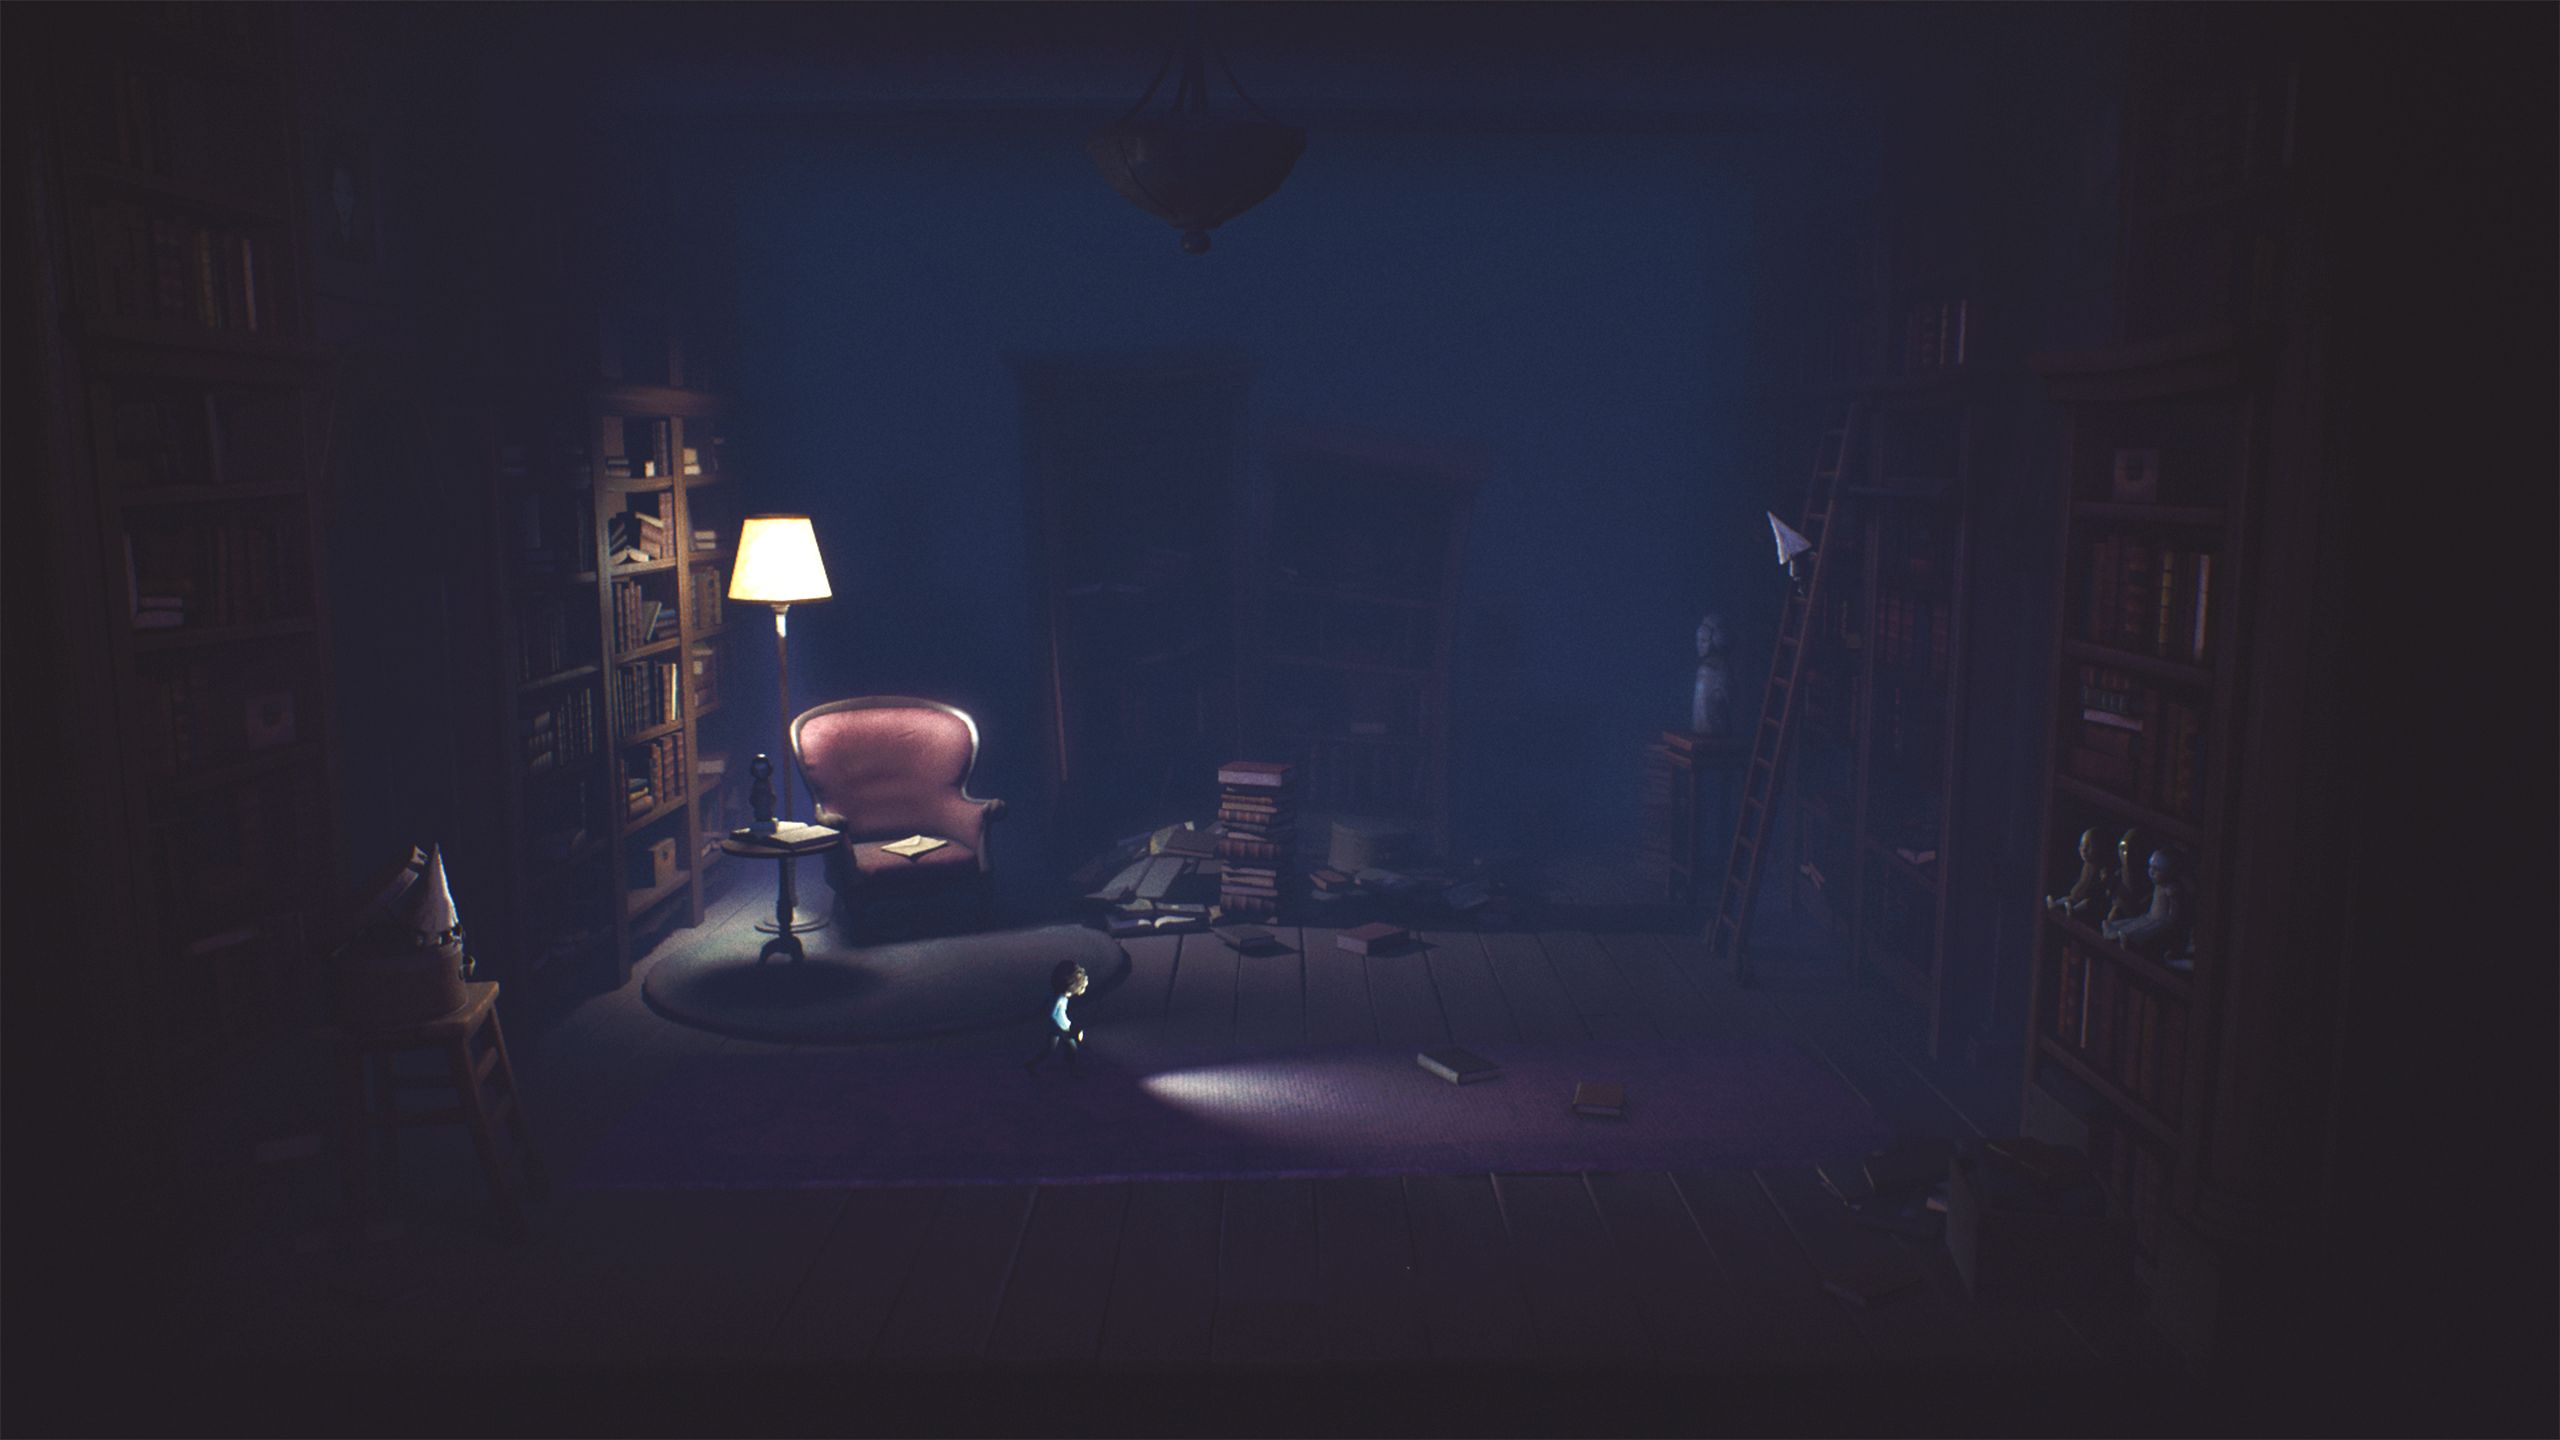
Head right and enter the second archway you see.
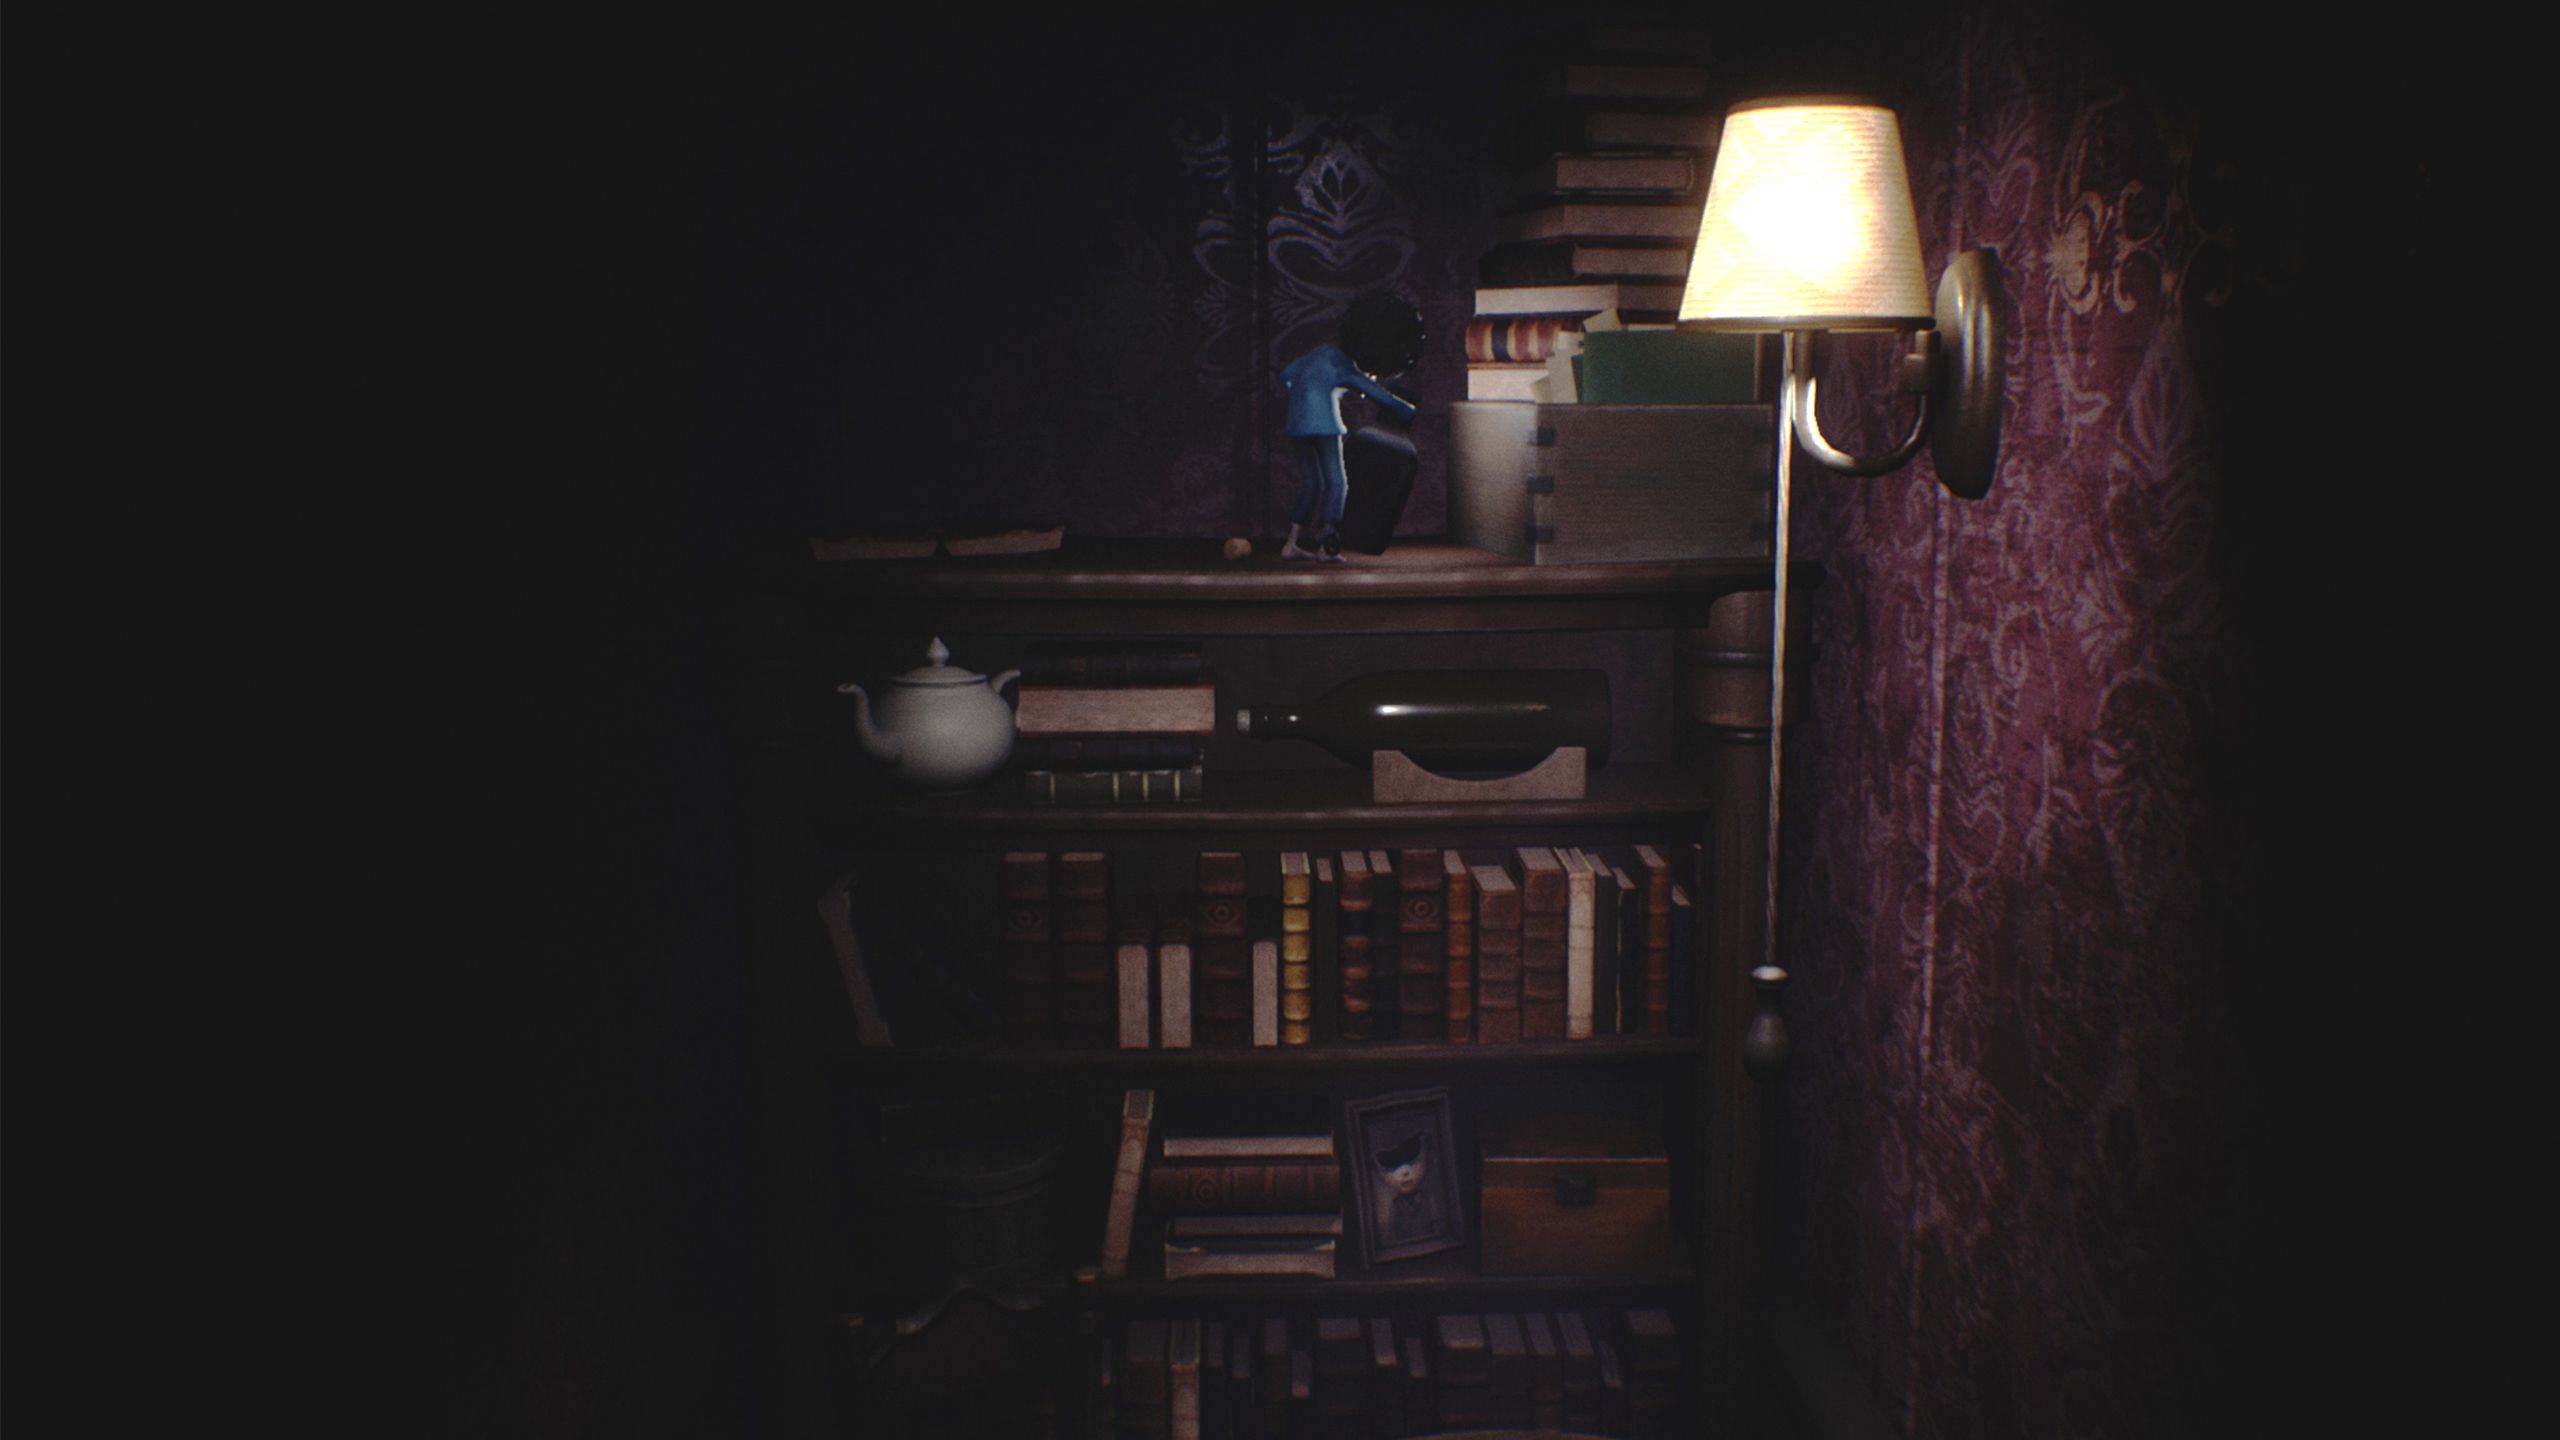
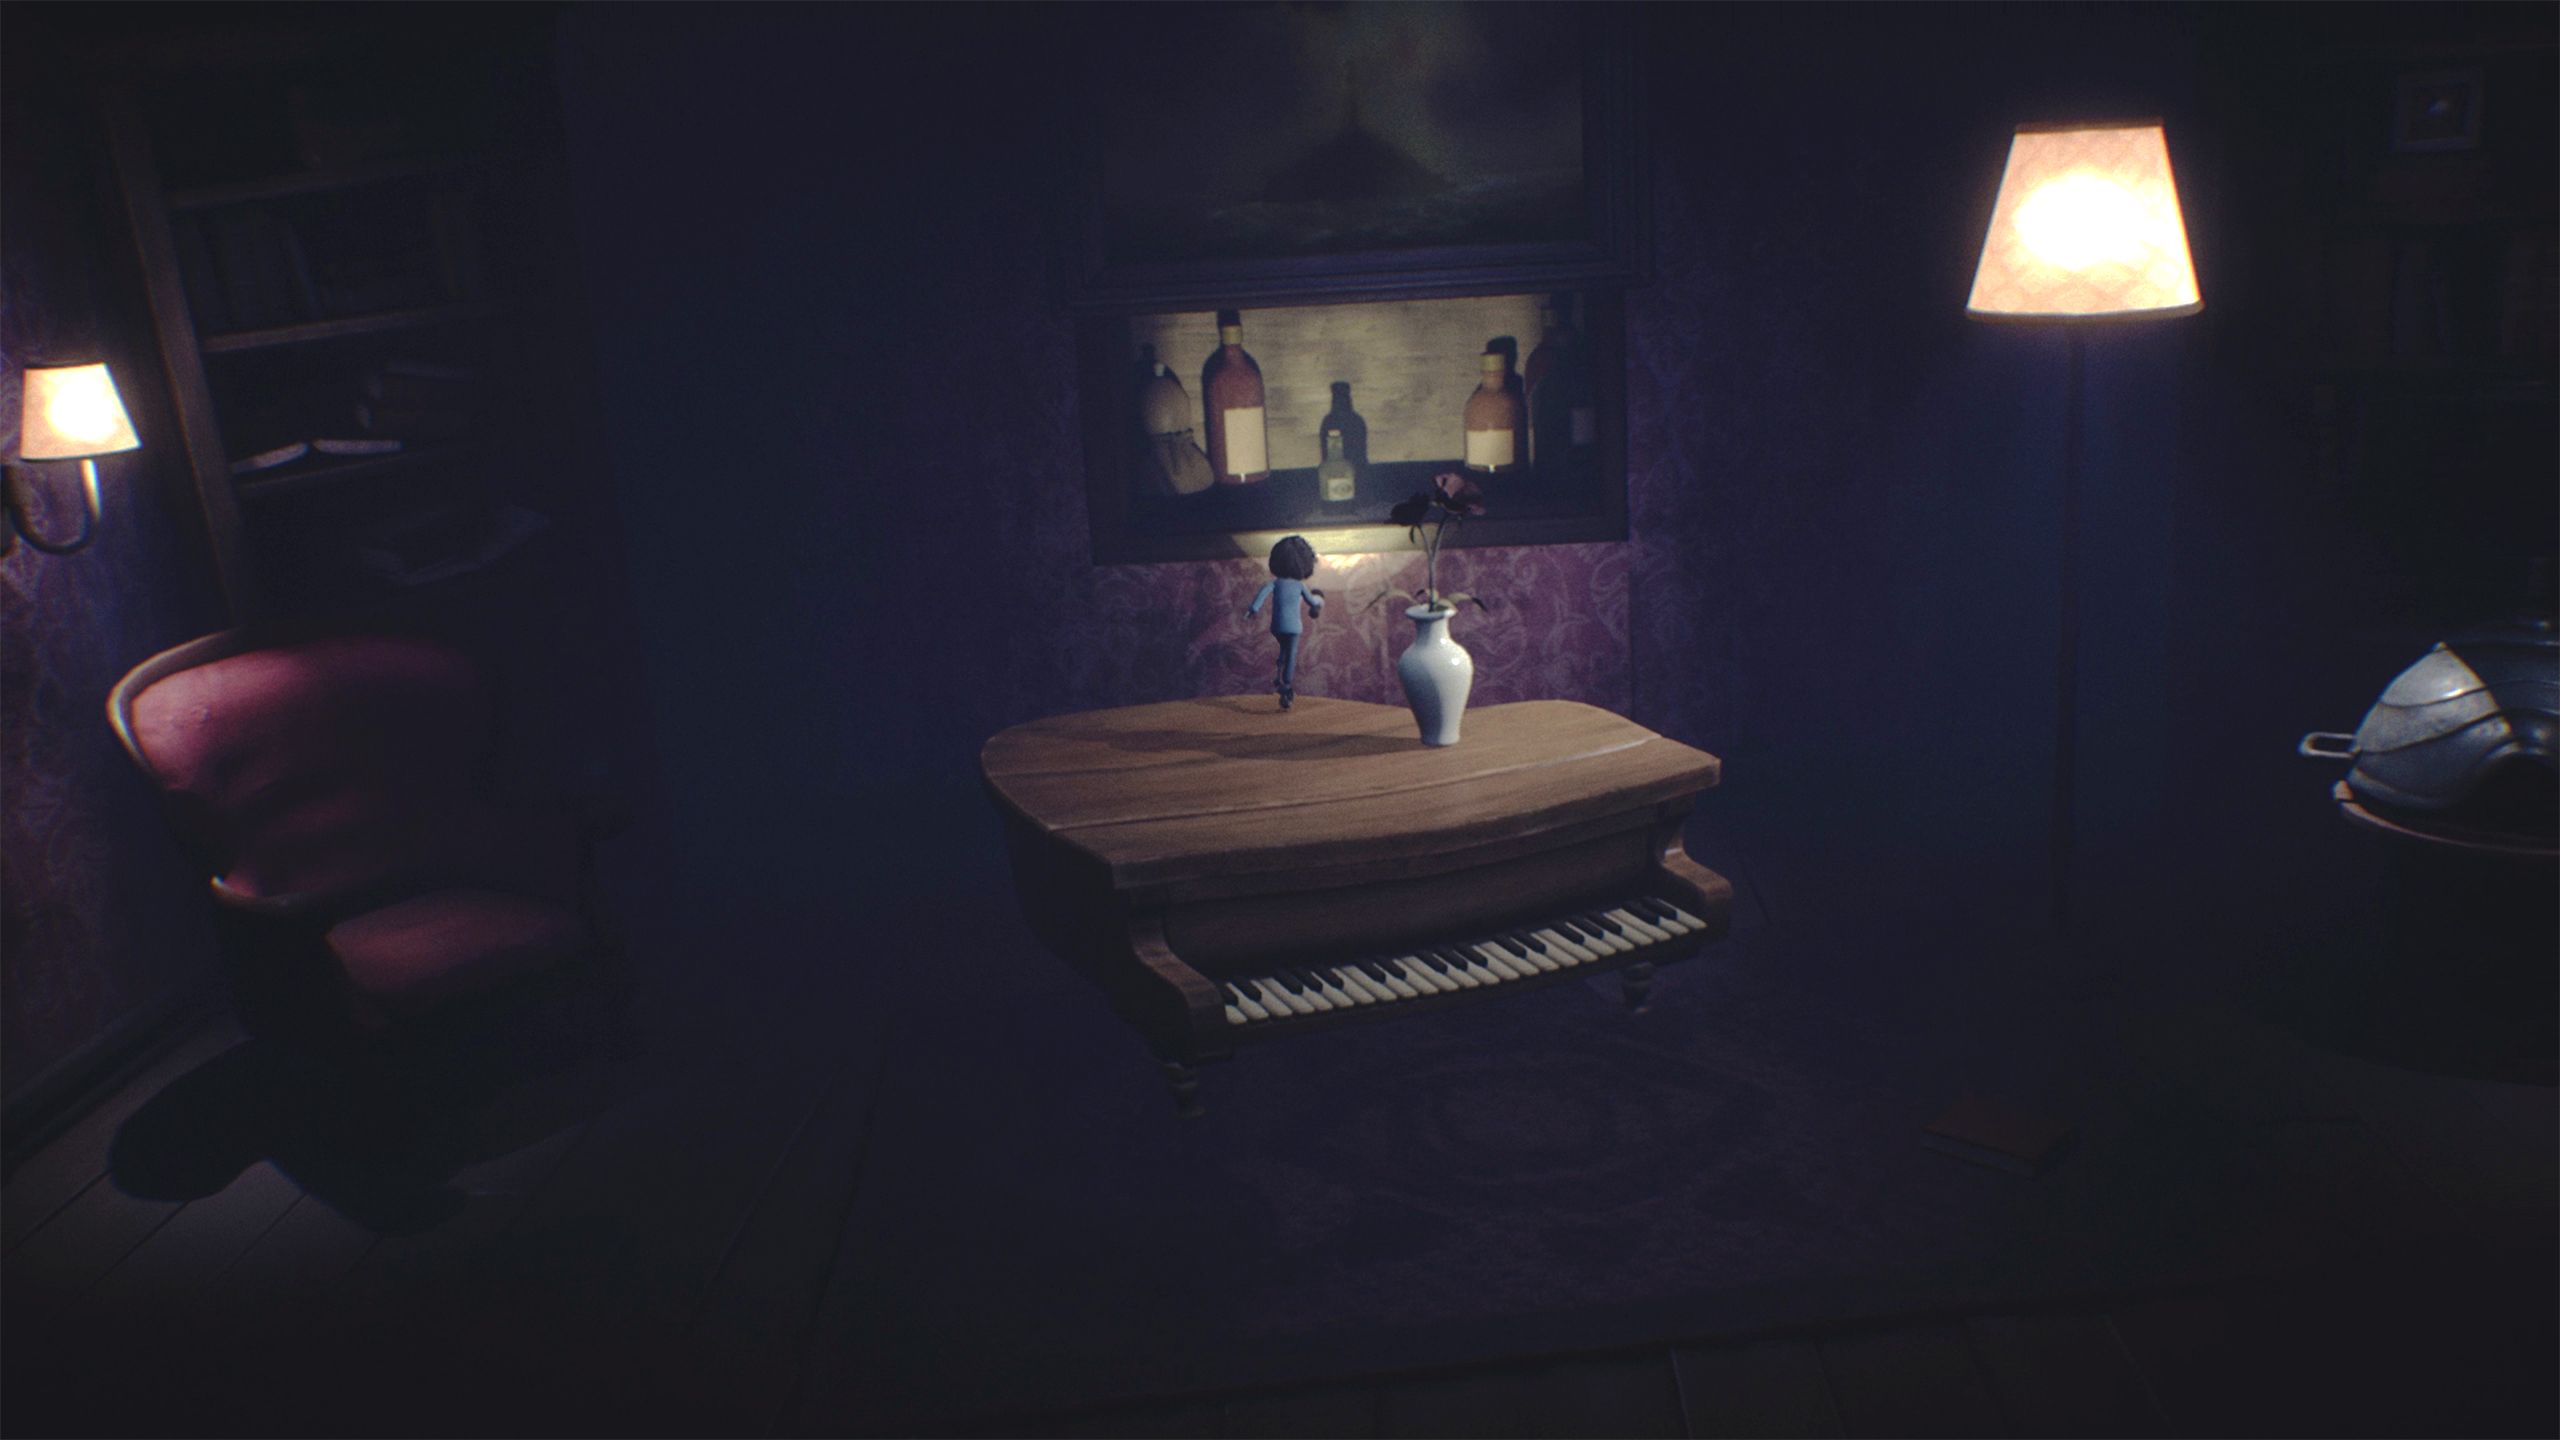
Climb the table and pull the rope to turn on the lamp. Climb the shelves and open the first flotsam.
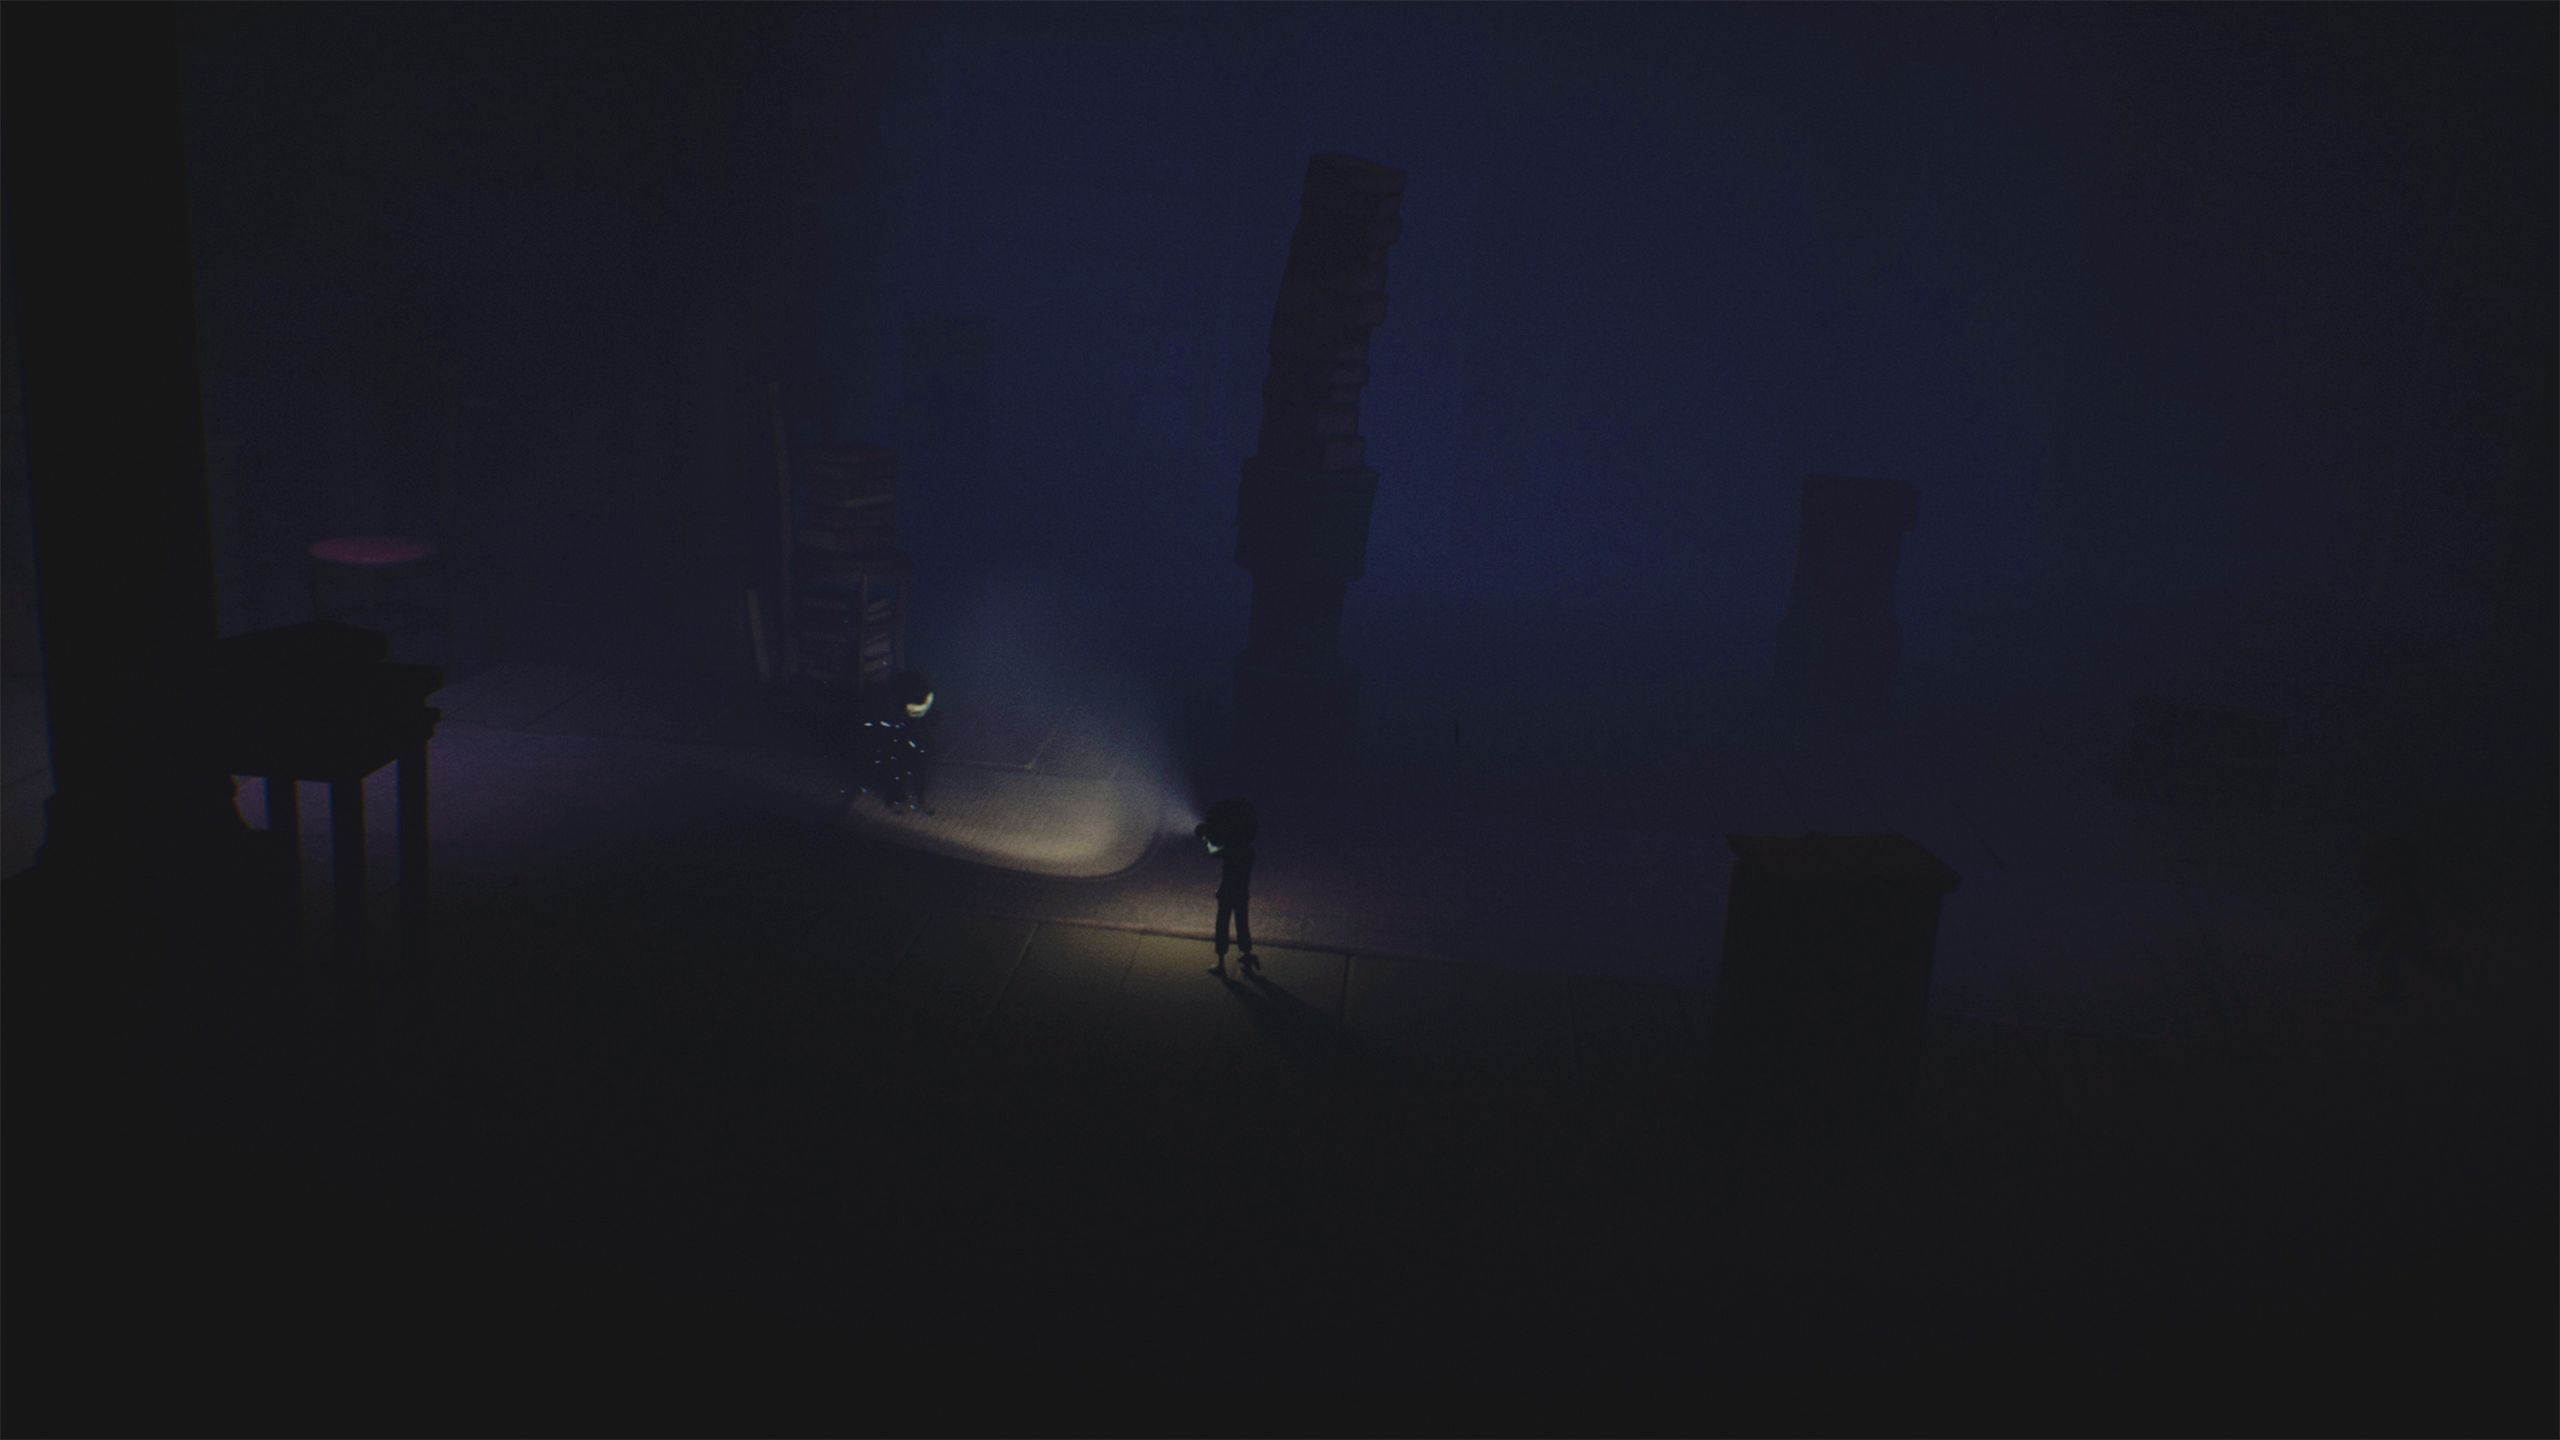
Move ahead and crouch down, then carefully walk across the room as quietly as you can. The Lady is inside, brushing her hair.

Then, go up to the second floor. Move the ladder to the right and climb it to reach the third floor.
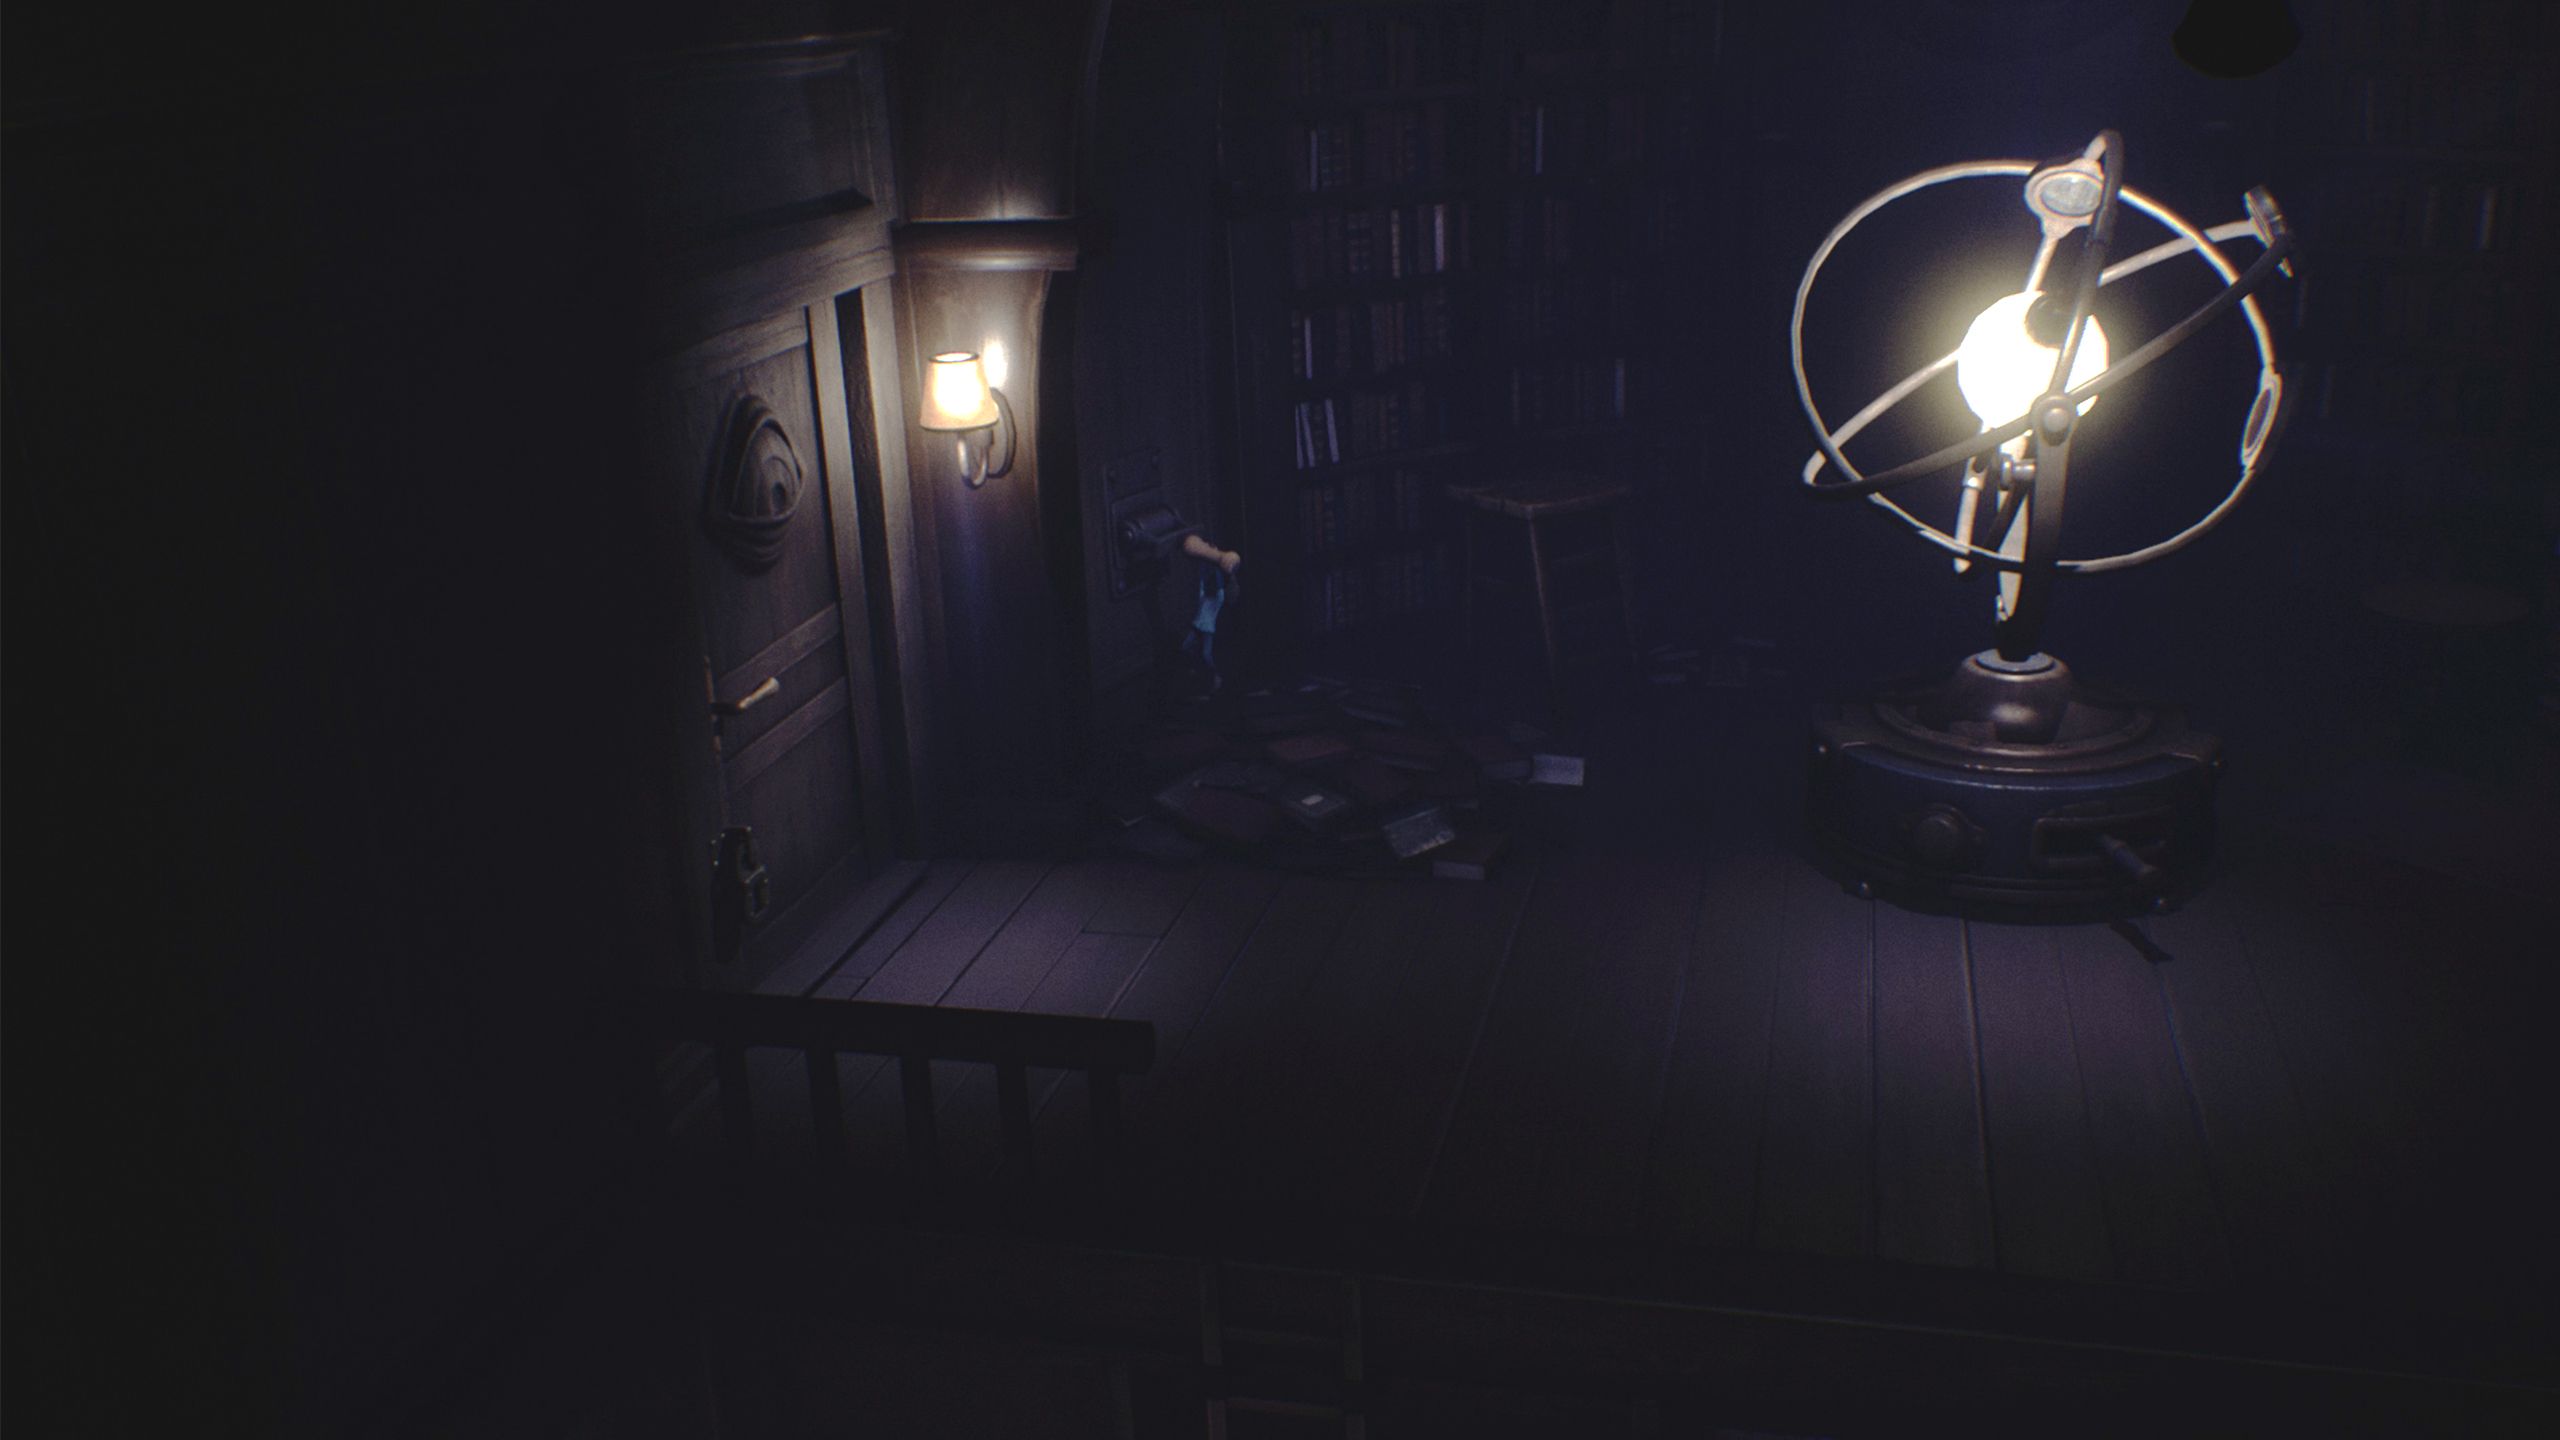
Use the pile of books as leverage and pull the lever to turn on the globe.
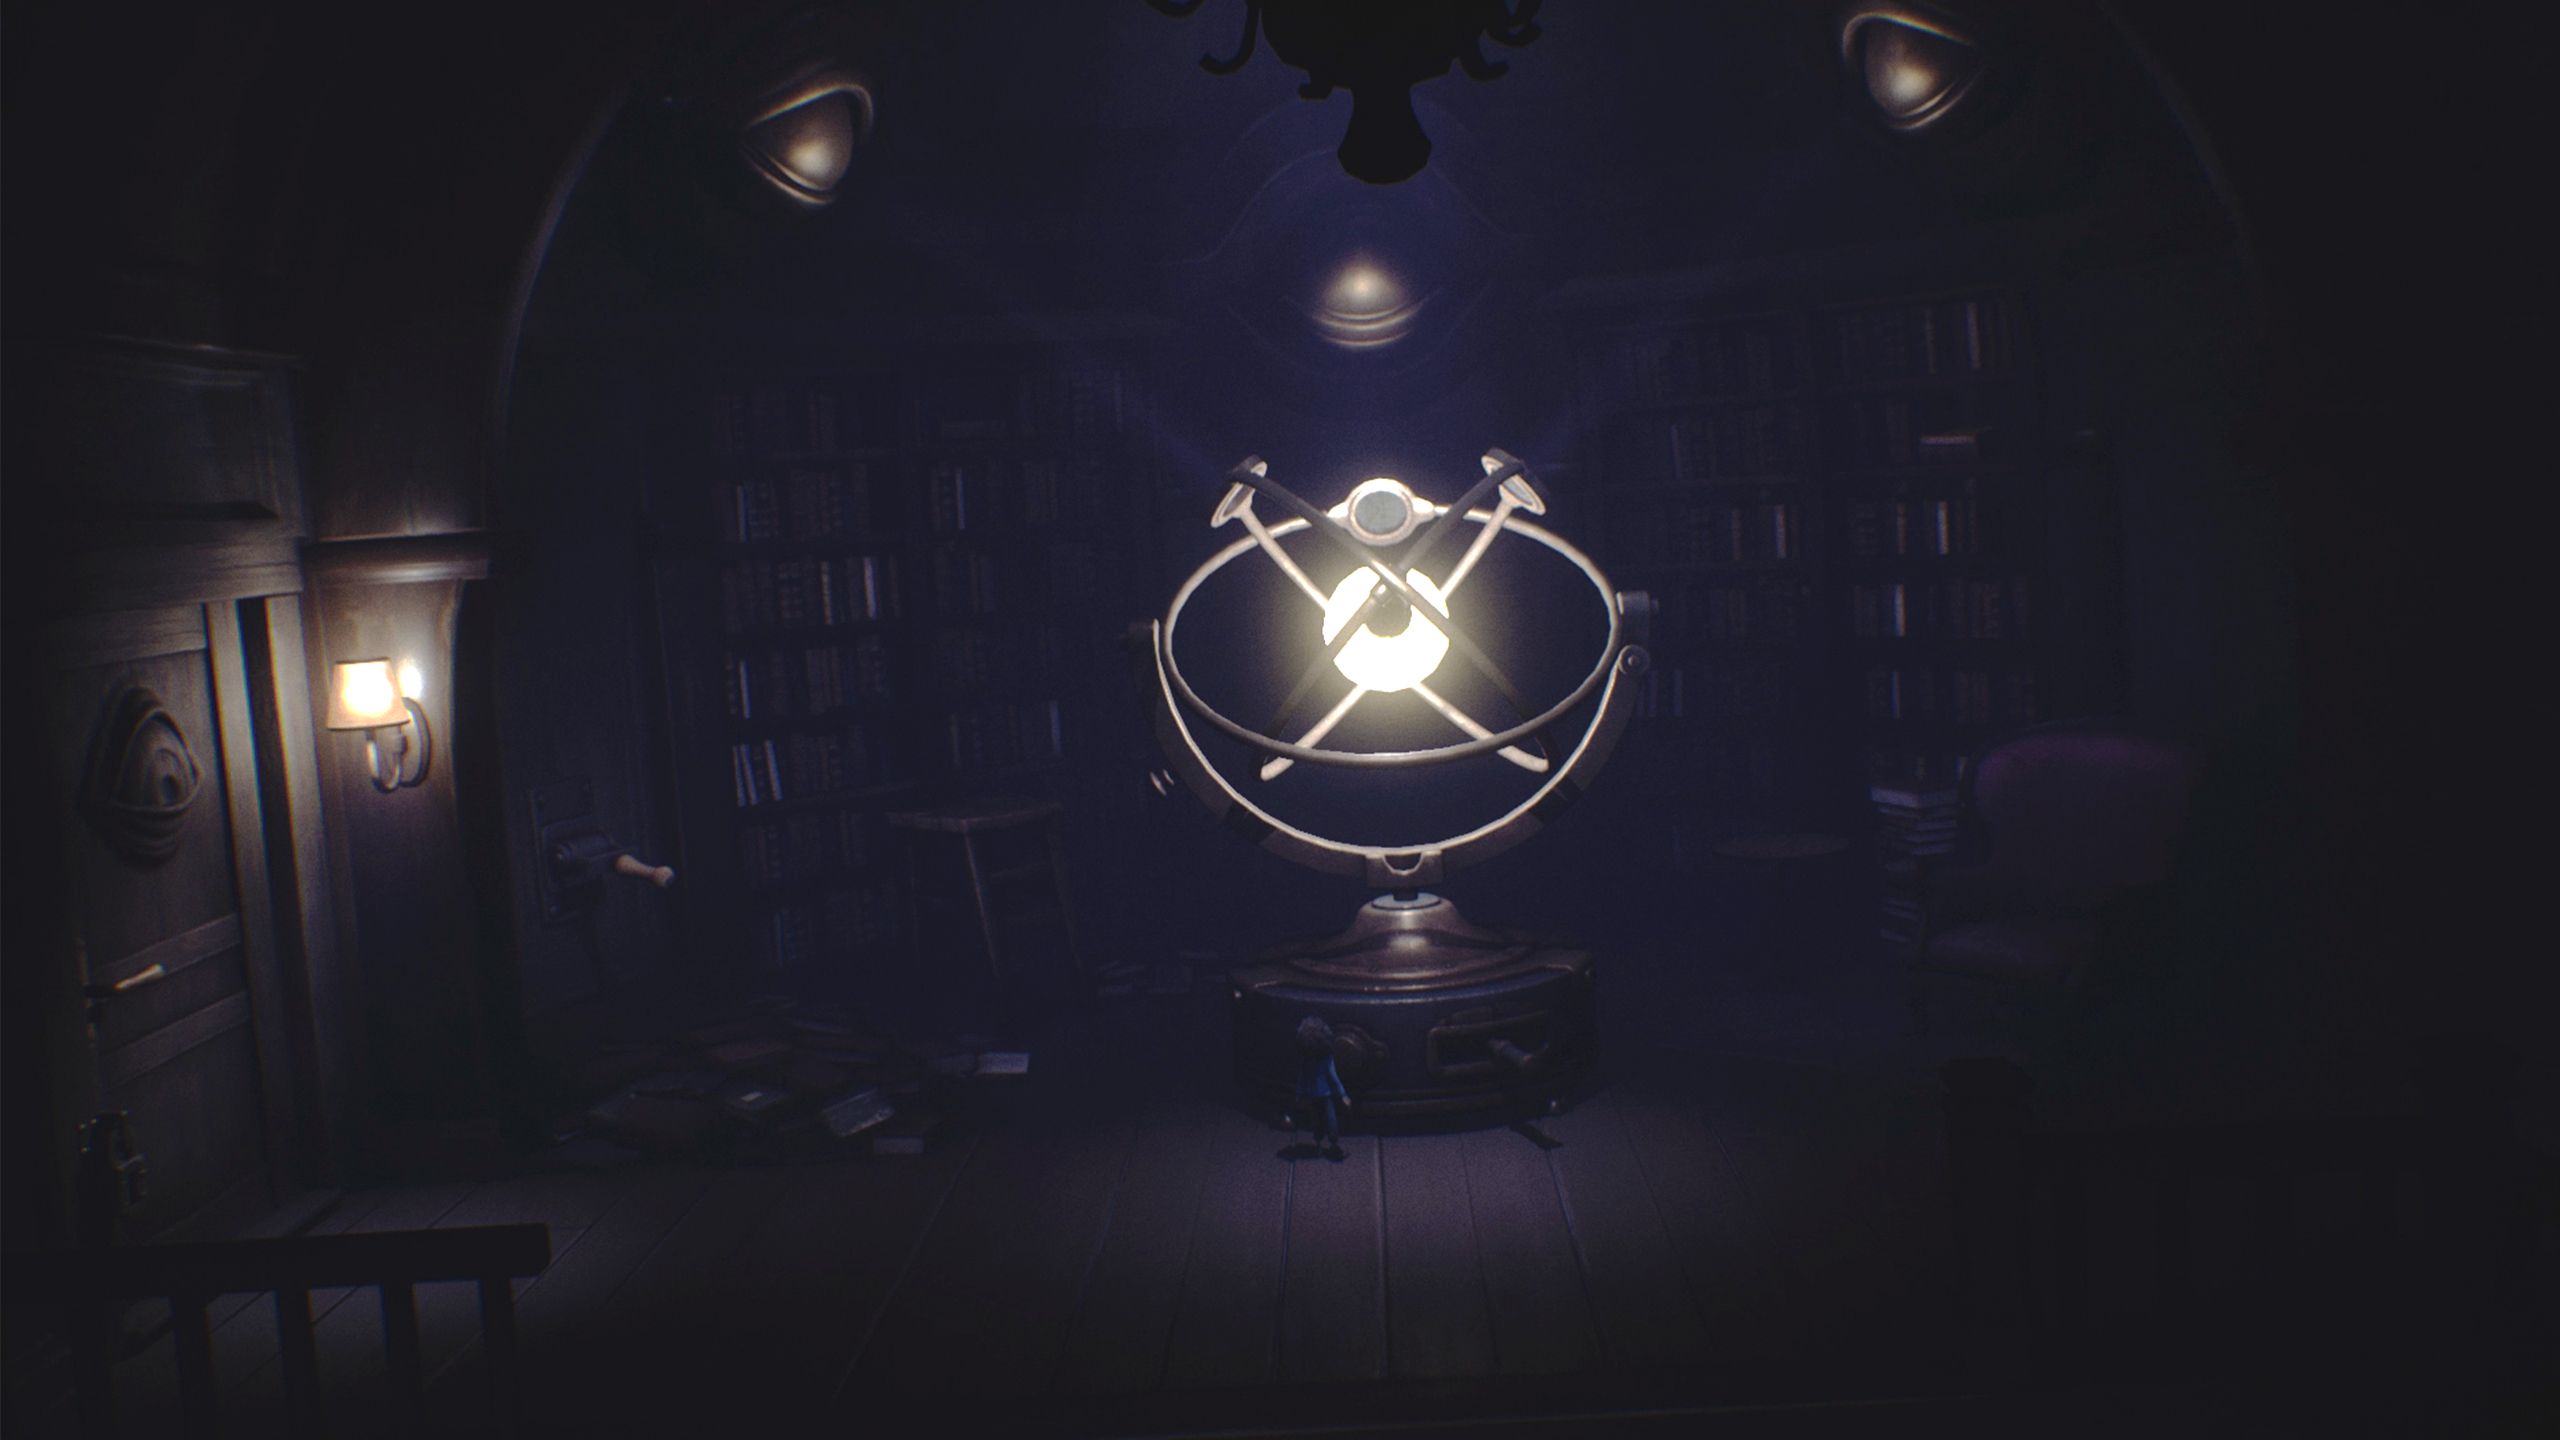
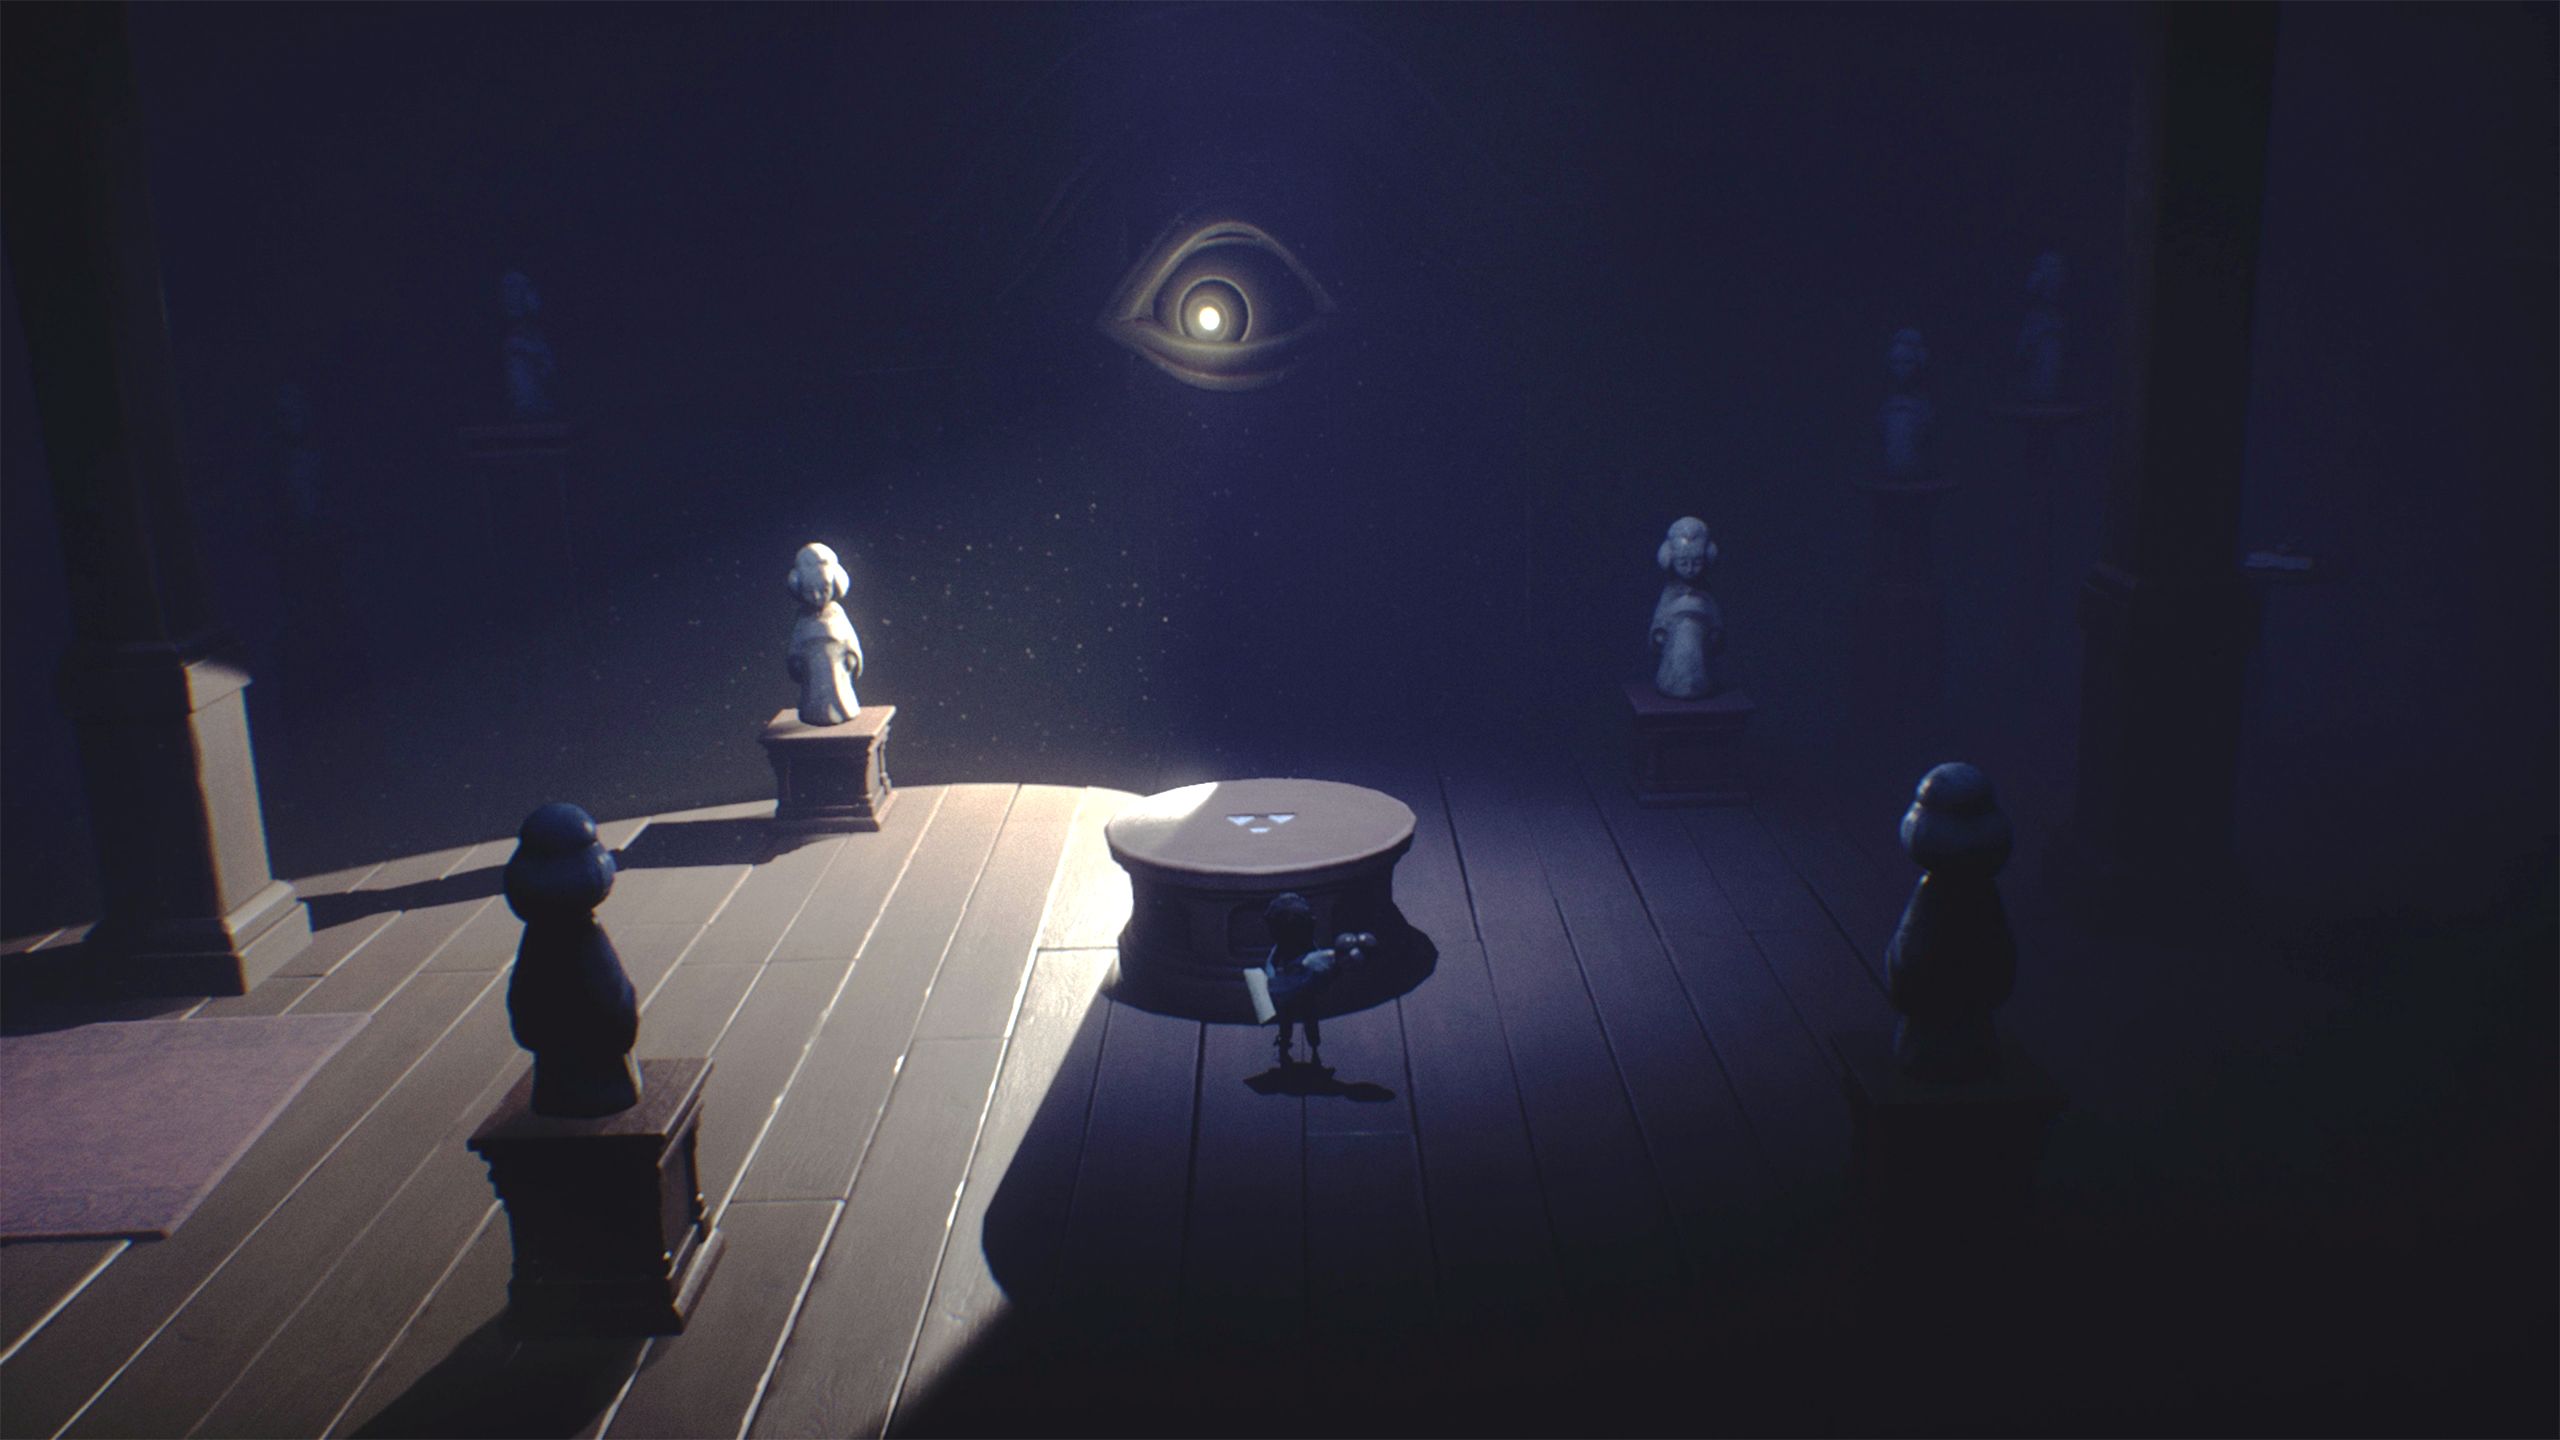
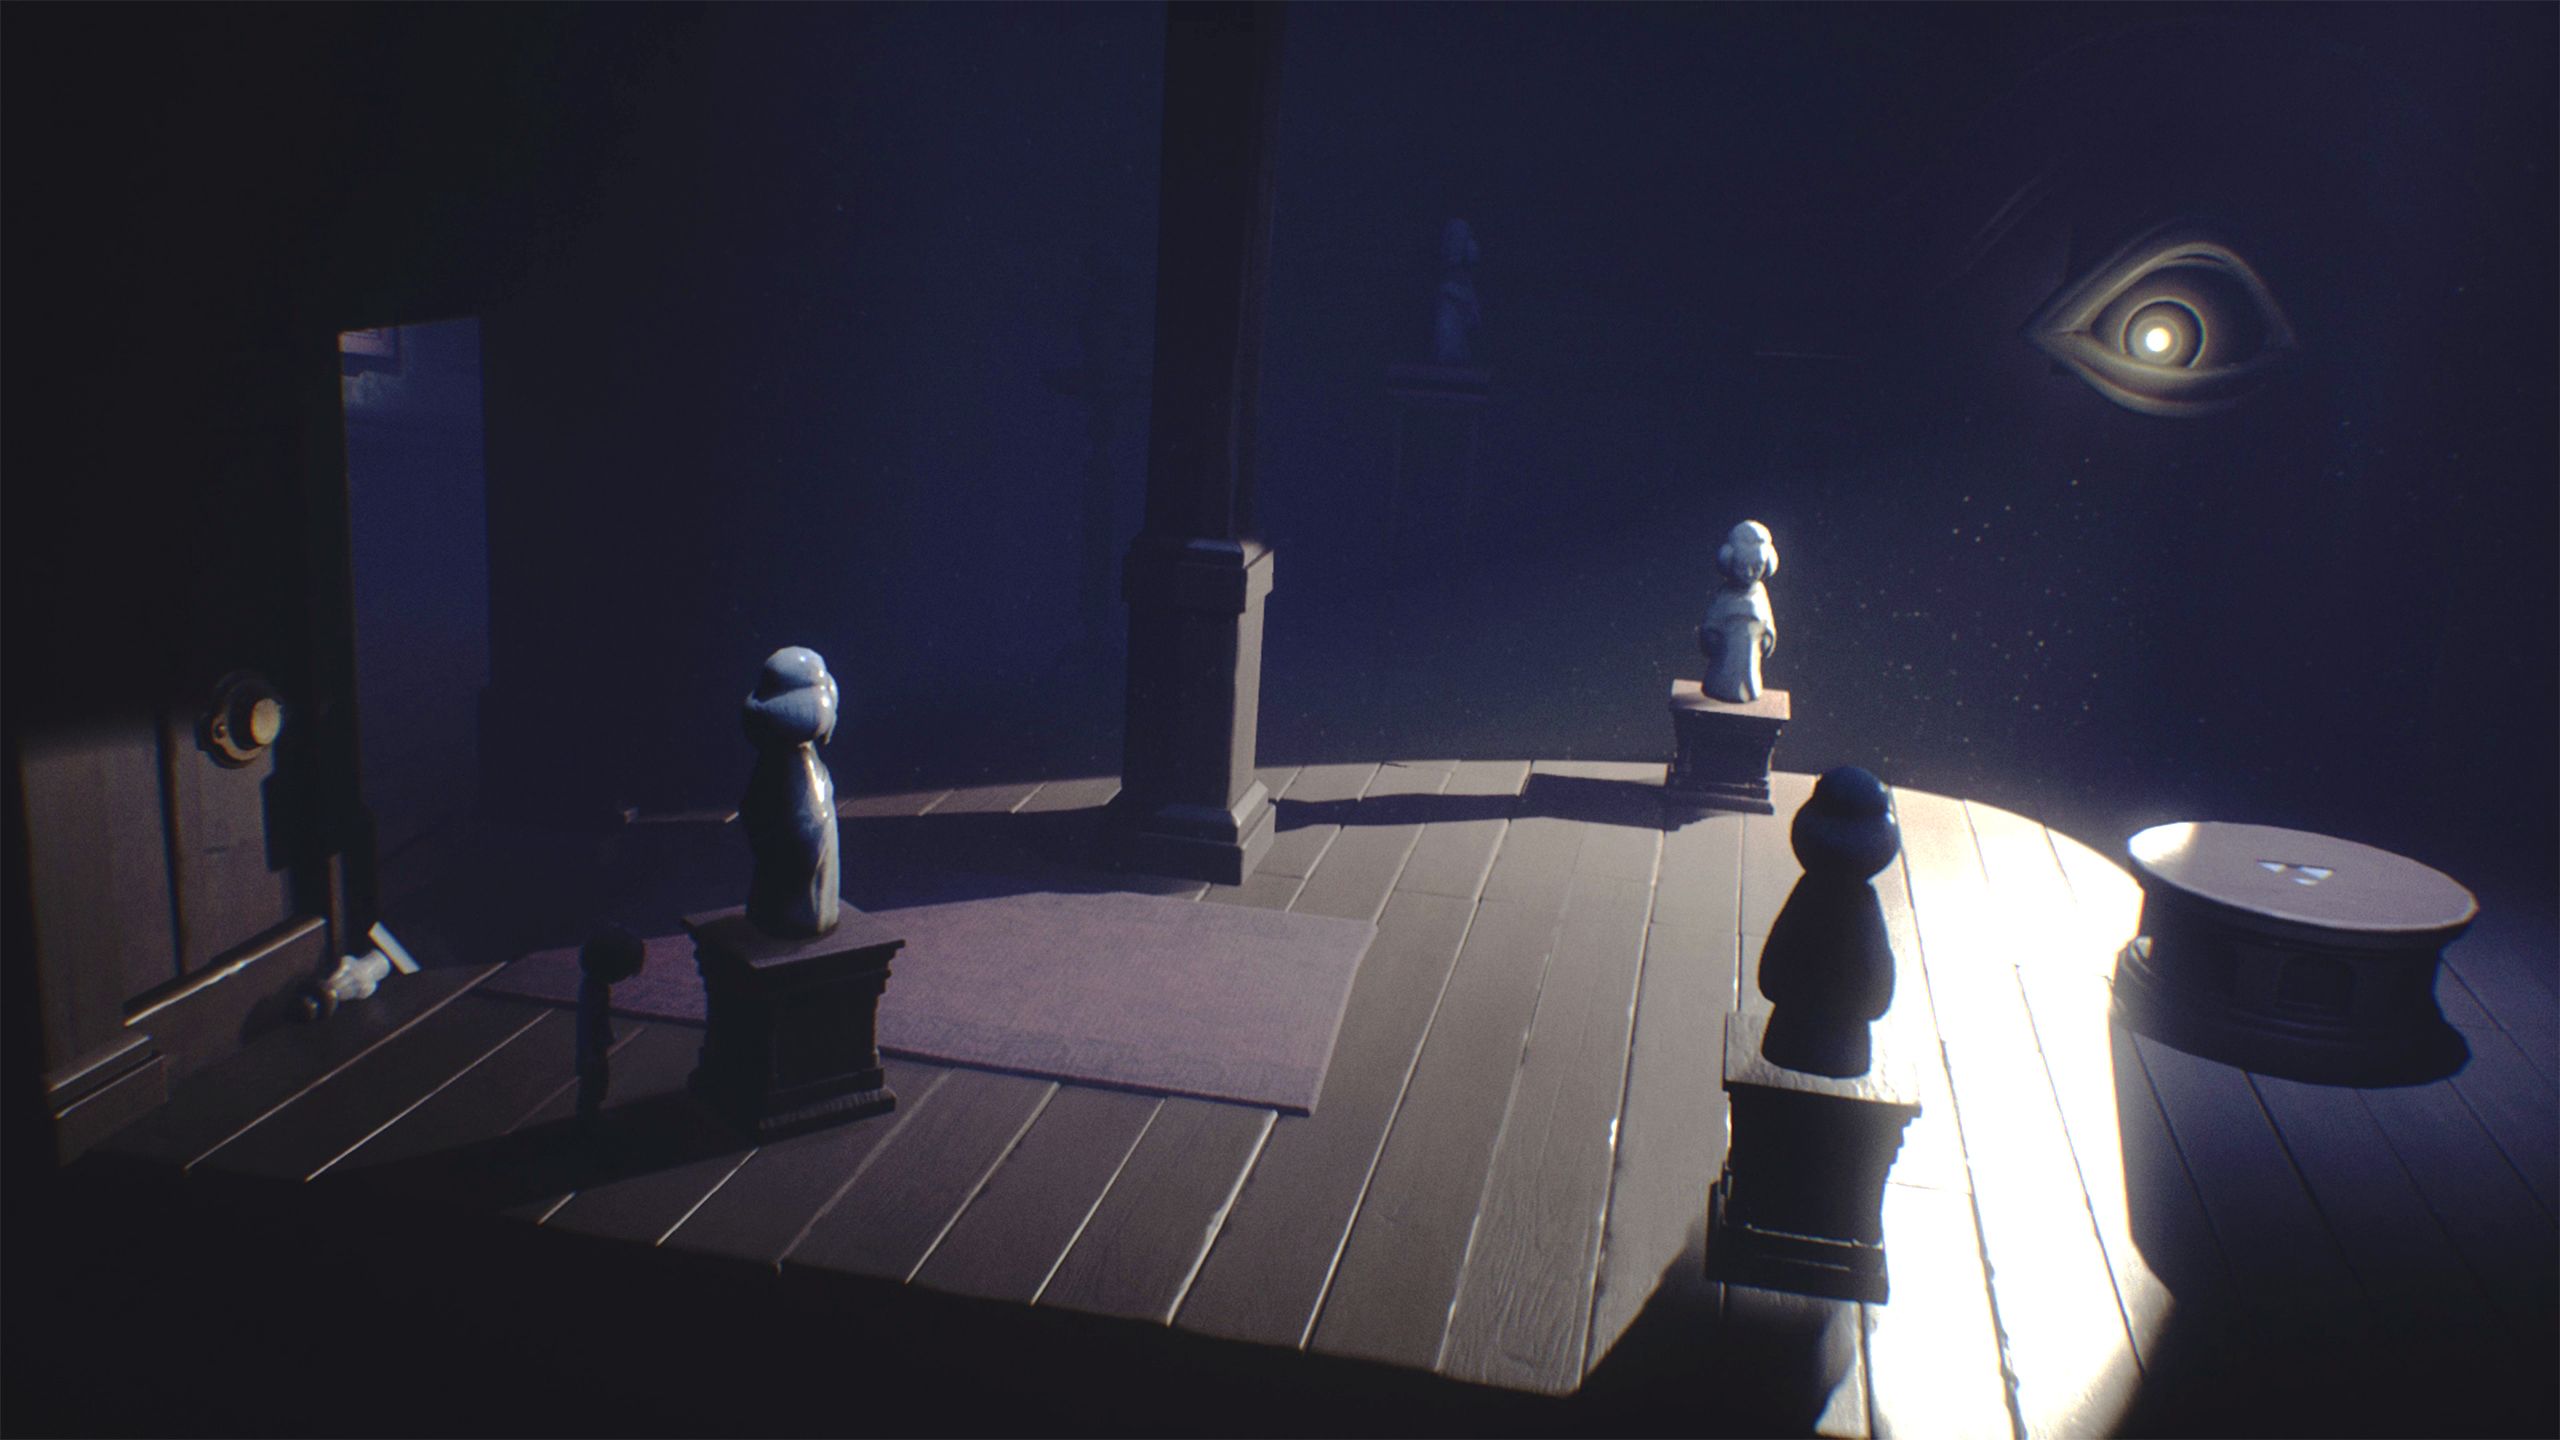
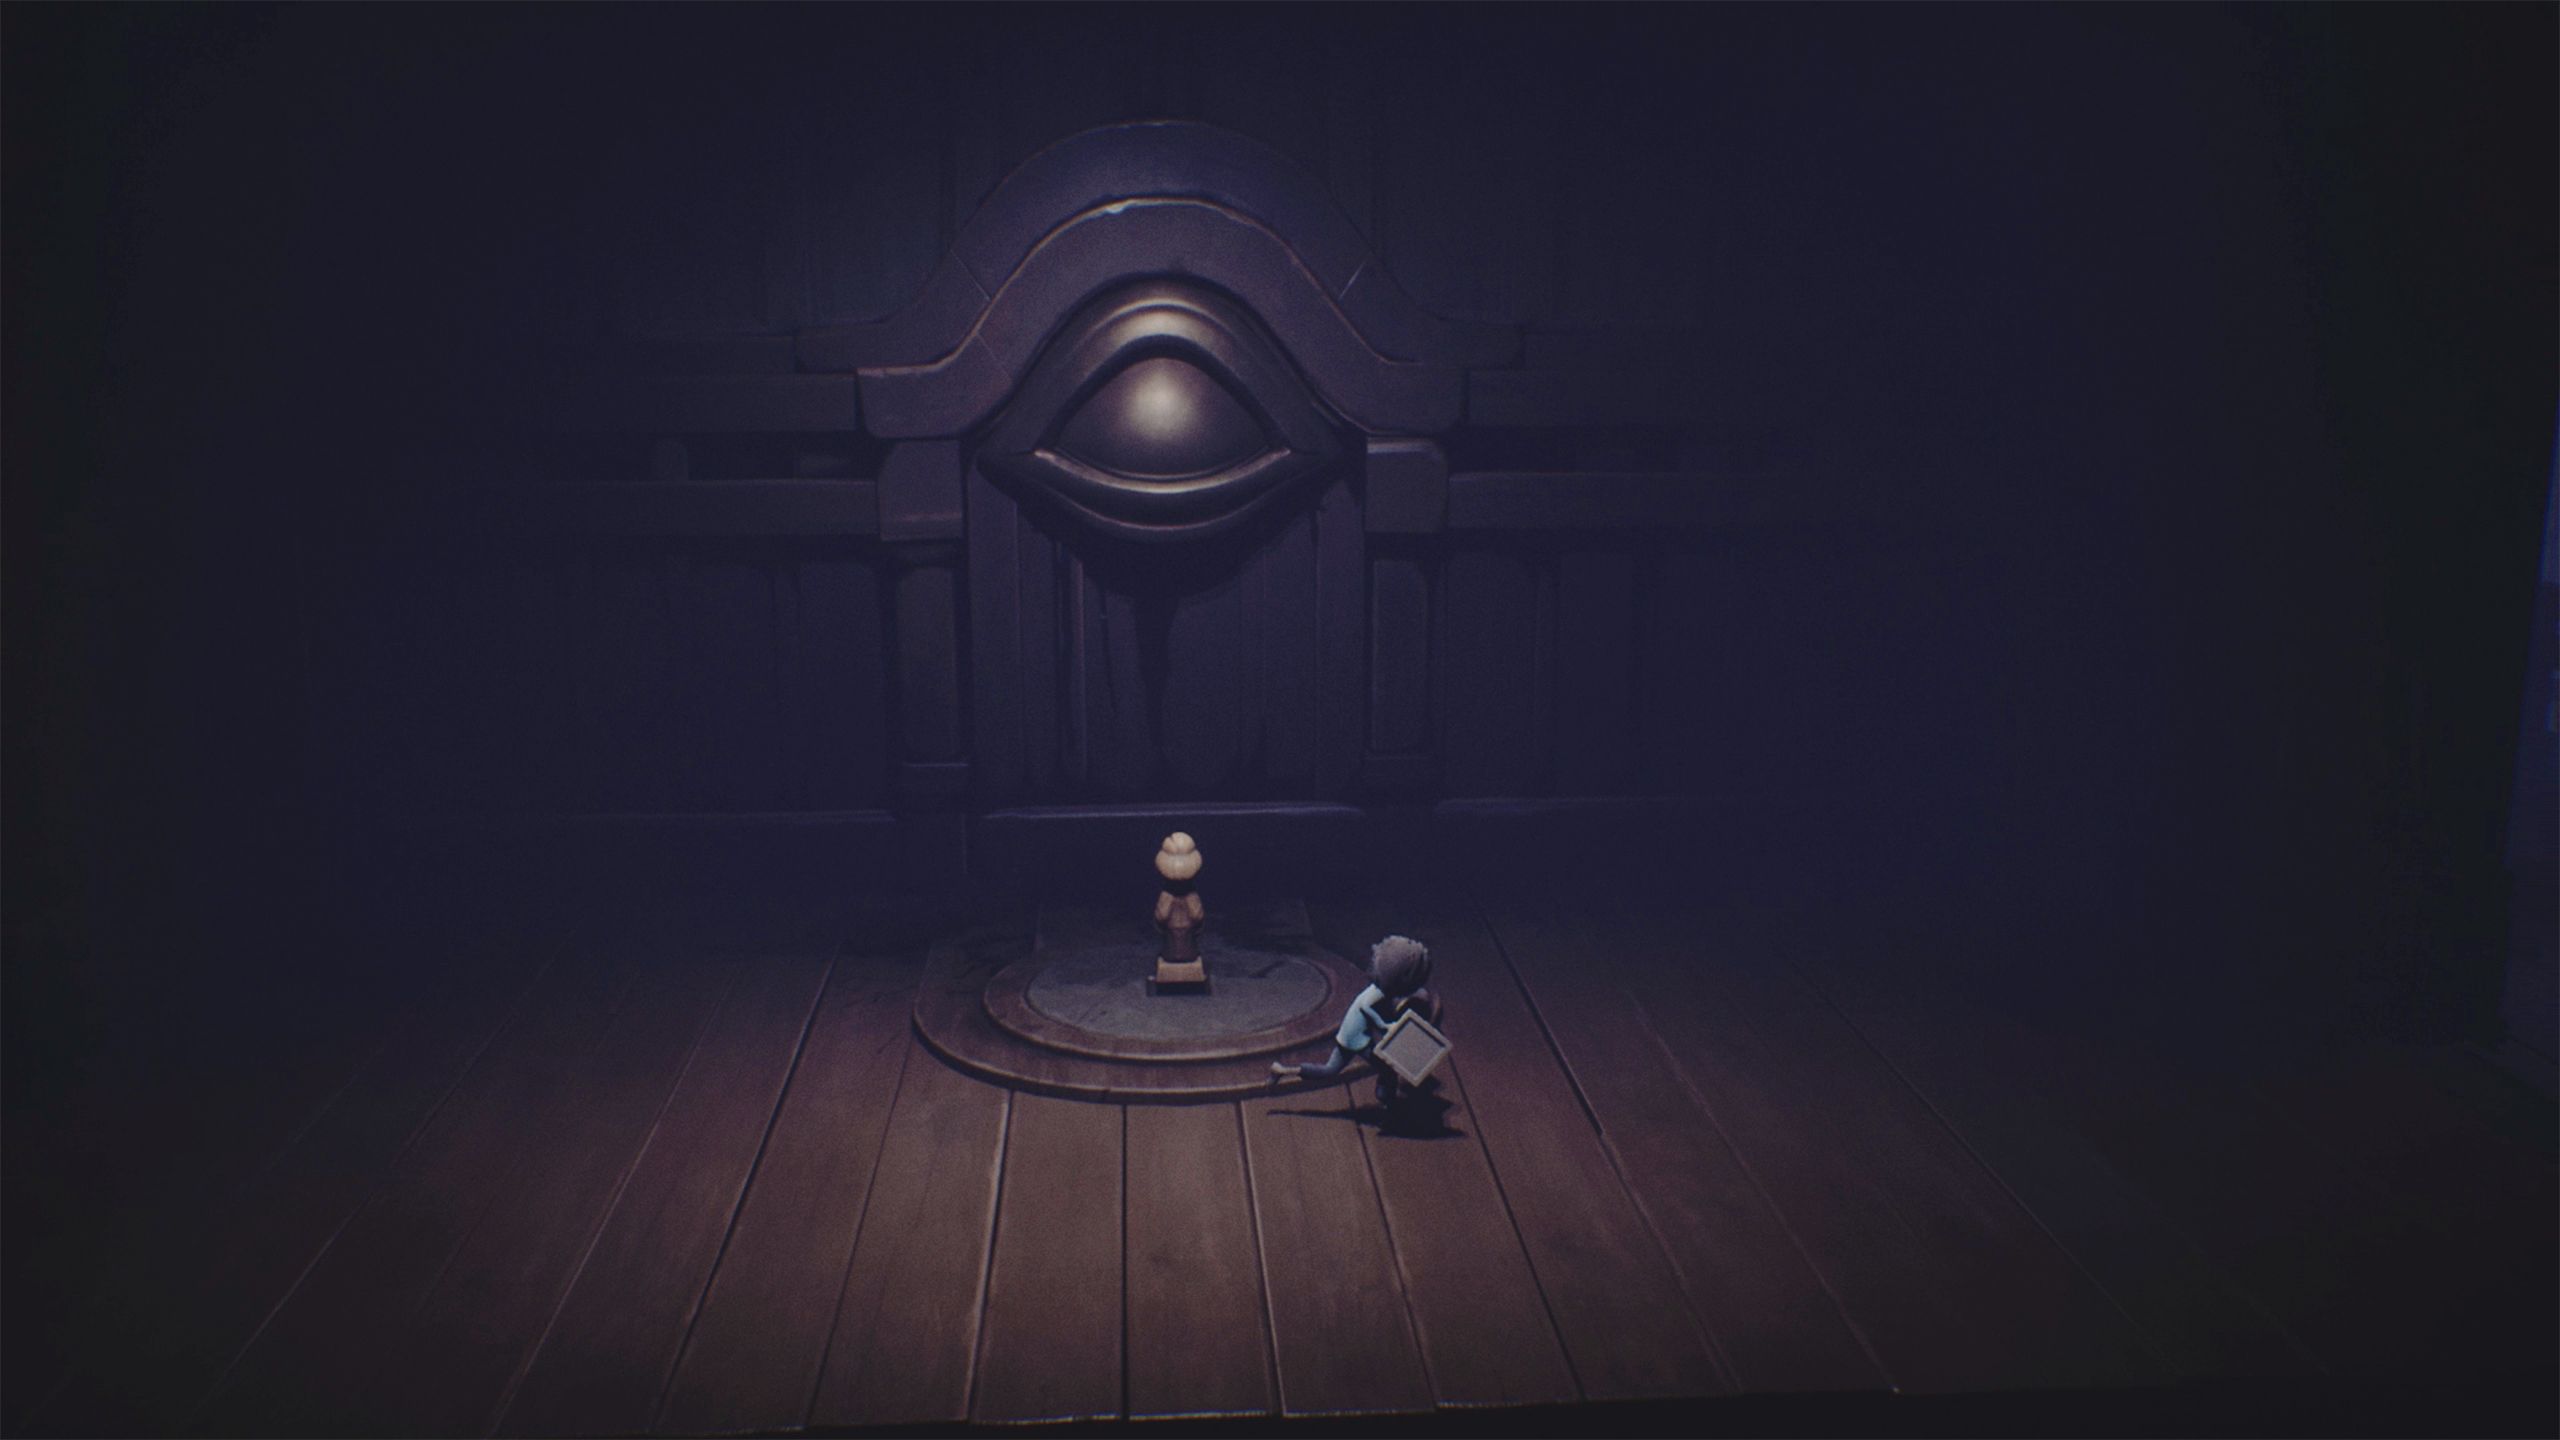
To solve this puzzle, you need to aim three lights at the eyes to close them. Use the horizontal lever to select which light you want to move, and the button to rotate it. You’ll need to experiment with both controls to get all three eyes closed, as the lights start in different positions each time you try. It’s all about finding the right combination to get them all shut off.
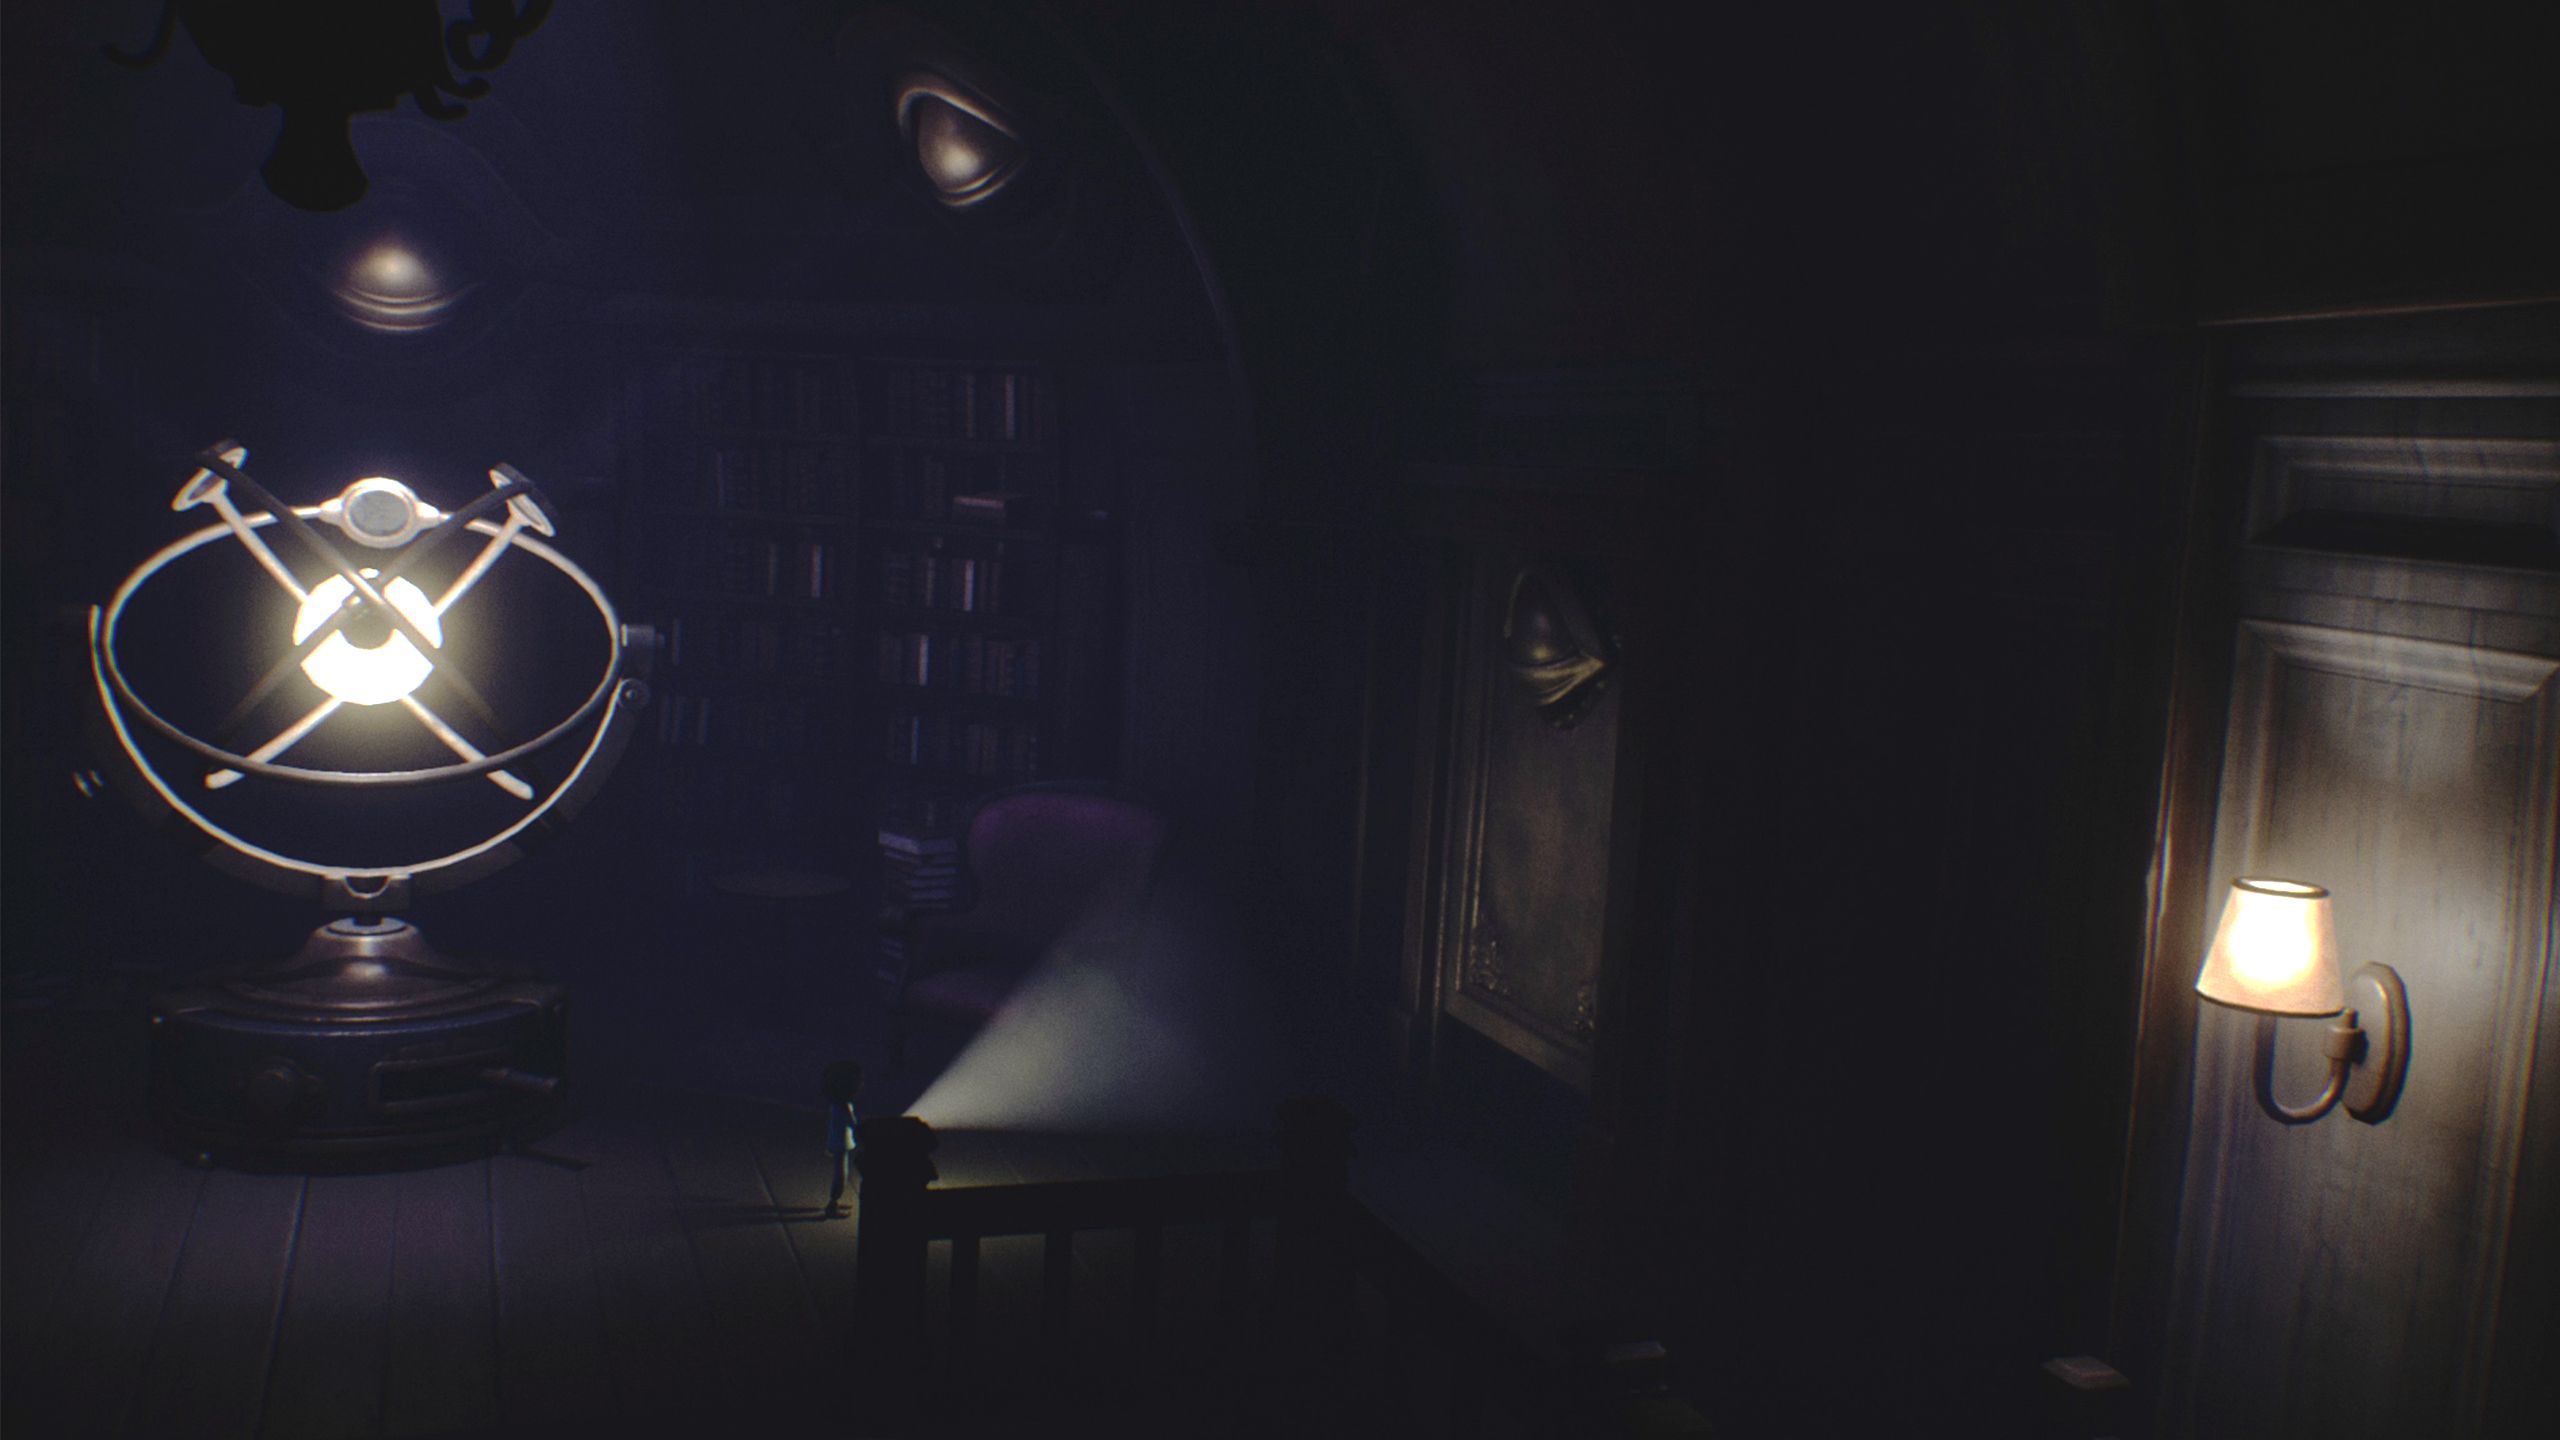
After closing all three eyes, shine the flashlight on the fourth eye located to the right – this will open the door.
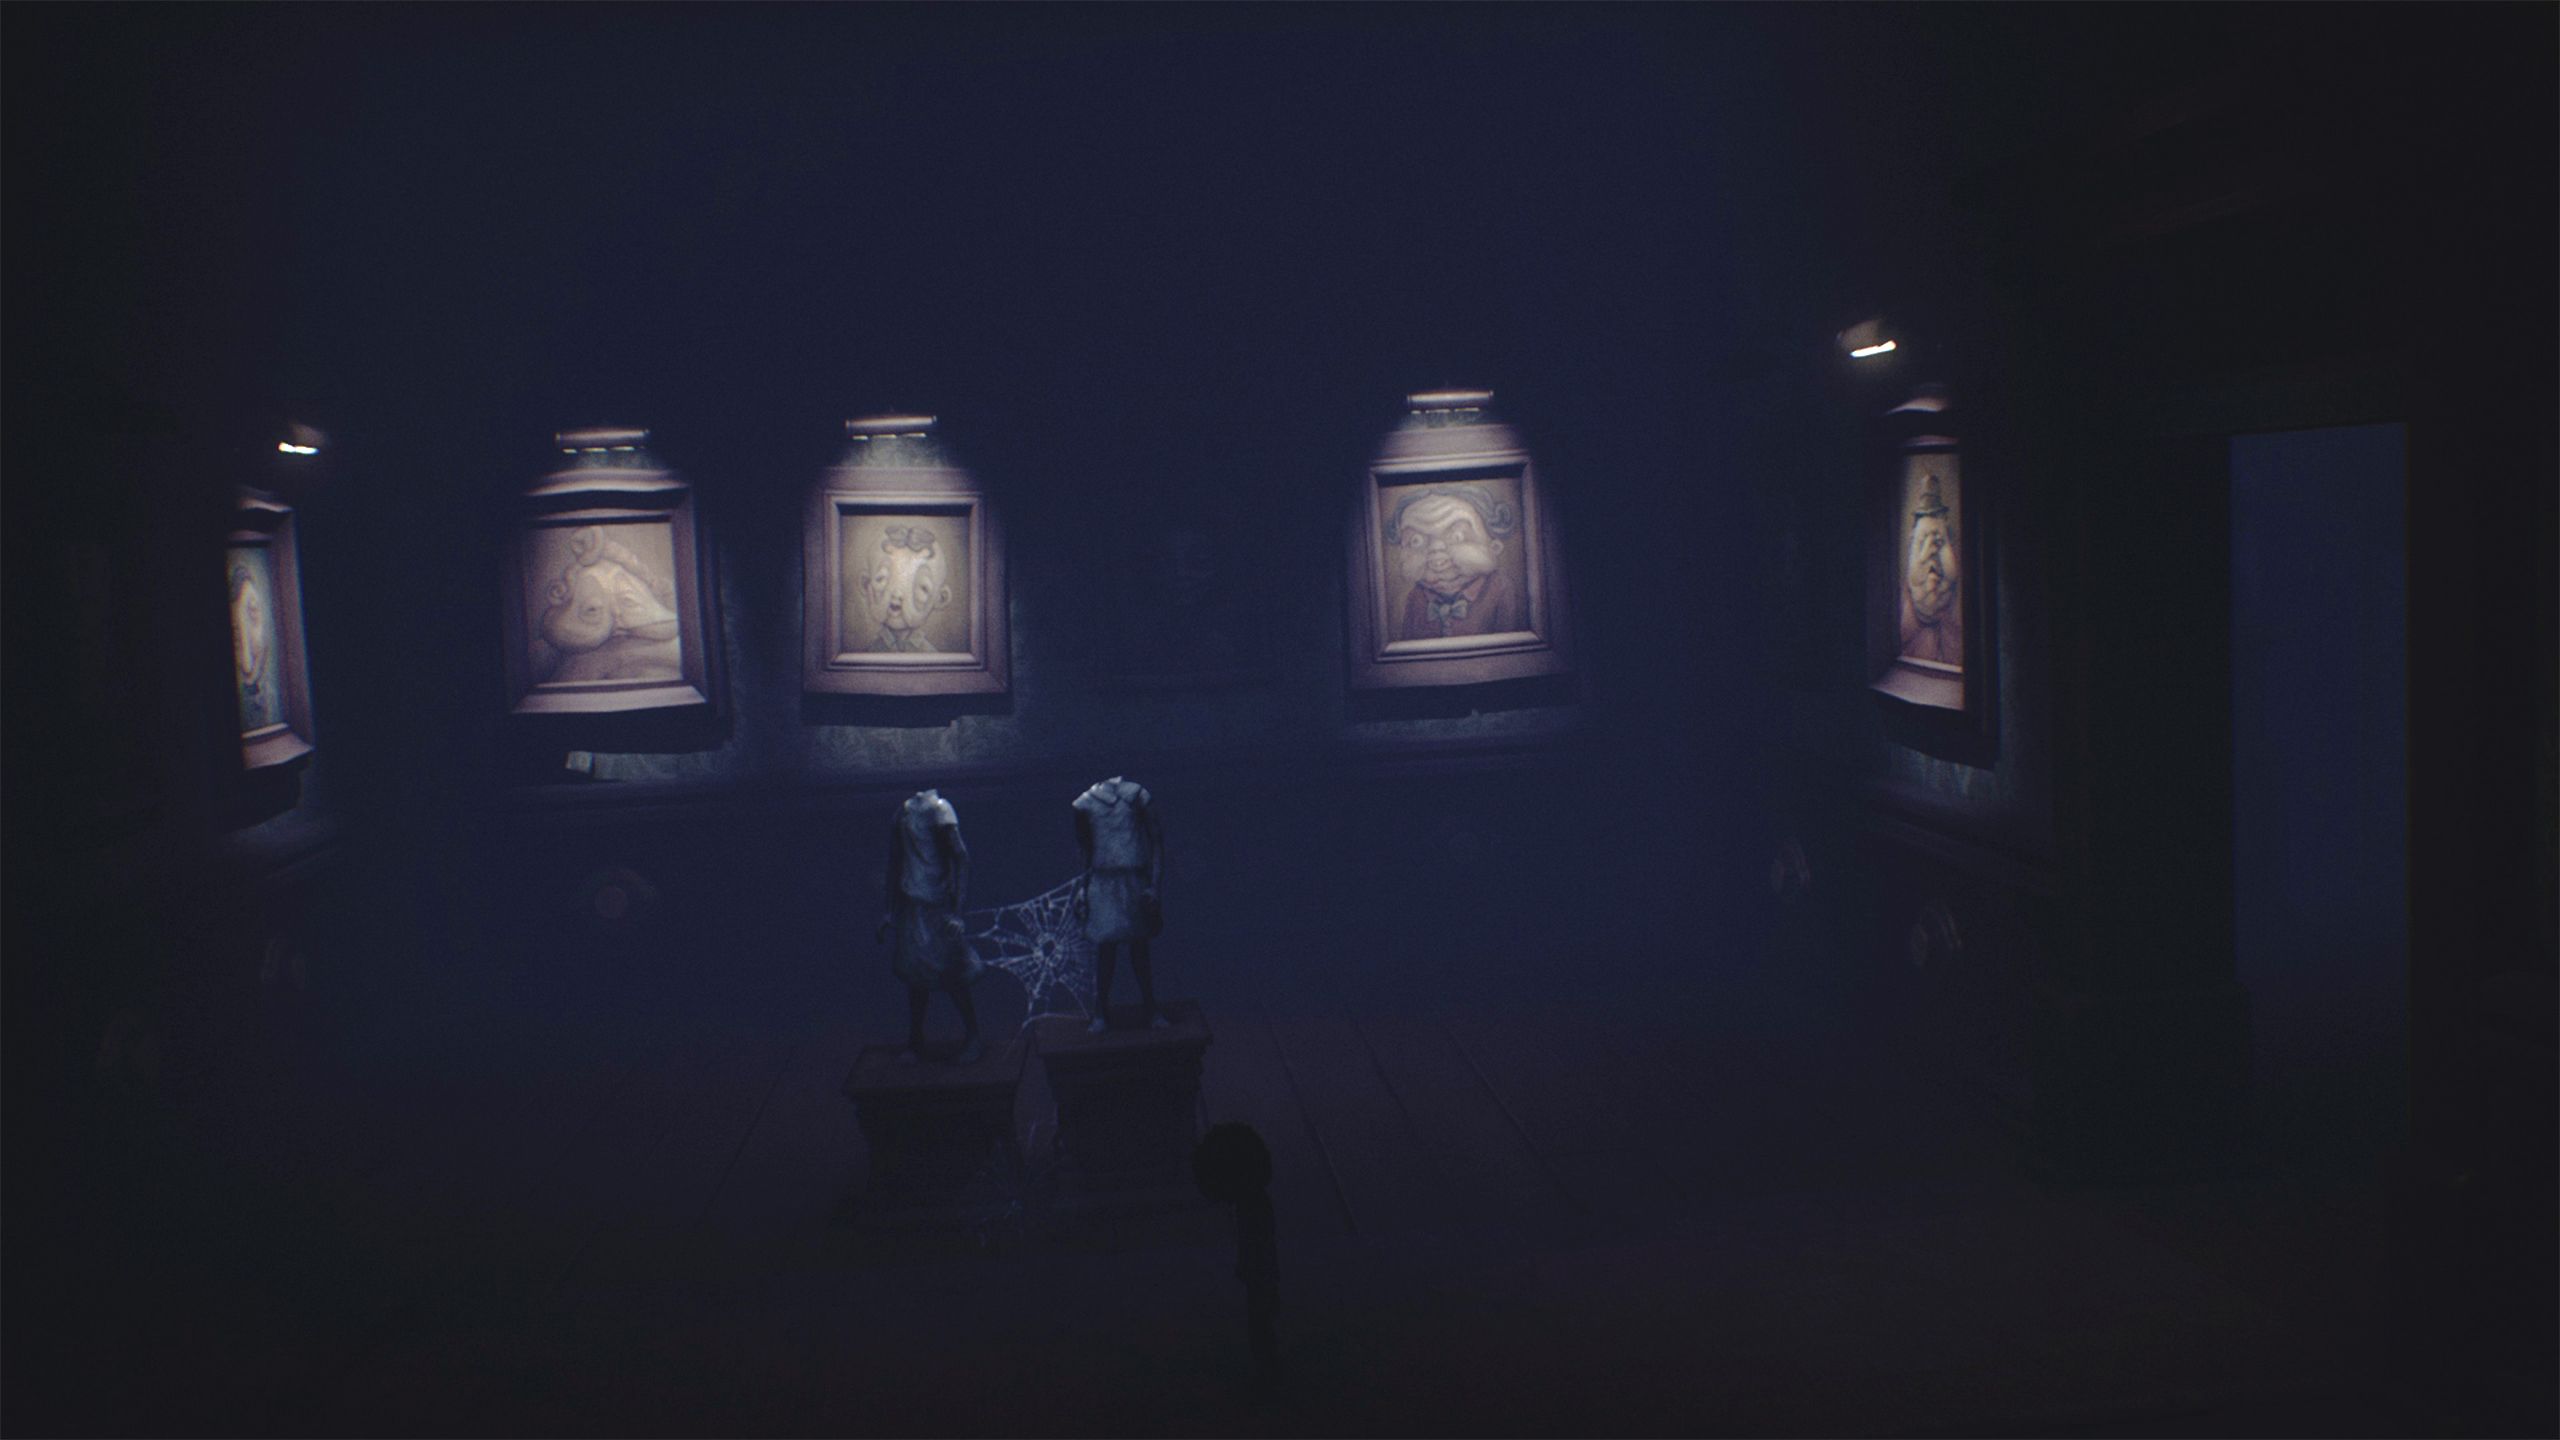
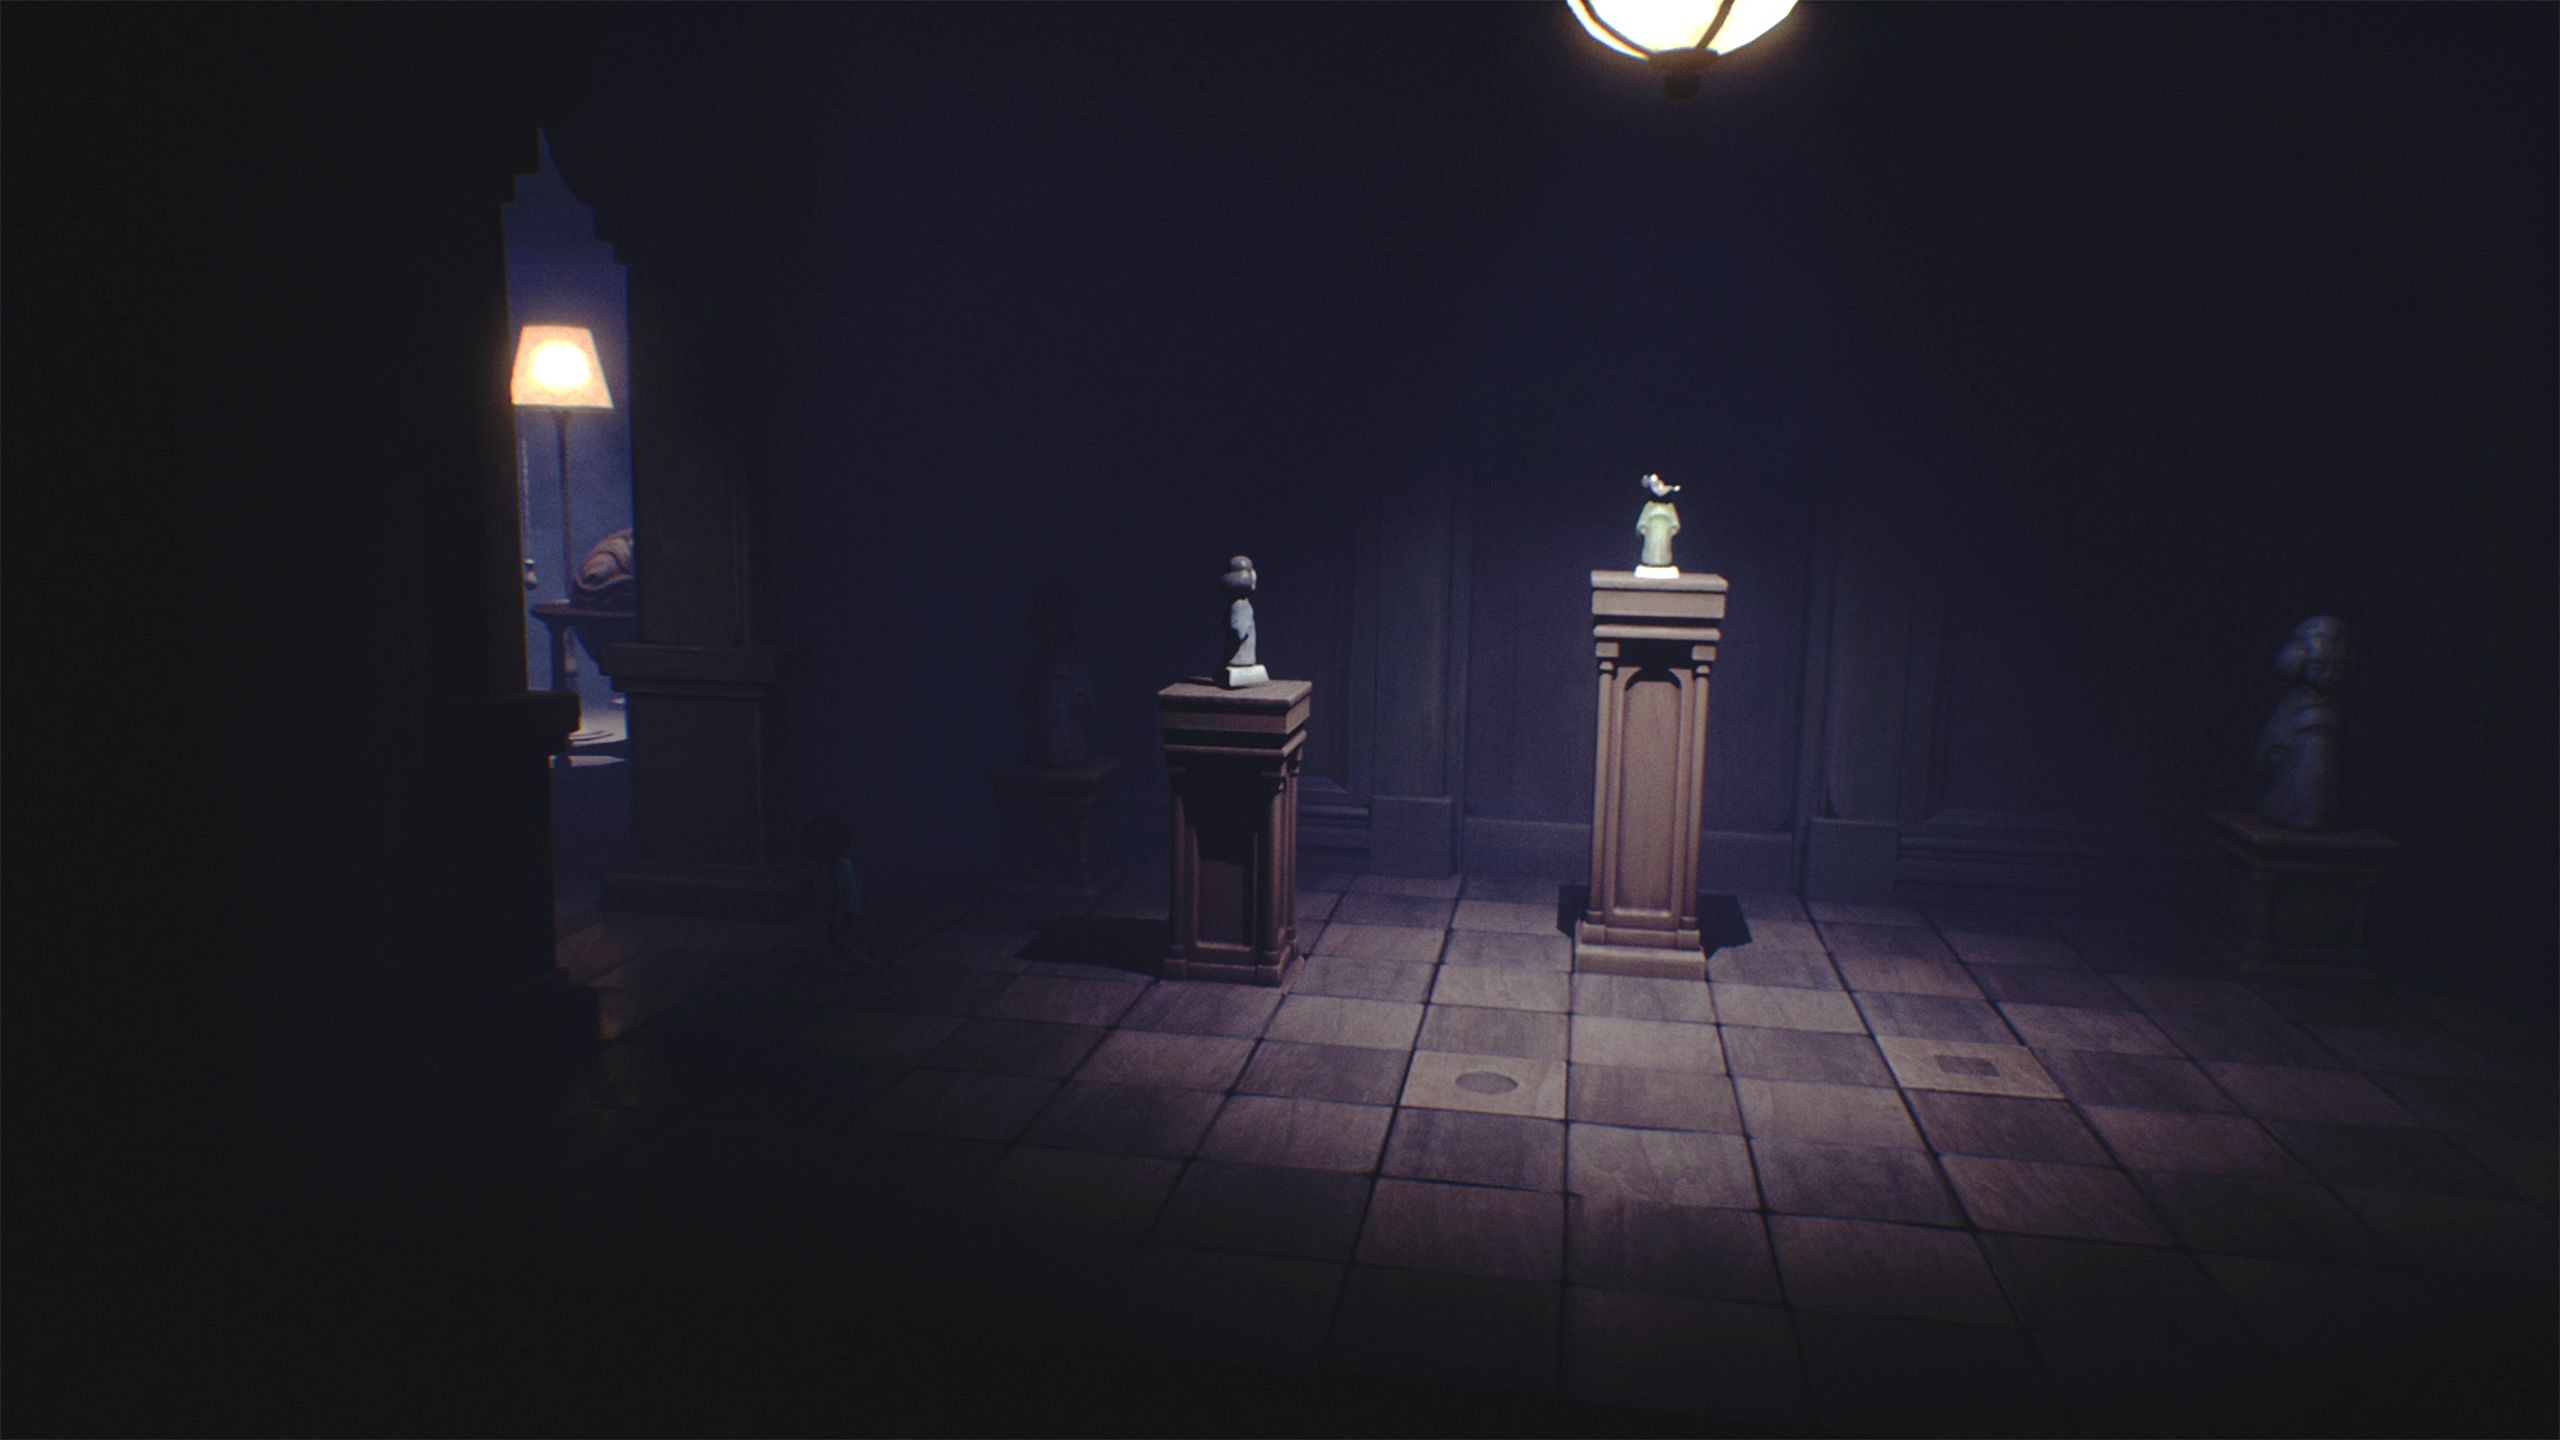
Shine the flashlight and head into the room with the statues. When you get to the wall of portraits, you’ll need to press the buttons in the right sequence to unlock the puzzle.
- Second portrait on the left wall.
- First, second, and fourth portraits on the central wall.
- Second portrait on the right wall.
Okay, so I went into the new room, but honestly, that statue wasn’t important. I just squeezed through this little hole in the wall instead – that’s where I needed to go!
Open the second flotsam near the three statues with an offering.
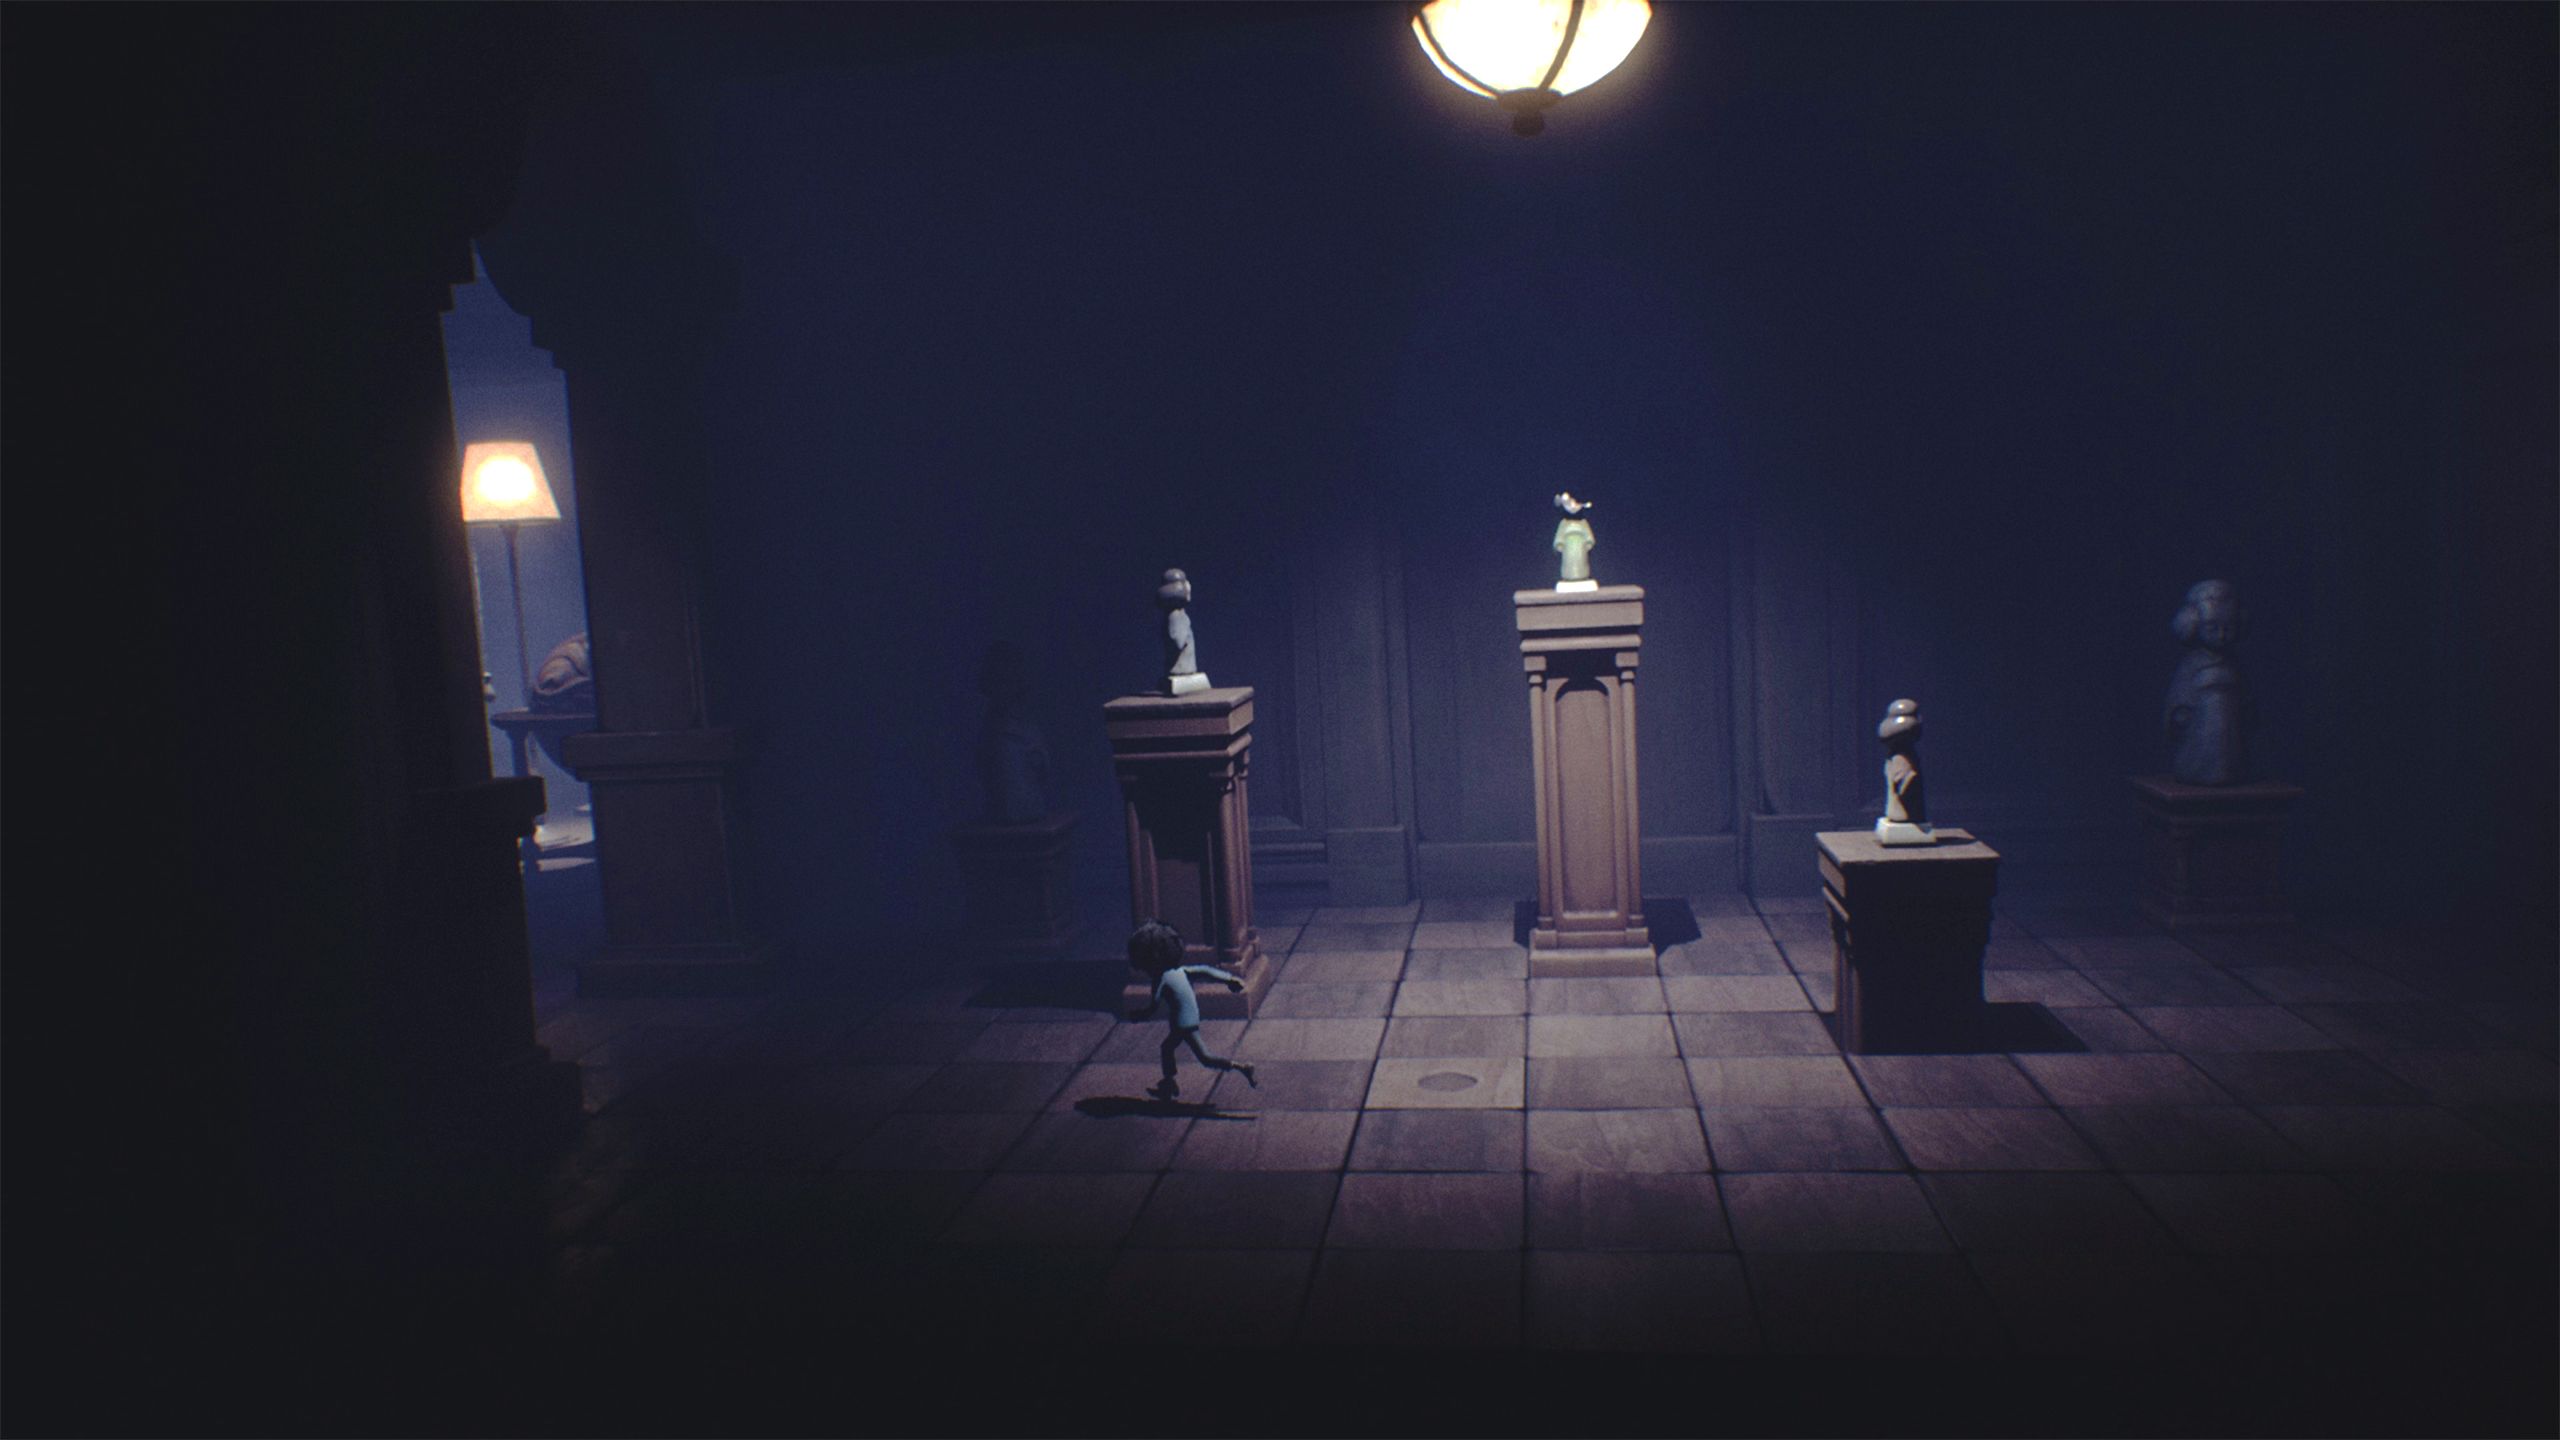
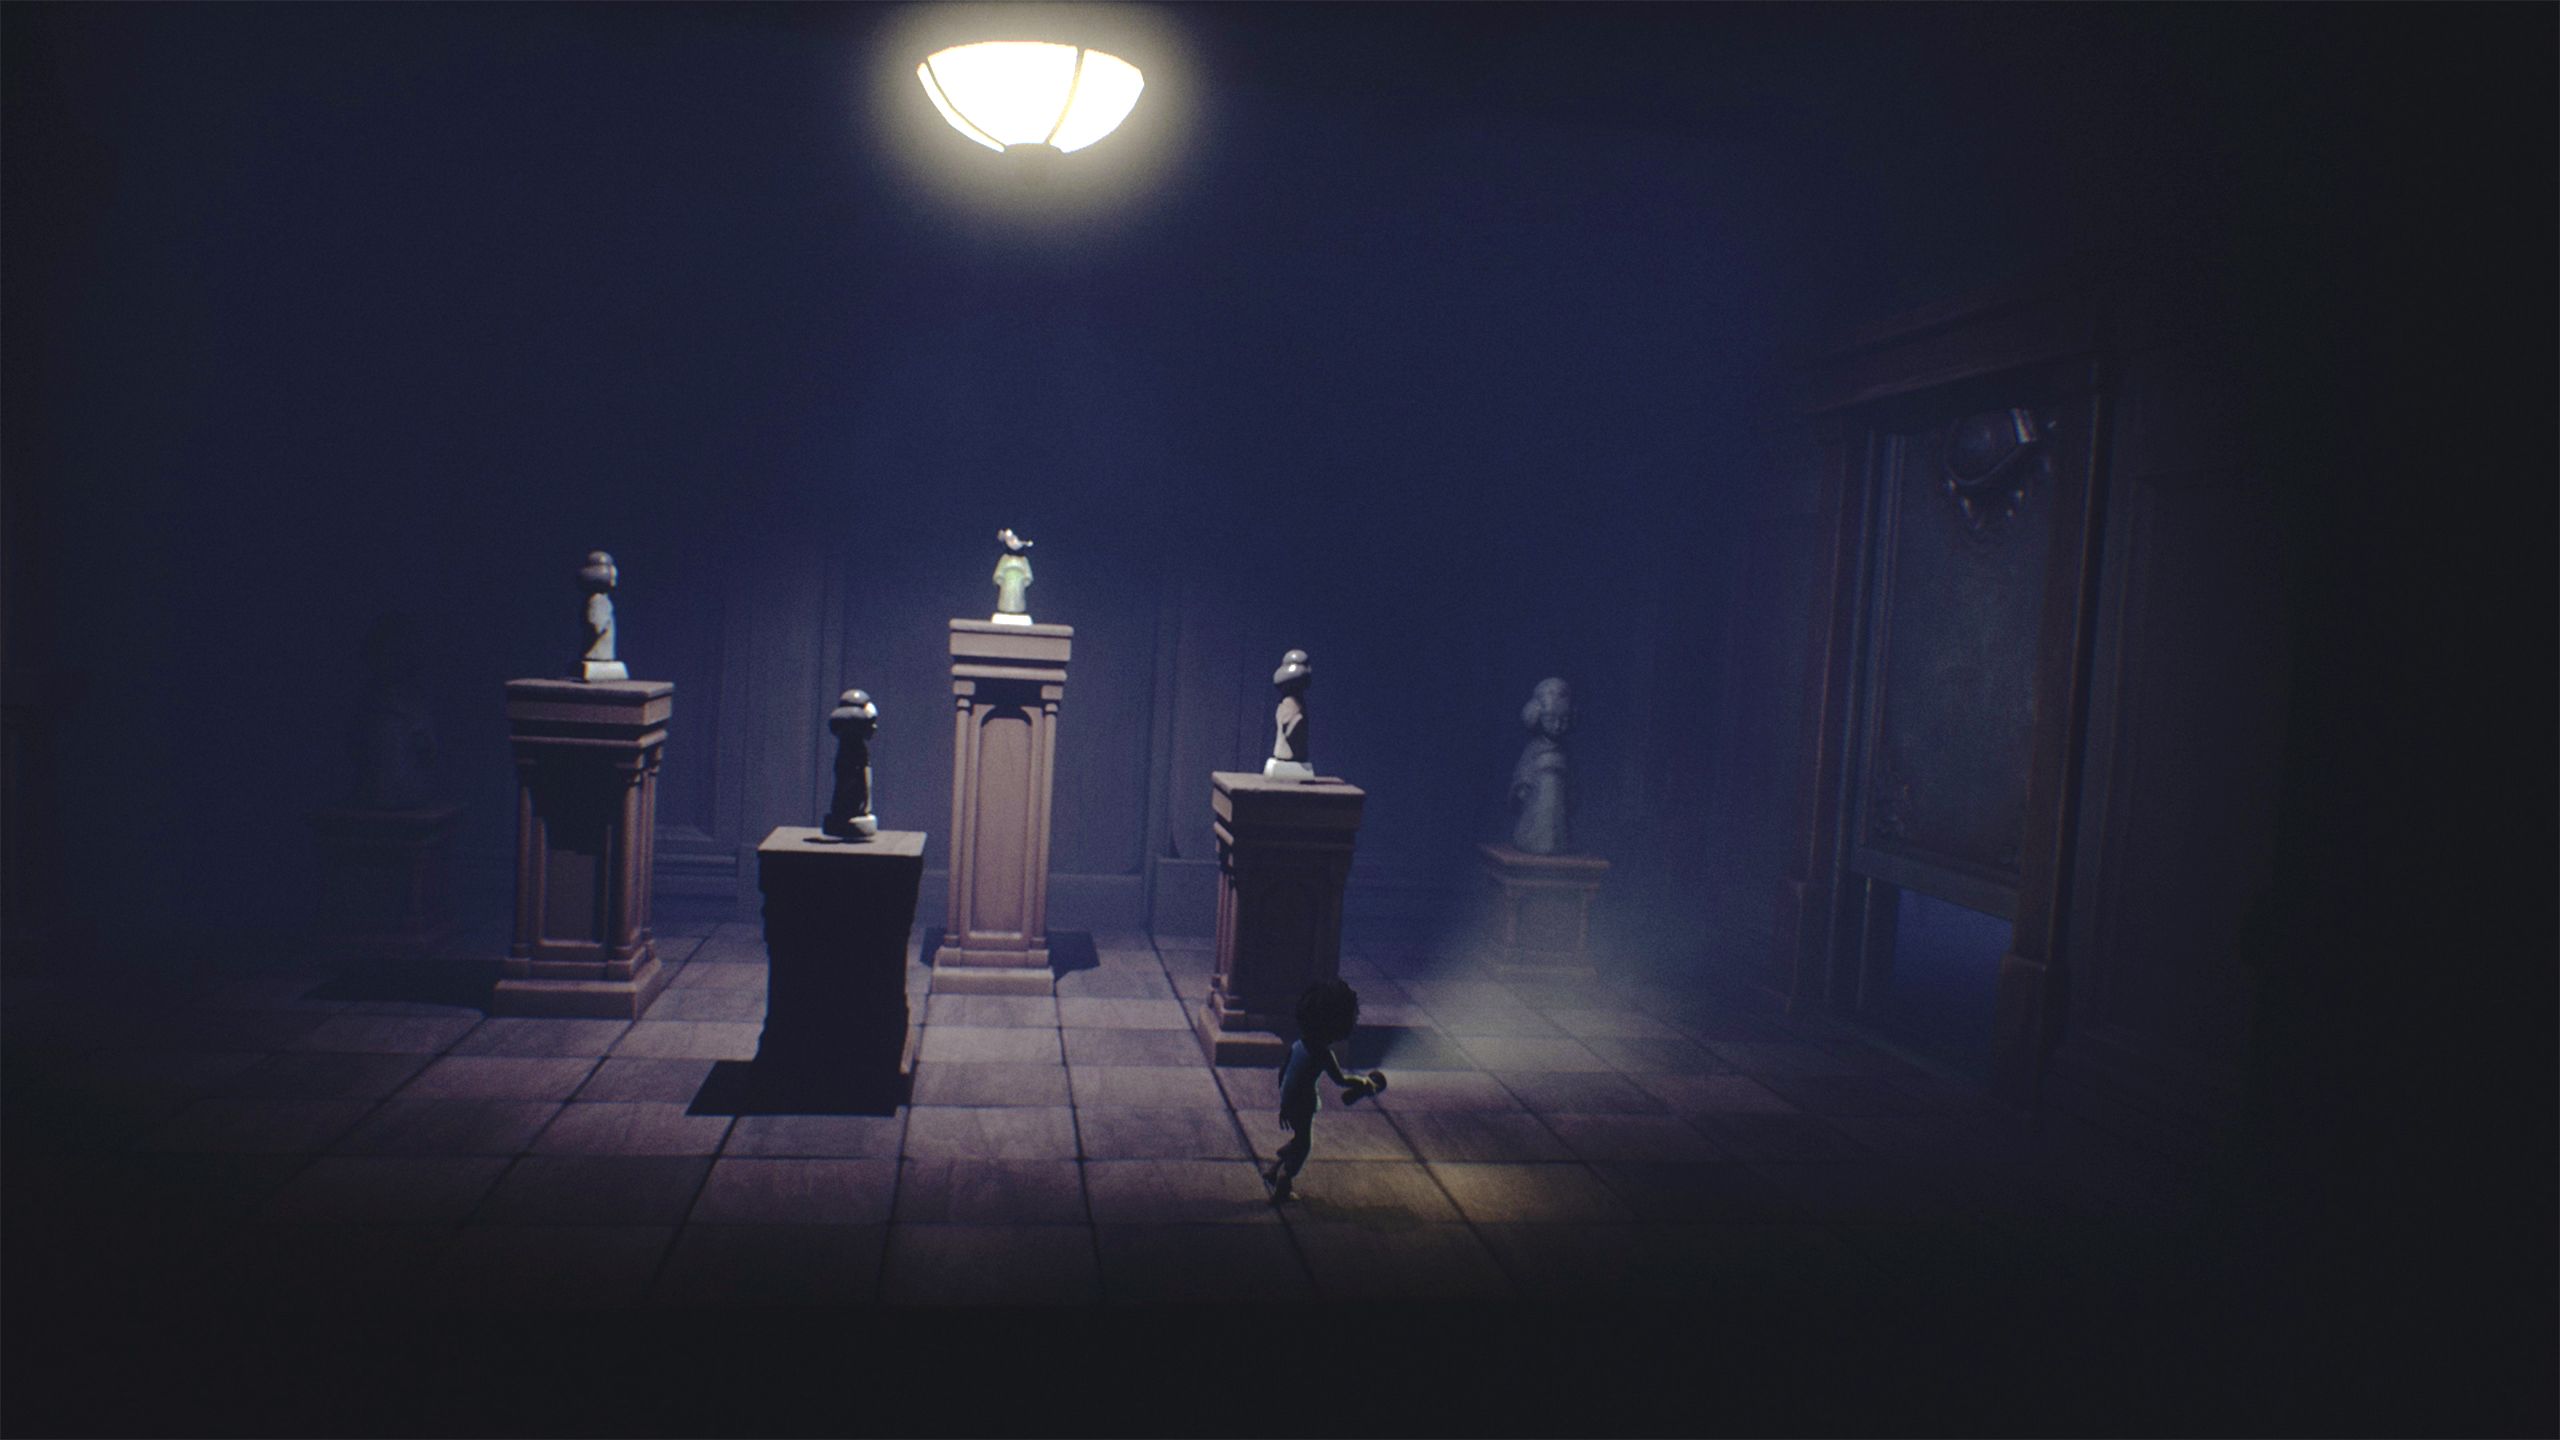
Get back outside and grab the statue, then take cover as a petrifying eye will suddenly open.
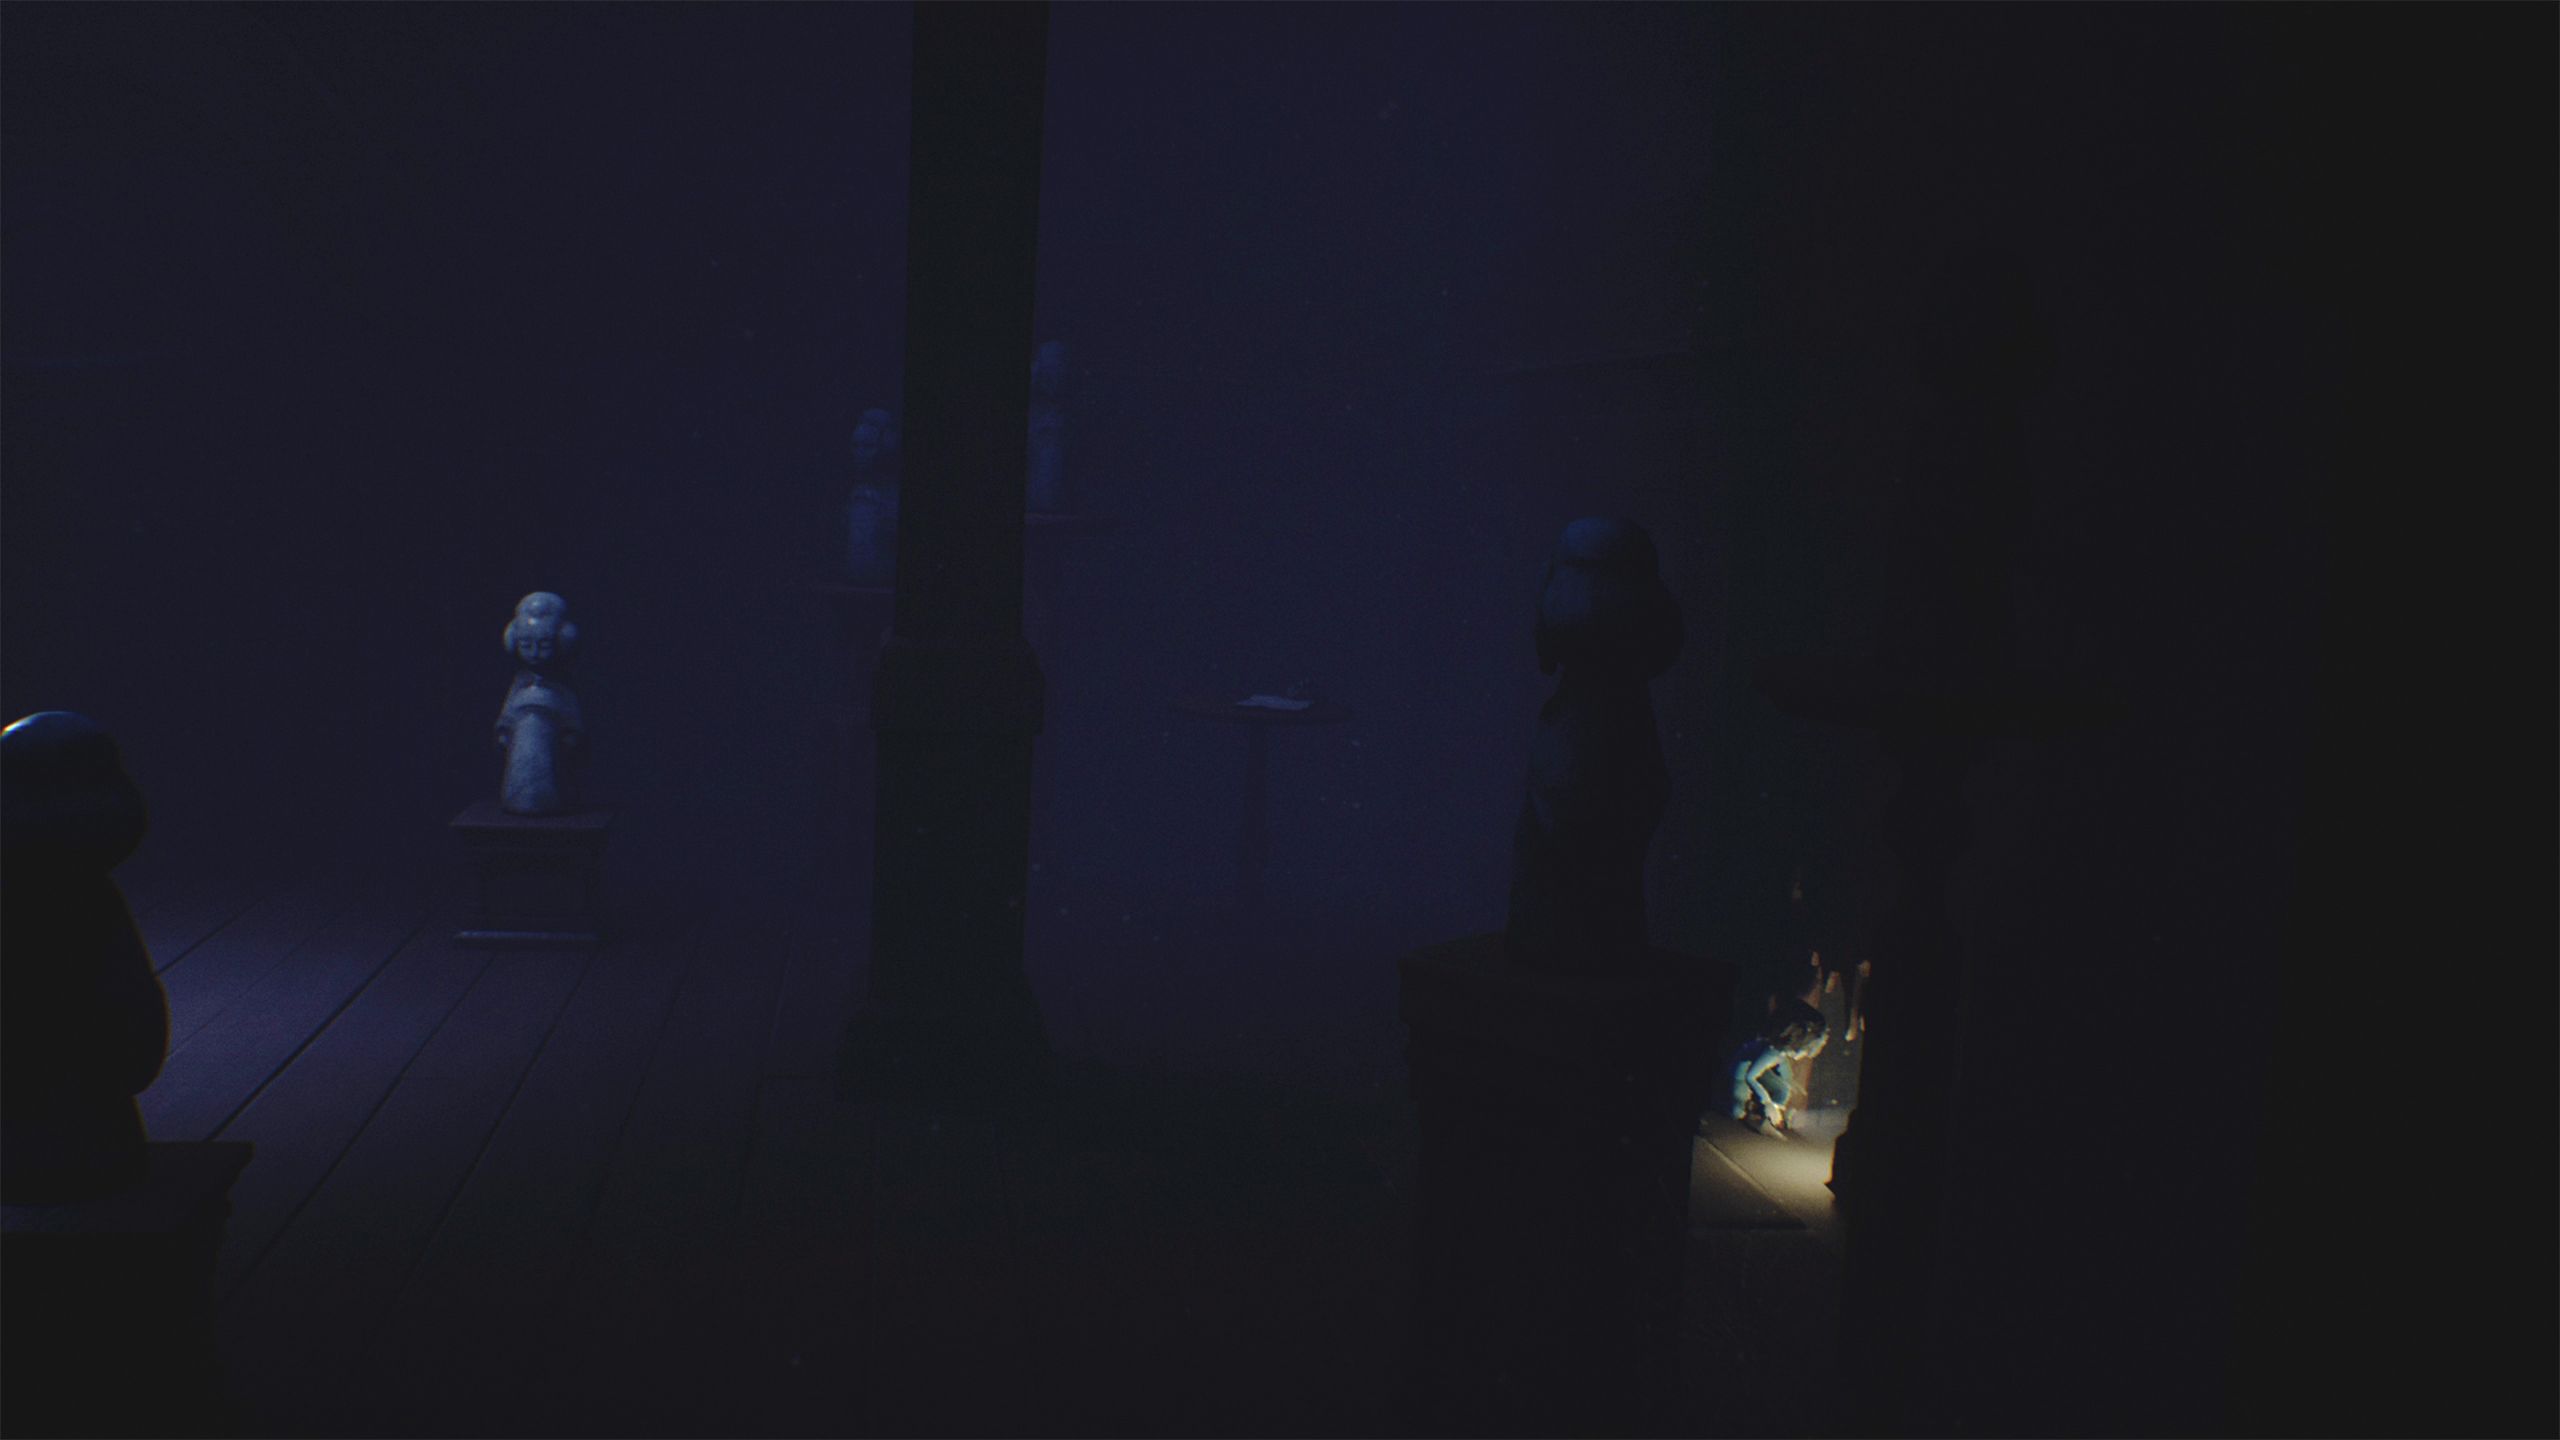
Walk along the shadows cast by the statues to get to the left side, and then toss a statue onto the button to unlock the door.
Pick up the item once more and quickly return to the light puzzle, paying no attention to any strange shadows you see. Then, take the small elevator down.
Go downstairs to the bottom floor and turn right to place the statue on the triangle spot.
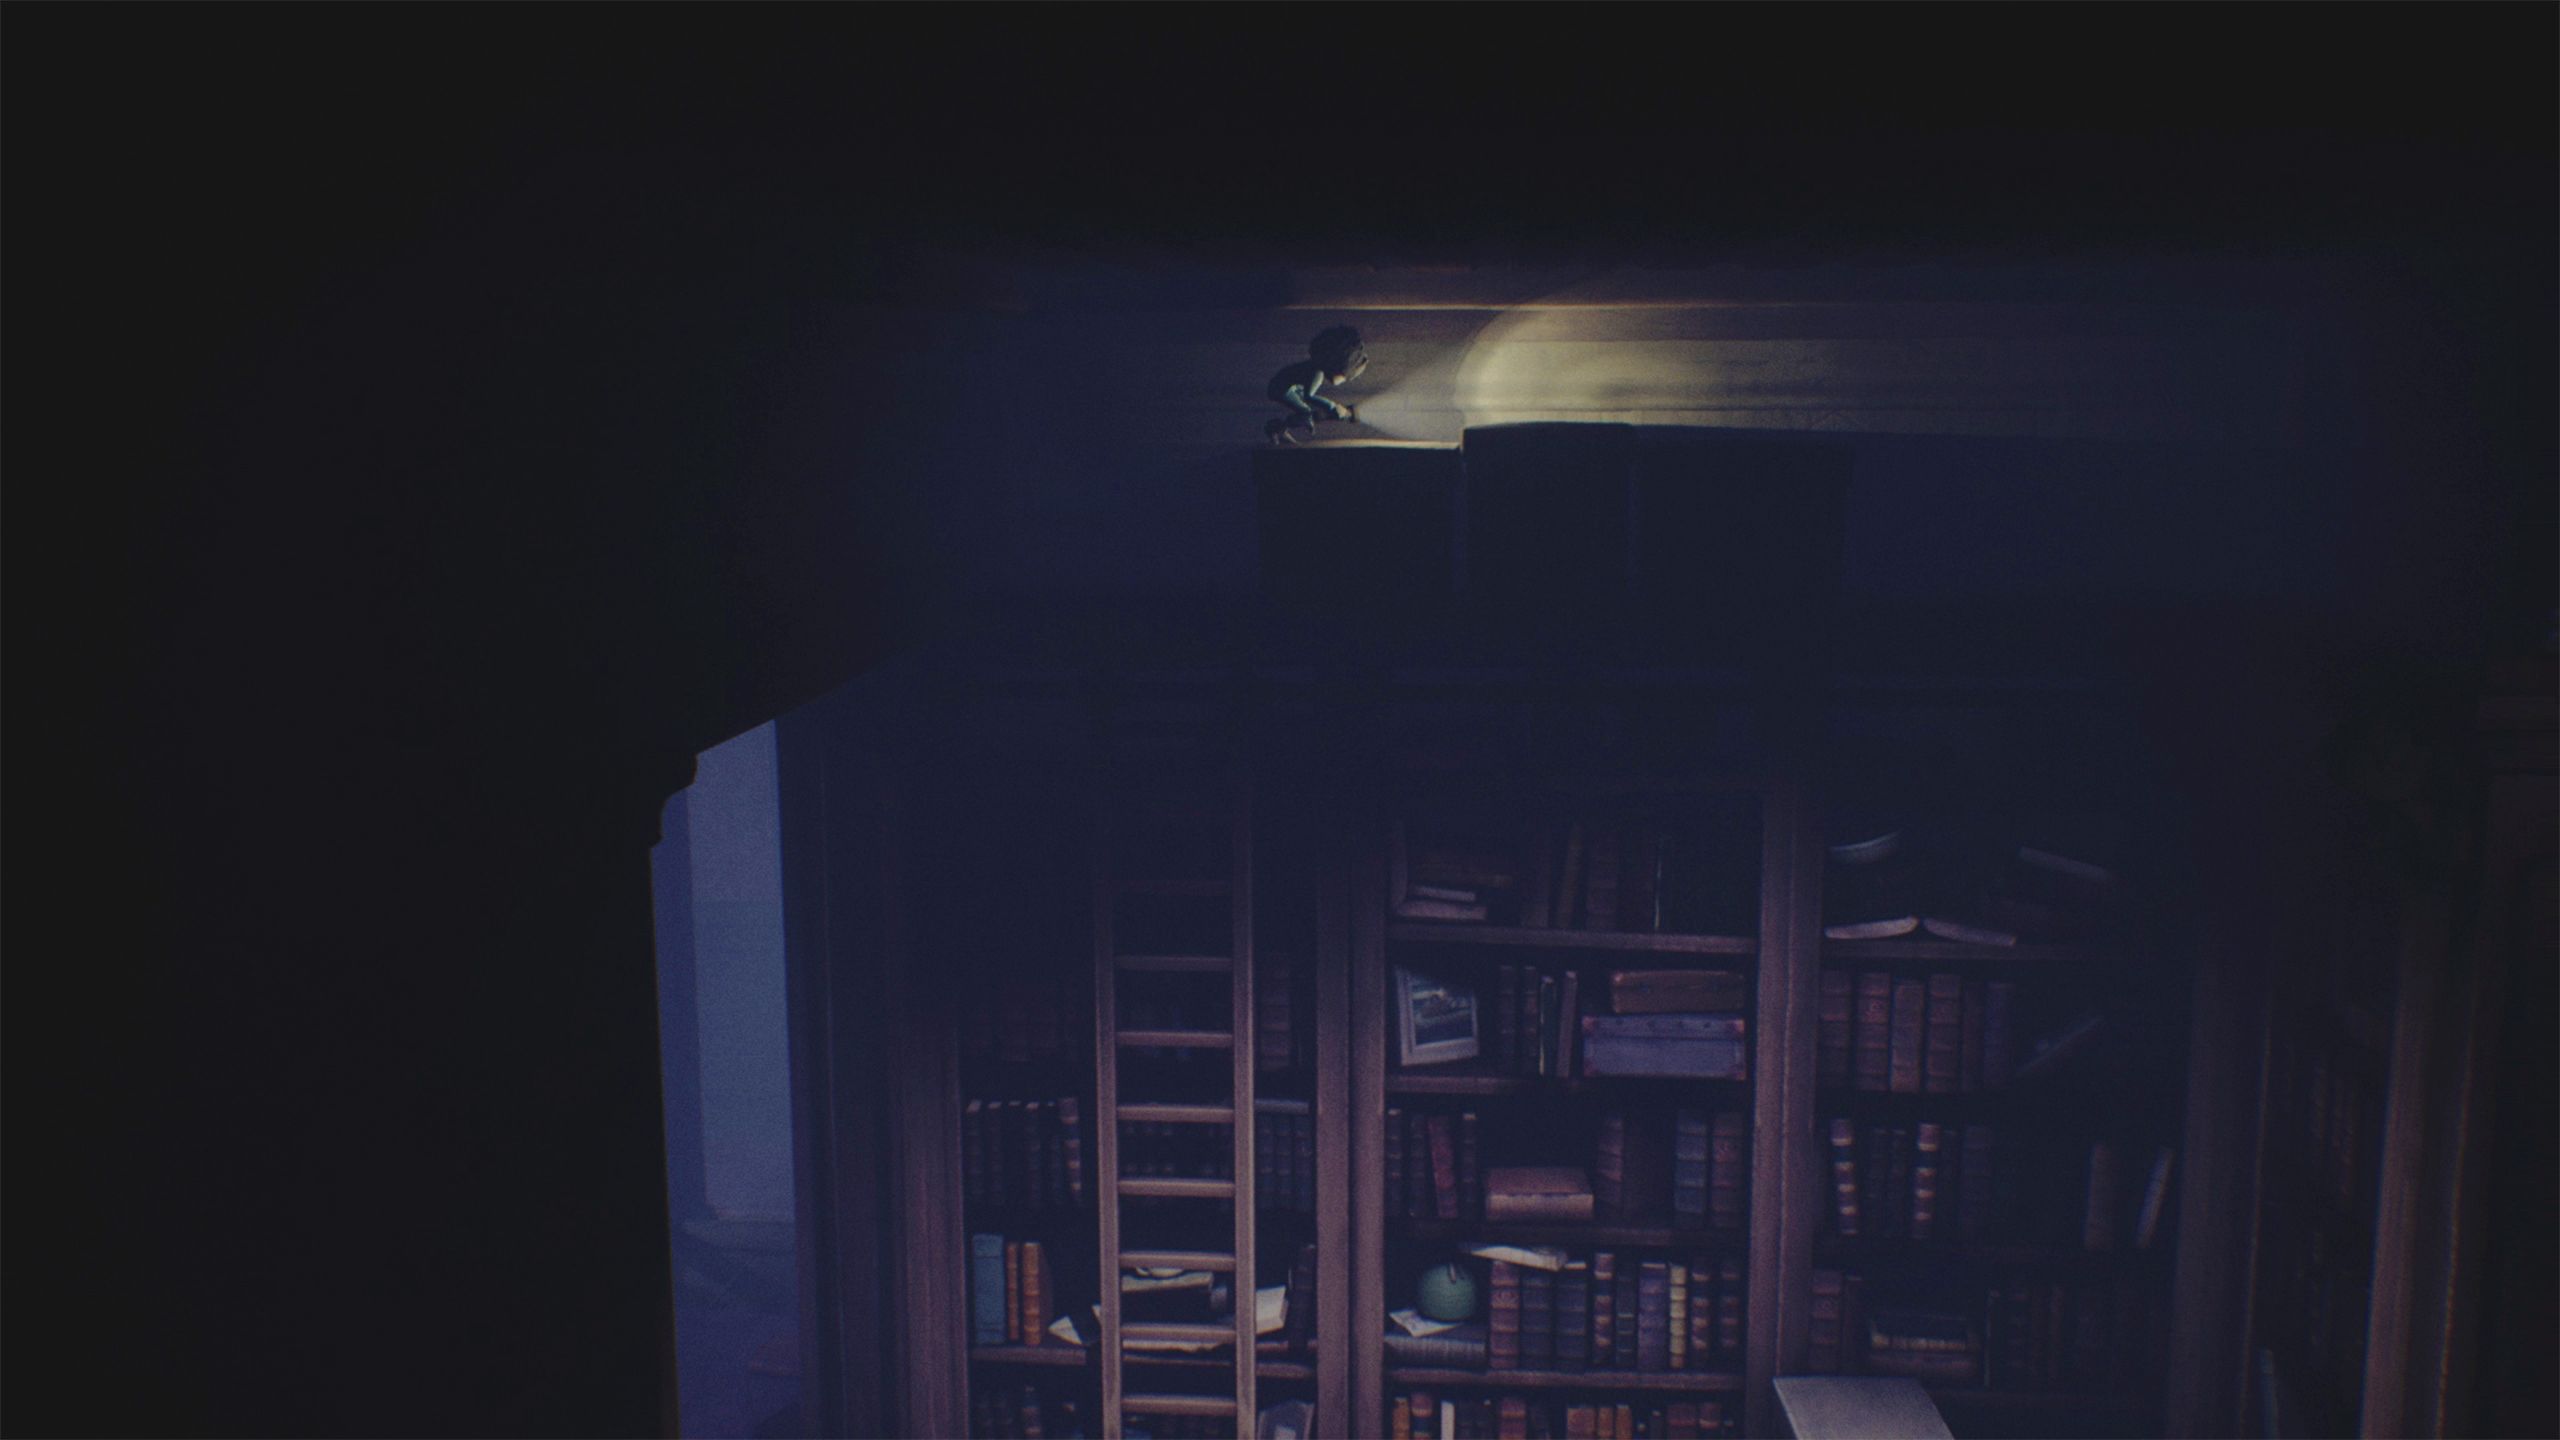
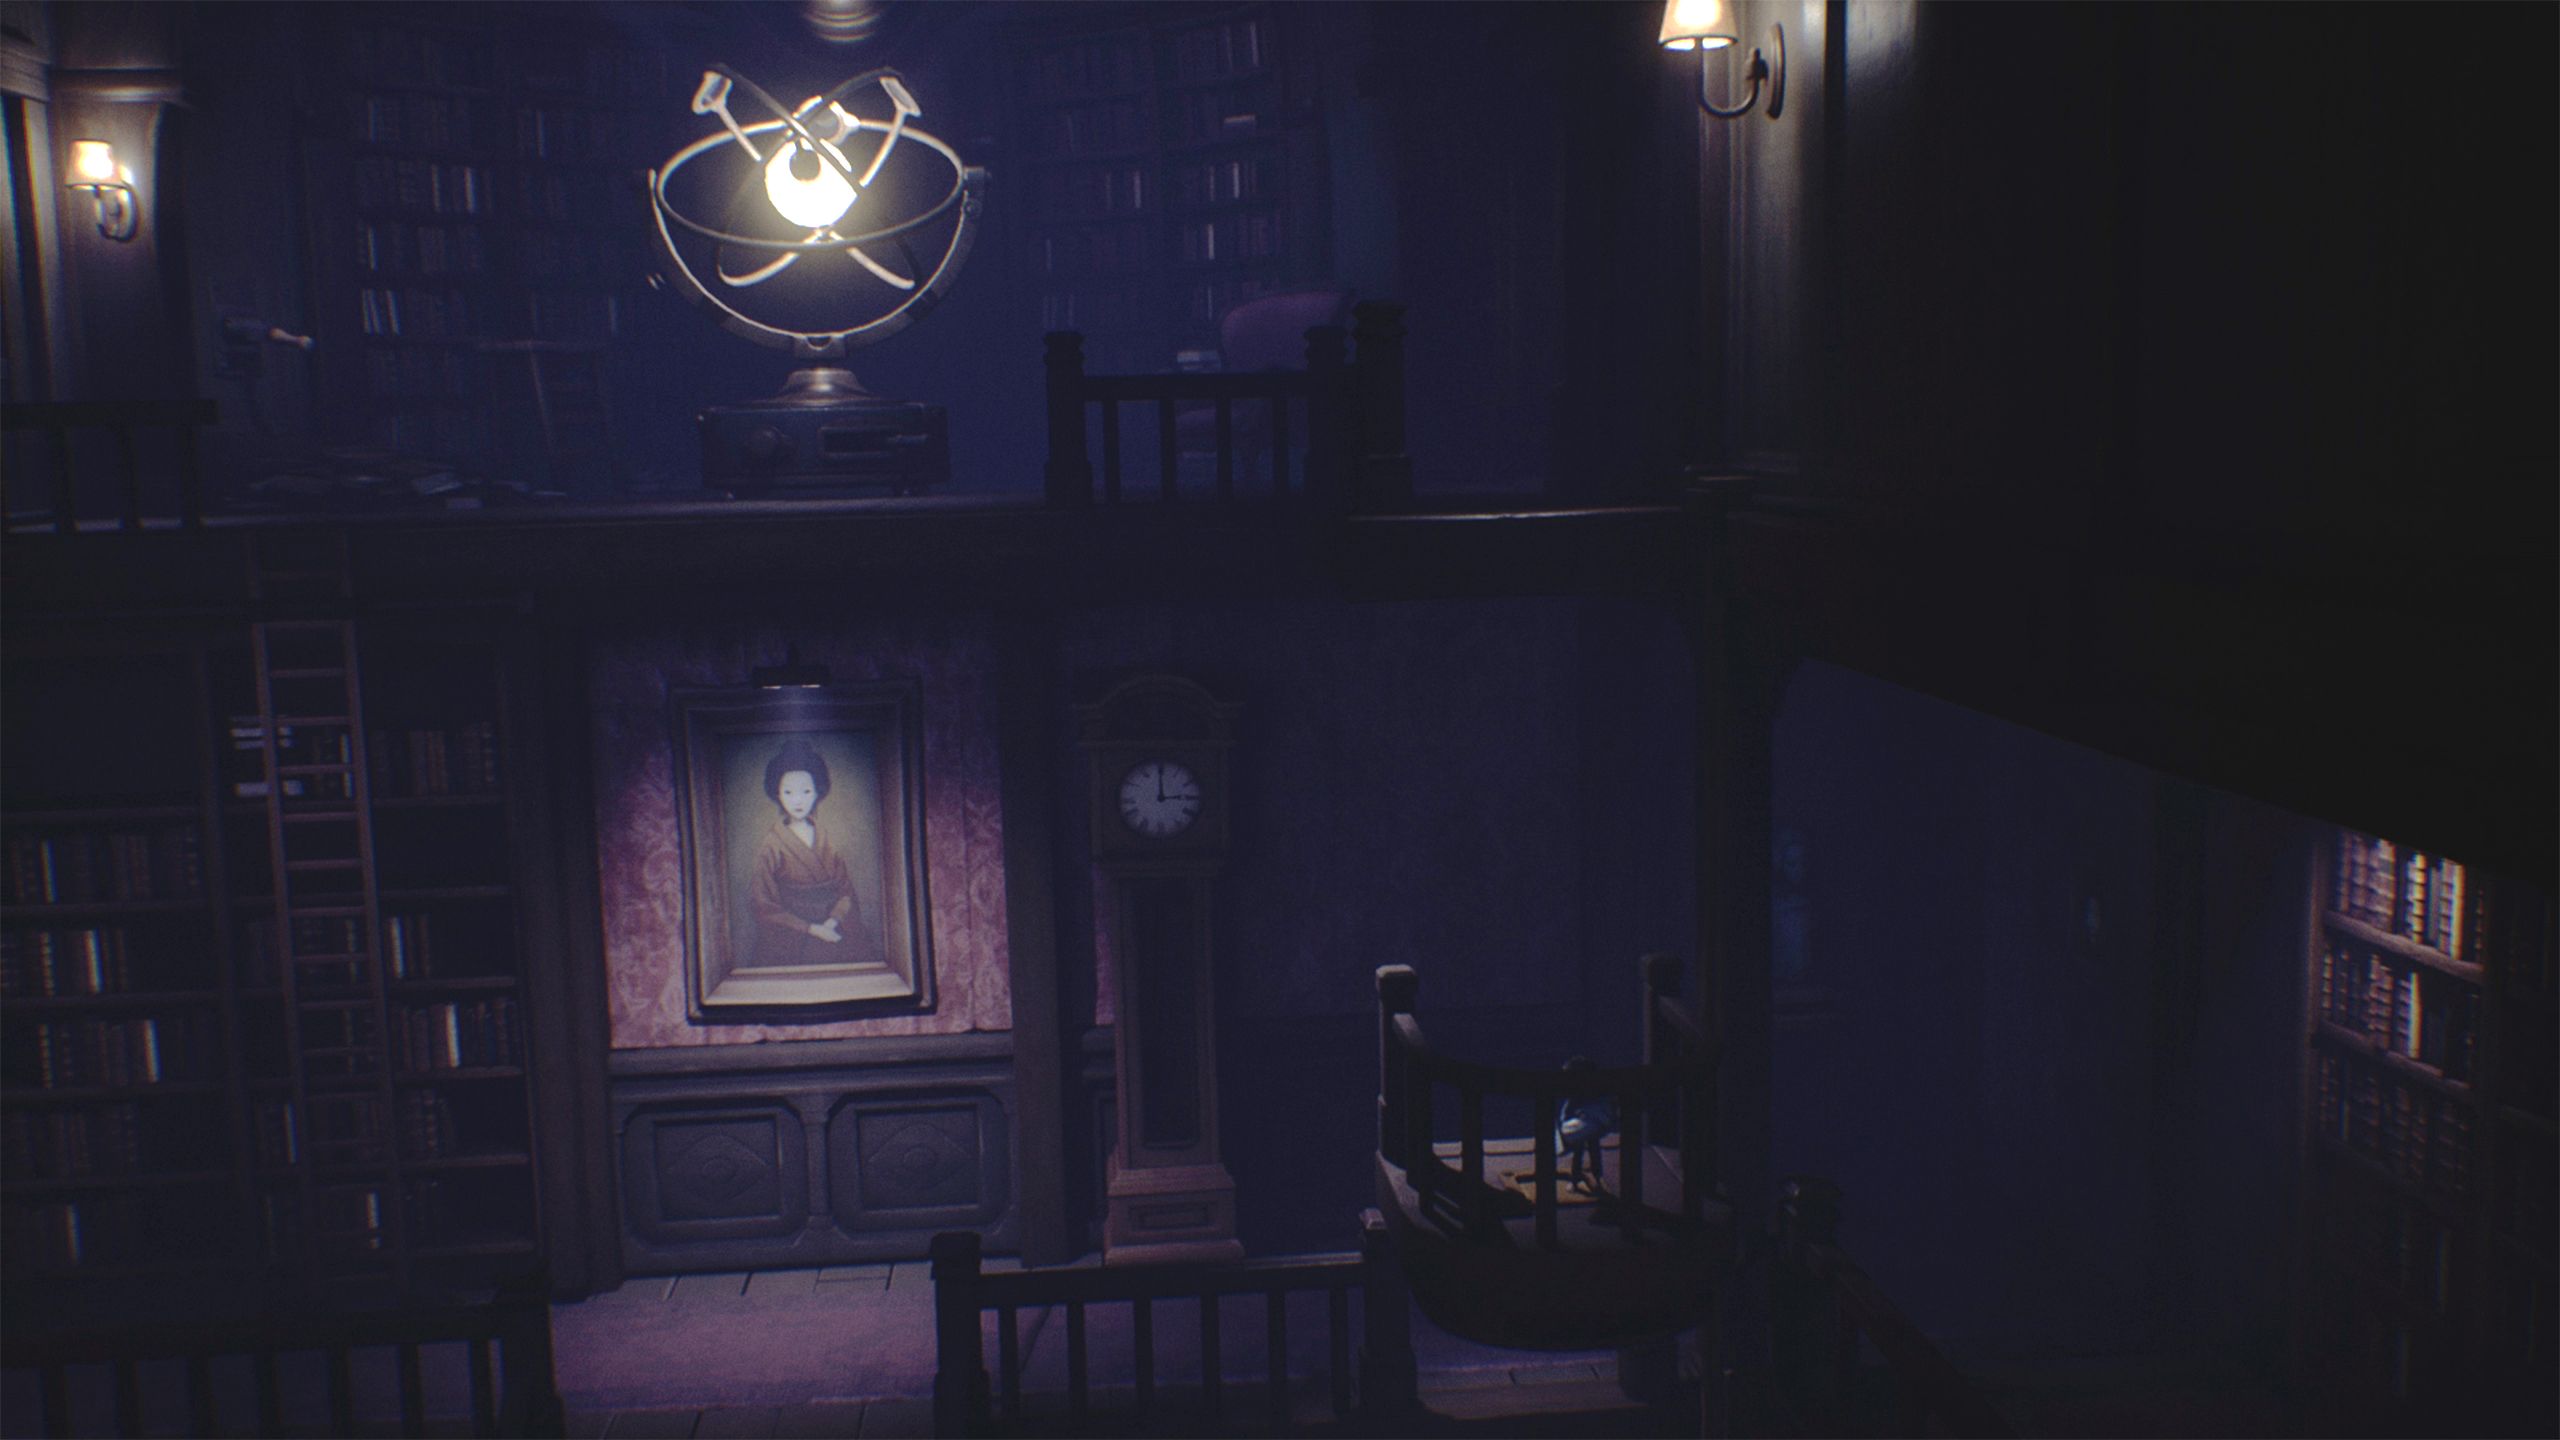
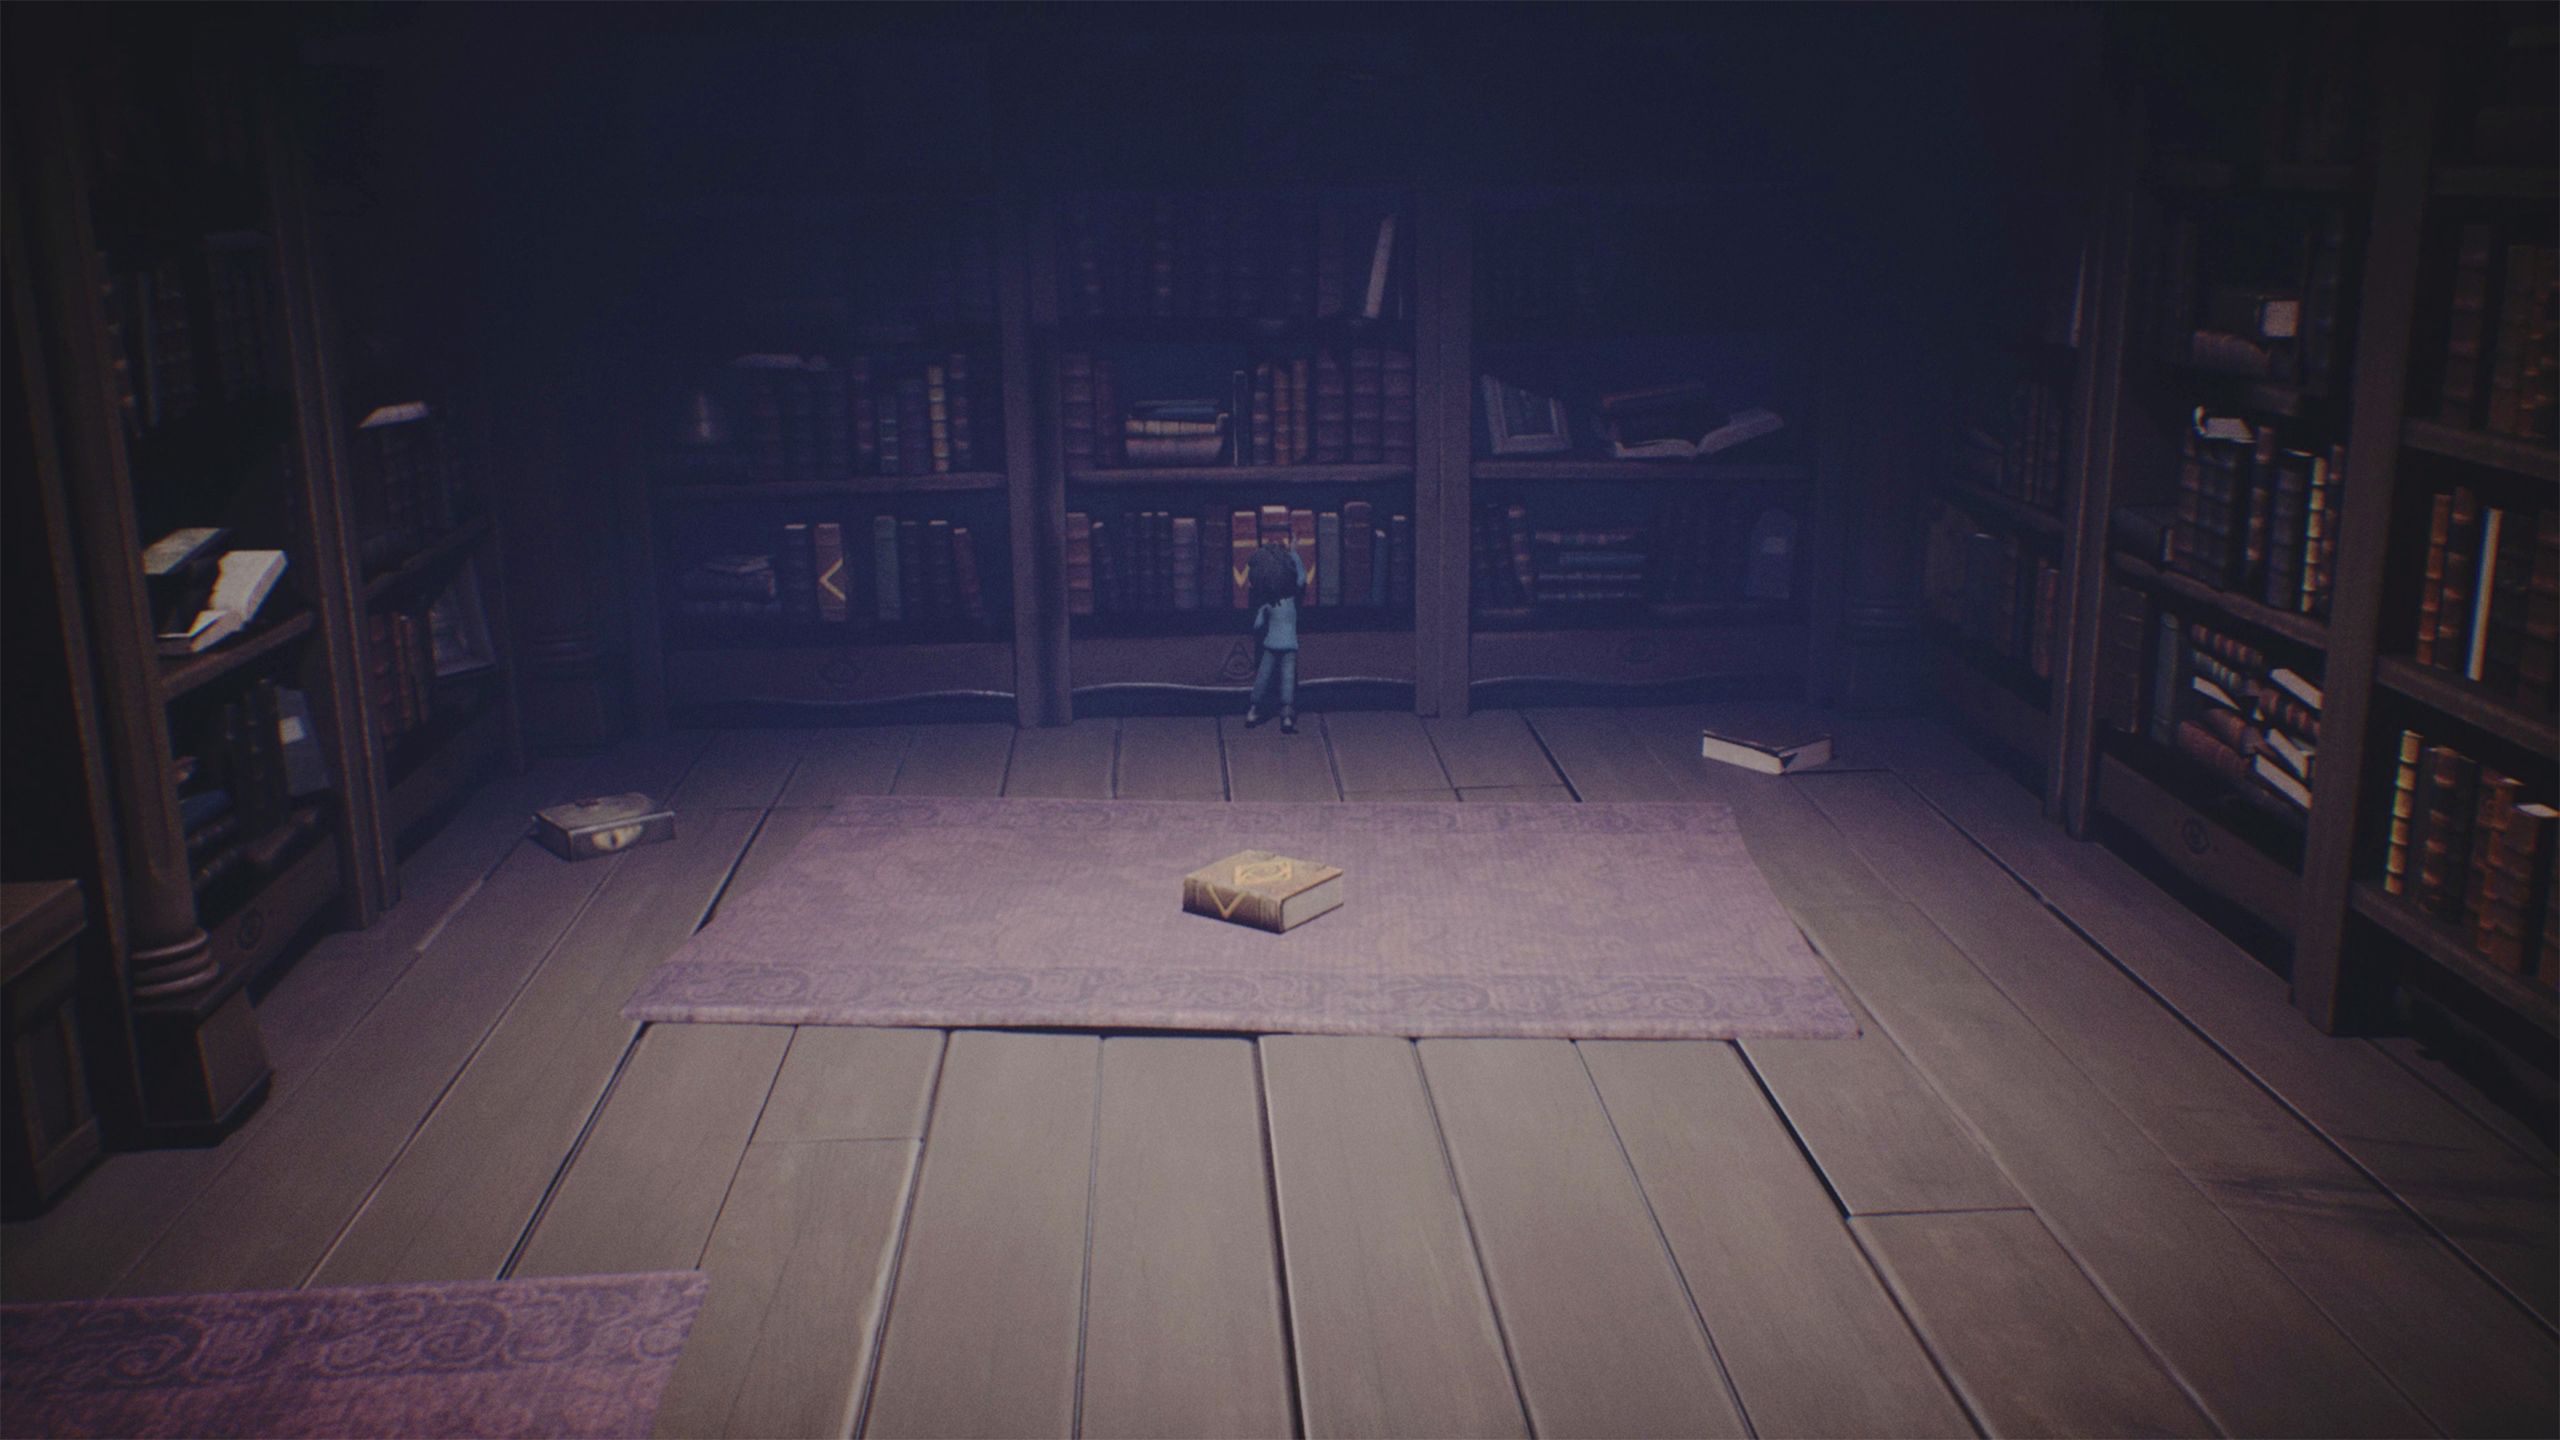
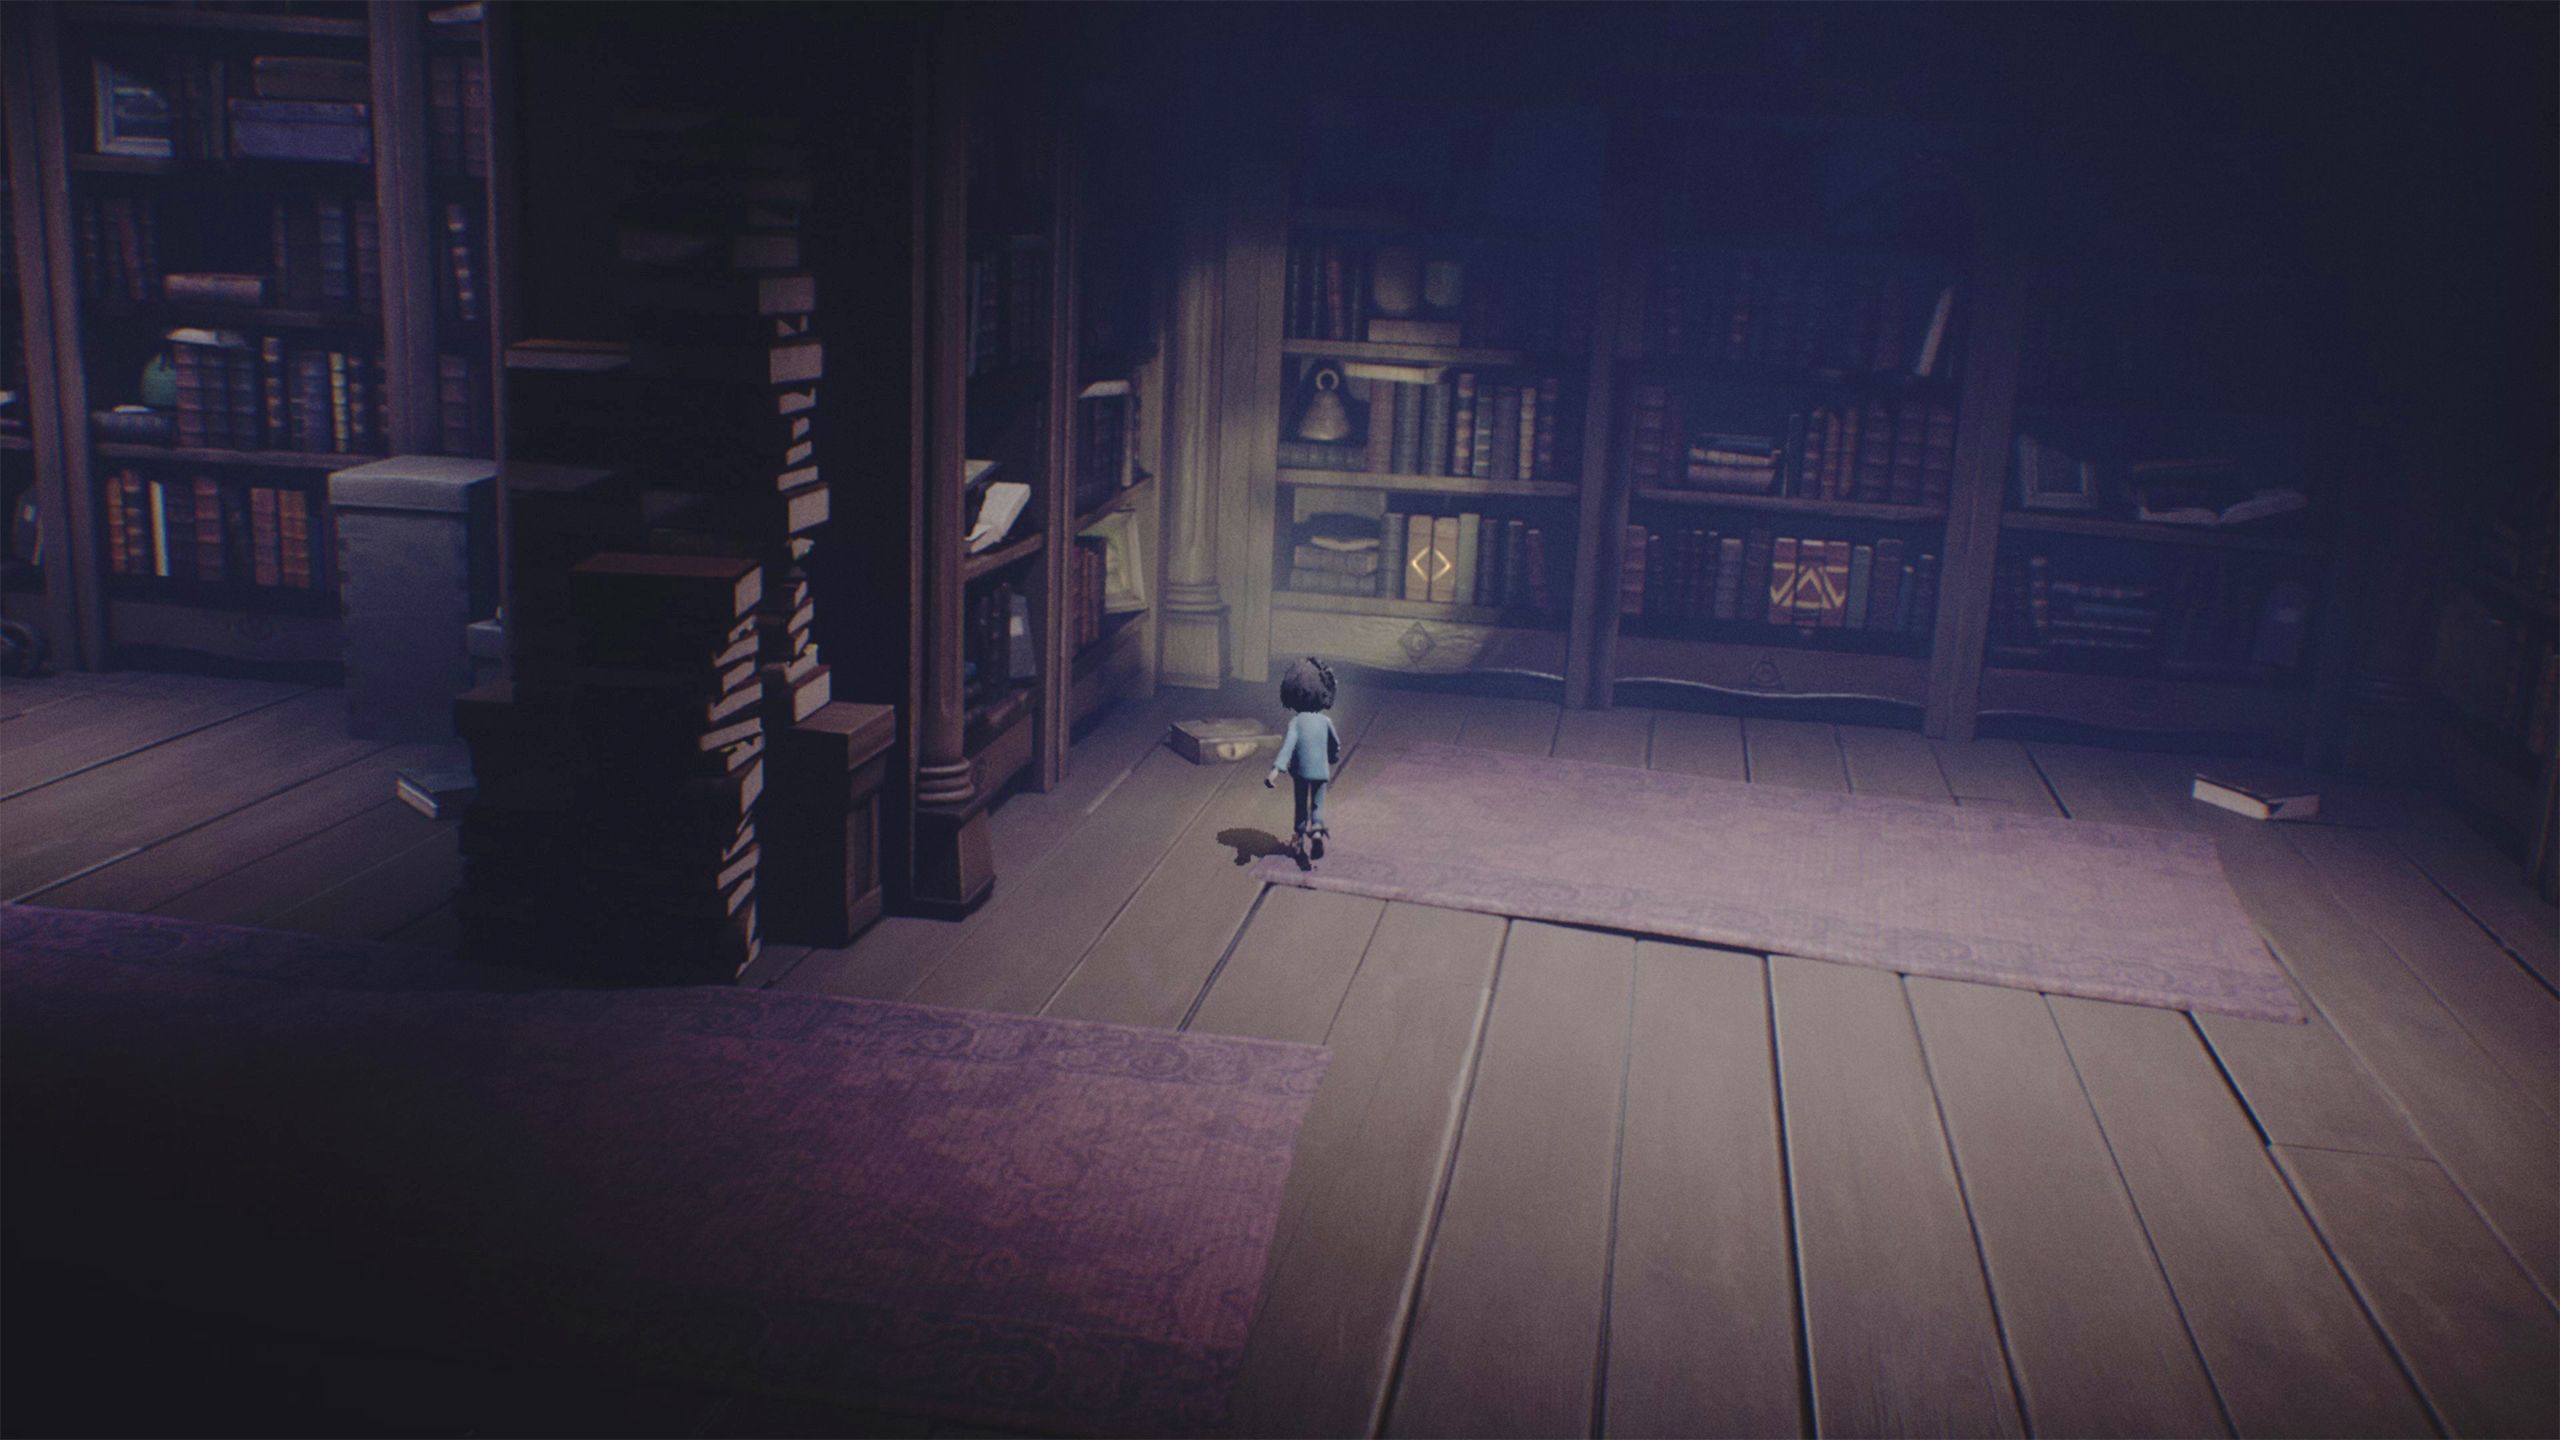
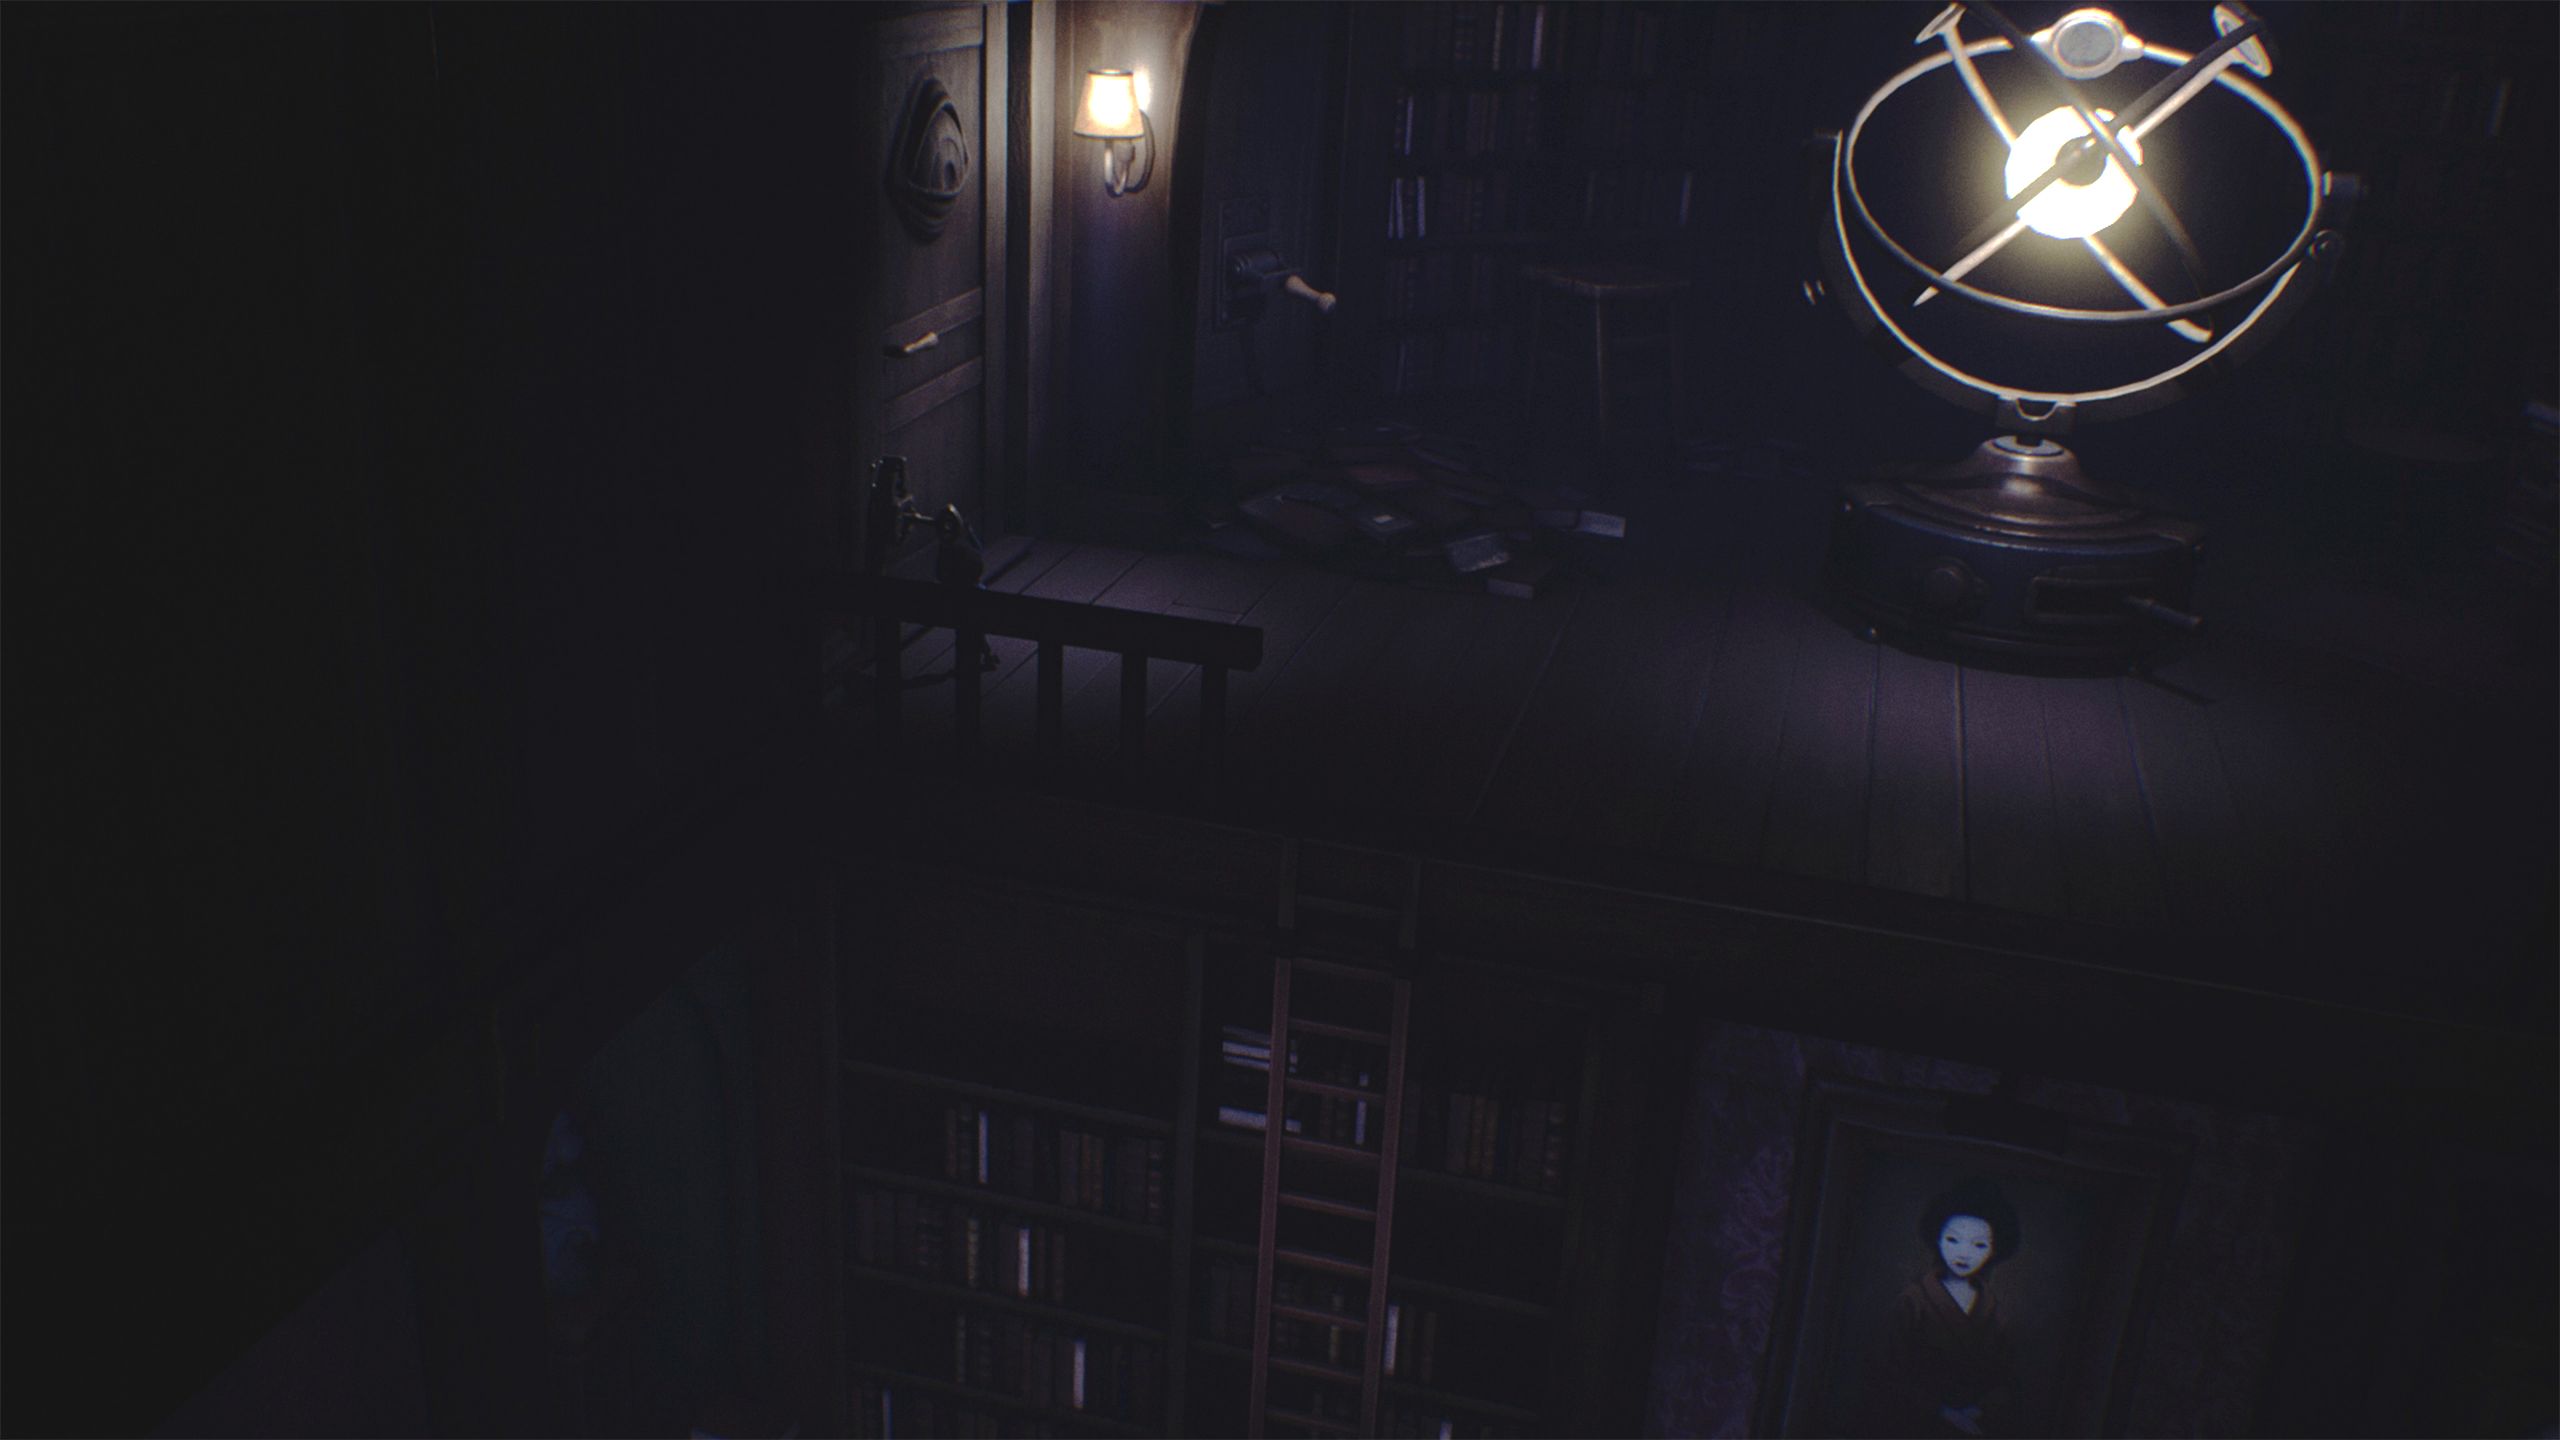
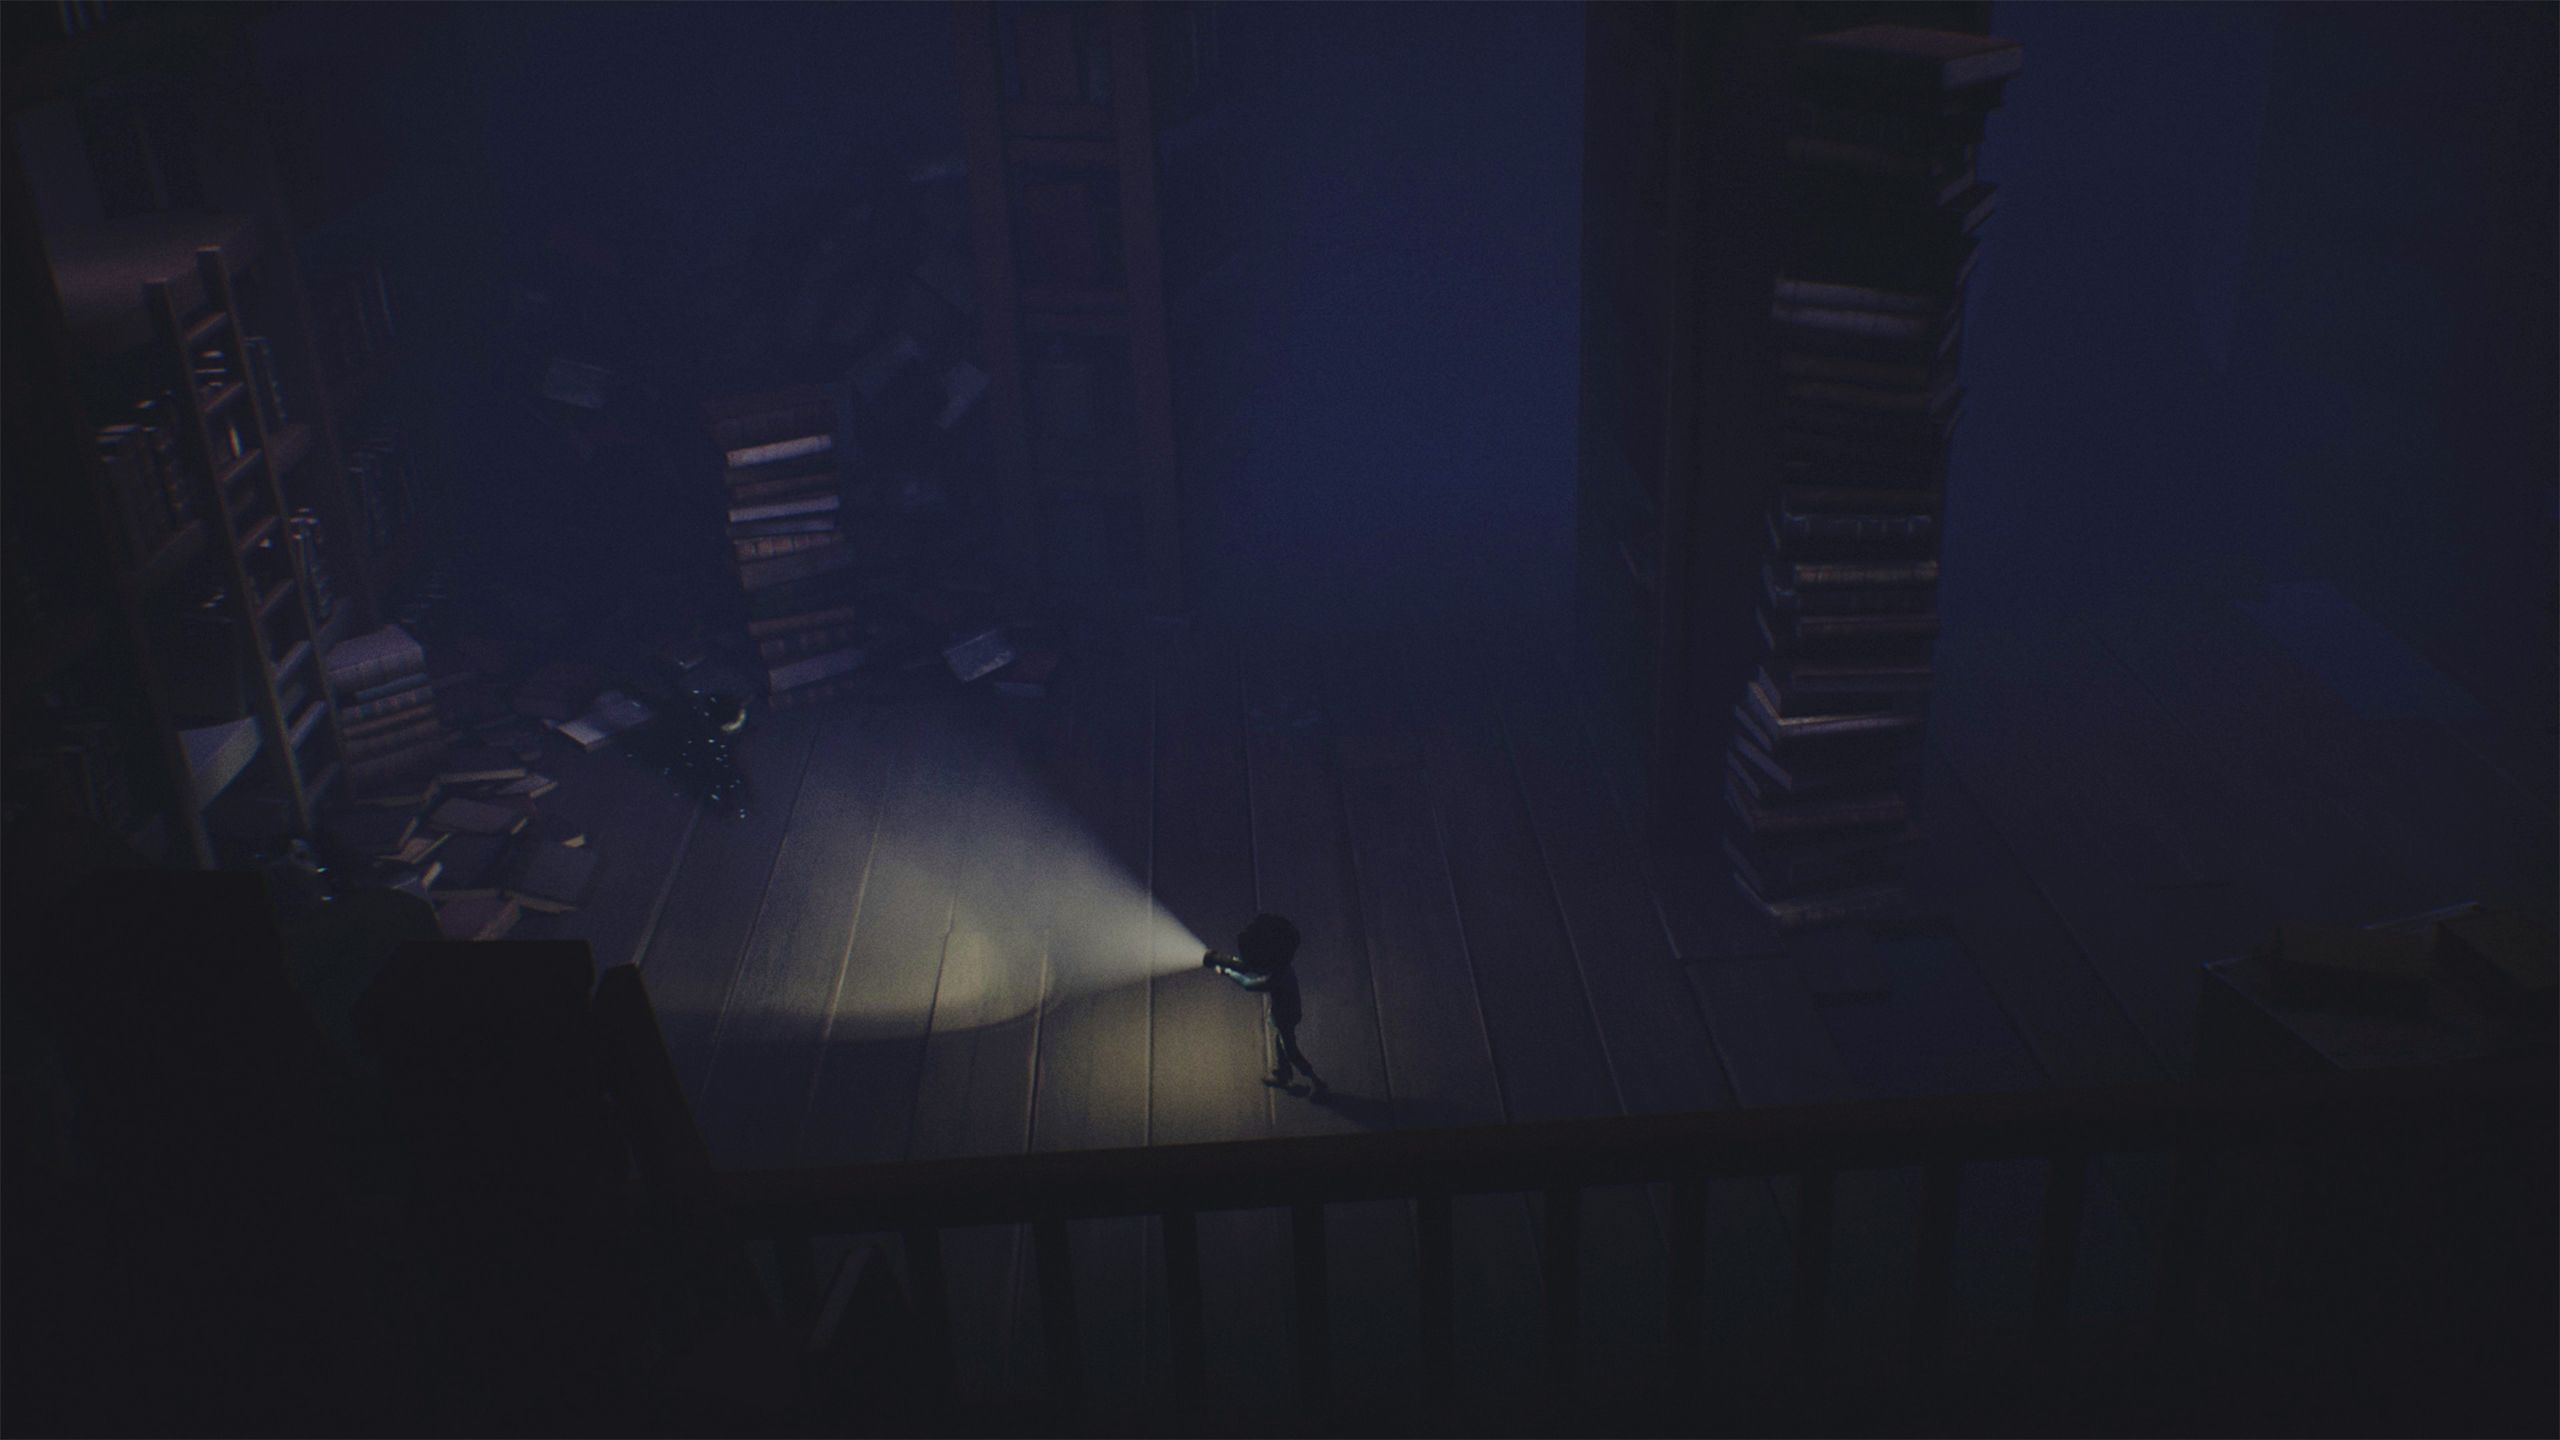
Climb the stairs again and head right to enter a library. Push the ladder to the left and climb it.
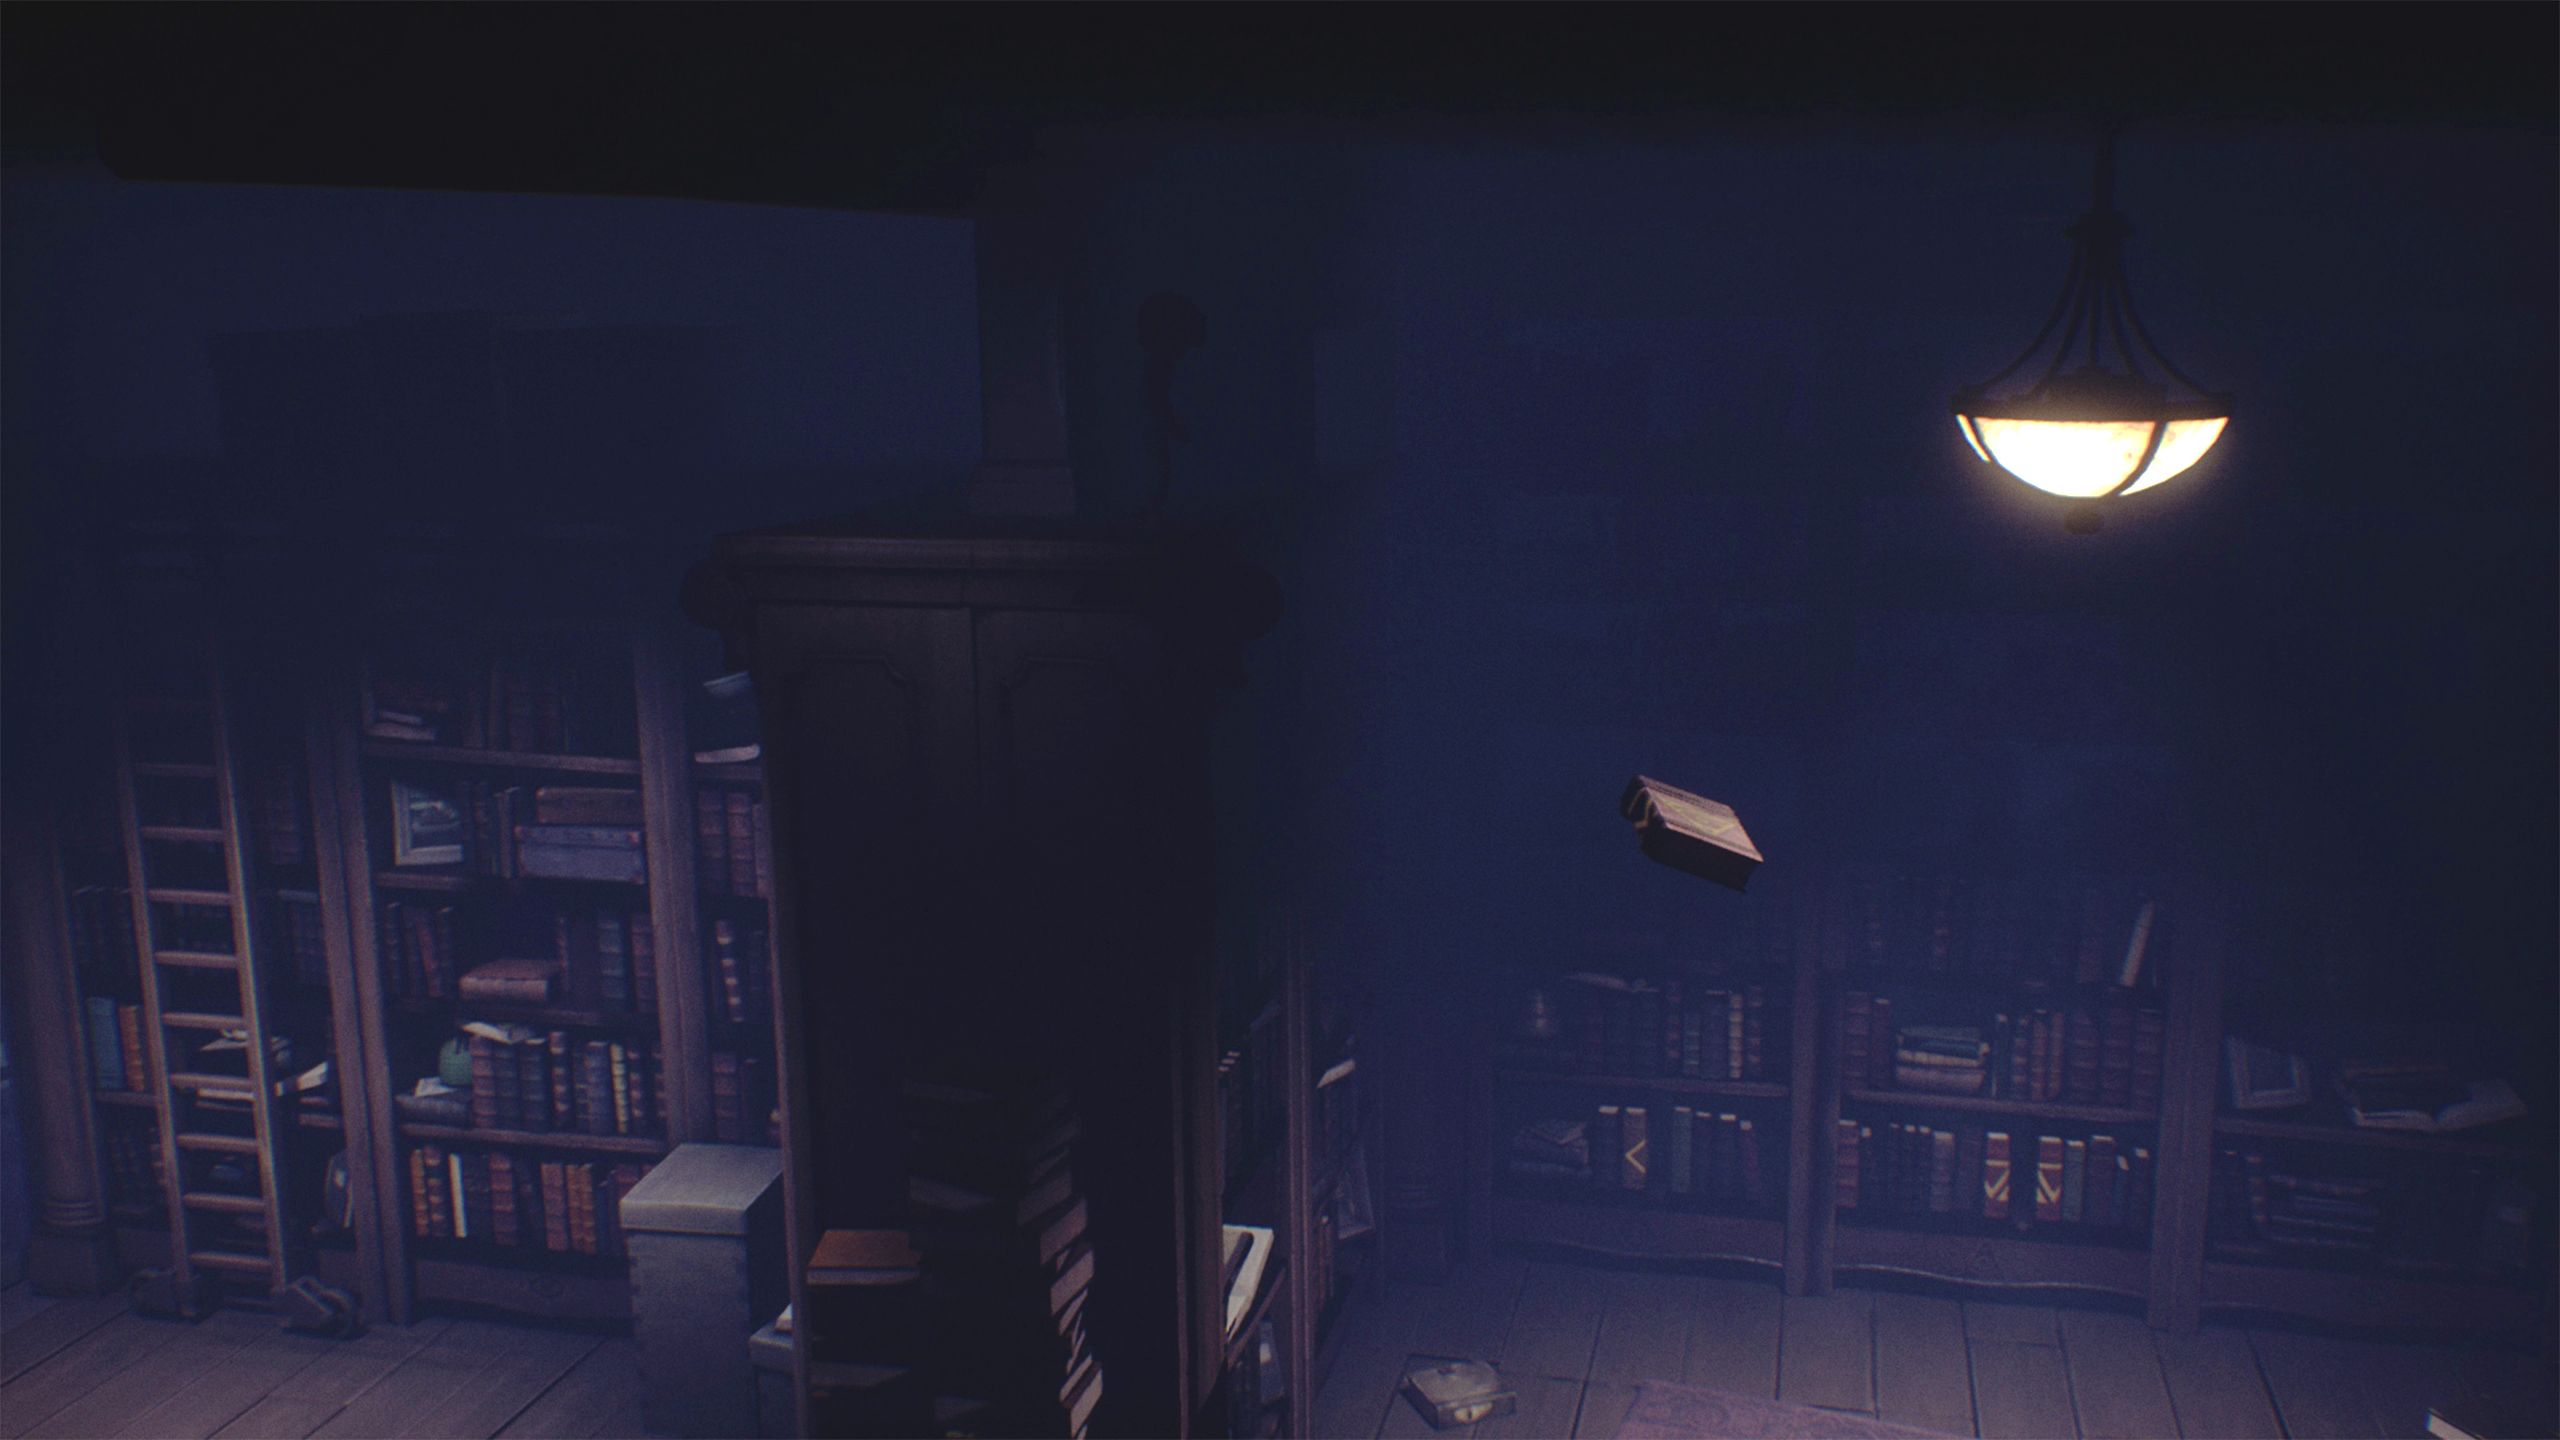
When you see the book on top, grab it and throw it onto the floor, then drop the Kid to the ground.
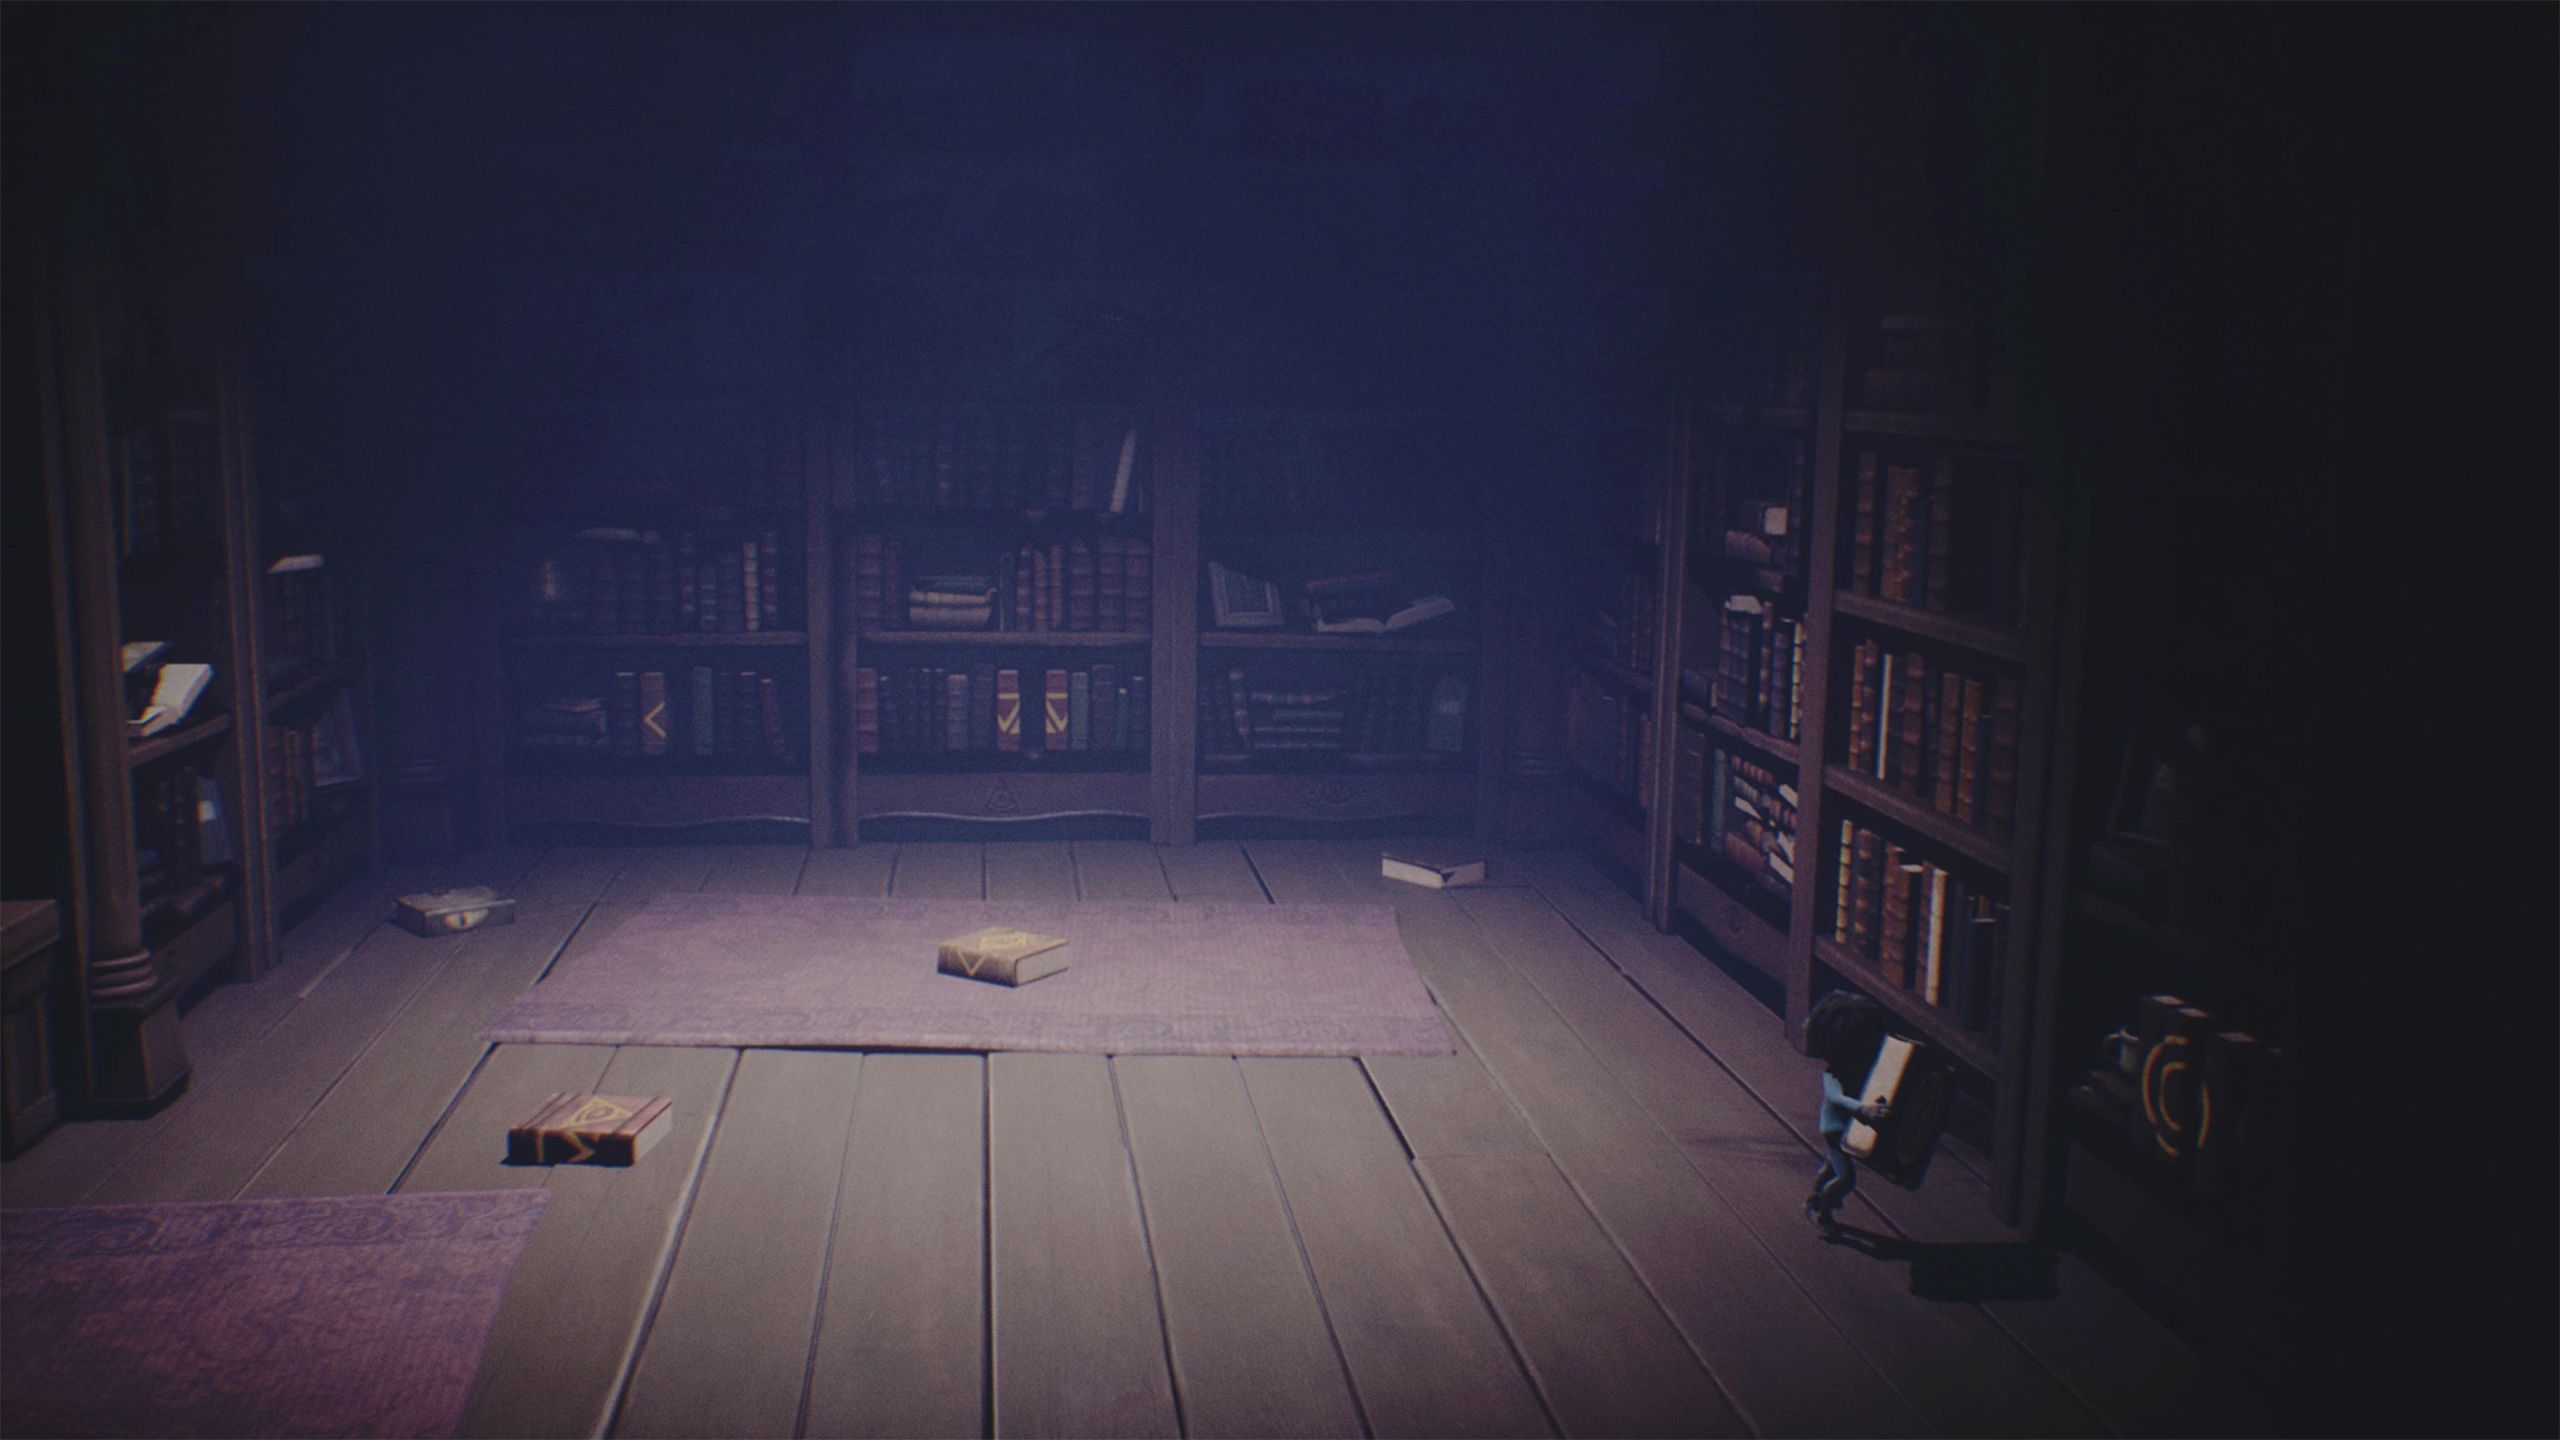
Turn right and grab the blue book and insert it in the gap to the right to complete the pattern.
Next, grab the red book you threw from the top and place it in the center-right bookcase.
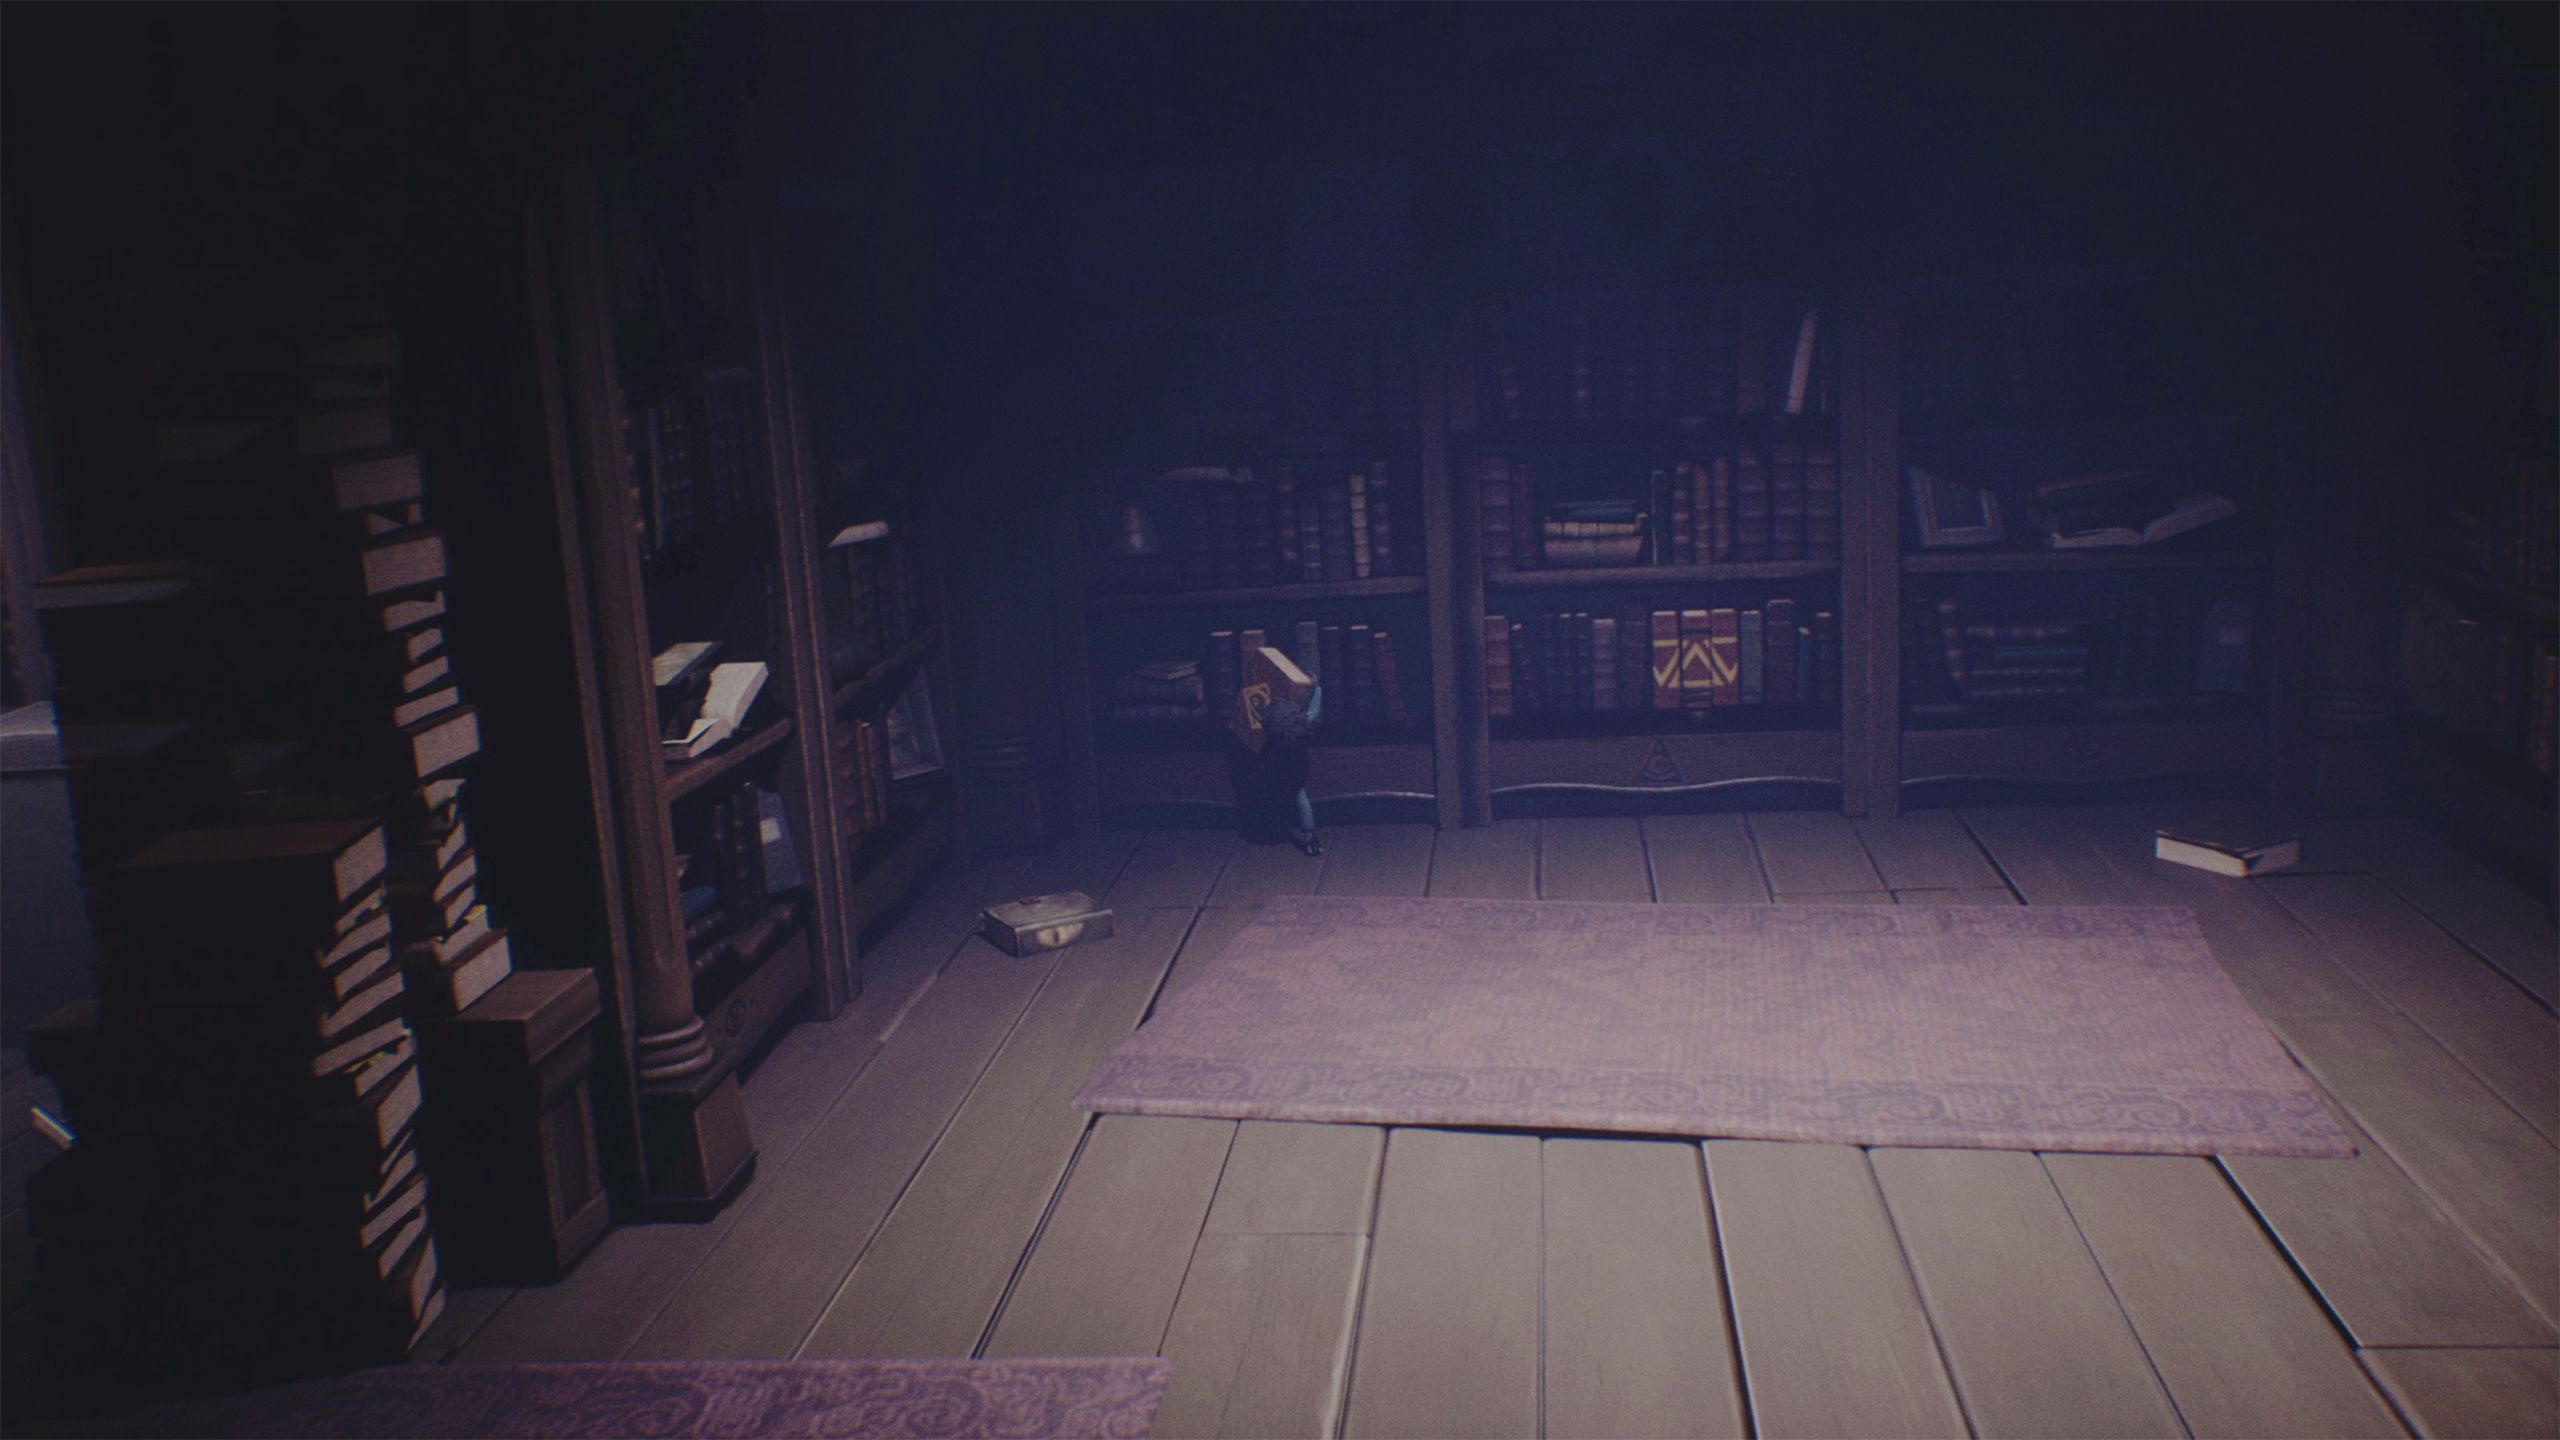
Finally, get the yellow book and put it in the gap located in the center-left bookcase.
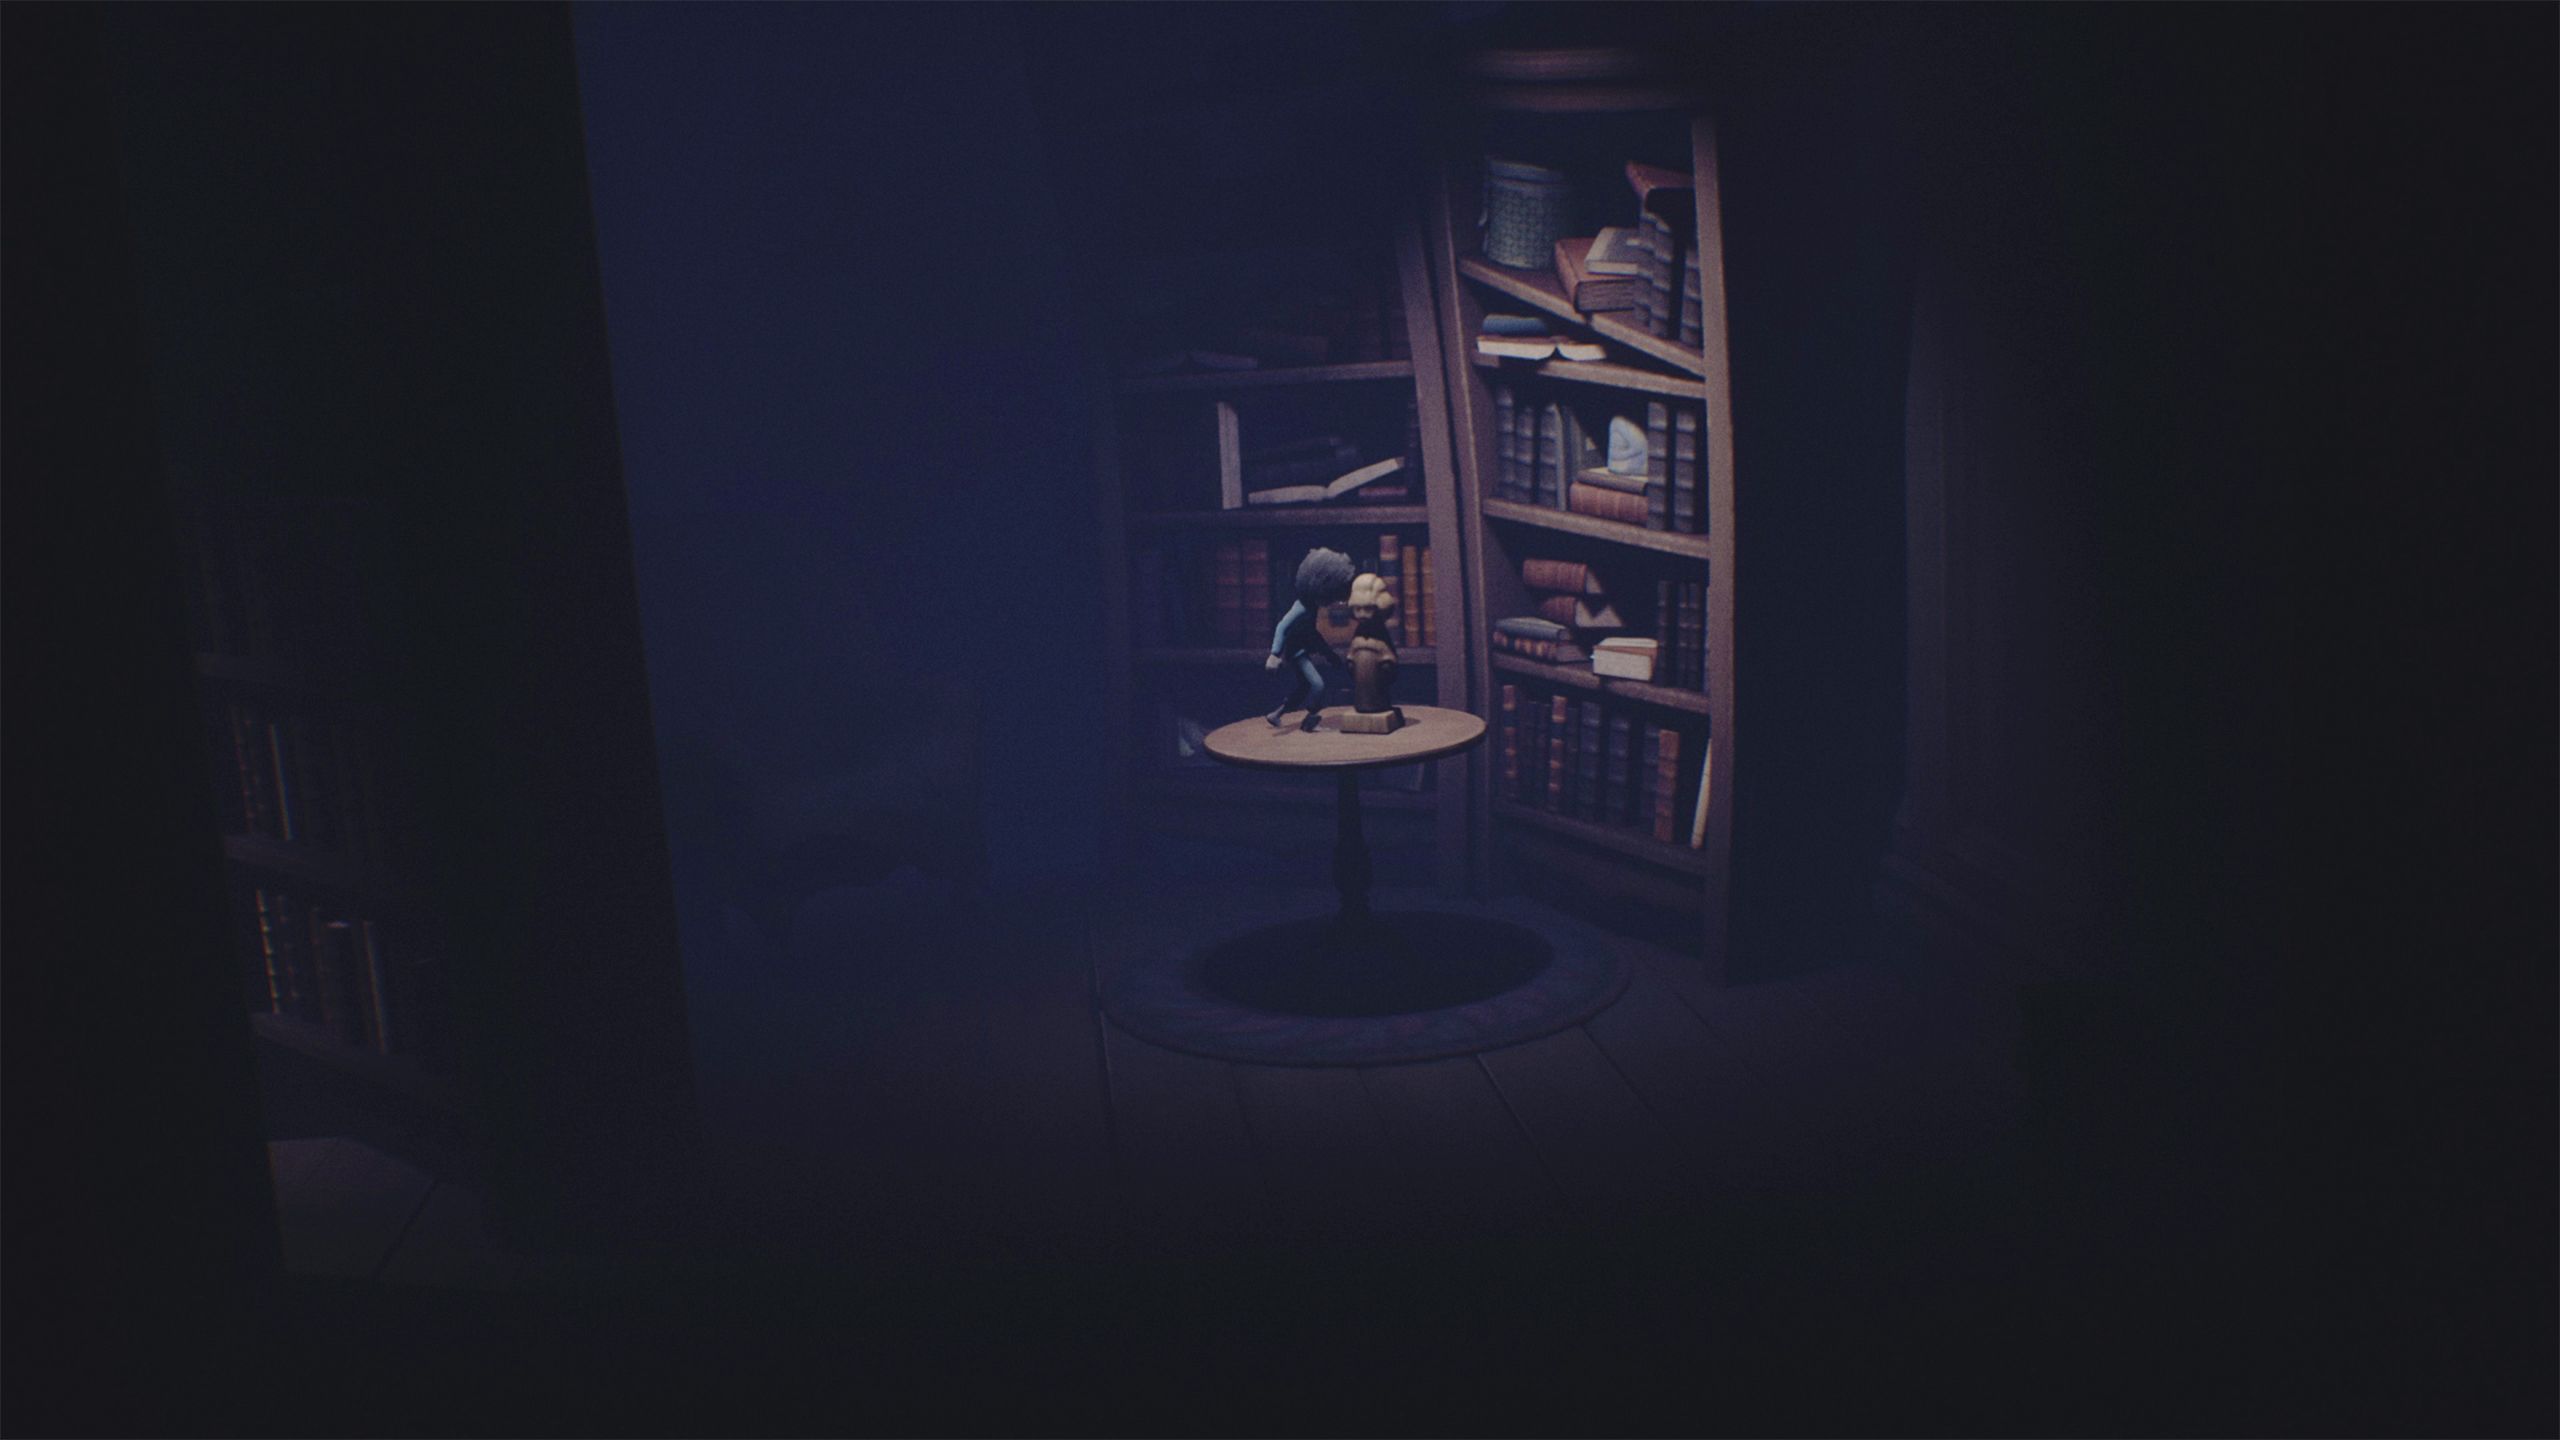
Push the secret entrance open and grab the fake statue from the table.
Leave the library and go to the room on the second floor to your left – that’s where you’ll find the actual statue. Take the real statue off its base; this will trigger a trap, so be ready! Immediately swap it with the fake statue you have.
Head down to the ground floor and place the genuine statue on the designated platform. This will switch off all the lights, so remember to bring your flashlight with you.
If you’re not aiming for the Ashes to Ashes Trophy, you can skip the instructions about the book and continue playing as usual.
Now’s a great time to get the Ashes to Ashes Trophy in Little Nightmares. Go back to the library and collect the last book with a white mask on its cover.
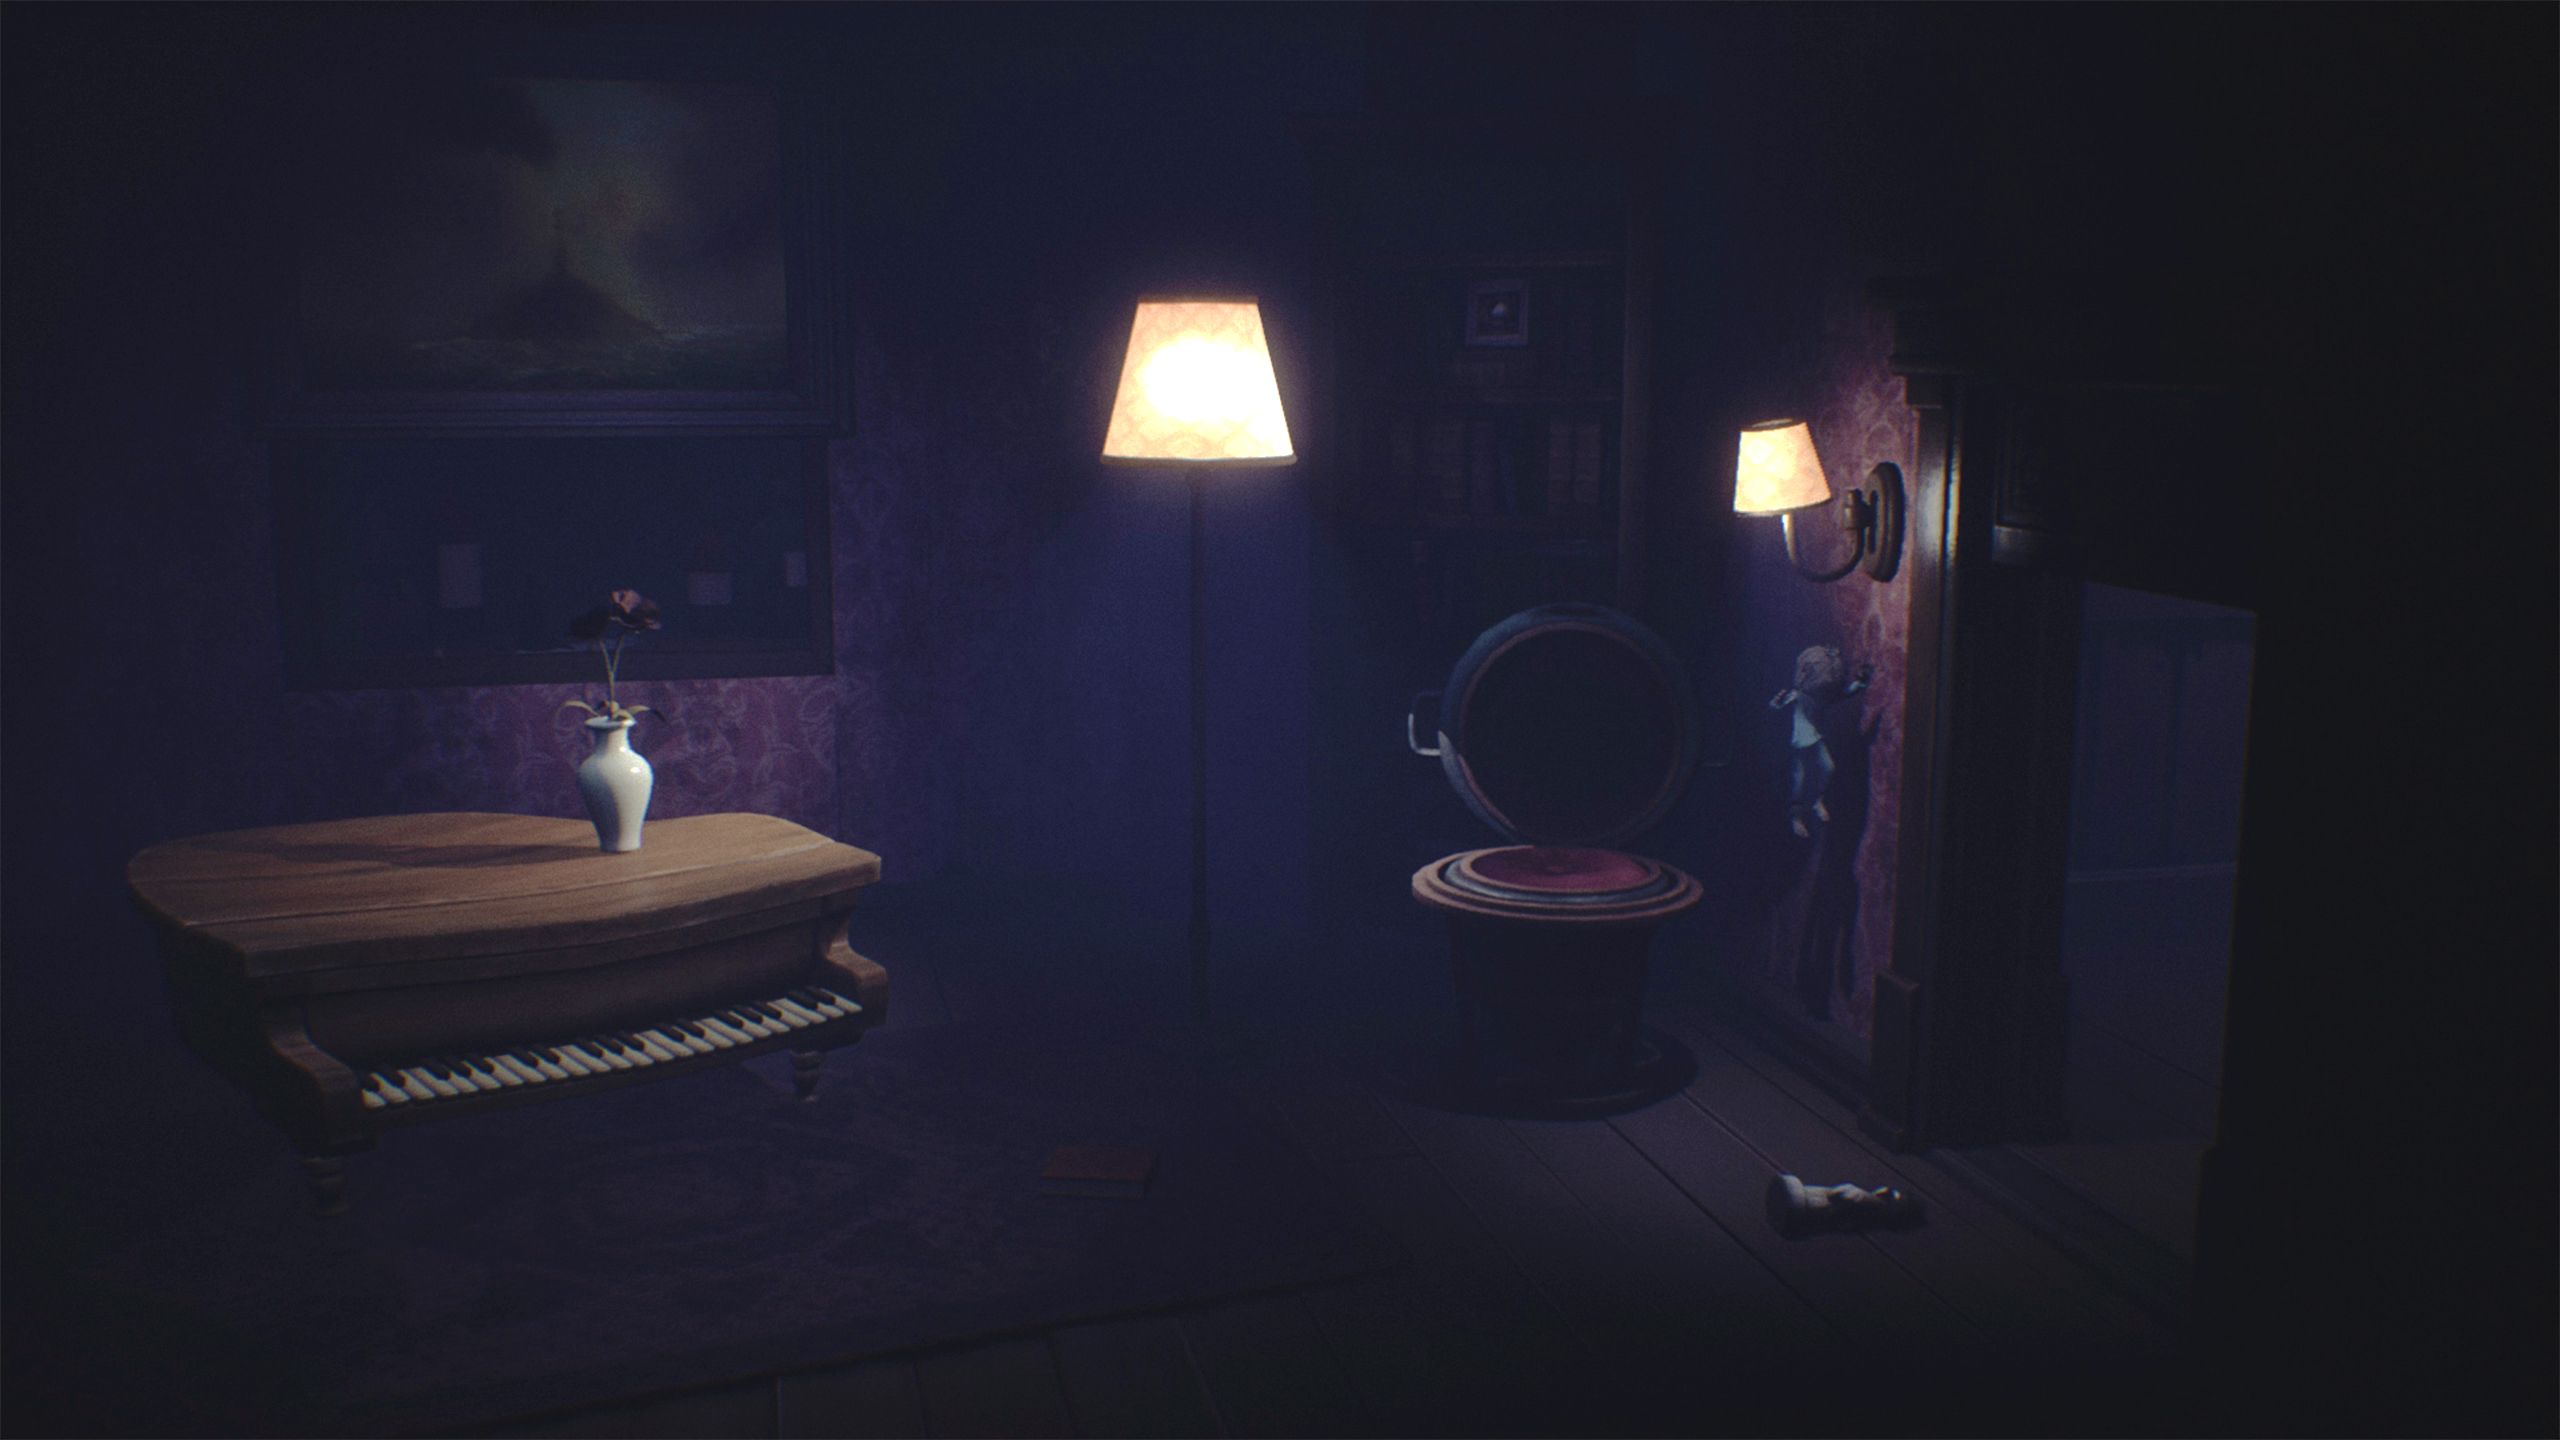
Go down to the first floor and turn left, towards the room where you saw the Lady with the hairbrush. Quickly put the book down and shine the flashlight around, because shadowy figures will try to attack the Kid.
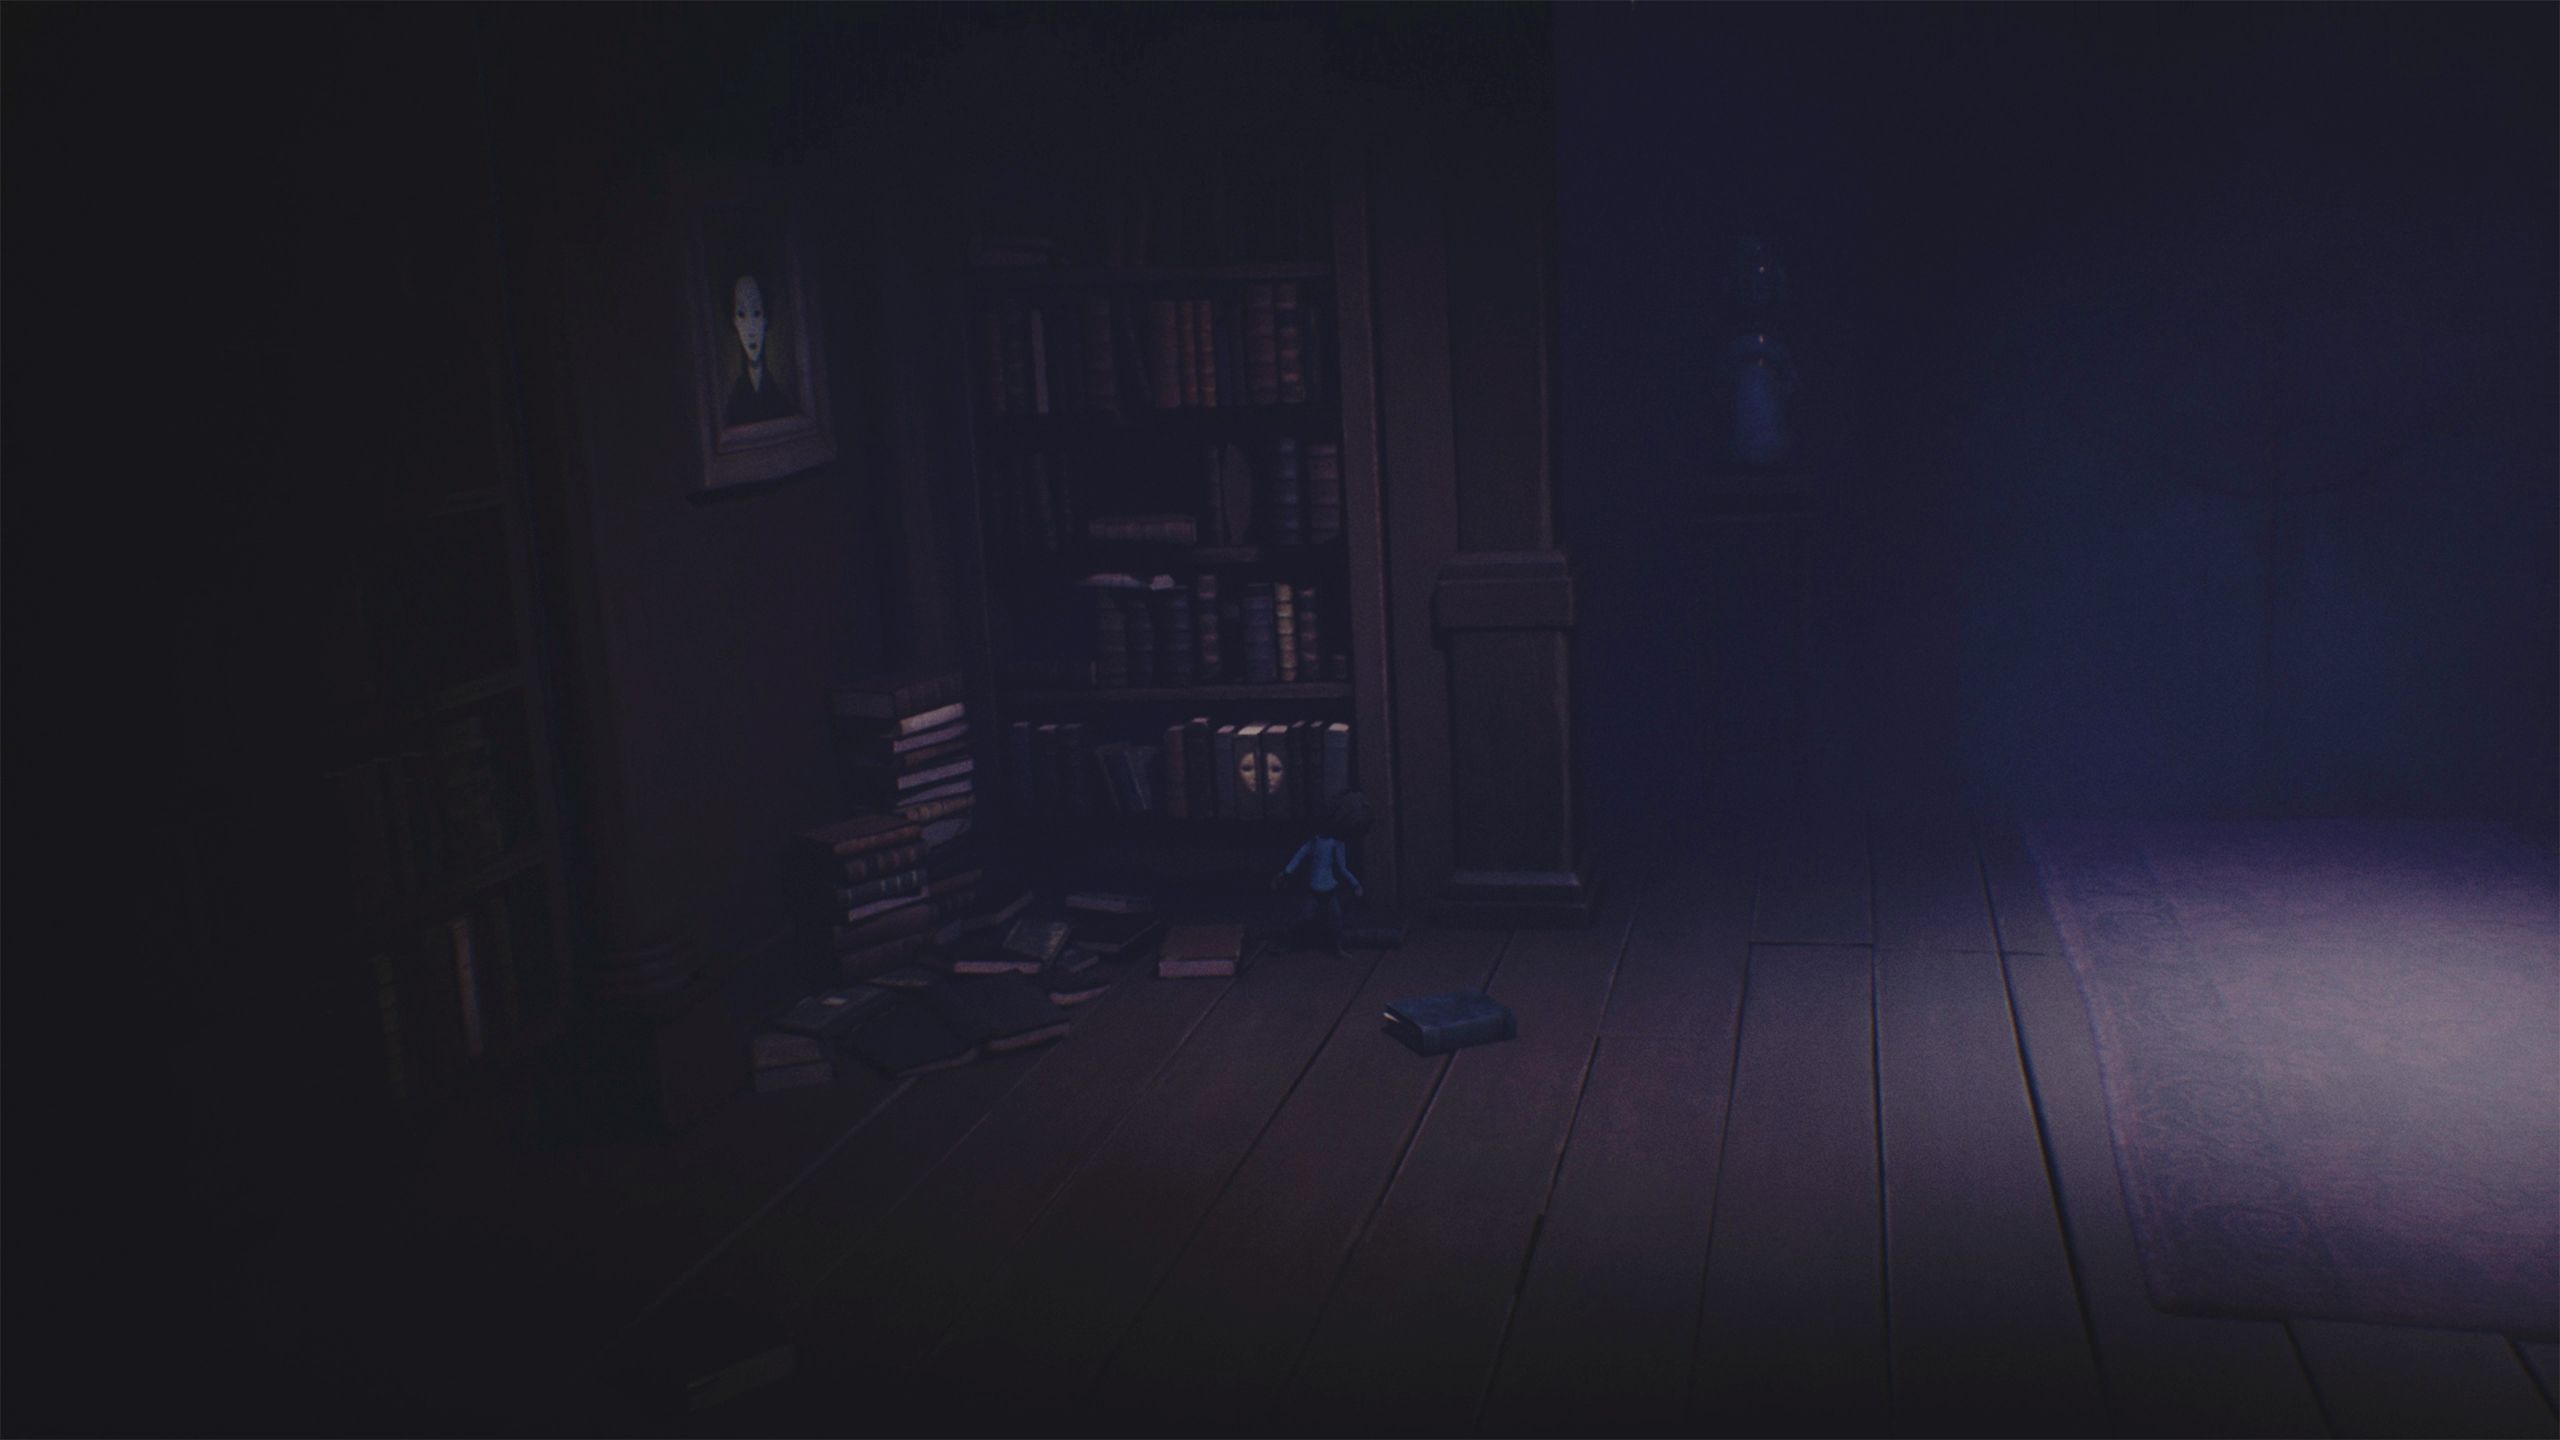
After the fight, proceed left and place the book in the bookcase near the elevator.
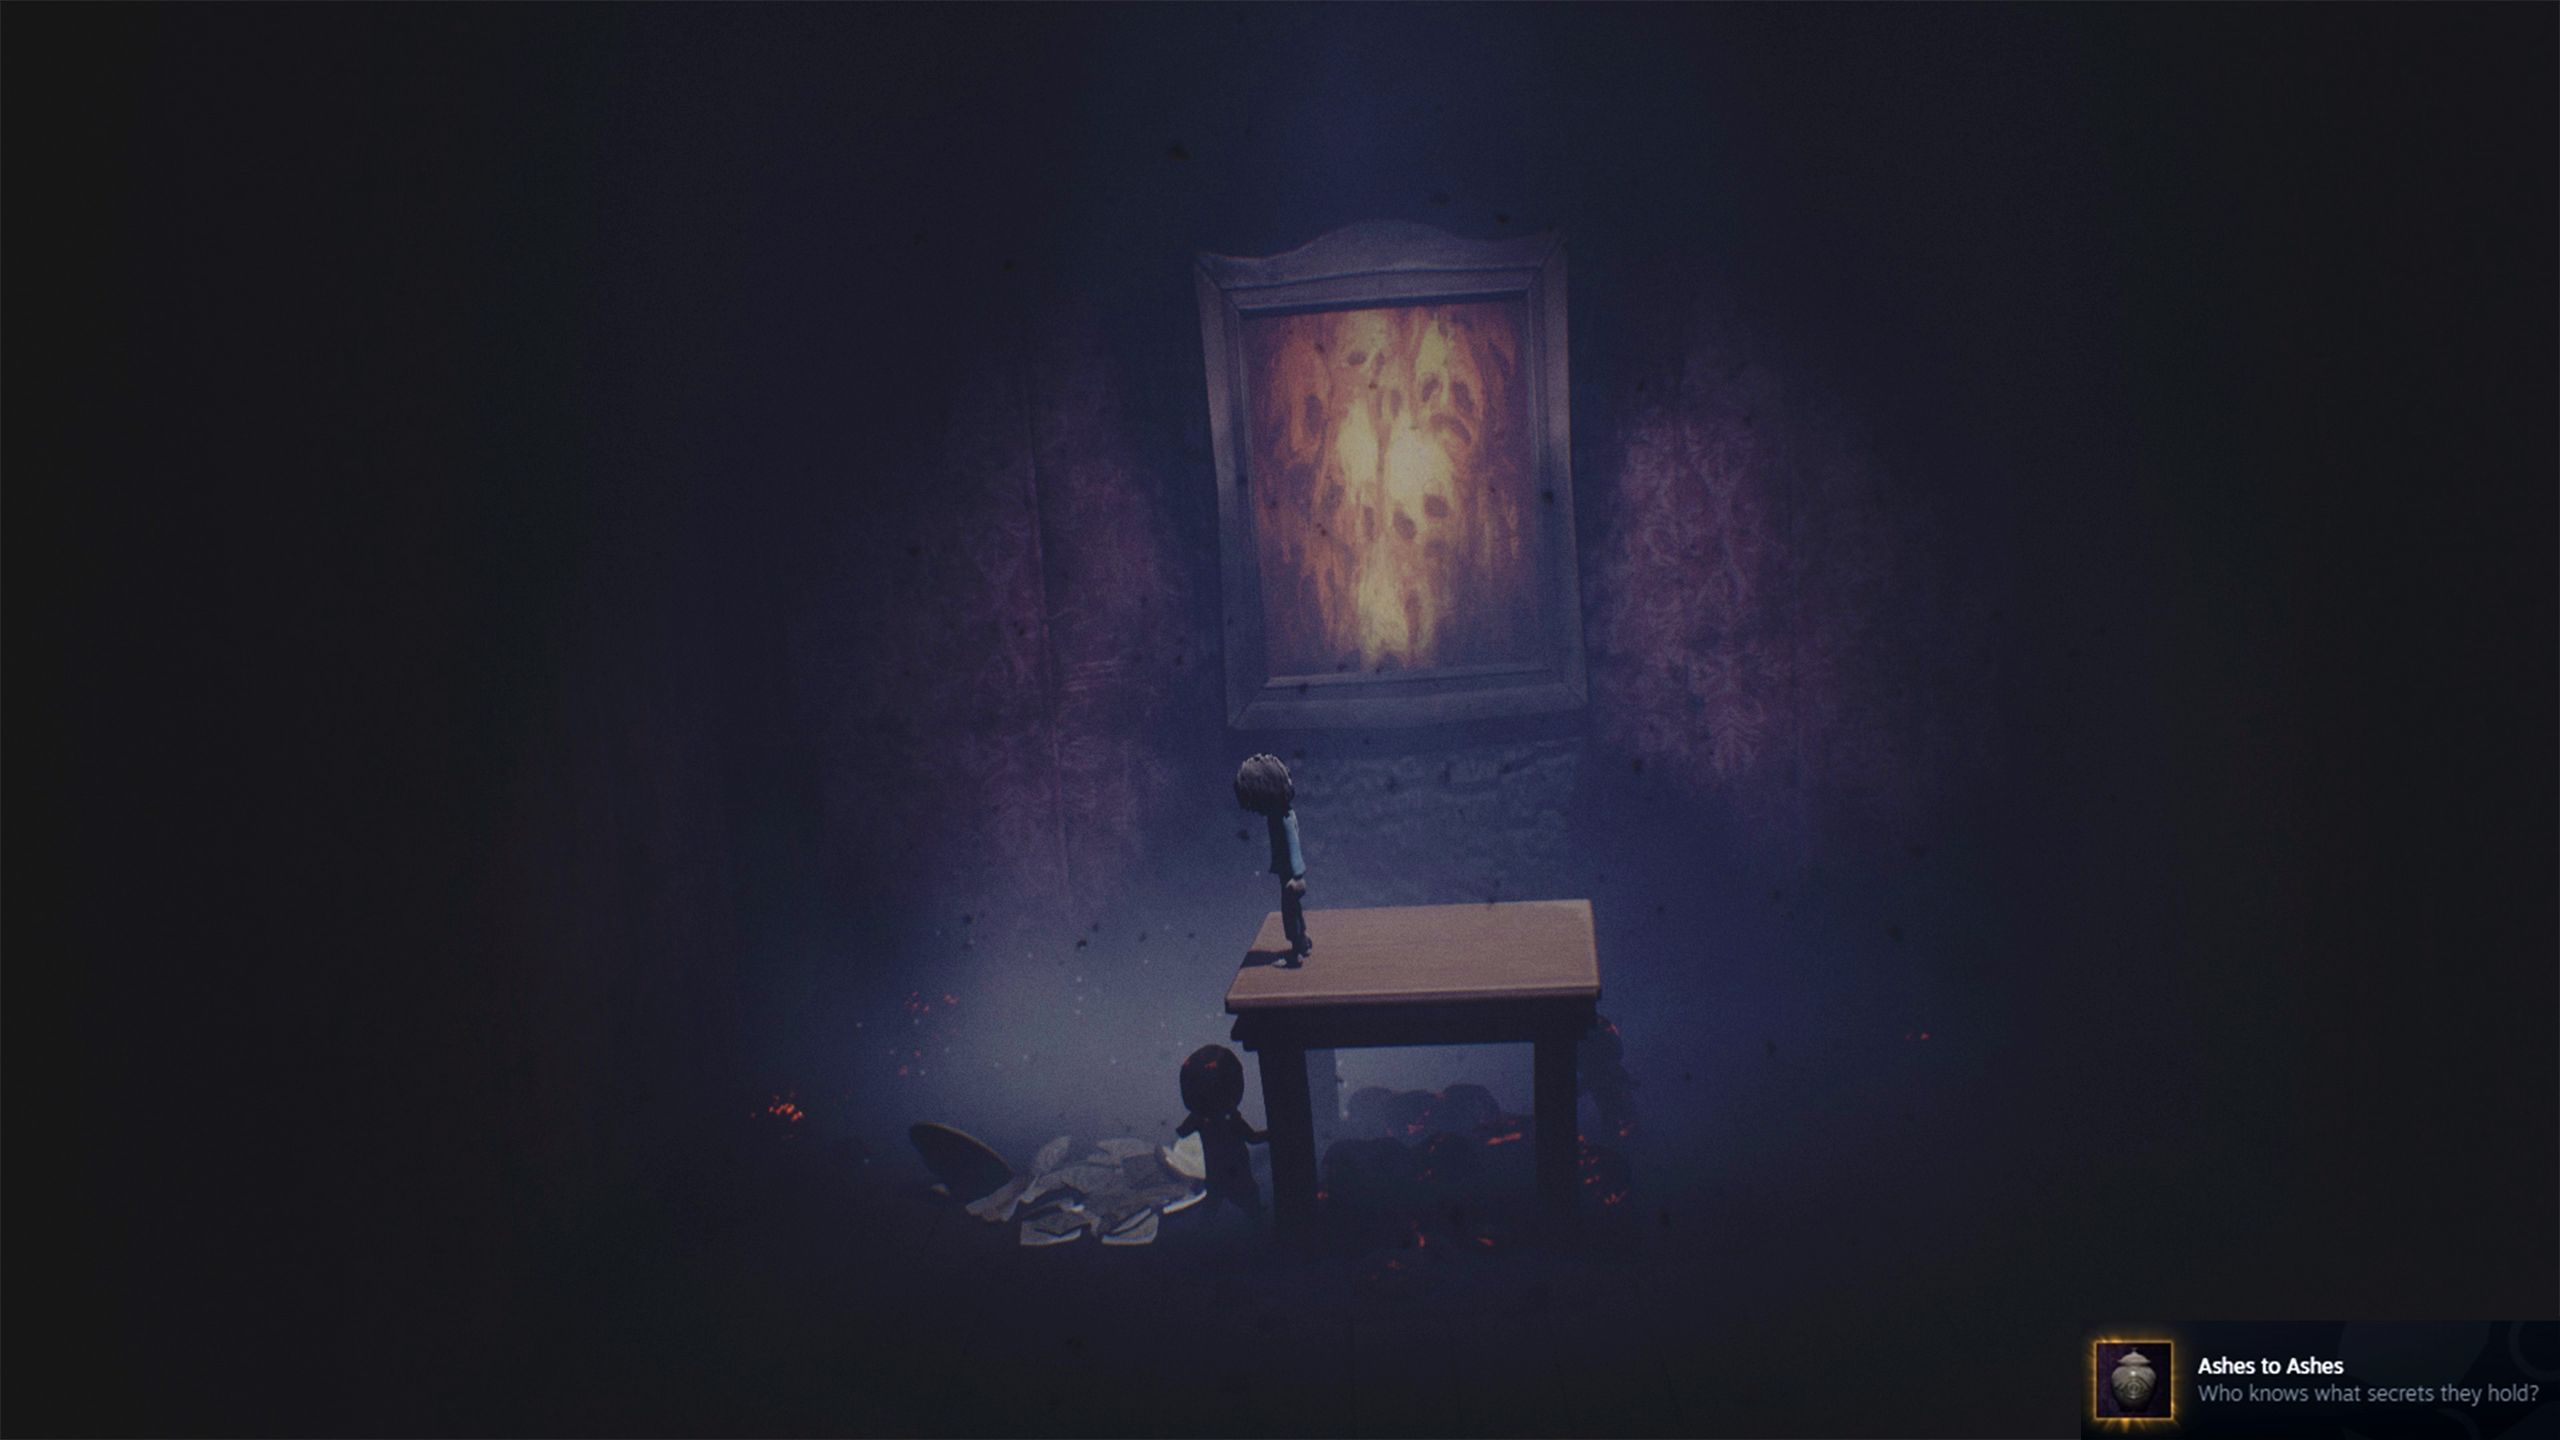
Finding this opens a hidden room to your left, containing a jar on a table. Climb onto the table and push the jar to break it – doing so will unlock the “Ashes to Ashes” achievement.
Go back to the Lady’s room and climb the left table to get the key.
Okay, so I need to go upstairs and take the elevator up to the third floor. Once I’m up there, I just need to open the locked door on the left. Got it!
In the corridor, walk towards the camera to see the third flotsam.
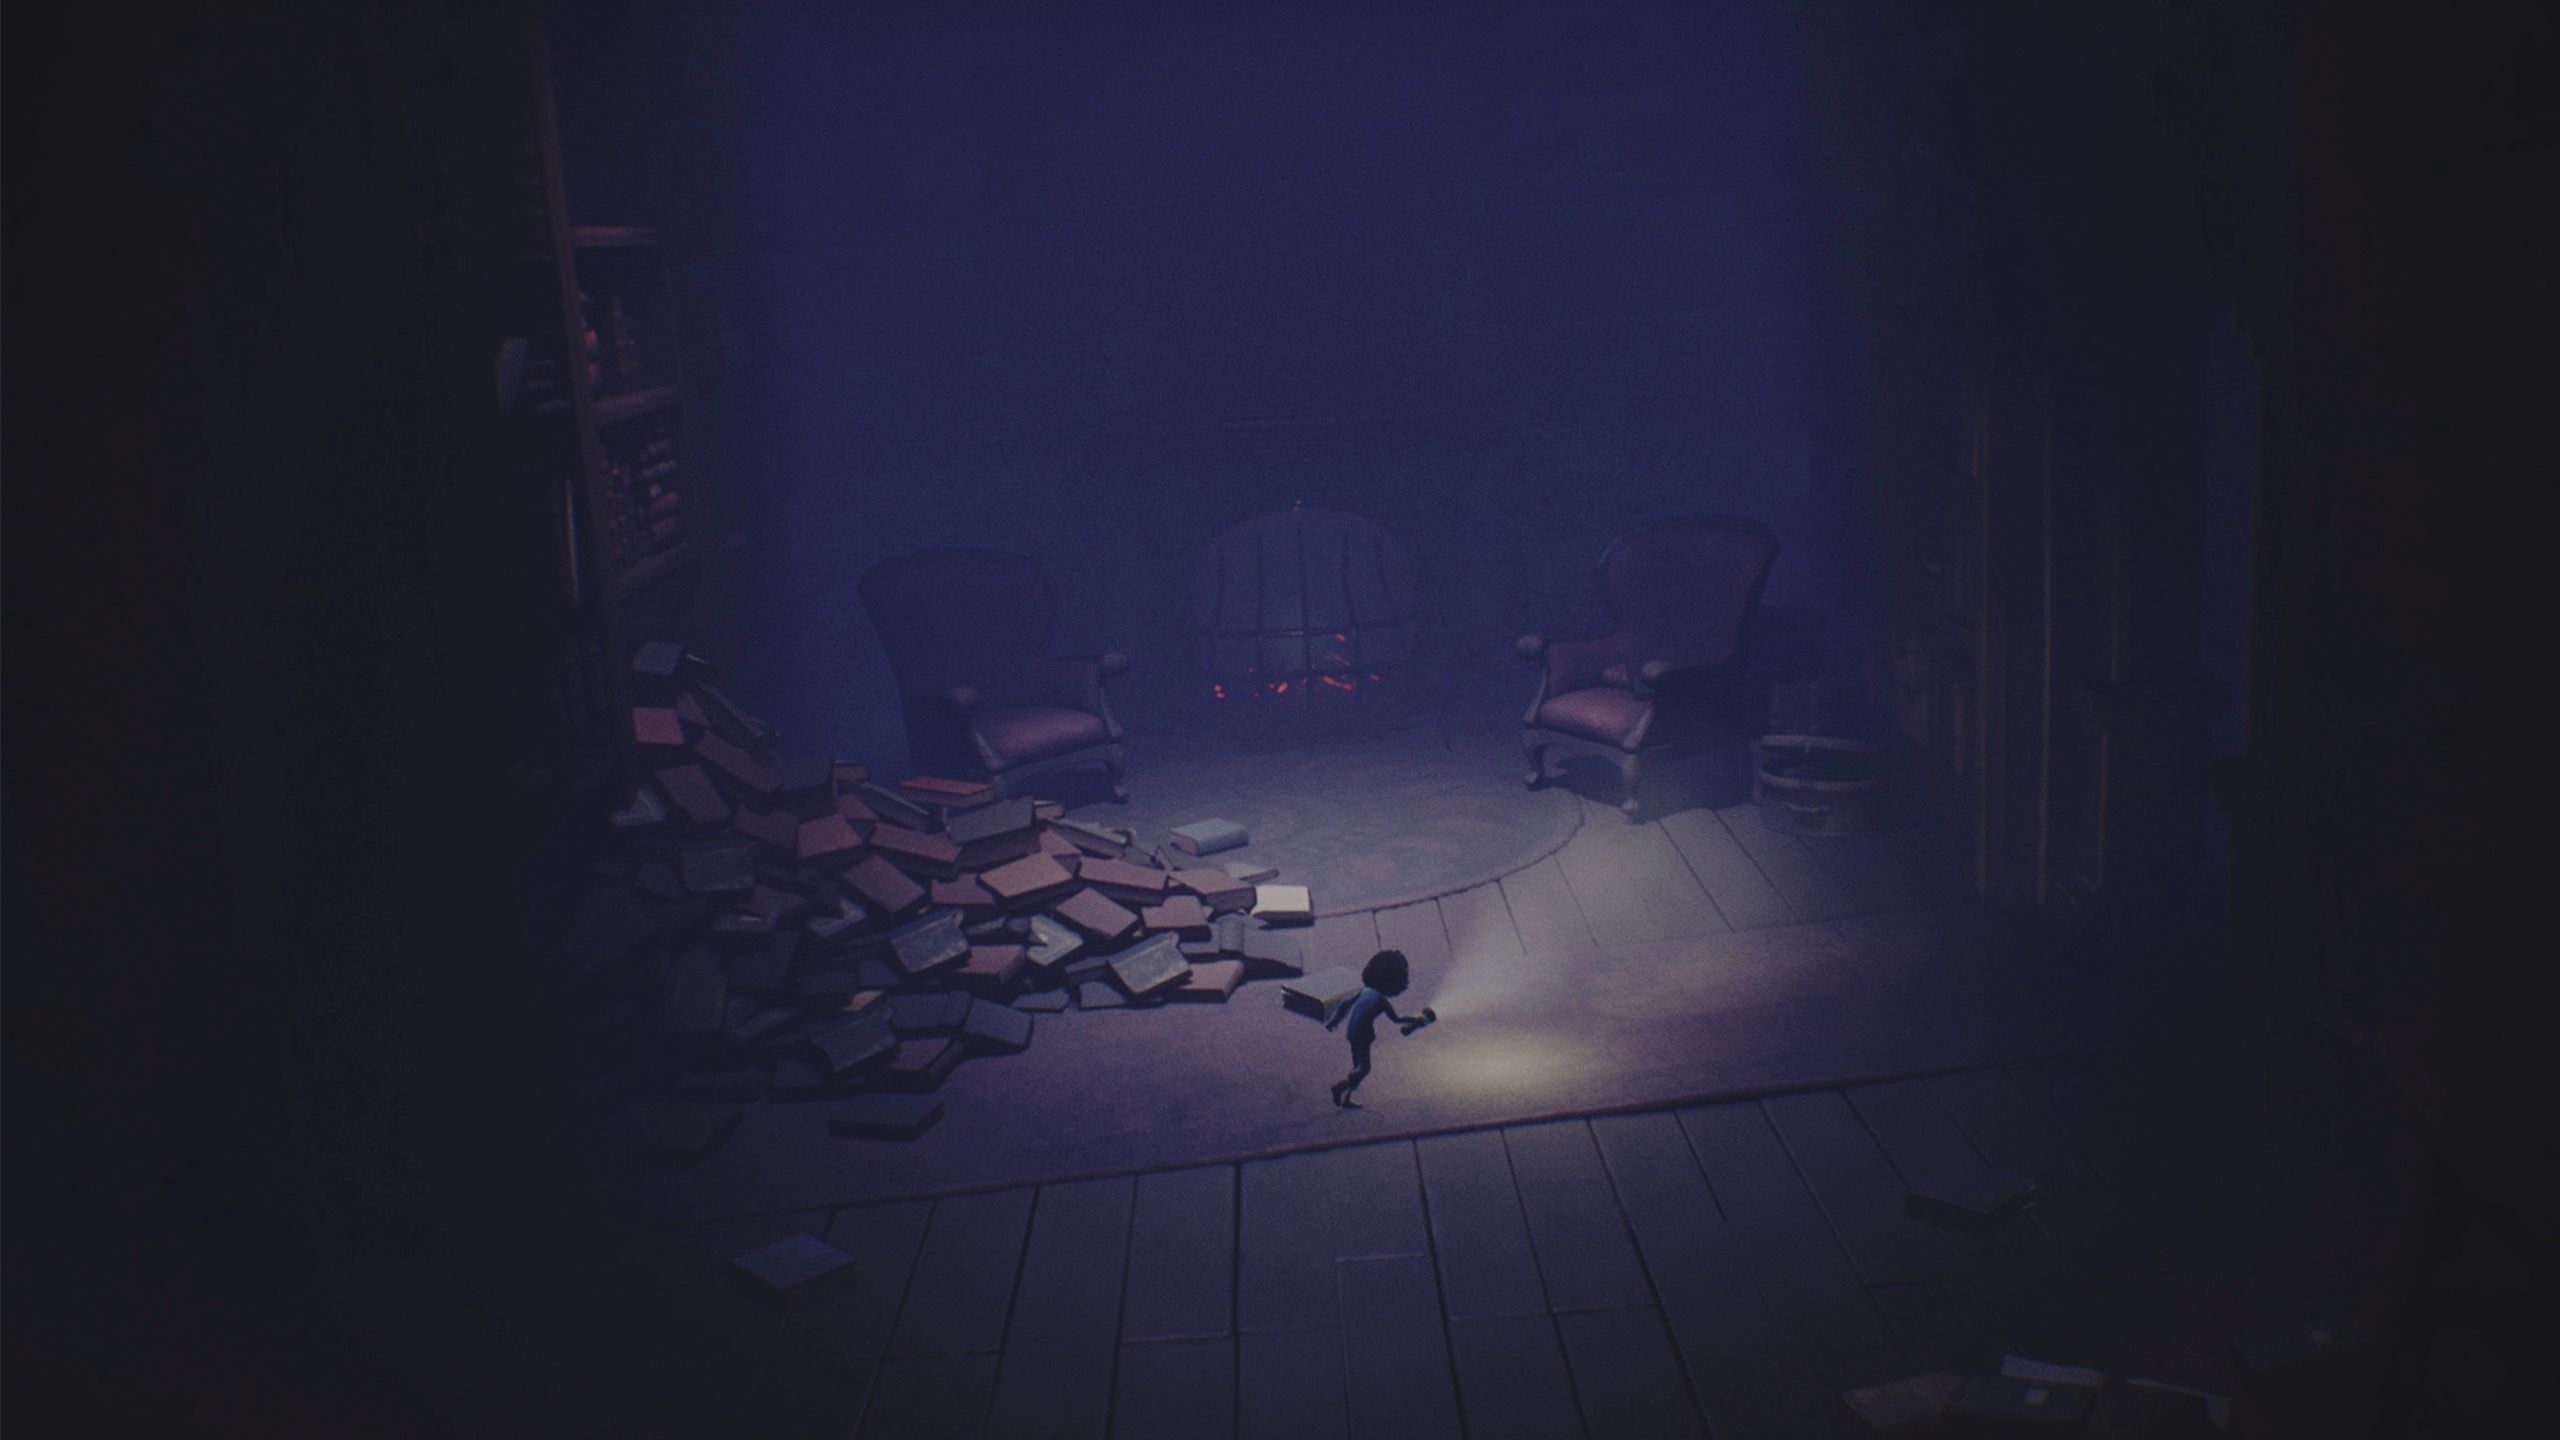
Get ready with your flashlight as you enter the next room – enemies will be coming at you from all sides. When you shine the light on an enemy, try to slowly move backwards and keep your distance, or you won’t survive.
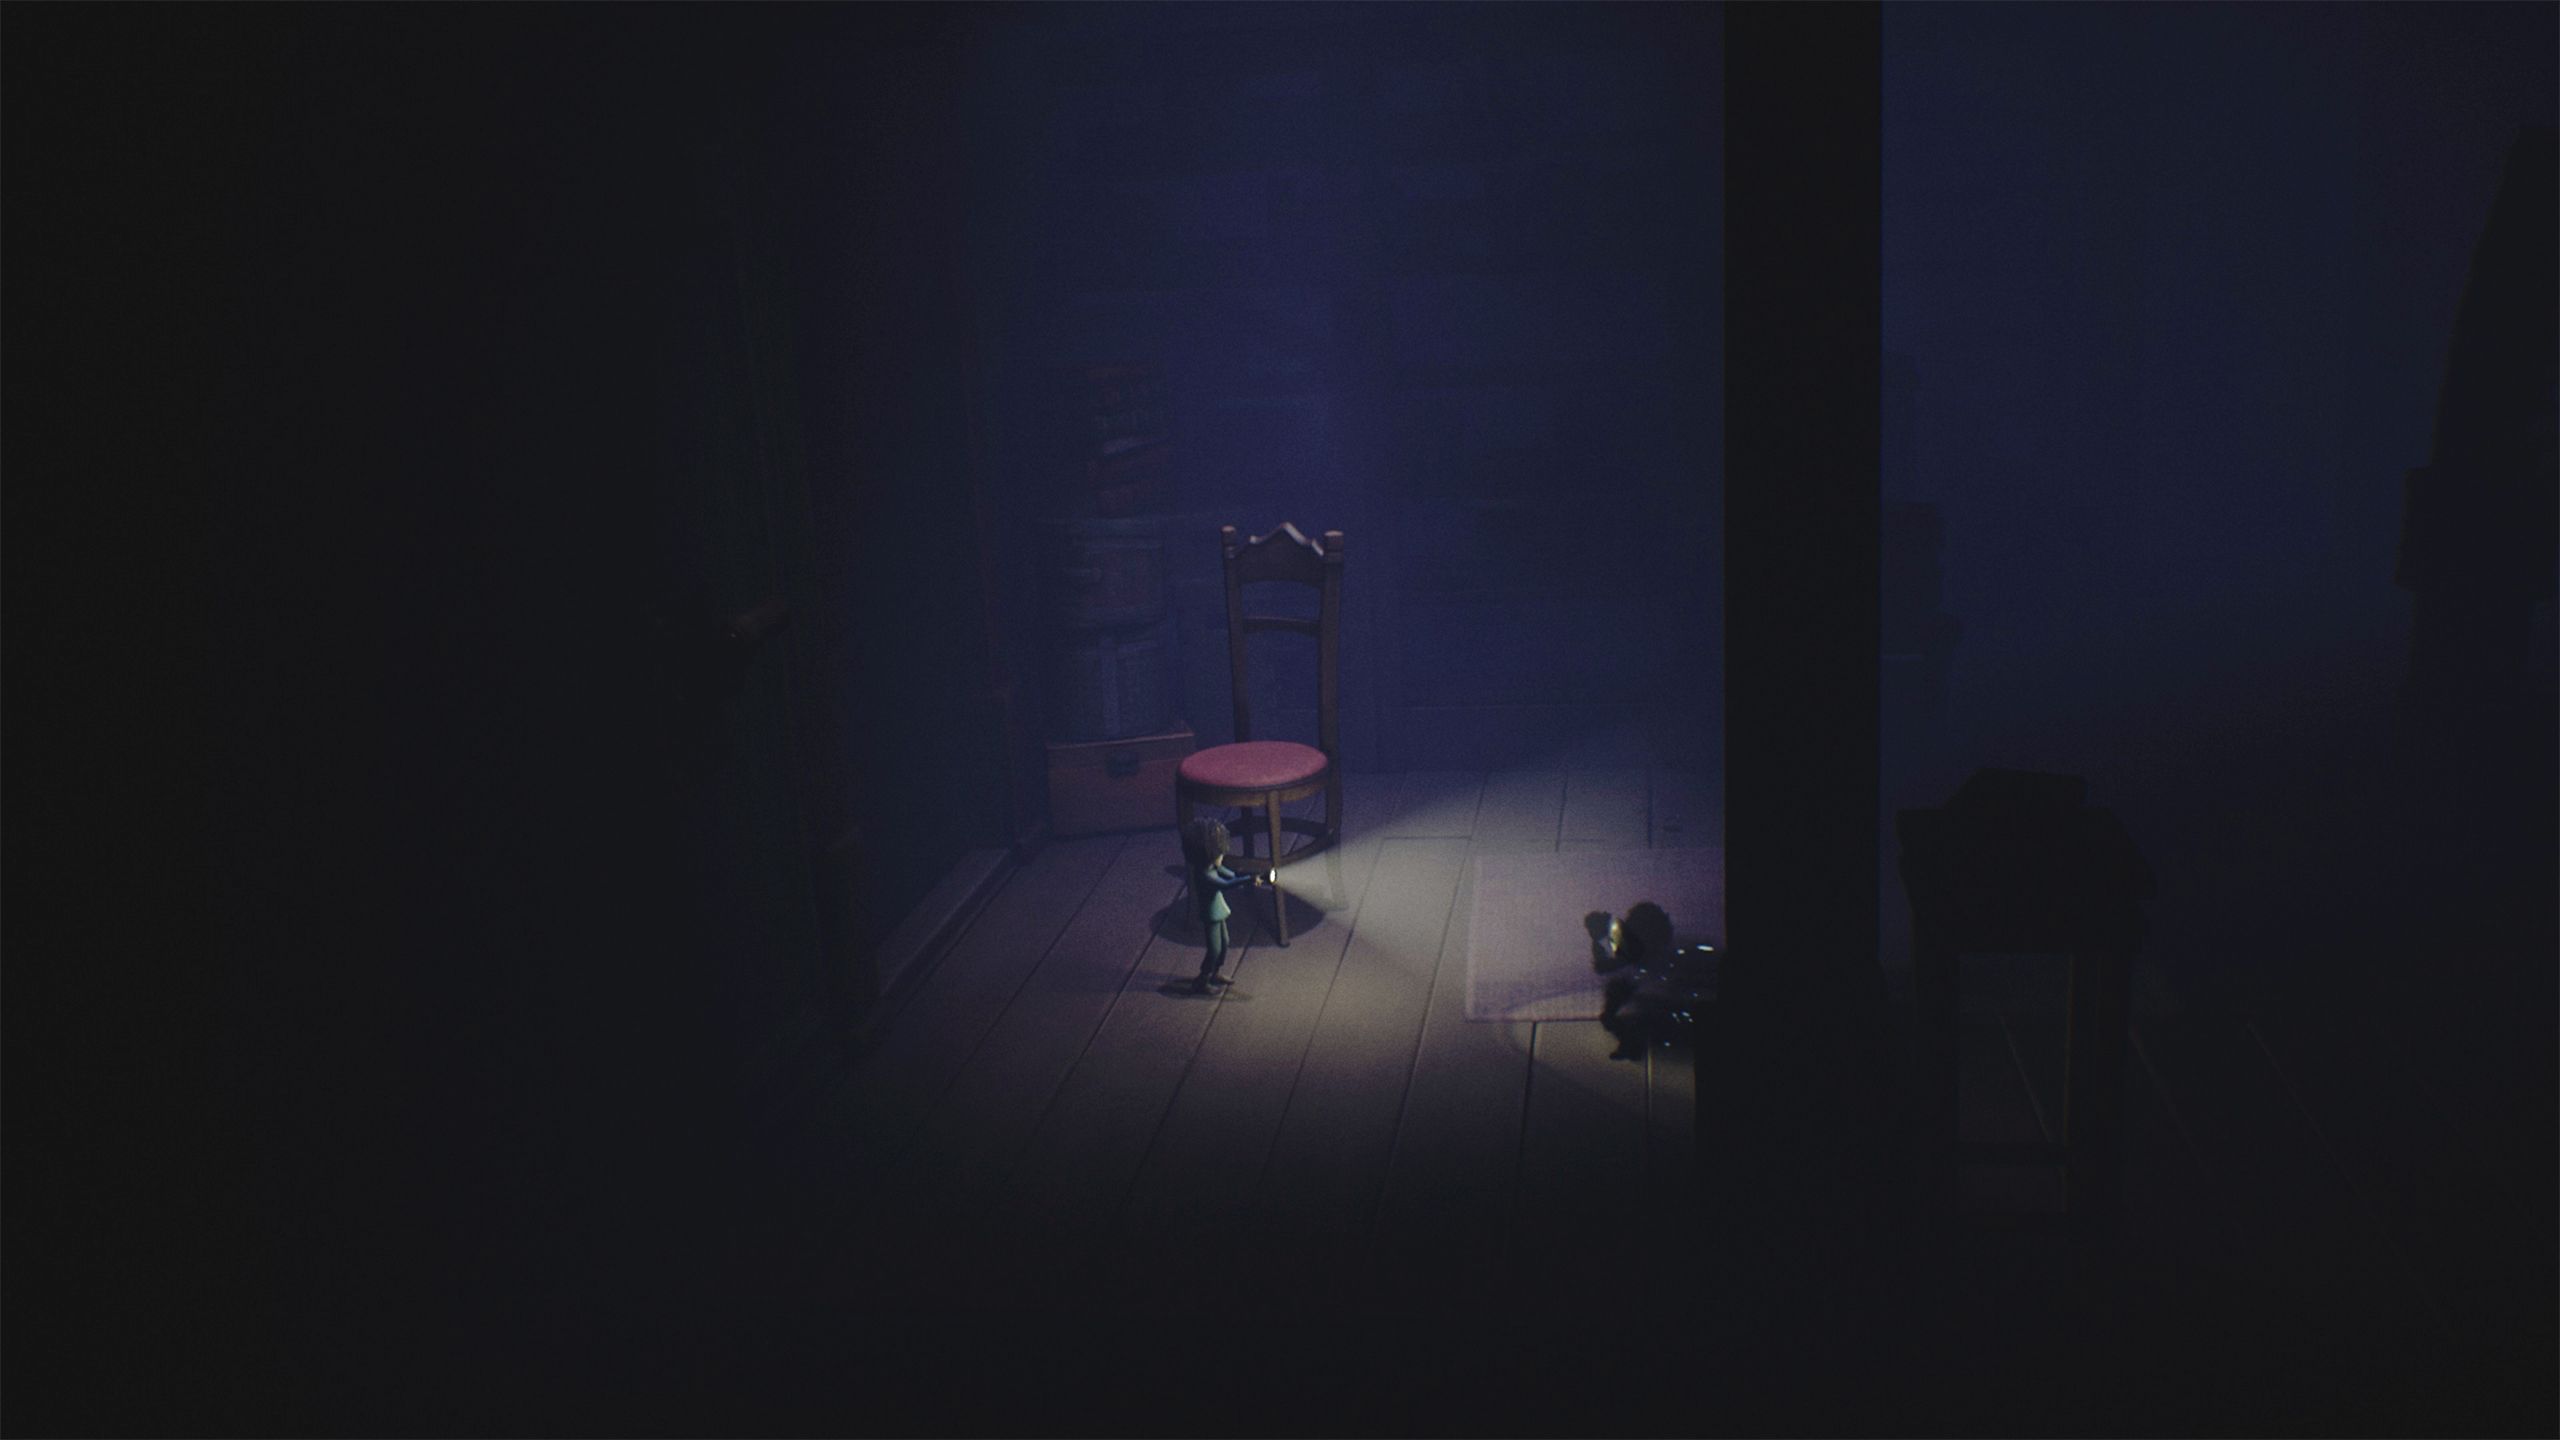
Continue moving forward while avoiding enemies. Pull the chair closer to the camera – you’ll use it to help you reach and pull the lever. Watch out for shadows that might attack while you’re moving the chair!
Go to the next room and defeat the shadows there. Once you’ve finished, climb the ladder to reach a new area.

Walk to the shelf on the corner and cross to the other side. Jump towards the ladder and go down.
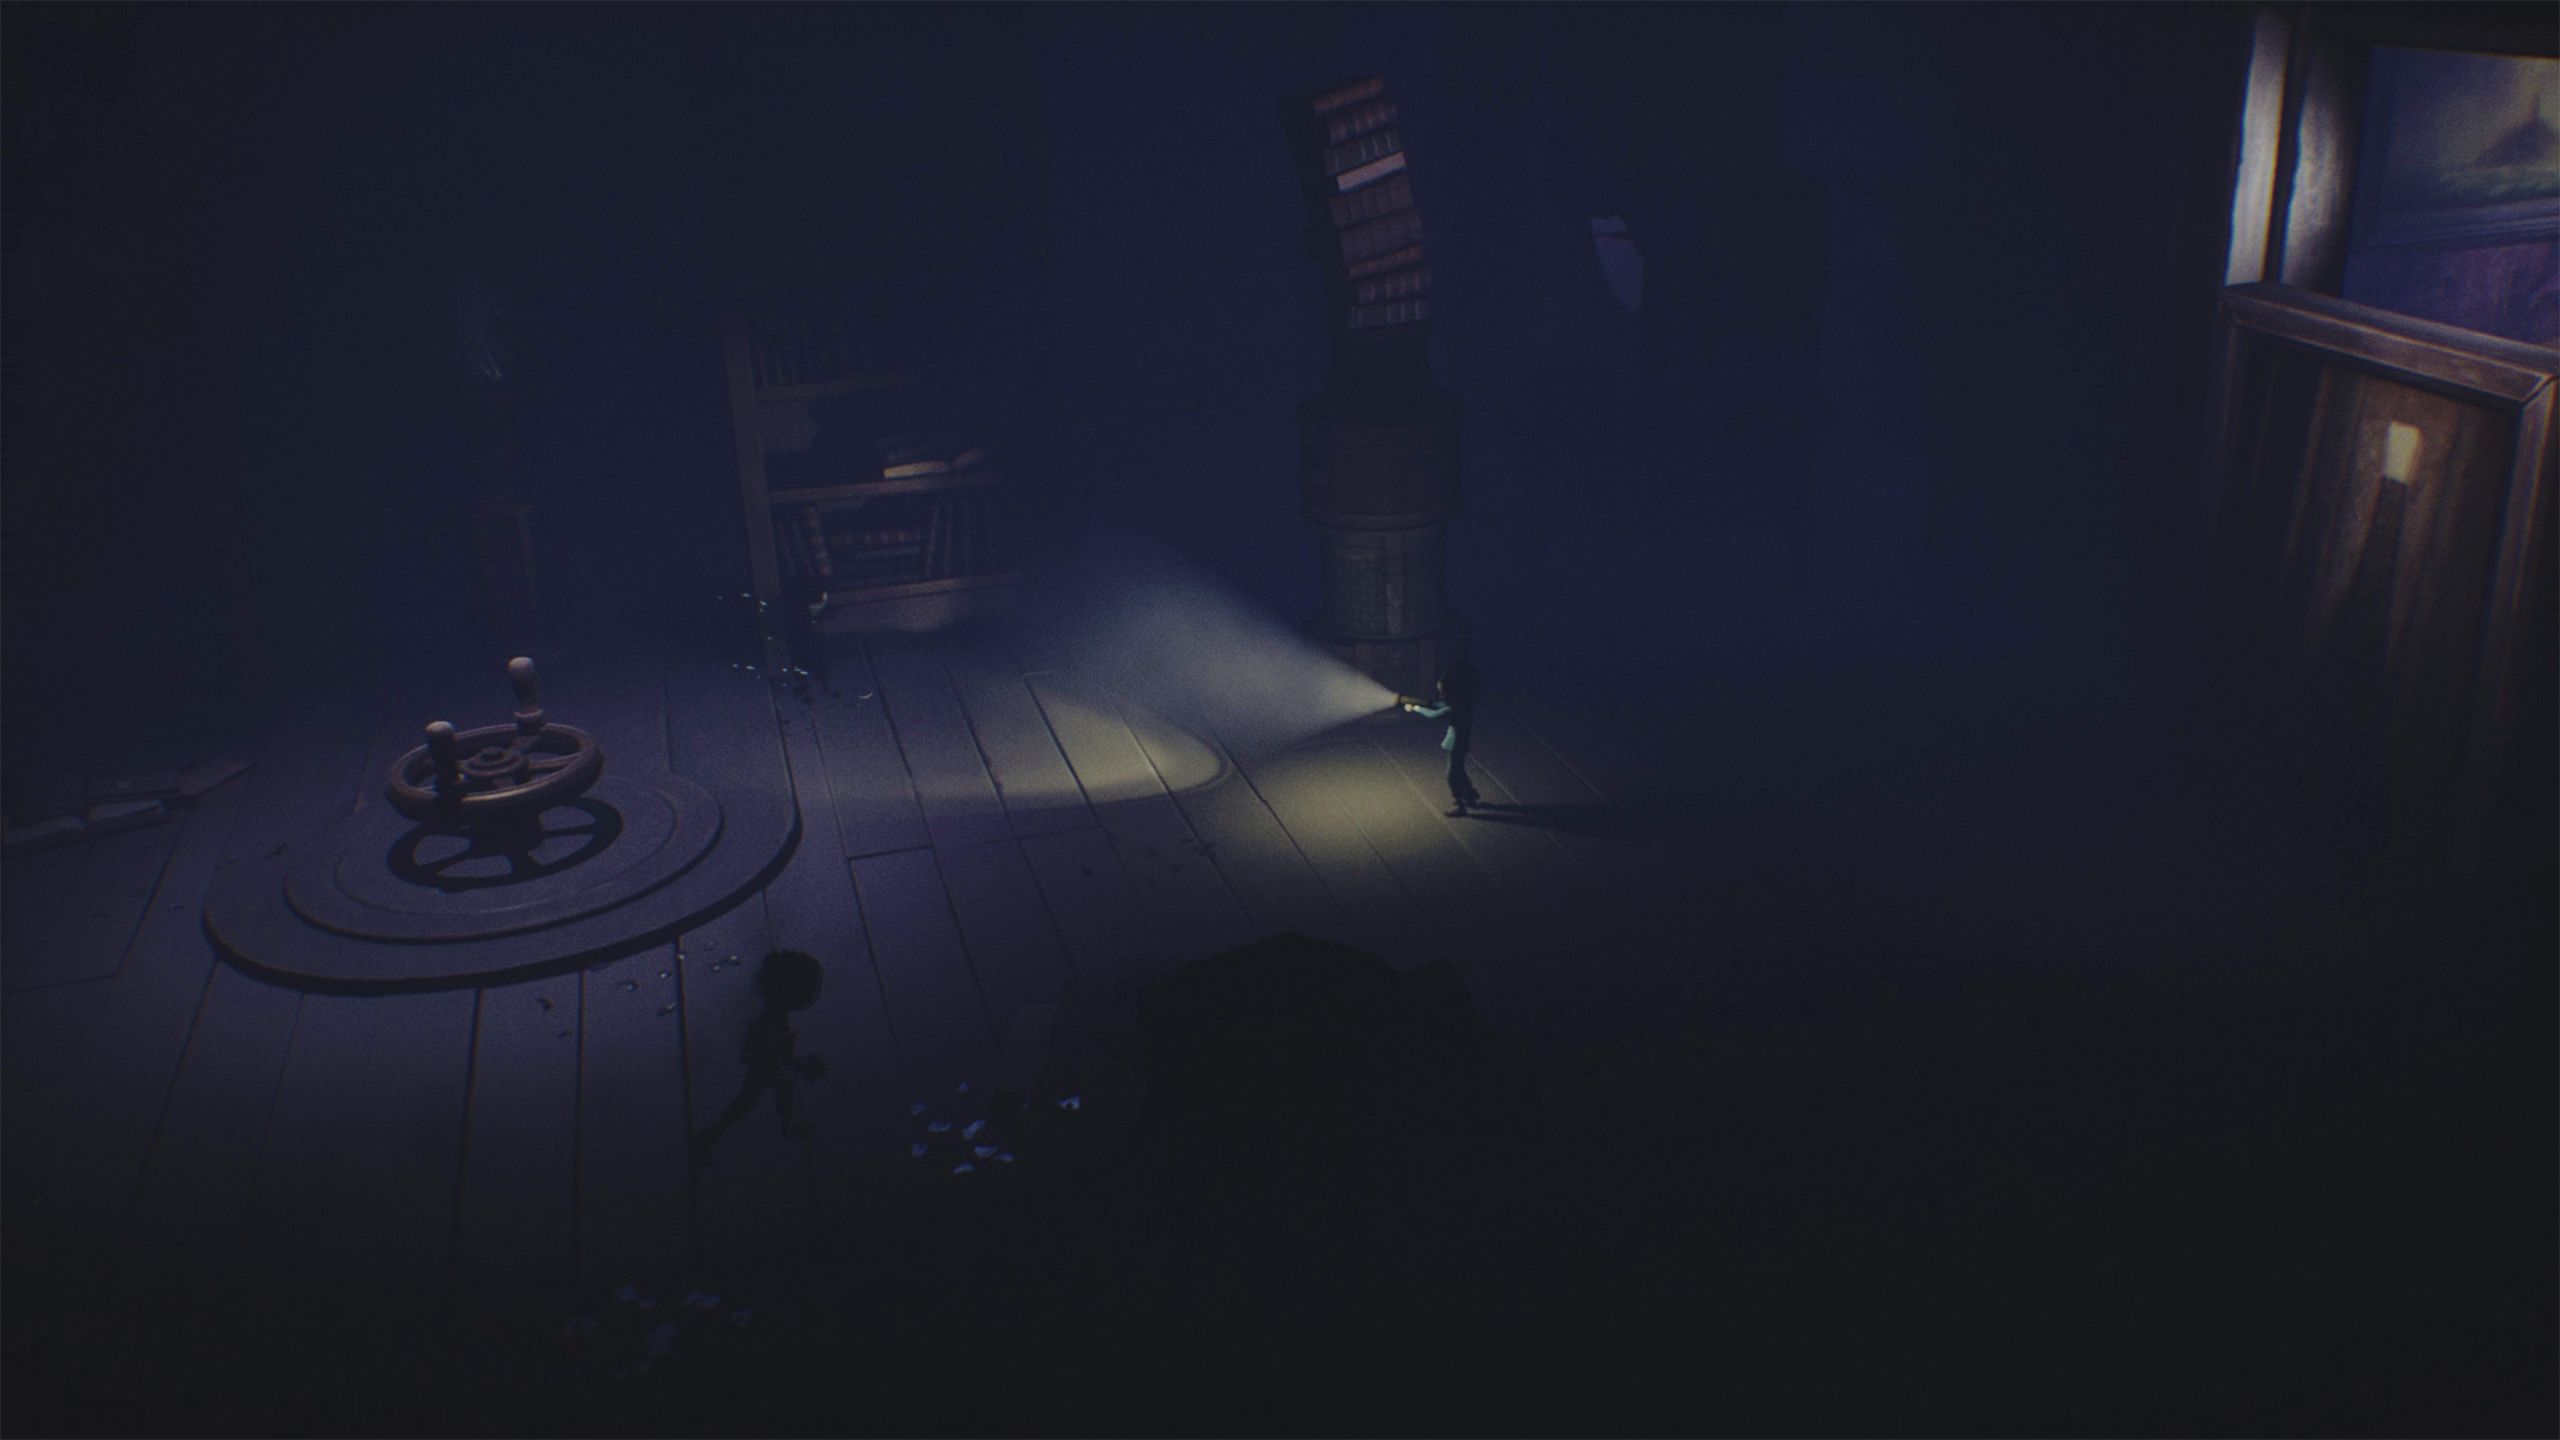
The player needs to turn the large lever to open the door, all while avoiding the shadows. It takes a steady hand because the door will gradually close if the lever isn’t held.
Once you’ve defeated the shadowy figures, go into the room and jump onto the piano. Step on the keys a few times to reveal a hidden compartment behind the painting. Inside, you’ll find and unlock the fourth piece of driftwood.
Okay, so you’ve gotta find this statue that looks like The Maw – it’s kinda creepy, honestly. Once you find it, there’s a handle you can hang from, and that’ll actually open it up, revealing another statue. Then, you need to jump up and pull on this light fixture – a sconce, I think it’s called – and that’ll unlock the door to the room where we put that fake statue earlier. It’s a bit of a puzzle, but we can do it!
Run towards the right room on the bottom floor and insert the final statue in the circle spot.
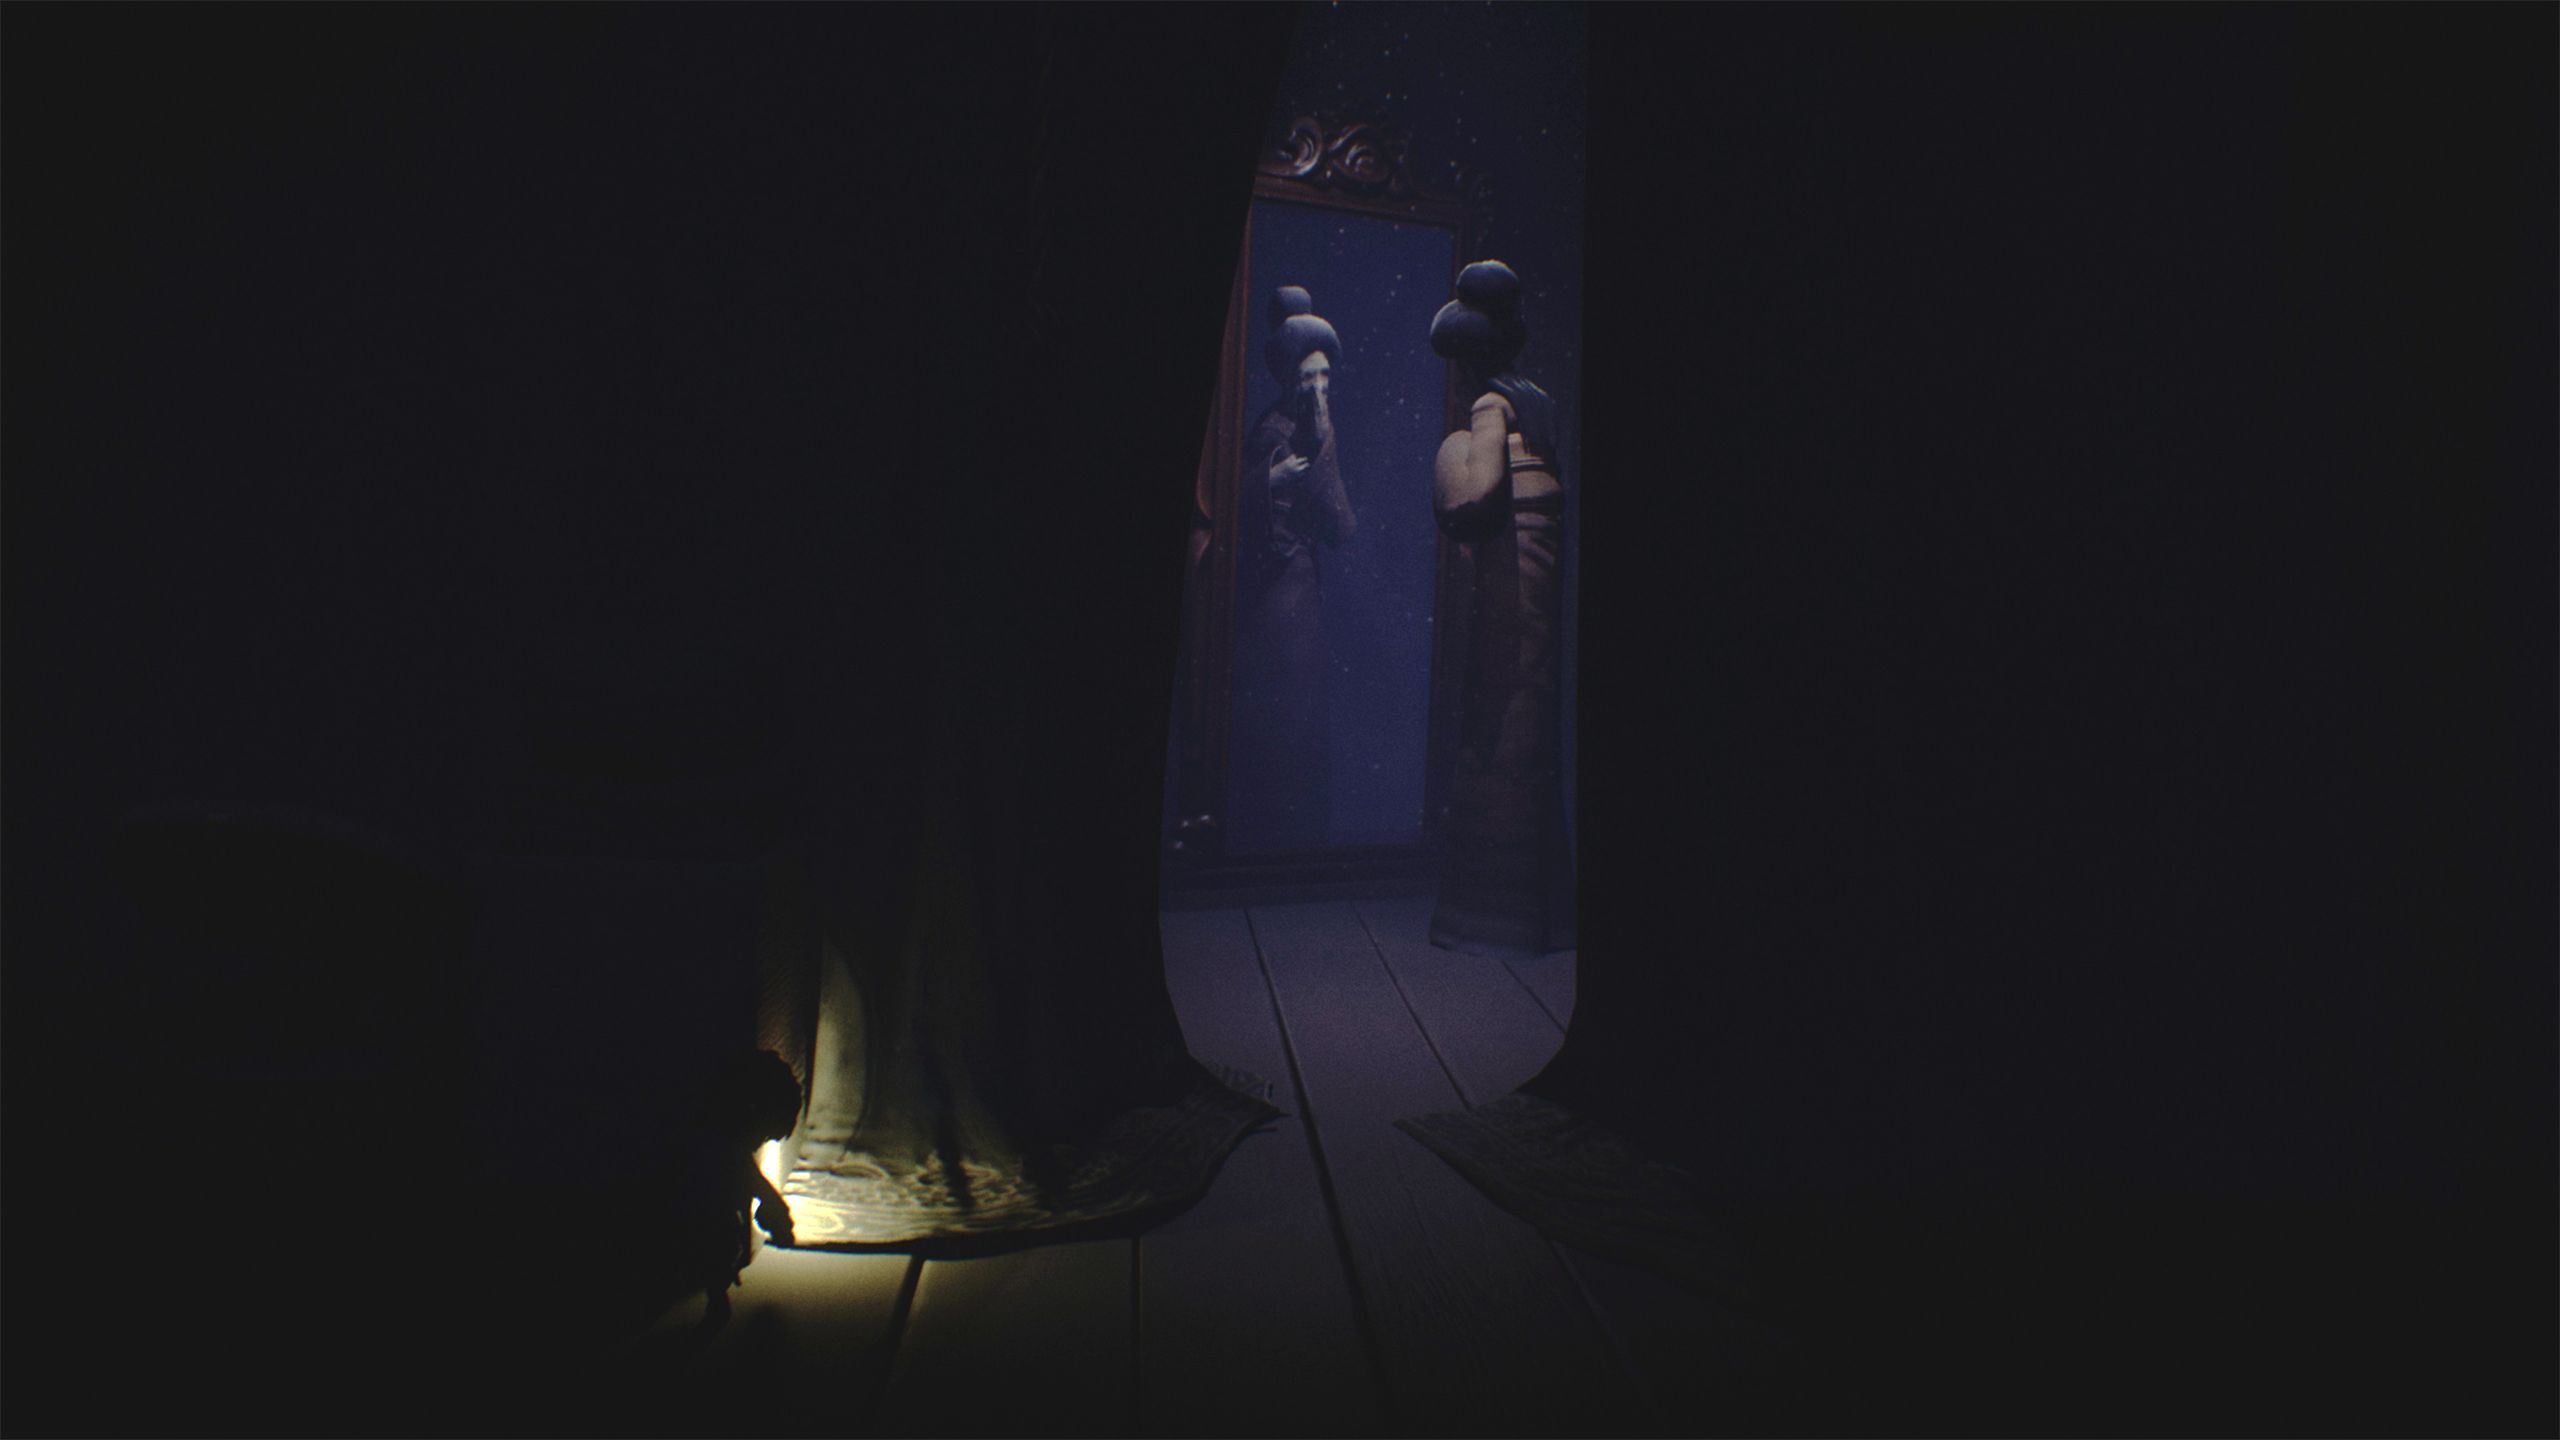
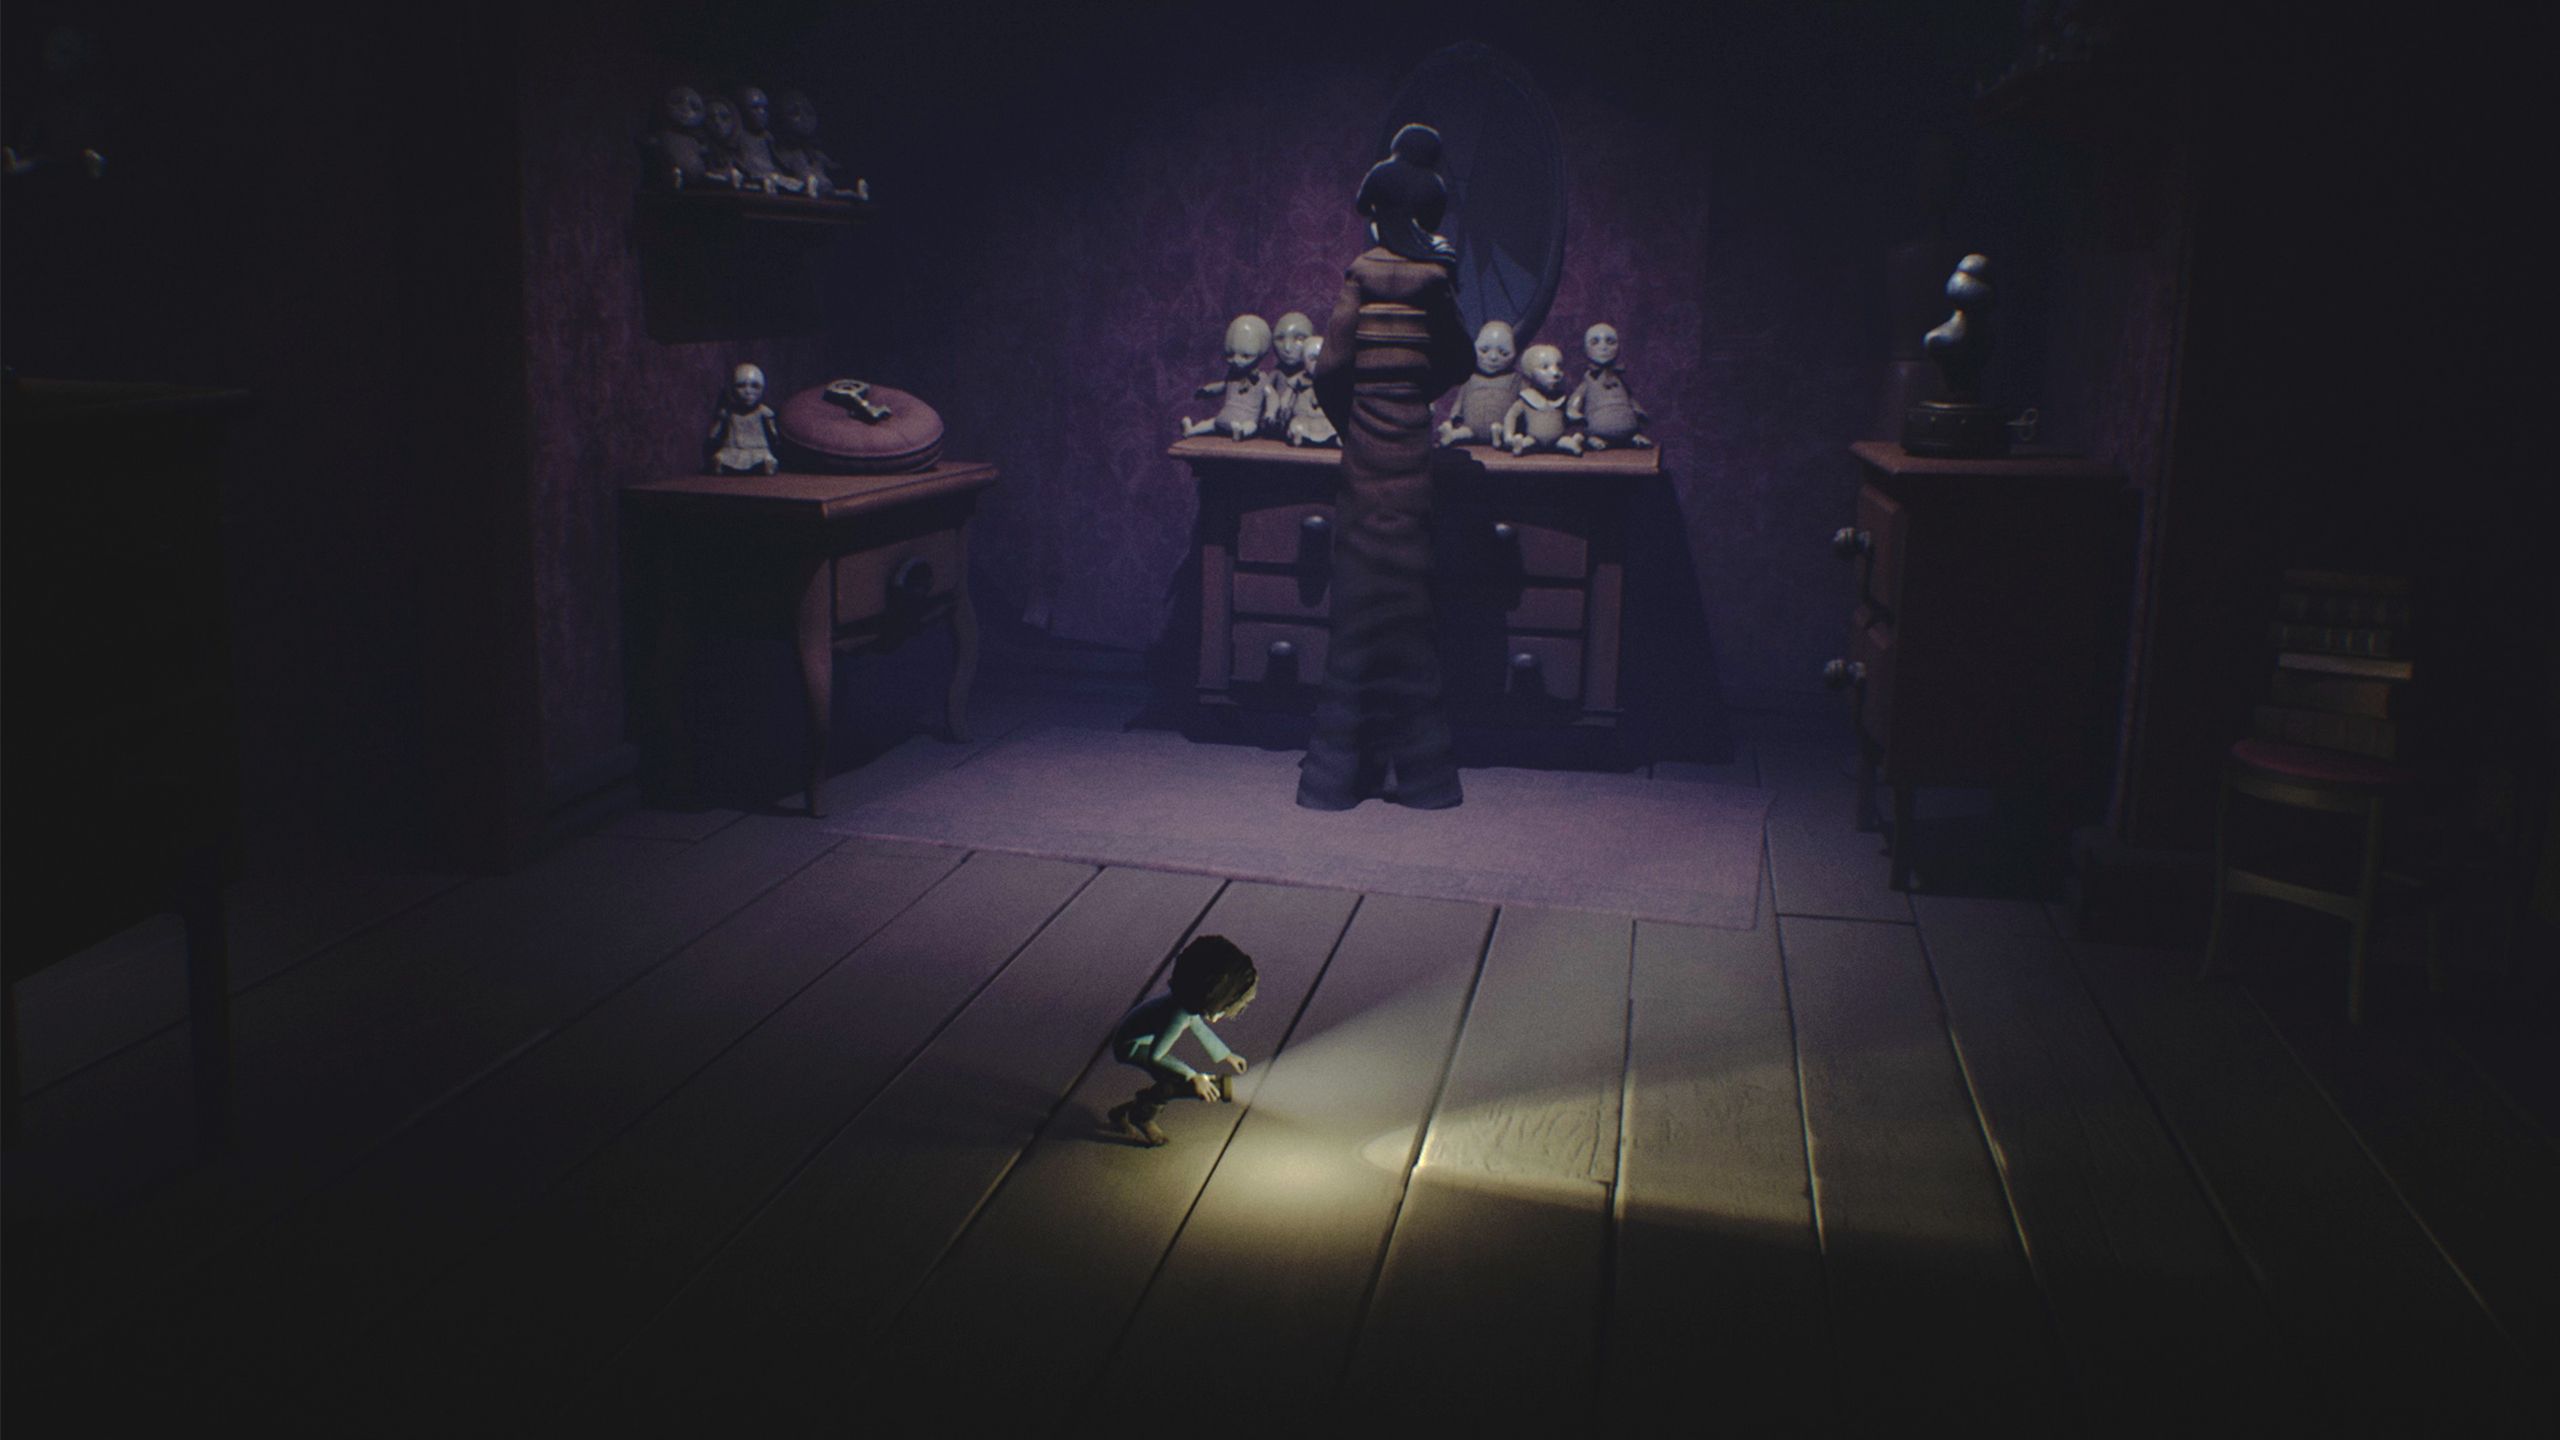
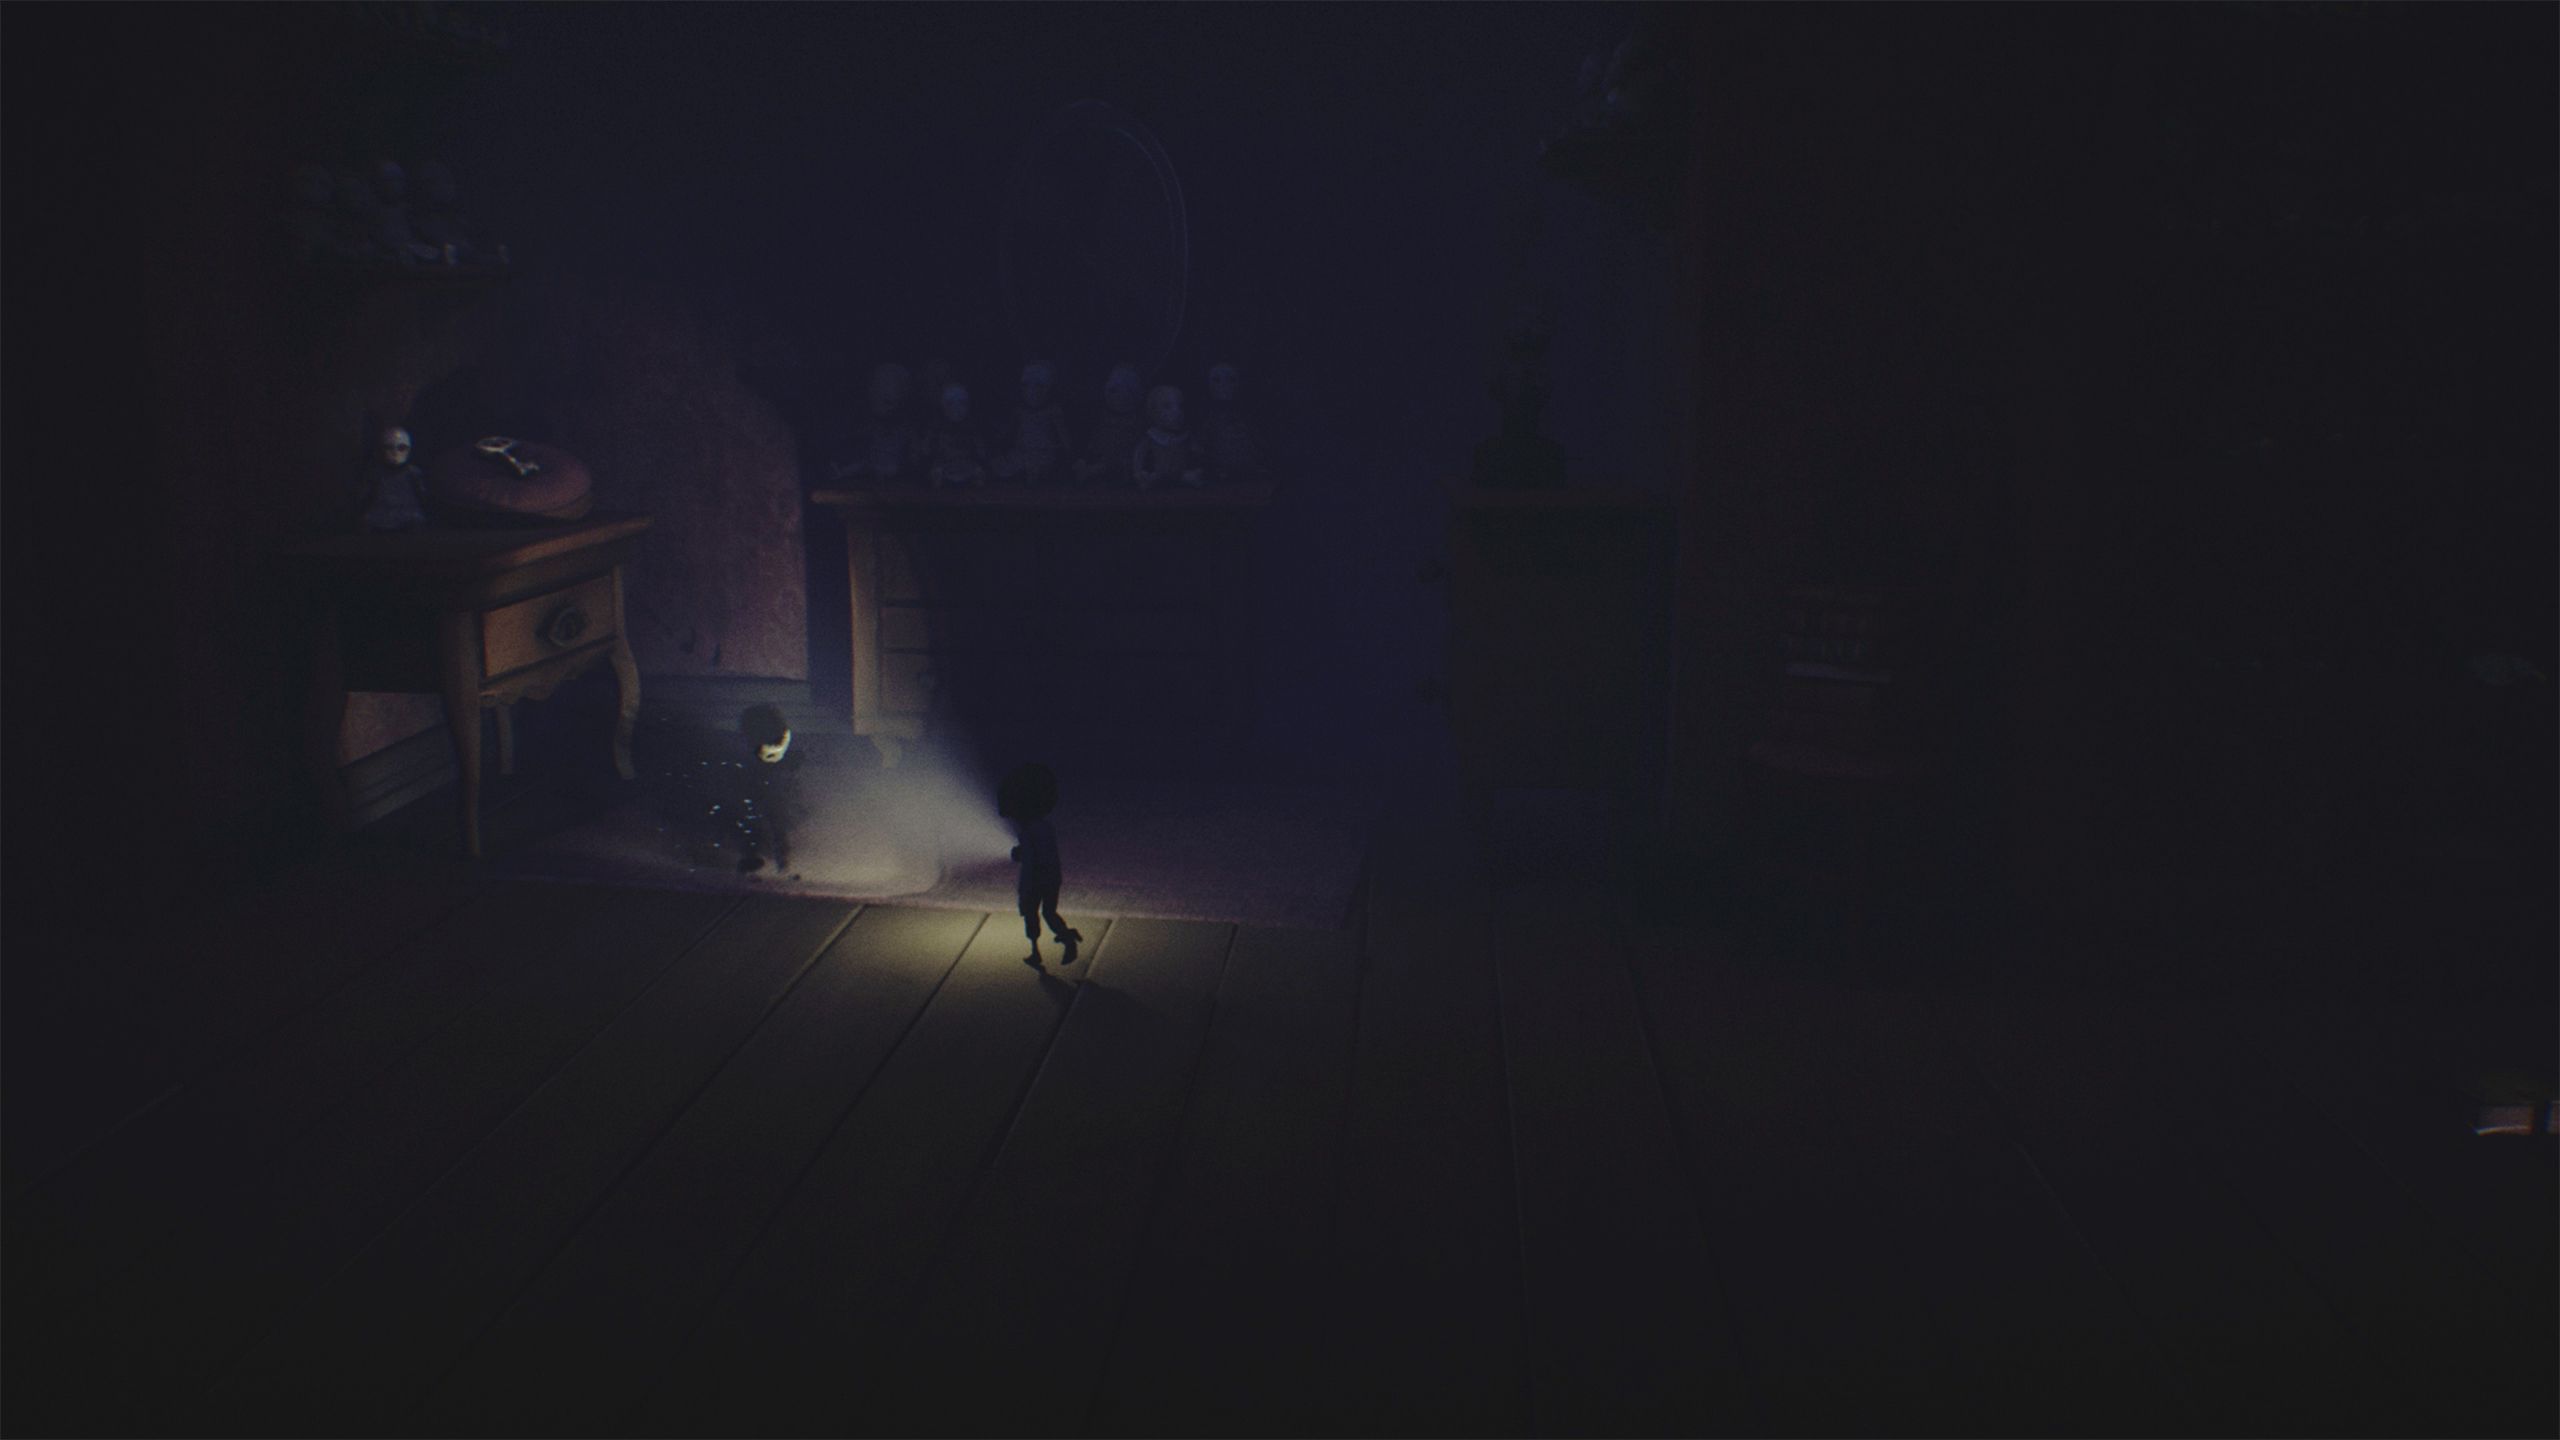
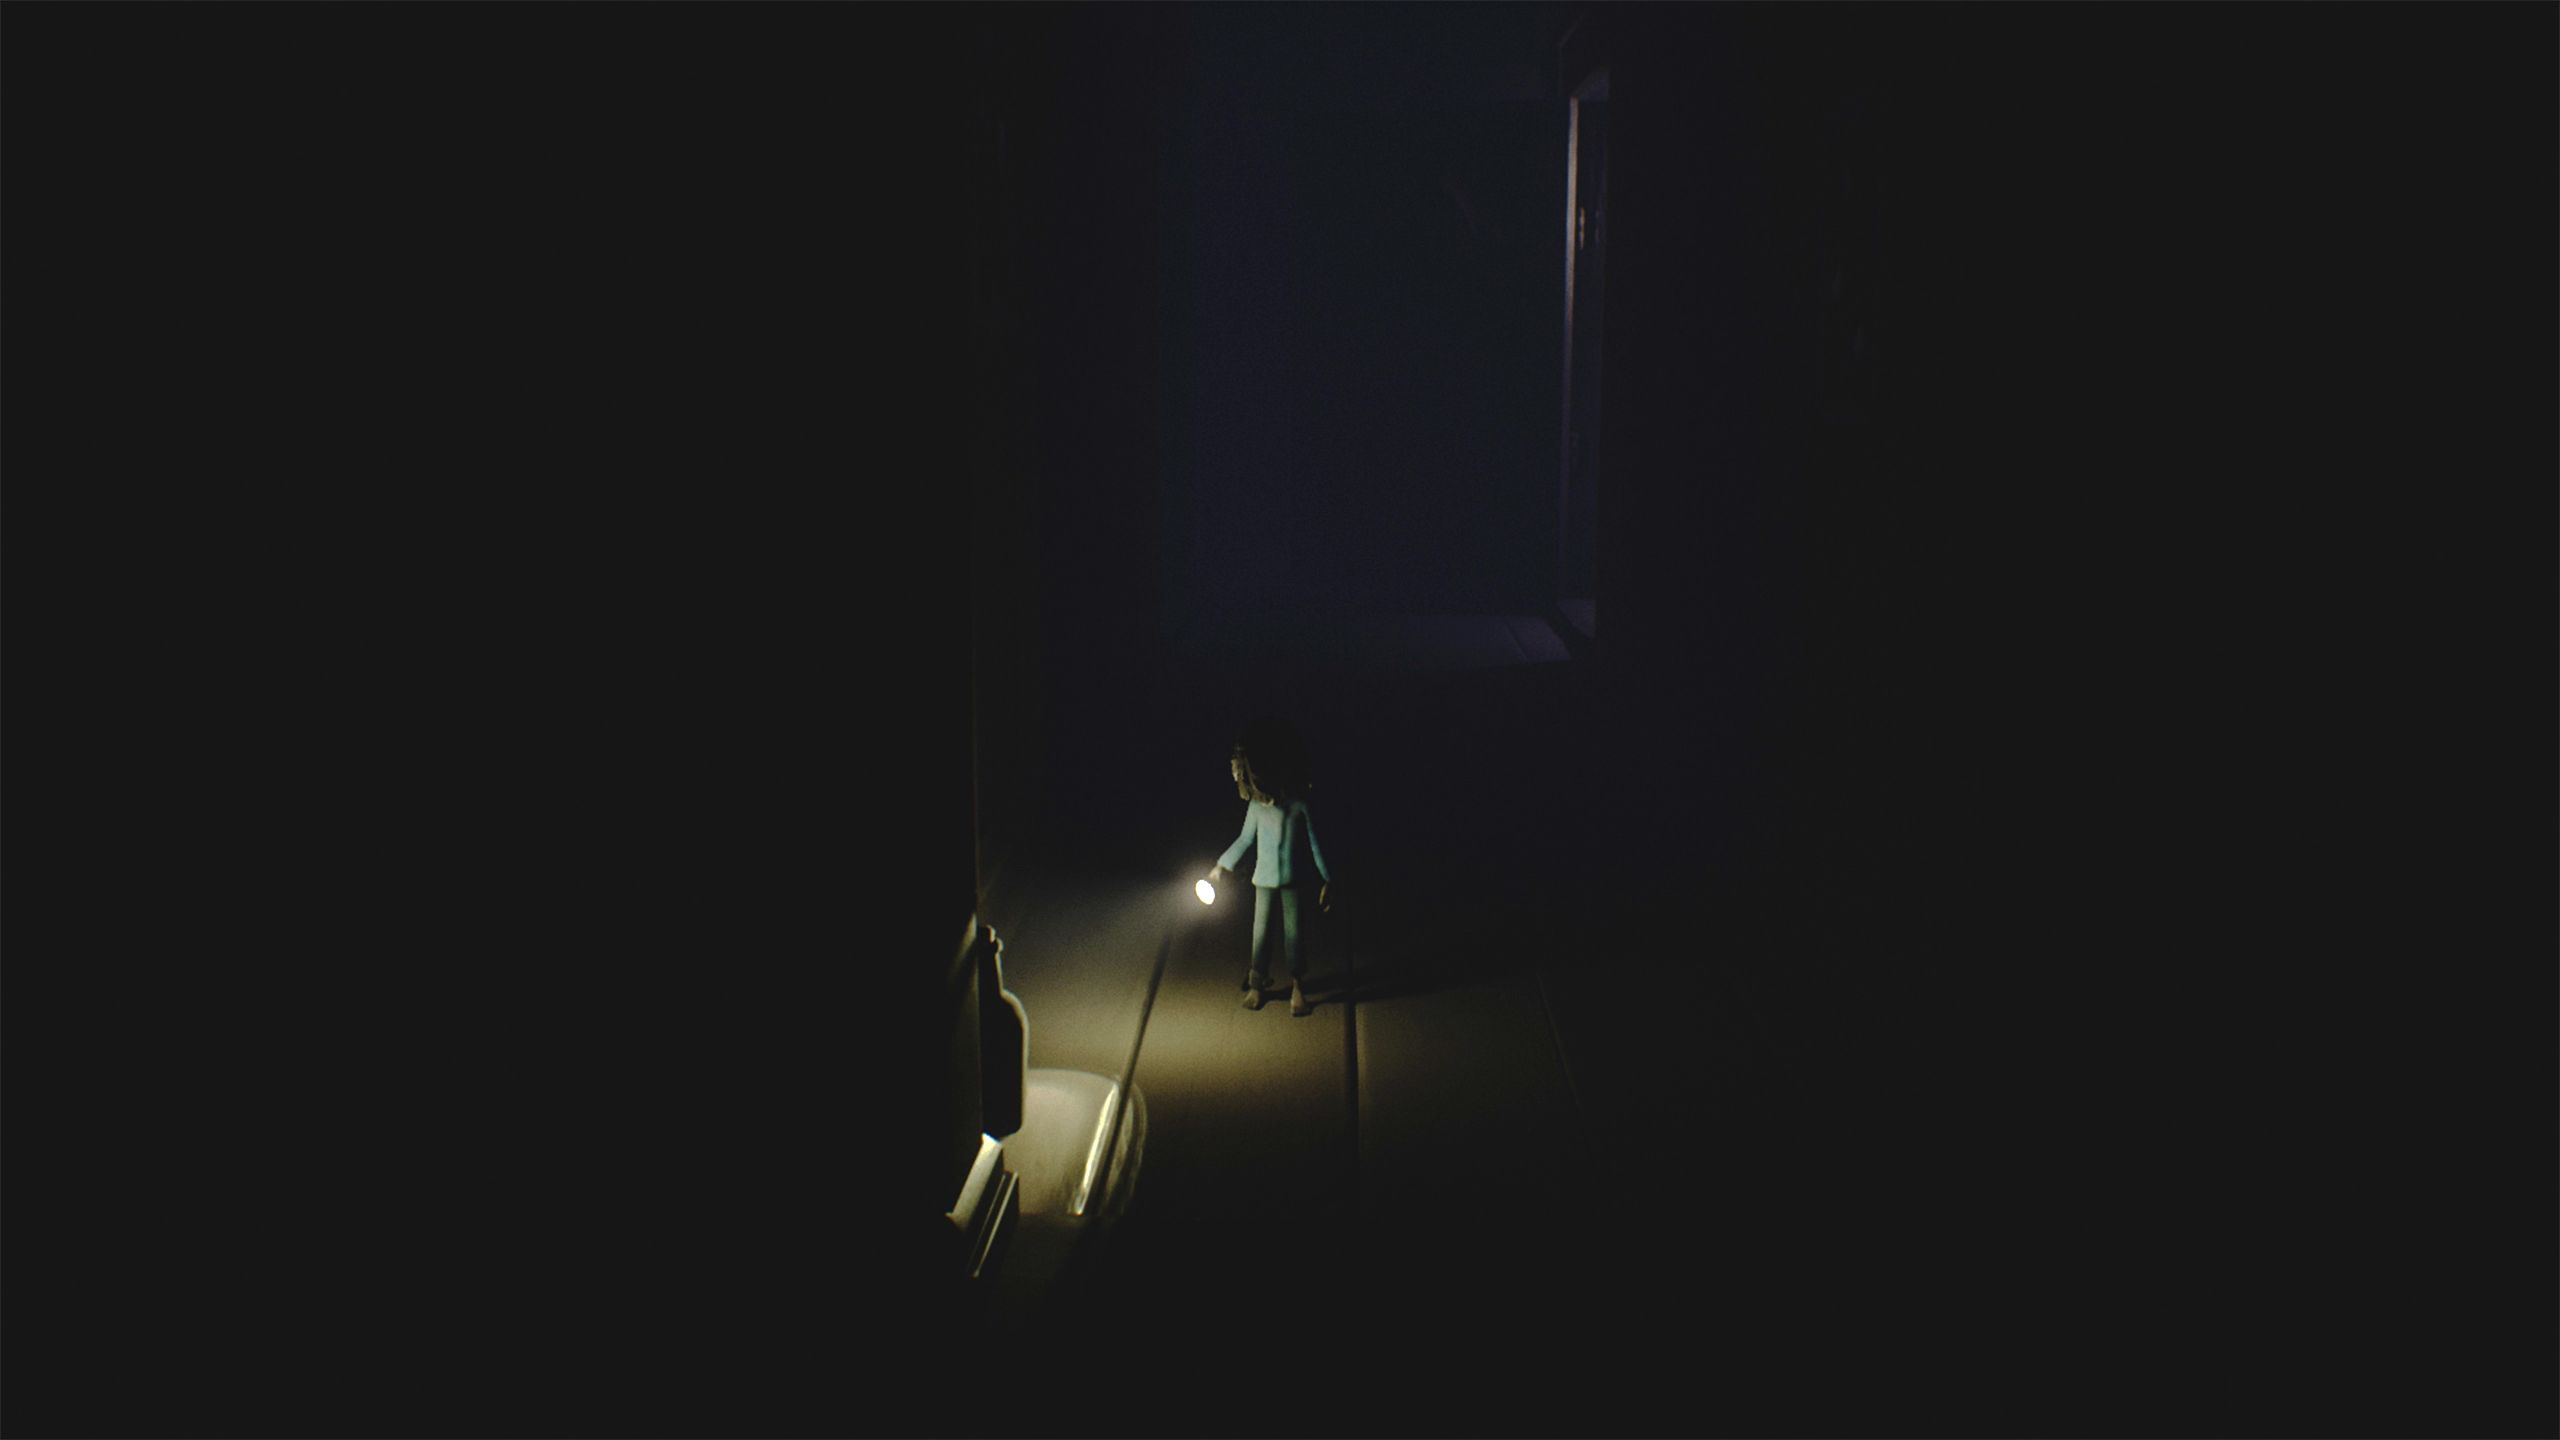
Later in the game, the Lady appears without her mask, looking at her reflection. When she notices the Kid has seen her real face, she becomes furious and immediately cuts the power, plunging everything into darkness to escape.
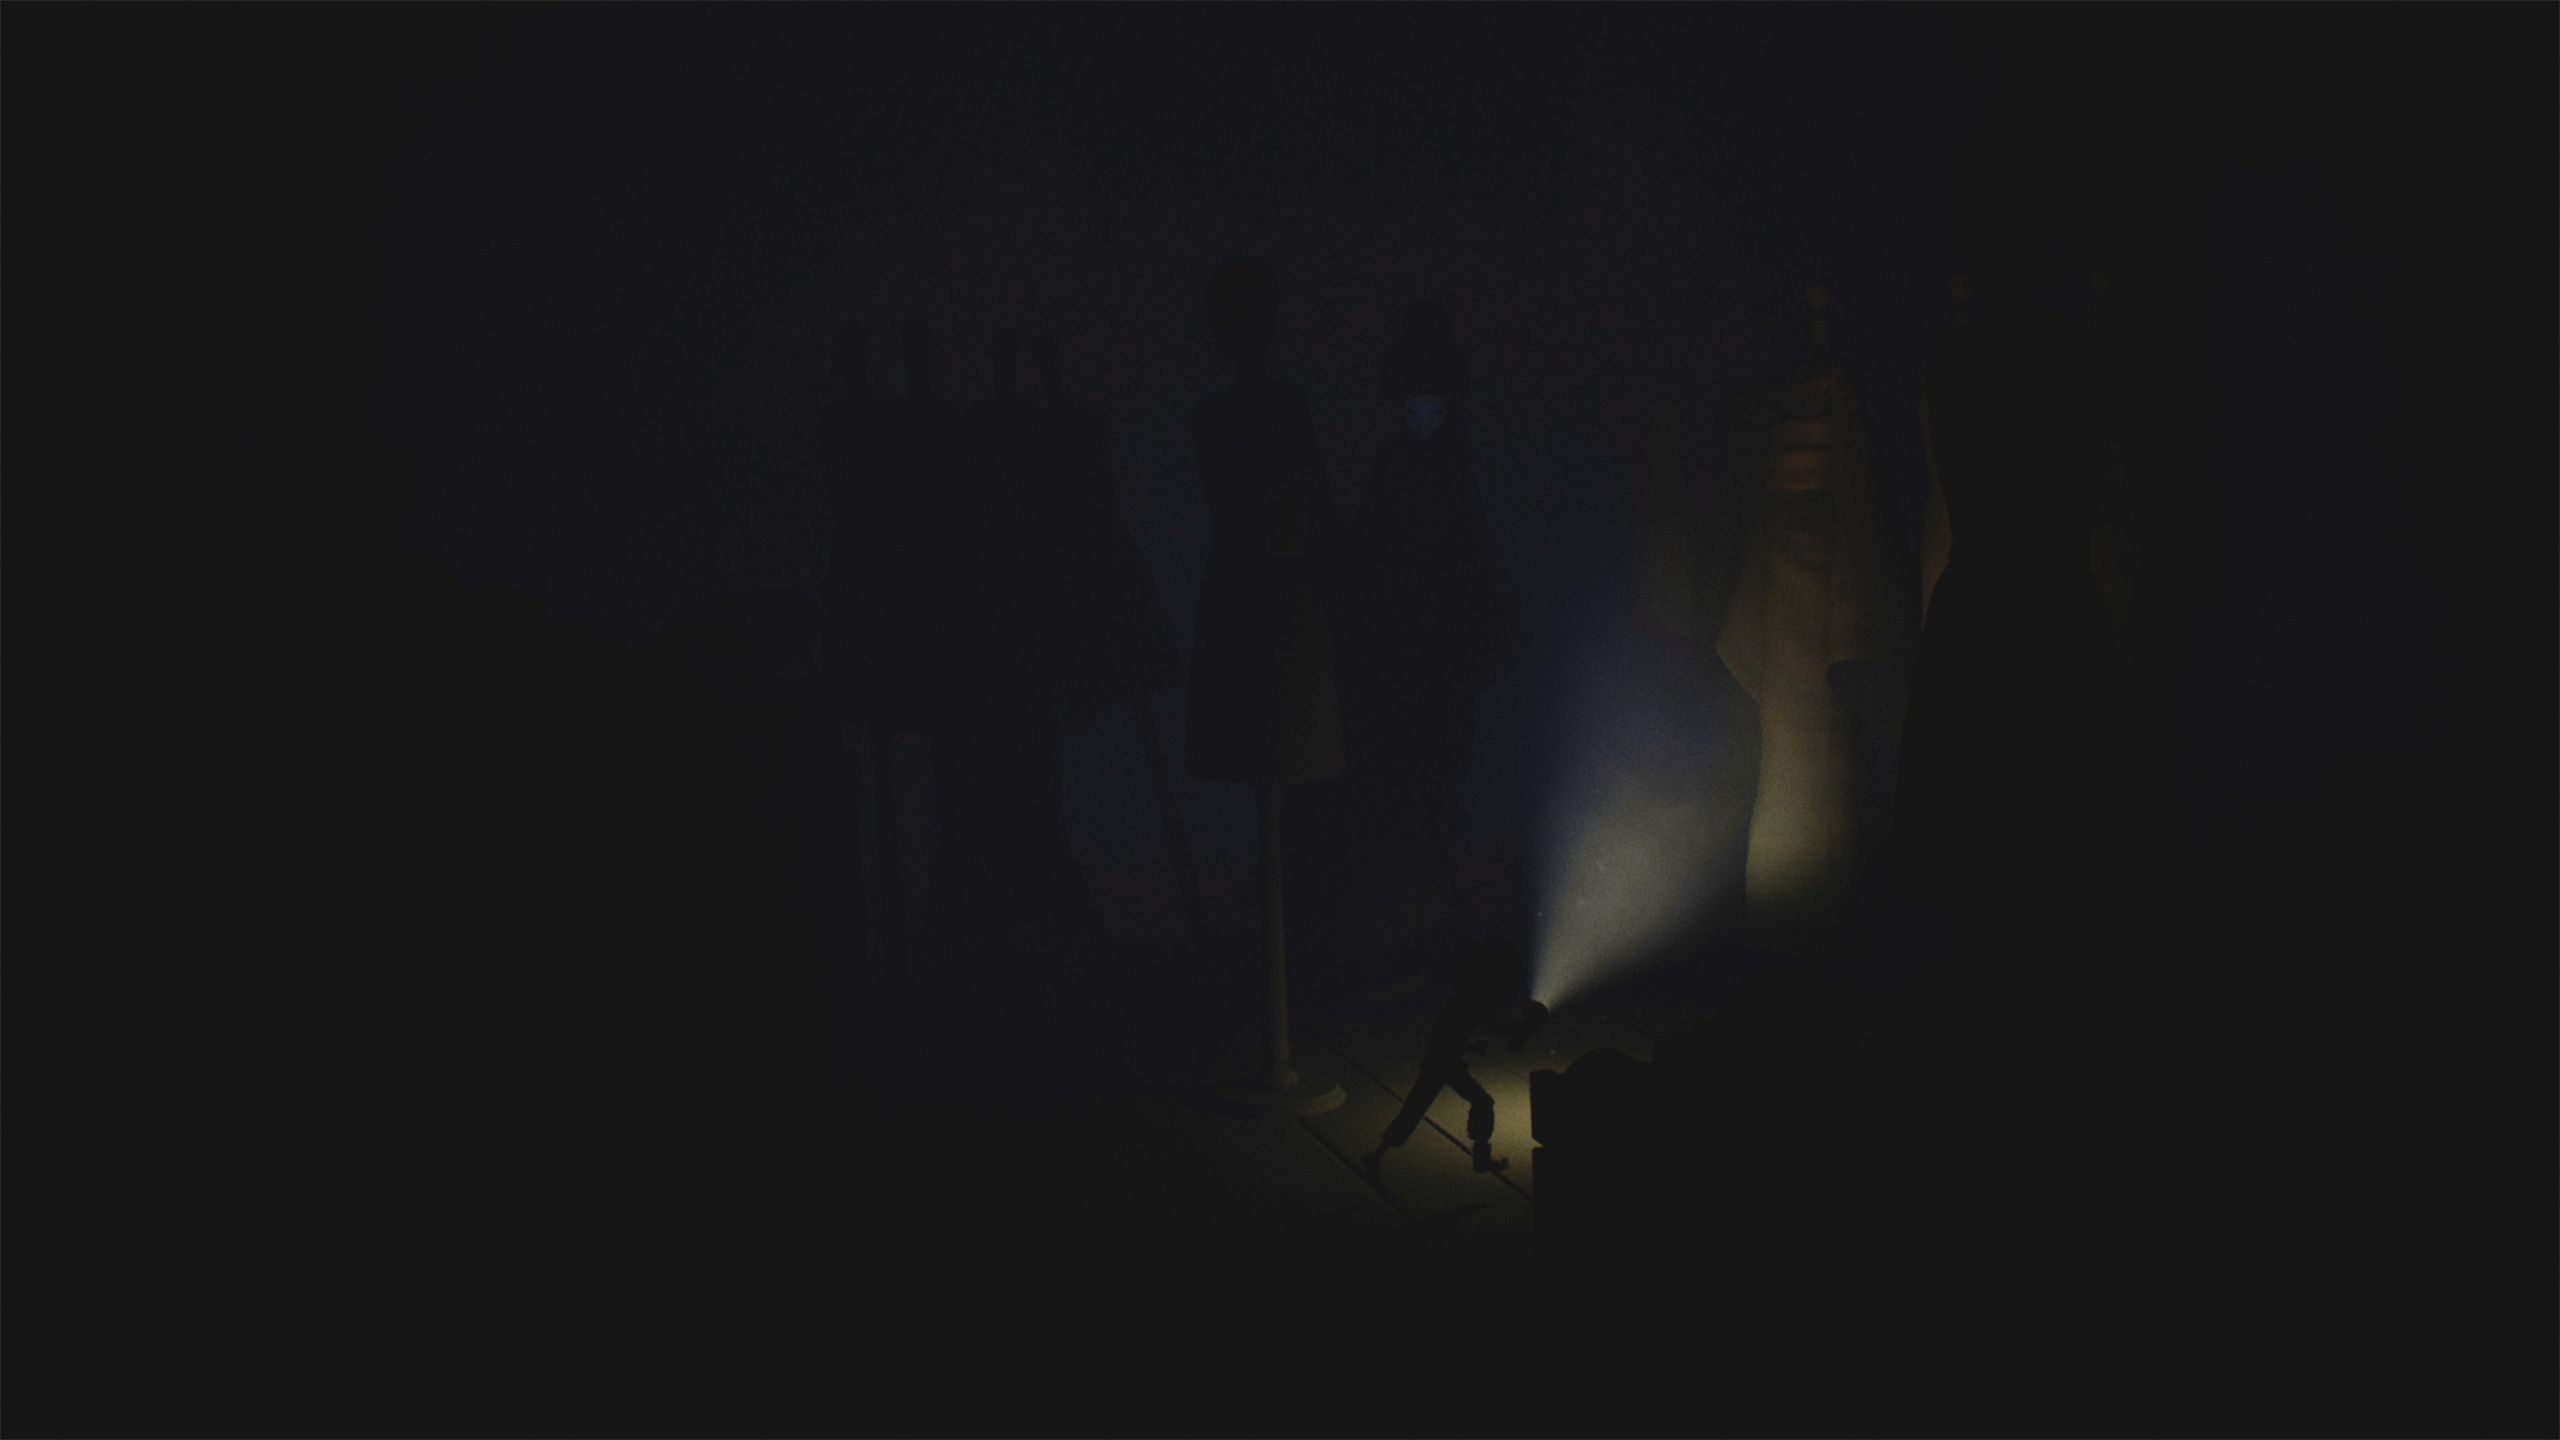
Run straight ahead, weaving between the mannequins while the Lady chases you. You’ll eventually come to a corridor.
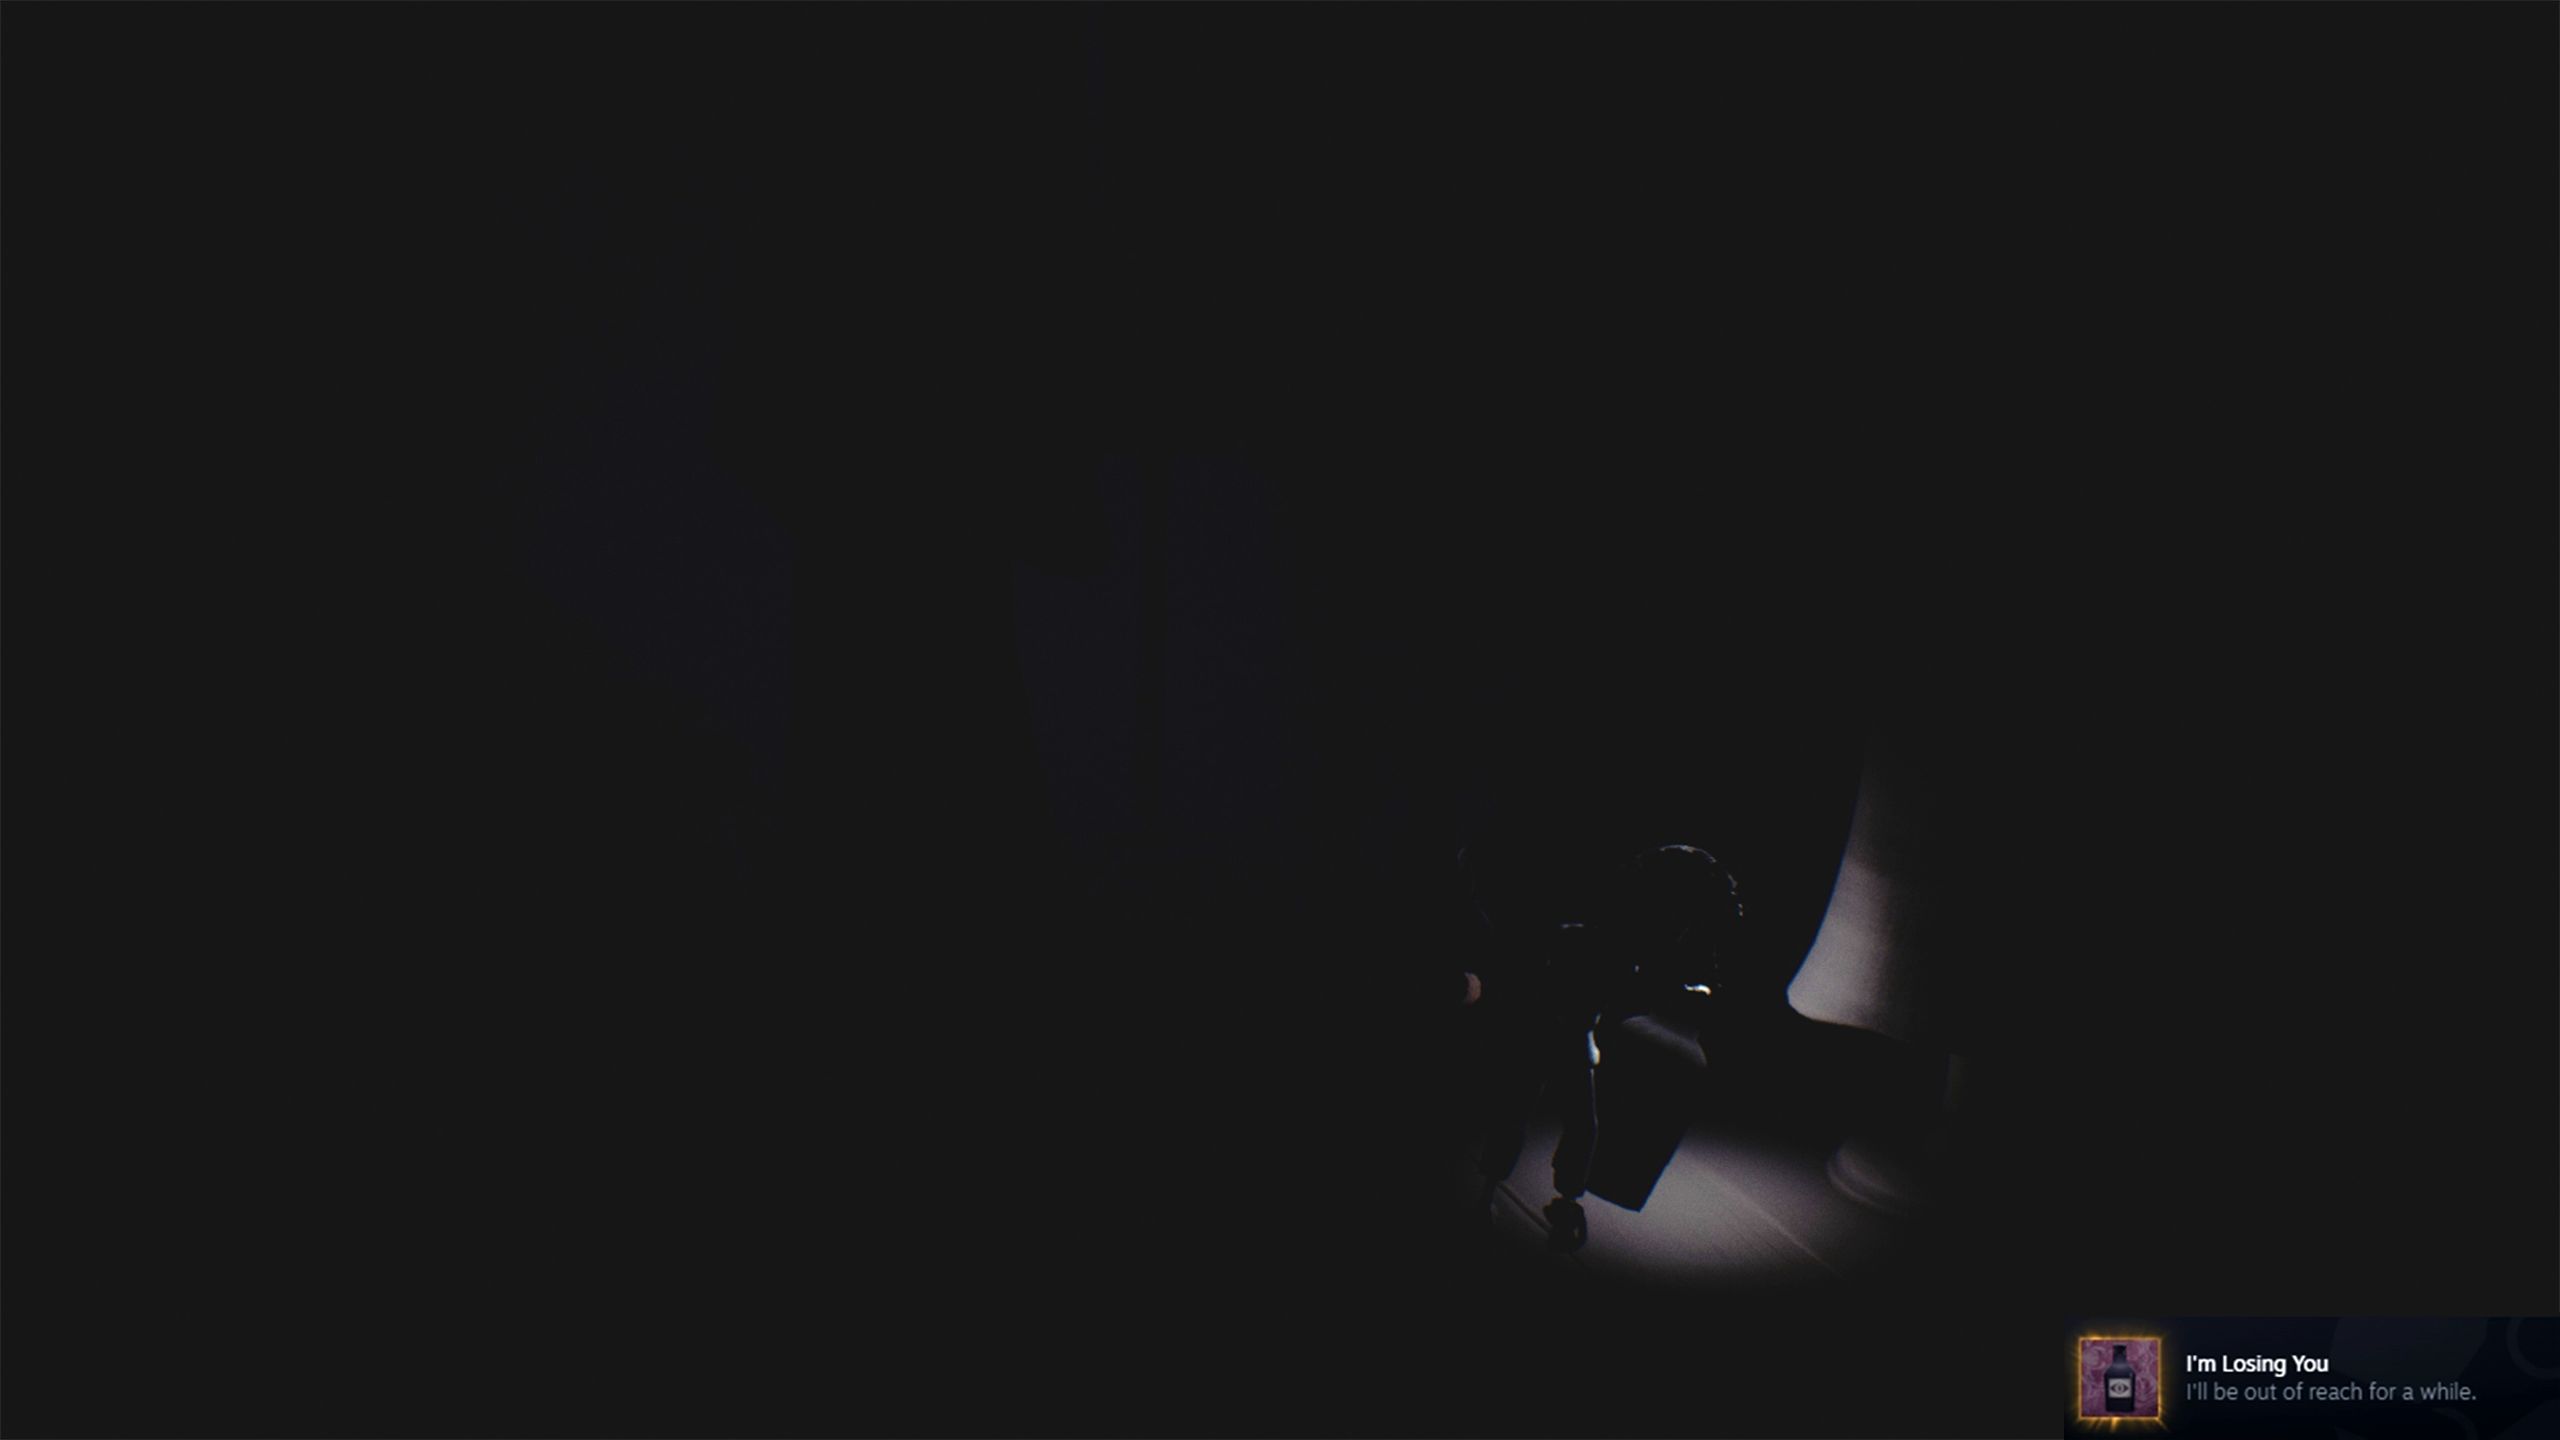
Start by entering the correct room and walking to the very back. There, you’ll find a special item – opening it will unlock the “I’m Losing You” achievement.
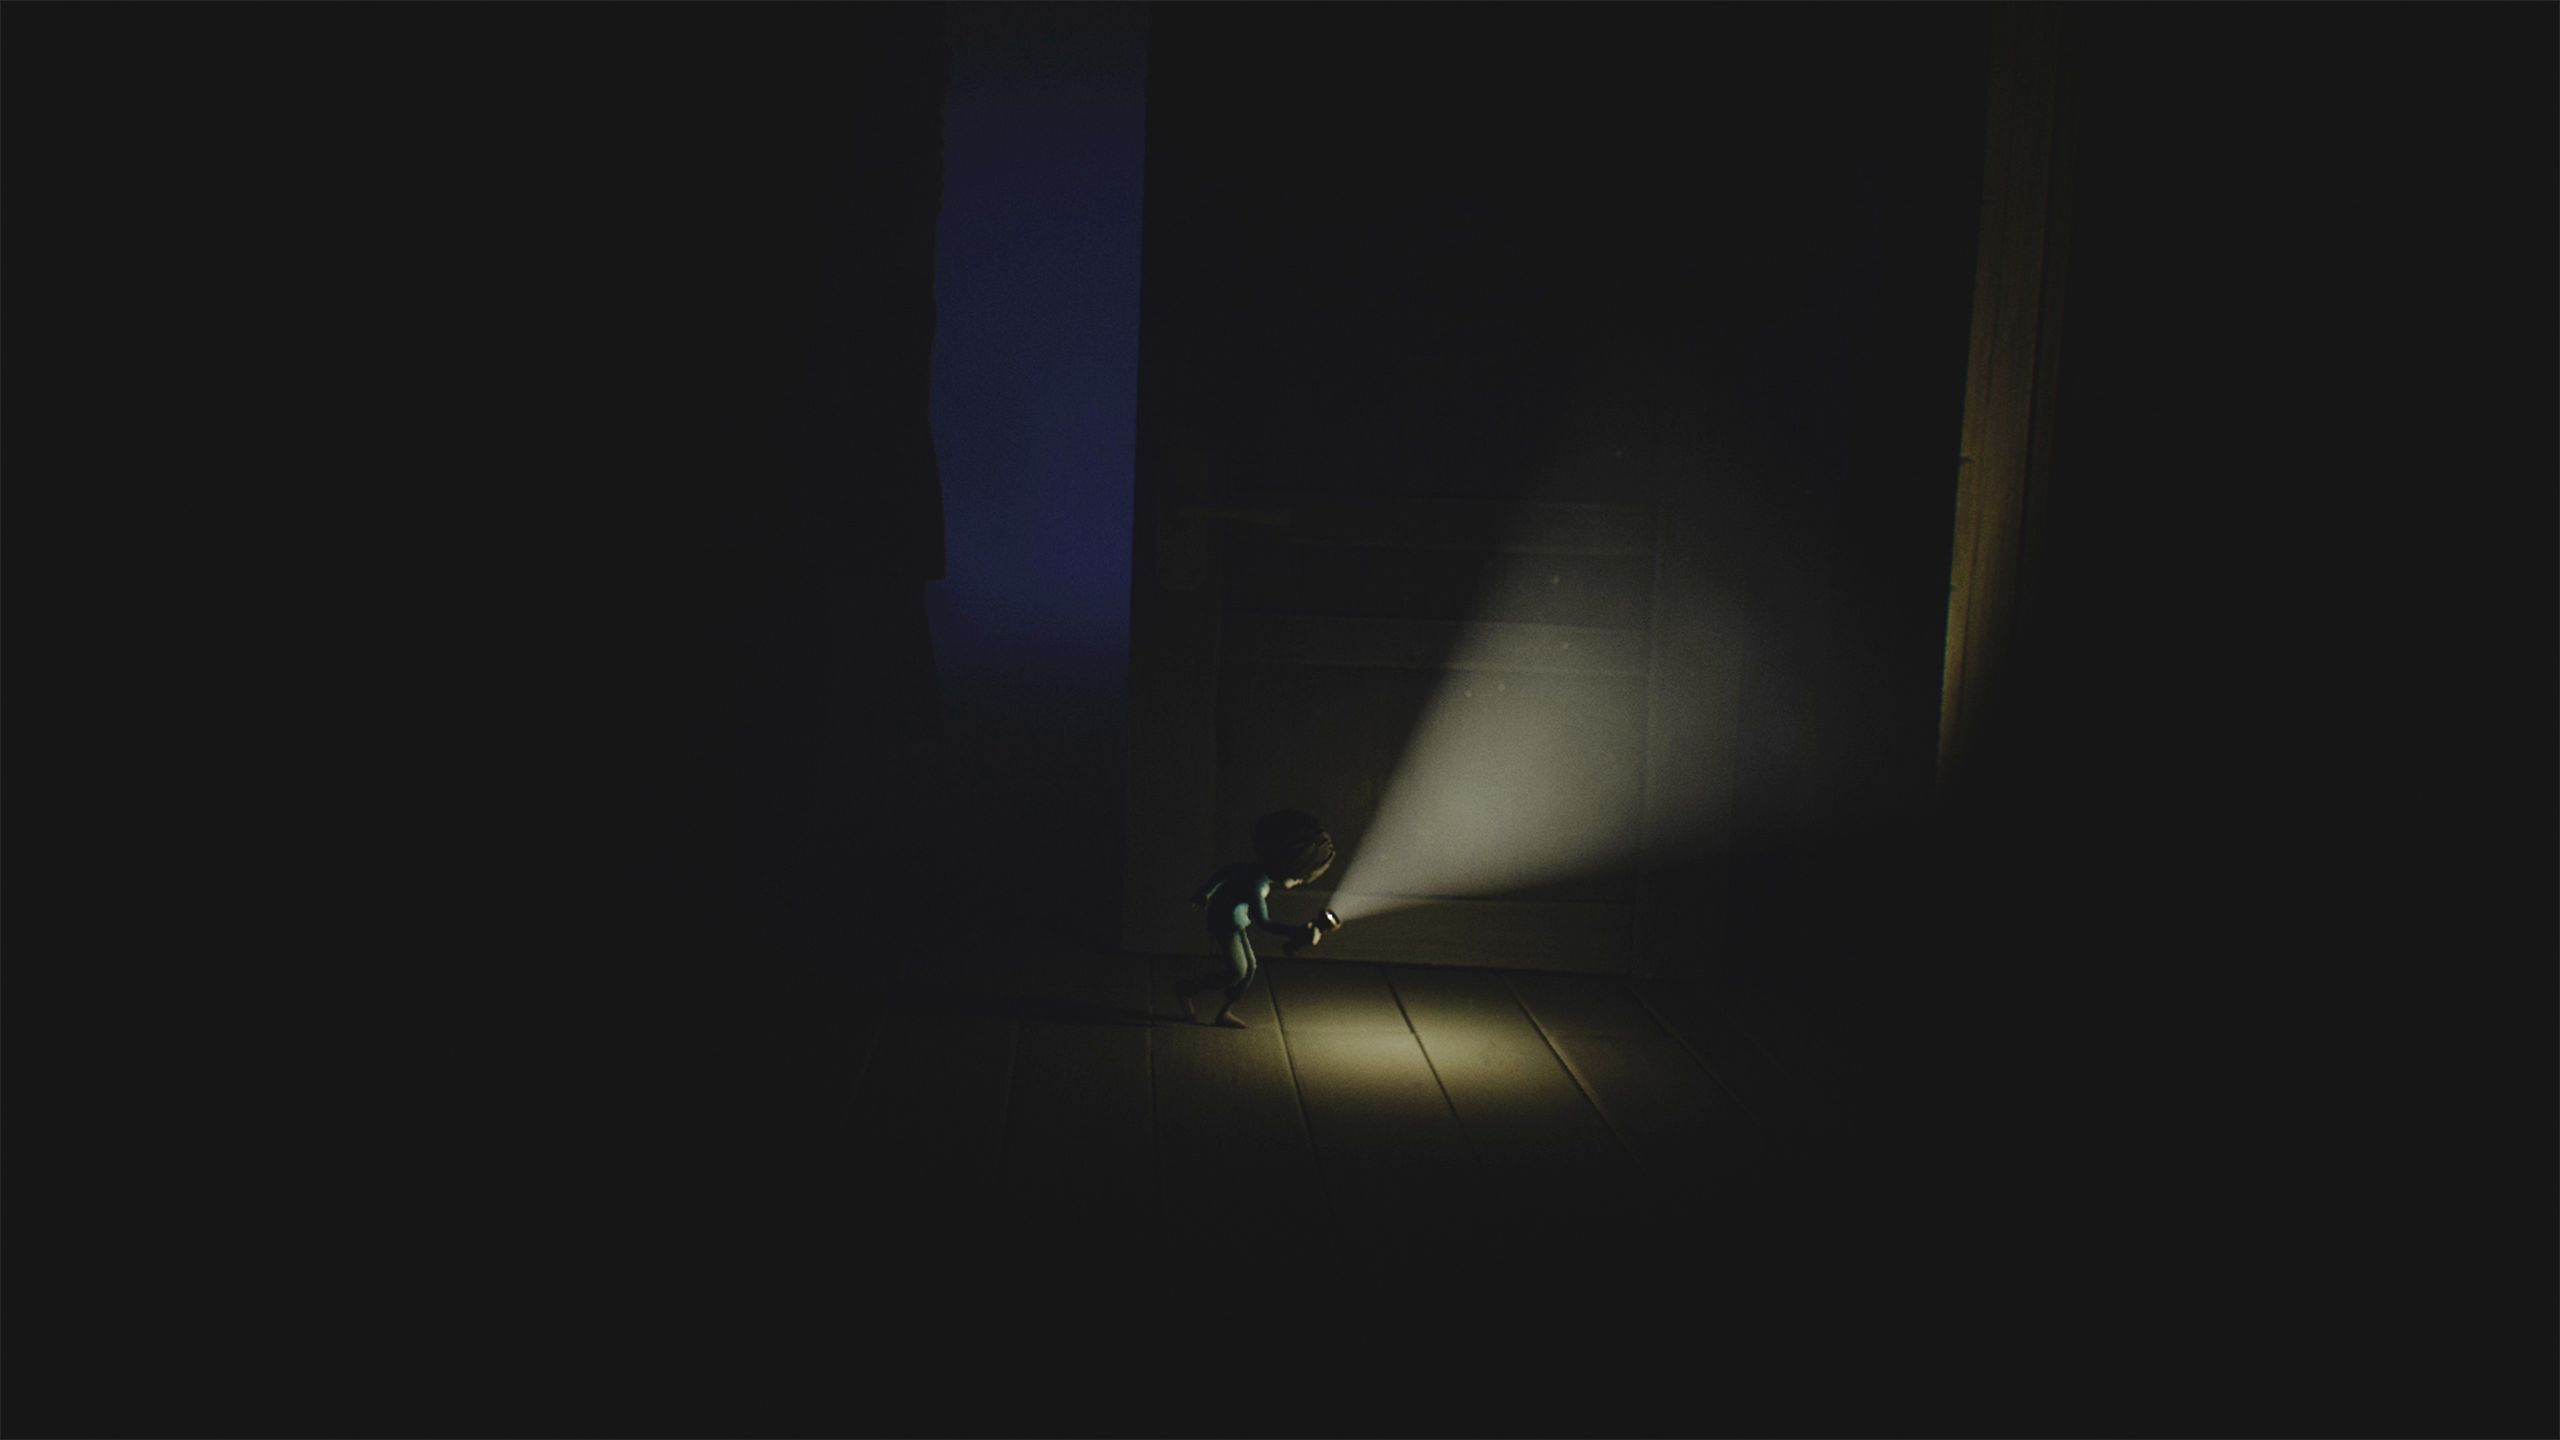
Head back to the hallway and run towards the camera. Then, turn left to enter an empty room. Once outside, you’ll notice an open door on your right.
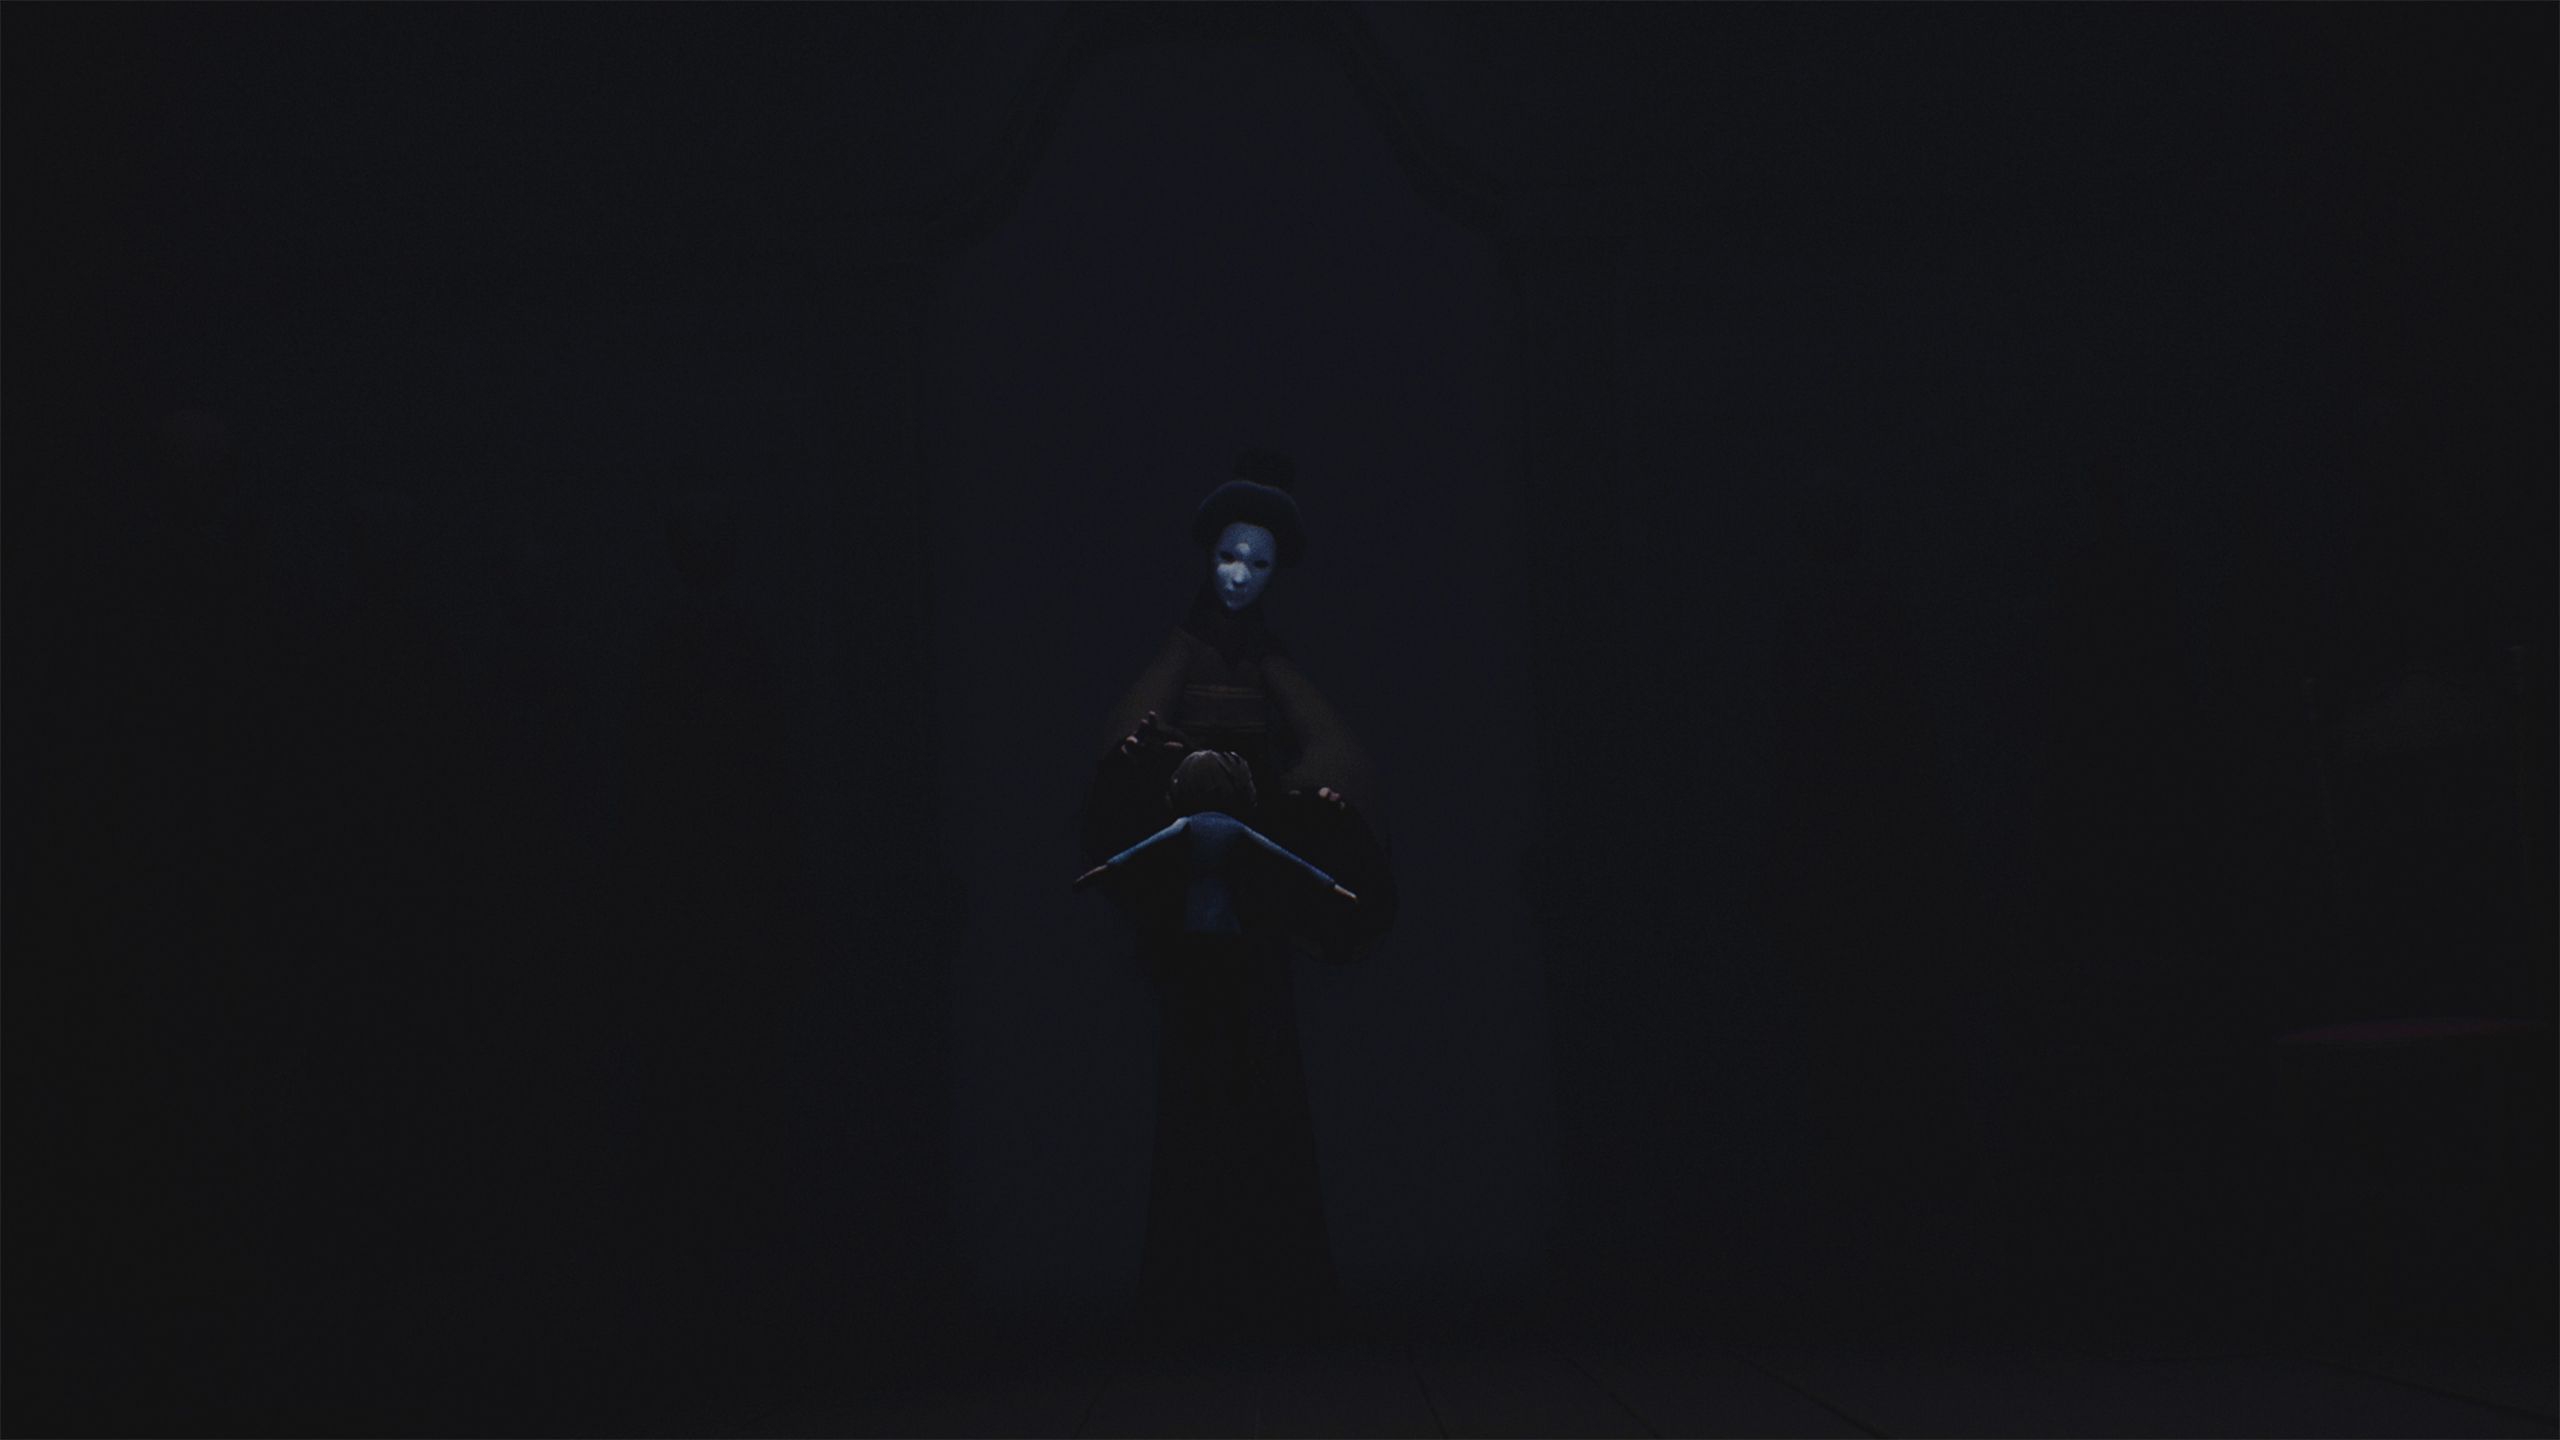
As the Kid is running forward, the Lady appears and catches him.
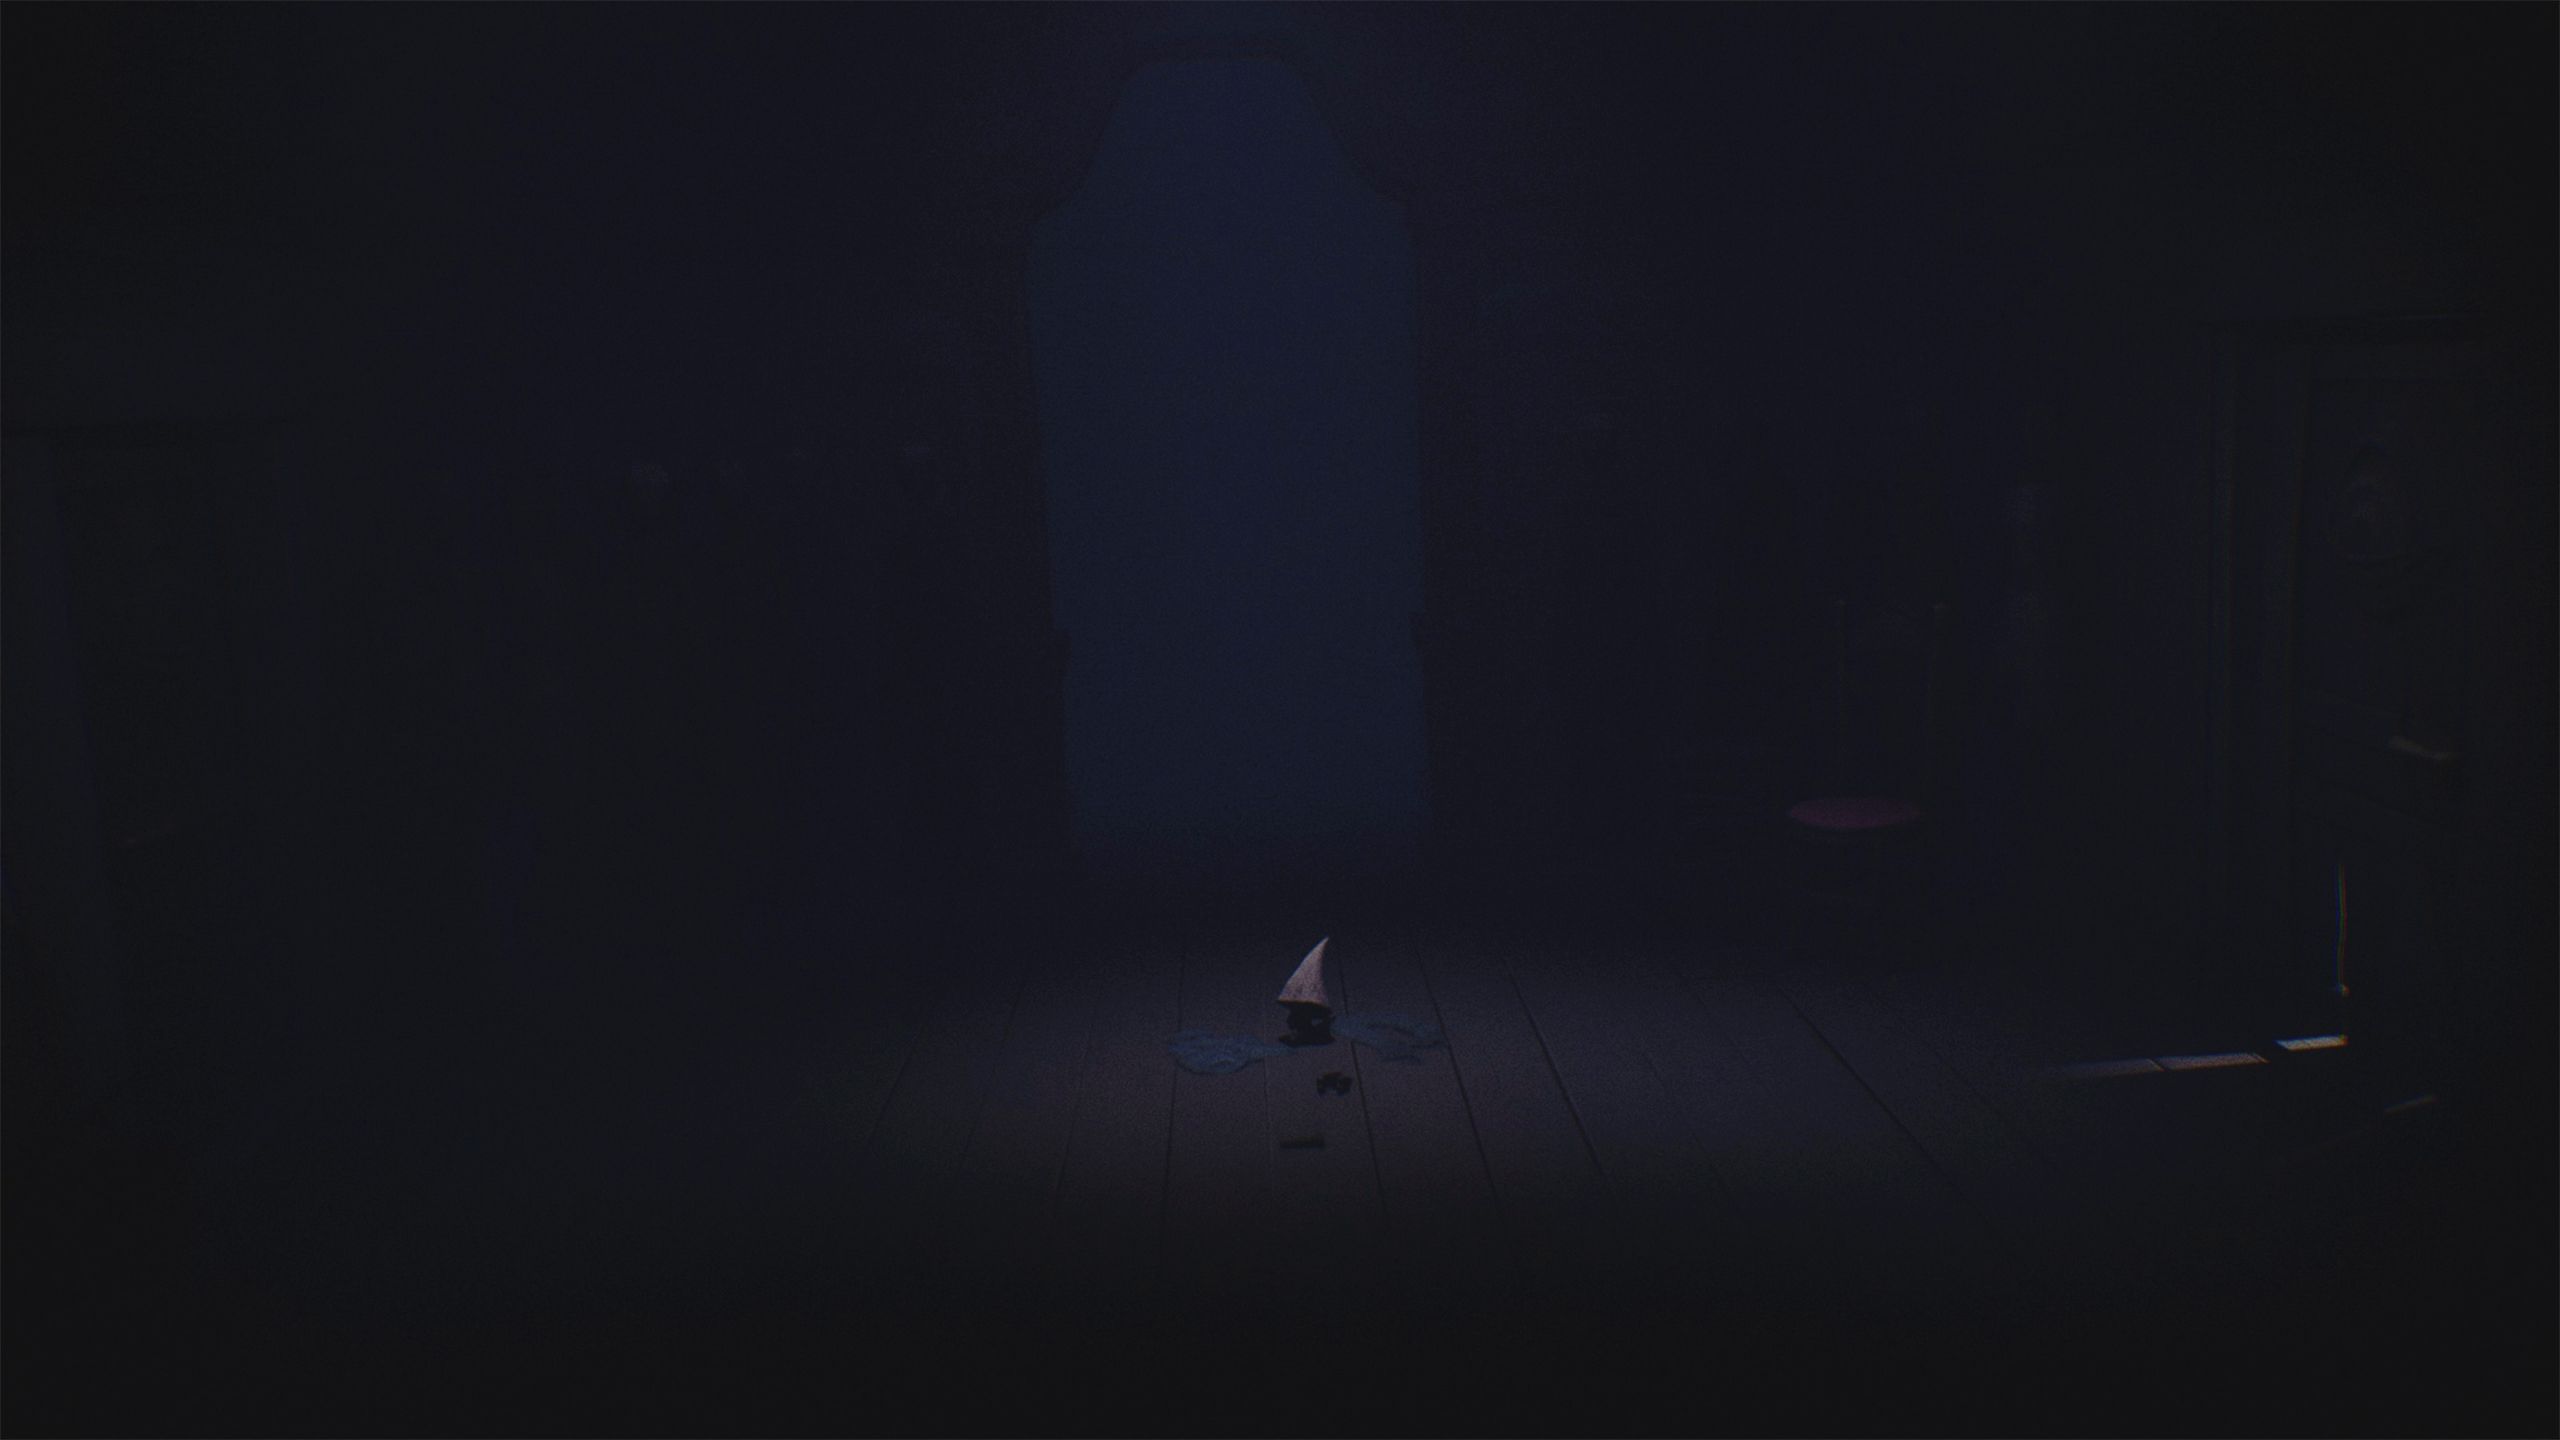
After some time, the Kid wakes up as a Nome.
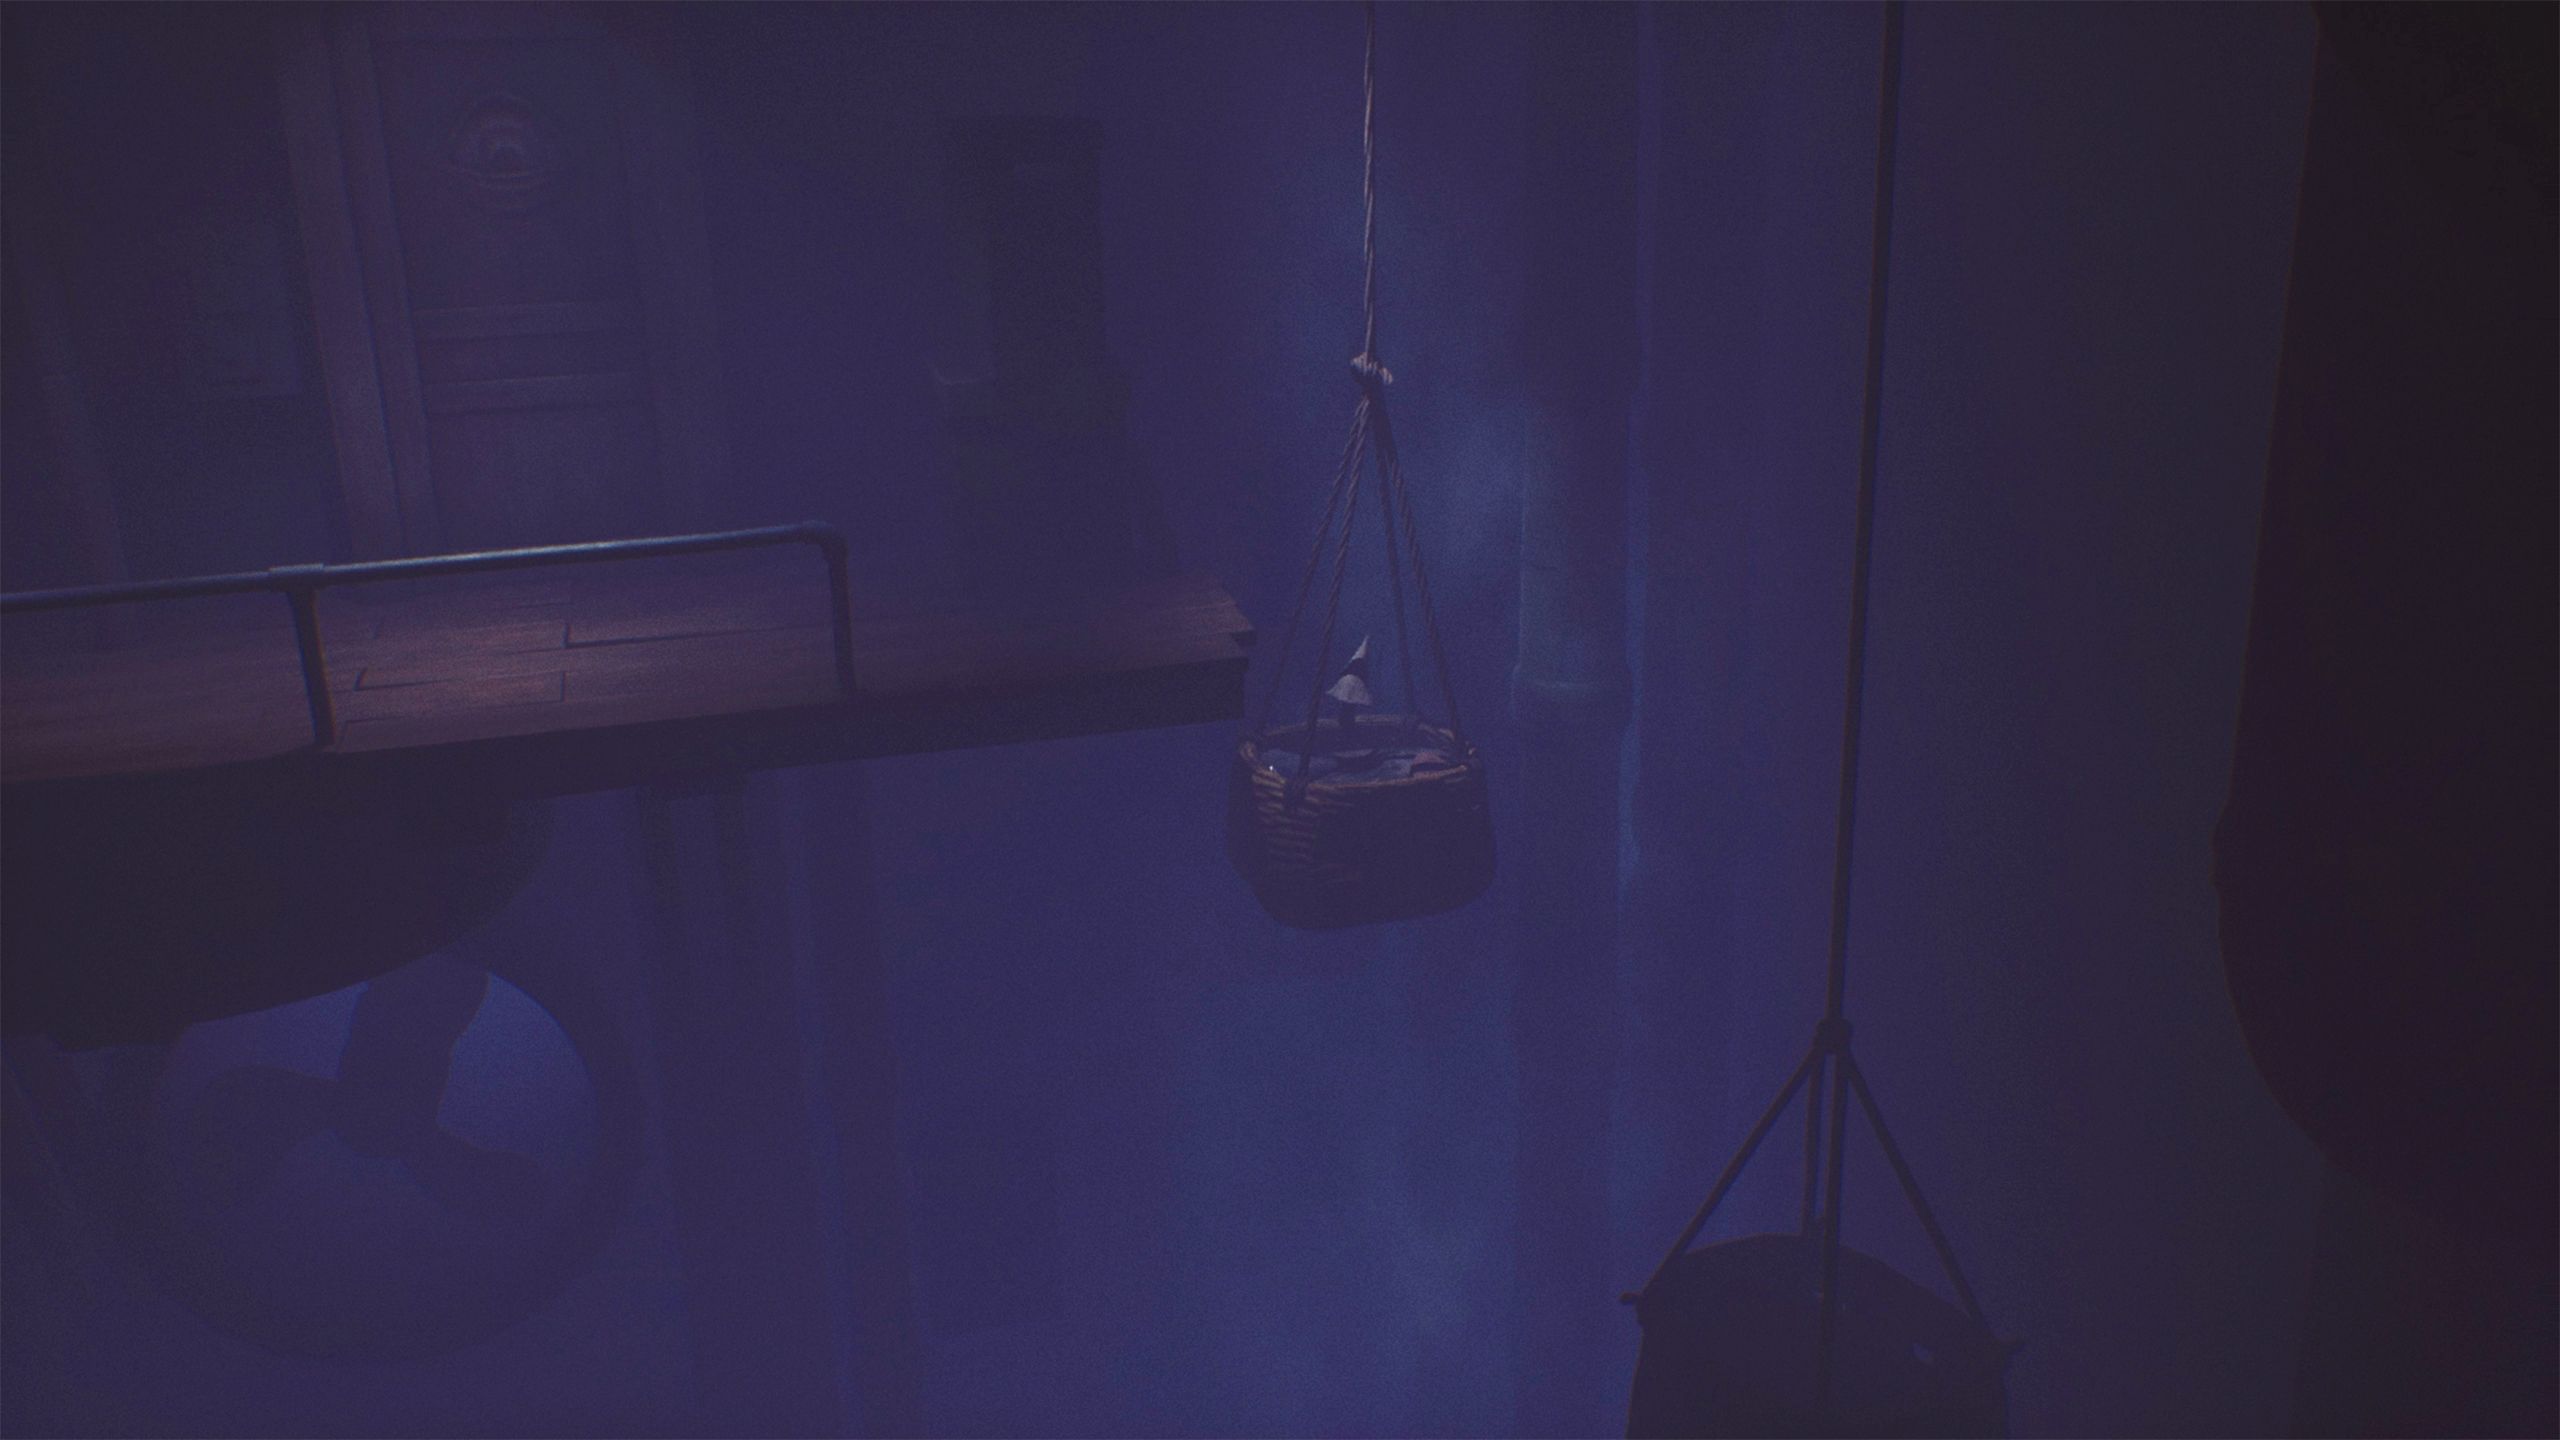
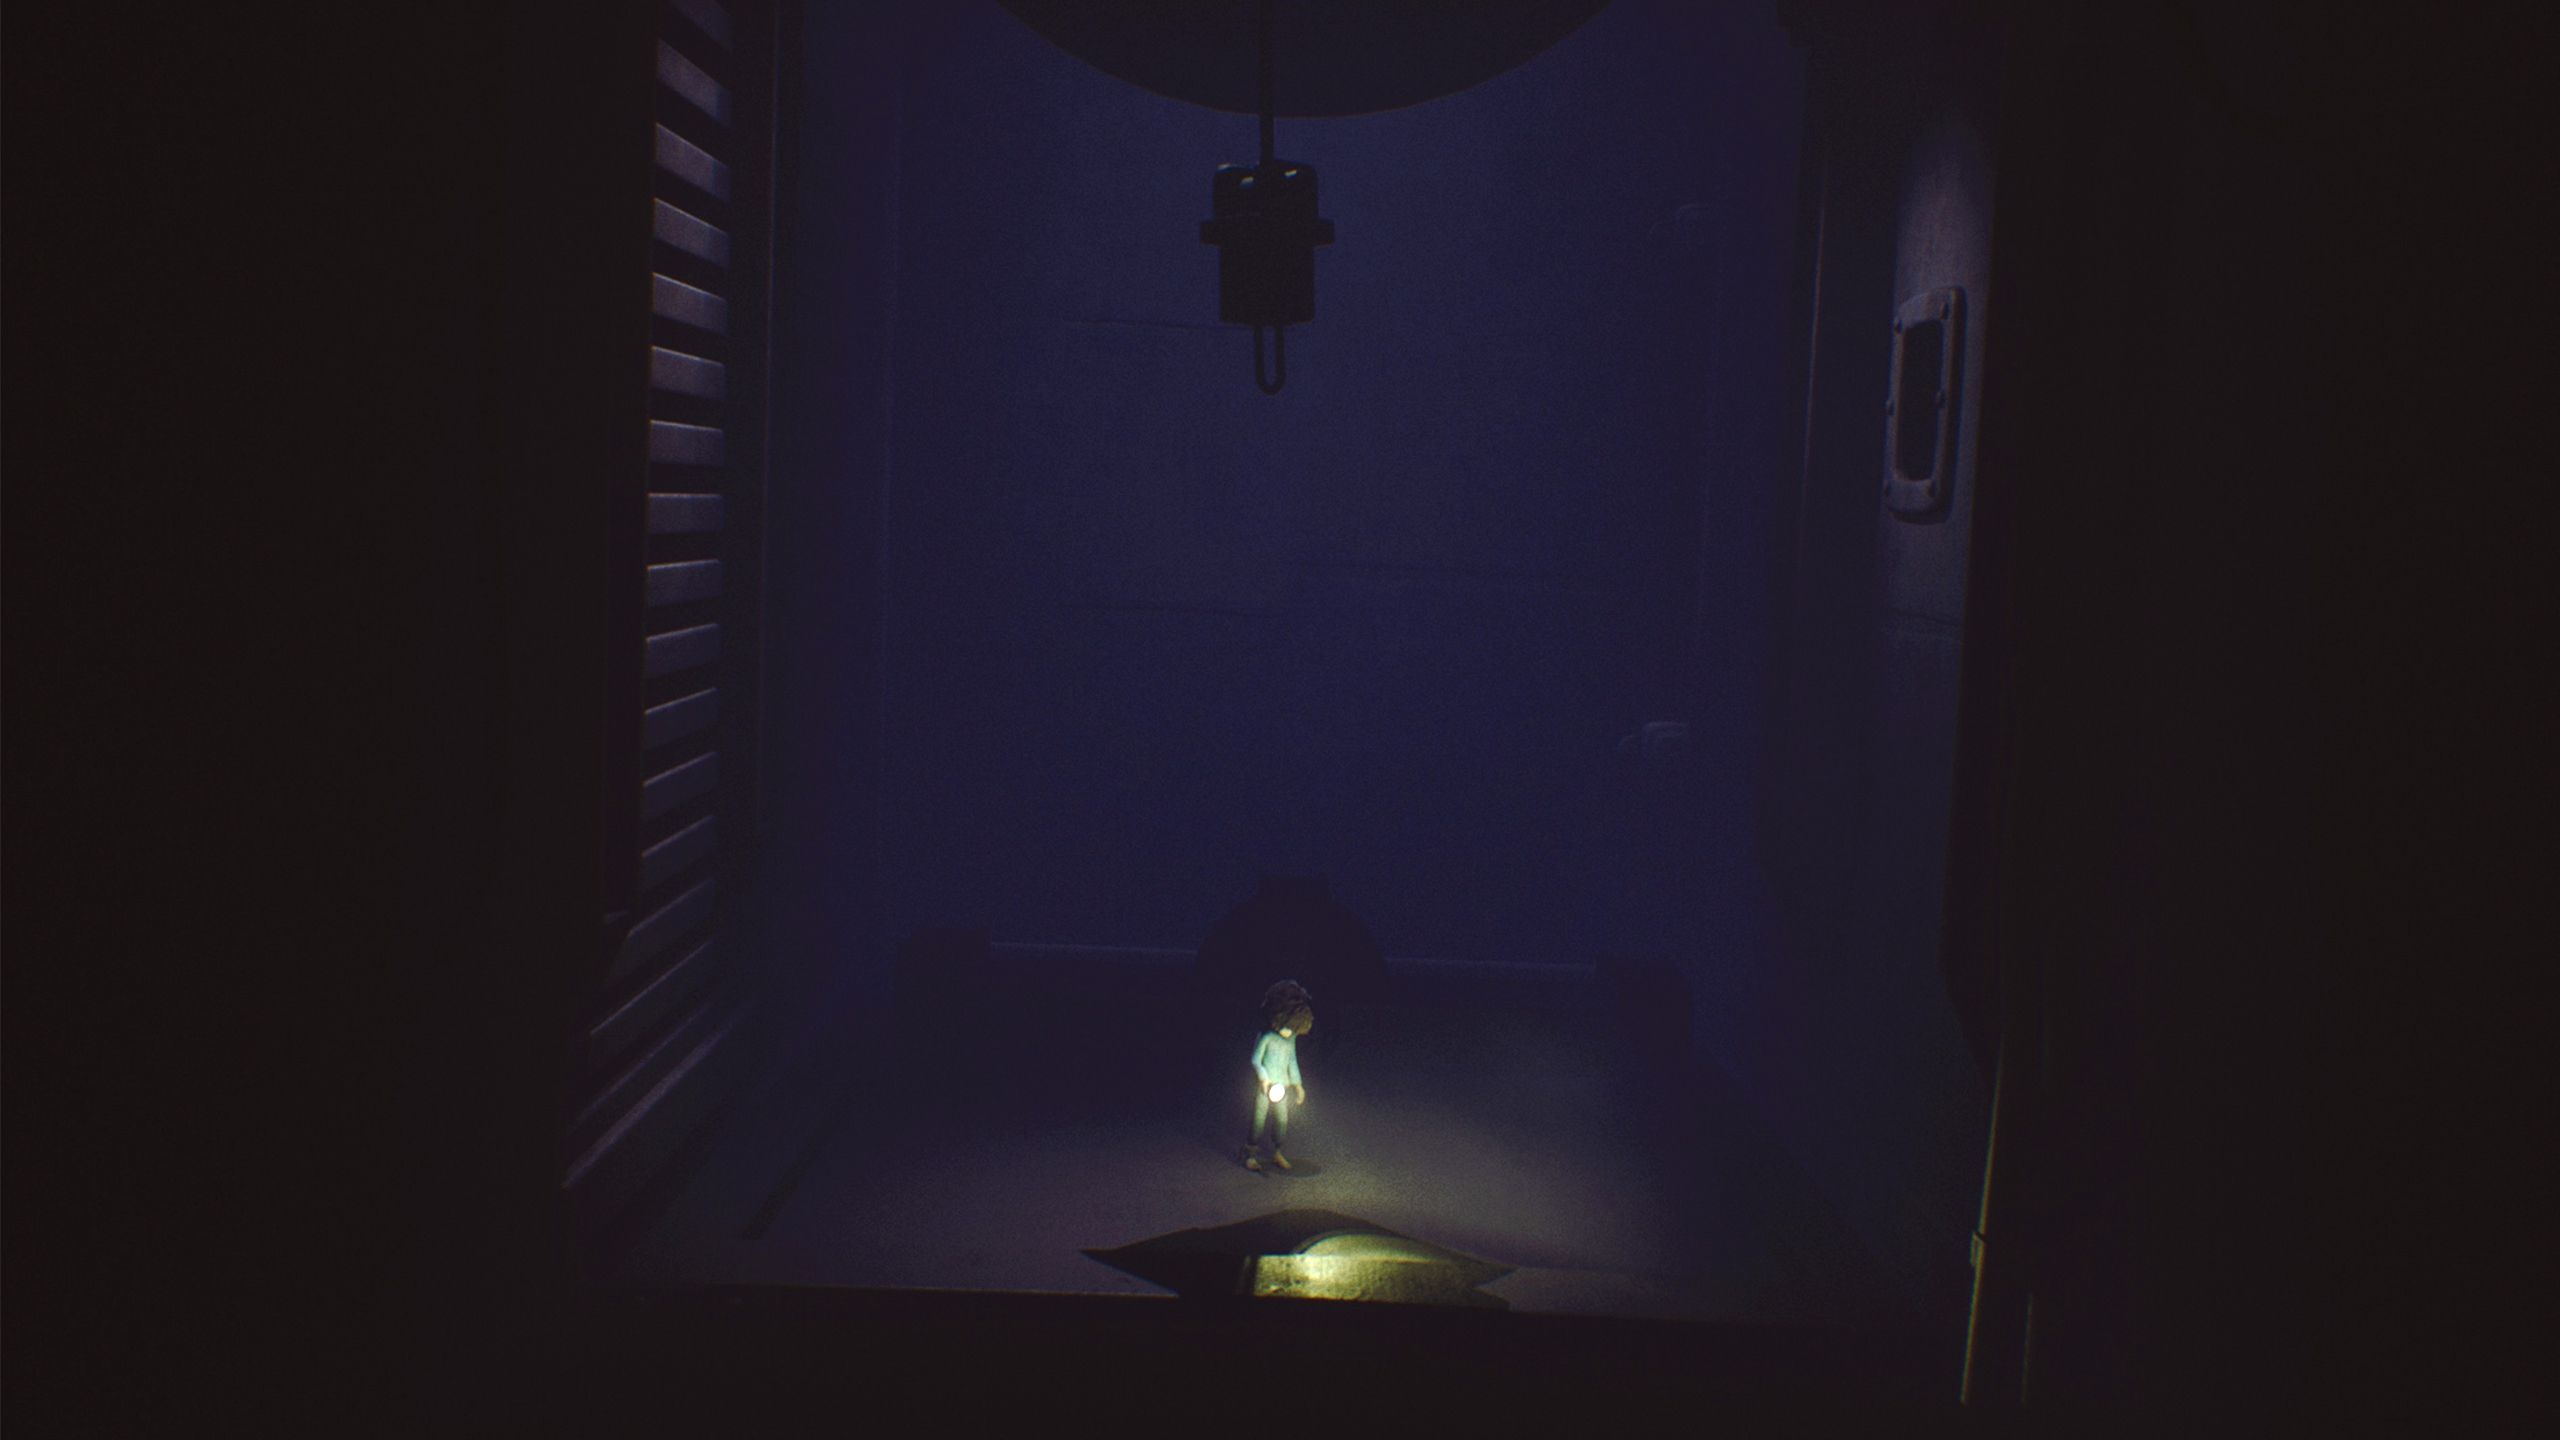
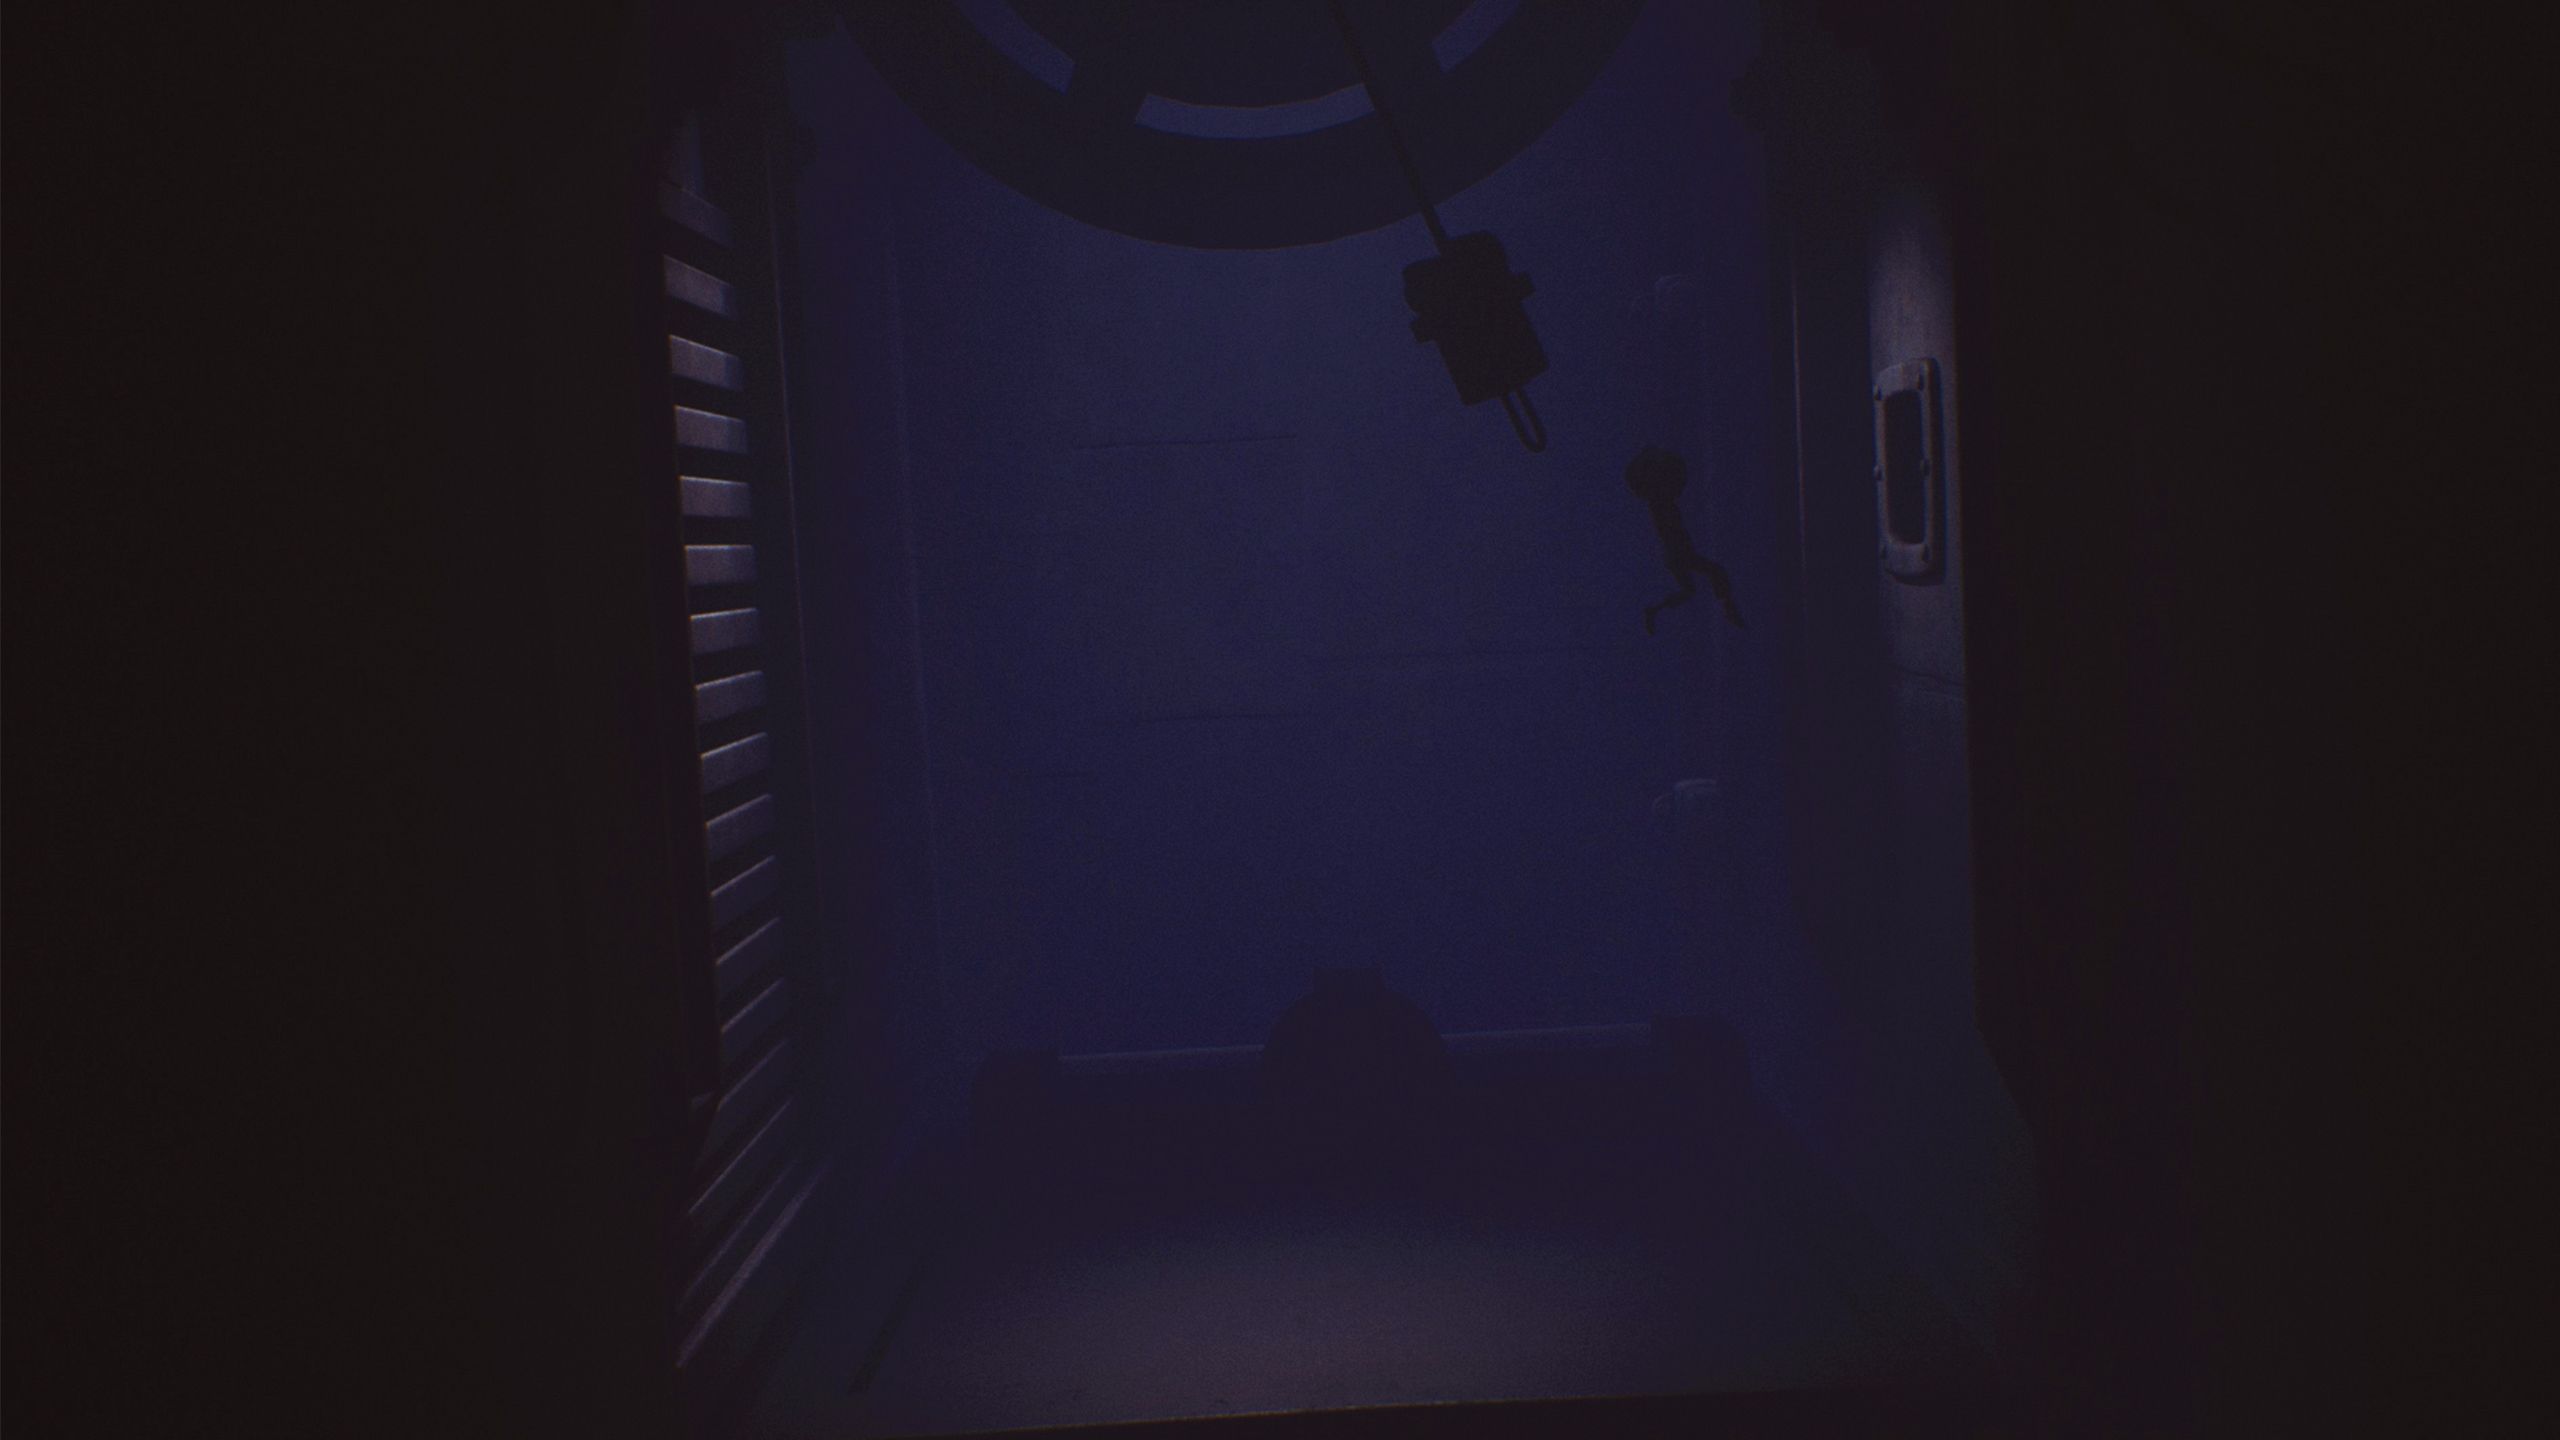
Carefully squeeze through the gaps in the door and jump down to the floor. You can also use the laundry basket to climb down like an elevator.
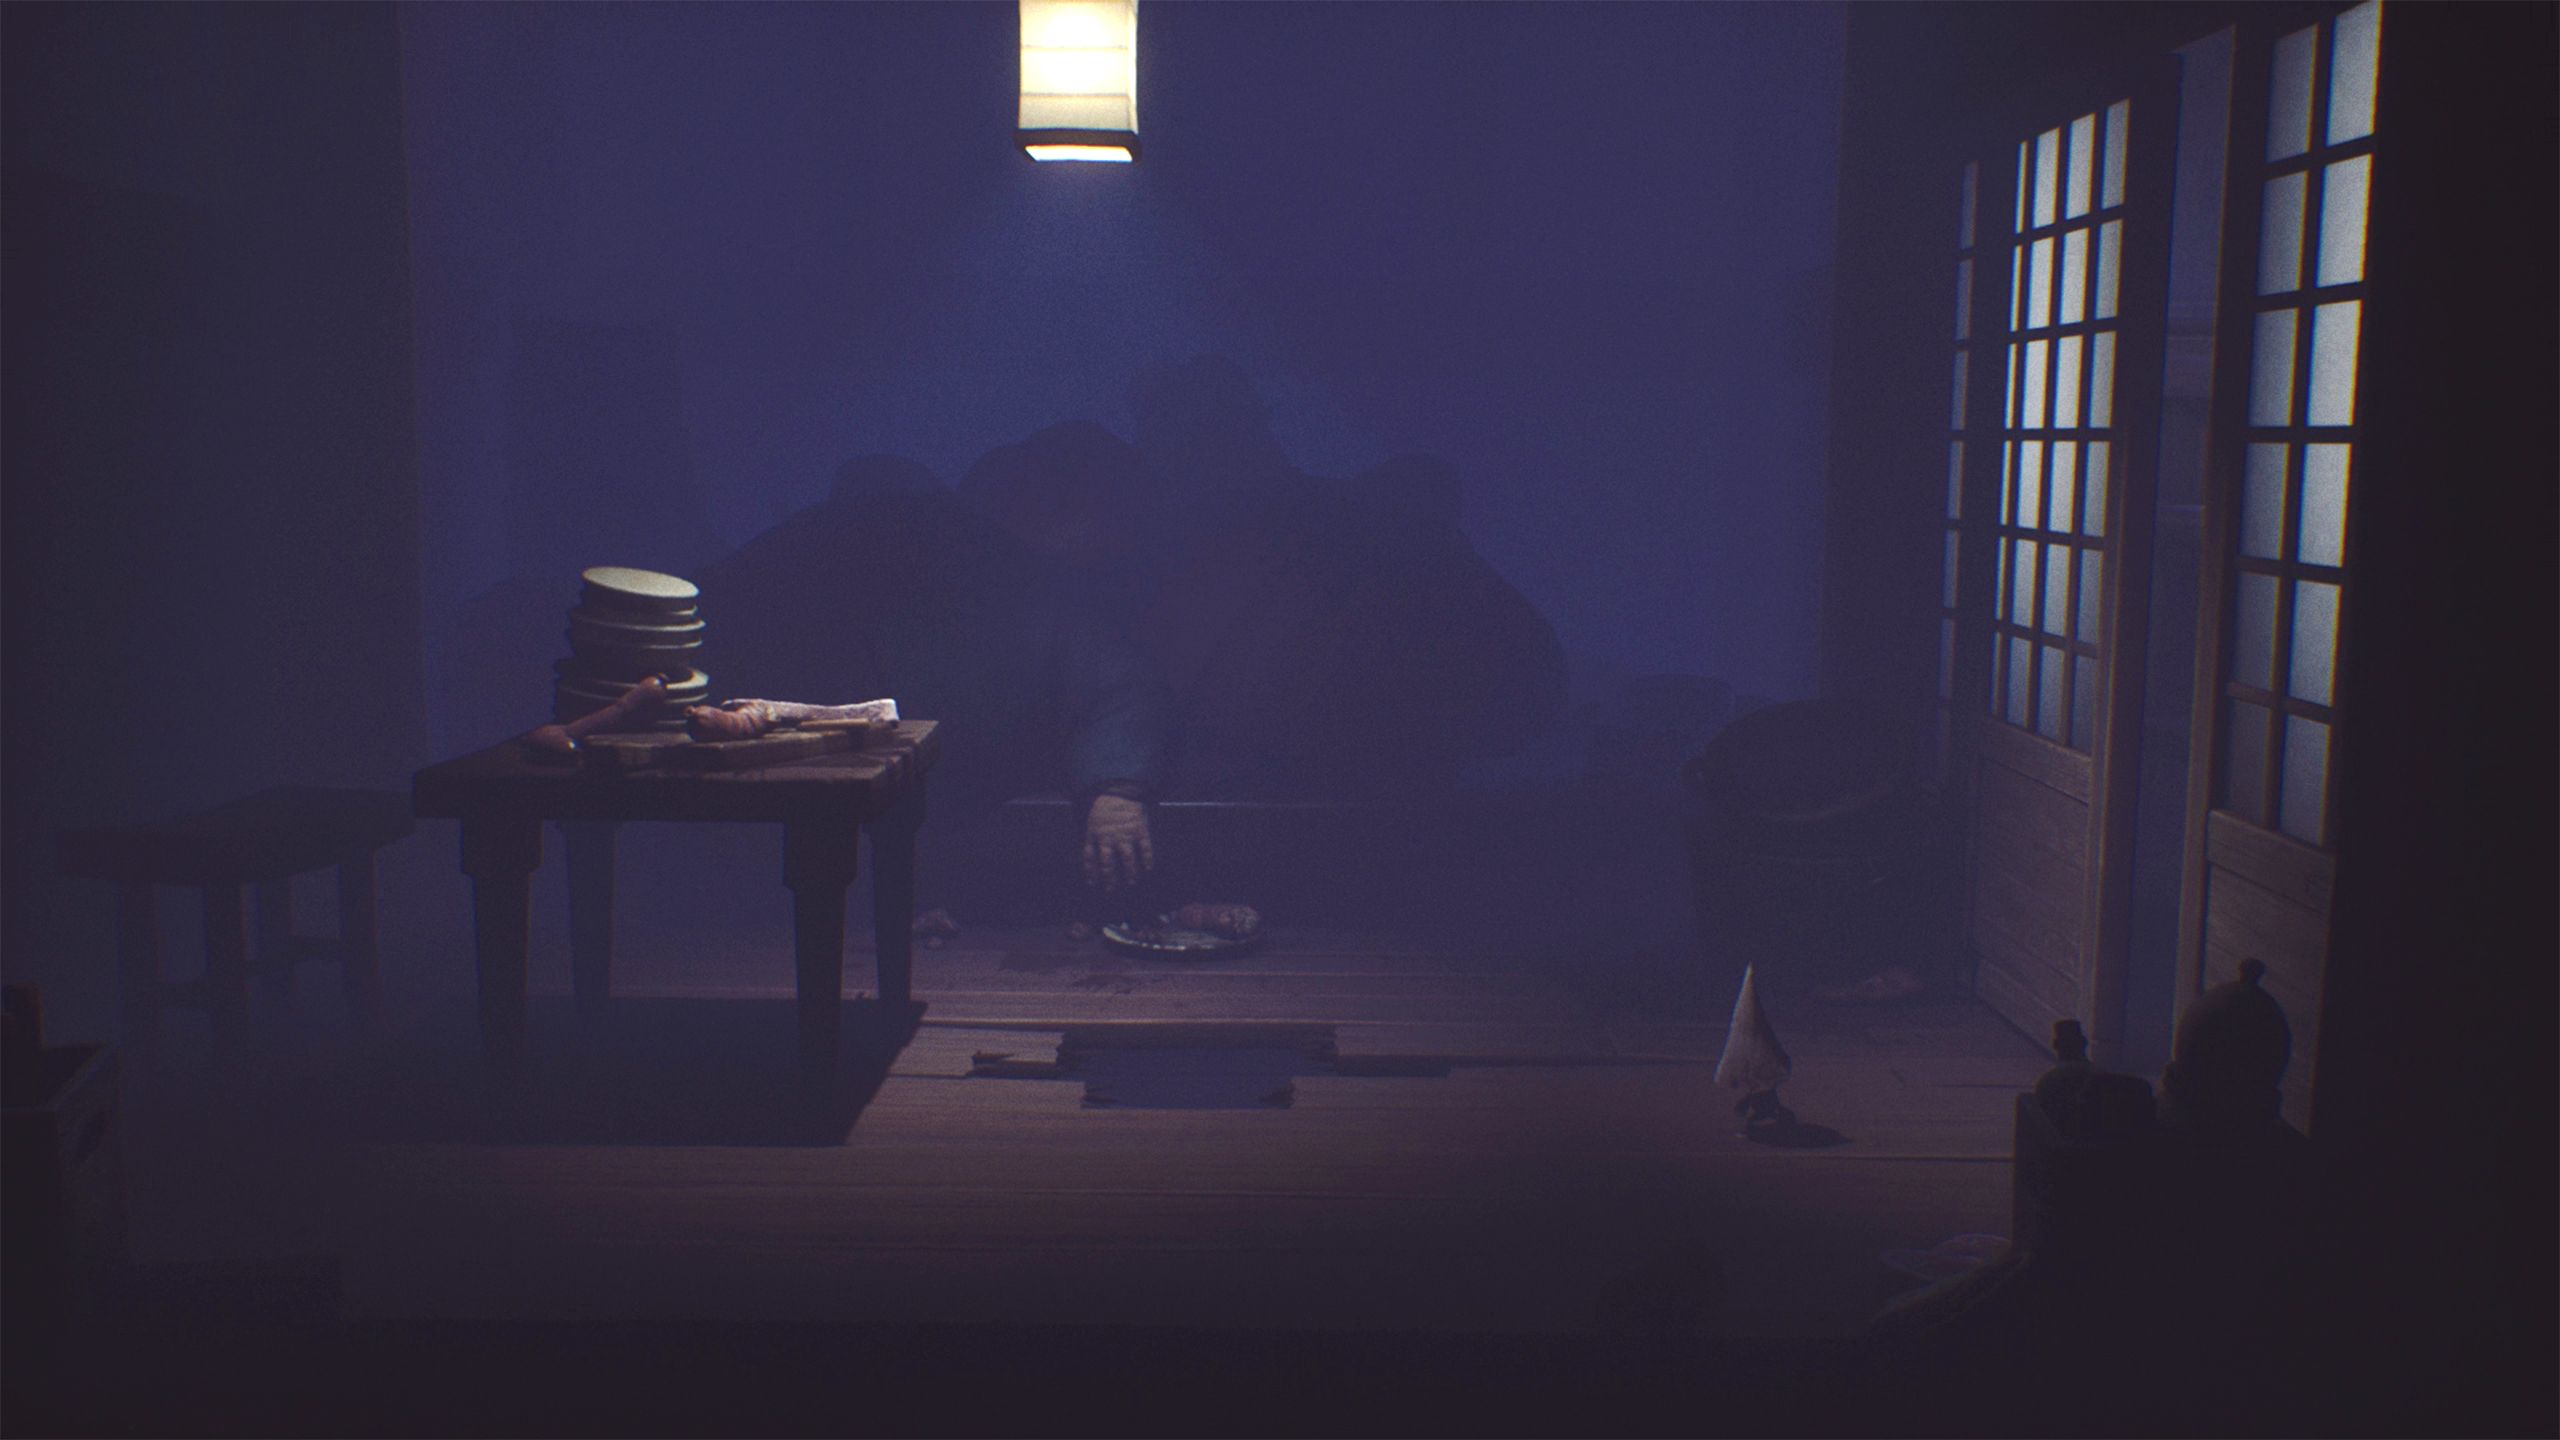
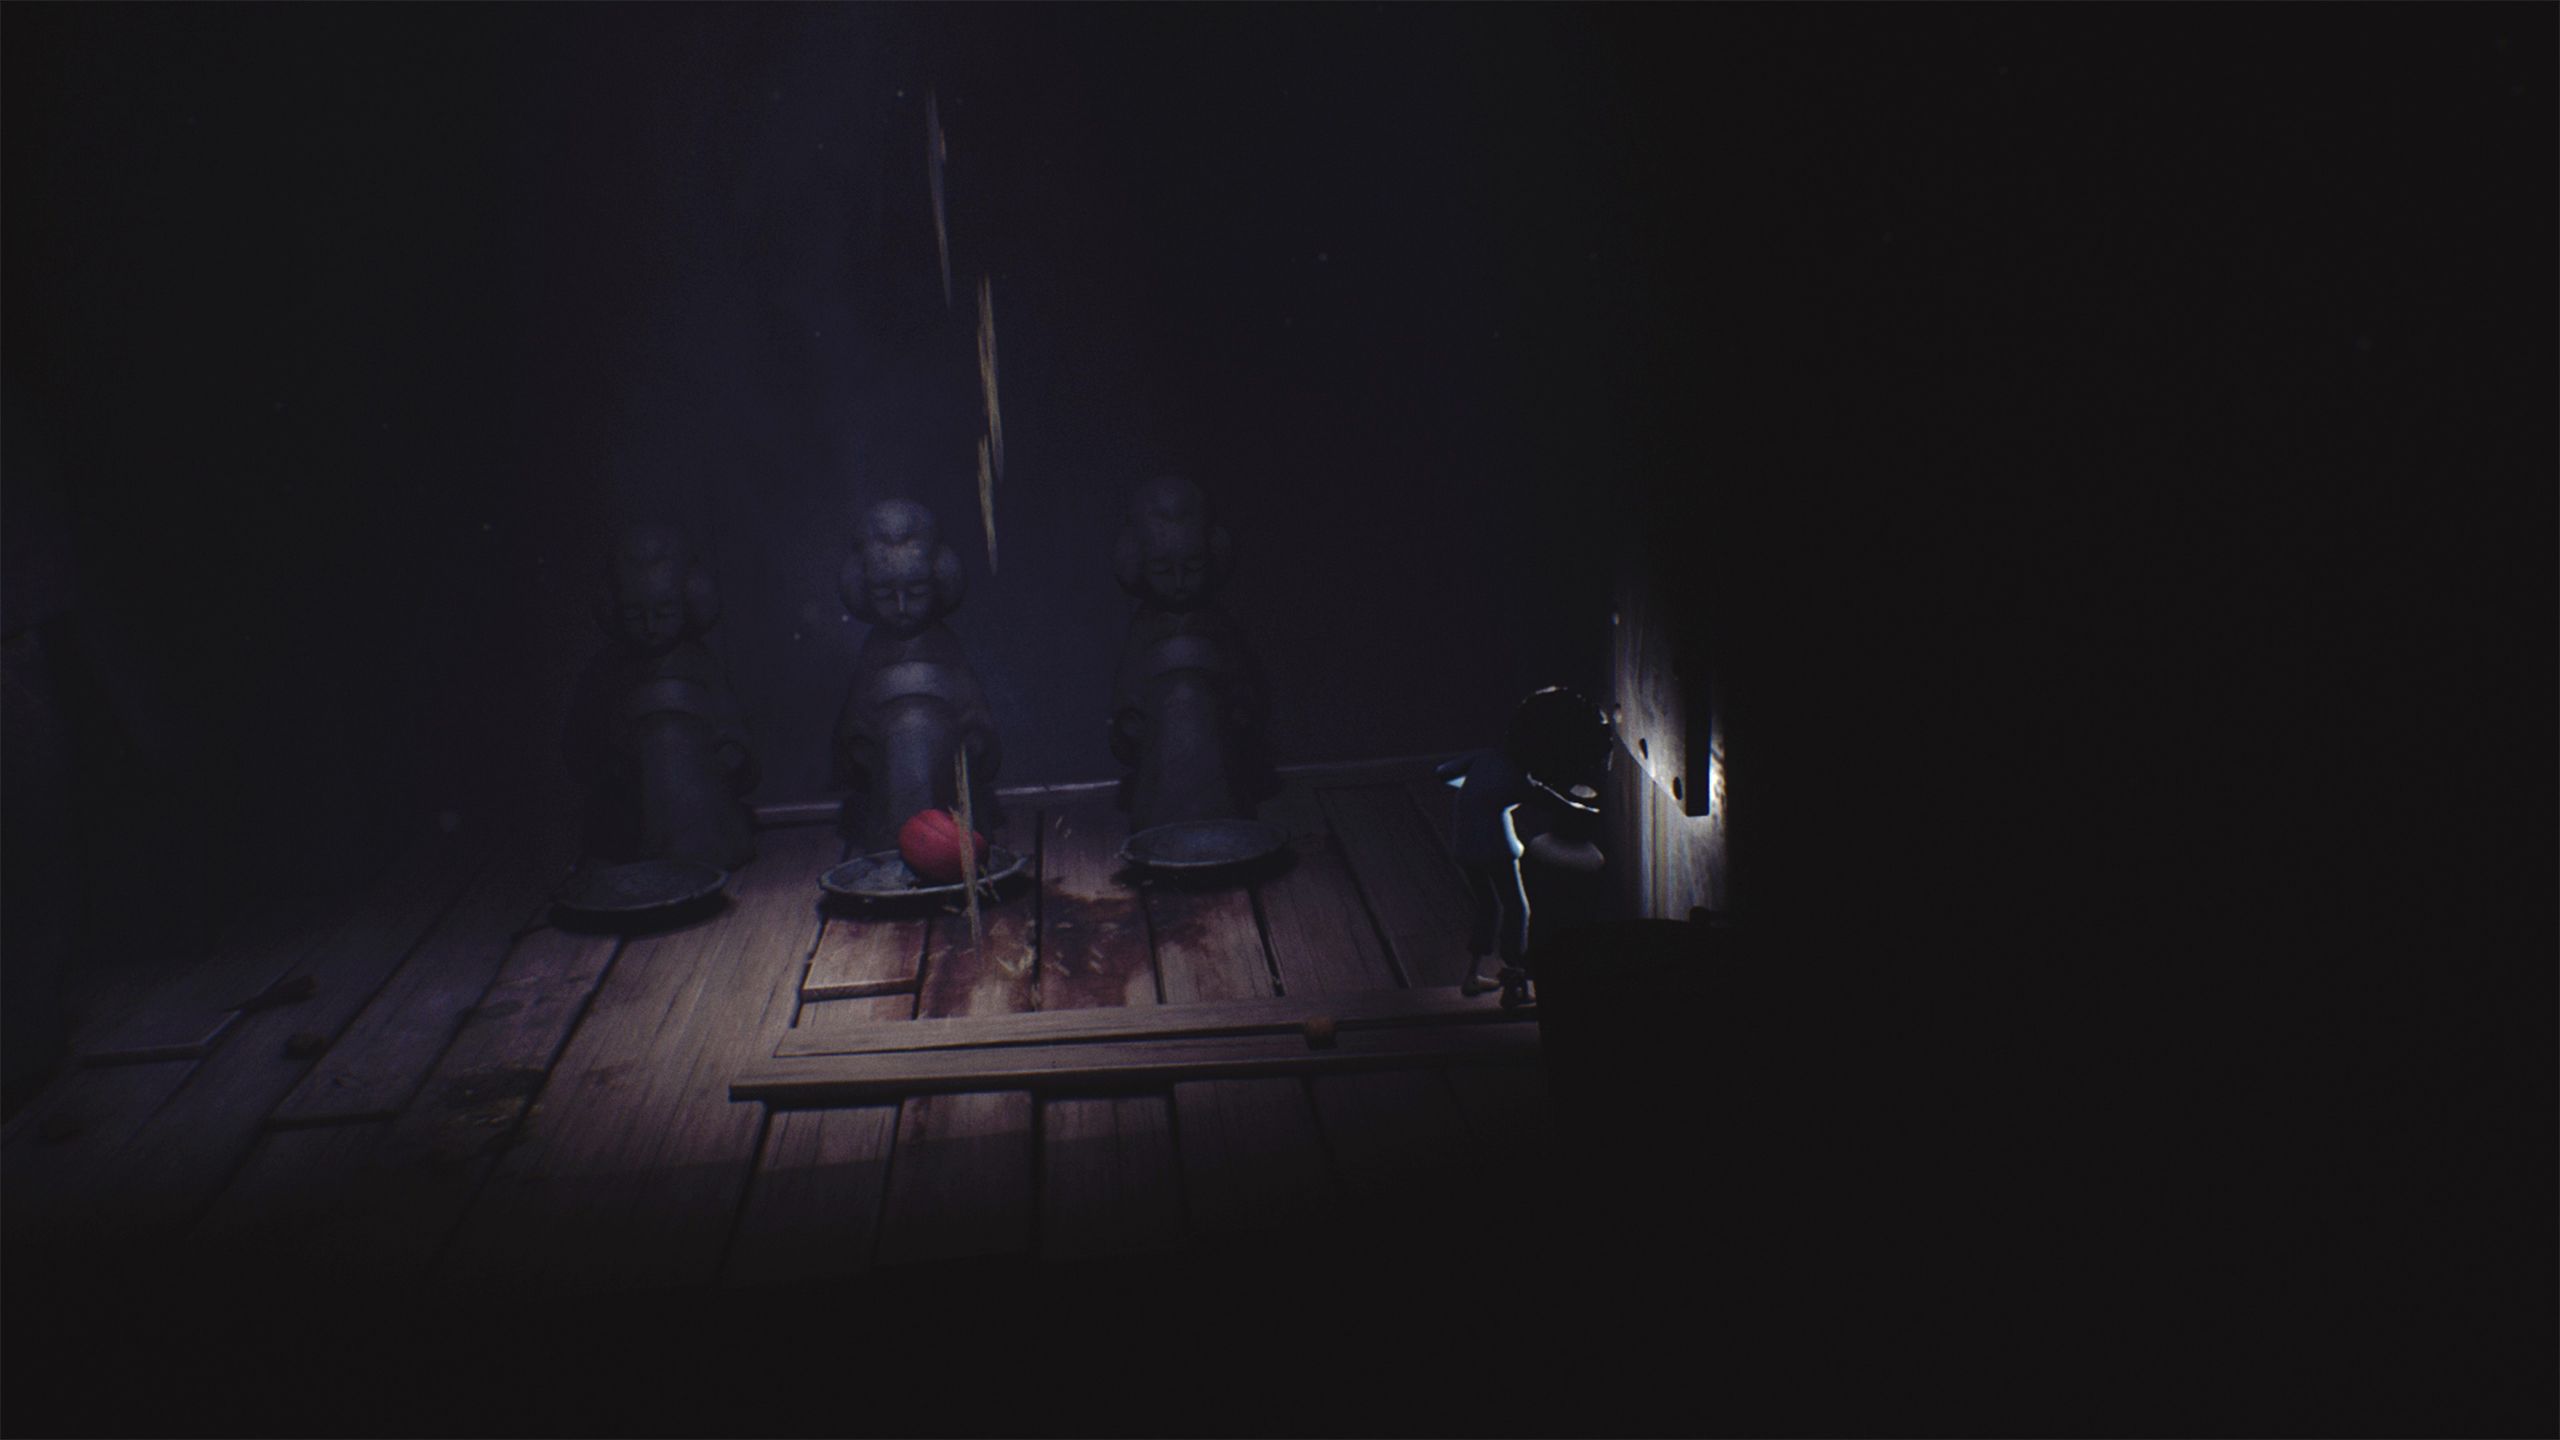
Walk past the Guests eating and jump through the hole in the next room.
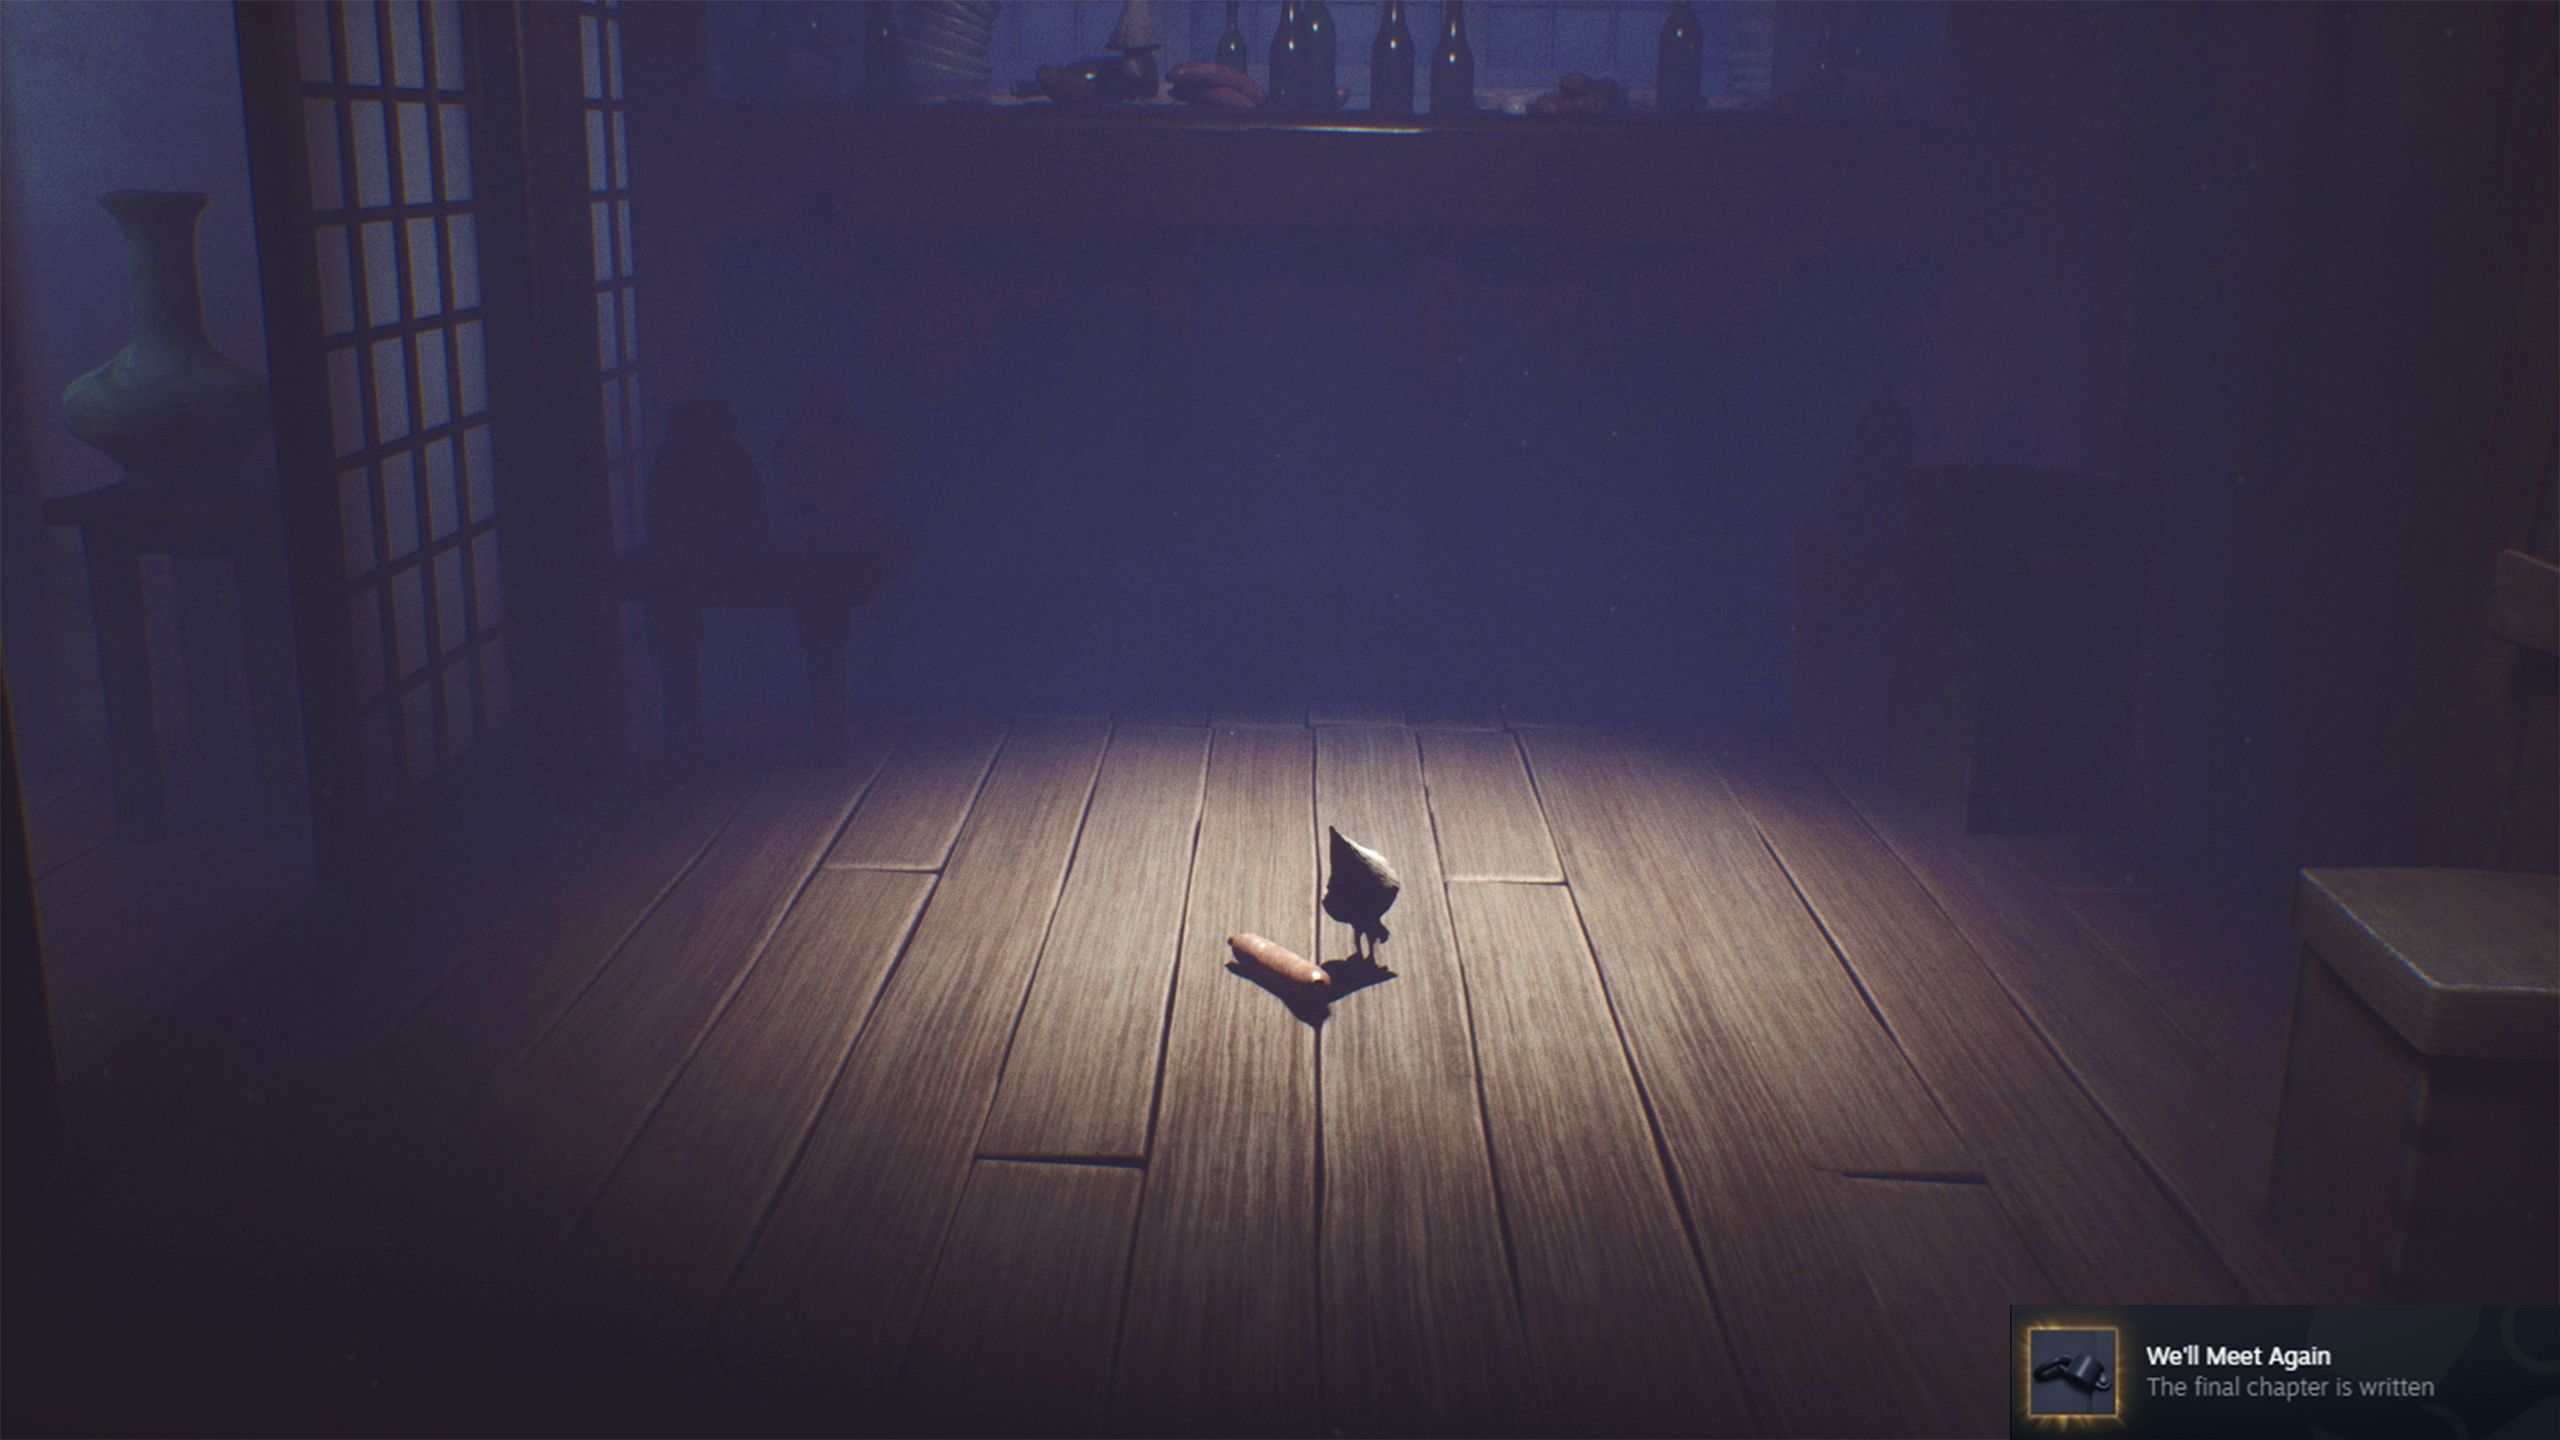
Head through the hole on the left, and you’ll be back in the room where Six lost control and devoured a Nome – who turns out to be the Runaway Kid. This finishes the Residence chapter, with the Kid looking at a sausage on the floor, earning you the “We’ll Meet Again” Trophy.
Read More
- Forza Horizon 6: Find the Ohtani Treasure Chest Location
- NTE Drift Guide (& Best Car Mods for Drifting)
- LEGO Batman Legacy of the Dark Knight Batcave Minikits & WayneTech Caches
- Skyblivion Gets Encouraging Development Update
- Sega’s “Super Game” is Said to Release Next Month, But Nothing is Known About It
- How to Open Locked Door in Tenryu River in Nioh 3 (Dirty Key)
- New Steam Game is Like Pokemon If It Were a Sci-fi Shooter
- Dead as Disco Best Songs (Clear Beats & Stable BPMs)
- Asmongold reveals shocking detail about how much money he makes
- GameRant Daily Crossword (February 10, 2026)
2026-01-18 16:36