
Final Fantasy X is full of hidden depths. The story revolves around characters keeping secrets, and the game itself has a lot of optional content that’s easy to overlook.
This game can be quite harsh. If you don’t find everything right away, you might miss content permanently. Plus, it sometimes throws a very difficult boss at you as punishment for going back to explore or finish side quests.
That’s why even the most dedicated fans often check guides and wikis to make sure they don’t miss any rare items or special events.
Here are 10 hidden secrets in Final Fantasy X that many players haven’t discovered, even after playing for years.
10. Jecht Shot
An Easy-to-Fail Mini-Game that You’ll Wish You Reloaded a Save to Get
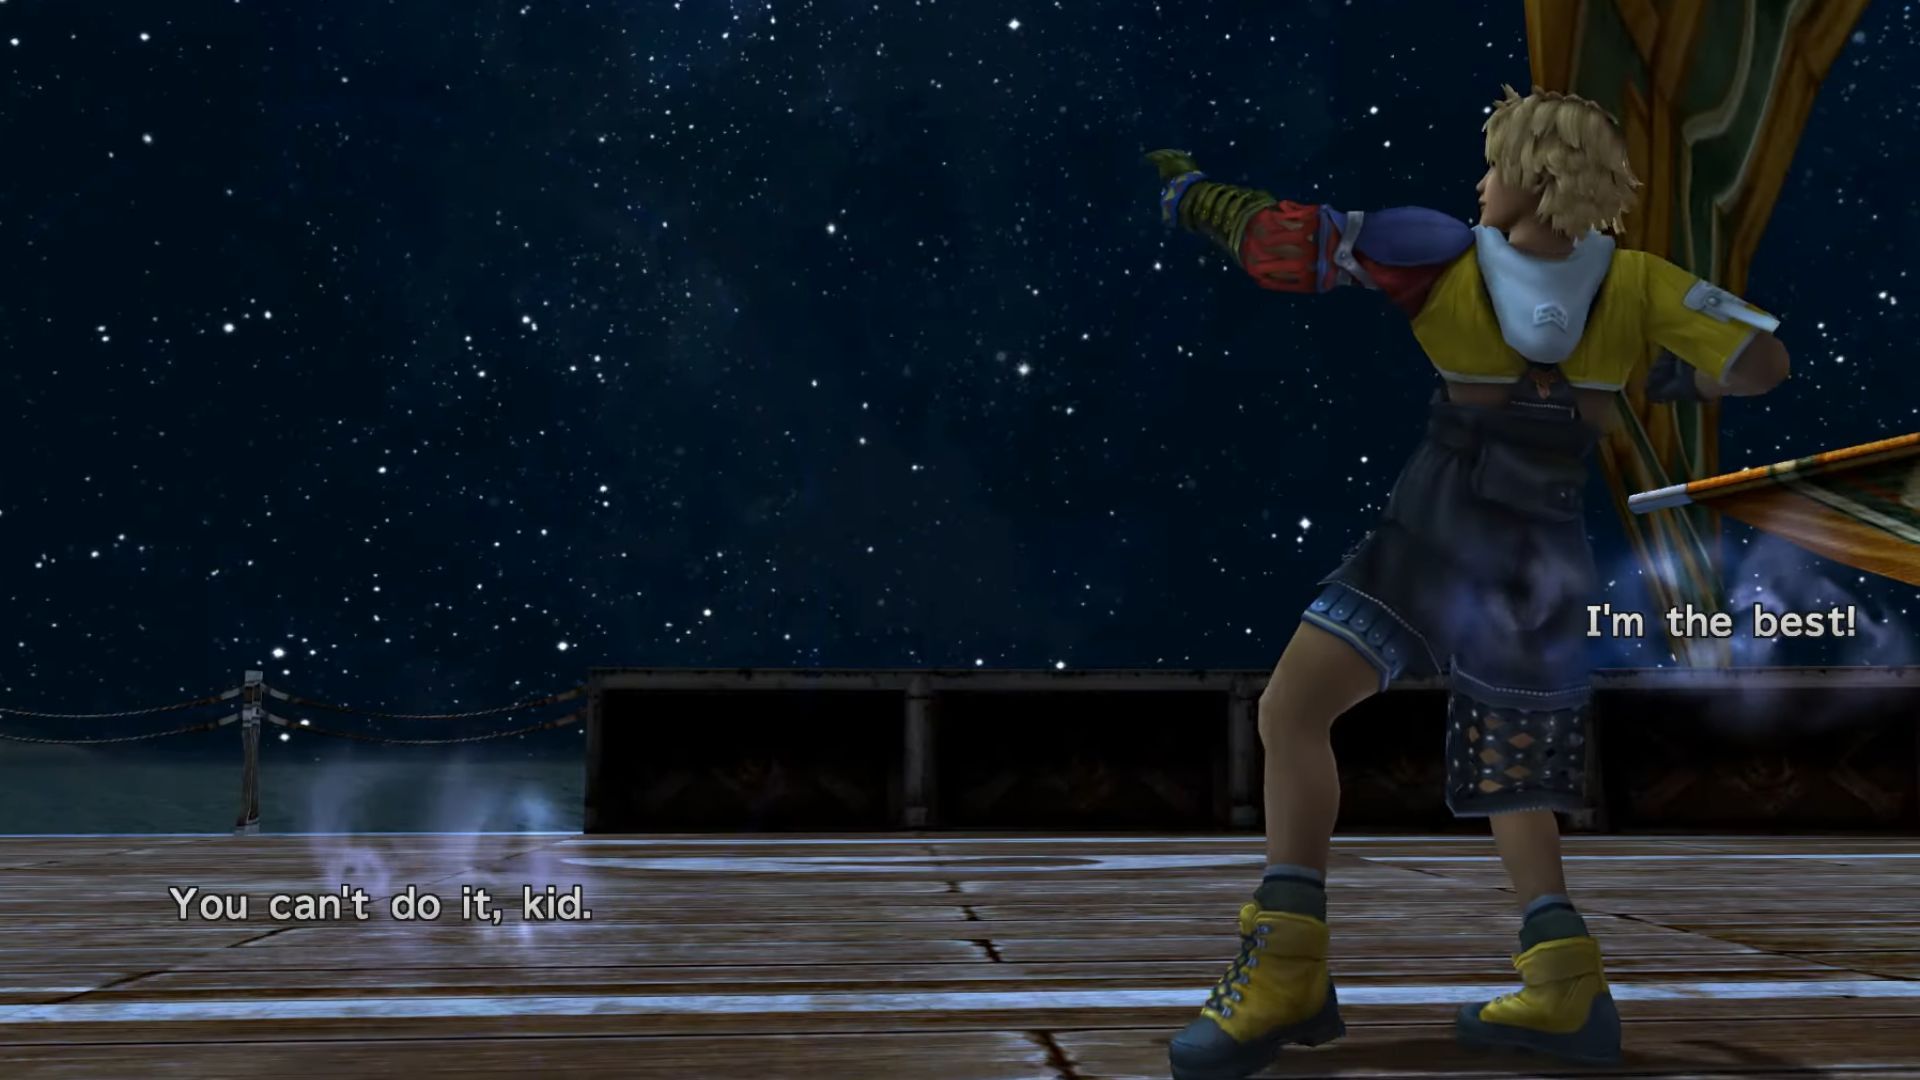
Learning the Jecht Shot makes the Blitzball tournament much easier, and allows you to win even the toughest match against Luca Goers.
Once you leave Kilika, you’ll see a scene showing Tidus’s father, Jecht, teasing him about not being able to do a famous move. Right after that, you’ll play a quick mini-game where you have to press the correct directions as they appear on screen. If you succeed, you’ll learn the Jecht Shot, a powerful skill that will be very useful in the Blitzball matches ahead.
Once the game begins, you’ll play two rounds. A good strategy is to hold onto the ball in the first round, passing it between your defenders and midfielders, to help them gain experience for the second round.
Once your team gets stronger later in the game, a quick pass to Tidus followed by his Jecht Shot almost guarantees a goal. After Wakka joins the match, pass to a defender and run behind your own goal. This surprisingly tricks the AI, causing the opposing team to get stuck swimming in circles. From there, just run out the clock and you’ll become the league champions!
Winning this battle isn’t hugely rewarding – you’ll only get a Strength Sphere and a better ending scene. The real benefit is keeping the Jecht Shot attack for later, saving you a lot of grinding with Tidus. If you plan on unlocking Wakka’s best weapon and Overdrive abilities, having the Jecht Shot early on will be a big help.
9. Creating the Best Armor with Wantz
I Wantz that Armor

Here’s a helpful tip for later in the game: if you want to tackle the Monster Arena and Dark Aeon battles, spending a little time preparing now will really pay off.
You’ll meet Wantz, O’aka’s brother, while climbing Mt. Gagazet. He’ll let you know that your regular merchant has been captured, but Wantz is there to take his place. Most people don’t realize he’ll eventually return to Macalania Woods and sell armor with empty slots. Don’t dismiss this – it’s a chance to customize your gear and create truly unique equipment!
This armor lets you use four incredibly powerful abilities, helping you survive tough situations and move faster than most of your rivals.
For the most adaptable setup, I suggest using Auto-Haste, Auto-Protect, and Auto-Phoenix. The last slot is more open to choice. While Ribbon is popular – it protects against surprise attacks from enemies like Malboro that can quickly defeat your whole party (unless Auron has his ultimate weapon and draws their attention) – it’s expensive and takes time to acquire late in the game. A good alternative is Auto-Potion. Just sell your regular potions and stock up on 99 X-Potions, and your team will have a self-sufficient healing system.
If a character falls in battle, they’re immediately brought back to life with both Haste and Protect active. Surviving a powerful attack instantly restores their health completely, and this happens automatically without costing a turn. While this makes the game much easier, it’s almost required to handle some of the most challenging optional content.
8. Getting Valefor’s Second Overdrive Early
Always Pet the Dog
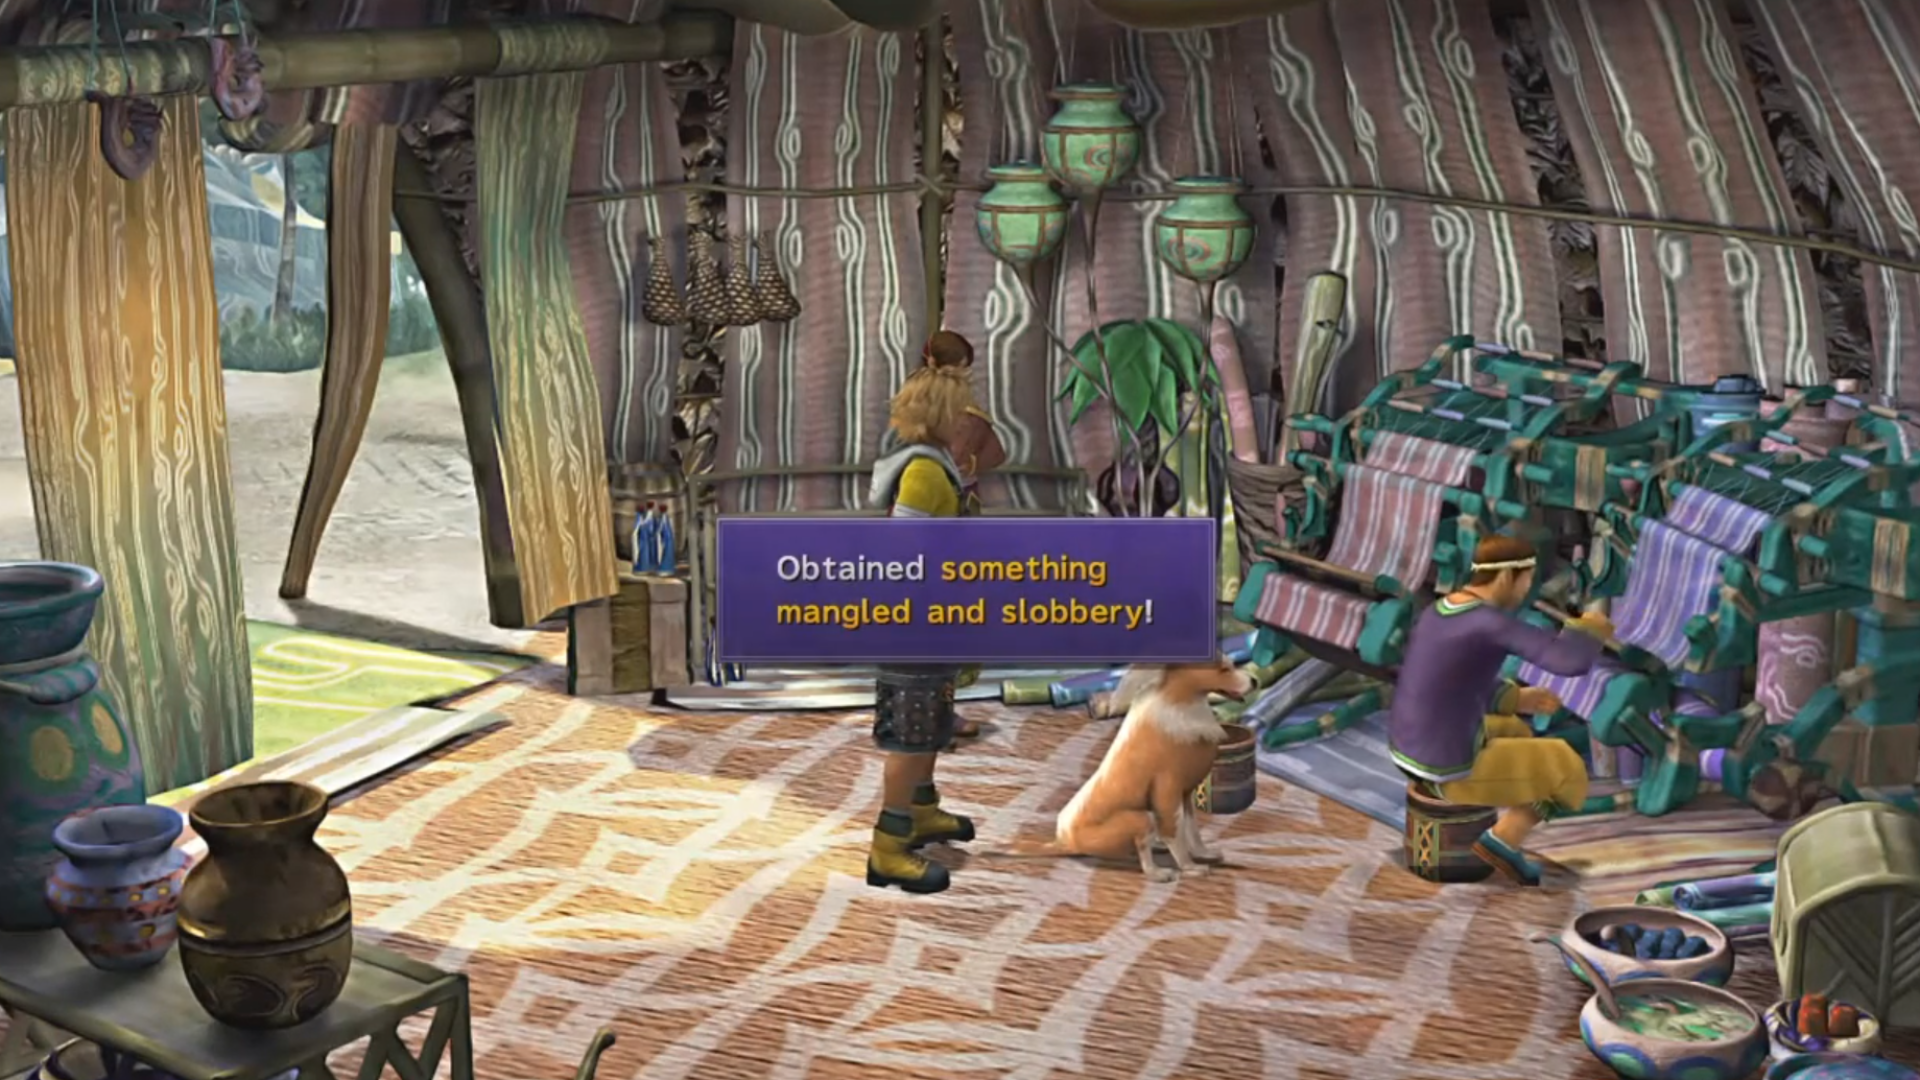
Talk to the shopkeeper, and she’ll mention her dog found something. If you go to the tent where the dog is, it will give you a messy, slobbery item – it’s actually a more powerful version of Valefor’s Energy Ray overdrive, called Energy Blast. The only downside is that it takes a little longer to recharge after use.
It’s strange that this is only the second overdrive available for Aeon characters throughout the whole game. It seems likely this was originally cut content, added in to give Valefor a bit more appeal.
If you return to this location by airship, you’ll likely encounter Dark Valefor, a powerful enemy that could defeat your entire party in one hit unless you’ve made significant progress on the Sphere Grid.
7. You Can Backtrack All the Way to Besaid Before Lake Macalania
Your Last Chance for a Bit to Pick Up Anything You Might have Forgotten
If you’re trying to complete everything and want to delay the difficult Dark Aeon battles, a good strategy is to turn around and run in the opposite direction before you enter Lake Macalania.
Once you’ve beaten the Spherimorph in the woods and gotten the first Jecht Sphere, you can walk all the way back to Luca – through Macalania Woods, the Thunder Plains, Guadosalam, and the Mushroom Road. From Luca, you can take the ferry back to Besaid and finish up anything you still need to do before the story reaches a critical point.
If you didn’t get the Destruction Sphere in Besaid or experience Valefore’s Overdrive yet, now’s the time to go back and do those things. As you explore previously visited areas, also look for Jecht Spheres scattered around the world. Collecting these will give you nine of the ten available spheres, letting you unlock three of the four Overdrives Auron can learn.
It’s a bit strange at first, but it’s good the game allows you to explore this before making things much harder with the Dark Aeon battles later on.
6. Collecting all the Al Bhed Primers
Textbook Collectors Items
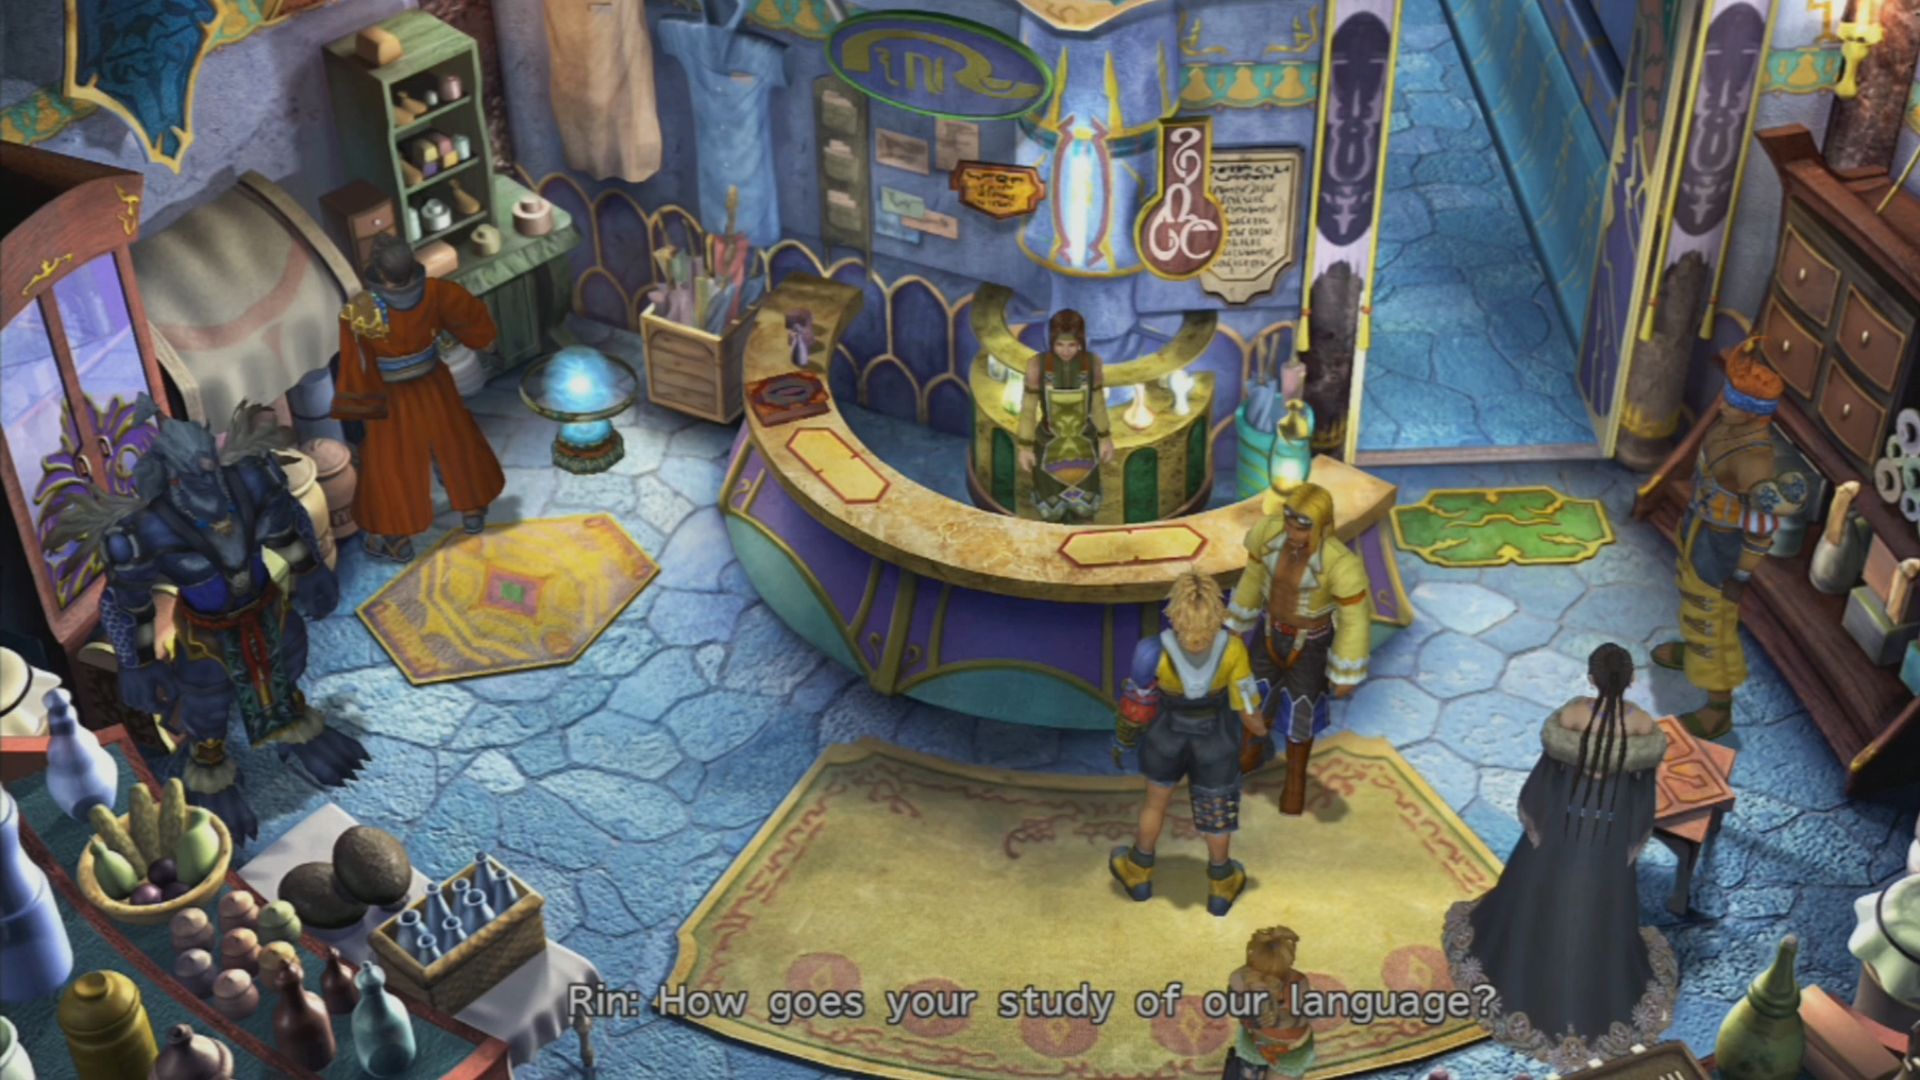
In Final Fantasy X, you can learn the Al Bhed language by collecting special books called Al Bhed primers throughout the game. These primers act as a mini-game, gradually revealing the meaning of their language as you find more.
There are over 26 primers across the world of Spira, with some tucked away in some obscure areas.
This is Final Fantasy X, which means choices matter – if you skip something, you won’t get a second chance to see it.
Primers 19 through 23, the Al Bhed primers, are particularly important. You can miss up to four of them without it affecting the game, but unfortunately, they appear near the very end. Be sure to find these ones, because if you don’t, you’ll lose them forever.
5. The Dark Aeons
The Stuff of Nightmares
Alright, I’ve spoken enough about them at this point; let’s dive into the Dark Aeons.
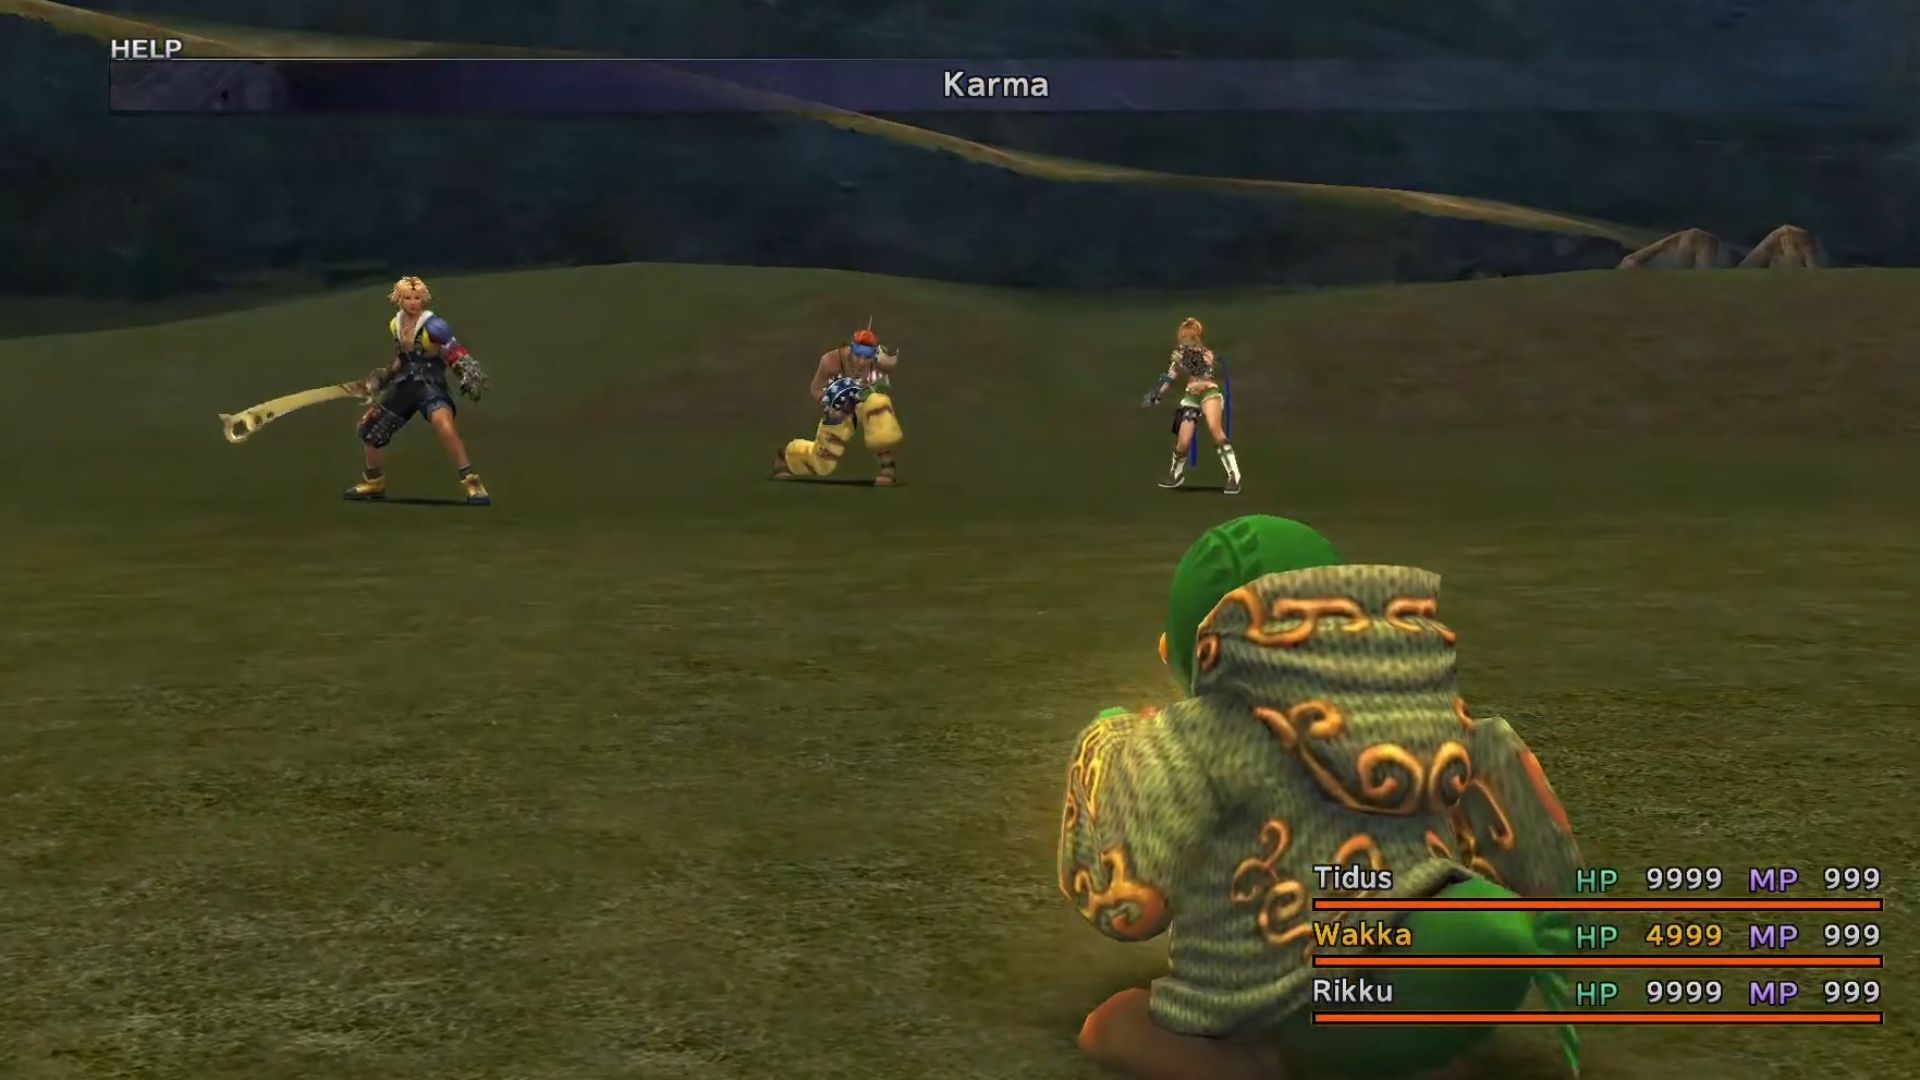
Once you beat Seymour at the Macalania Temple, Yevon priests will start appearing in certain areas and attacking you with incredibly powerful enemies called Dark Aeons. These battles are among the hardest in the game, and you’ll need strong equipment and a well-developed character grid if you want to survive long enough to even summon Yojimbo.
Battles can be a lot easier if you use a few clever tactics. One helpful thing is to switch to Yuna and have her summon an Aeon to take damage for the whole team. Also, if you’re looking for the best equipment, you can repeatedly fight Dark Yojimbo in the Cavern of the Stolen Fayth to get Dark Matter.
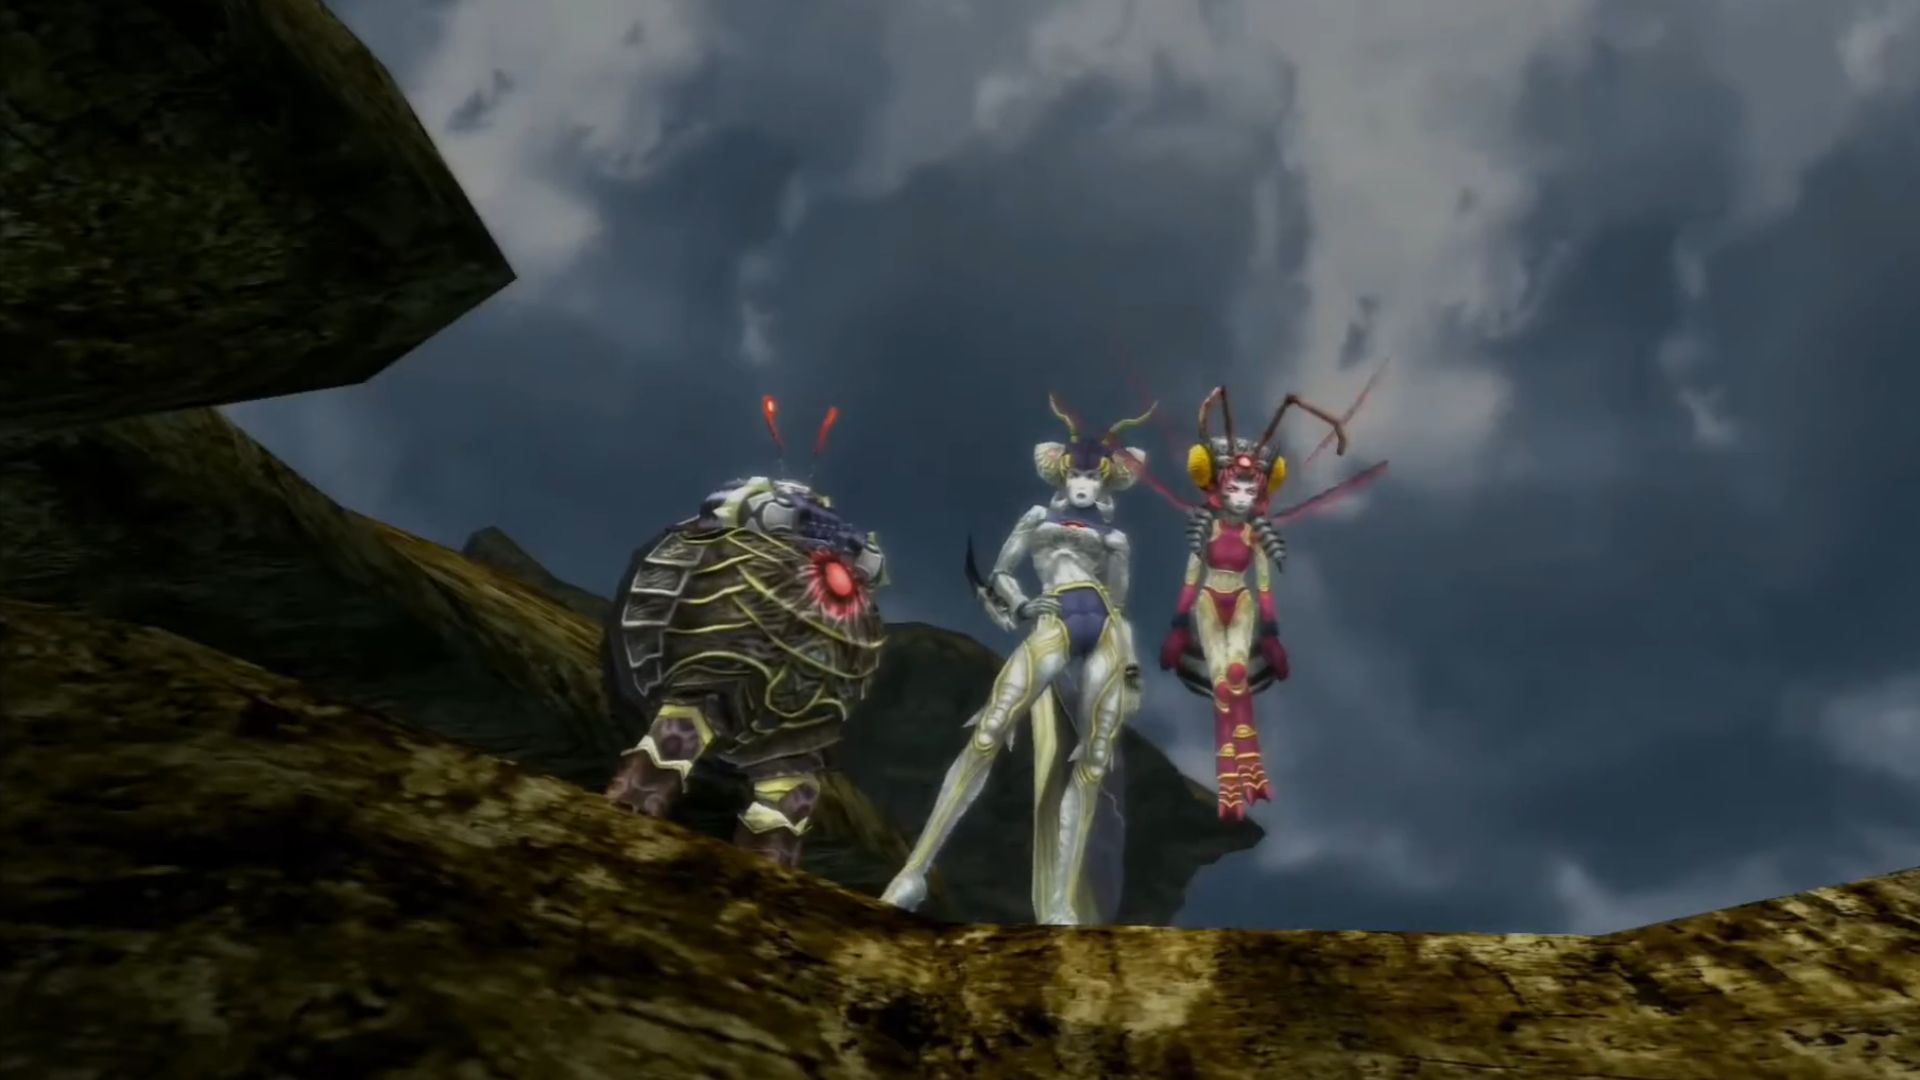
A useful strategy is to use precise movement to separate the Dark Magus Sisters, allowing you to fight them individually instead of all at once.
After defeating all the Dark Aeons, you’ll unlock Penance, a notoriously difficult superboss considered one of the toughest in the entire Final Fantasy series. It can take over an hour to defeat, and honestly, if you use a Zanmato to finish it off quickly, I won’t blame you at all.
4. How to Get Easy Sphere Levels Late Game
Grind be Gone!
Final Fantasy X is known for requiring a lot of leveling up. Unlike some other games in the series with a standard level cap, FFX uses a Sphere Grid system where you customize each character’s abilities. While it’s possible to finish the game without fully completing everyone’s Sphere Grid, it’s nearly essential if you want to defeat the hardest bosses without relying on a specific, powerful ability.
Fortunately, players discovered a simple way to quickly improve their sphere levels without spending excessive amounts of time.
First, you need to unlock the Don Tonberry boss in the Monster Arena. To do this, capture one of each fiend found in the Cavern of the Stolen Fayth. Once unlocked, equip your party members with weapons that have the ‘Overdrive > AP’ ability.
Okay, so before you fight the Don Tonberry, here’s what I do. I always set the character who’s taken down the most enemies – usually Auron, Wakka, or Tidus – to ‘Stoic’ mode. Then, I put the other two on ‘Comrade’. Why? Because the Don Tonberry hurts. Like, one-hit-KO hurts. ‘Stoic’ turns the damage it deals into AP, which is awesome, and ‘Comrade’ spreads the pain around so it doesn’t instantly wipe out one of my guys. It’s a lifesaver, trust me!
When the Don Tonberry is near your party, quickly use the Flee ability to gain a large amount of AP from the battle – usually between 25 and 40 sphere levels each time. This will help you progress through the sphere grid quickly. If you run out of spheres, you can fight Kottos in the Monster Arena and use any Extract ability to get 40 more spheres per battle.
3. Airship Codes
Hope You Brought a Guide
Looking back, nothing screams ‘early 2000s’ in Final Fantasy X more than those hidden airship codes. Back then, the internet wasn’t what it is today, so strategy guides were huge. The developers knew we’d be desperate to find everything, so they intentionally hid codes in the game to get us to buy those guides and hunt down all the secrets. It was a smart move, honestly!
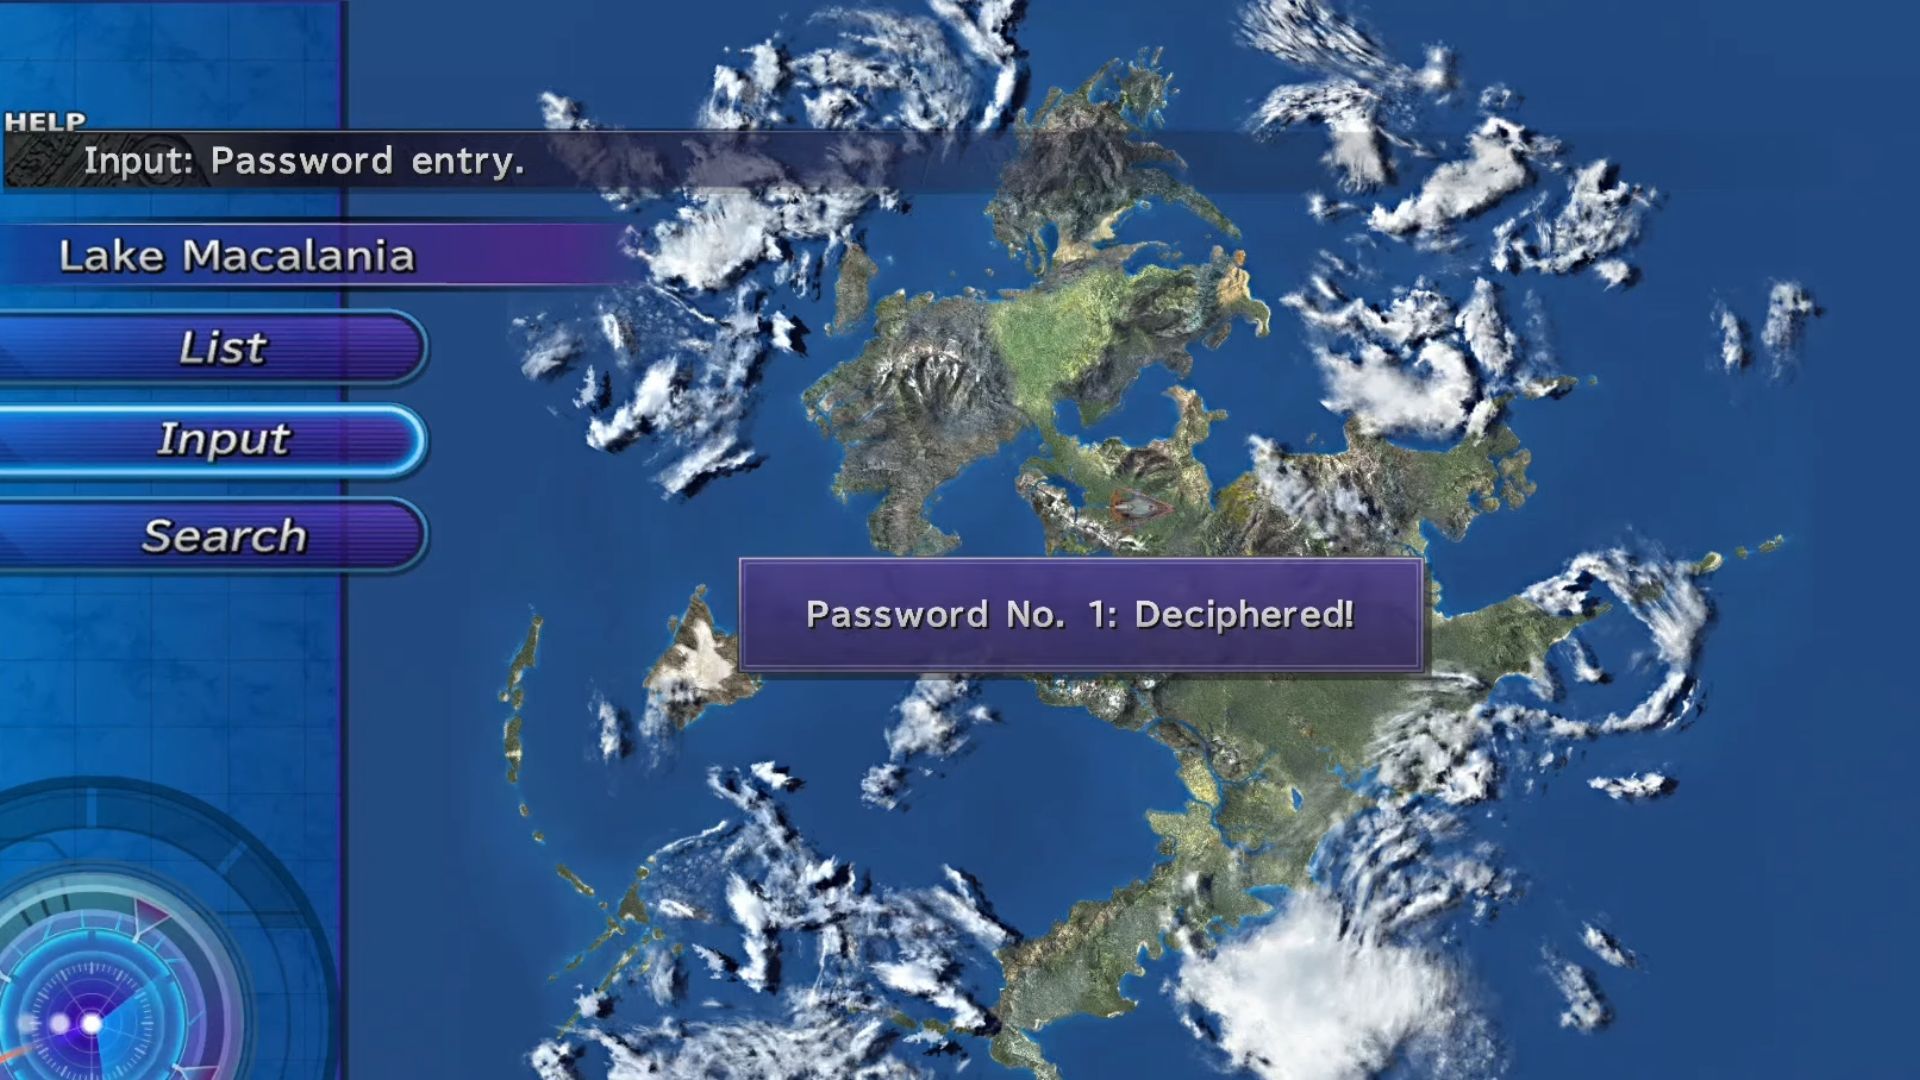
You can find most of these codes by exploring the map on the Airship. However, three – GODHAND, VICTORIOUS, and MURASAME – need to be entered directly. Alternatively, if you’re good at remembering things, you can decipher the Al Bhed language throughout Spira to reveal the codes, though figuring out how they connect isn’t very straightforward.
Unlock more Final Fantasy X secrets — subscribe to the newsletter
If you’re playing Final Fantasy X, especially if you’re a long-time fan, you’ll need the “GODHAND” code to unlock Rikku’s strongest weapon, also called “GODHAND.” This weapon is essential if you want to defeat the game’s most challenging optional bosses.
2. Seymour’s Overdrive
Points for Style!

In the Operation Mi’Hen quest, Seymour will temporarily fight alongside you during the Sinspawn Gui boss battle. Because he knows powerful spells, he’ll help you defeat the boss quickly.
If you choose to wait before fighting, you can charge up Seymour’s special attack, the Requiem, which will deliver a devastating blow and finally defeat the Sinspawn.
You don’t usually think about whether a temporary character would have a special ability while they’re joining your team, but it’s impressive when the game developers have already considered that possibility.
It’s also worth noting that Seymour only uses this attack once throughout the entire game, so most players won’t ever witness it. It’s a shame, really, because the animation itself is fantastic.
1. The Sun Crest in Yunalesca’s Boss Room
Hope You have a Zanmato Ready
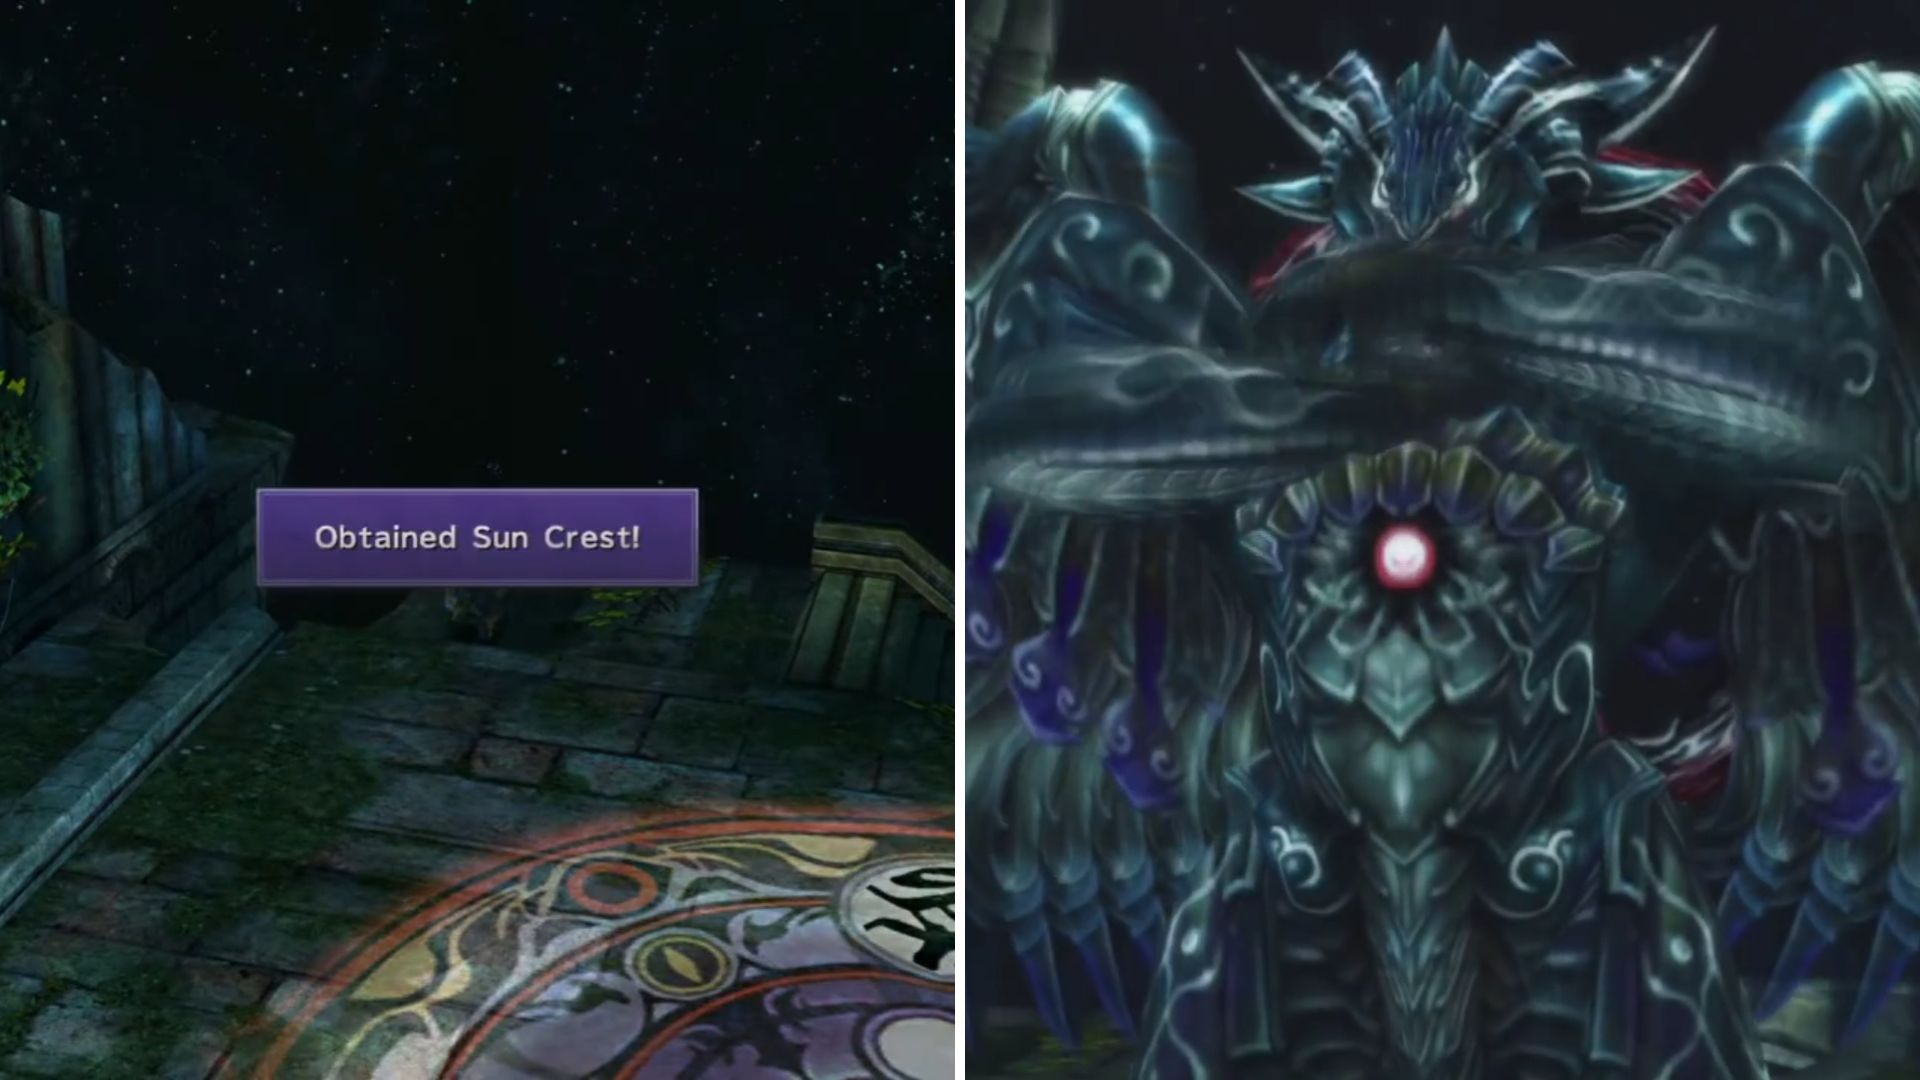
There’s almost nothing worse in gaming than going back to fight Yunalesca, a boss many players dread, and then being suddenly attacked by Dark Bahamut, who is one of the hardest bosses in the game.
Typically, you’d be able to put this off until you were fully prepared for the challenge. But, a crucial item needed to unlock Tidus’s Ultimate Weapon is hidden in this room. Ironically, to gain the power to defeat Dark Bahamut, you must first defeat him yourself.
You can actually get the Sun Crest before fighting Dark Bahamut! After you beat Yunalesca, go back into her battle room and find the hidden stairs at the very back. Going down those stairs will make the Sun Crest appear, letting you collect it without needing to worry about the superboss just yet.
If you come back to this area after getting the Airship, enemies will jump out and attack. It’s easy to forget after the tough battle with Yunalesca, but you’ll really regret it if you leave Zanarkand without grabbing this item first.
Read More
- Forza Horizon 6: Find the Ohtani Treasure Chest Location
- NTE Drift Guide (& Best Car Mods for Drifting)
- LEGO Batman Legacy of the Dark Knight Batcave Minikits & WayneTech Caches
- Sega’s “Super Game” is Said to Release Next Month, But Nothing is Known About It
- Skyblivion Gets Encouraging Development Update
- How to Open Locked Door in Tenryu River in Nioh 3 (Dirty Key)
- God of War Shadow Drops New Game and Confirms Greek Trilogy Remake
- New Steam Game is Like Pokemon If It Were a Sci-fi Shooter
- Dead as Disco Best Songs (Clear Beats & Stable BPMs)
- Asmongold reveals shocking detail about how much money he makes
2026-03-29 22:42