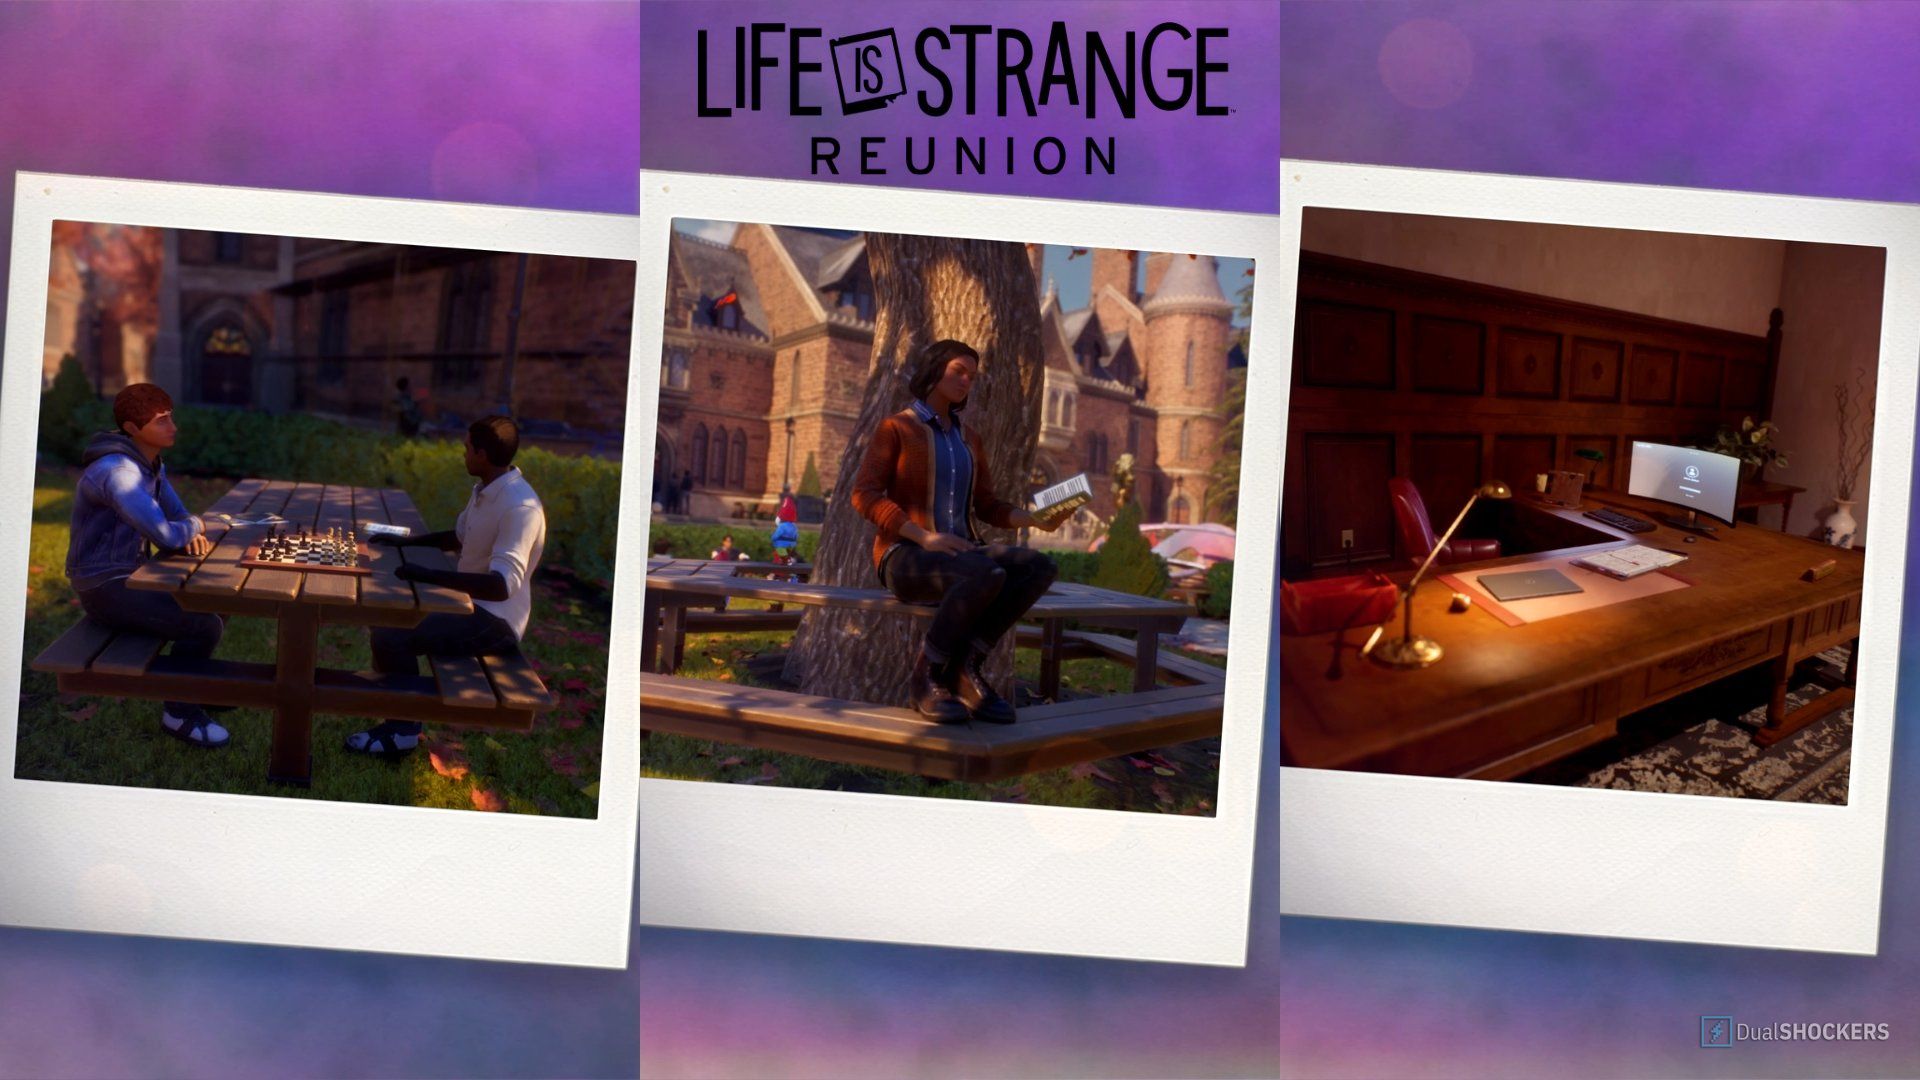
Time to grab your Polaroid cameras! We’re going on a collectible hunt with Max in Life is Strange: Reunion. Like every Life is Strange game, this one has a bunch of hidden items to find during your playthrough.
This time around, the game will occasionally provide extra opportunities to capture snapshots, meaning you won’t need to find all the usual spots. Also, Max will automatically take photos during certain story moments, and these will count towards your progress, so you don’t have to worry about missing them.
There are many snapshot locations to explore, so let’s go through them together. I’ll guide you to each one so you can easily unlock the associated trophy or achievement for Max.
Life is Strange: Reunion All Snapshot Locations
(1/1) Mountain State of Mind
The first collectible photo is found during the very beginning of the game. You can get it during the opening cutscene of the “Mountain State of Mind” section, when Max first uses her camera to photograph the scenery from the viewpoint.
(2/2) Time Dojo
In the Time Dojo, Max talks to Moses about her abilities and what’s been happening in the story. Once you’re inside the department building, immediately look to your left. You’ll find a Jack O’Lantern in the corner – take a picture of it to collect the first snapshot for this scene.
Fortunately, the second photo is close by. Don’t head to Moses’ office just yet—instead, continue down the right hallway, as the pictures show. You’ll quickly find an astronaut display where you can get the second collectible.
(5/5) Class Act
This part of the game can feel a little flexible. The ‘Class Act’ section, where you help Max’s students, asks for five photos, but there are actually seven chances to take them, and you can get them in any order you like.
I’ll quickly go over each collectible, including the main story-related one, so you can grab any screenshots you want to add to your collection.
-
Photo of Safi: (Spoiler alert) If it wasn’t obvious already, the “artsy student” that Max meets in the opening cutscene is actually Safi in her shapeshift form. Max ends up taking a snapshot of her as a demonstration for her students. This counts as a collectible for this scene.
- Squirrel on Stone Fence: Another lone squirrel that you can take a snap of near the cartoon graffiti, as I’ve shown above. Thankfully, the last one.
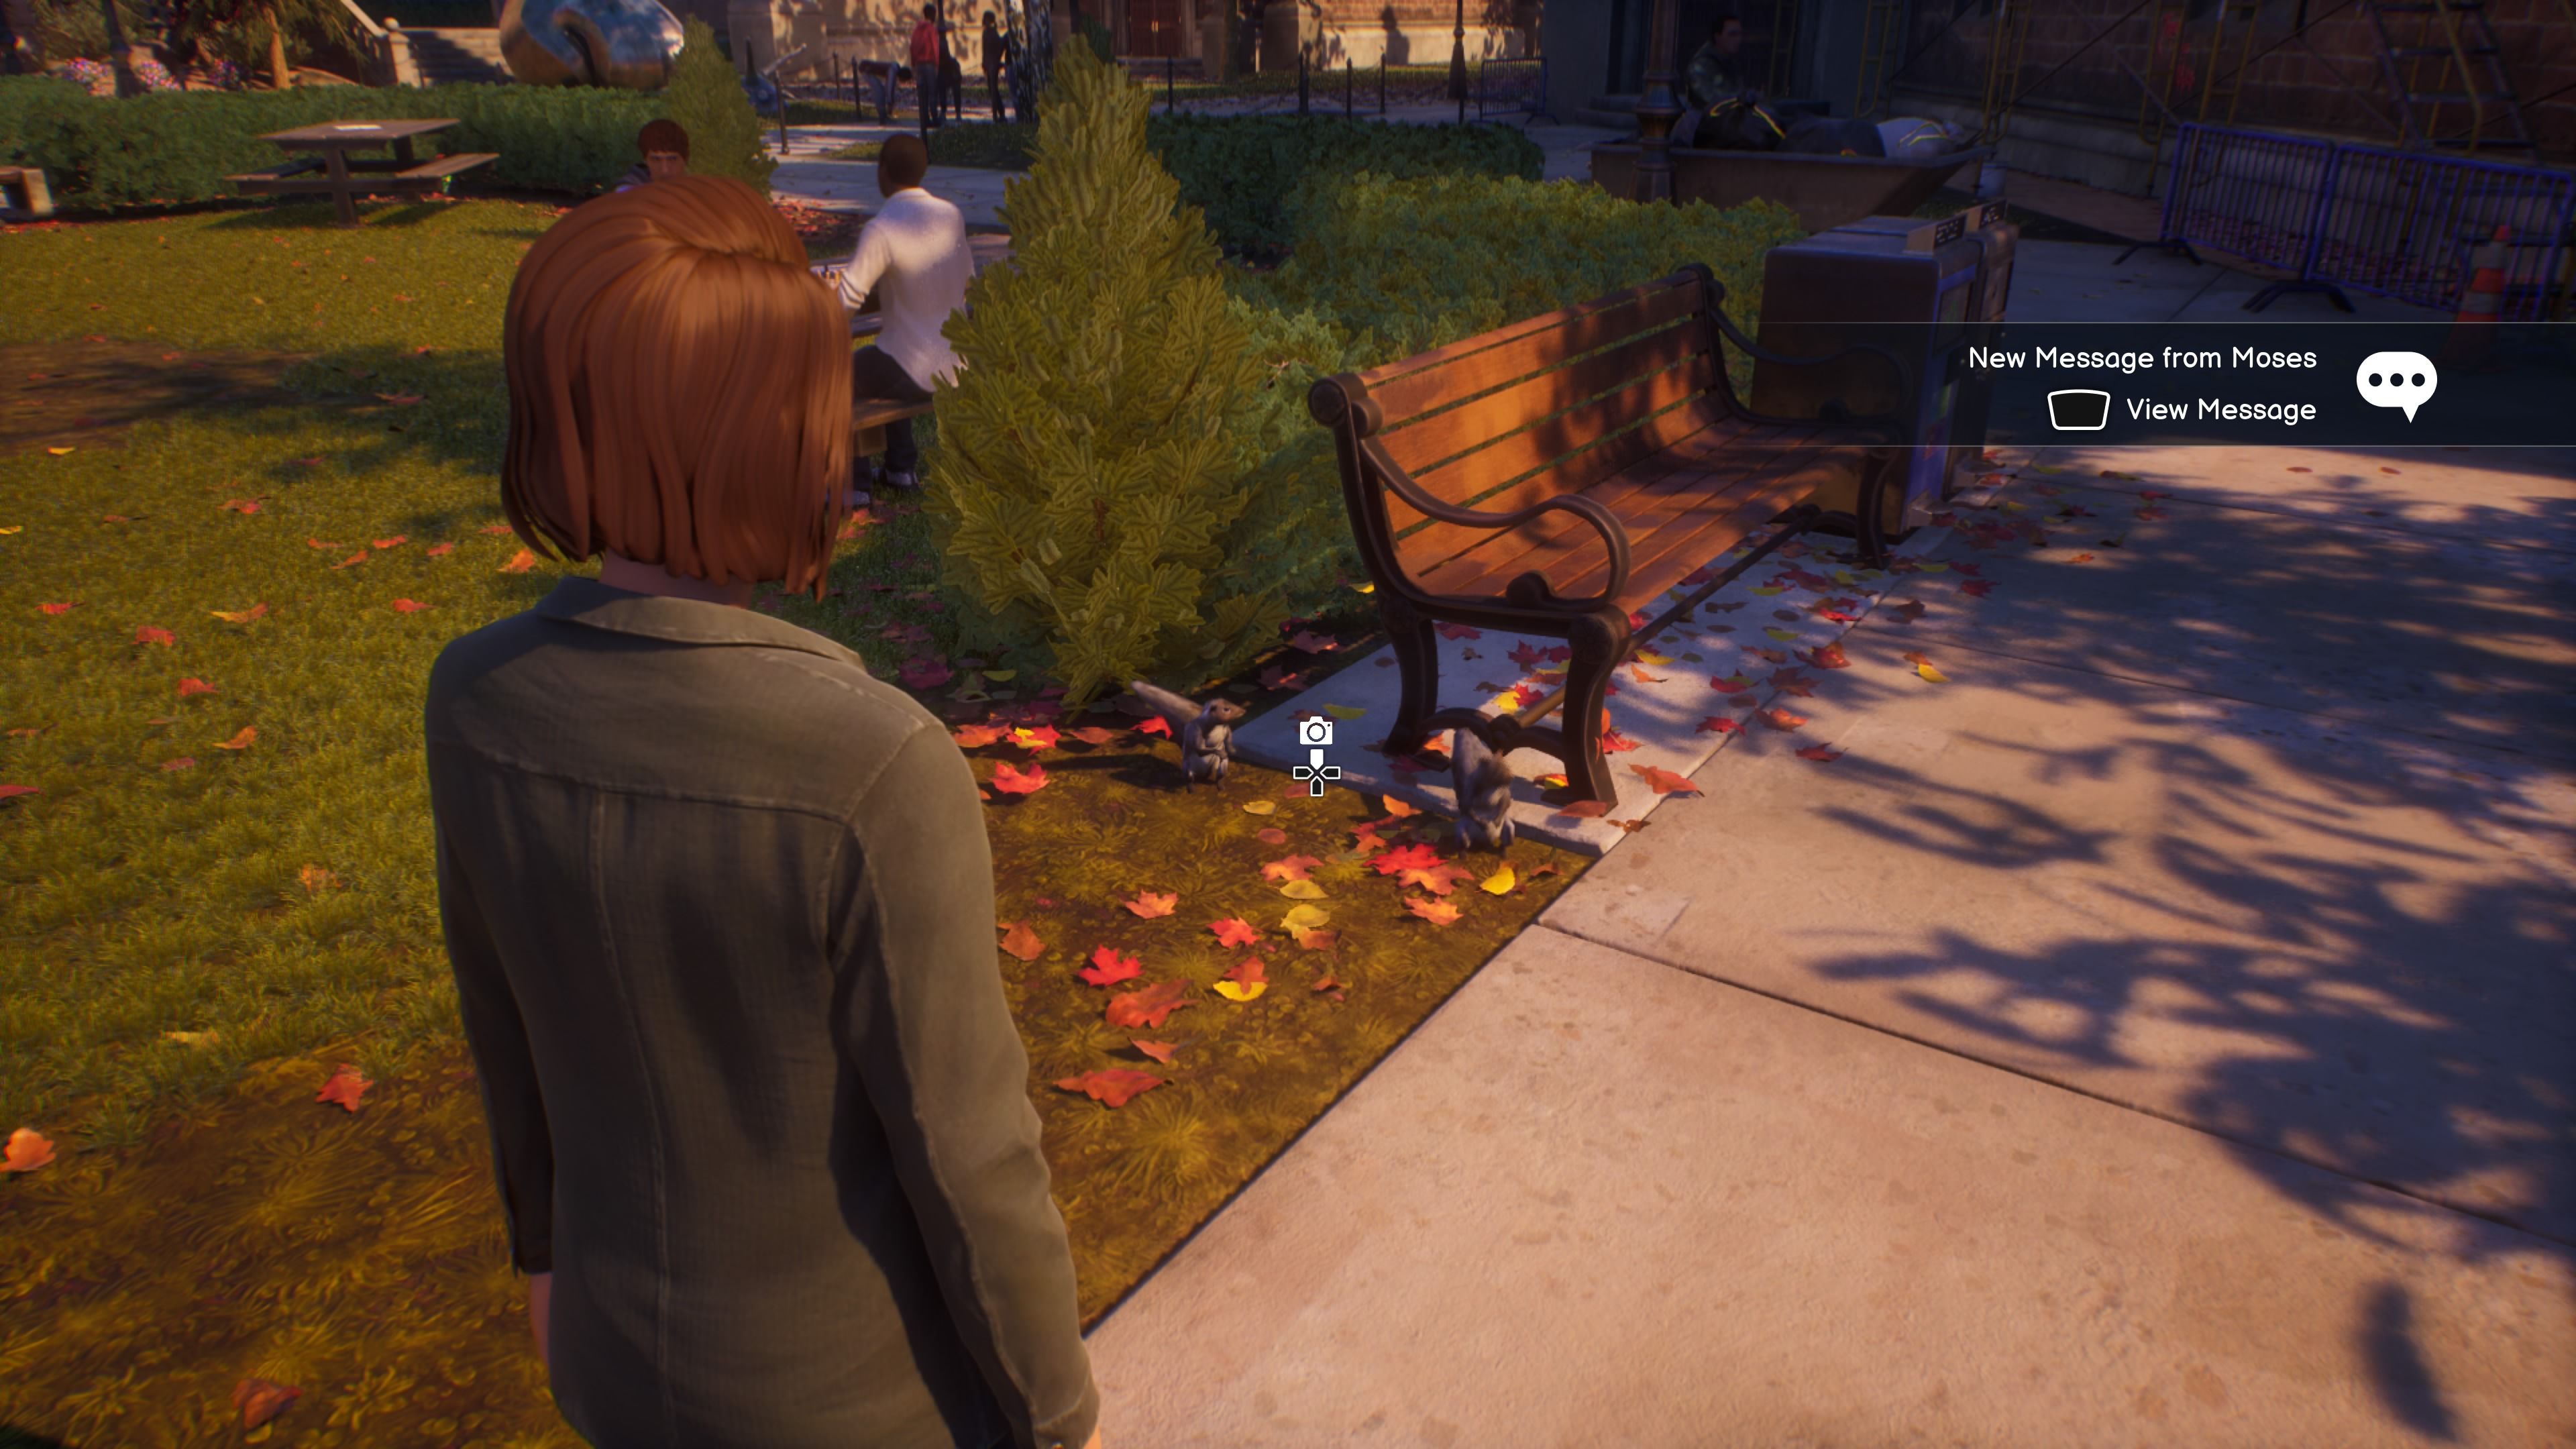
Squirrels near Bench: Towards the right side of the courtyard, you can take a snap of the two squirrels next to the bench.
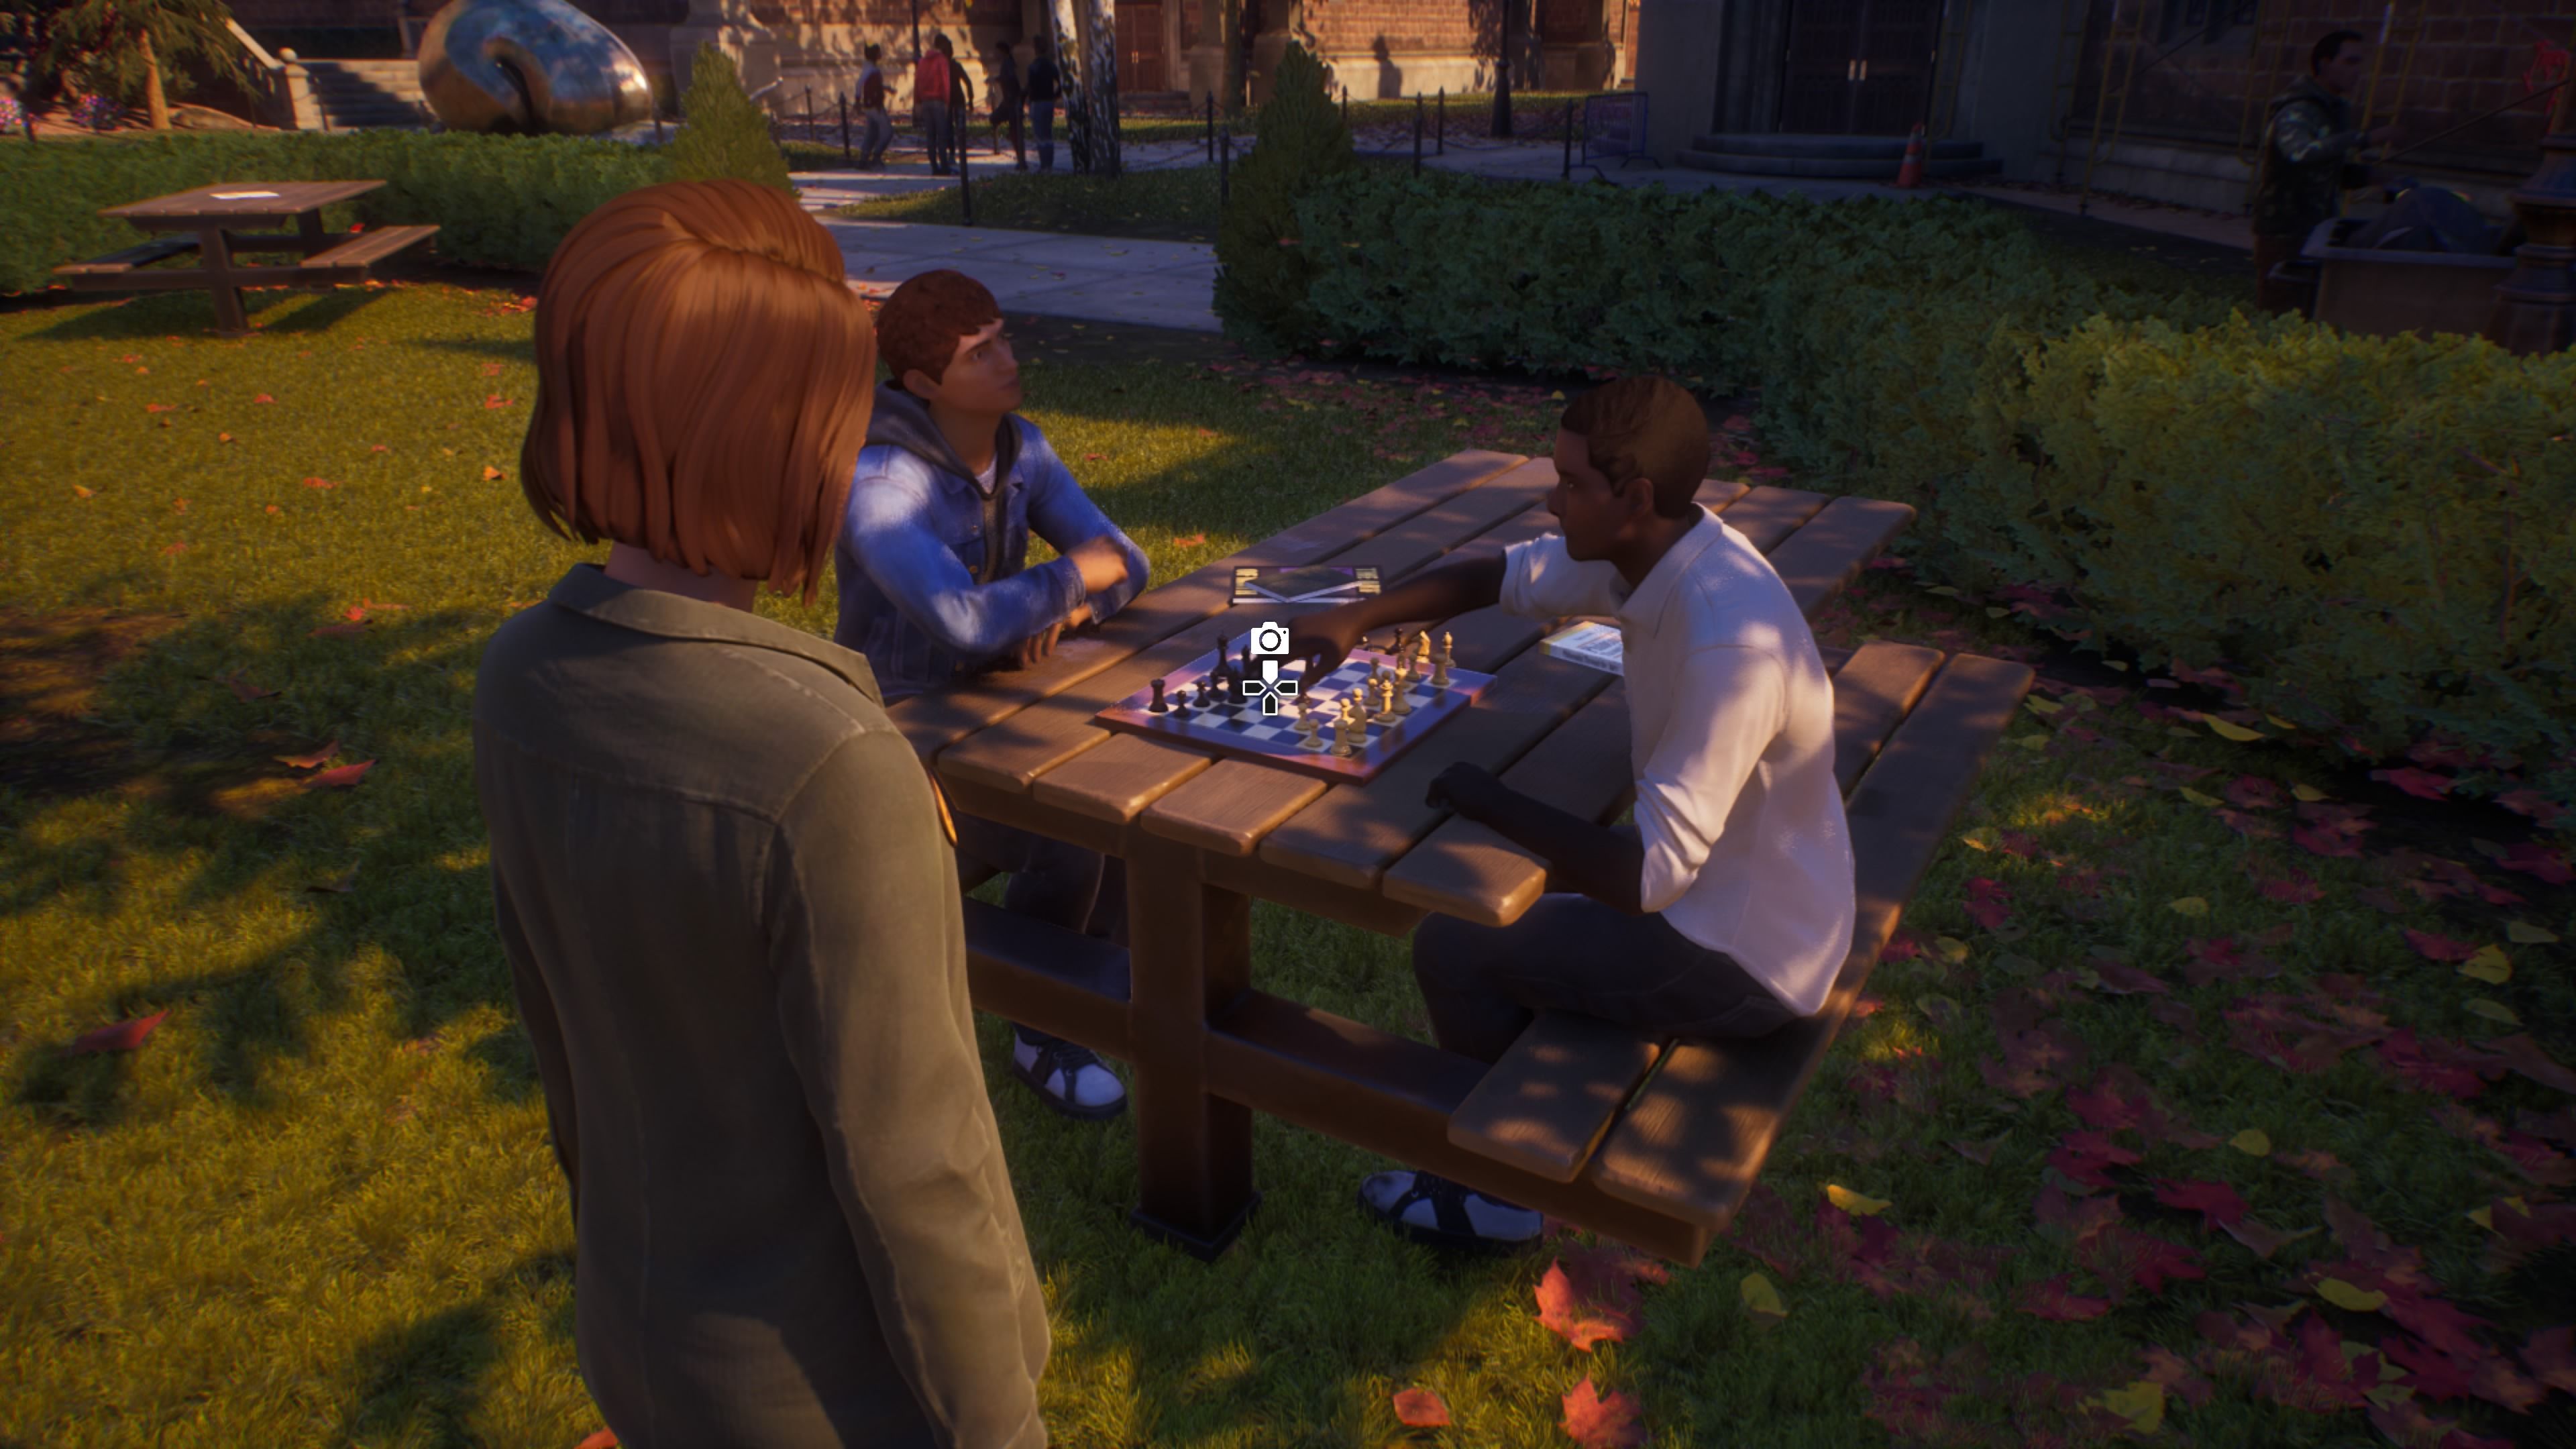
Students Playing Chess: Right next to the squirrels, another snapshot you can take of the two students playing chess.
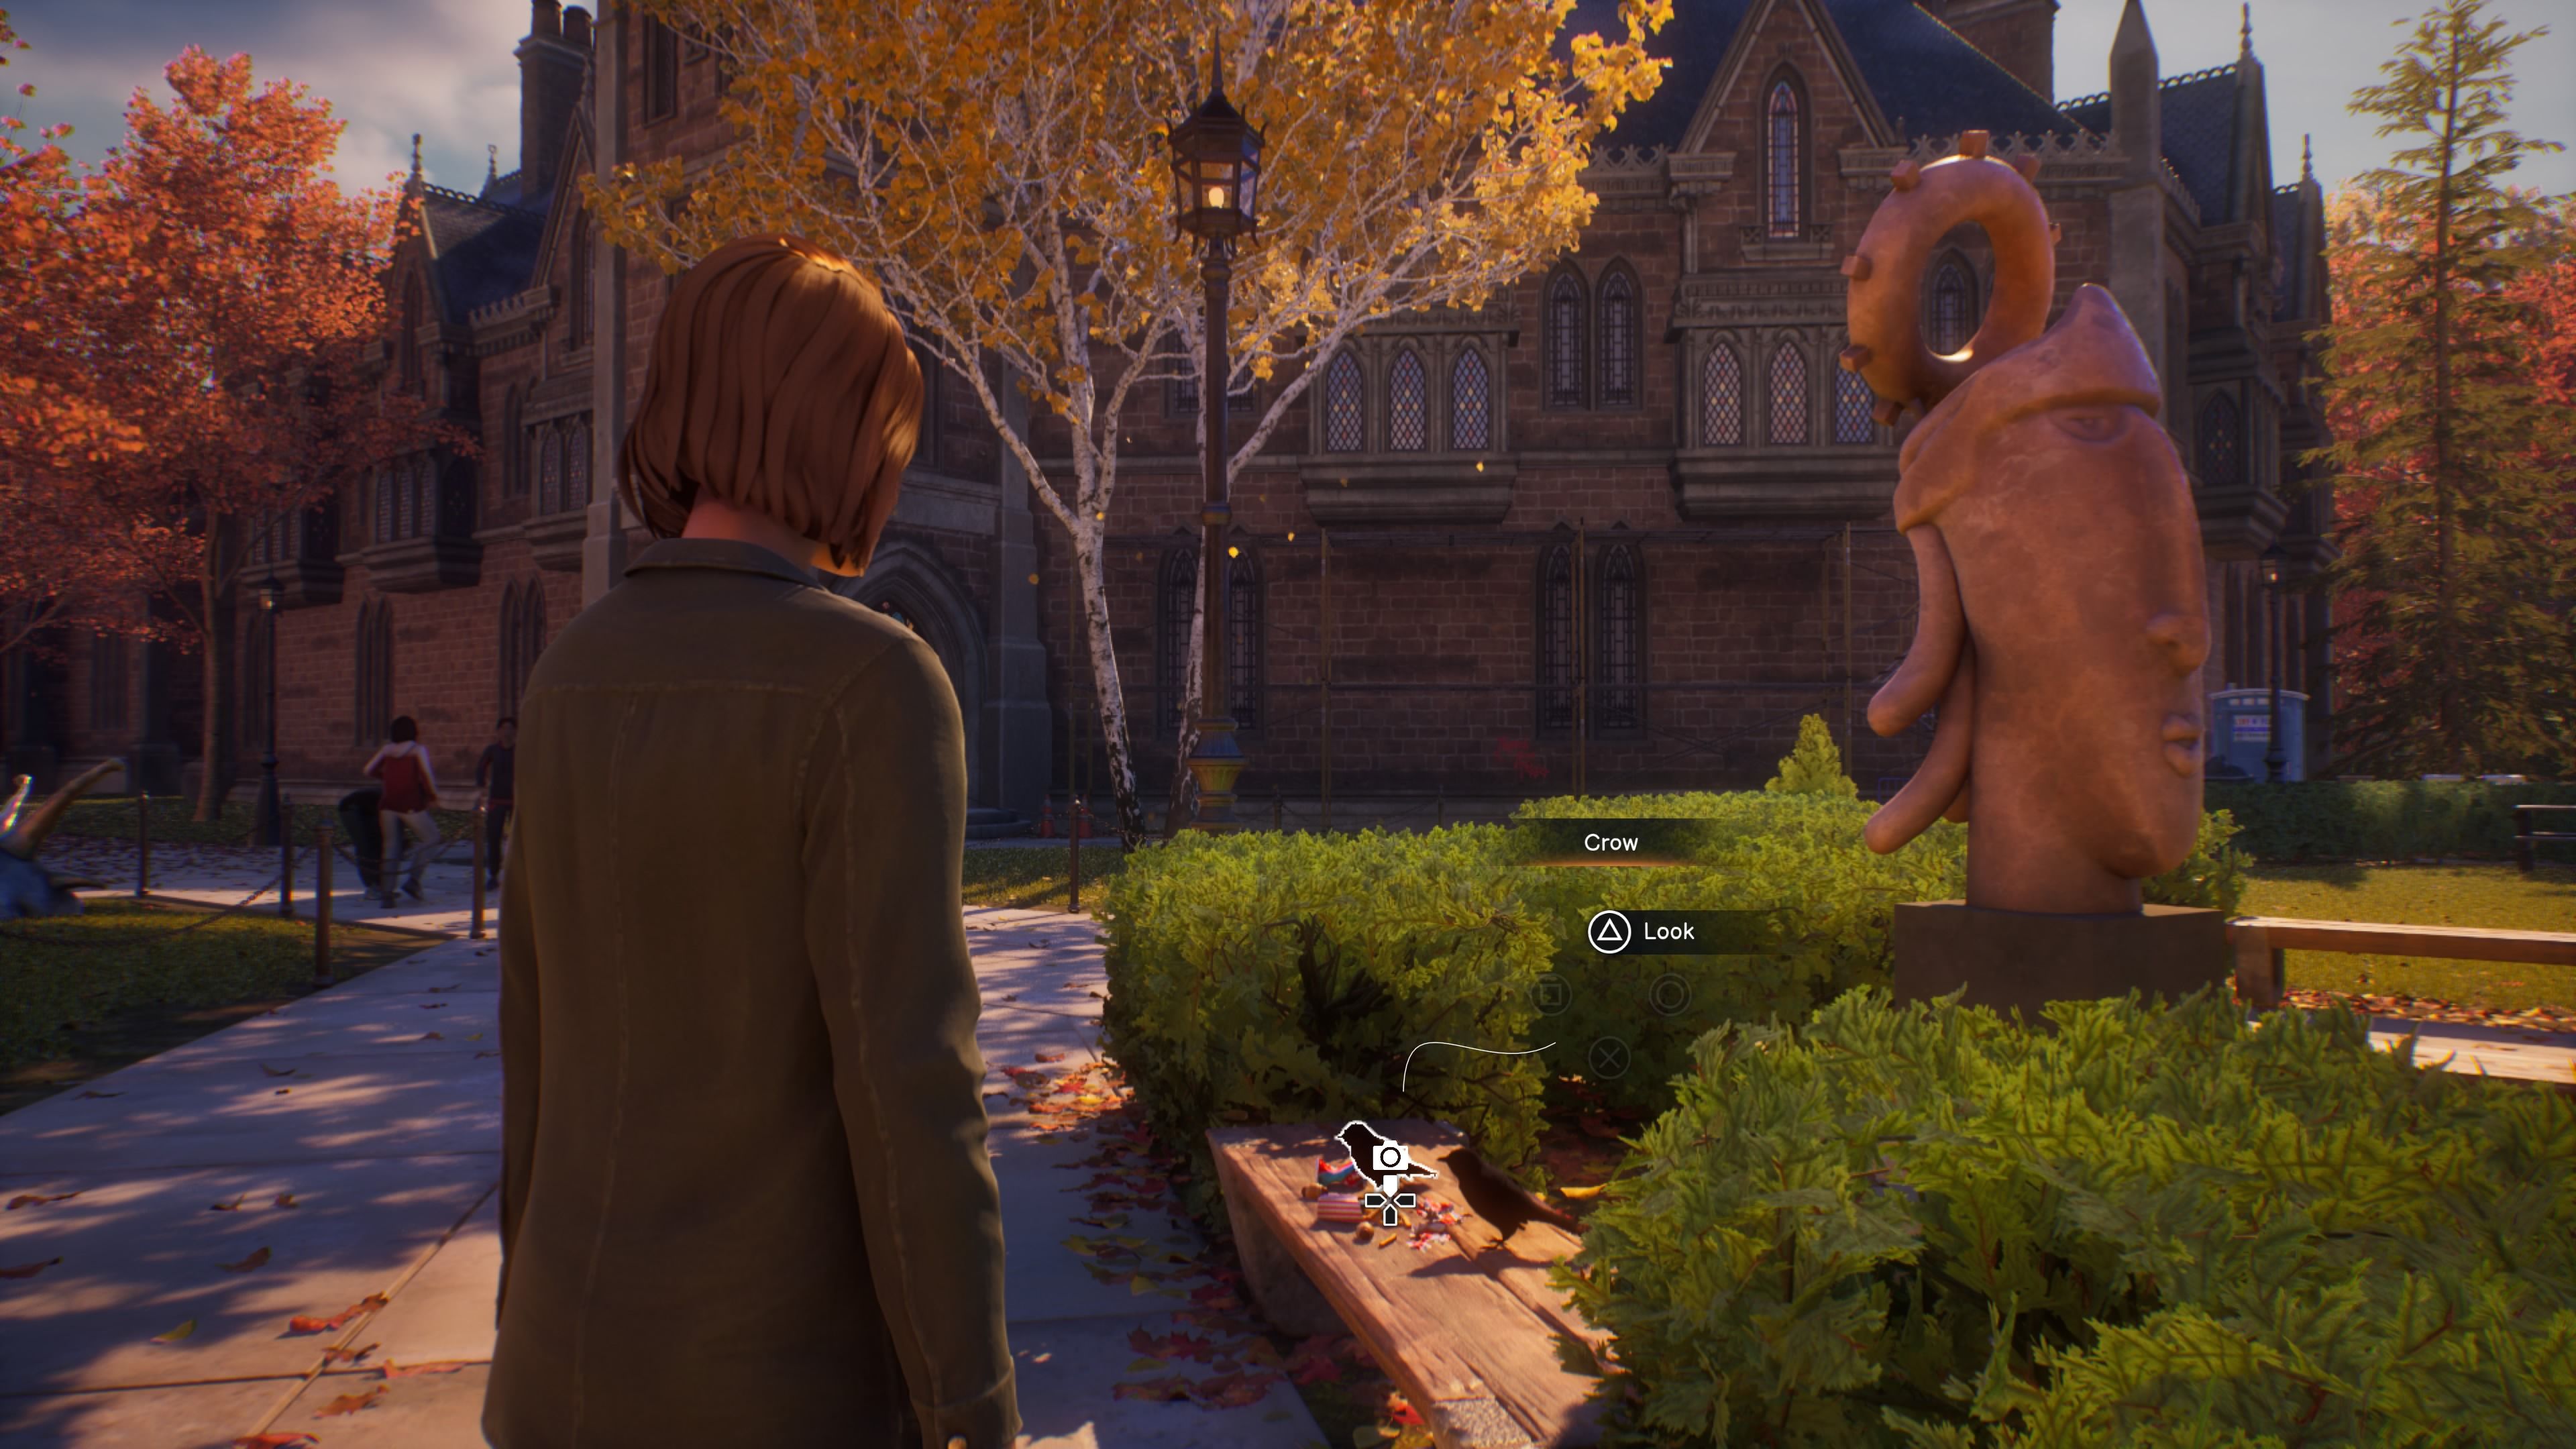
Crow on Bench: A snapshot of a couple of crows on a bench next to the Polynesian-looking head statue nearby.
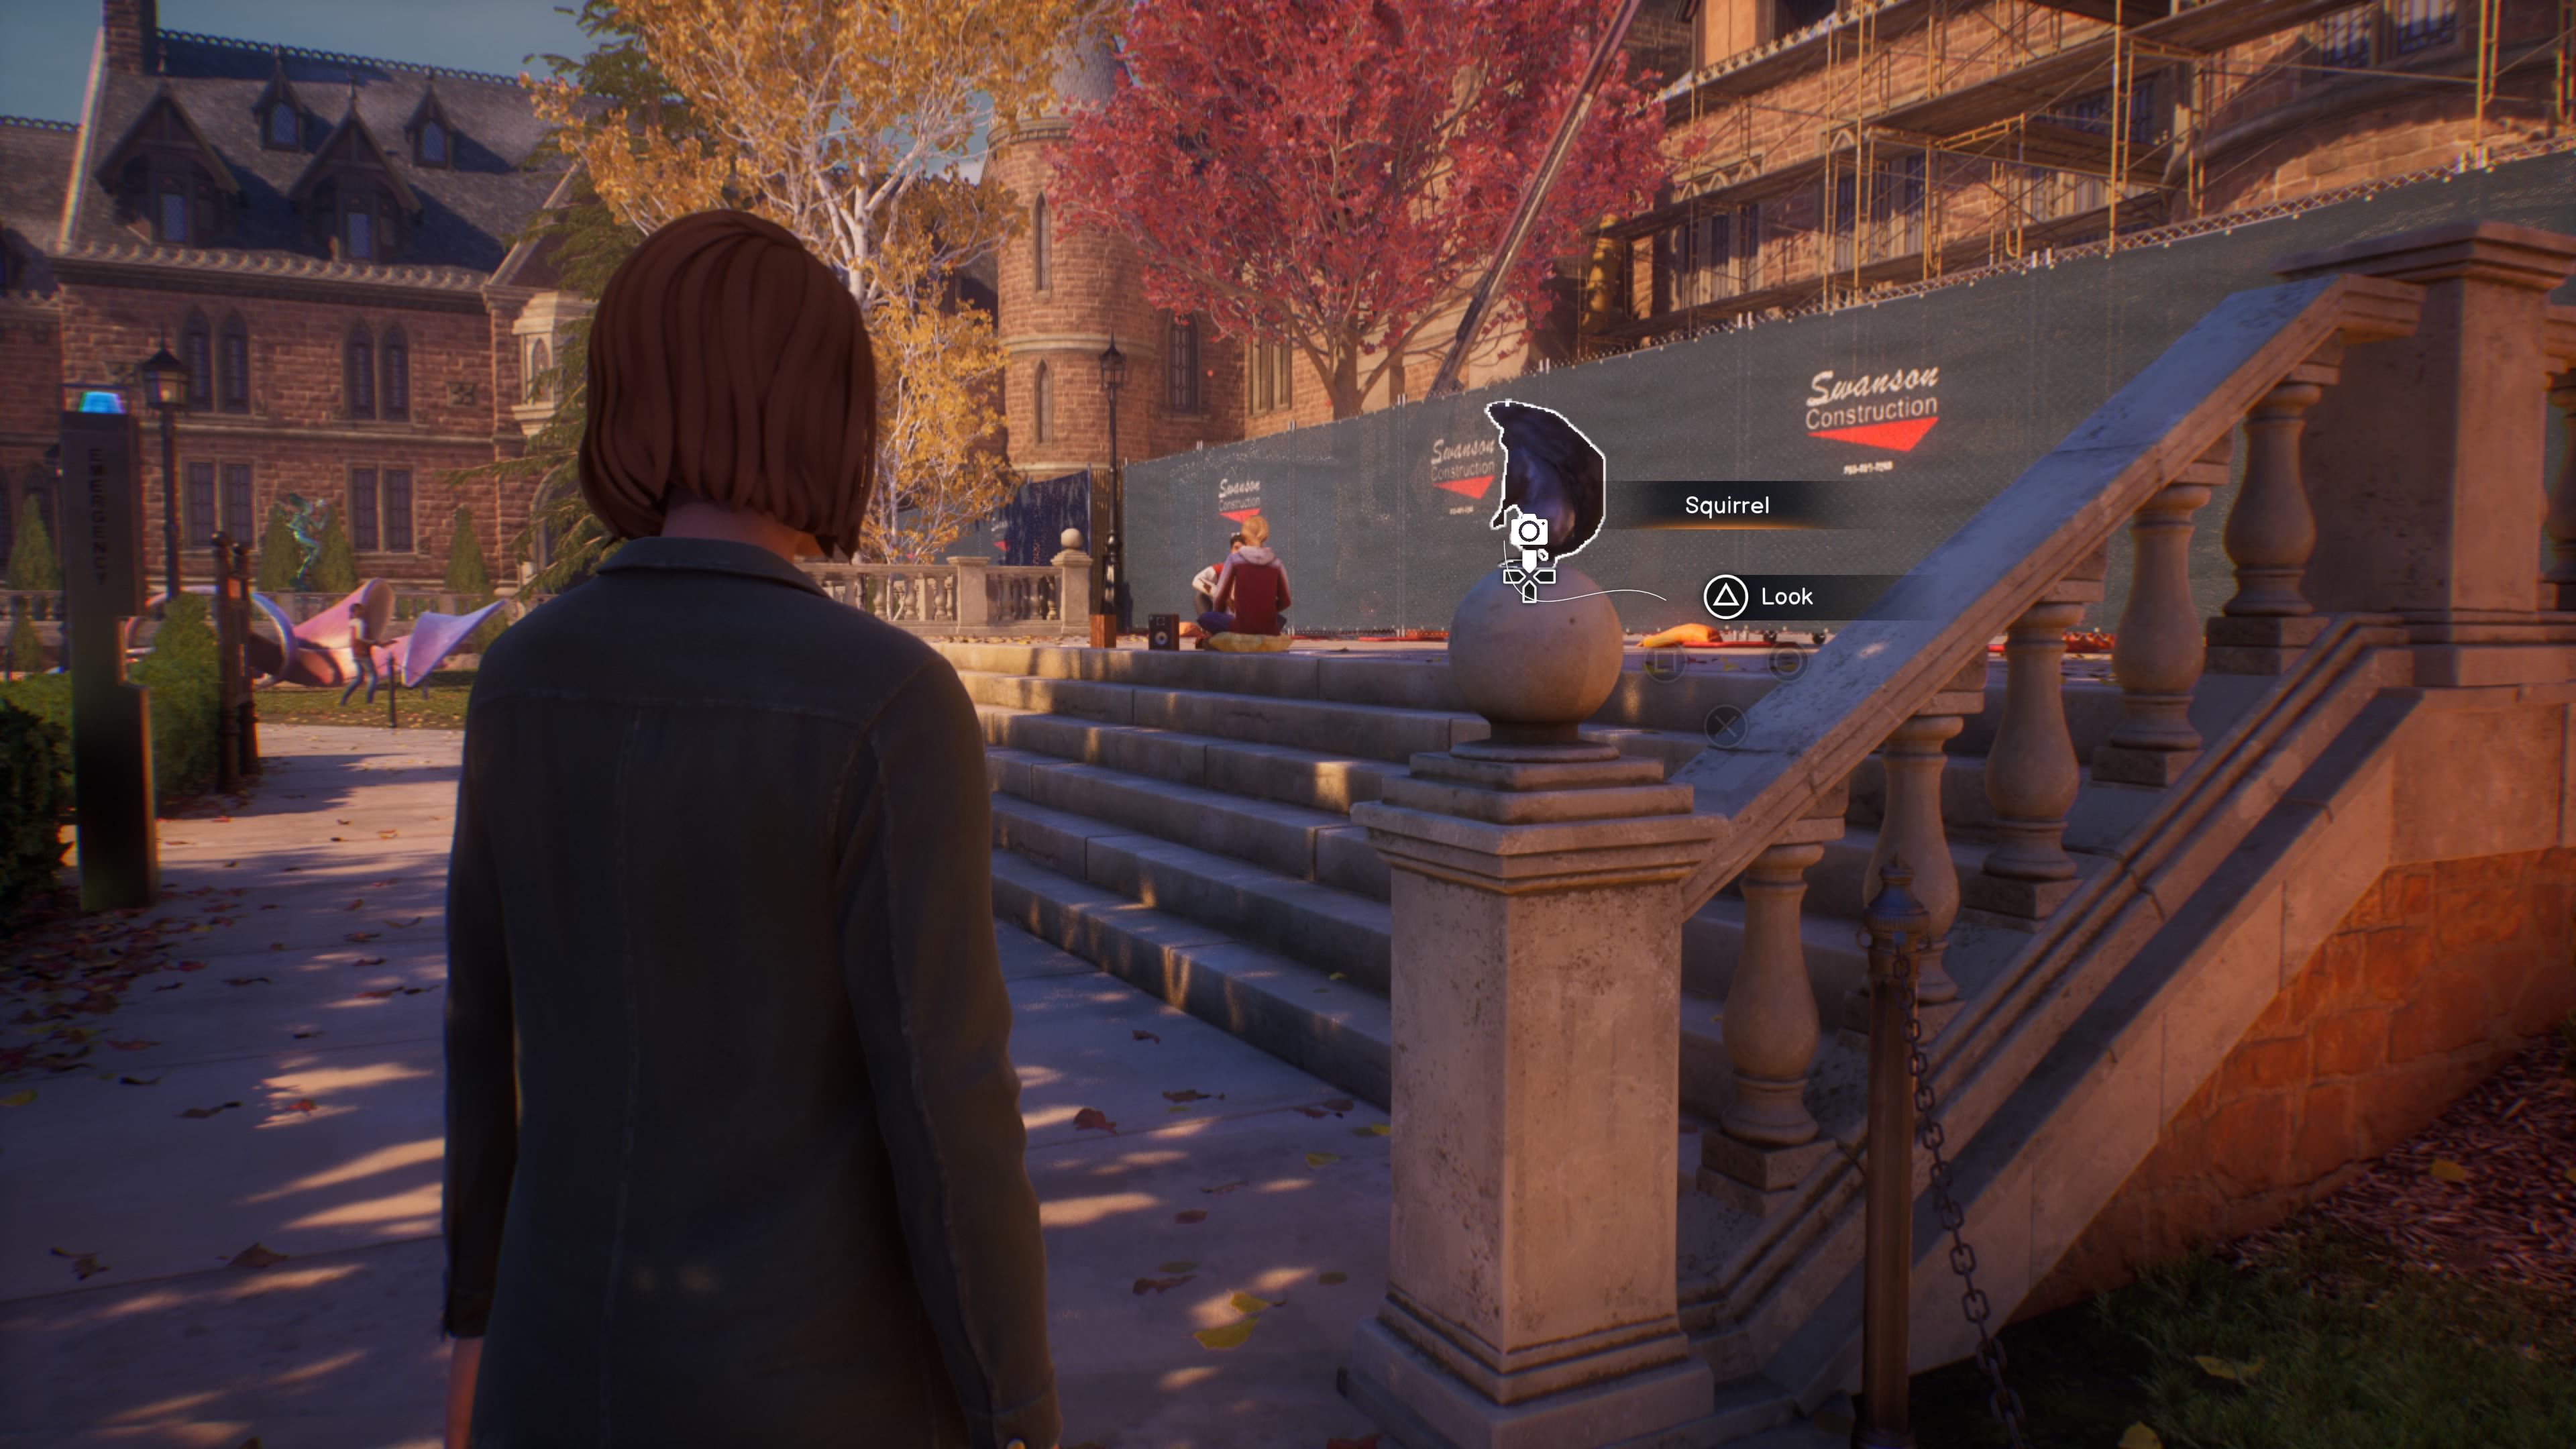
Squirrel on Stairs: Next to the barred-off Swanson Construction fences, you can take a snap of the lone squirrel on the stairhead.
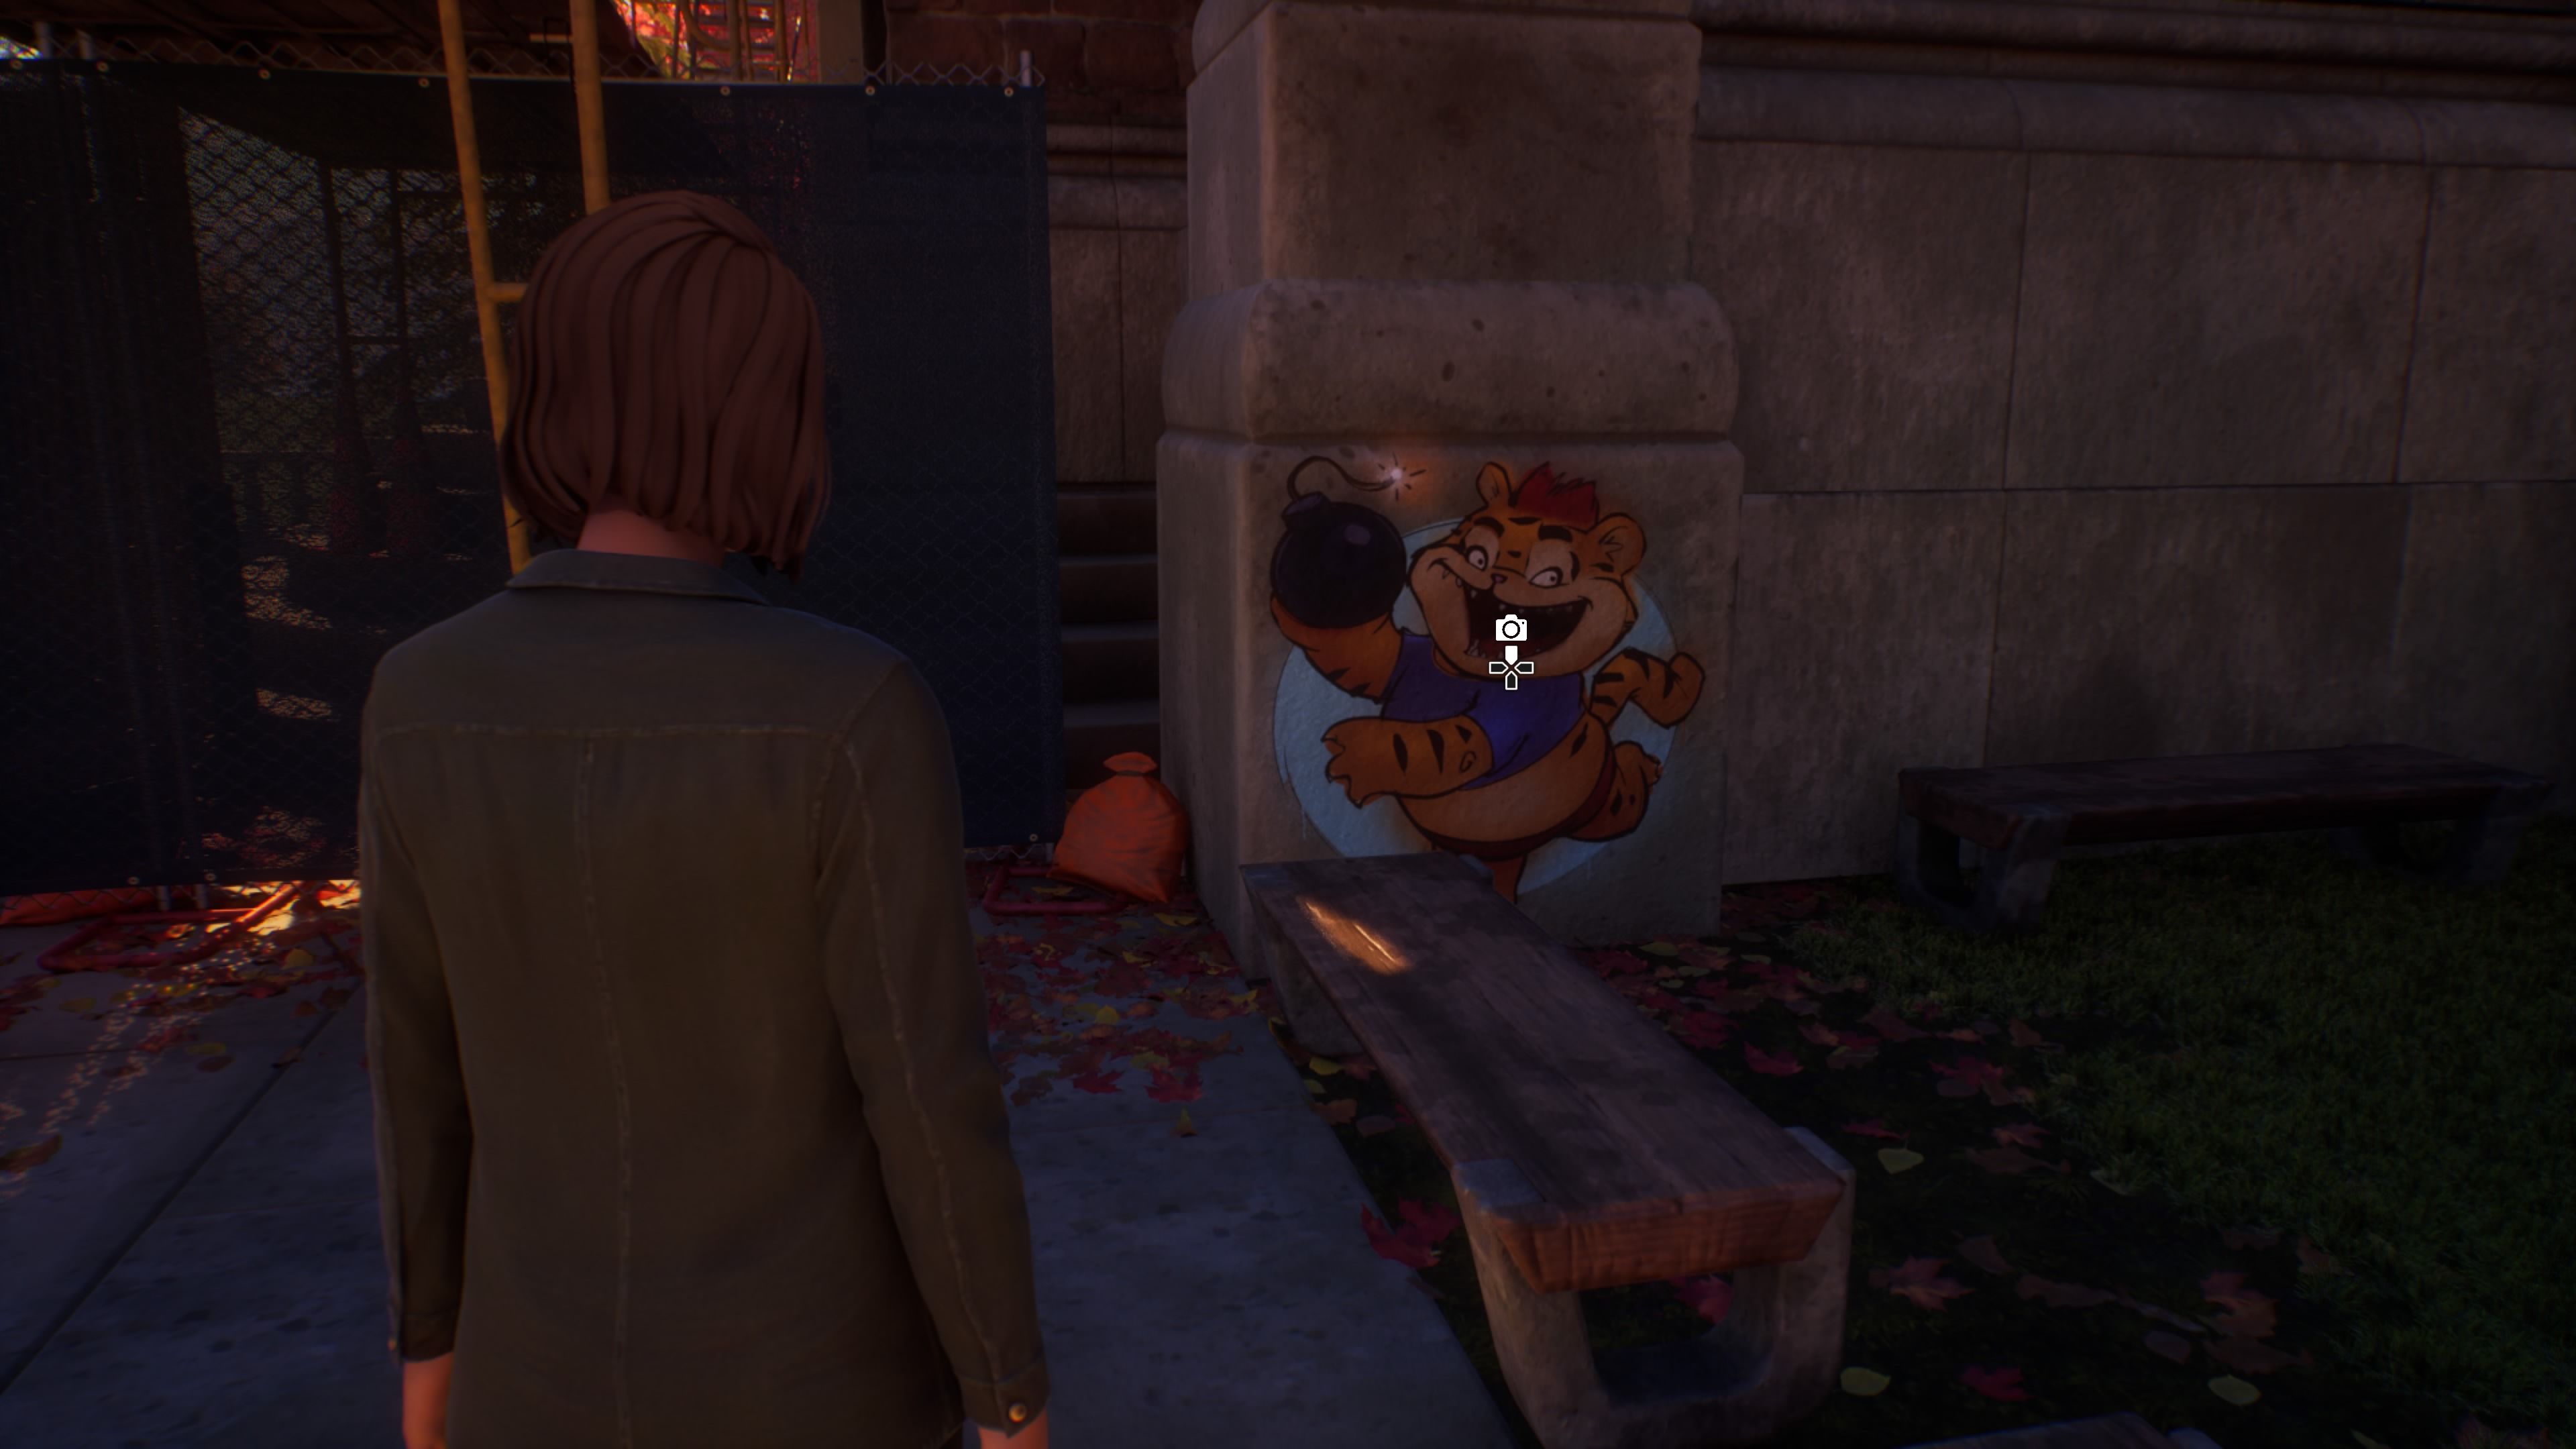
Graffiti: A cartoonish tiger towards the back of the area, next to another construction outlook.
(1/1) Fremont Street
As the story unfolds on Fremont Street, Max sneaks into the Abraxas House. This part is straightforward: right after the initial cutscene, when you control Max, look up and to the right of the house to find a strange mannequin standing near the window – that’s what you need to photograph.
(1/1) Reunion
One of my favorite parts of the game happens after Max and Chloe are separated. Once you regain control, go upstairs – this starts a peaceful scene where Max sits beside a sleeping Chloe. If it’s your first time playing, take a moment to really experience it.
Now that you’re back on your feet, go upstairs and take a picture of Chloe sleeping on Max’s bed. It’s a really sweet moment, especially considering she hasn’t seen her old friend or ex in a long time.
(1/1) Admin Sleuth
It’s easy to overlook this part if you’re not careful. First, you need to speak with Vinh, then solve a couple of puzzles with Loretta in the library. After that, return to Vinh and convince him to cancel the Mabon party.
After watching the cutscene where Vinh leaves with Owen, don’t go into the office immediately. Instead, take a photo of Vinh’s now-empty desk to collect a snapshot.
(2/2) Cat and Max
This part is similar to the ‘Class Act’ scene, but you only need to capture two photos instead of all five. If you get two photos and then can’t take any more, that’s normal. Also, be ready to see a lot of gnomes – the developers at DeckNine really seem to like them!
-
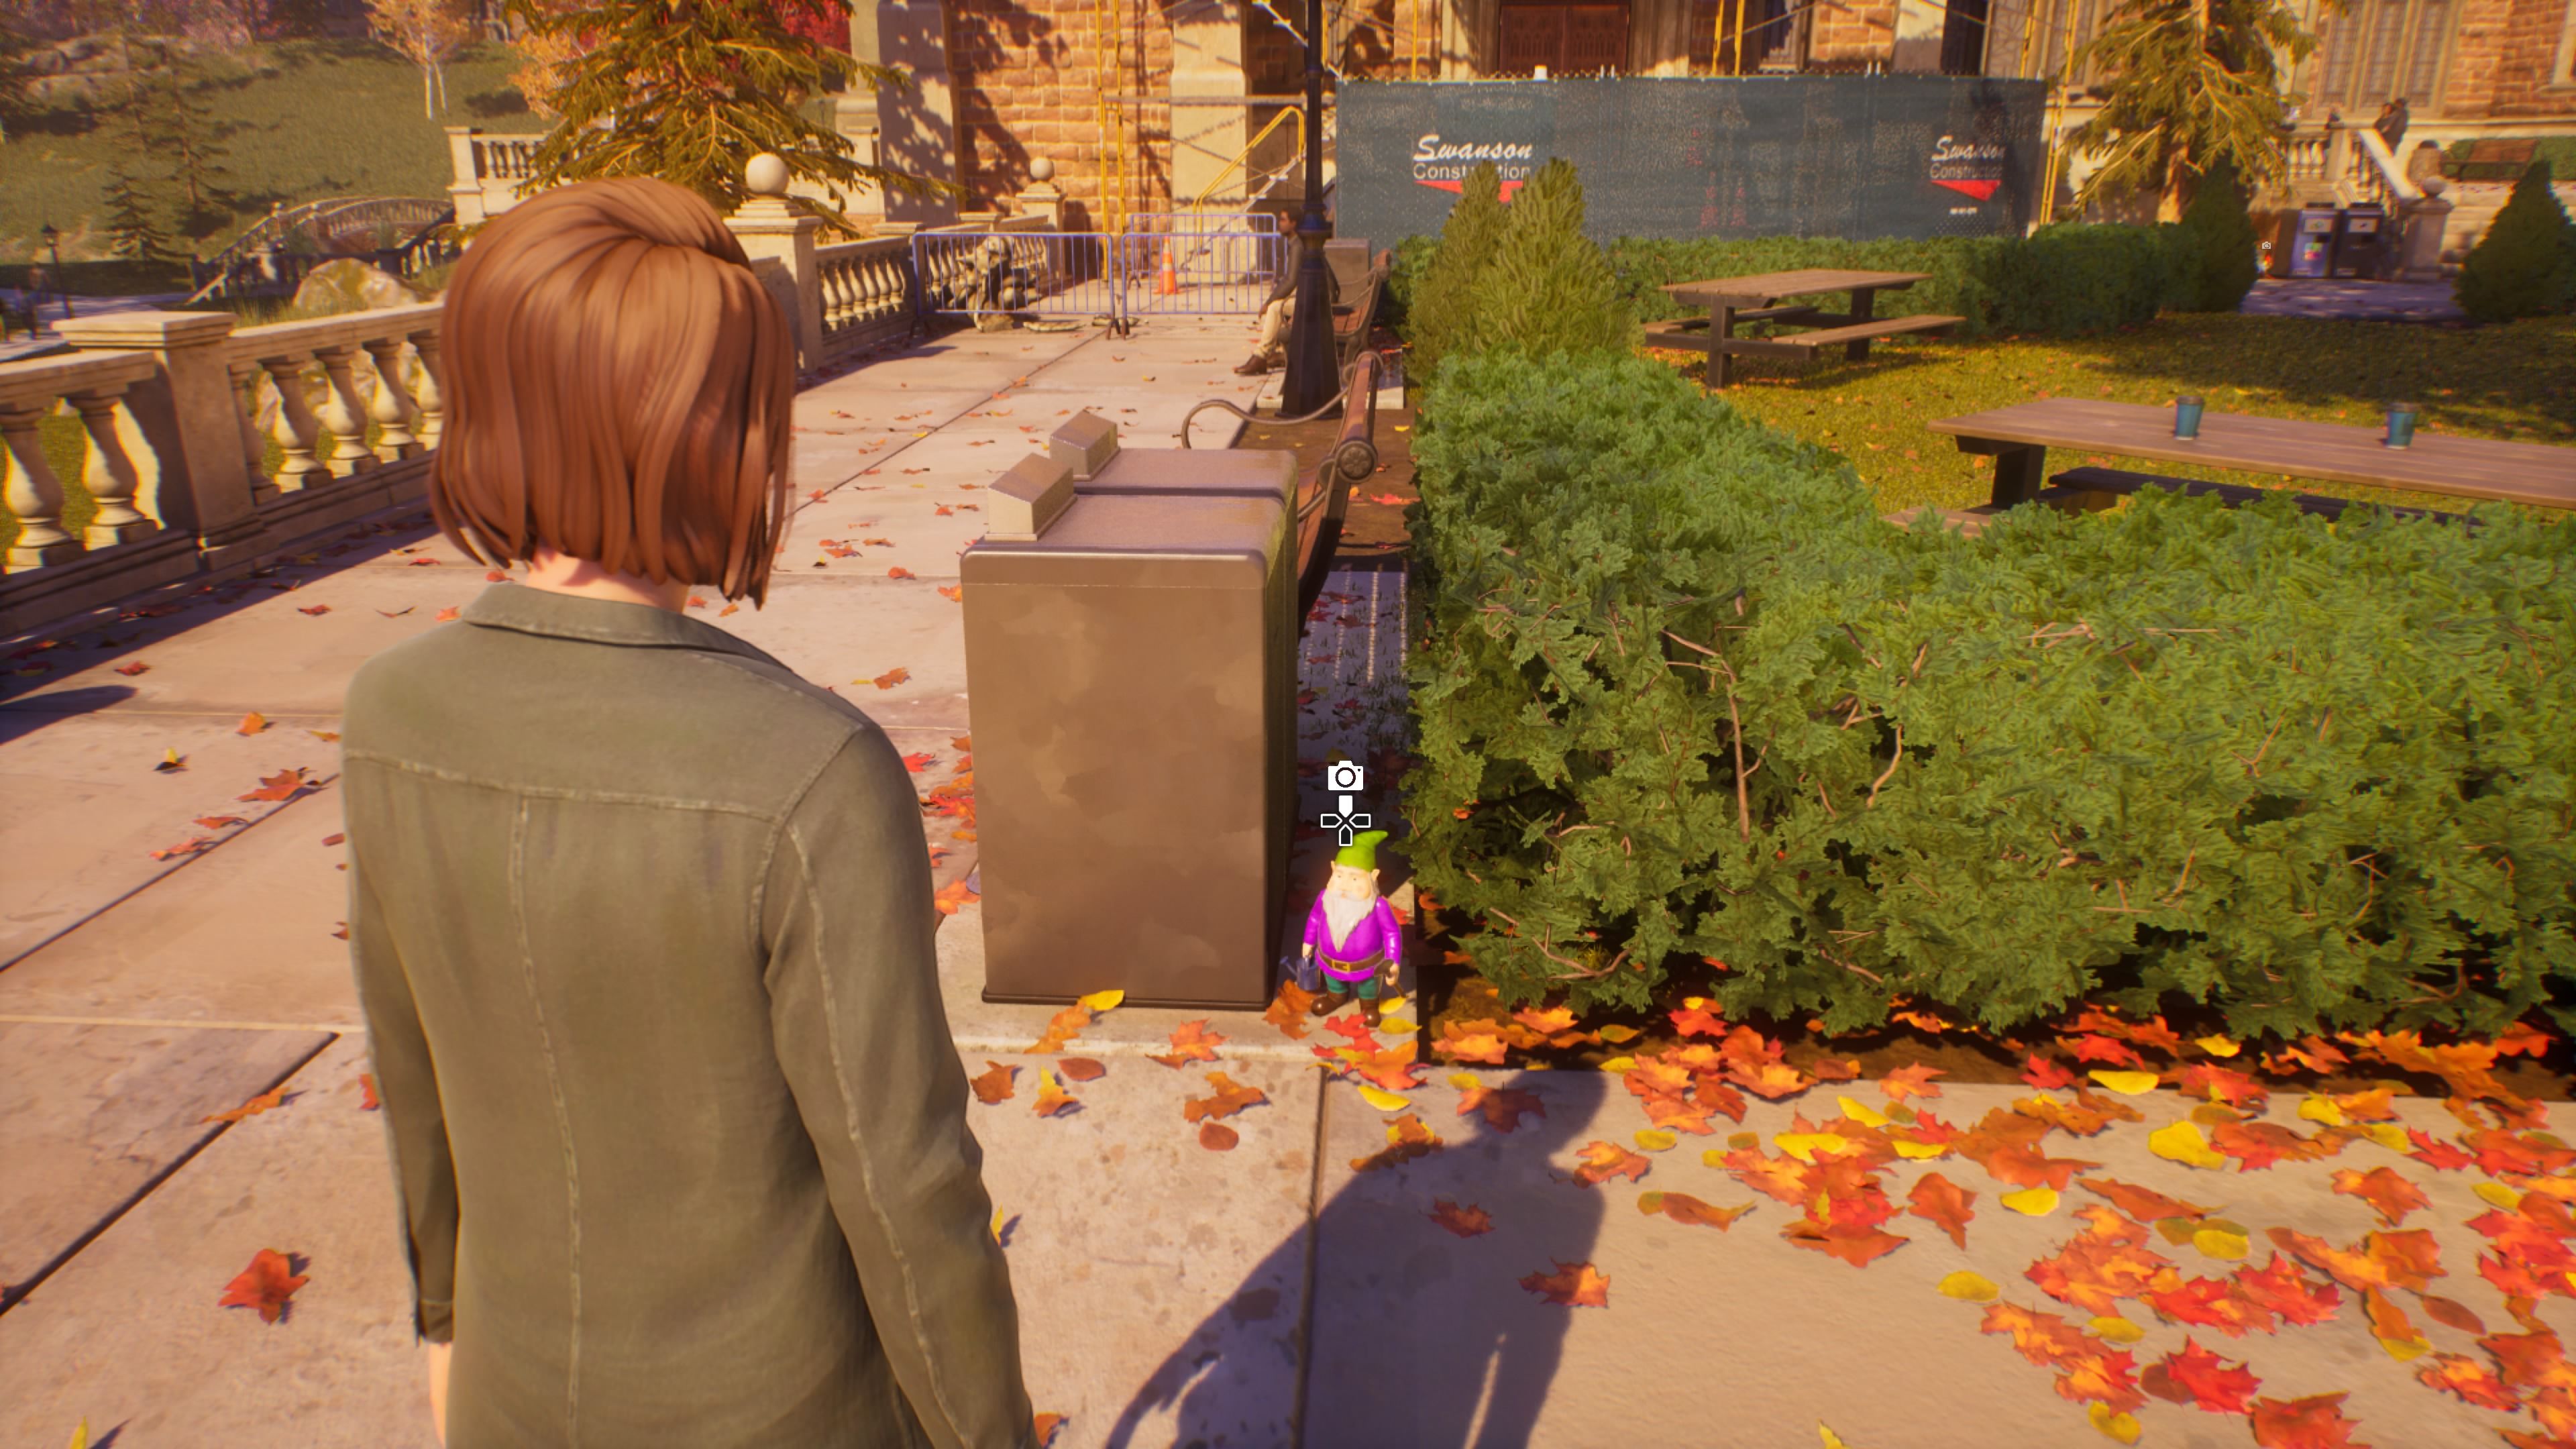
Gnome #1: A purple one near a couple of trash cans from where you first gain control of Max.
-
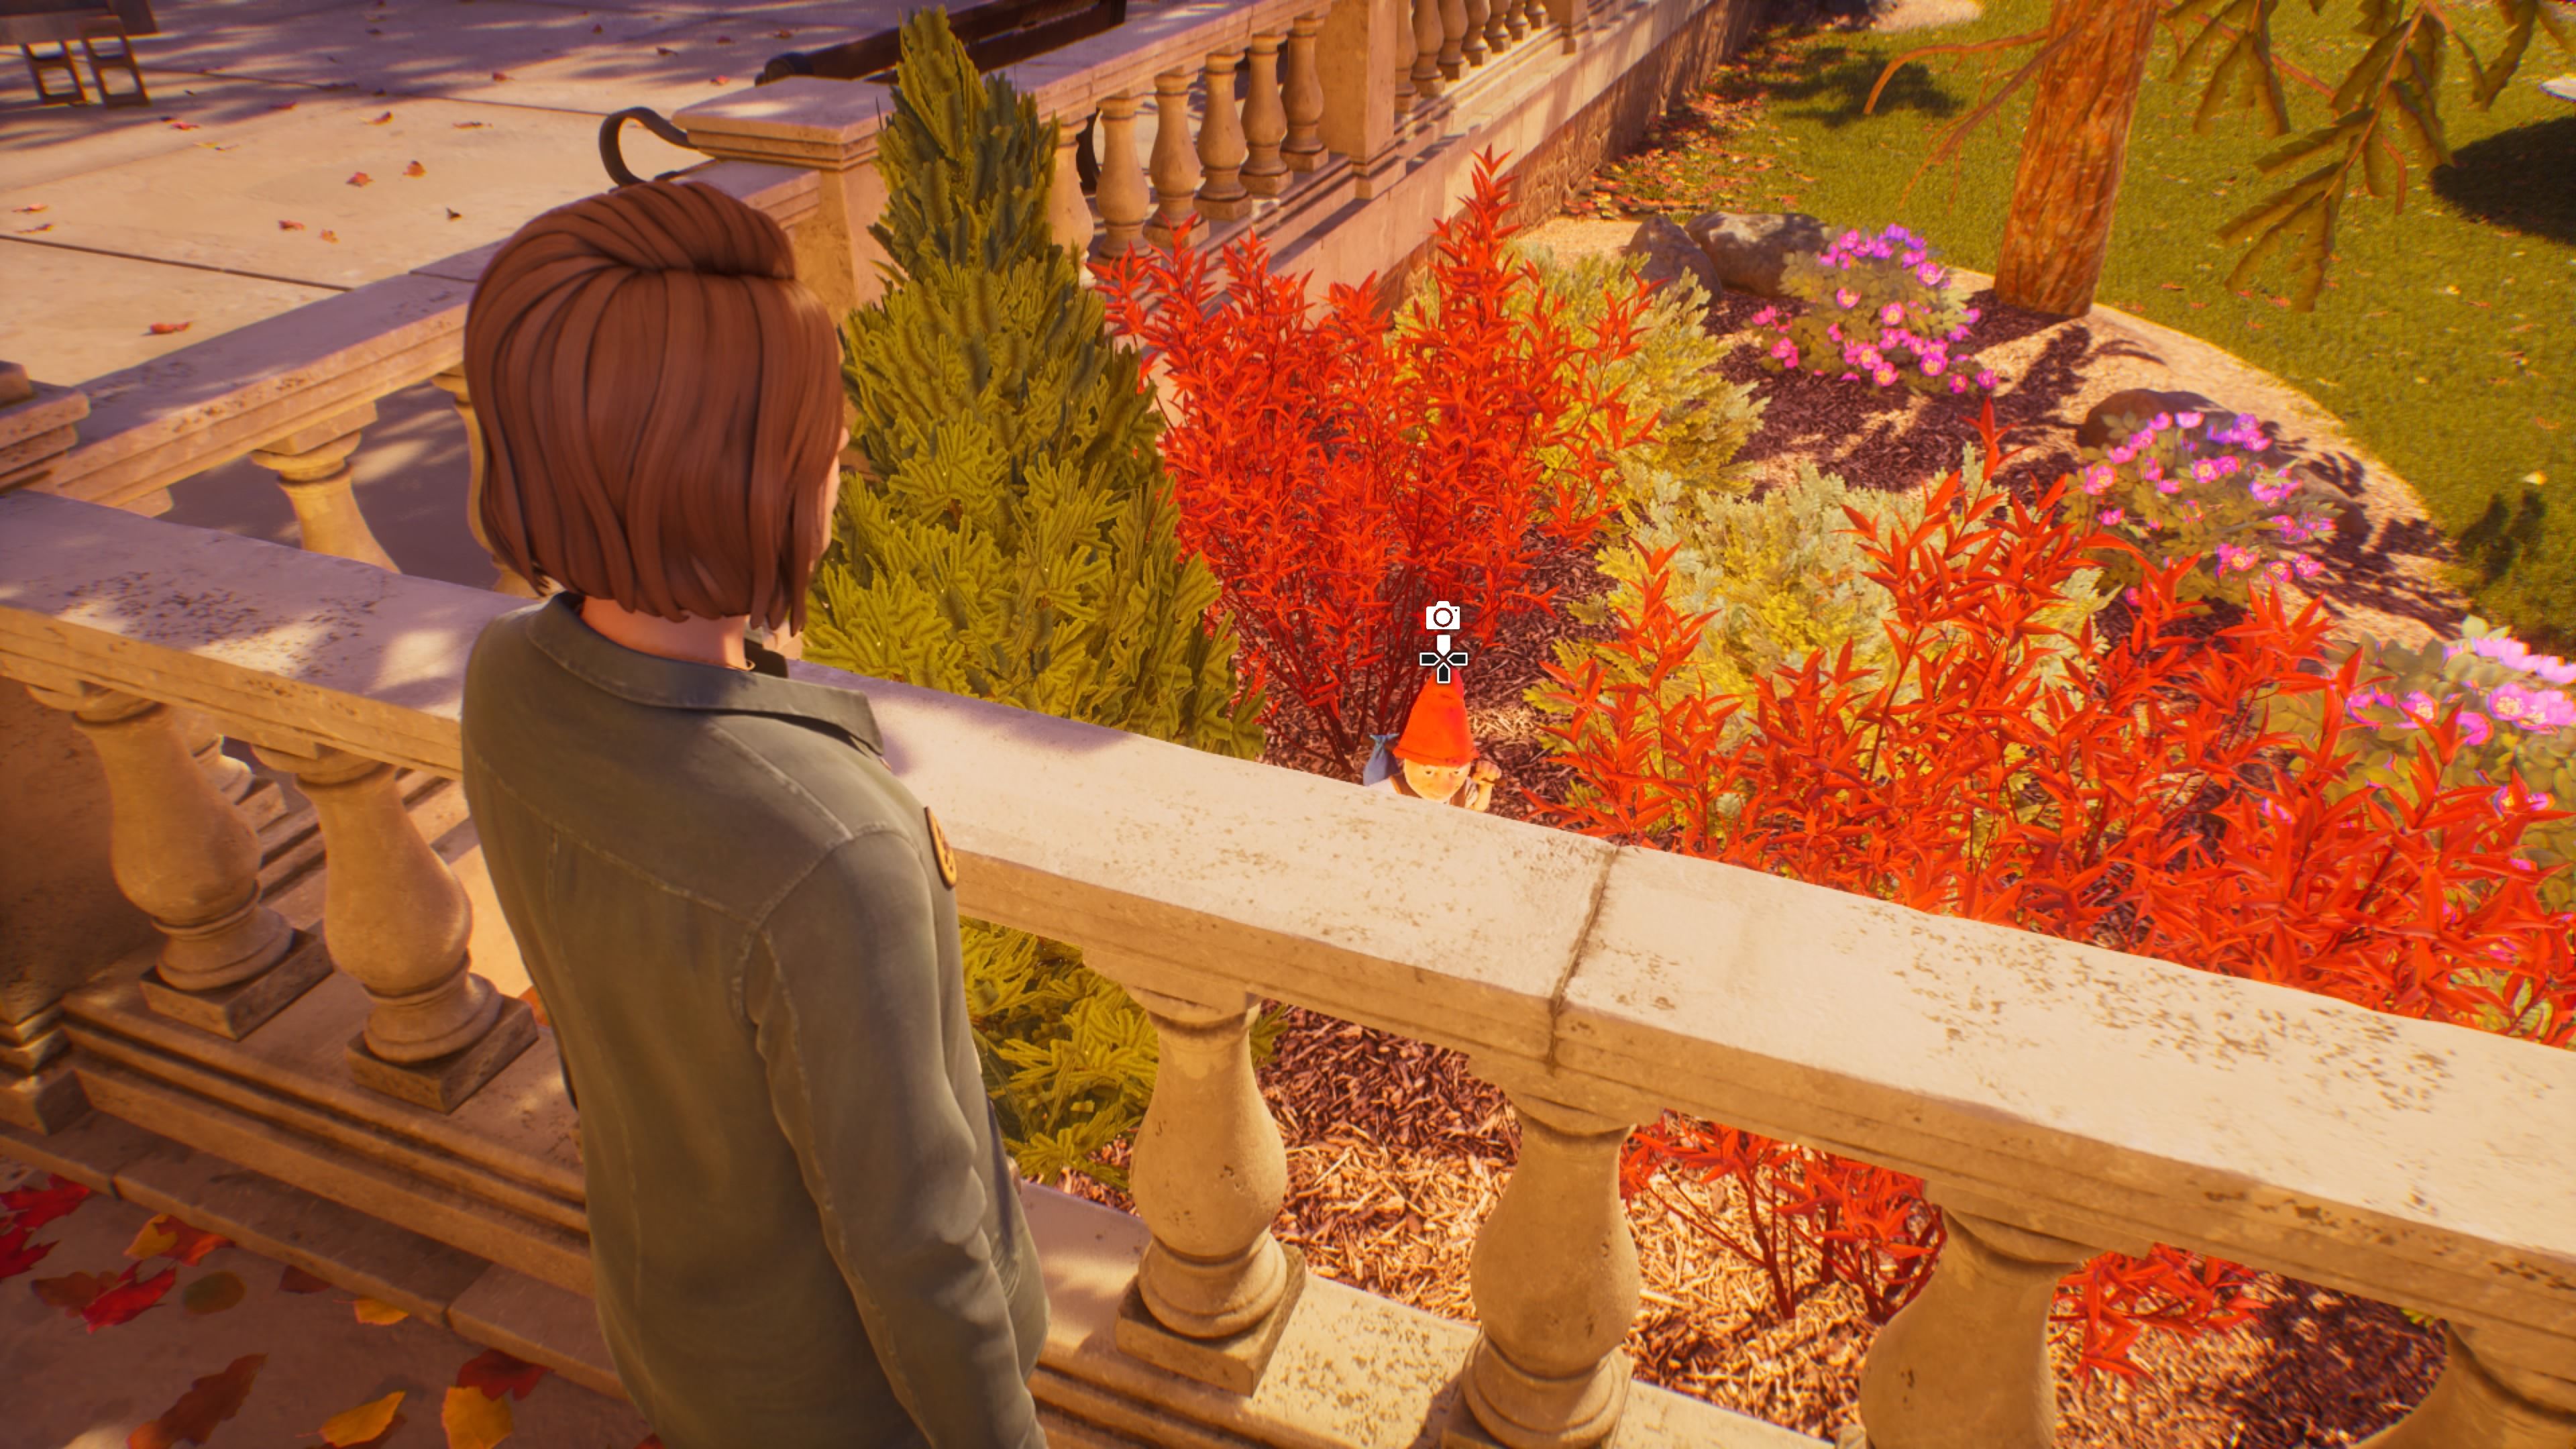
Gnome #4: Hidden in a couple of bushes at the exact corner where we found the Squirrel on the stone railing.
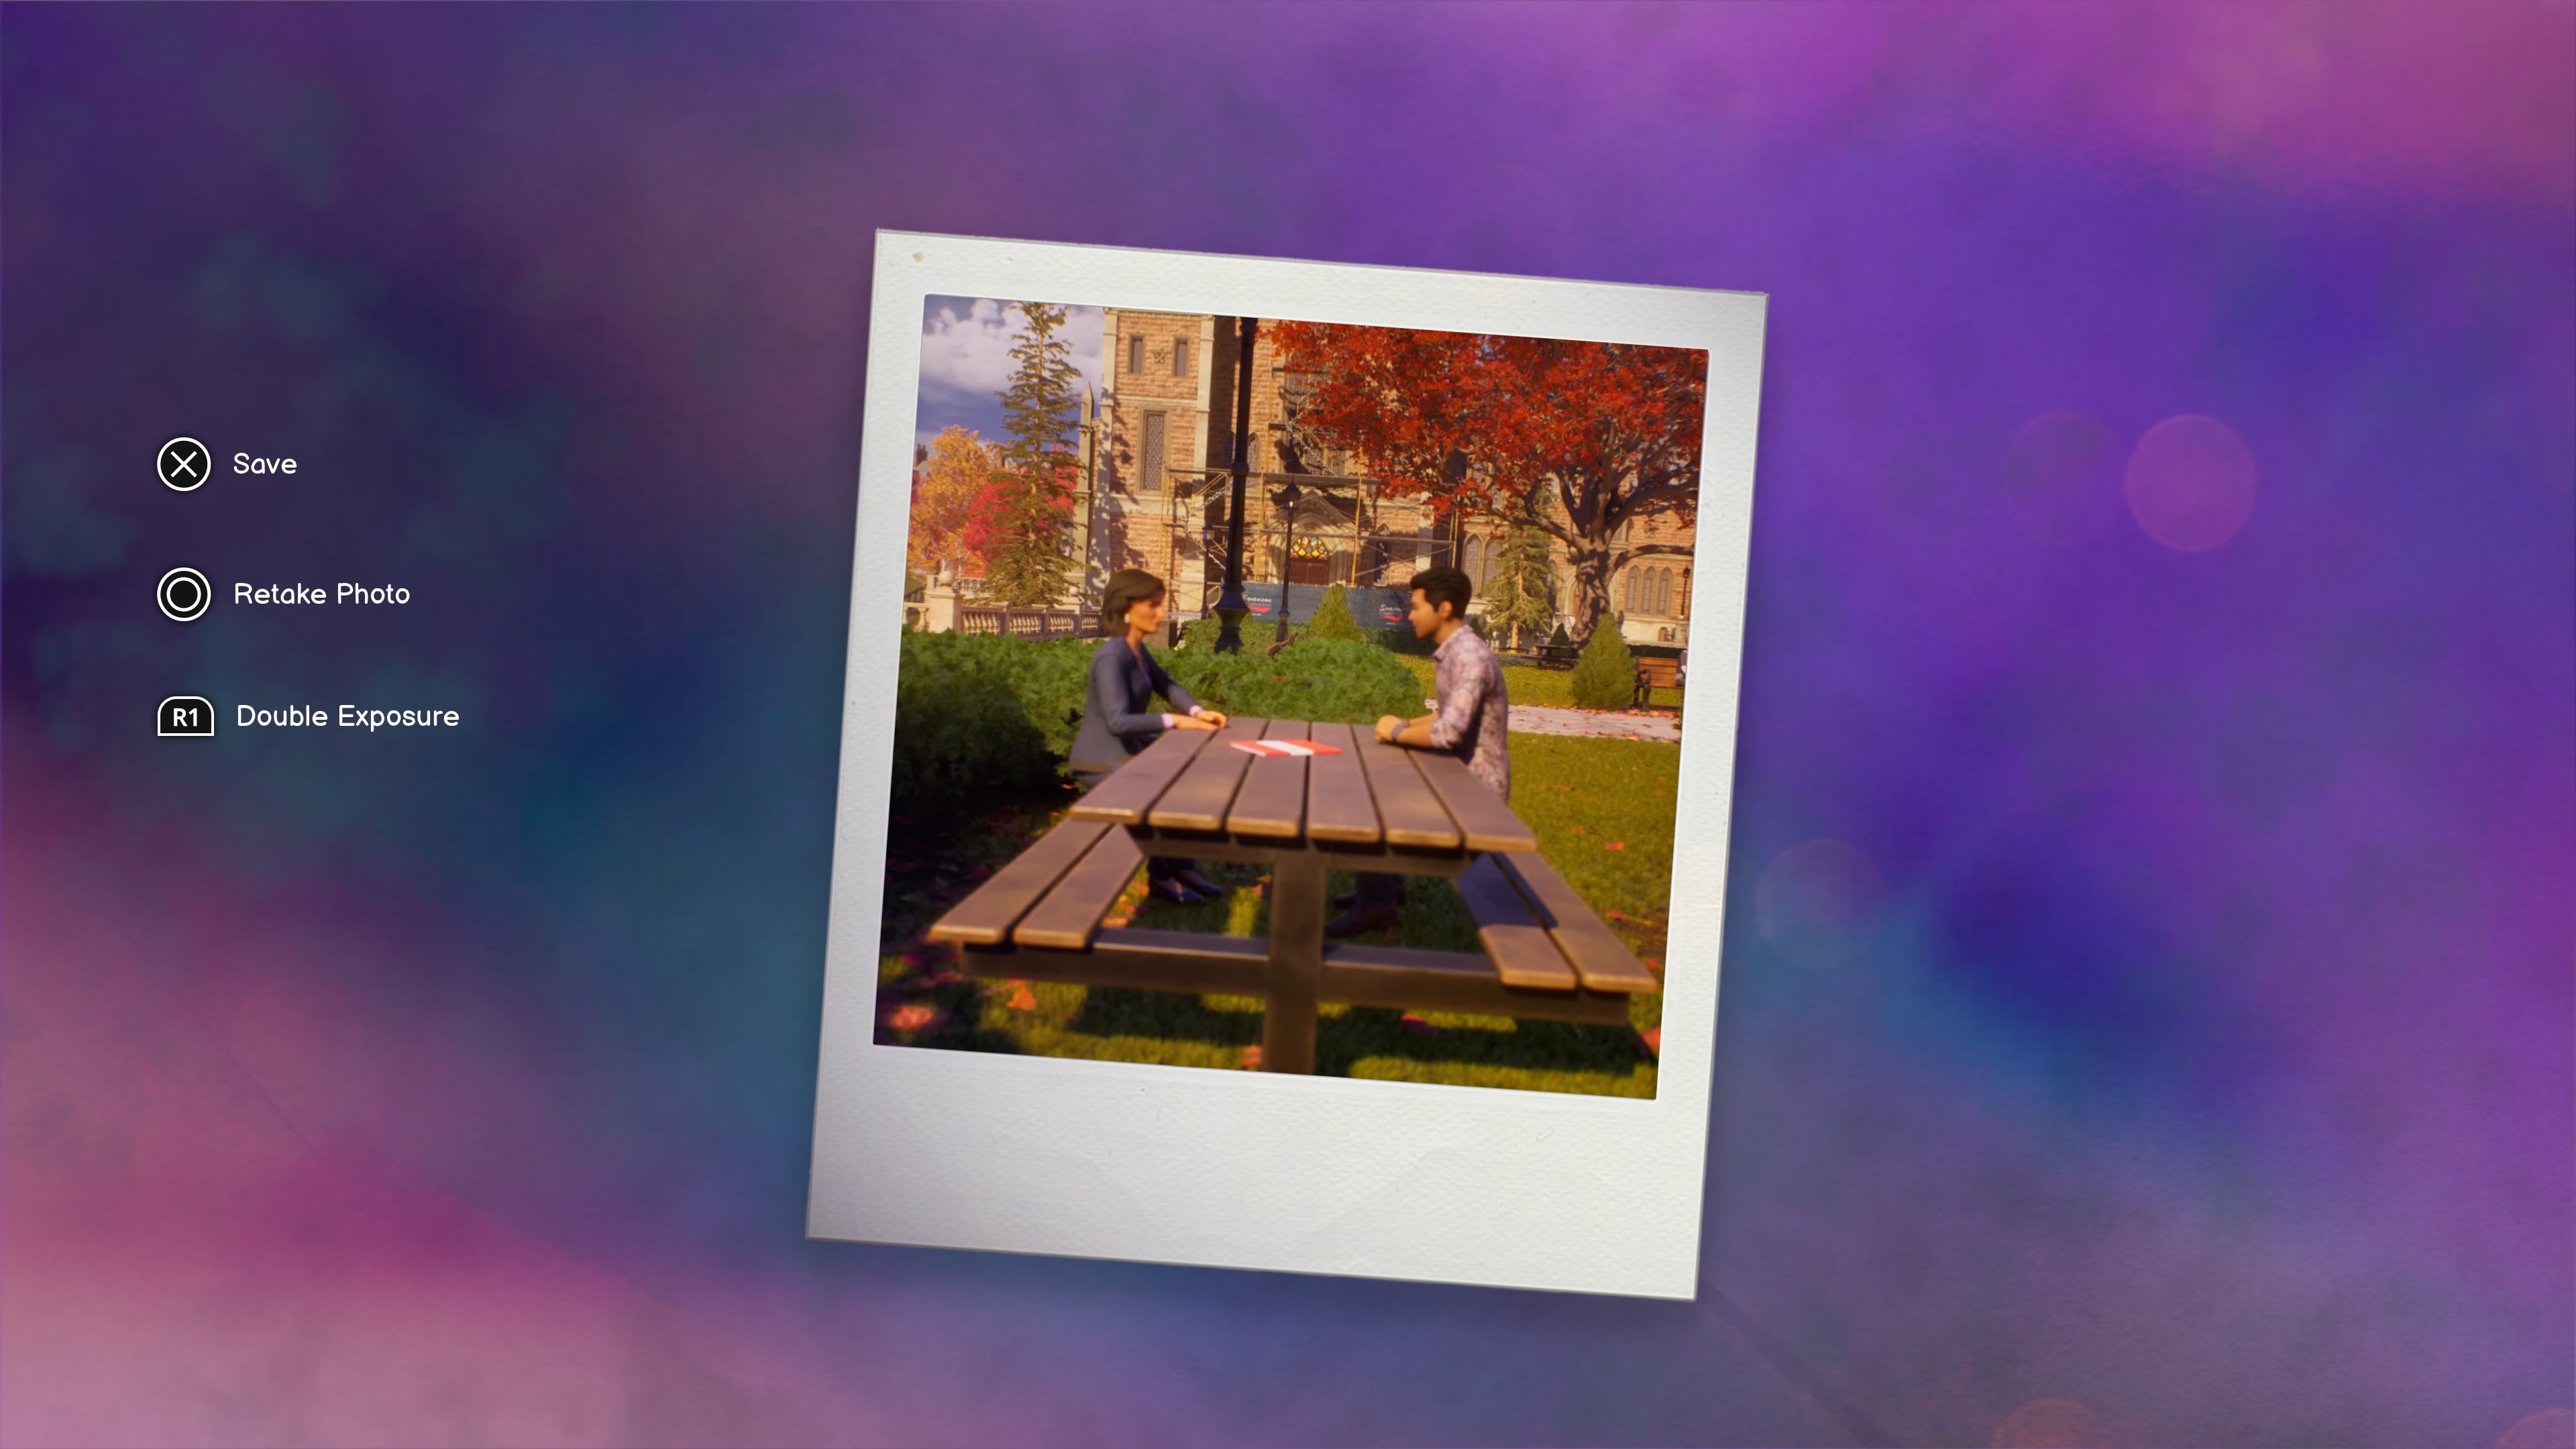
- Yasmin and Vinh: An unmissable story snapshot that you’ll take in this scene as a distraction to check the folder file on their table.
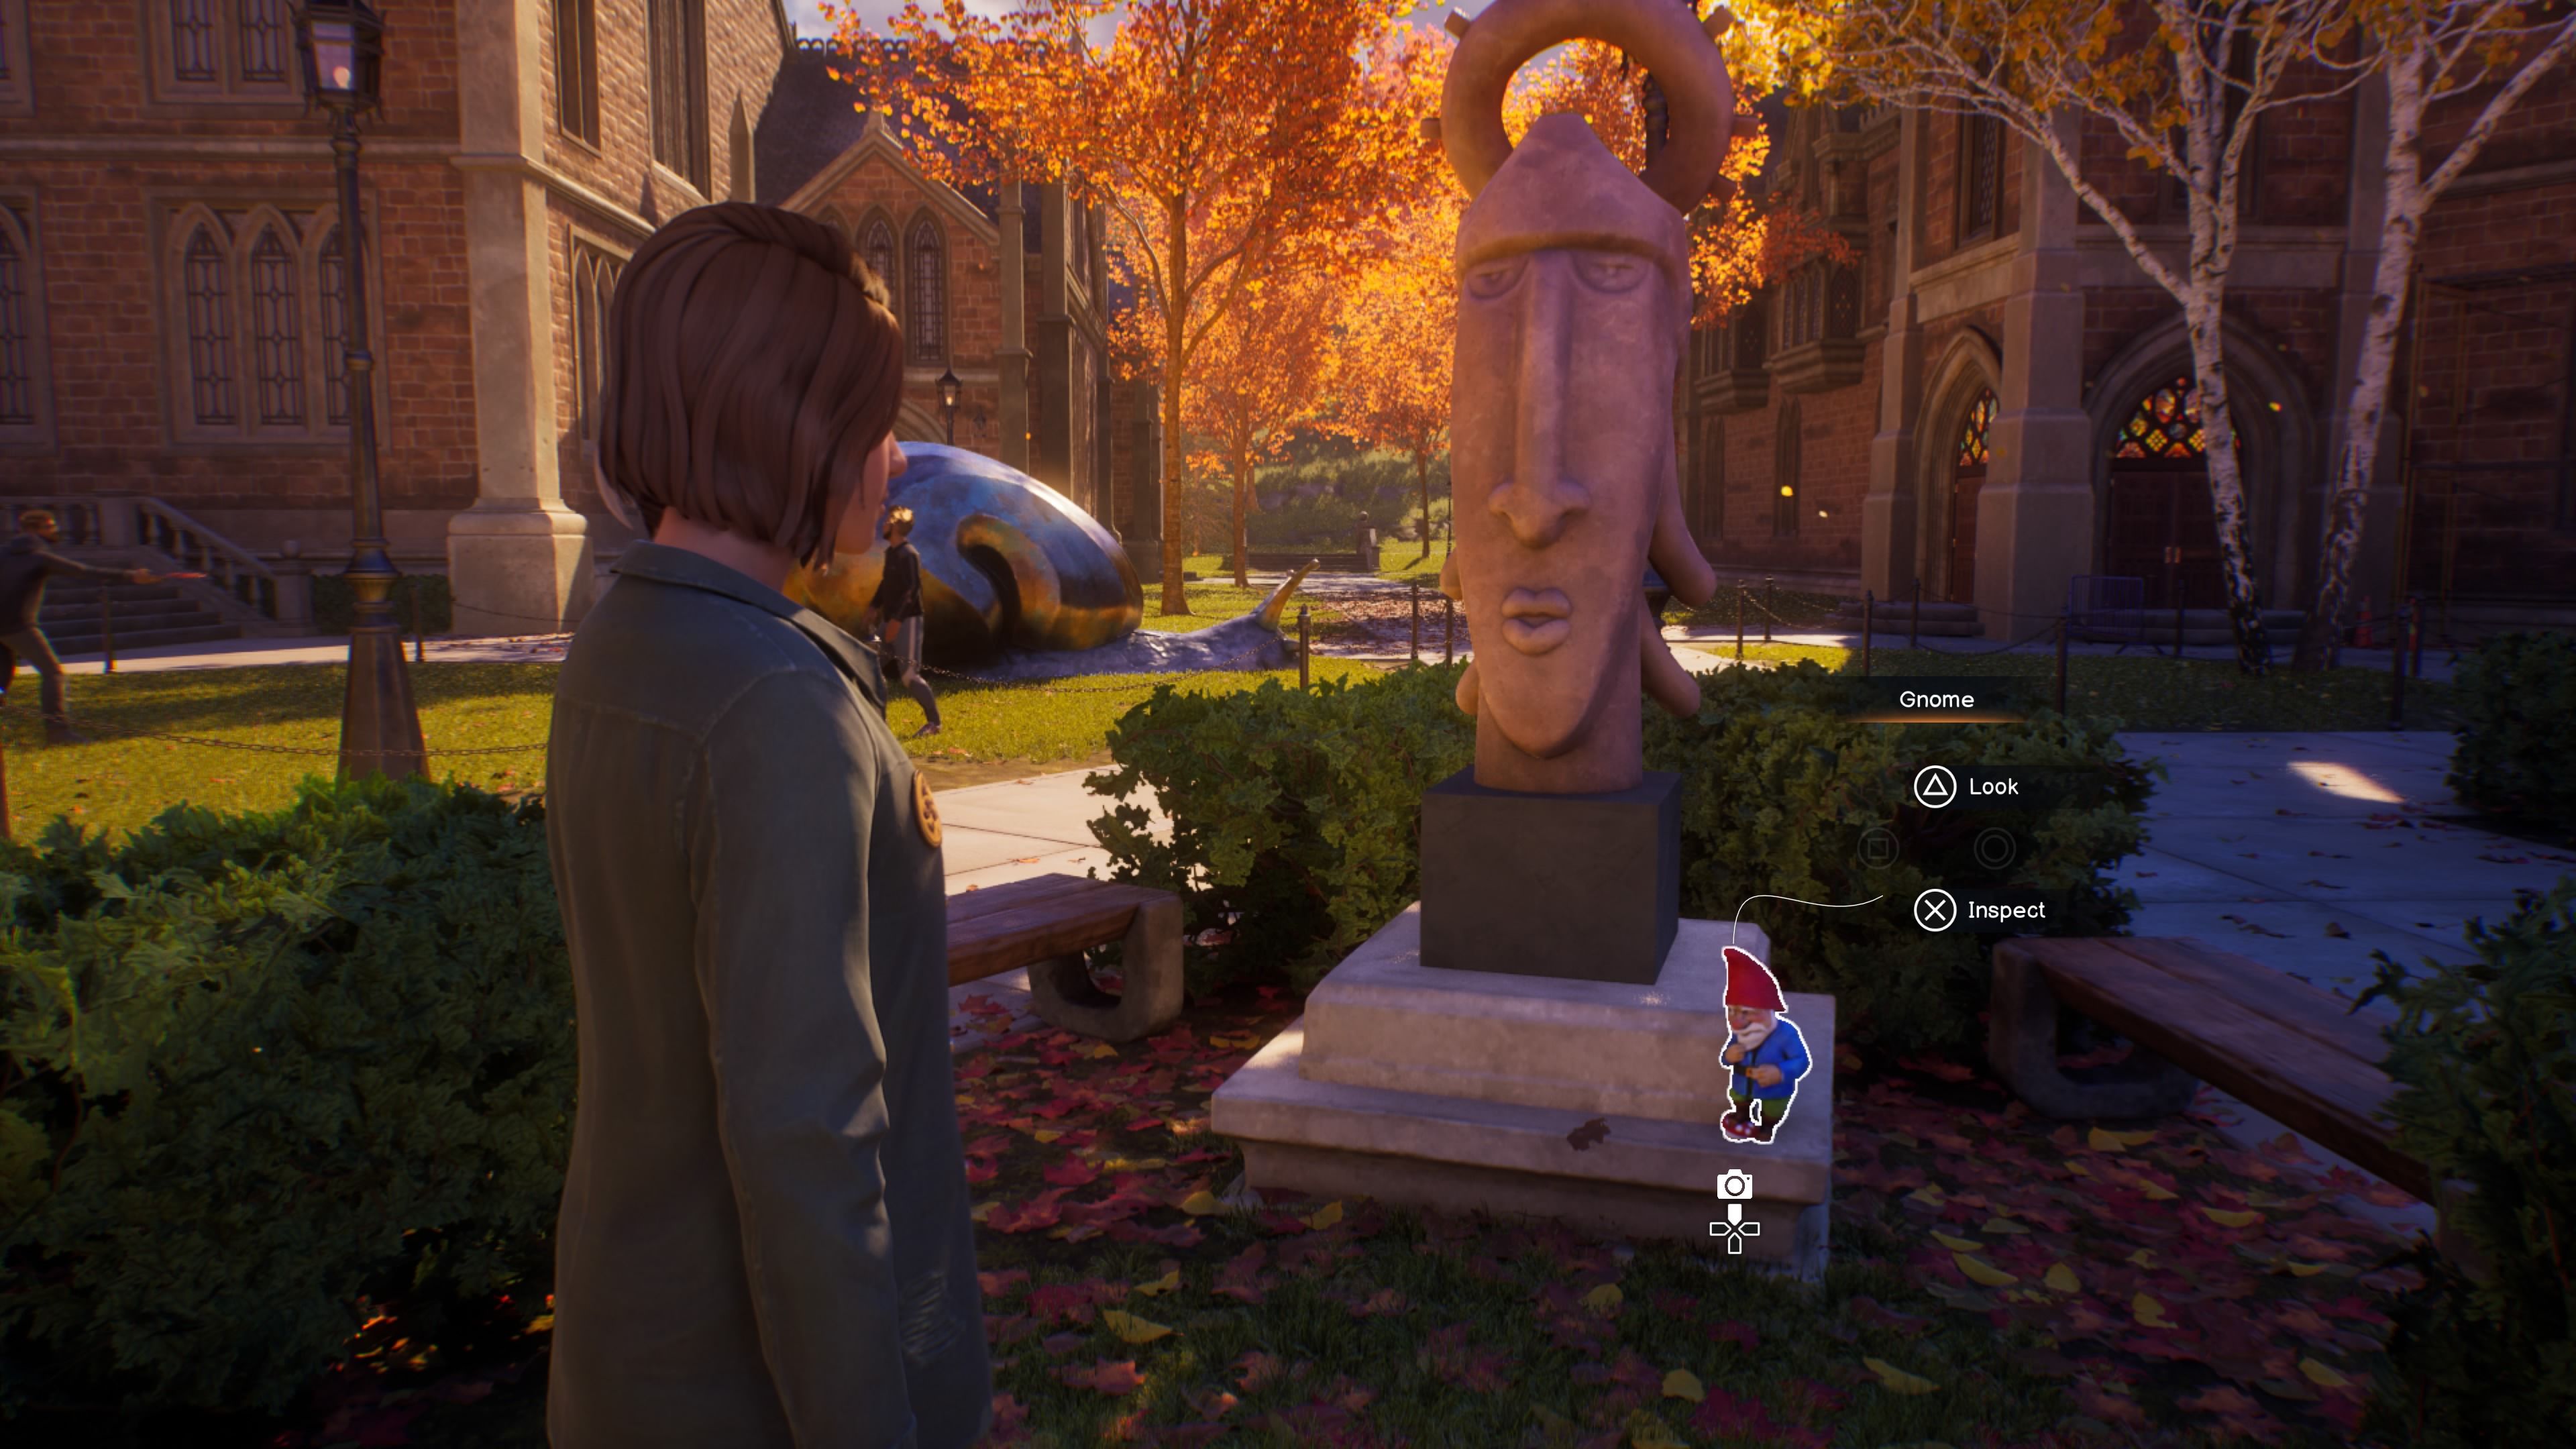
Gnome #2: Sitting right next to the big head statue.
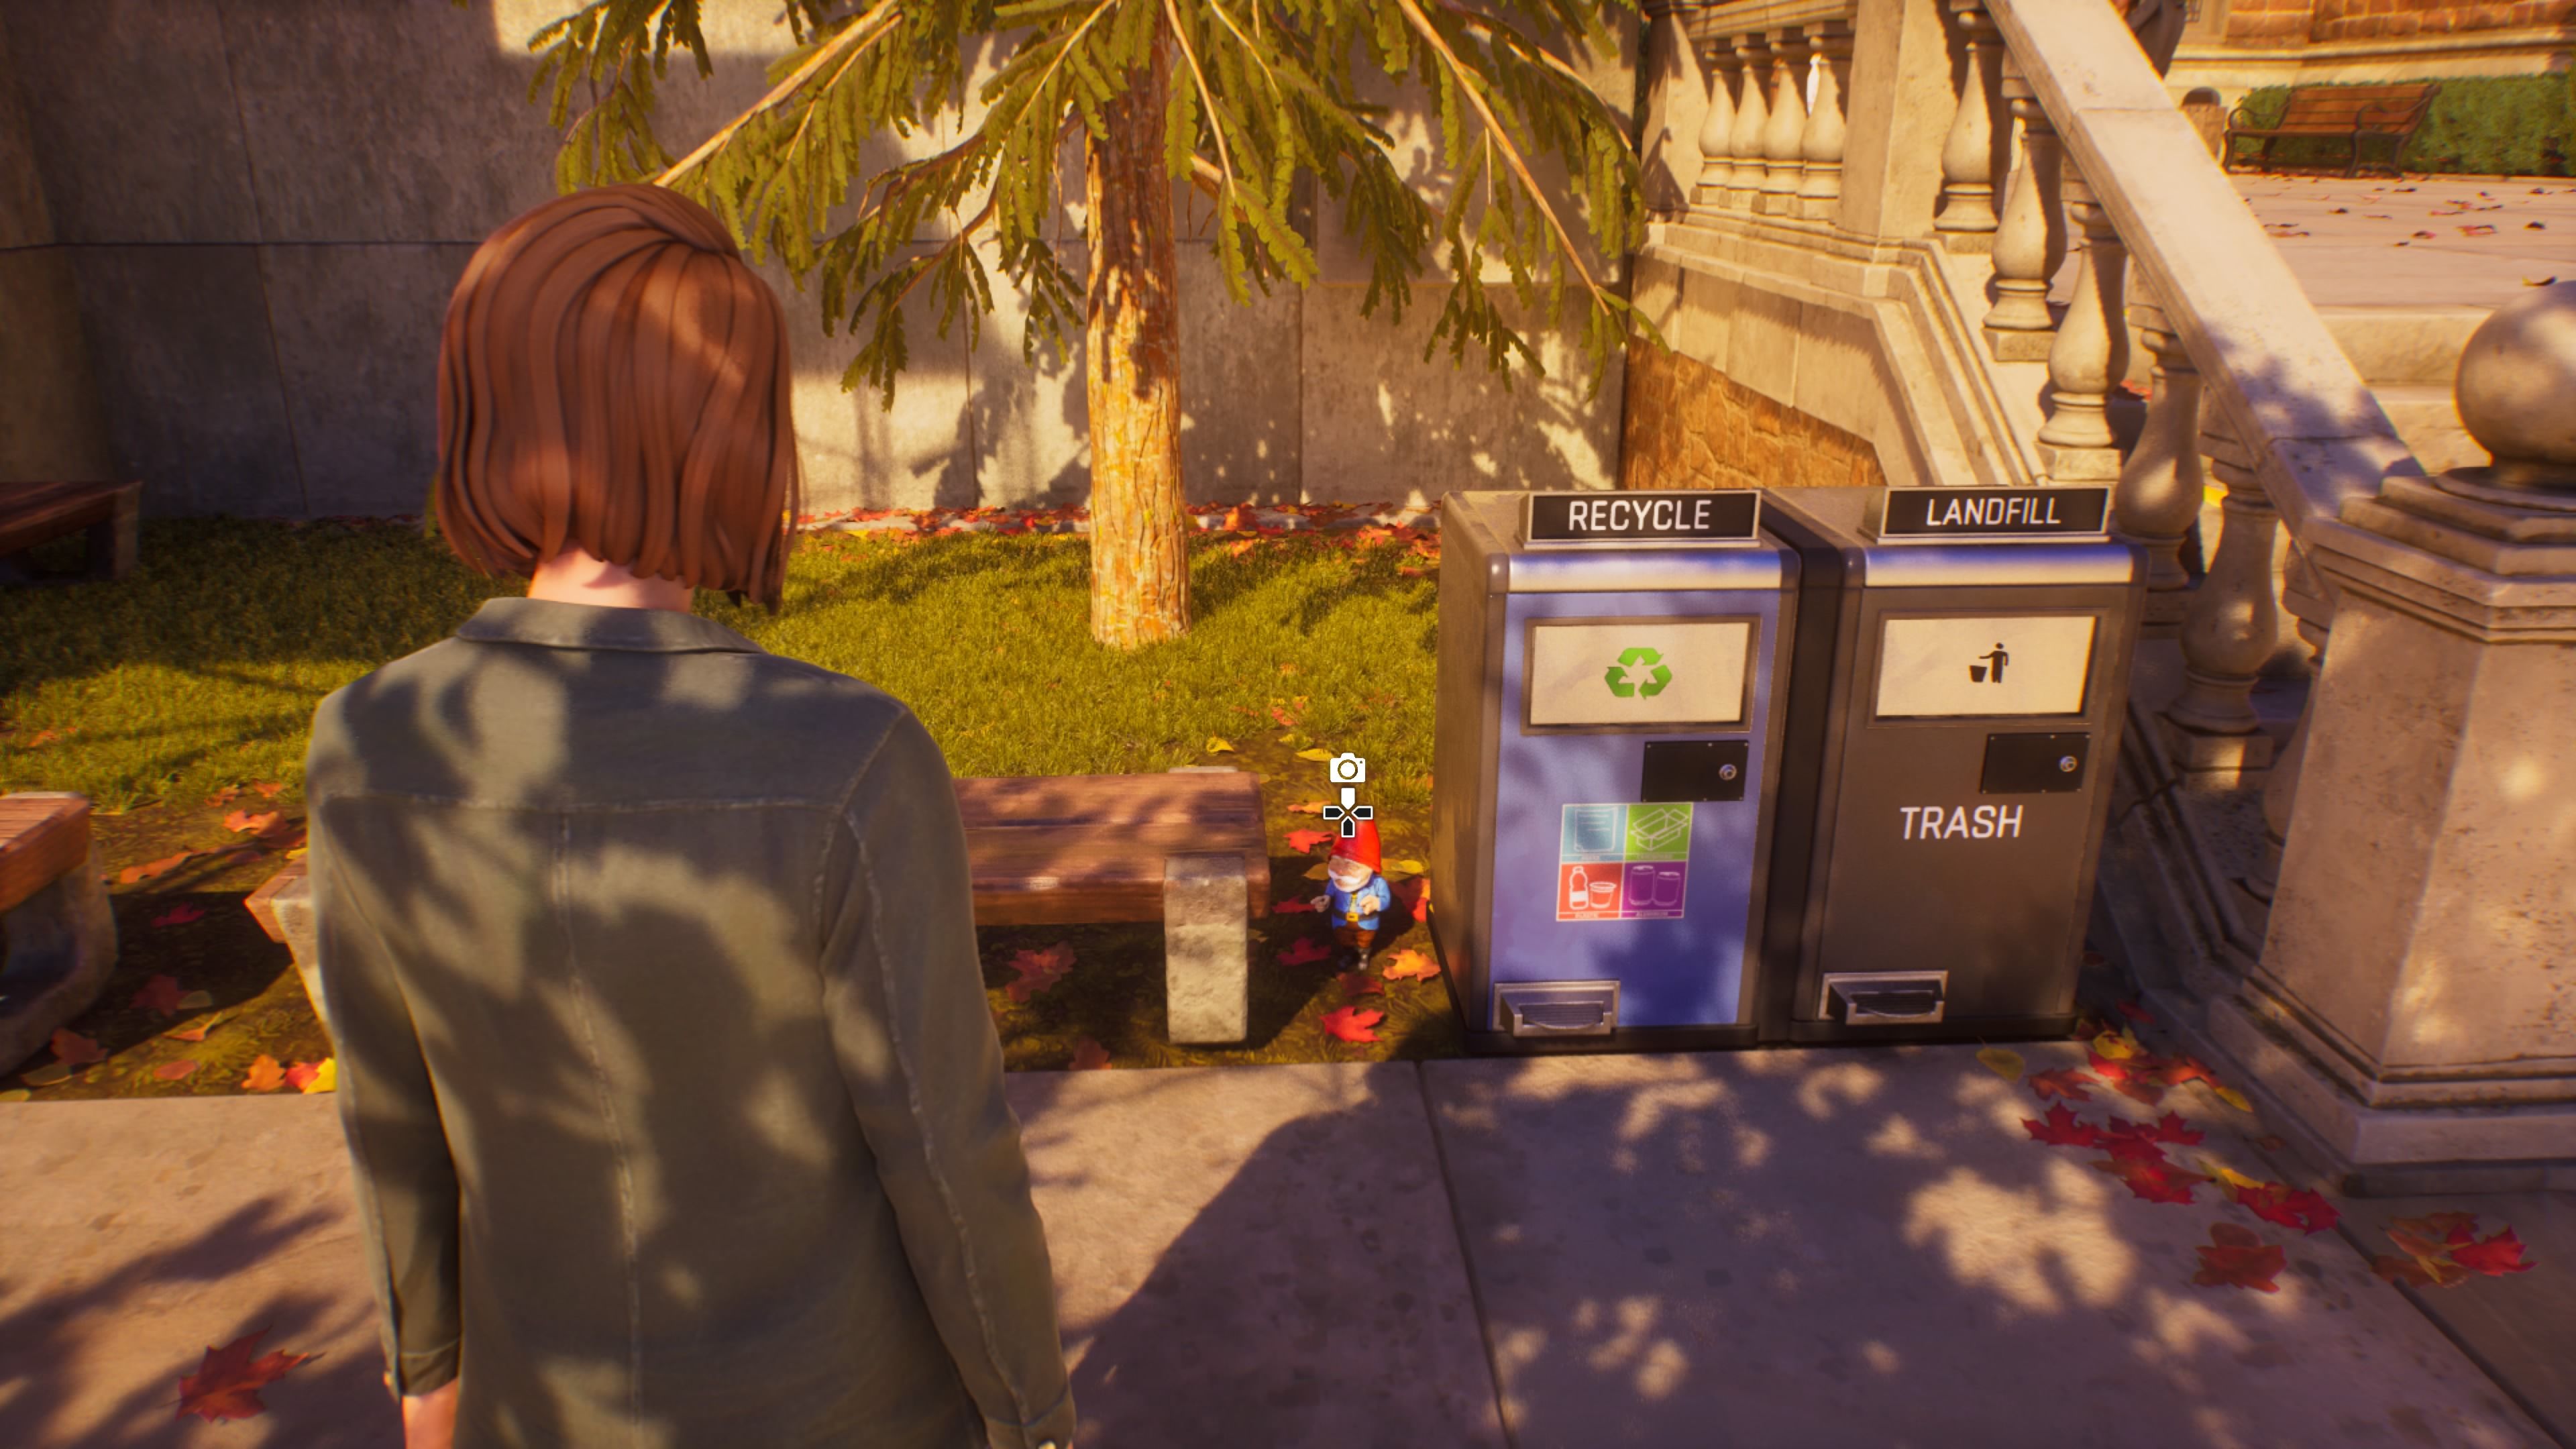
Gnome #3: If you remember where the cartoon graffiti was, this gnome is sandwiched near there between a recycle bin and a bench.
(2/2) Times in Turtle
In this part, you need to find one collectible item for each character. You’ll begin playing as Max in the Times in Turtle scene before eventually getting to control Chloe. Before you talk to Safi, go down to the dock and turn right to get a good photo of the scenery. You can take the picture from the pier with the two characters, but it’s better to find a nicer angle.
(2/2) Mabon
This section has you controlling both characters, with one collectible to find for each. You’ll begin as Max, disguised with her mask, at the Mabon party. Your goal is to enter the Abraxas House – you’ll need to give the guard the correct password to get in.
The password to proceed is ‘Basilisk’. Don’t forget to carefully look at the monster tapestry twice, and be sure to talk to every group of characters and Loretta as well.
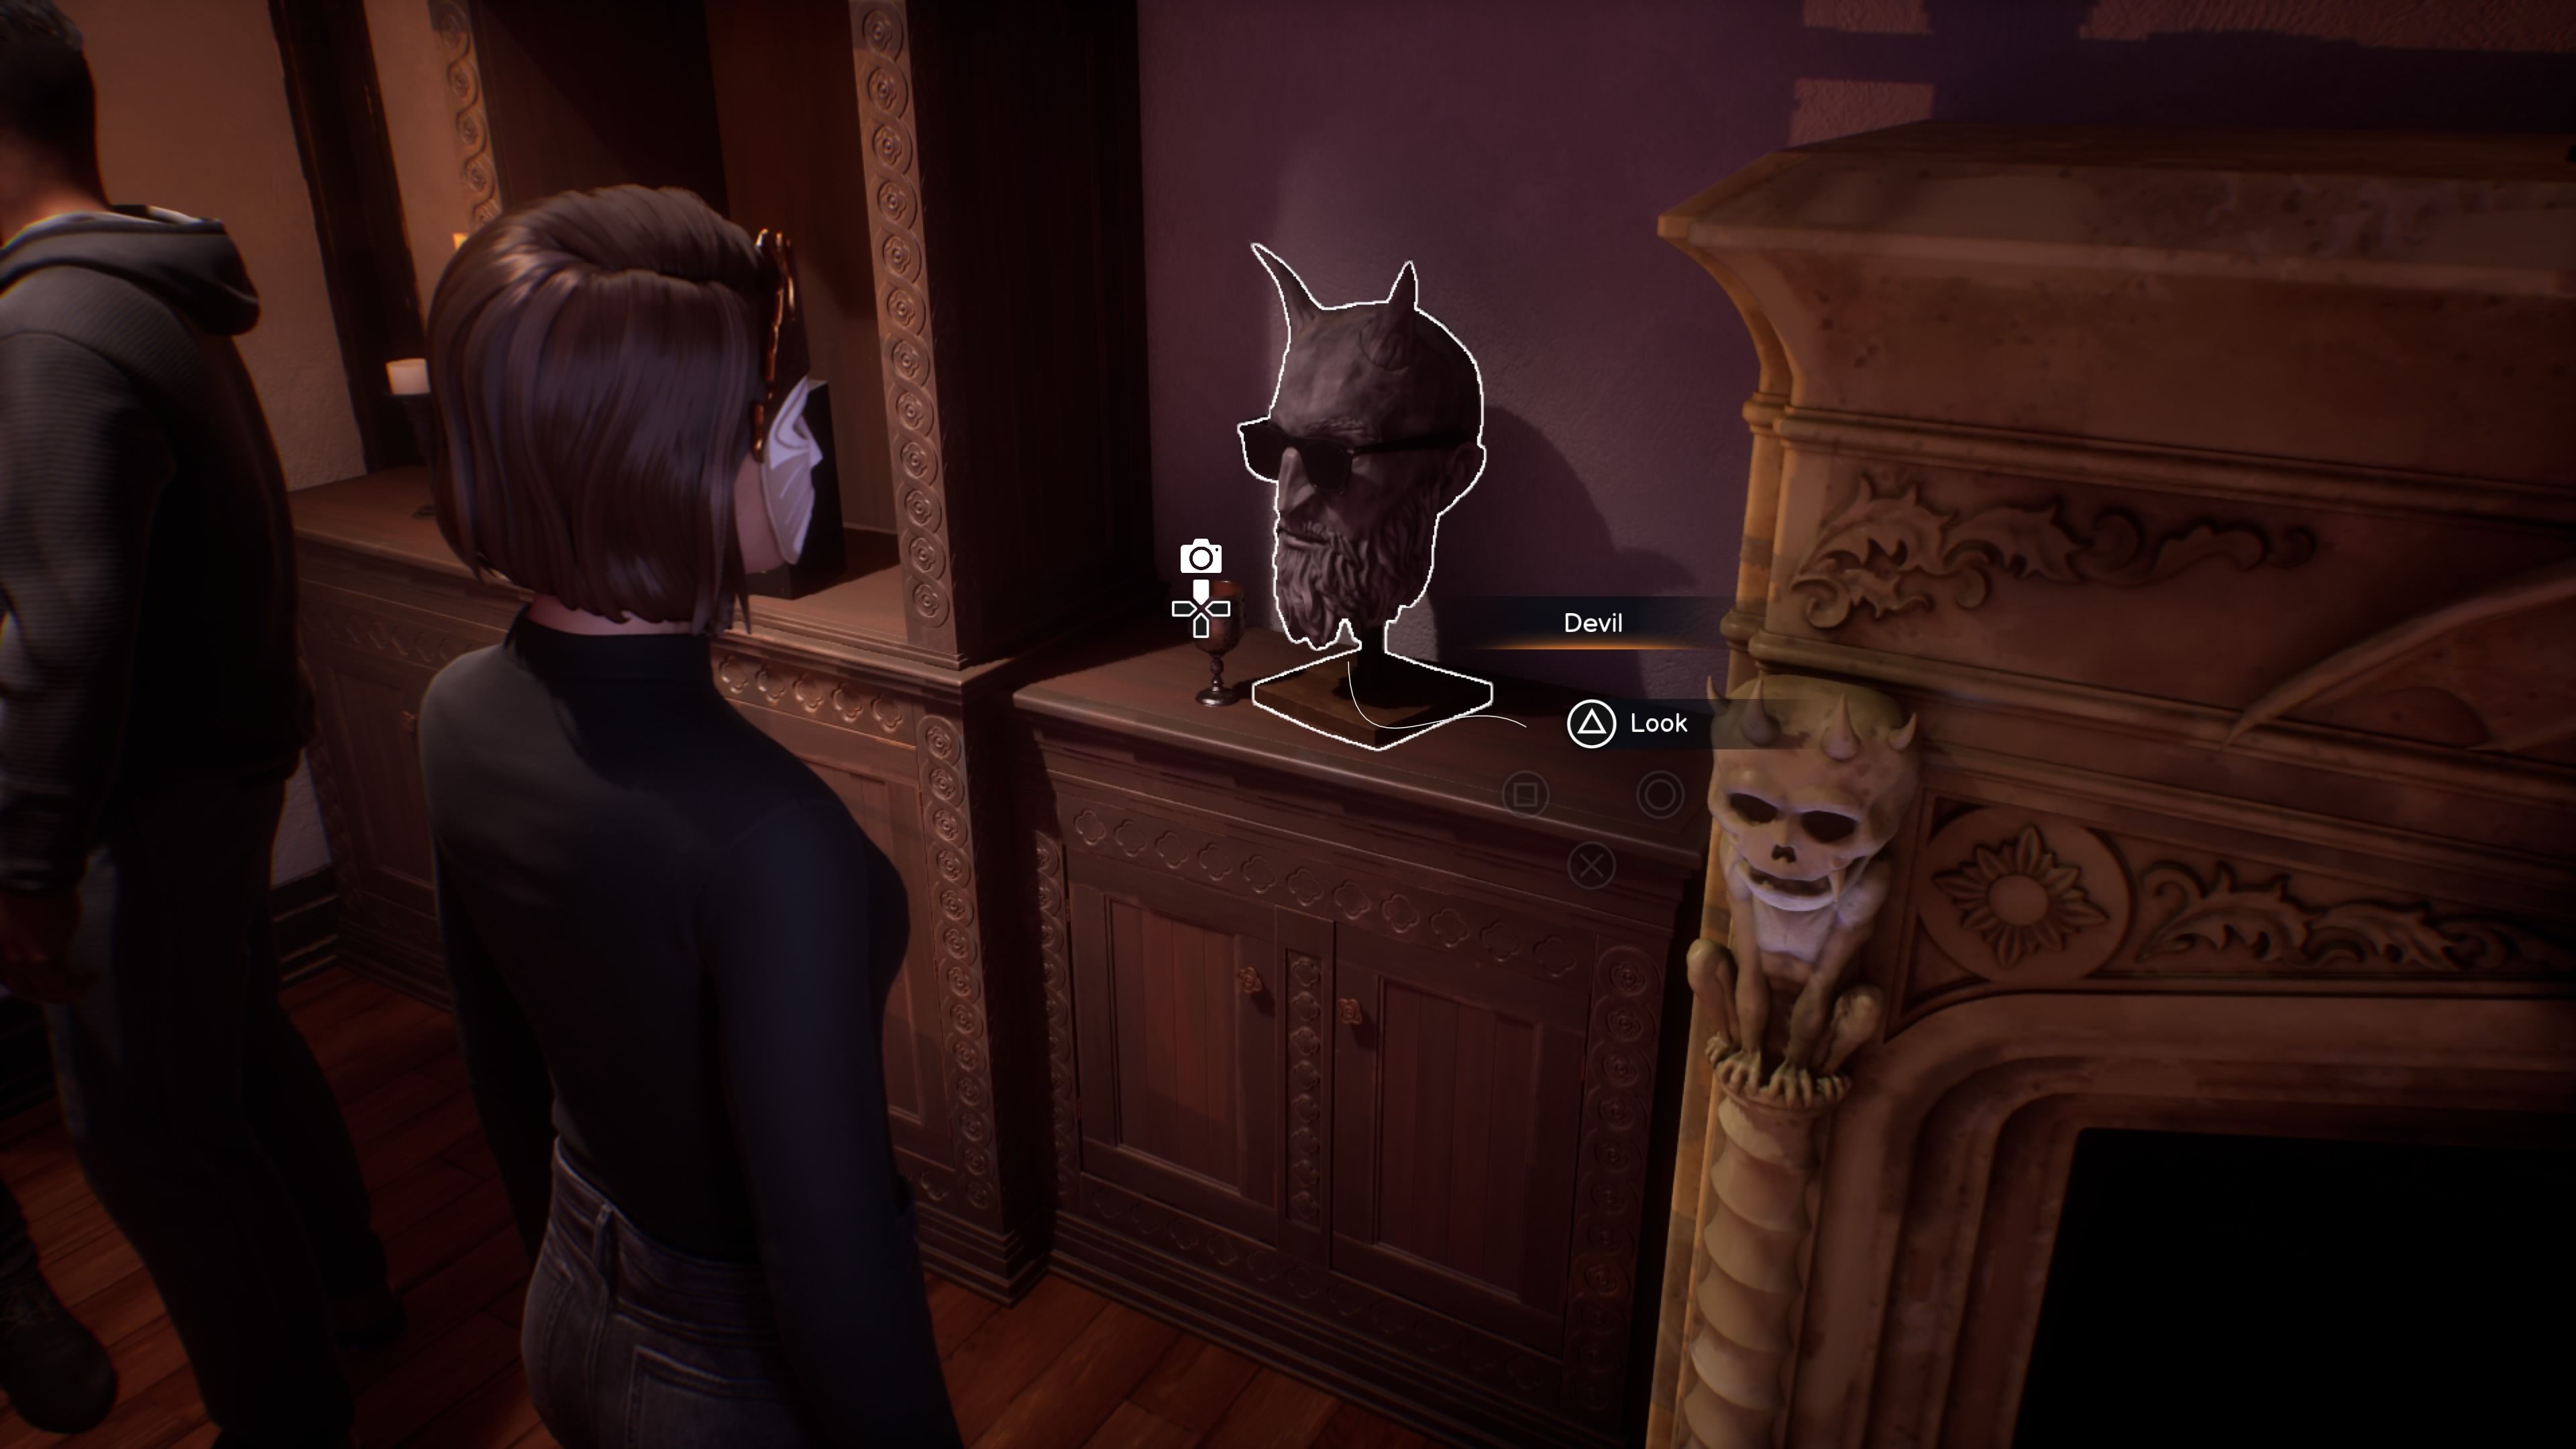
Once inside the house, head to the right side of the living room, where you’ll find red sofas. Look for a goblet you can examine. When asked what to do, choose “Stand Up.” Then, step back, and you should be able to take a picture of the statue with the devil wearing sunglasses.
(1/1) All Available Evidence
Okay, so there’s this quick cutscene where me, as Max, hang out with Chloe and Moses and basically recap everything we’ve figured out so far in the game. And, of course, there’s another one of those collectible photos for me to find – it’s pretty standard stuff at this point!
Subscribe to our newsletter for Life Is Strange snapshot guides
Go upstairs to the second level of the office and look at the sign on the enclosure for Mae Jemison, Moses’ lizard. Once you’ve done that, step back and you’ll be able to take the picture.
(1/1) Max’s Decision
After the initial cutscenes, you’ll take control of Max inside Owen’s office, where you’ll meet Yasmin Fayyad. Before you start talking to her, be sure to snap a picture of the astronomer statue on the table with the lamp.
(1/1) Memorial
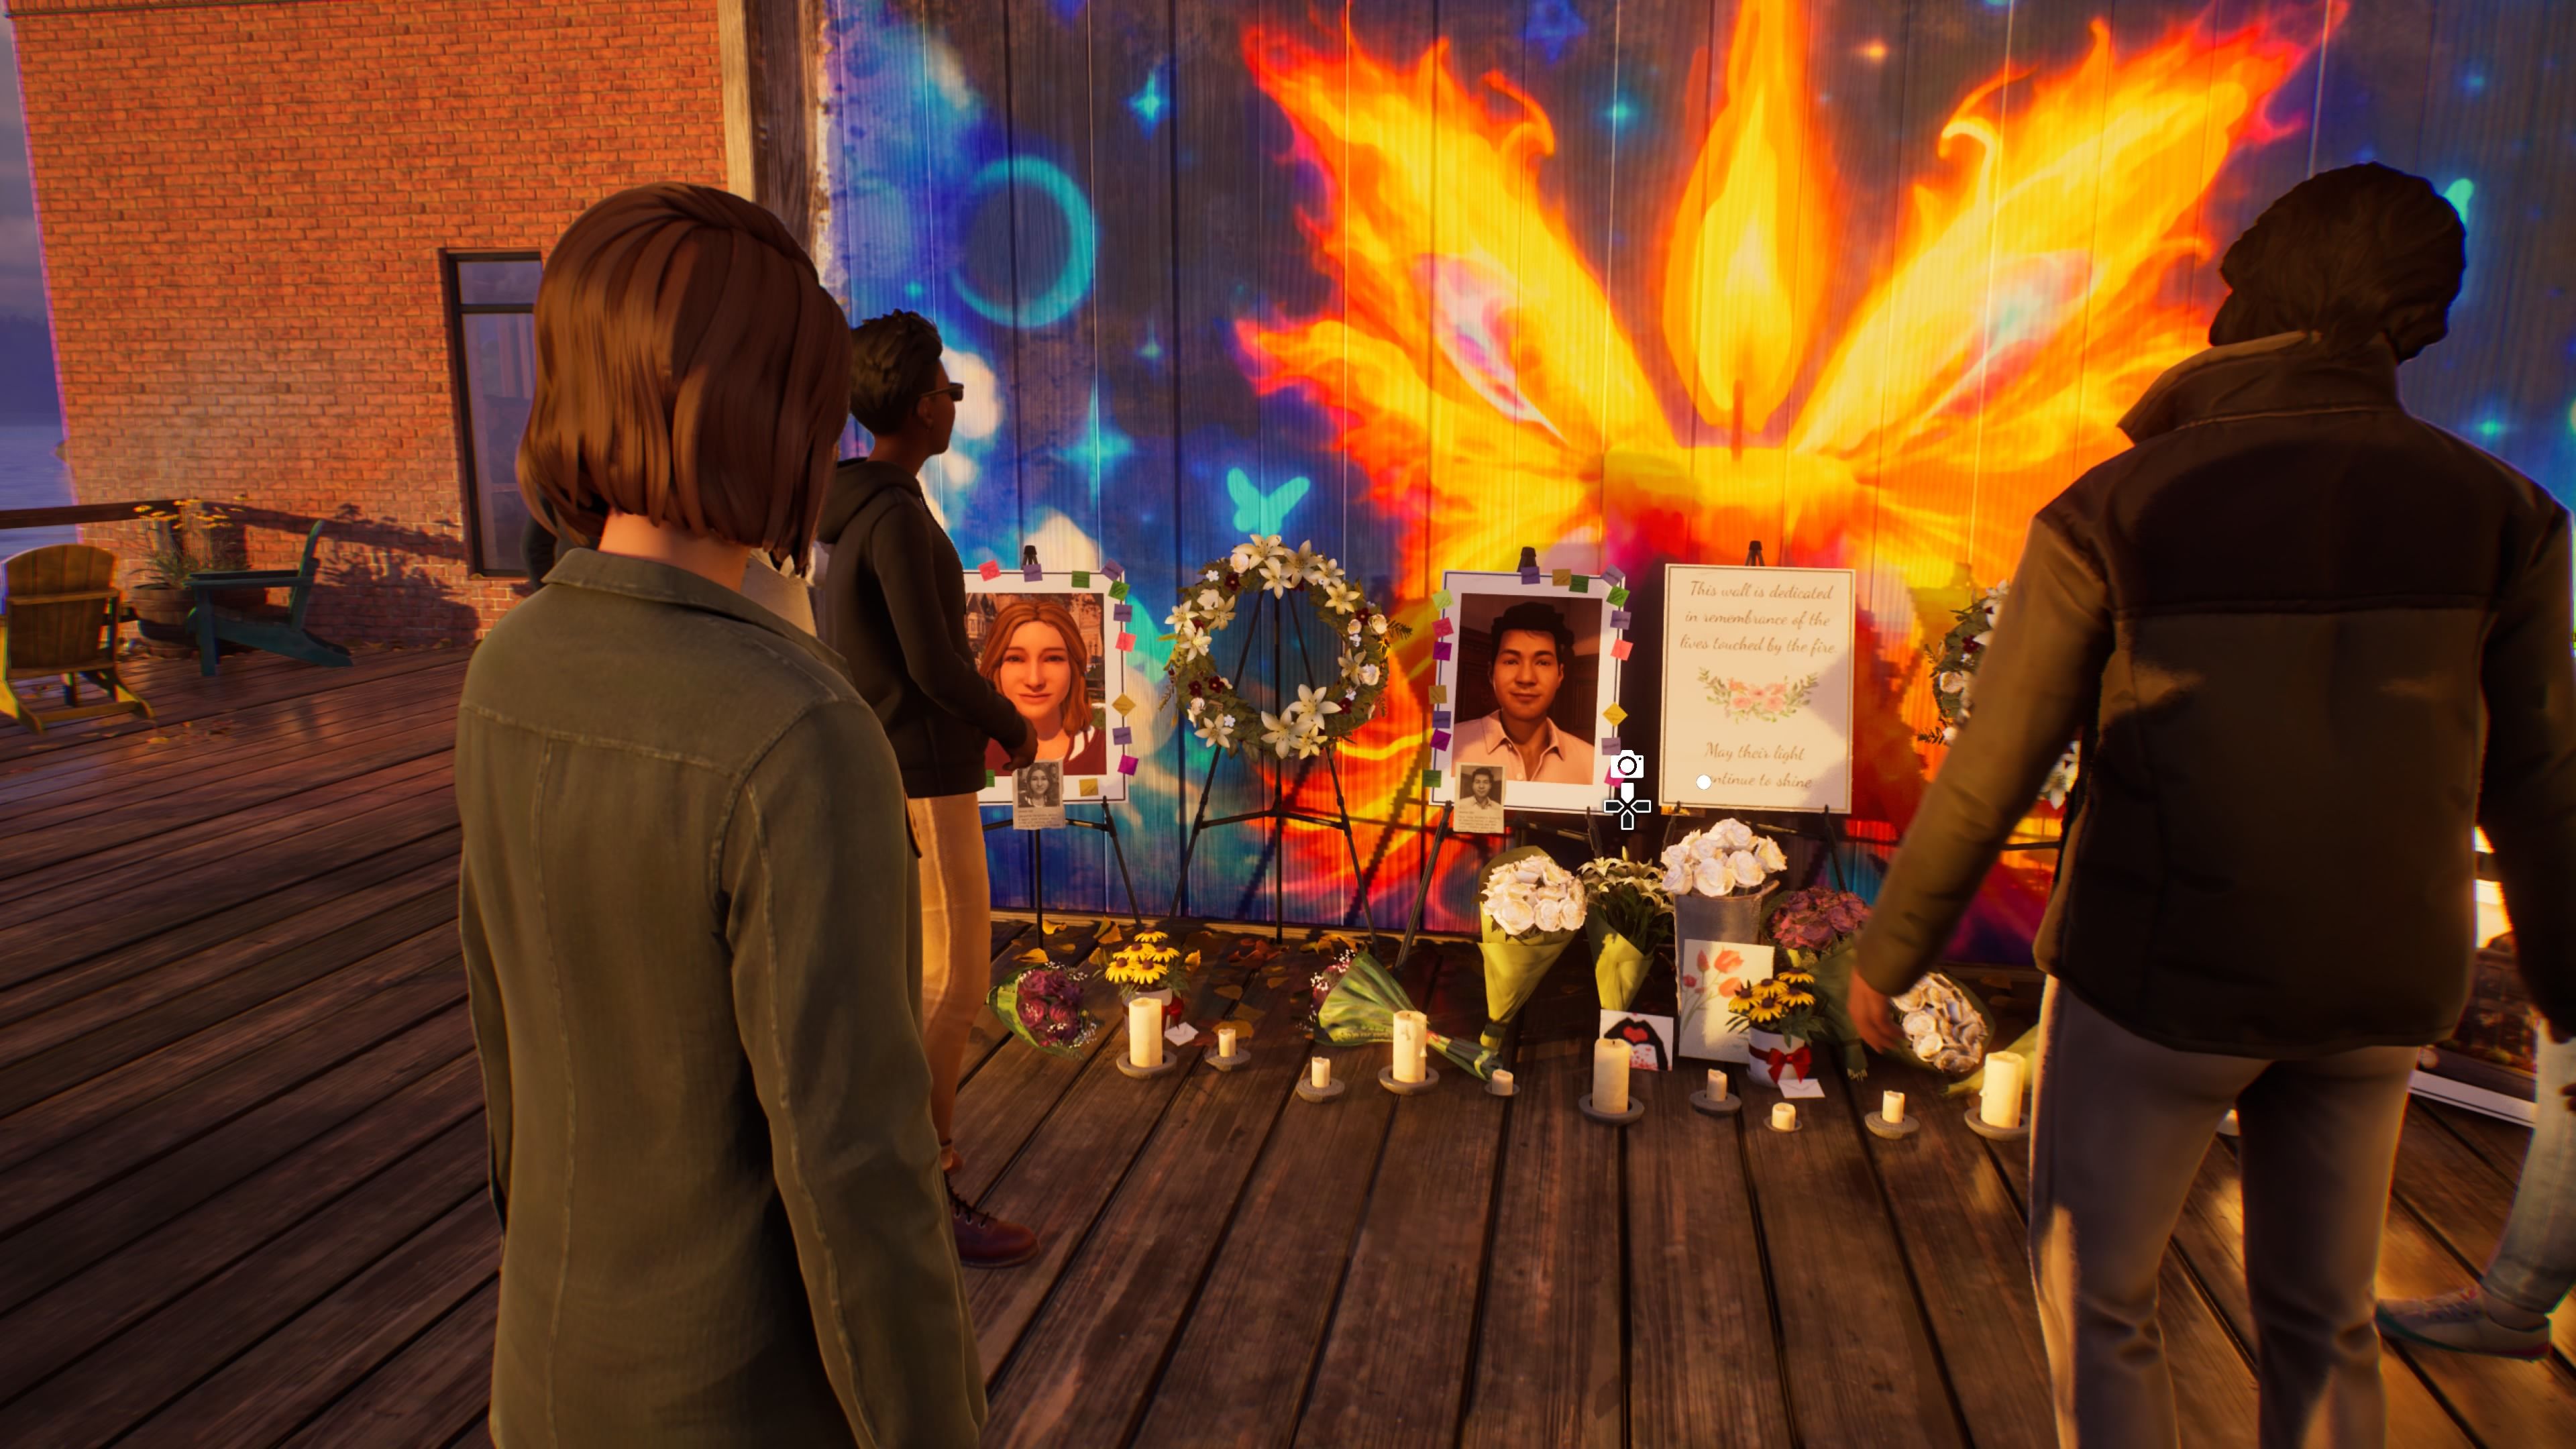
Once you start playing, you’ll be able to talk to everyone important at the Snapping Turtle Bar. And I really wanted to mention that you can go out onto the deck and take a picture of the memorial wall – it shows the characters who didn’t make it to the end, depending on who you saved throughout the game. I’ve blurred the photo a little bit though, just so I don’t accidentally spoil anything for you!
(1/1) Partners in Time
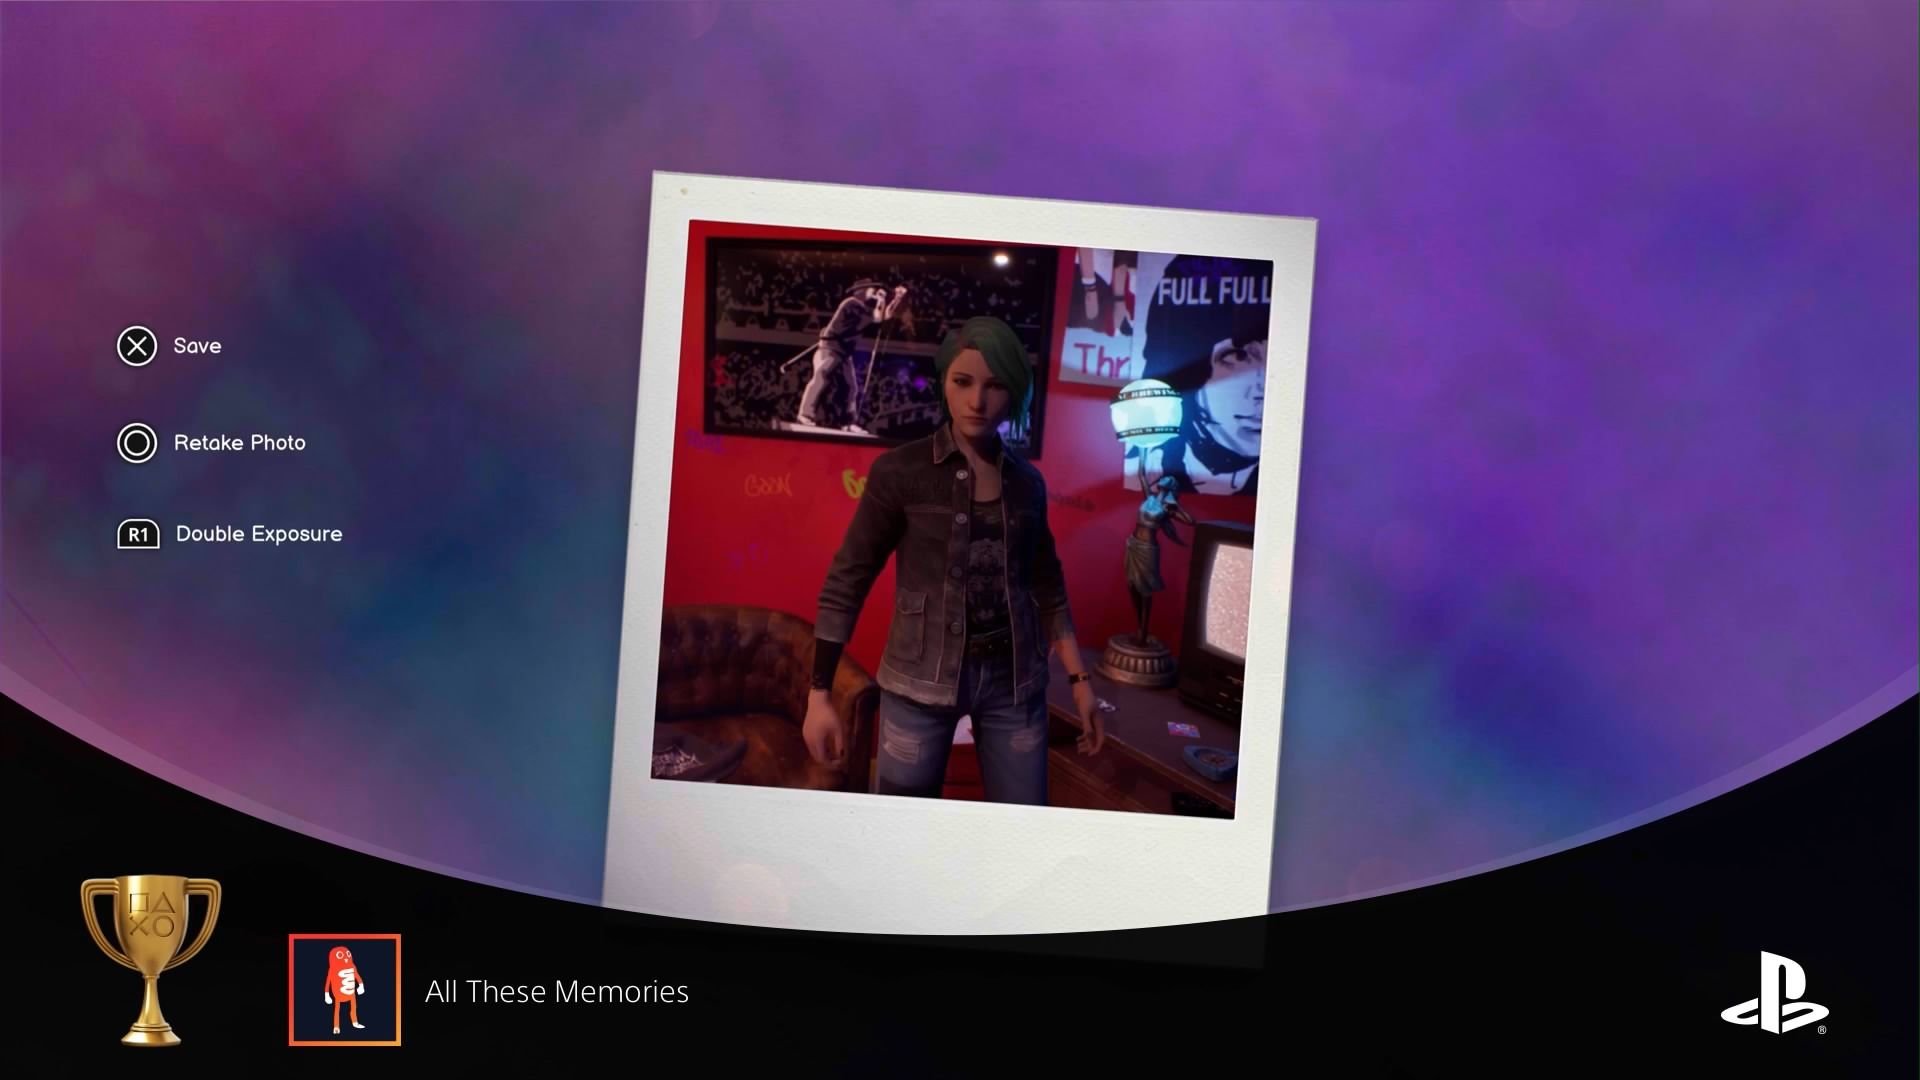
Lastly, you’ll need to take a final photo of Chloe. You can choose any pose you like – whether it’s a relaxed, natural one, or something a bit more playful where she’s showing the finger to the camera.
If you’ve collected all of Max’s photos and have Chloe’s sketches, you can unlock two achievements. The first, “Photo Wall,” is awarded for finding all of Max’s collectibles. The second, “All These Memories,” is earned by collecting everything for both Max and Chloe.
Read More
- Forza Horizon 6: Find the Ohtani Treasure Chest Location
- NTE Drift Guide (& Best Car Mods for Drifting)
- LEGO Batman Legacy of the Dark Knight Batcave Minikits & WayneTech Caches
- How to Open Locked Door in Tenryu River in Nioh 3 (Dirty Key)
- Sega’s “Super Game” is Said to Release Next Month, But Nothing is Known About It
- Skyblivion Gets Encouraging Development Update
- New Steam Game is Like Pokemon If It Were a Sci-fi Shooter
- GameRant Daily Crossword (February 10, 2026)
- God of War Shadow Drops New Game and Confirms Greek Trilogy Remake
- Dead as Disco Best Songs (Clear Beats & Stable BPMs)
2026-03-30 01:10