In Monster Hunter Wilds, there is an abundance of collectibles such as mushrooms, berries, bones, scales, herbs, fish, and many more items. Initially, it was necessary to gather these items personally, which can become monotonous and time-consuming over time. However, why not delegate that task to others while you focus on the main hunting action?
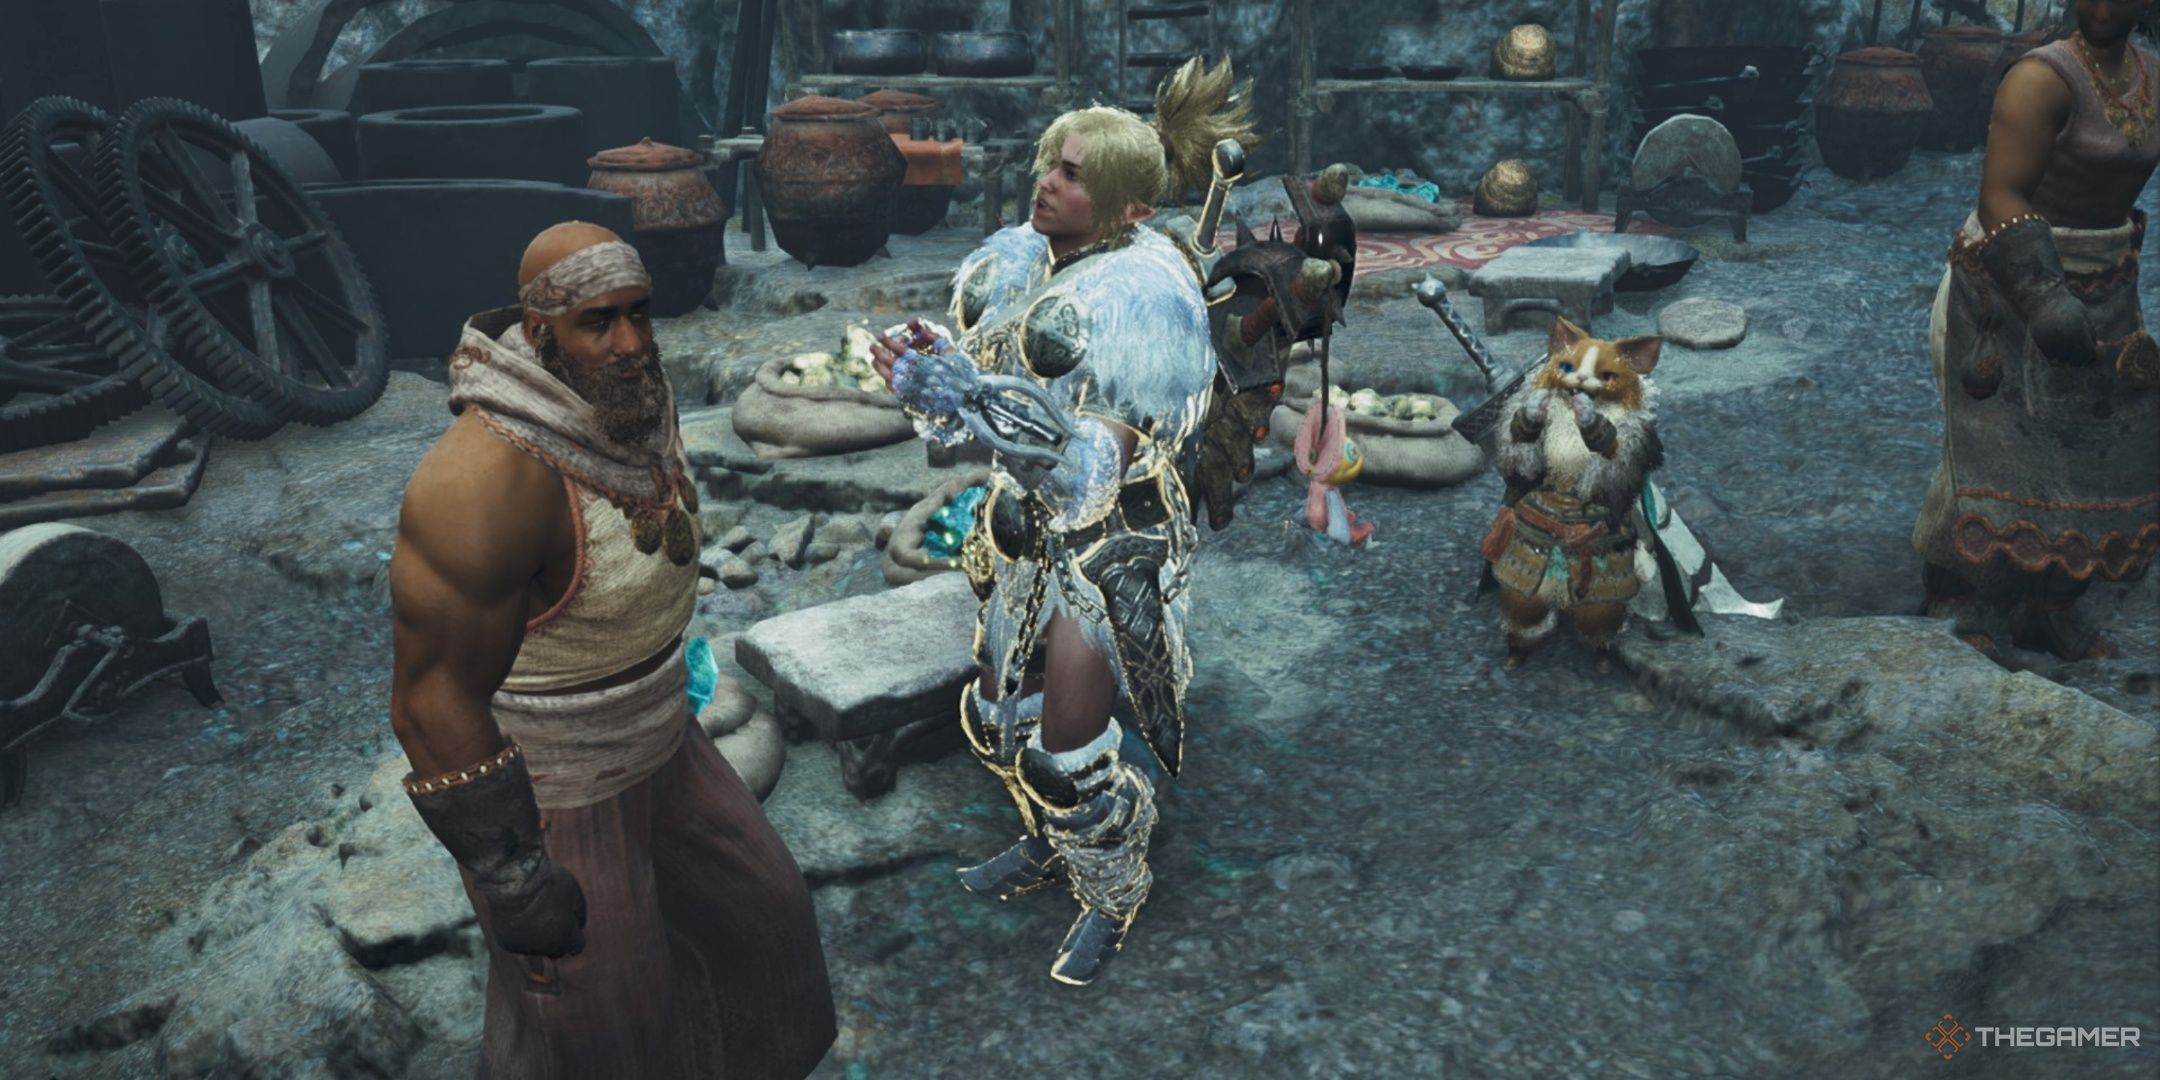
As a gamer, I can tell you that the job of Material Retrieval in our game is quite beneficial. Characters from various settlements scour the land for resources during their daily routines, amassing items until their inventory is full. This system helps me gather resources quickly and even snag some hard-to-find rare materials along the way. Here’s how it works: characters collect items on behalf of my character, storing them in their own inventory. When they return to the settlement, they transfer the gathered goods to me, making my life (and gameplay) easier!
Unlocking Material Retrieval
In this game, every single community offers the opportunity to access Material Retrieval, but keep in mind that they become available at distinct times. Most of them are obtained through quests found within each village, while the initial one is unlocked following the completion of Chapter Four’s second mission.
In the following settlements, you’ll find characters who can assist with Material Retrieval once you’ve activated the respective system:
Once the system is active, here are the characters in each settlement who can help with Material Retrieval:
Or simply:
The characters capable of helping with Material Retrieval after unlocking the system are found in these settlements:
- Kunafa – Murtabak
- Wudwud Hideout – Plumpeach
- Azuz – Sabar
- Sild – Rysher
- Suja – Apar
In summary, there are a total of 5 Material Gatherers available, who can all gather materials concurrently at once. Apar is the initial one you unlock during the storyline, and the rest become available after completing their individual quests in each region. To claim the items they’ve collected for you, you need to visit them personally in person.
After completing the Low Rank story, Nata assumes the role of a Liaison between Villagers, allowing you to retrieve all the items you’ve accumulated from each character at any of the Base Camps.
How Does Material Retrieval Work?
Material Retrieval essentially operates in the background unnoticed. Interacting with characters like Nata, who assumes the role of Village Intermediary, allows you to select from a diverse array of items for each character to fetch. Each character can carry up to 16 distinct items, with different quantities depending on the stack size. The item you pick isn’t the only one they will bring back, but it forms the majority of their haul.
In simpler terms, when you dispatch a character to collect Might Seeds, they can return up to 16 full inventories filled with these seeds, but keep in mind that each inventory holds only five stacks, so the total number of Might Seeds collected would be 80.
When interacting with a Material Retrieval character, it provides a selection of items it can collect for you, which grows progressively larger with additional side quests. Each item is assigned a Star Rating, ranging from just half a star up to three full stars. The higher the number of stars, the quicker they will retrieve an item, the more of that item they will bring back, and the bigger each pile of that item becomes.
In addition, the present weather conditions play a role in determining the Star Rating for each item. For instance, some items such as berries may yield more during an abundant period, whereas others might be scarce. It’s essential to take the weather into account when making requests for items in each region based on its current climate.
Activating Gathering Boosts
A system that enhances Material Retrieval, which becomes accessible upon completing additional tasks for the Material Retrieval NPCs, is known as Gathering Bonuses. These bonuses cause the village you assist to collect items at a faster rate for a duration of three days, allowing you to amass materials even more rapidly. To activate Gathering Bonuses, what steps should you follow?
Occasionally, certain monsters will cause troubles in some villages, and vanquishing these creatures triggers the Gathering Boost. For instance, an annoying Balahara might be causing a ruckus in Kunafa. Once defeated, Kunafa enjoys a three-day period of increased item collection rate, thanks to Murtabak’s quicker gathering.
Not only can you benefit from the Gathering Boost in the game, but it also extends to Item Trading! This means that you’ll receive twice as many items when trading with others, while you get the same amount on your end. Don’t forget to maximize your use of the Gathering Boost during its active period for three days within the game.
In case you find yourself pressed for time, be sure to tag any pesky creatures as investigations. That way, you can track and confront them at your convenience, all while still enjoying the bonus from the Gathering event.
These monsters, whether you encounter them during conversations with characters in the Material Retrieval menu or in the Environment Overview of a specific location on your map, are consistently Tempered Monsters. Sometimes they appear in pairs, but defeating them is often a rewarding challenge.
Read More
- MHA’s Back: Horikoshi Drops New Chapter in ‘Ultra Age’ Fanbook – See What’s Inside!
- Invincible’s Strongest Female Characters
- Nine Sols: 6 Best Jin Farming Methods
- Top 8 Weapon Enchantments in Oblivion Remastered, Ranked
- Top 8 UFC 5 Perks Every Fighter Should Use
- Fix Oblivion Remastered Crashing & GPU Fatal Errors with These Simple Tricks!
- How to Reach 80,000M in Dead Rails
- USD ILS PREDICTION
- Silver Rate Forecast
- Captain America: Brave New World Shows The Incredible Hulk Needs More Respect
2025-03-04 02:08