
Beyond combat, Monster Hunter Wilds offers diverse activities such as resource collection. You’ll find yourself hunting not just monsters, but also plants with healing properties, metal ores for armor, and berries for ammunition. While this process might seem tedious at times, the game provides specialized armor sets designed specifically for gathering, making the task more manageable.
Obtaining resources might seem unimportant at first glance, but if your goal is to collect items such as Fucium Ore in MH Wilds, you’ll have to do it yourself. Here are a few Gathering sets that players can use throughout the game.
Low Rank/Early High Rank Gathering Set for MH Wilds
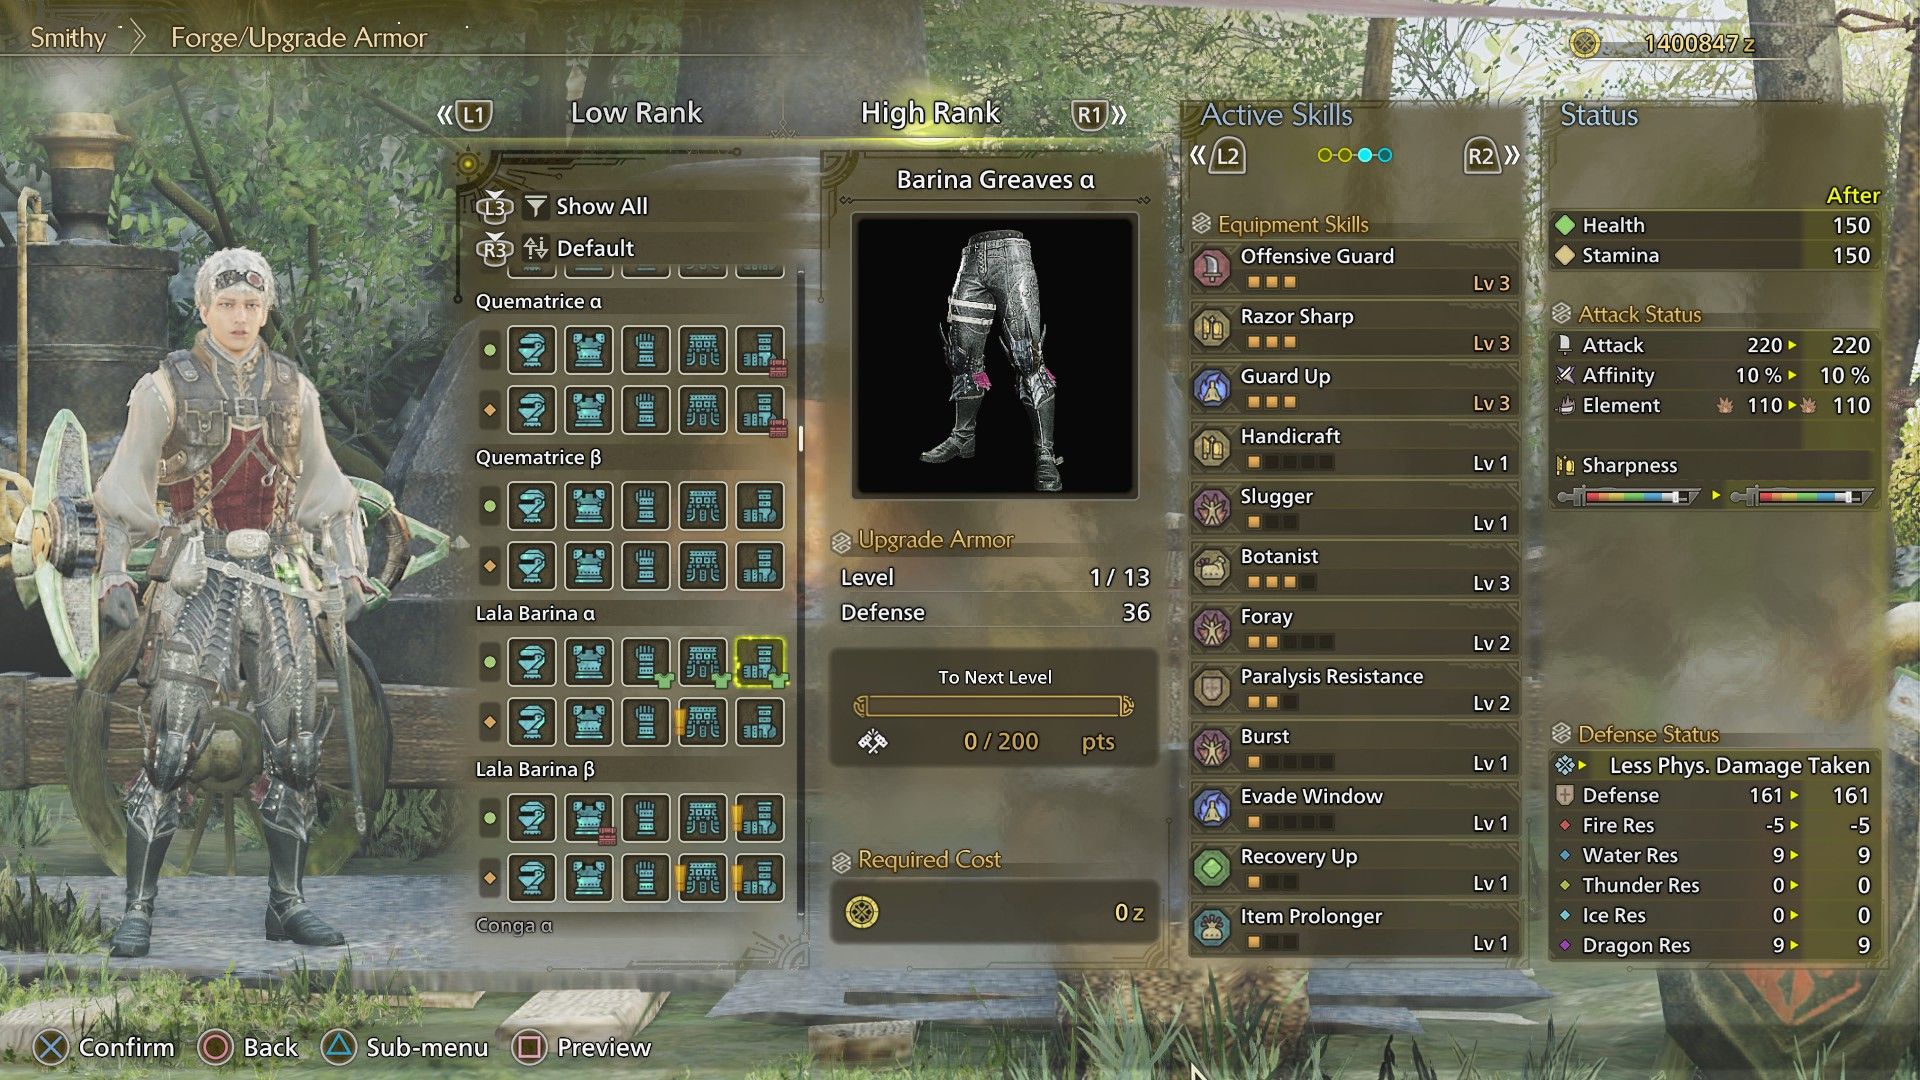
This collection is designed for players who haven’t achieved (or have already attained) High Rank in MH Wilds. The armor components here are quite convenient as they demand minimal farming and effort, although they might not provide all the elements needed for an optimal gathering setup.
Just the armor pieces by themselves grants the following skills:
- Botanist 3 – Increases the amount of gathered herbs, nuts, plants, insects, seeds, and mushrooms
- Neopteron Alert (Honey Hunter) – Increases the amount of Honey you get from gathering points
To complete this setup, create and attach a Geology Charm III to acquire the Geologist skill, which enhances the number of items you receive from bone piles, mining sites, and special collection spots. As an alternative solution, swap out Leather Helmet and Leather Armor with their respective equivalents, then insert some Geology Gems into your armor setup.
For players in Low Rank, simply equip Low Rank versions of these items.
Late High Rank Gathering Set for MH Wilds
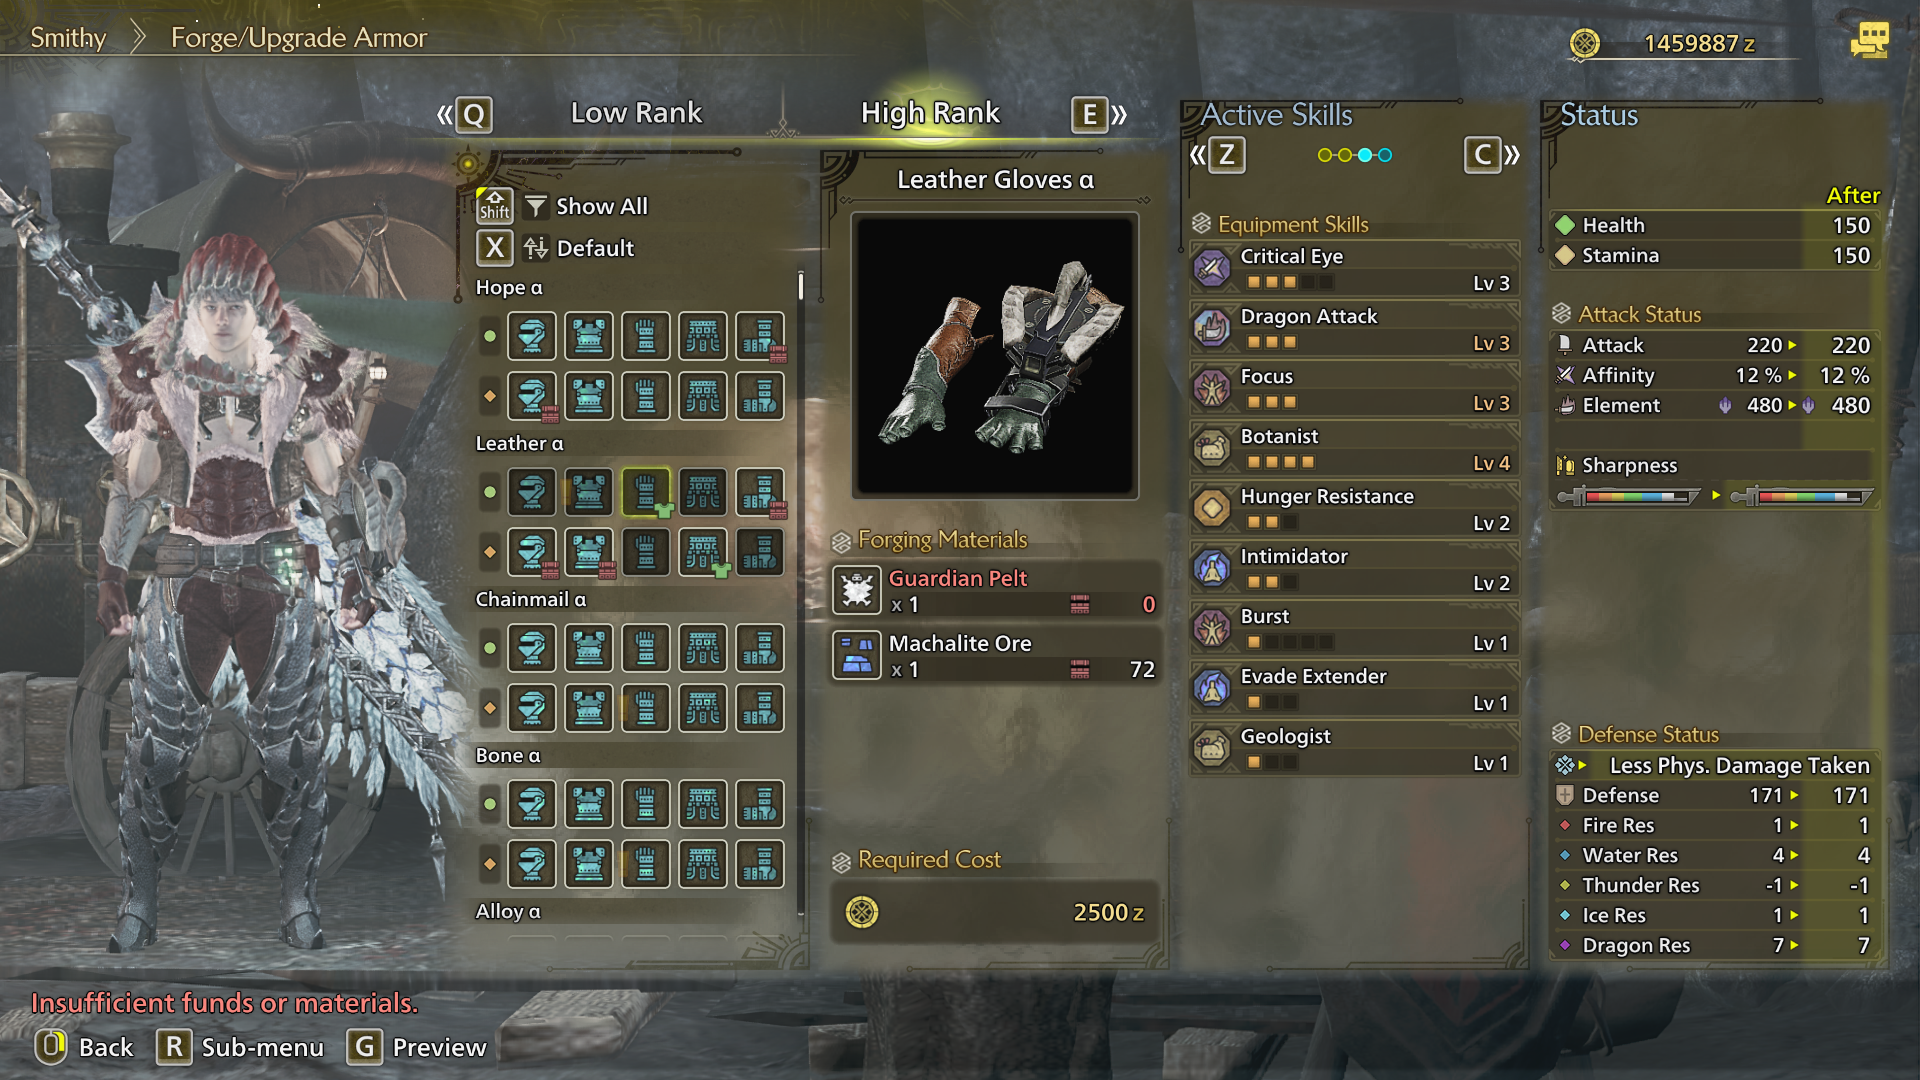
This version incorporates additional embellishments and protective elements crafted from exclusive trade goods such as Dalthydon Wool. Players may find this MH Wilds harvesting setup to be more advantageous than its predecessor, but gathering all the decorative items and armor pieces for it may require some time.
| Armor | Skills | Decoration |
|---|---|---|
| Botanist 3 |
|
|
| Intimidator 2 |
|
|
| Botanist 1 |
|
|
| Hunger Resistance 1 |
|
|
| Geologist 1 |
|
Replace Balahara Greaves with when you get the materials.
As a passionate enthusiast, I’d say this collection set significantly boosts the yield of resources from every gathering spot, all while keeping hunger at bay, eliminating the necessity to consume any meals or rations during uninterrupted foraging. Moreover, it ensures that Vespoid carcasses won’t be wasted upon their demise.
As a gamer, I’ve found that Intimidator 3 is supposed to keep monsters at bay once they spot me, but there are some pesky creatures that don’t seem to care about that skill. That’s why I always make sure to have my Ghillie Mantle ready for those tricky situations. Plus, having the Tool Specialist skill (granted by Maintenance Jewel 2) is a lifesaver, as it reduces the cooldown of all mantles in Monster Hunter Wilds, making it perfect for gathering builds like mine.
Read More
- Invincible’s Strongest Female Characters
- Top 8 Weapon Enchantments in Oblivion Remastered, Ranked
- MHA’s Back: Horikoshi Drops New Chapter in ‘Ultra Age’ Fanbook – See What’s Inside!
- Nine Sols: 6 Best Jin Farming Methods
- Fix Oblivion Remastered Crashing & GPU Fatal Errors with These Simple Tricks!
- How to Reach 80,000M in Dead Rails
- Top 8 UFC 5 Perks Every Fighter Should Use
- Gold Rate Forecast
- USD ILS PREDICTION
- Silver Rate Forecast
2025-03-13 14:07