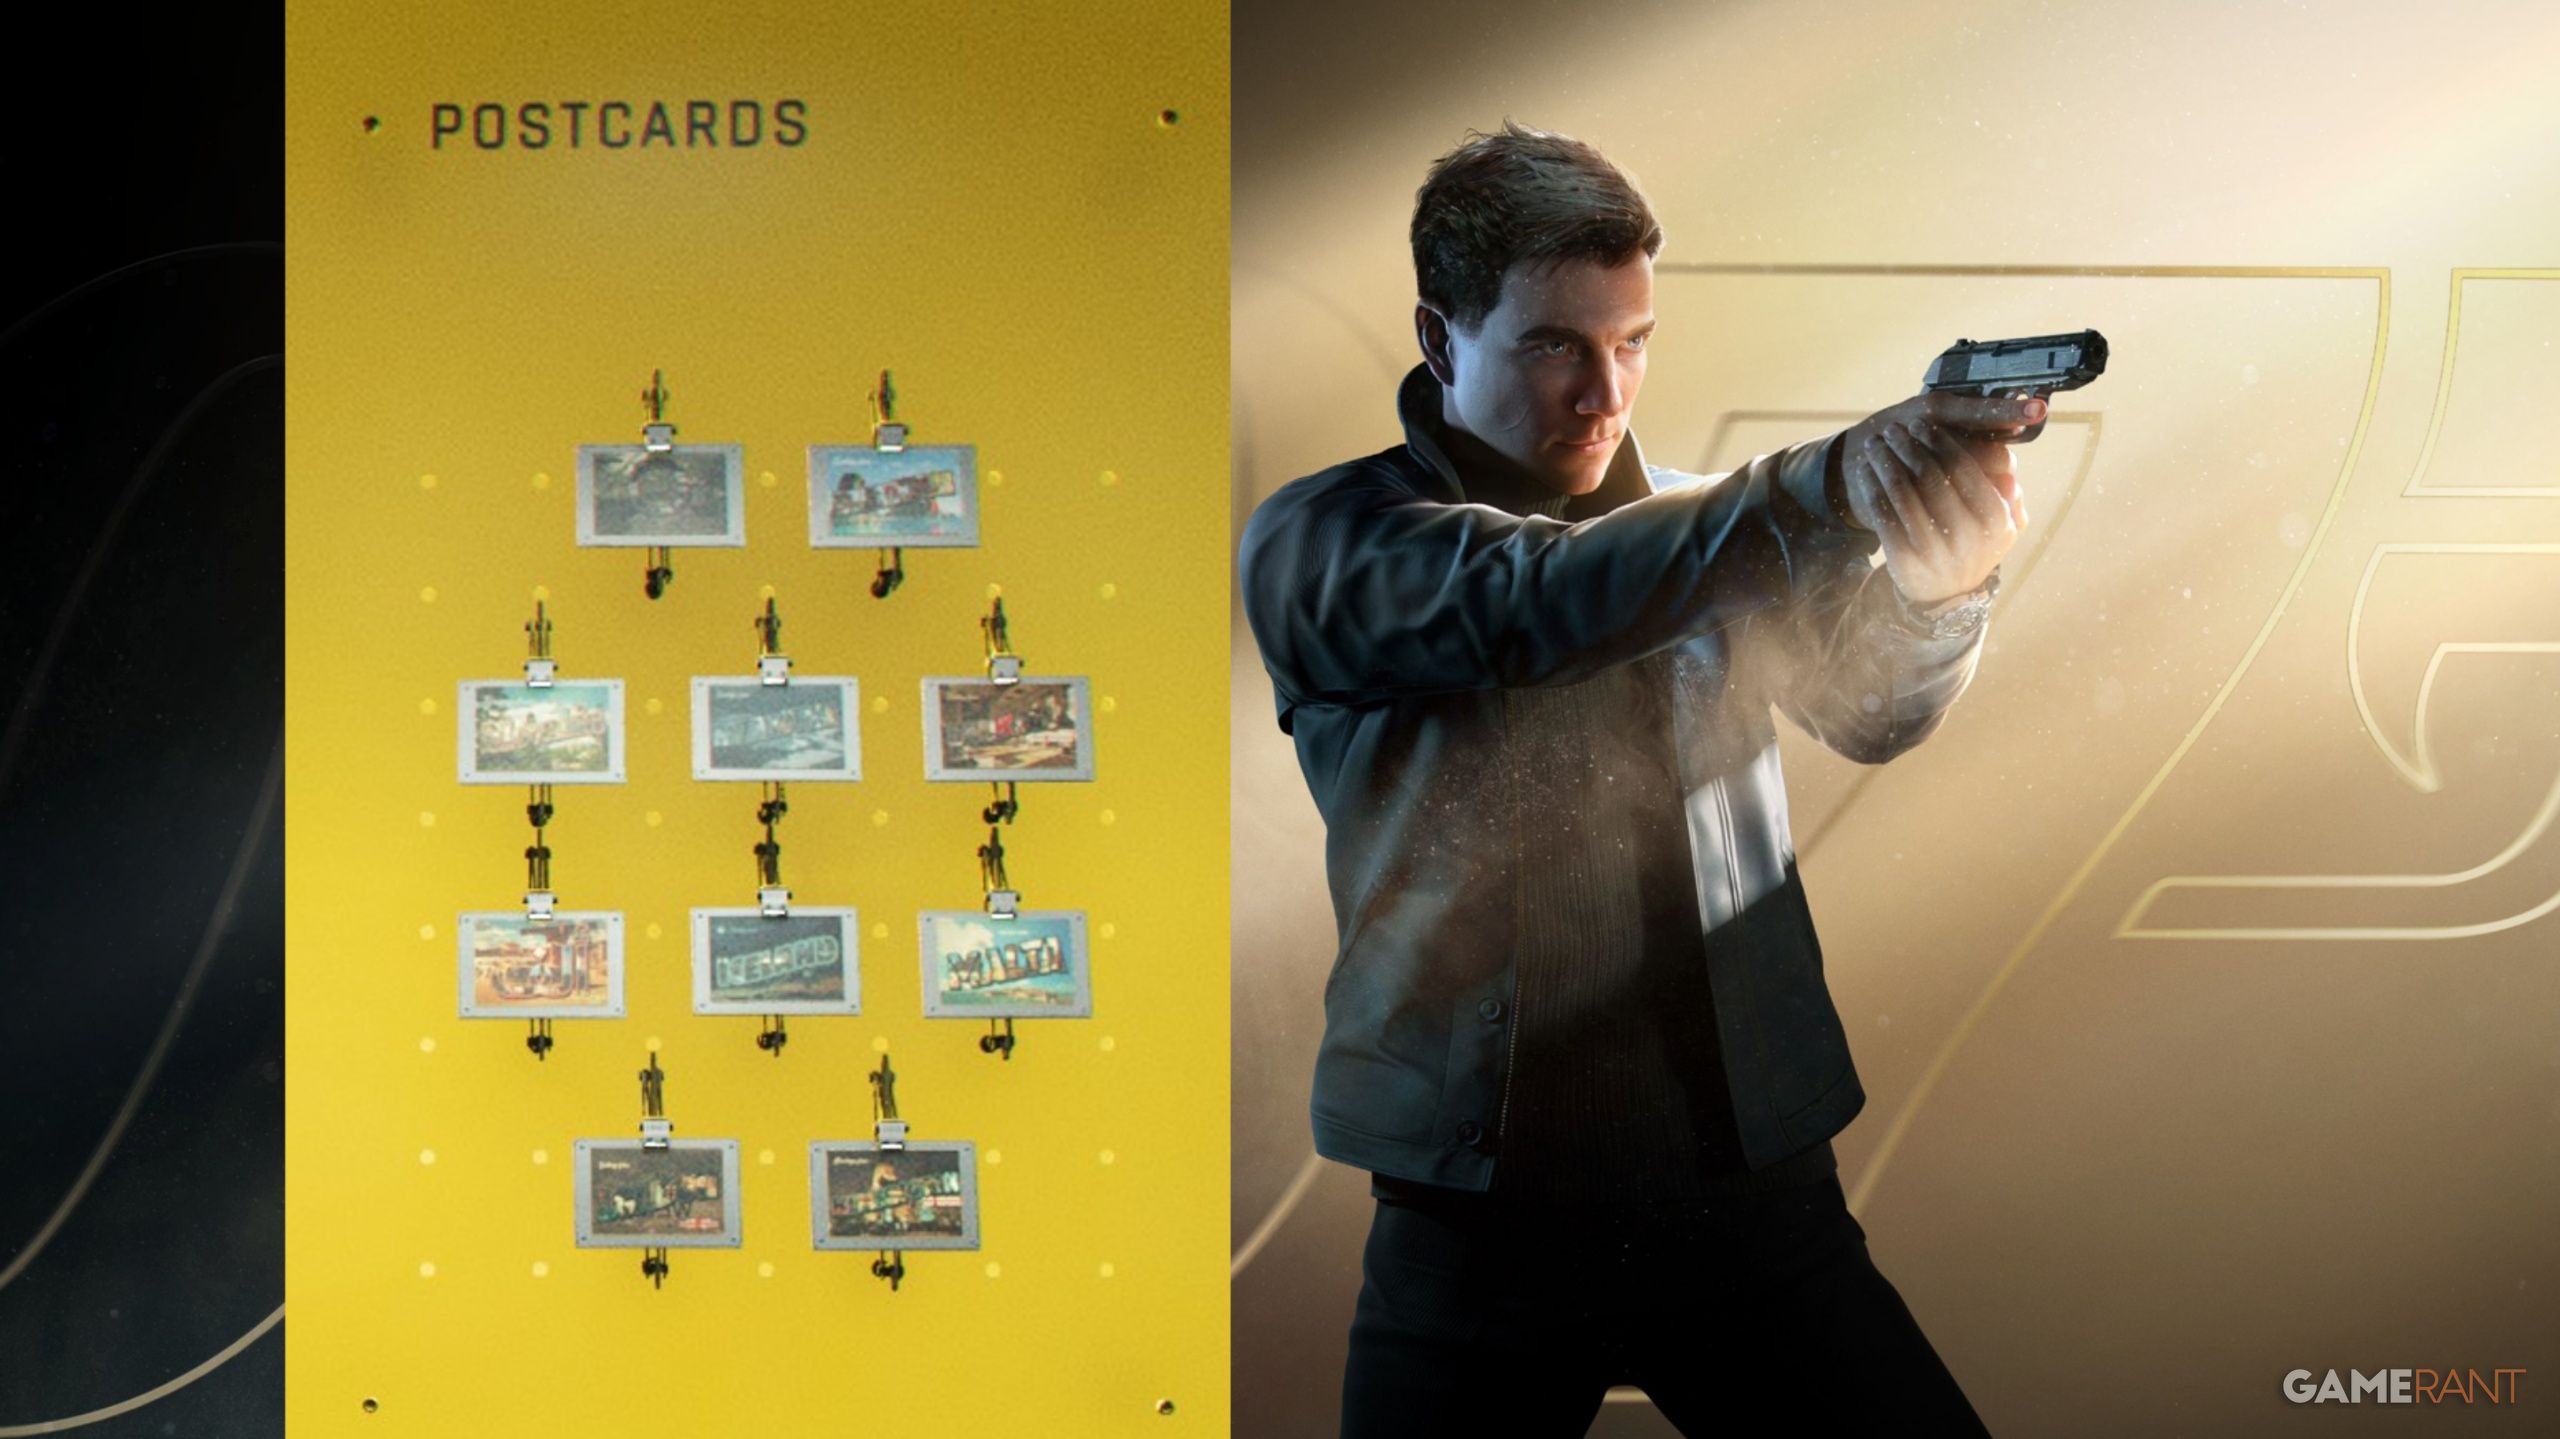
007 First Light features 10 collectible postcards. You’ll find these unique postcards throughout the game’s various missions and locations, and collecting them all is necessary to unlock every trophy and achievement.
Here’s a guide to finding all the Postcards in 007 First Light. We’ll tell you exactly where they are, which missions they appear in, and the best starting point for each one to help you collect them all.
All Postcards Overview in 007 First Light
| Postcard | Mission | Checkpoint |
|---|---|---|
| Iceland Postcard | Against the Odds | Central Camp |
| Malta Postcard | The Needle’s Eye | Basic Training |
| Slovakia Postcard | All the Time in the World | Accessing Room 206 |
| Mauritania Postcard | The Past Never Dies | Black Market |
| Kensington Postcard | Uninvited | Security Office |
| City of London Postcard | Knightfall | Executive 1st Floor |
| Vietnam Postcard | Time to Die | The Three Targets |
| Q-Lab Postcard | Man of the Hour | The Betrayal |
| Antarctica Postcard | Wave of the Future | Safety Off |
| MI6 Postcard | For England | Backstairs |
Postcard #1: Iceland Postcard (Against the Odds)
- Checkpoint: Central Camp
After entering Central Camp, turn right and go into container B2. You’ll find an enemy inside – defeat them, and then check the desk they were near to find the Iceland Postcard.
Postcard #2: Malta Postcard (The Needle’s Eye)
- Checkpoint: Basic Training
Once you’ve handed your car to Greenway, feel free to explore and watch the soldiers training. You’ll find a table with water bottles to your right, along with Malta postcards you can pick up.
Postcard #3: Slovakia Postcard (All the Time in the World)
- Checkpoint: Accessing Room 206
The Slovakia Postcard is located in Room 205. You can get into the room using this guide, or by creating a distraction – like using the vacuum cleaner or a Phone Dart – to steal the keycard. Once inside, you’ll find the postcard on the bedside table.
Postcard #4: Mauritania Postcard (The Past Never Dies)
- Checkpoint: Black Market
After entering the Black Market and paying the auction fee, go to the left side. You’ll see three guards standing near a container. To their right is a locked door secured with a padlock. Use your Laser Strap gadget on the padlock to open the door and claim the Mauritania Postcard.
If you’ve finished “The Past Never Dies,” you’ll need to begin again at the Q-Lab checkpoint in “Out of the Ashes.” This will allow you to add the Laser Strap to your gear before continuing with “The Past Never Dies.”
Postcard #5: Kensington Postcard (Uninvited)
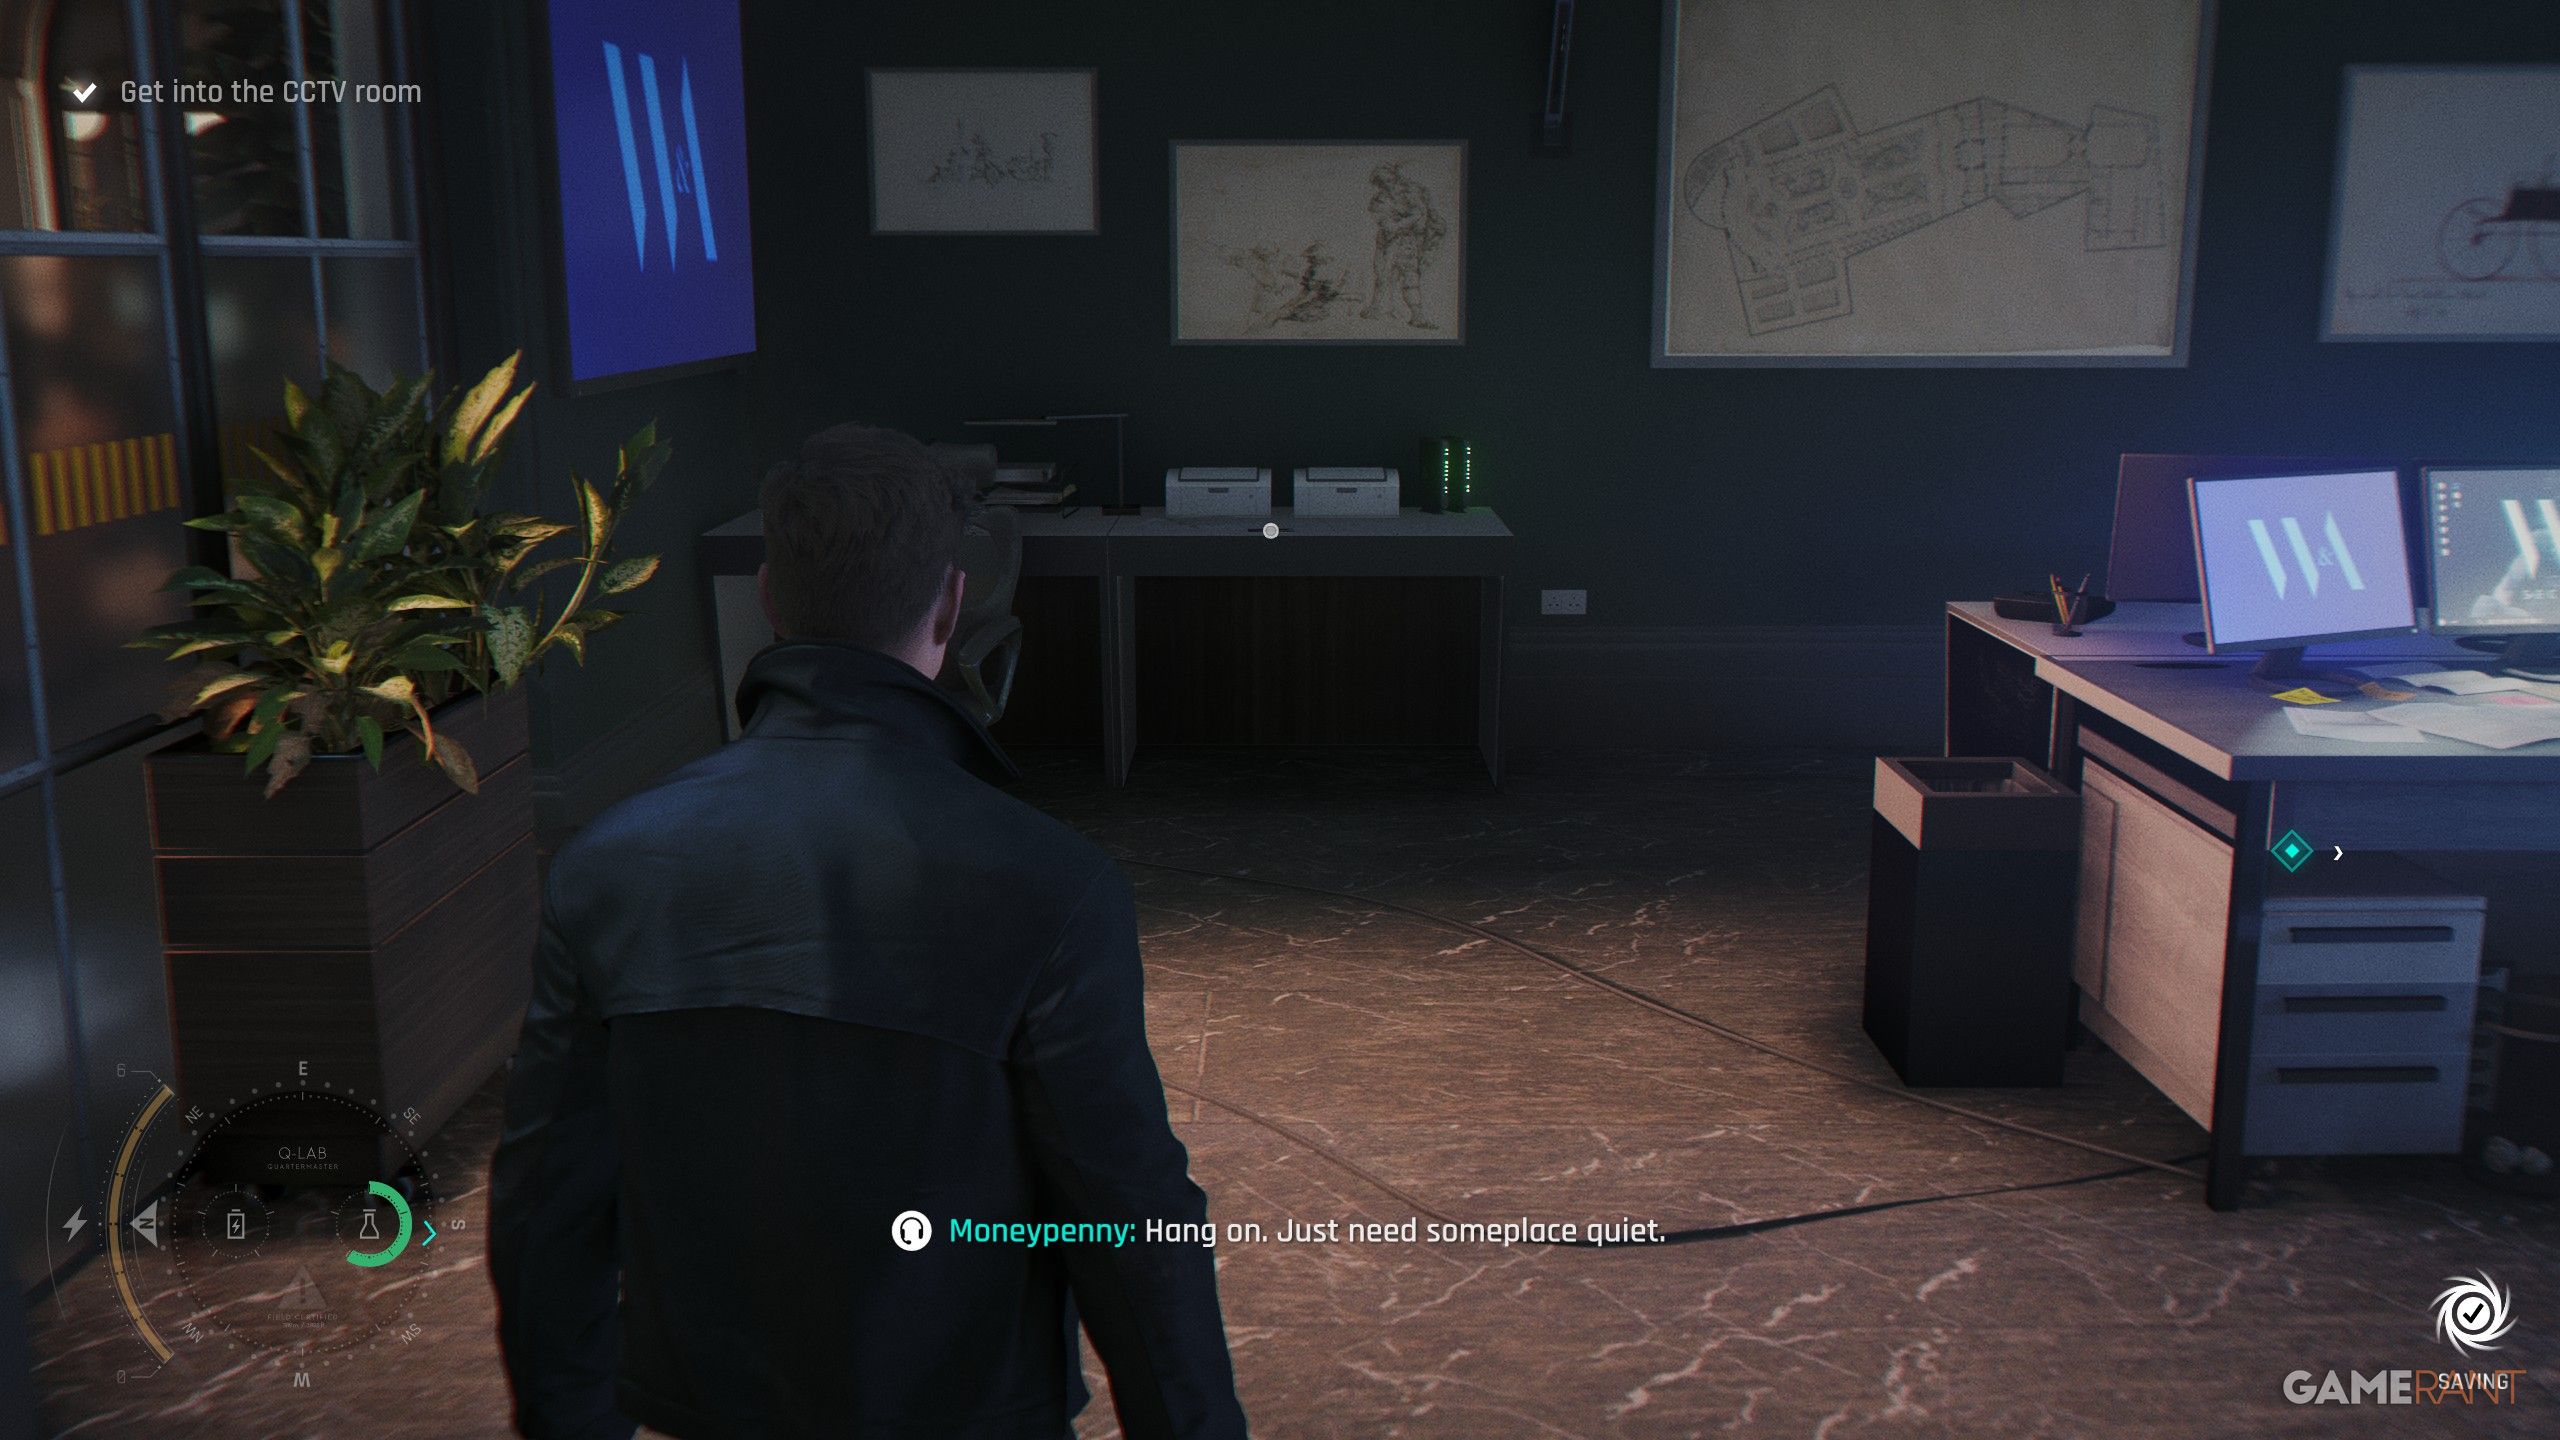
- Checkpoint: Security Office
After you successfully get past the Security Office and into the CCTV room, check the table to your left – you’ll find the Kensington Postcard there.
Postcard #6: City of London Postcard (Knightfall)
- Checkpoint: Executive 1st Floor
Use the Q-Lens to examine the art installation, which will give you a boost from Greenway. Then, carefully move across the ledge, jump onto the balcony, and leap through the window to get to the bar upstairs. Once inside, you’ll find a counter on the left with glasses and a City of London Postcard.
Postcard #7: Vietnam Postcard (Time to Die)
- Checkpoint: The Three Targets
Go down the stairs to the left, and you’ll reach the Ocean View Bar. To get in, you’ll need to discreetly steal a Party Flyer from one of the women inside. While you’re there, you can find Ellis White for an optional task, but make sure to head to the back-right corner of the bar to find the Vietnam Postcard.
Postcard #8: Q-Lab Postcard (Man of the Hour)
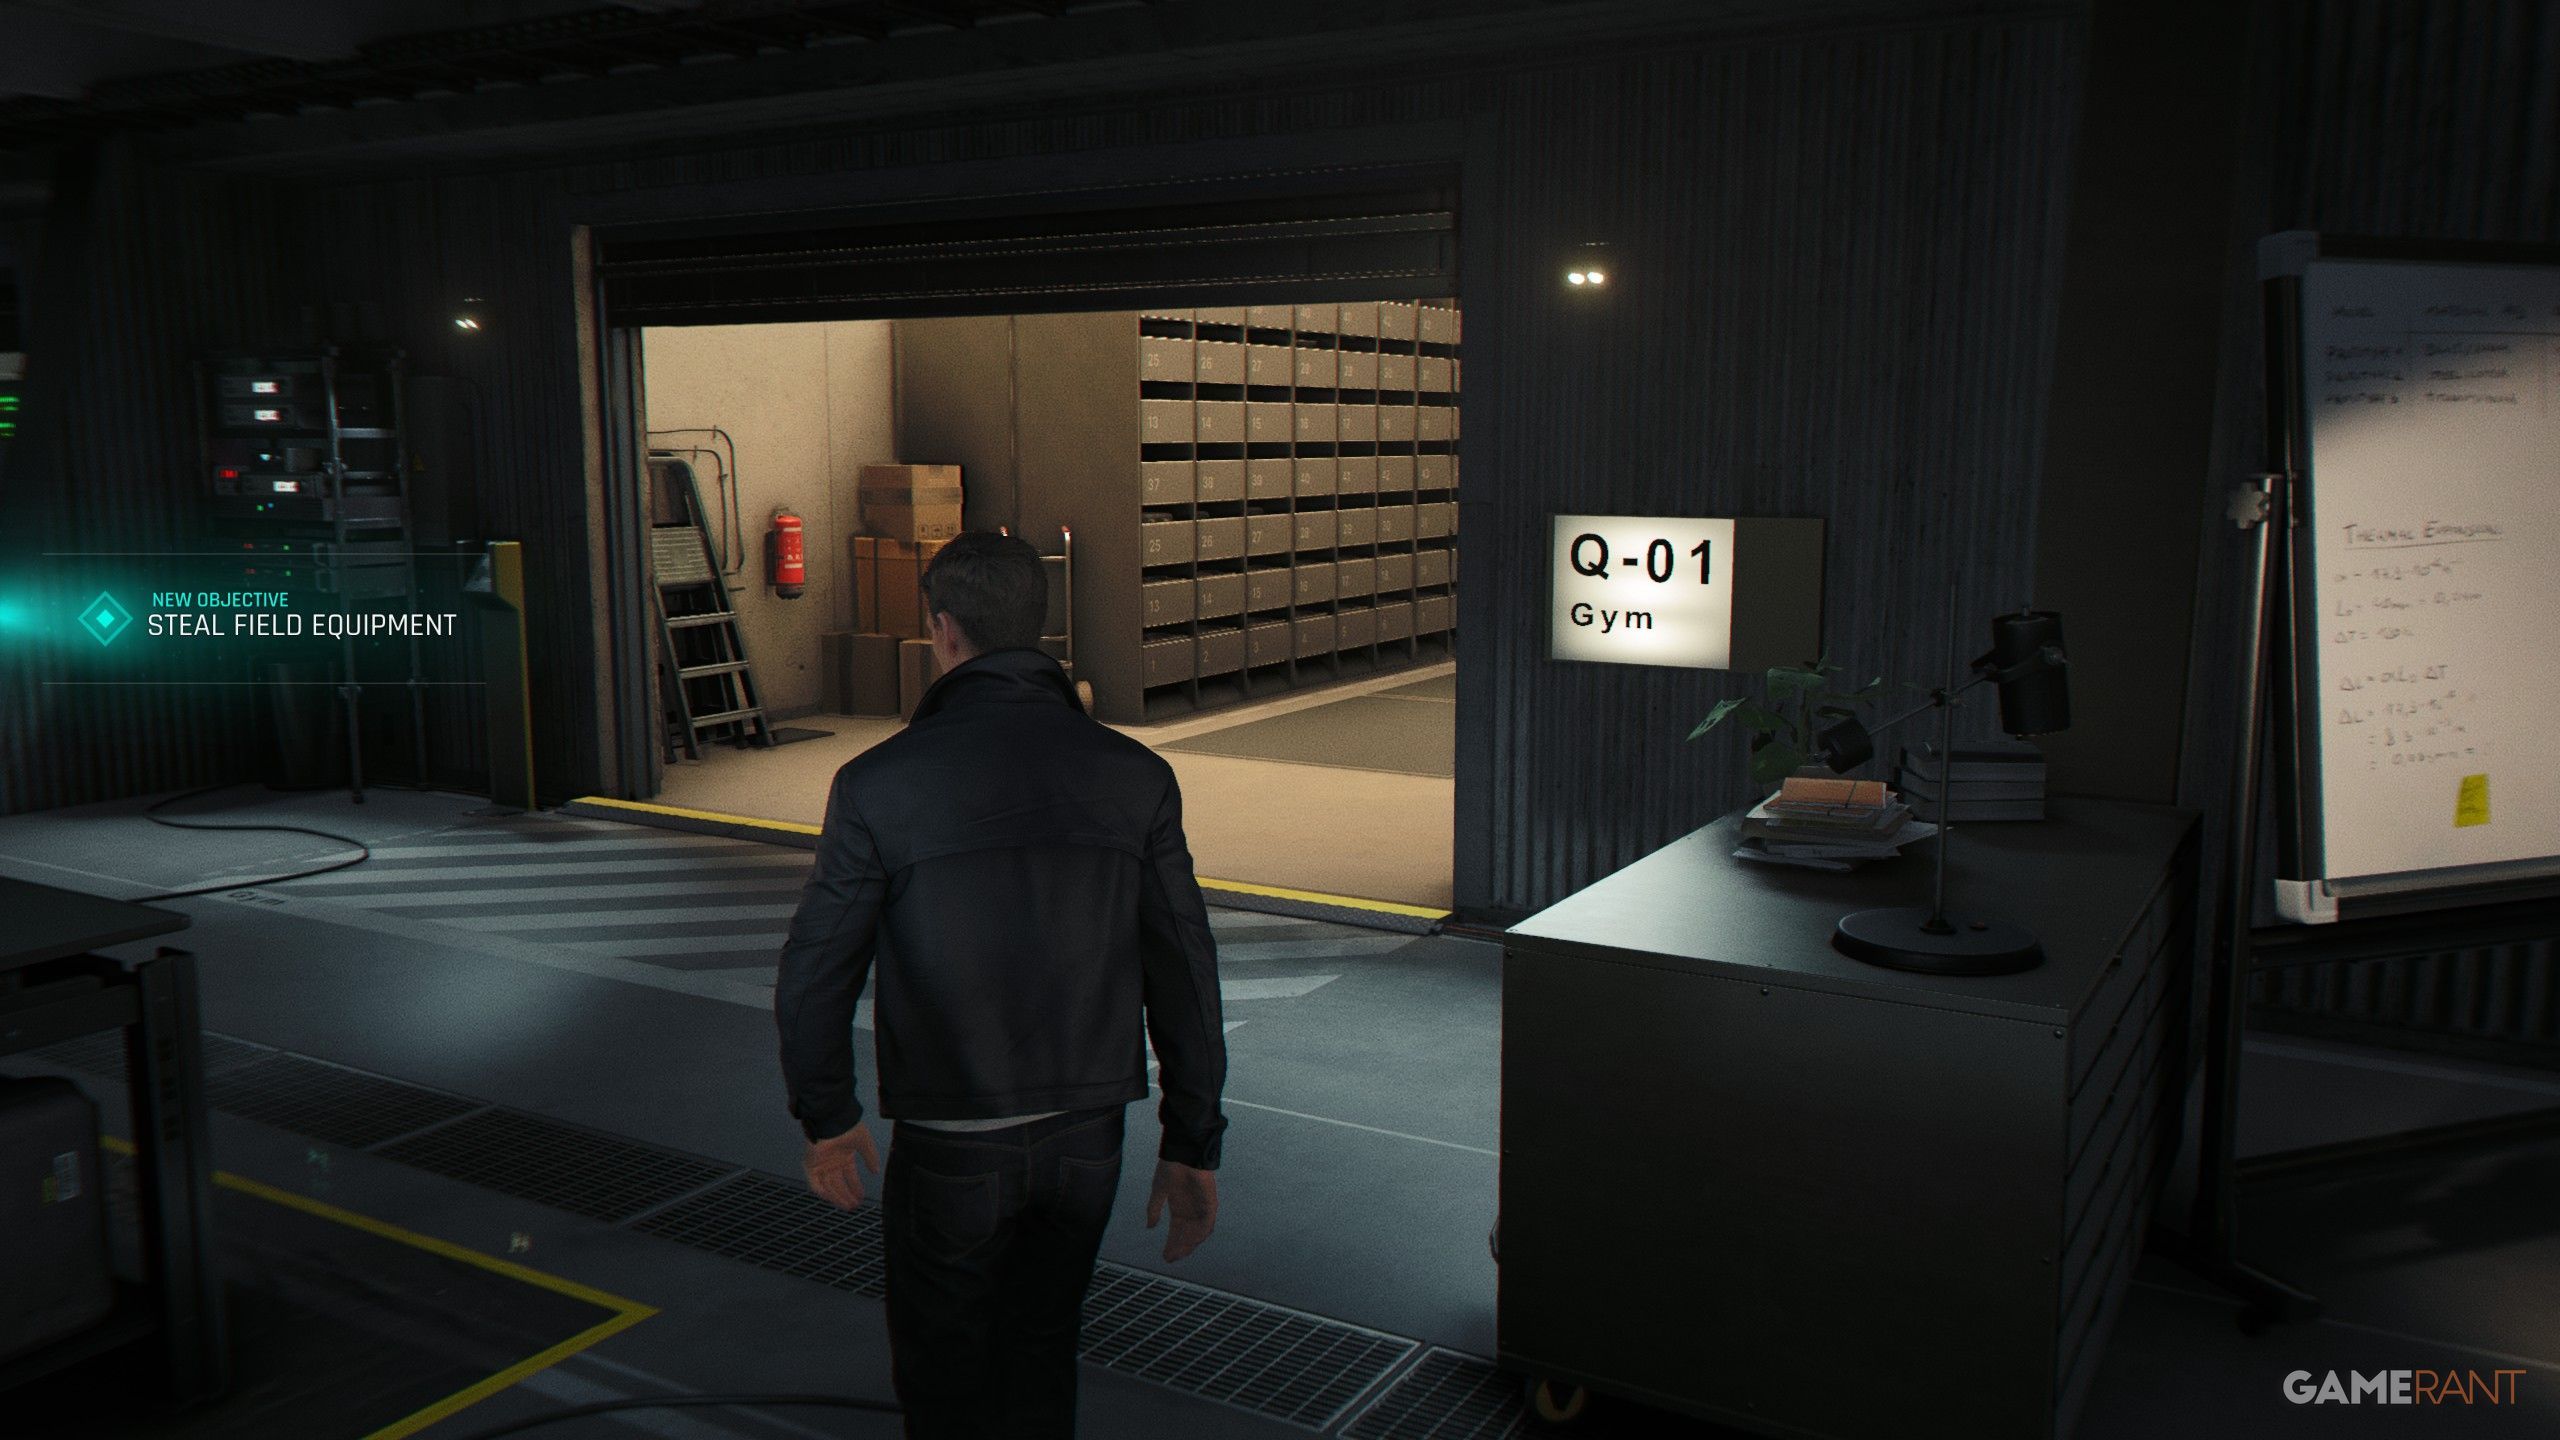
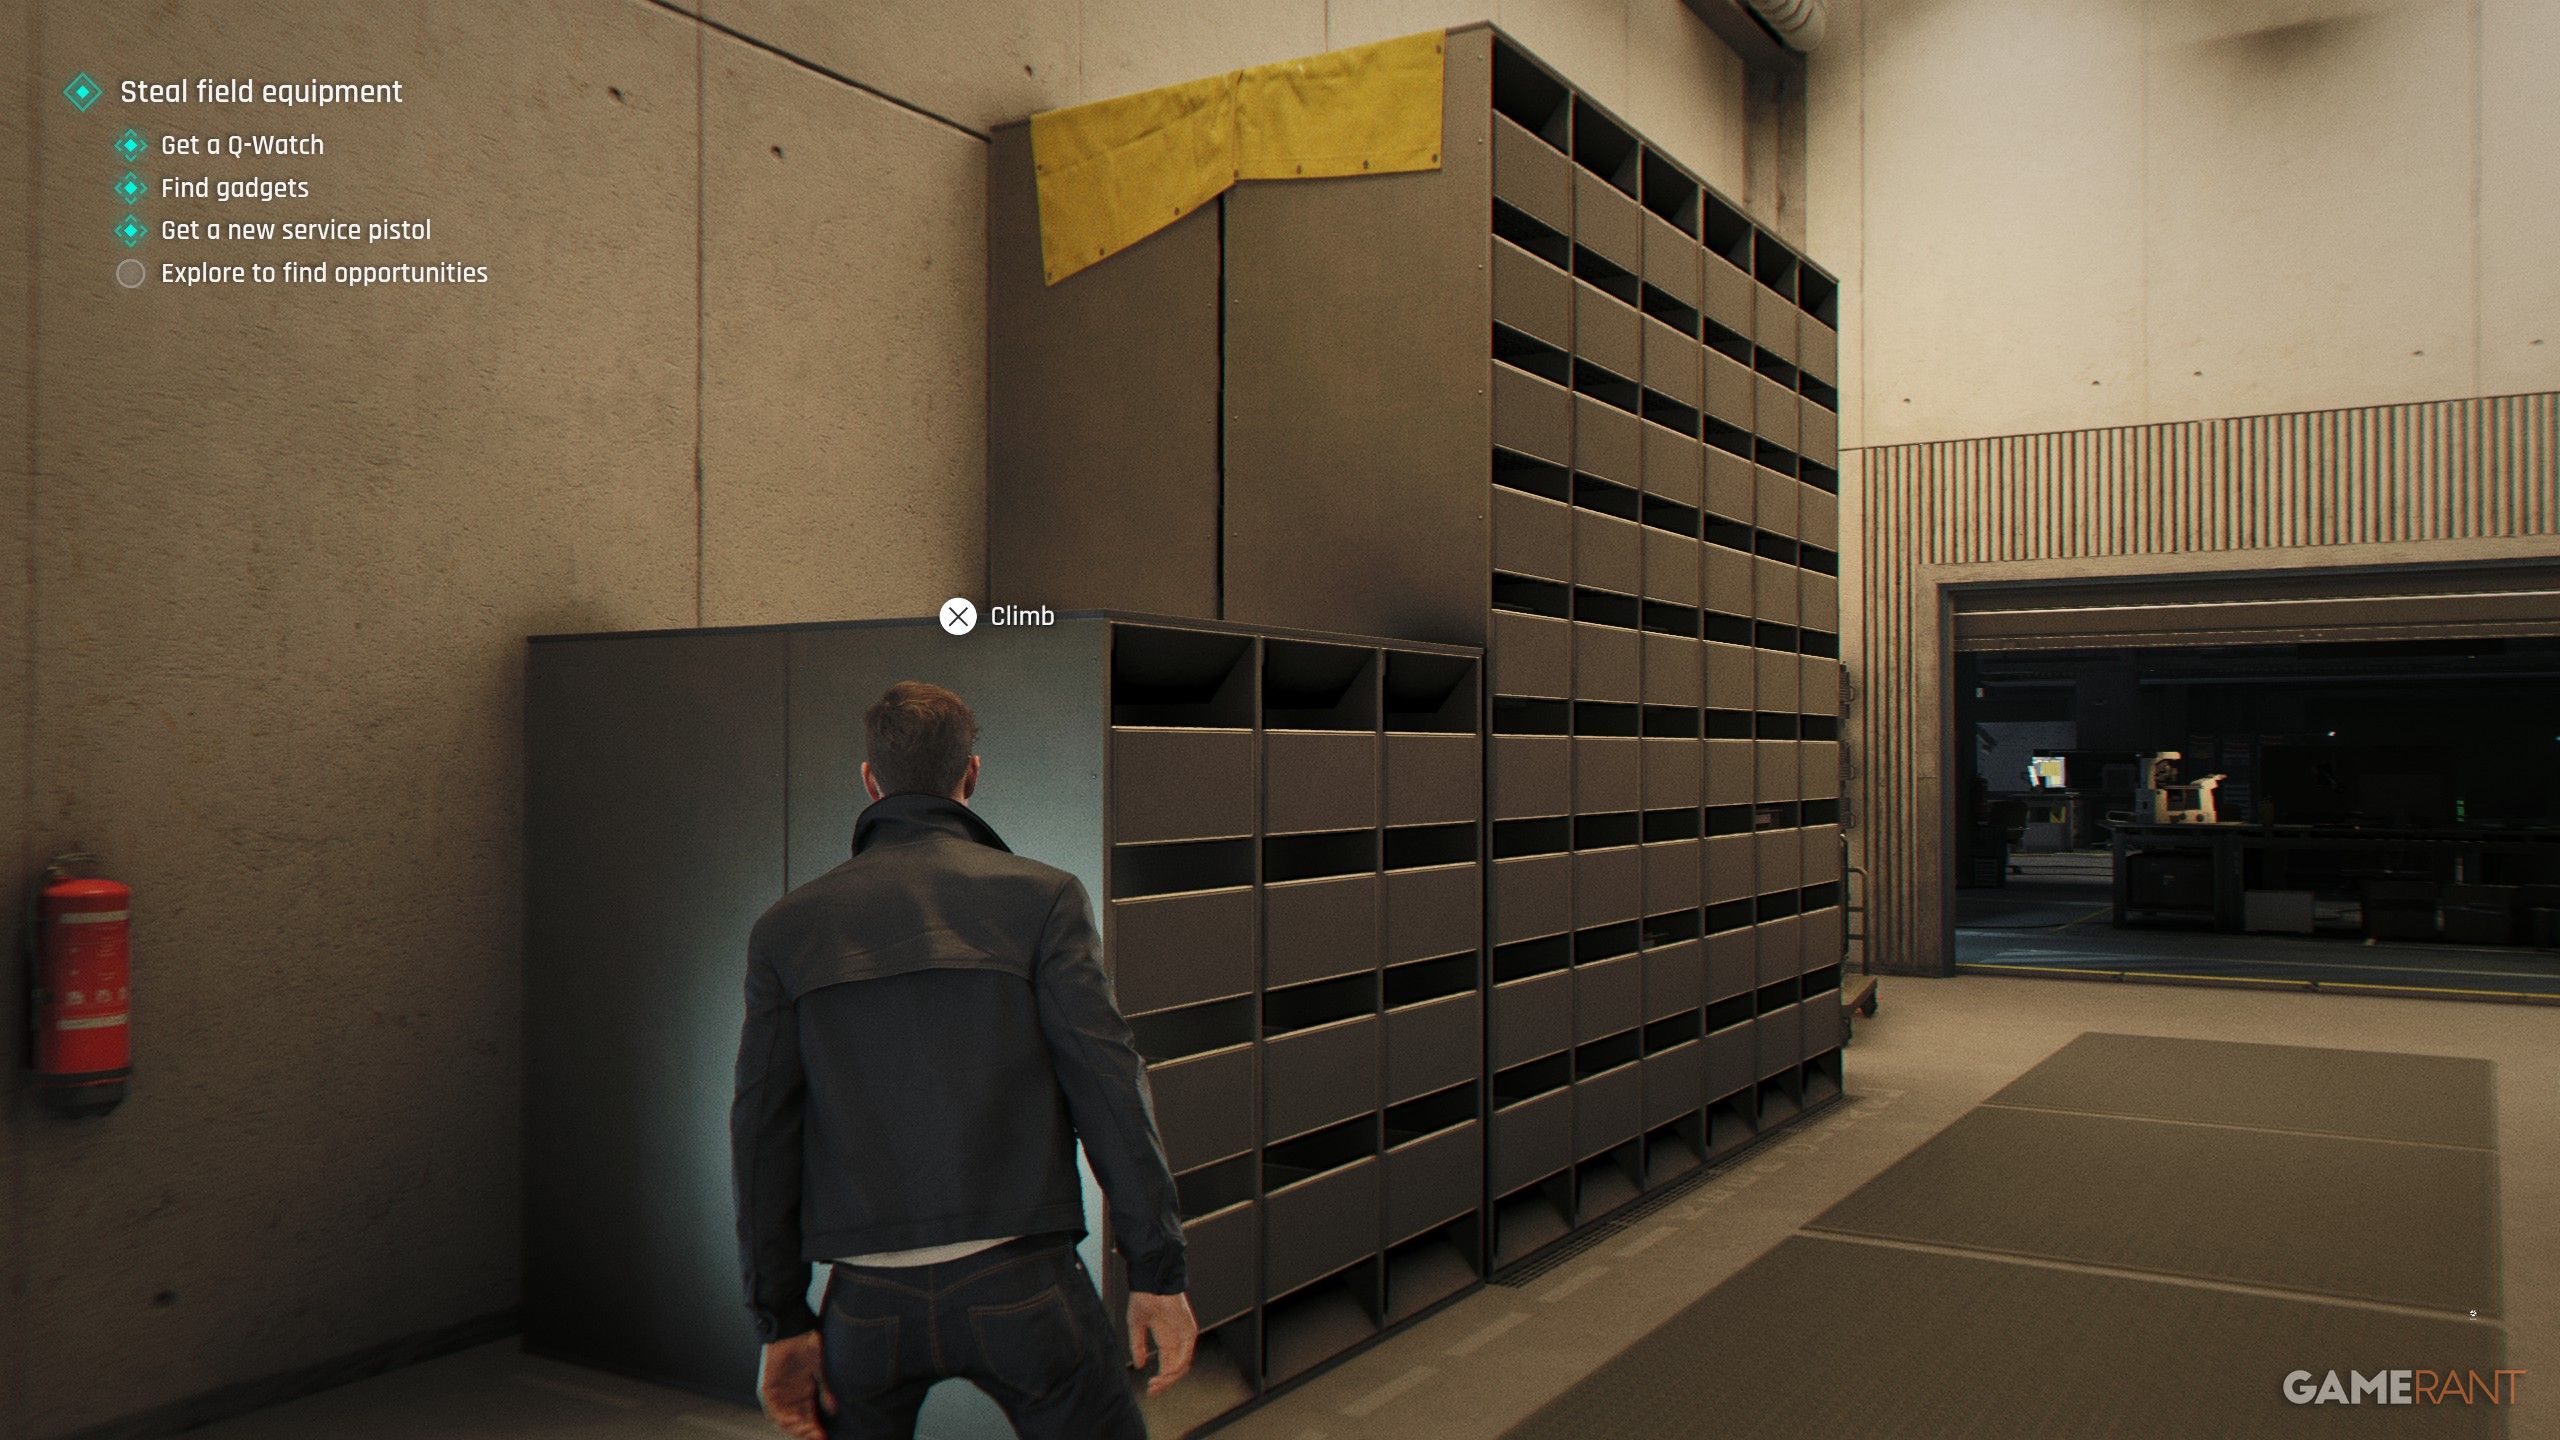
- Checkpoint: The Betrayal
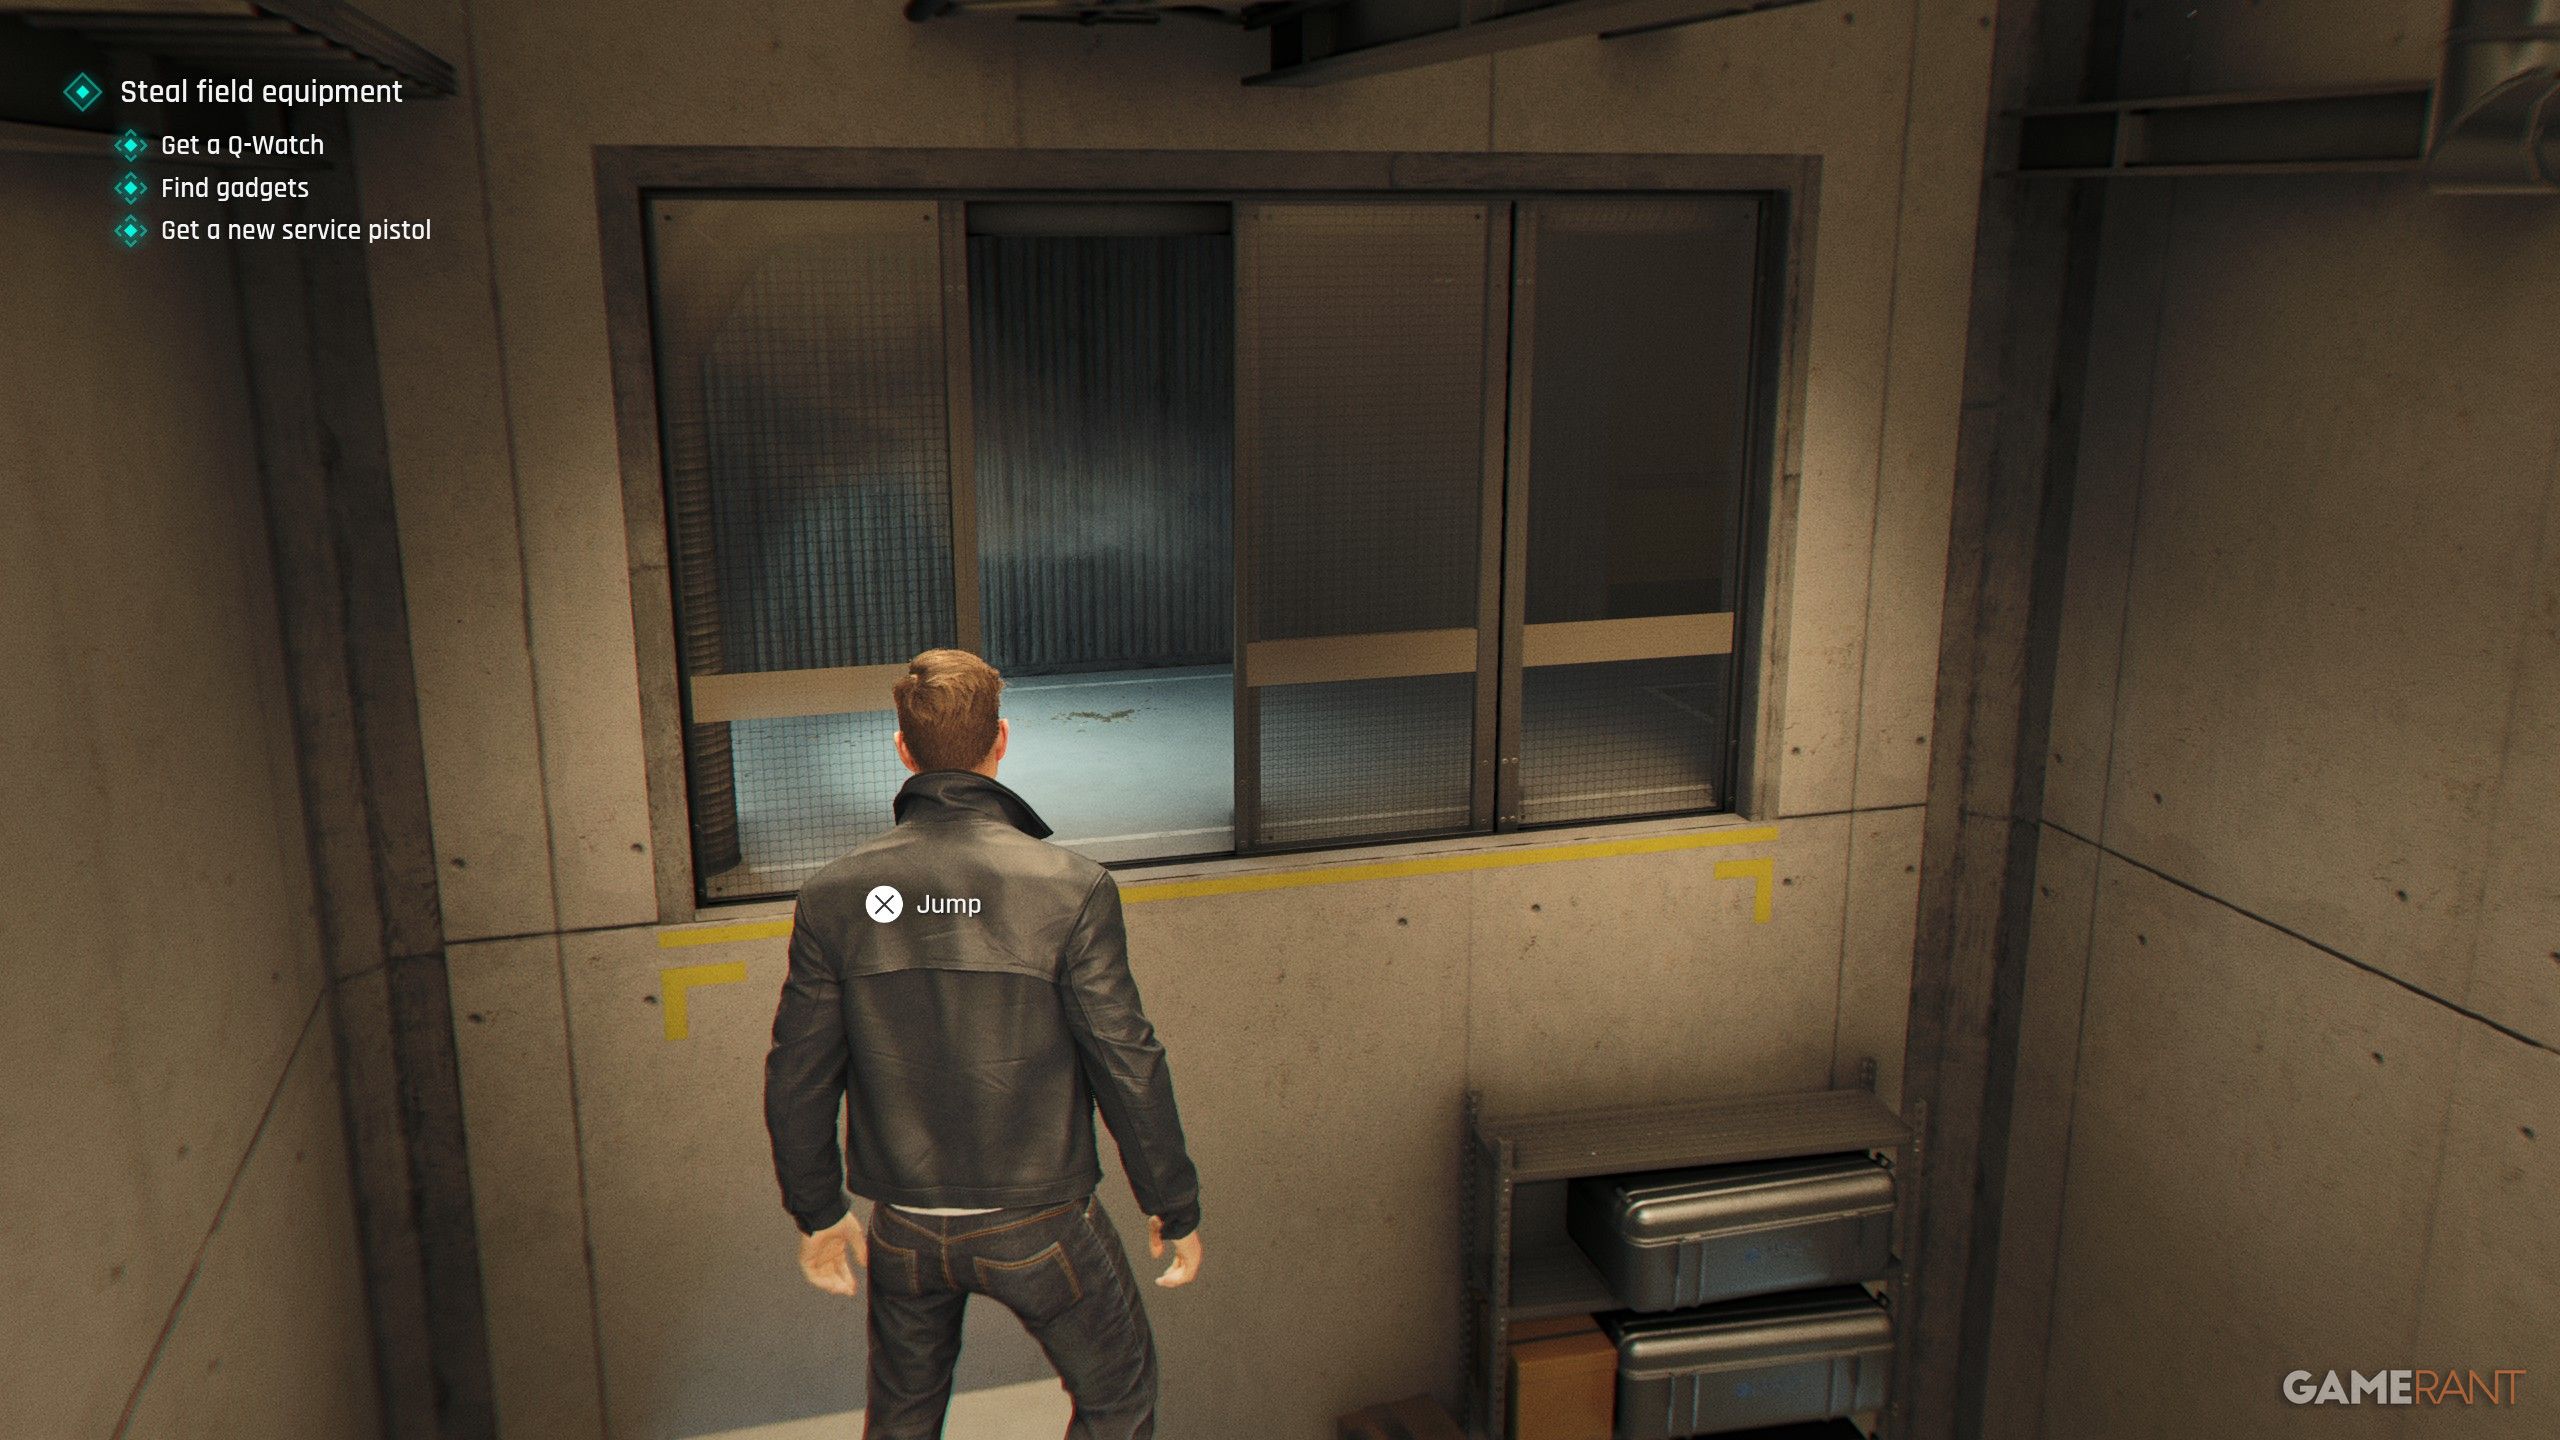
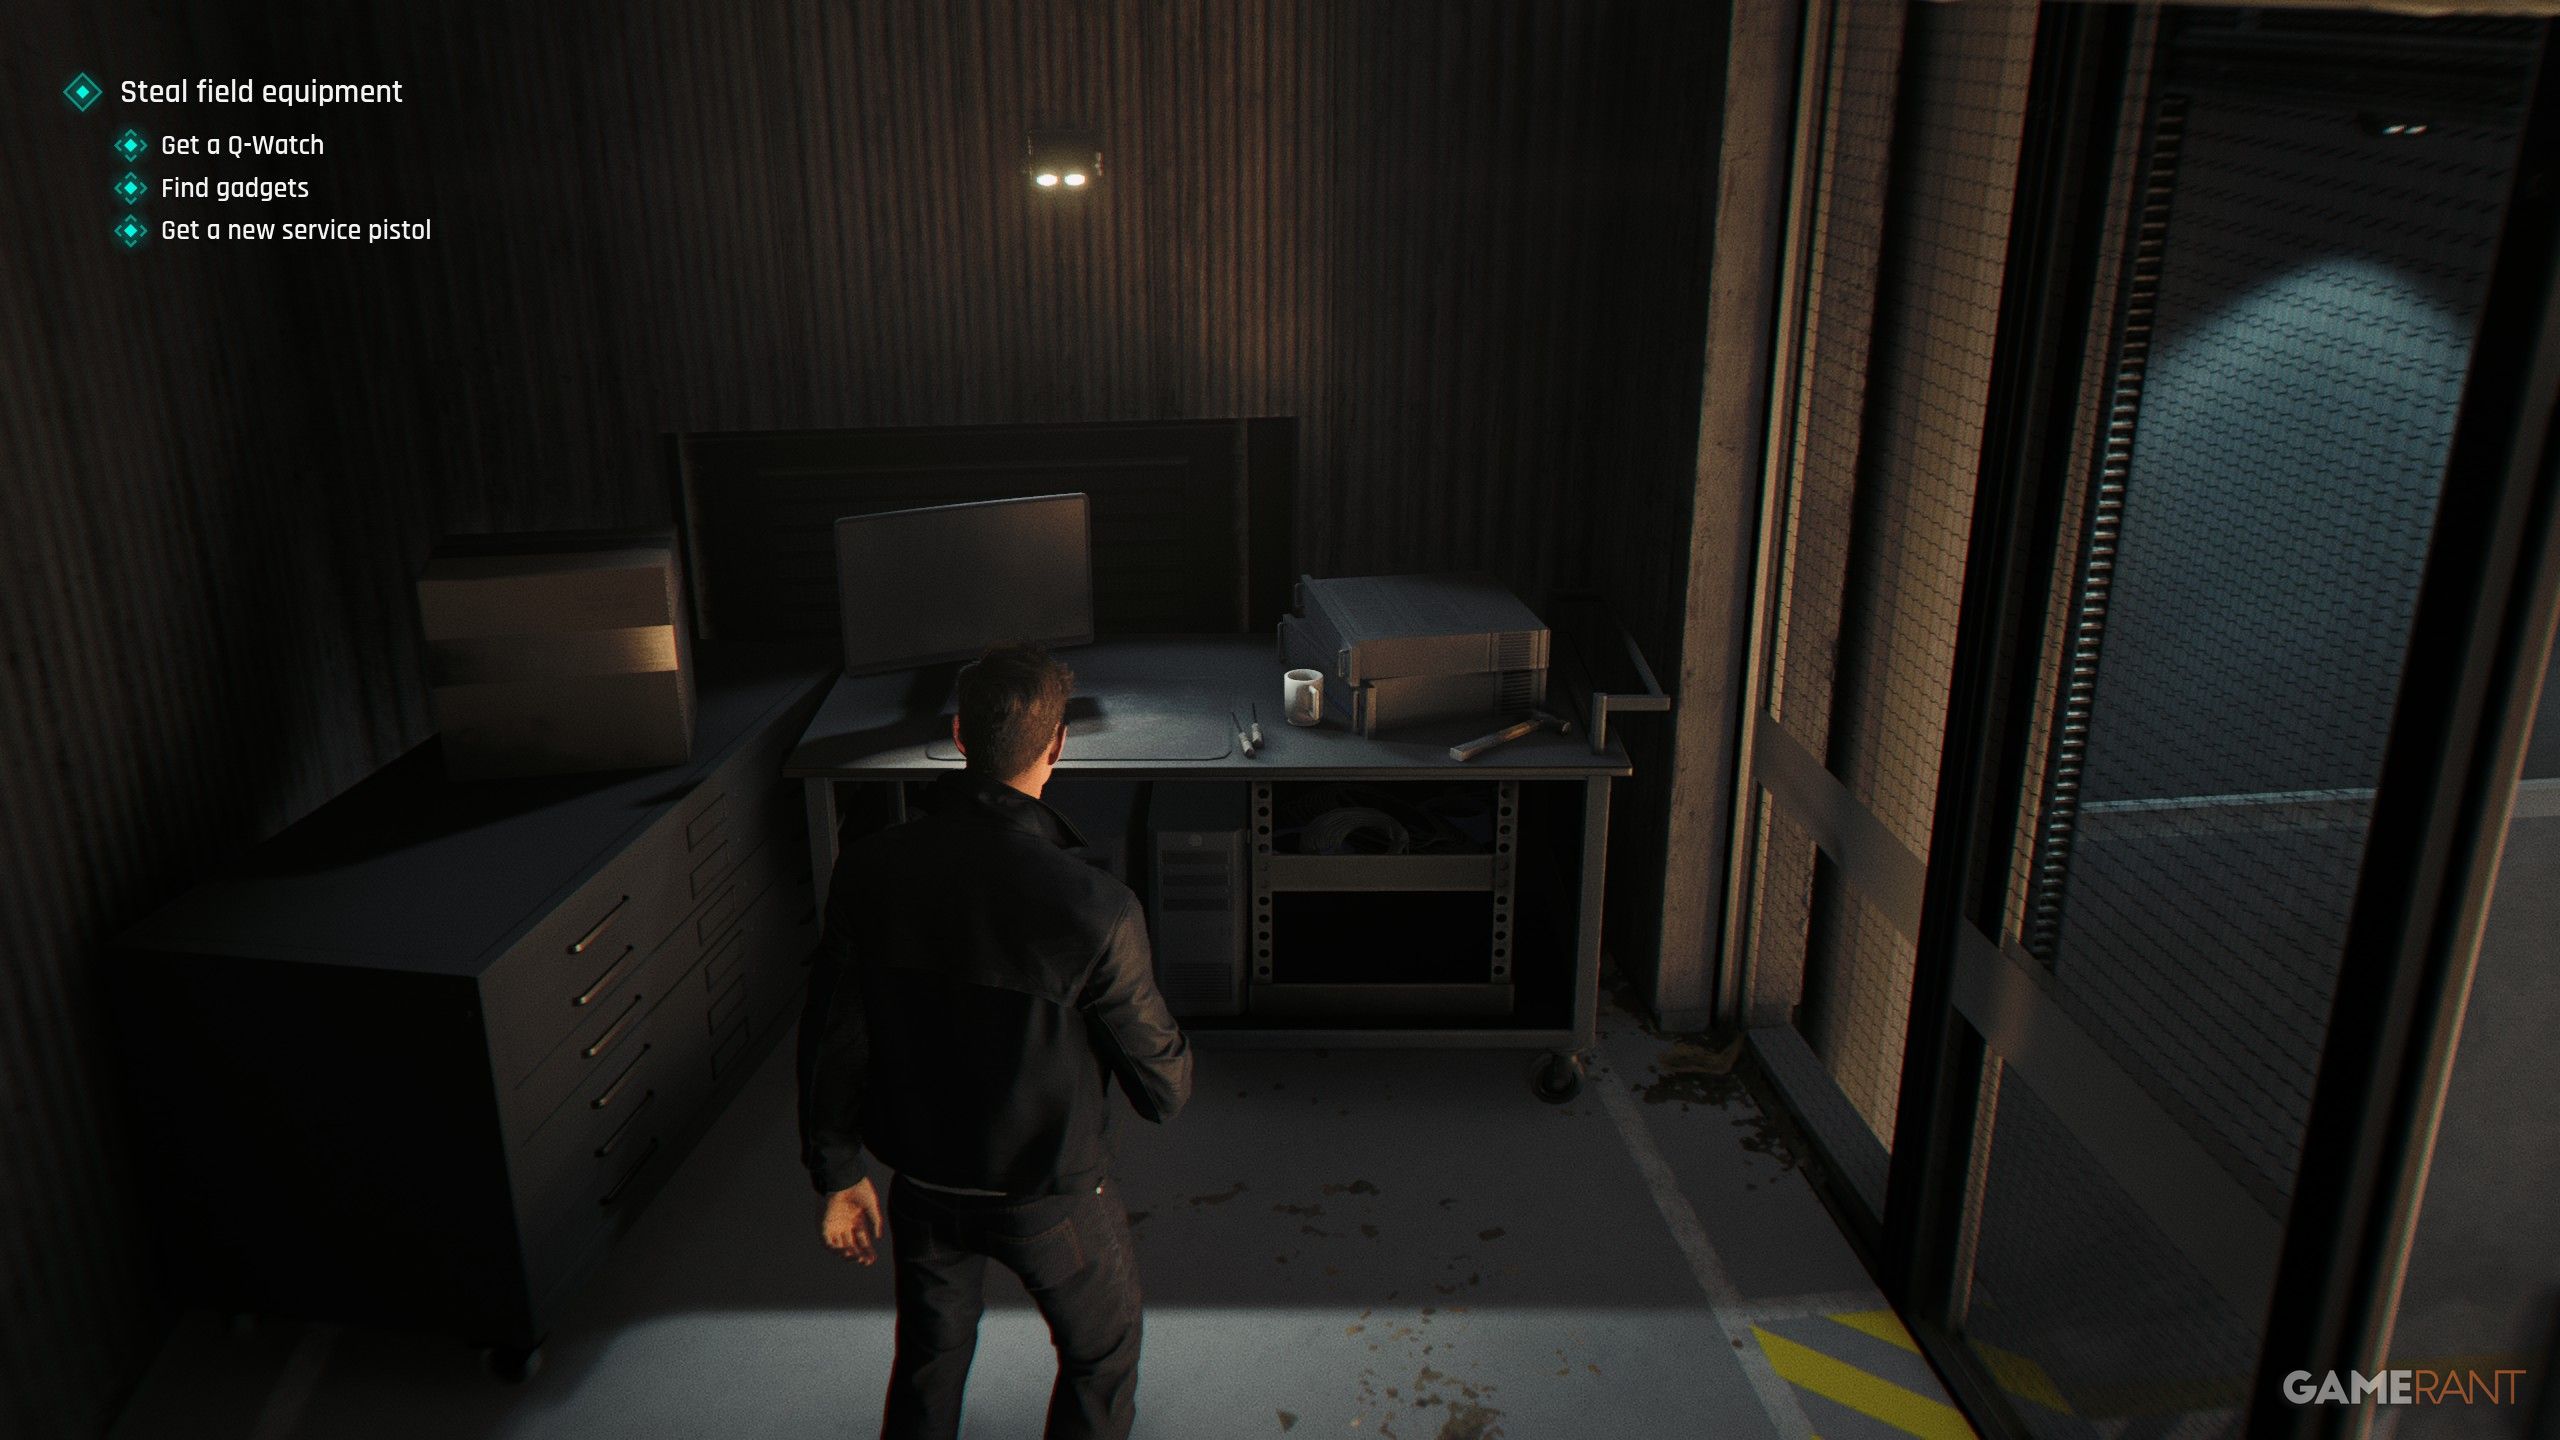
During the Q-Lab mission where you need to steal equipment, you can find a special Postcard. Go to the Q-01 Gym and climb onto the lockers. From there, jump to the back of the room and follow the hallway. You’ll find the Q-Lab Postcard on a table at the end.
Postcard #9: Antarctica Postcard (Wave of the Future)
- Checkpoint: Safety Off
To get to HYPERION, defeat the first android and use the override key to open the doors. Then, jump over the scaffolding. You’ll find the Antarctica Postcard on a table to your left, near the window.
Postcard #10: MI6 Postcard (For England)
- Checkpoint: Backstairs
Once you’ve answered the red phone and taken the earpiece from the opponent to complete the main goal, head through the door and carefully navigate between the shelves. Immediately after squeezing through, look down to discover the MI6 Postcard.
We’re working fast to get the other collectibles for you to follow:
- All Legacy
- All Mementos
- All MI6 Intel
- All Playing Cards
Read More
- Forza Horizon 6: Find the Ohtani Treasure Chest Location
- LEGO Batman Legacy of the Dark Knight Batcave Minikits & WayneTech Caches
- NTE Drift Guide (& Best Car Mods for Drifting)
- Diablo 4 Best Loot Filter Codes
- USD CNY PREDICTION
- USD RUB PREDICTION
- Cookie Run Kingdom Timeline of Fate Update Guide
- PS Plus Monthly Games for June 2026 Wish List
- GBP CNY PREDICTION
- CNY RUB PREDICTION
2026-05-28 16:35